Tight spaces big shots
Results from the shoot
In the previous blogpost we talked about the digital classroom episode about working in tight spaces.
Today it’s time to share the results.
Some background information:
The images were all shot during the live broadcast.
During the live broadcast I already shared some tips about retouching on the iPad and Adobe Lightroom.
For my workflow I mostly edit on the desktop and use Adobe Lightroom as my main hub, from here I export to Photoshop to do the more heavy lifting. Although Lightroom is getting better every release there are still a lot of actions that just work faster in Photoshop.
For my retouching workflow I mostly use a combination of Luminar Neo and BorisFX.
BorisFX you can use for a lot of special effects, and although I love using those for the Cosplay shoots I mostly use BorisFX for their awesome film emulations. For me the final tint of an image will determine the mood and the Filmlab tab from BorisFX has some real gems.
On frankdoorhof.com/discounts I have some nice discount codes for our visitors 😀
During the broadcast I shot 4 different looks in 2 different locations.
Set 1
Set 1 was shot on the staircase to the podium in our studio.
It’s not only tight for the model but also for the photographer, there is not a lot of space, so using wide angles is a must, and really adds to the mood.
I chose this image as my favorite, I’m using the red gel here as a more stronger fill in light.
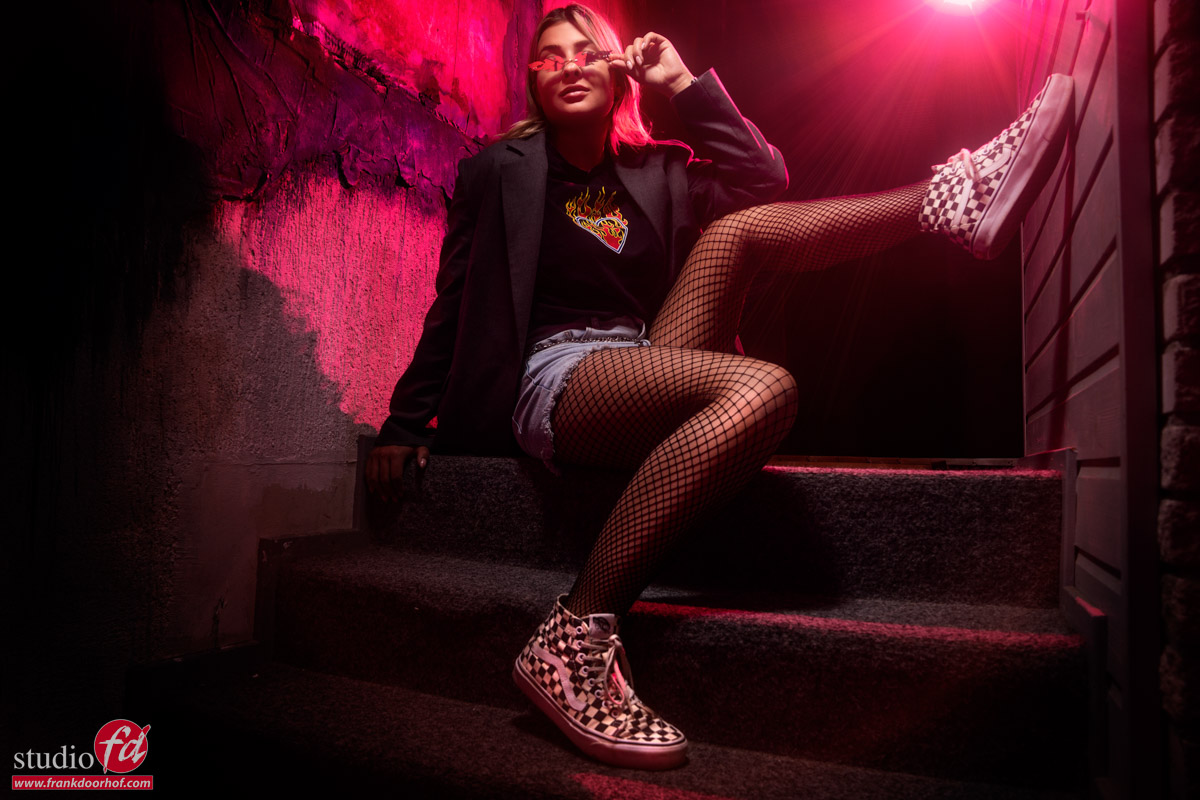
In the Digital classroom Episode you can see me building up the lighting from flat to more contrast.
Set 2
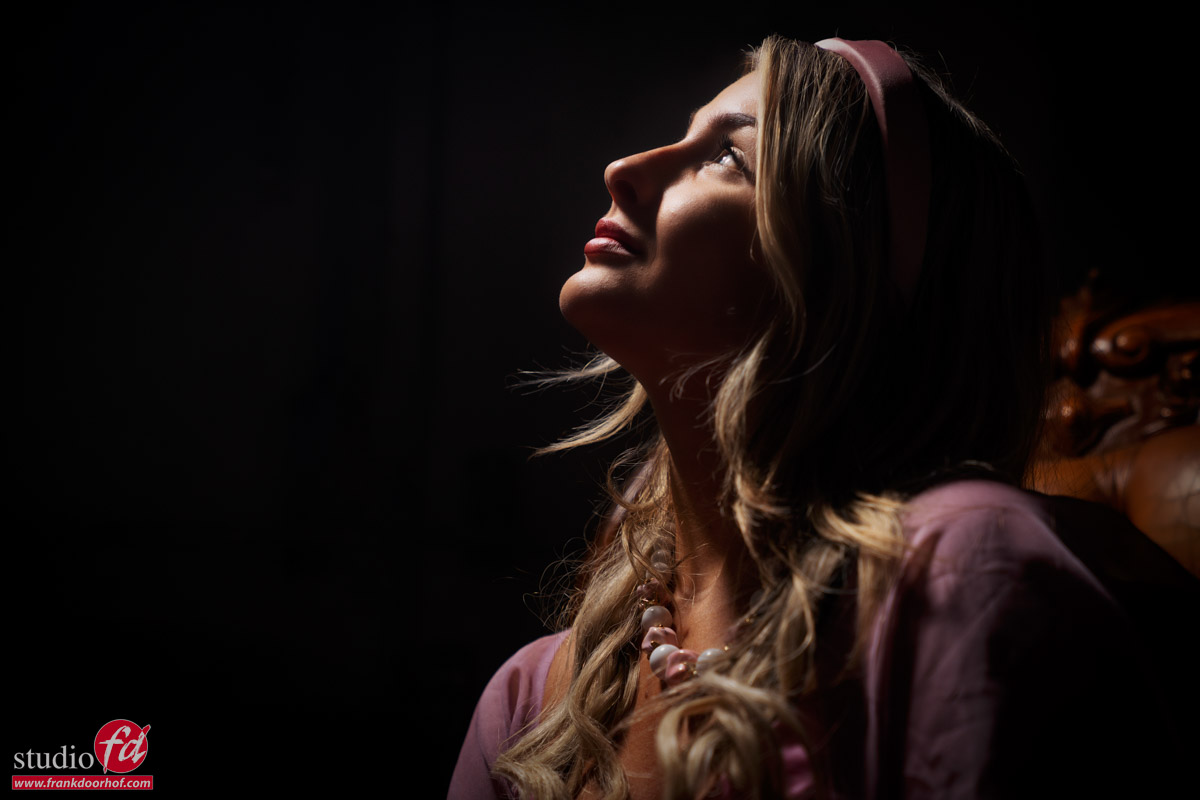
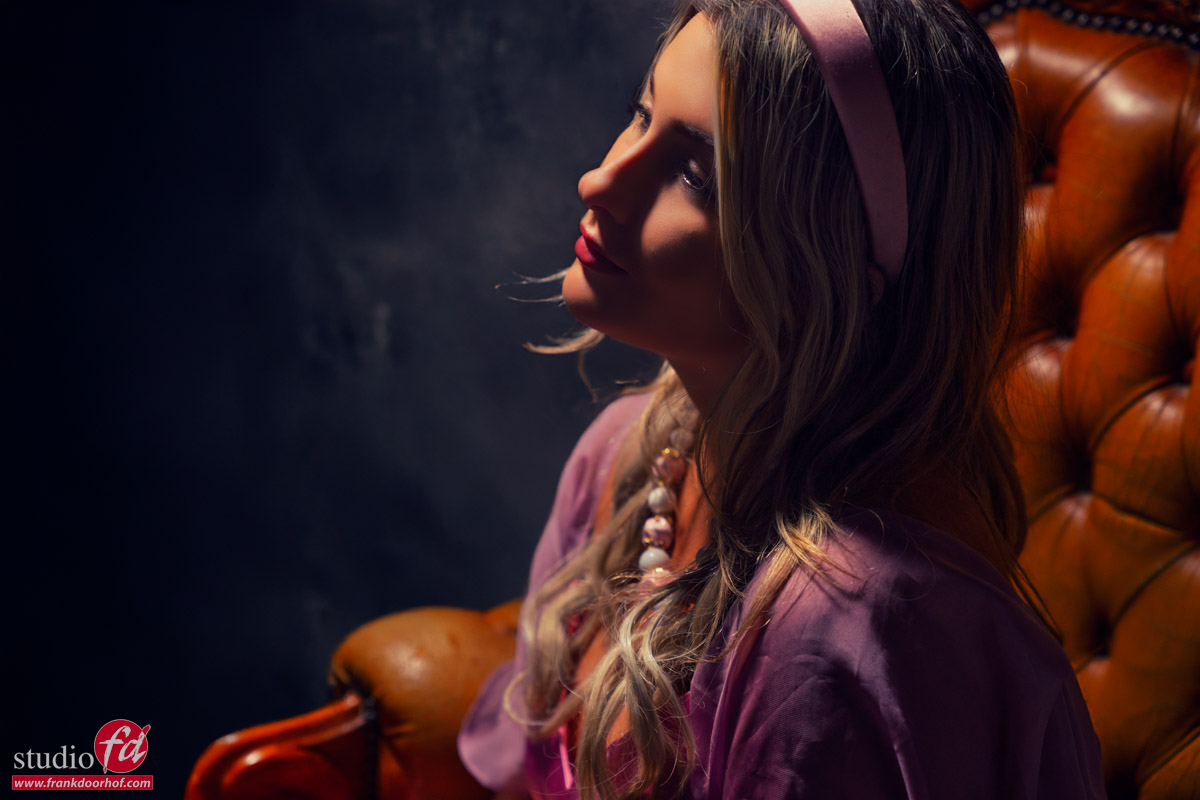
For the second set we build a small set with a chair and continuous lighting.
In the video I show you how to mix the strobes with the lightbulbs and how you can add some red gels for a very cool special effect.
So let’s take a look at the results.
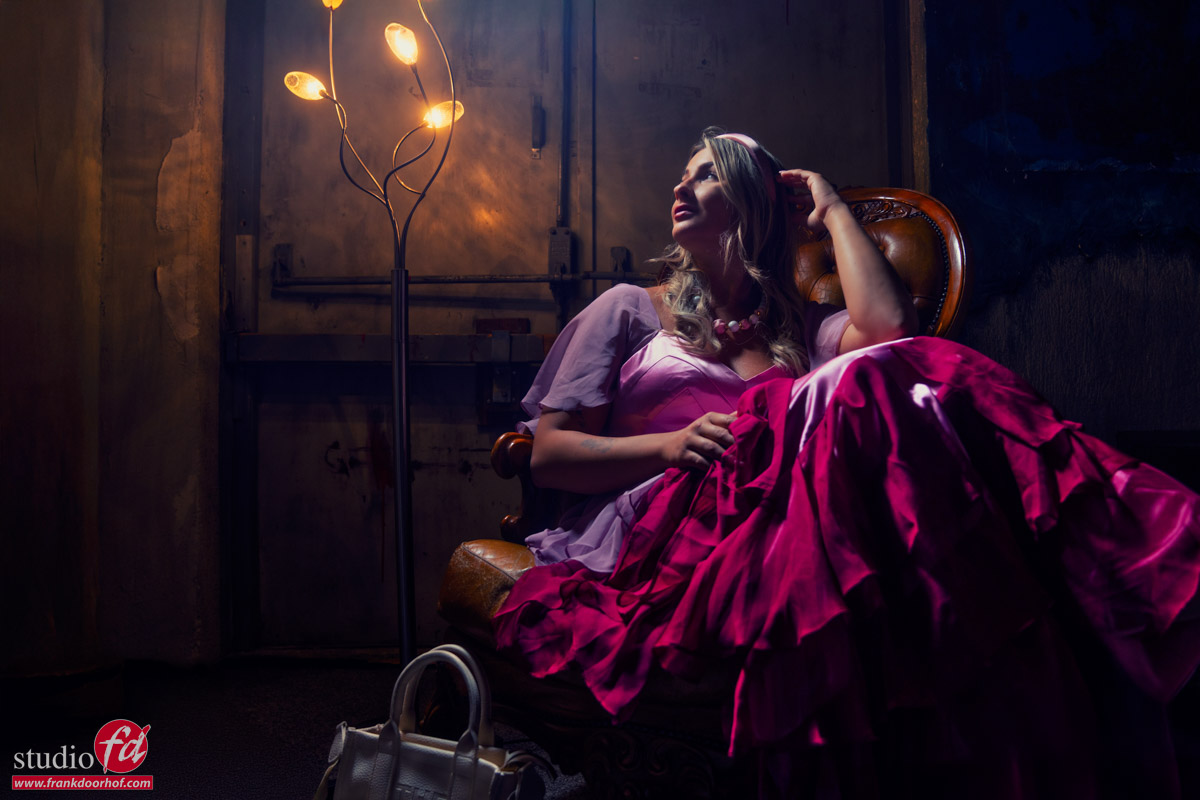
As you can see the red really adds something extra to the shot.
You can always try to do this in Photoshop, but in my honest opinion doing it in camera makes your life a lot easier, plus all the shadows, light fall off etc. are perfect (because they are real :D)
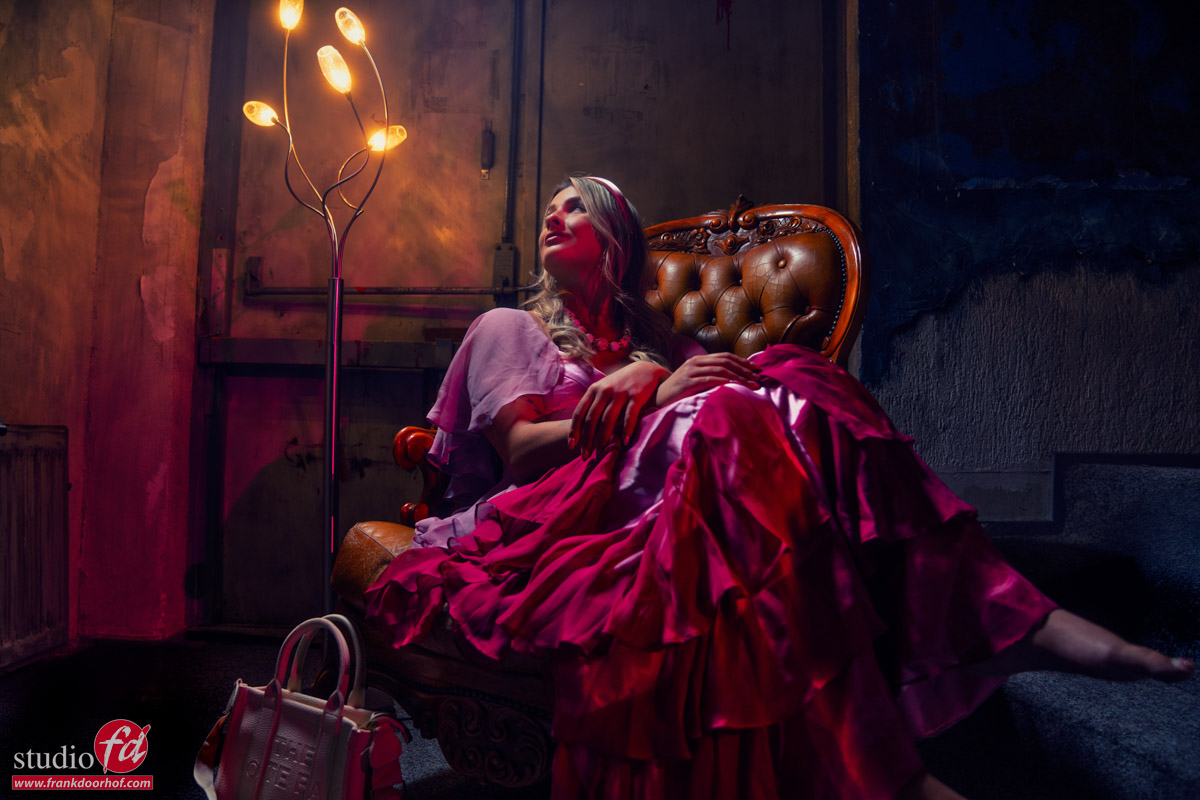
But as always, you always have to try different angles, so at the end of the session I also did just that.
Normally I like the lower angled shots more, but in this case I’m not so sure which one I like most.
The shot from above has something really nice going on, so in this case I’m just glad I always try them both.
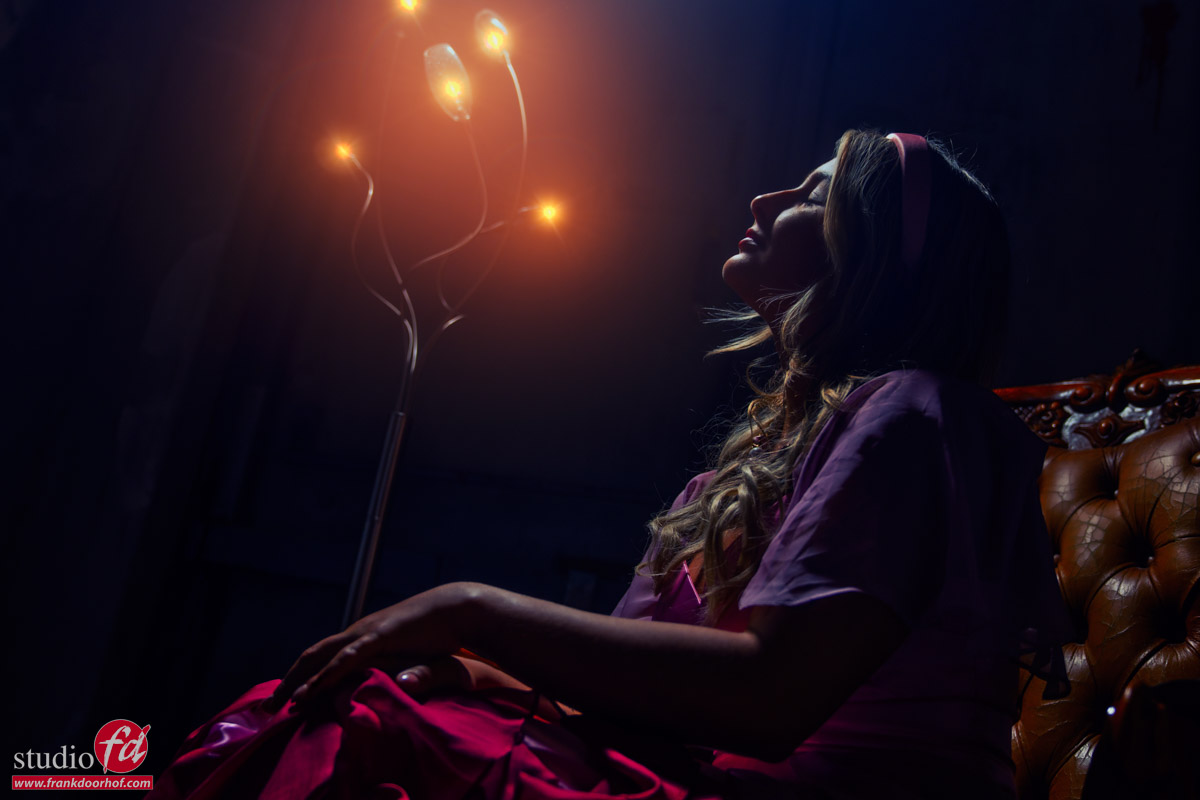
One of the advantages of the lower angle is that you can also include the lights.
I faked it….
Yes, there is no hiding this one (and I had no intention of doing it of course).
As you can see in the video I had the idea of shooting this image with the lights on, but somehow the lights did not come back on (they worked again as soon as the cameras stopped)
As mentioned before I’m using BorisFX for the filmlooks in my images, but it also has some awesome lighting effects, and that’s what you’re seeing here.
I did not try to make it look natural but to give it a bit more of a surreal look.
So even when your lighting stops working, still leave it in the frame, you can always get something creative out of it.
Help us out
I hope you enjoyed this episode of digital classroom and the results.
It would really help us out when you like the videos, subscribe to the channel and tell other people about our channel so we can grow our audience and upload more material.


