Tag Archive for: instructional

Building a cool set with clickbackdrops in your own studio or living room

A background helps the story

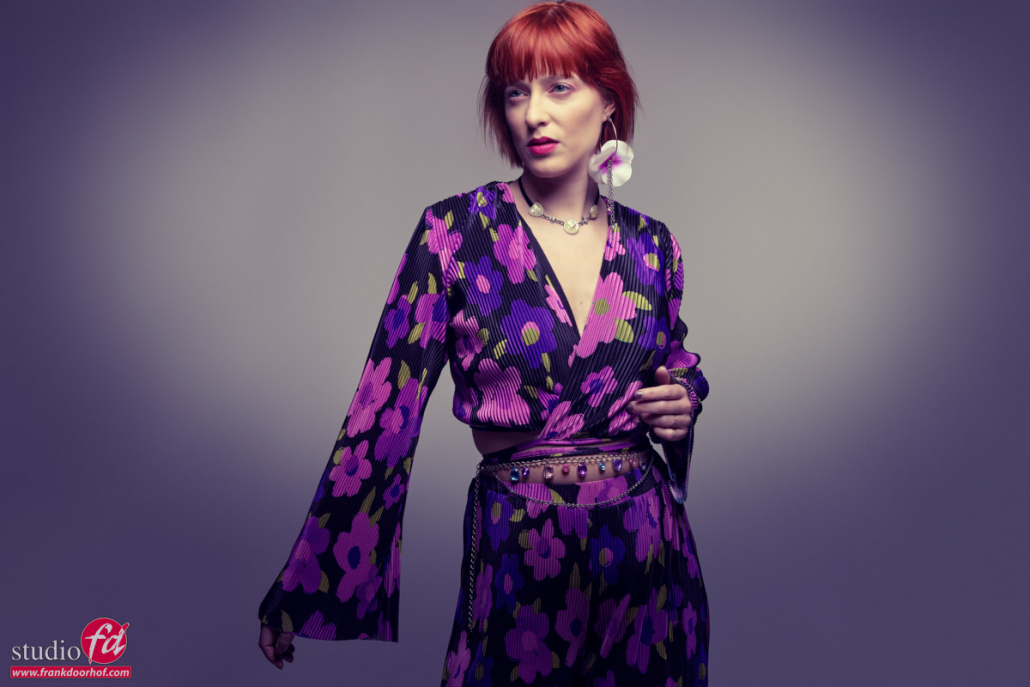
When I started out with model photography studio work was… well studio work.
It was mostly seamless paper and some nice fabrics or canvas backgrounds.
For me personally I love working this way, but I have to be honest my heart always beat faster when I find a cool location to shoot.

So why not bring locations to your studio?

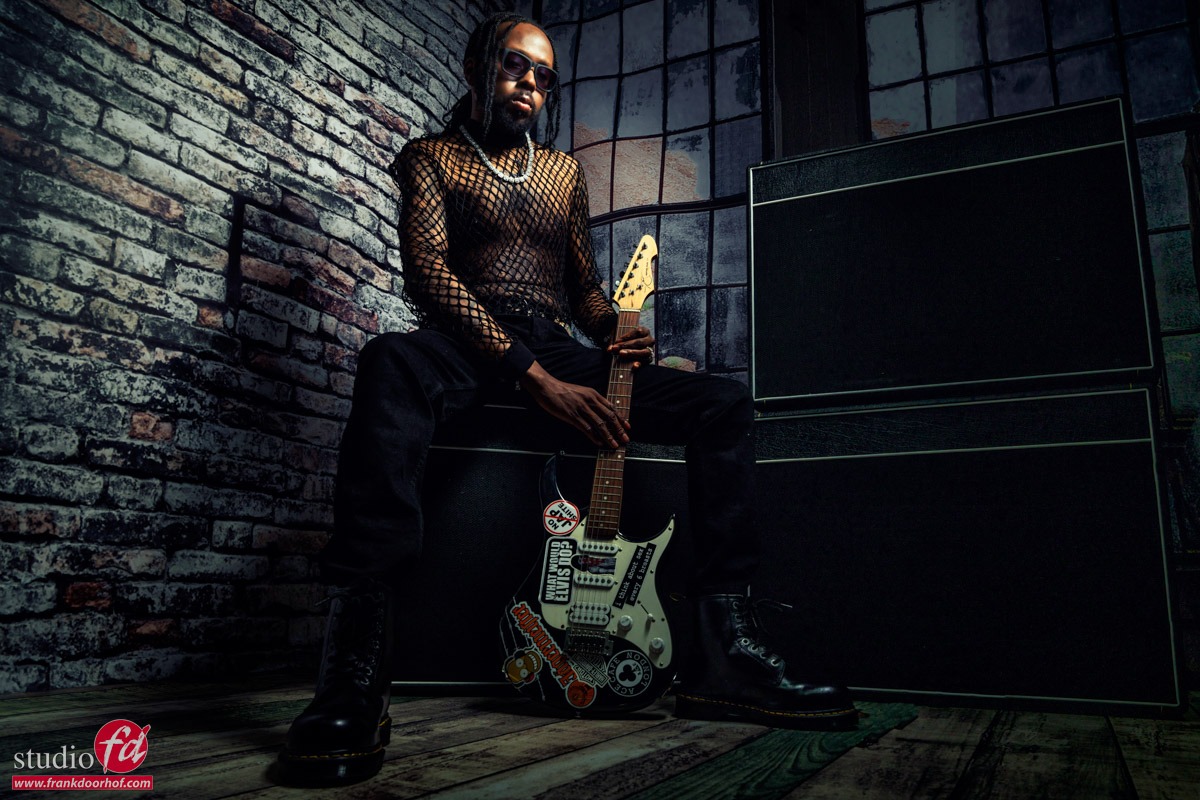
As you probably know we use ClickBackDrops in our studio, we actually started with my own signature series and ended up being the distributor for the Netherlands.
Of course you can just use the backgrounds as… well backgrounds.
And although that already looks great, you can do so much more.

I already showed you guys some of the shots we took during the clicklive event in the UK where we build a complete set with 3 backgrounds and a floor part.

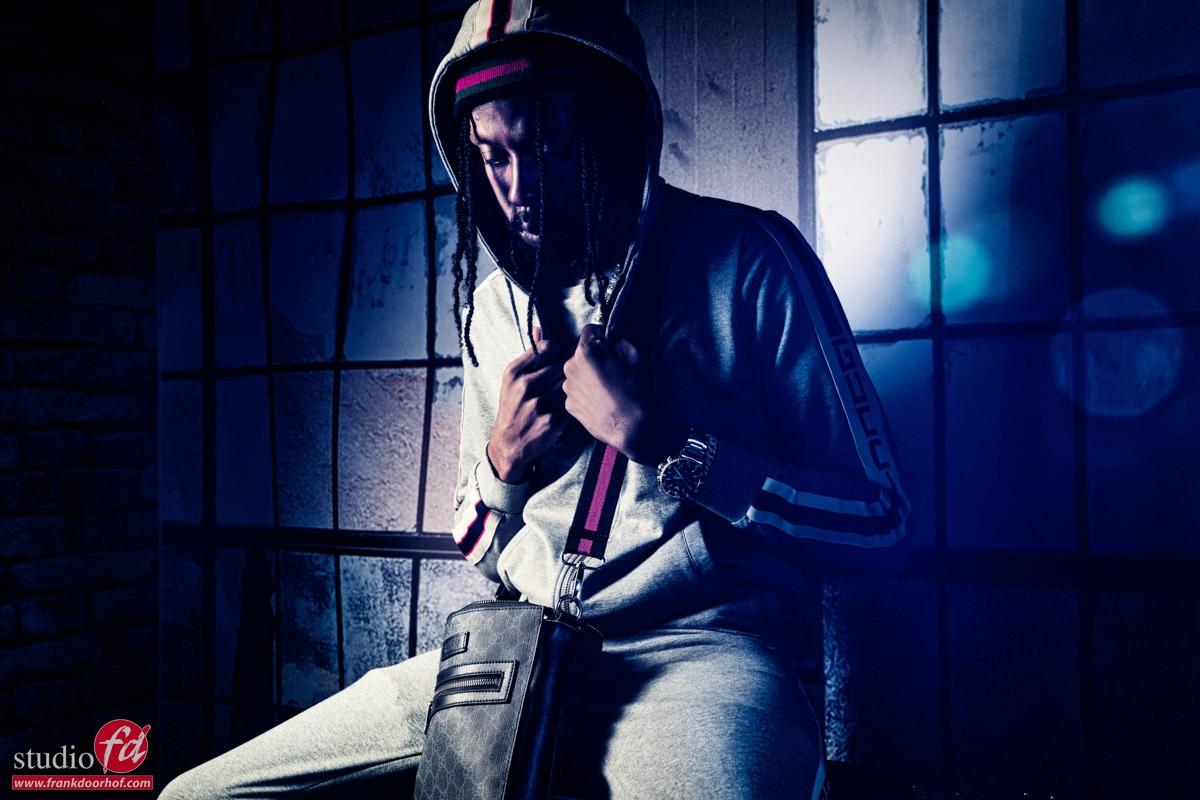
So I thought let’s create something in our studio again

During a recent workshop with Claudia I used two backgrounds and a floor part to create a quick set.
At the moment I was calibrating a projector for a customer that came into a huge flight case so that was the perfect prop to create something cool.
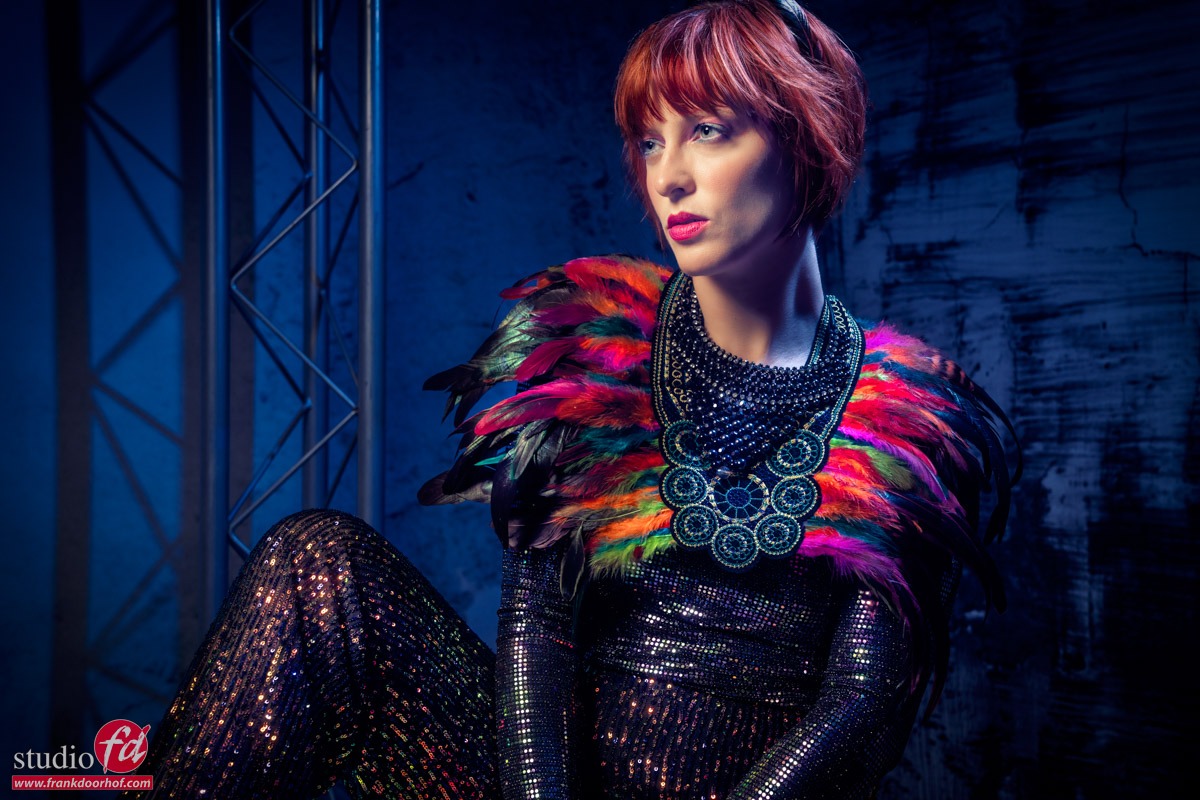
When Claudia entered the set I immediately got some huge Freddie Mercury and David Bowie vibes so I tried to get a little bit of that “rock/70’s” style into the shot.

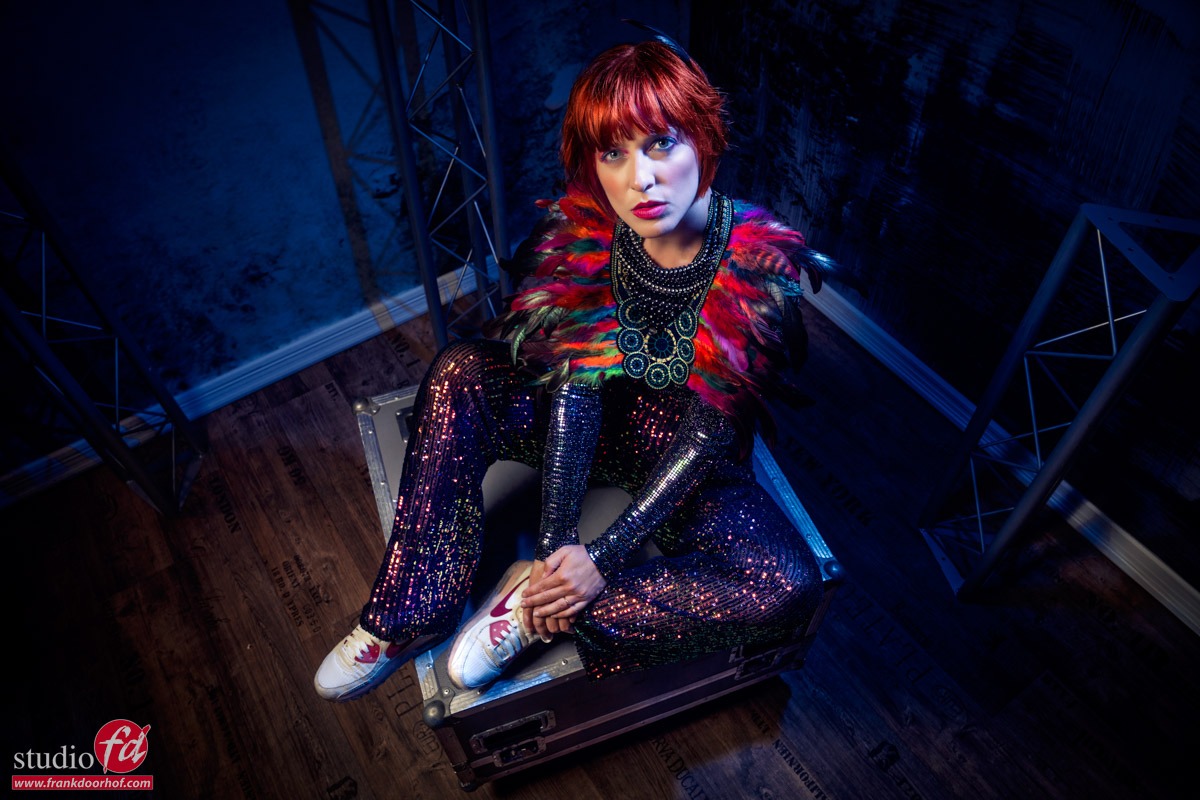
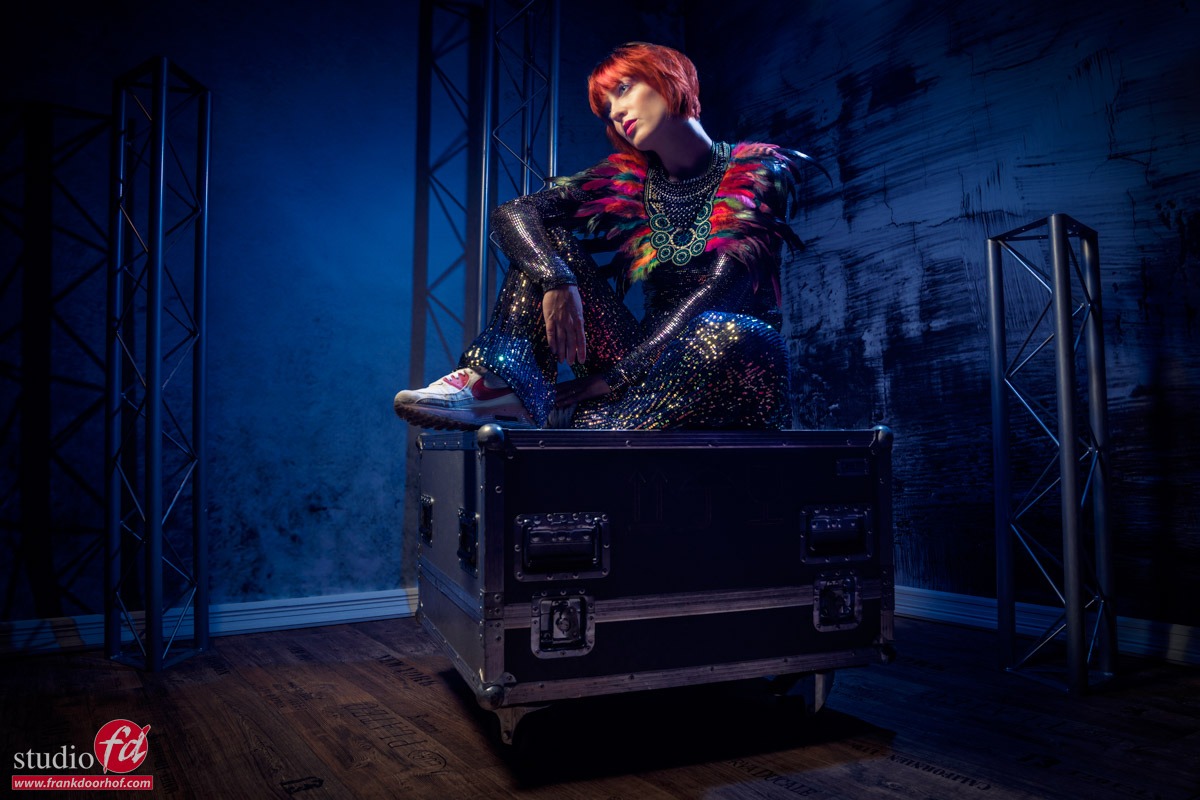
As you can see it’s super easy to use two backgrounds and a floor part to create a small set.
Add some props and you’re ready for the shoot.
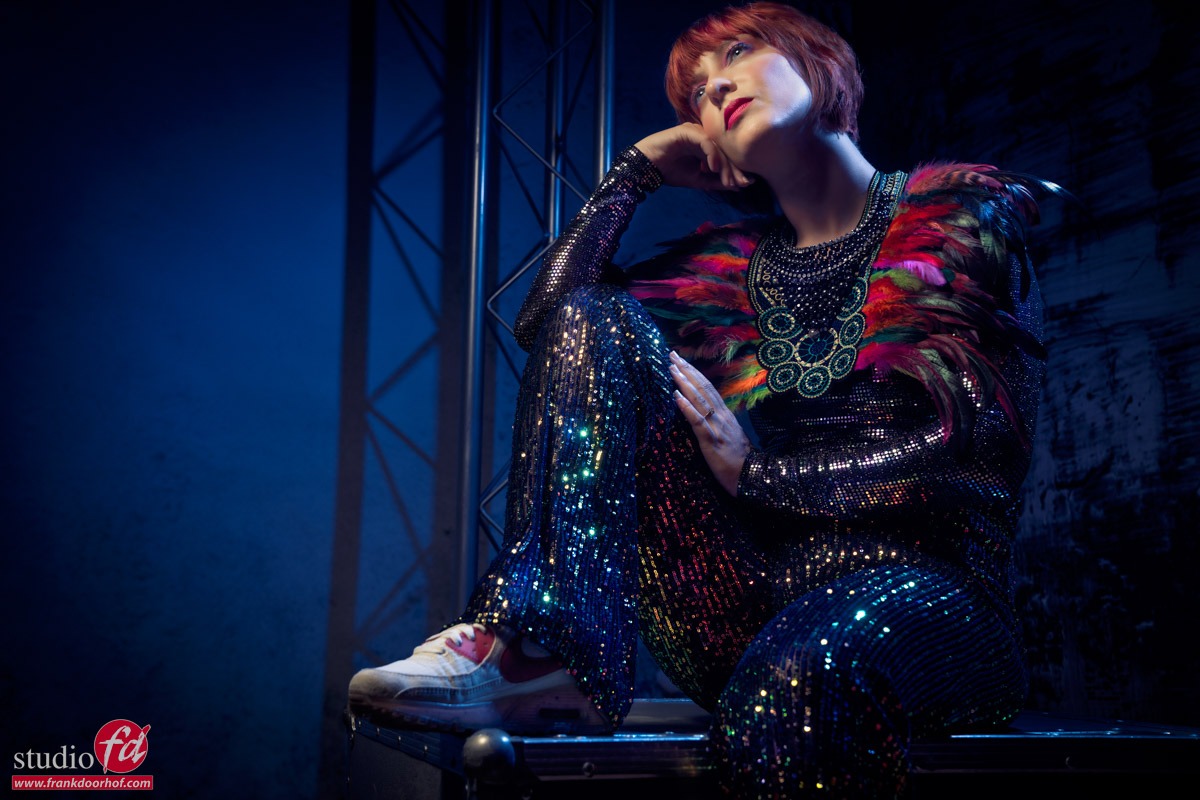
Now as you can see these backgrounds are not really meant to be shot together, but they still work very nicely I think.

Want to visit one of our workshops?
They are in Dutch, but if you book a few weeks in advance we can switch them to English.
Visit fotografie-workshops.nl for more info and booking your workshop.
Want to buy the gear I use?
Visit frankdoorhof.com/shop

A cool behind the scenes during a fashion shoot including all the info free tutorial

A behind the scenes look

This is how digital classroom started.
Just a webcam starting in the morning and ending when we were done, and I could hardly believe it but some people stayed awake the whole day, which for them was actually night time.

Although this was fun, it was not really something we could do often due to the very bad internet quality.
A few years later we wanted to start the live streams again but in a different format, a 3 hour live semi workshop.
At that moment we had to stream via a satellite uplink, which mostly meant I was worried almost the whole episode, because just one fat cloud and it would fall below the range of YouTube which meant “lost connection”.

Nowadays everything has changed.
We are now streaming with 4 live cams, we have a chat running where people can ask questions and of course we are now streaming via a super fast fiber connection.

Digital classroom has grown

Digital classroom now is totally different from when we started, but we are continuously looking at ways to make it more interesting for you guys. And the first thing we did was shorten the episode length to 90-120 minutes (3 hours was too long).

And of course we can’t do it without the support of our sponsors. So let’s give them a big shout out.

BenQ :
Great monitors for designers, photographers and video.
Without a doubt my choice for monitors.
And they sometimes have great offers for our viewers, like a 10% discount for all EU customers (mail us for the coupon).

Rogue :
We’ve been working with Rogue for almost as long as I shoot models.
The Flashbender is probably the product I’m the most involved in, but Rogue is the kind of company that really listens to their ambassadors and create awesome products. I use the flashbender and magnetic system in almost all my shoots.

Geekoto :
Awesome compact strobes, with great easy to setup softboxes.
And for the price, it’s almost unbelievable what they deliver. I’m very picky and have been shooting with them for over 2 years now and didn’t have any issues at all.

Calibrite :
I always advise to get a proper calibrated workflow, and Calibrite delivers all he goods you need.
I’m using their colorcheckers and analysers to get proper colors in my workflow.

Cascable :
When you see me shooting live there is a 99% change you see me using an iPad Pro, and on the iPad Pro I’m running Cascable, without any doubt my favourite tethering solution for iPad, it’s super fast and reliable, just what a I need under stress.

IQwire :
Tethering is showing your images directly on a large screen while shooting.
IQwire delivers the fastest and most reliable tethering cables and a complete defence system for camera, laptop/desktop and cable.
Available in 5-10-15 meters length (I’m mostly using the 15mtr which makes it possible to move around my whole studio without ever tripping over a cable.

ClickBackdrops :
We started with a signature series and I ended up with my whole studio filled with their amazing backdrops, and eventually we started selling them (they are just too much fun). Available in almost any size and in 2 materials. Vinyl for sharp and “harder” prints and ProFabric, which mimics the old canvasses we all love but can’t afford 😀

Most of these products we now also sell in our webshop at frankdoorhof.com/shop so make sure to check it out.
The reason we chose these brands to work with, or sell, is that they are designed FOR photographers/videographers/designers instead of designed for the photography market (a huge difference in usability).

Ok…
Let’s go straight to the brand new episode of digital classroom with our model Claudia.

Working with a model during her first shoot and how to make it a success

Trial by fire

In the previous blogpost you already saw the results from the test session with Jannaika.
The images were shot during the Digital Classroom live stream.

Today in the blog the full episode of Digital Classroom with a much requested topic.
“how to work with models during their first shoot and how to make it a success”

See the full session and get all the tips about lighting, posing and how to coach your model.

If you have any questions, feel free to ask.

Same background, totally different results

Maximize your results with this simple technique

When you shoot for a client, delivering different options is always interesting and smart.
But different options take time, right? In this blog the same background and totally different results

Well not exactly.

Be smart with your setups.

For this example, I’m using a white background.
In the front, I’m using the Rogue black umbrella with a sleeve aimed straight at our model.
The backdrop is white seamless.

You probably already know about the inverse square law, meaning light falls off over the distance.
A great way to use this is to control your background.

I’m using the white background for my first shot in this setup.
This one was shot with one Rogue umbrella in the background and one Rogue umbrella on the front.

white background but different results 
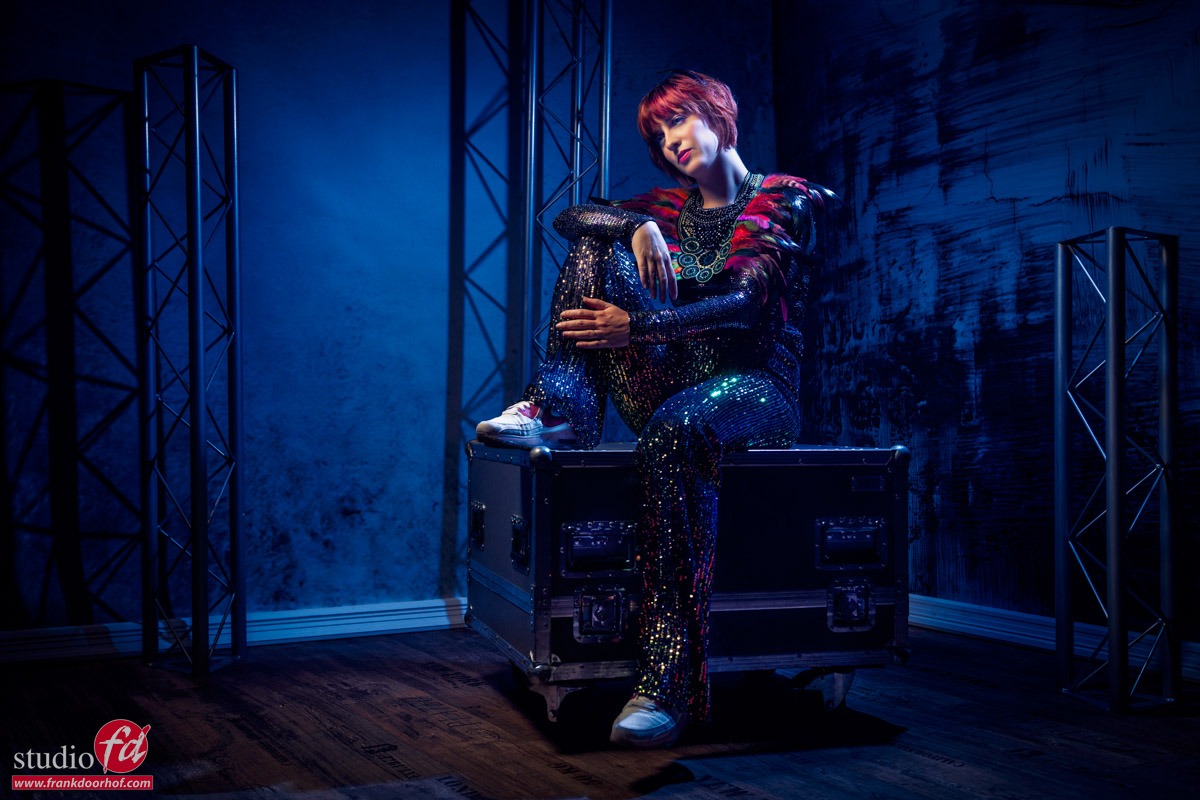
You can already see a very slight light fall-off in the background, which can be solved by using a second umbrella on the other side of course as explained in the previous blog posts.

But what if you just take away the umbrella(s)

again the same white background but different result

As you can see the background now turns grey and you can add some extreme vignetting in Lightroom or Photoshop (or your favorite editor) for a completely different look.

Change the distance for total control (different results)

Using the inverse square law you can change the luminance of the background very easily.
You actually have 2 options.

  1. you can change the distance from the main light to your model.
    Move it closer to the model and the background will become darker.
    Move it further away from your model and the background will become lighter.
  2. Move your model forward to get the background darker
    Move your model towards the background and the background will become lighter.

Of course, you have to re-meter the light when you change the distance between your model and your background.

Explained wrong

I just wanted to add an extra note to this blog post.
I’ve seen several videos and articles that claim that the light halves when doubling the distance, this is however wrong.
The name already gives you the answer in fact.

The intensity of the light is inversely proportional to the square of the distance
meaning in simple turns that for every doubling you lose about 75% of your light.

In usable terms.
Place your light really close to your model and the light will fall off incredibly fast. Place it further away from your model and more of the set and model will be lit and the light fall-off will be smoother.


Conclusion using the same background and getting different results

When you have to shoot with certain setups always check if you can also get usable results by turning off/on certain strobes.
You might surprise yourself when you start testing this, it can be done in much more situations than you might think.

Read the post about poses and the white background 

Read more about making the background and floor totally white 

see more pictures Frank made with the Umbrella on the RogueFlash website 

check out the Digital Classroom about Umbrellas