Speed up your workflow with Reblum
Skin retouching has always been “a thing.”
This blog is about Skin retouching with Reblum. Ever since I started with model photography, one of the hottest topics has been skin retouching.
Let’s first talk about why you should do it and how Reblum comes into the picture.
Because we didn’t need it with film… right?
Well, not really.
First of all, when people only used film in most beauty shots. Filters were used to make the skin glow, and thus make it look just like in the movies, nice and soft.
And also remember that with film, the surface never was 100% straight. Focus was never 100% accurate, and the film itself didn’t have that insane 100% artificial build that film had.
With digital, we have insane quality in lenses. 60MP sensors that now focus on the sensor itself, so our images are razor sharp without any possible pitting for our models.
In other words, you won’t just see all the skin details; no, you will literally see stuff you don’t even see yourself in the mirror; the camera is ruthless.
But luckily, we don’t have to shoot with soft focus filters (you still can, of course).
In fact, I’m always shooting with a K&F Black diffusion filter. Which is awesome for backlighting and does give a very slight glow to skin; it’s hardly visible, and I mostly use it for smoother and larger lens flares.
Photoshop for skin retouching
I don’t remember the first versions of Photoshop (I did start with Lightroom 1.0), but Photoshop did change the world for Photography.
When I started with skin retouching, it was pure hell. It took hours when you wanted pro-quality. And it was just boring and repetitive work that you would rather not do.
If you ever hear someone say, “dodge and burn the skin,” it means literally going over every pore and taking them out with highlights and shadows to make sure you keep the original structure.
Later on, we all started to develop smarter ways to do skin retouching.
Photoshop got more filters, and in essence, it was possible to get an ok skin retouch that was good enough for the internet.
One of the disadvantages of the automated skin retouching plugins was that they didn’t really do a good job. It was often more like a Barbie doll than a human. And getting that detail back was often solved by adding a noise layer. When you look at some magazines from the 90s-2000s, you know what I mean.
I actually created a simple action in Photoshop to bring detail back in the skin, but it’s not the real detail.
So, is there a perfect solution?
The perfect solution
Like with almost everything (except, of course, my wife), there is no perfection in life.
And that also goes for skin retouching.
Over the years, I’ve tried several solutions, and some I really liked, but most were slow, changed my whole model (even before AI), or just didn’t work on high-resolution images.
Nowadays, I mostly use Luminar NEO, which does a great job in most cases, and you can even stack effects.
If you are looking for an all-around solution for looks, slight retouch work, portrait work, and a lot more, Luminar NEO is one I can highly recommend.
However, it has one huge drawback for me. I love using presets and that is the Achilles heel; even on my M4 Pro MBP, it takes a while to load all my presets.
But don’t let that hold you back, it’s still one of the best all-round solutions.
Enter Reblum for skin retouching
I love the expression “keep it simple, stupid.”
Or the Steve Jobs approach, “one button is already one too many.” Well, ok, he didn’t say it like that, but you know what I mean.
The first time you look at the interface of Reblum, you might be a bit disappointed.
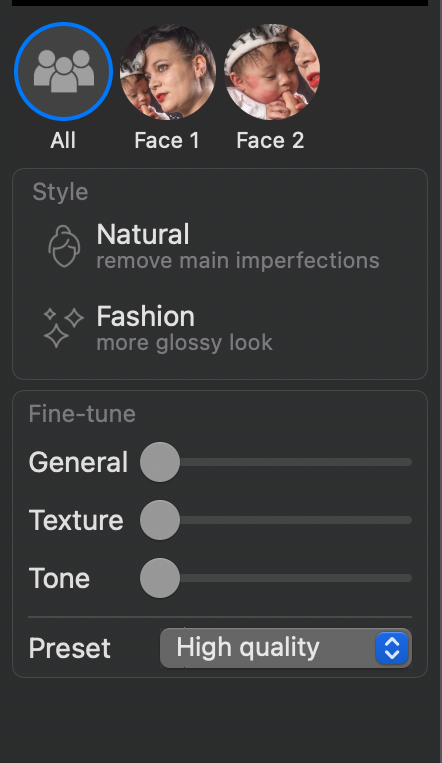 Yes, that’s it.
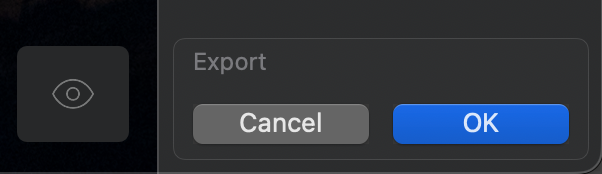
Well, not really, there is also an eye on the bottom for the before and after.
And export.
 So we have two options and three sliders. Is that really all you need?
My first response was no.
But let’s be honest, what more do you actually need…..
If you run it in Photoshop, you can use Photoshop for masking if necessary, but in all honesty, everything I ran through it was fine and didn’t need any masking.
How you can use Reblum, and where it shines
There are many solutions for skin retouching. But what I really like about Reblum, and the reason you are reading this review, is the speed and integration into any workflow.
Reblum works under Lightroom, Photoshop, and Capture One.
For me, it’s key to work on 1 image, finish the image, and open the next one. I hardly work with batches, but even for me, Reblum speeds up my workflow a lot.
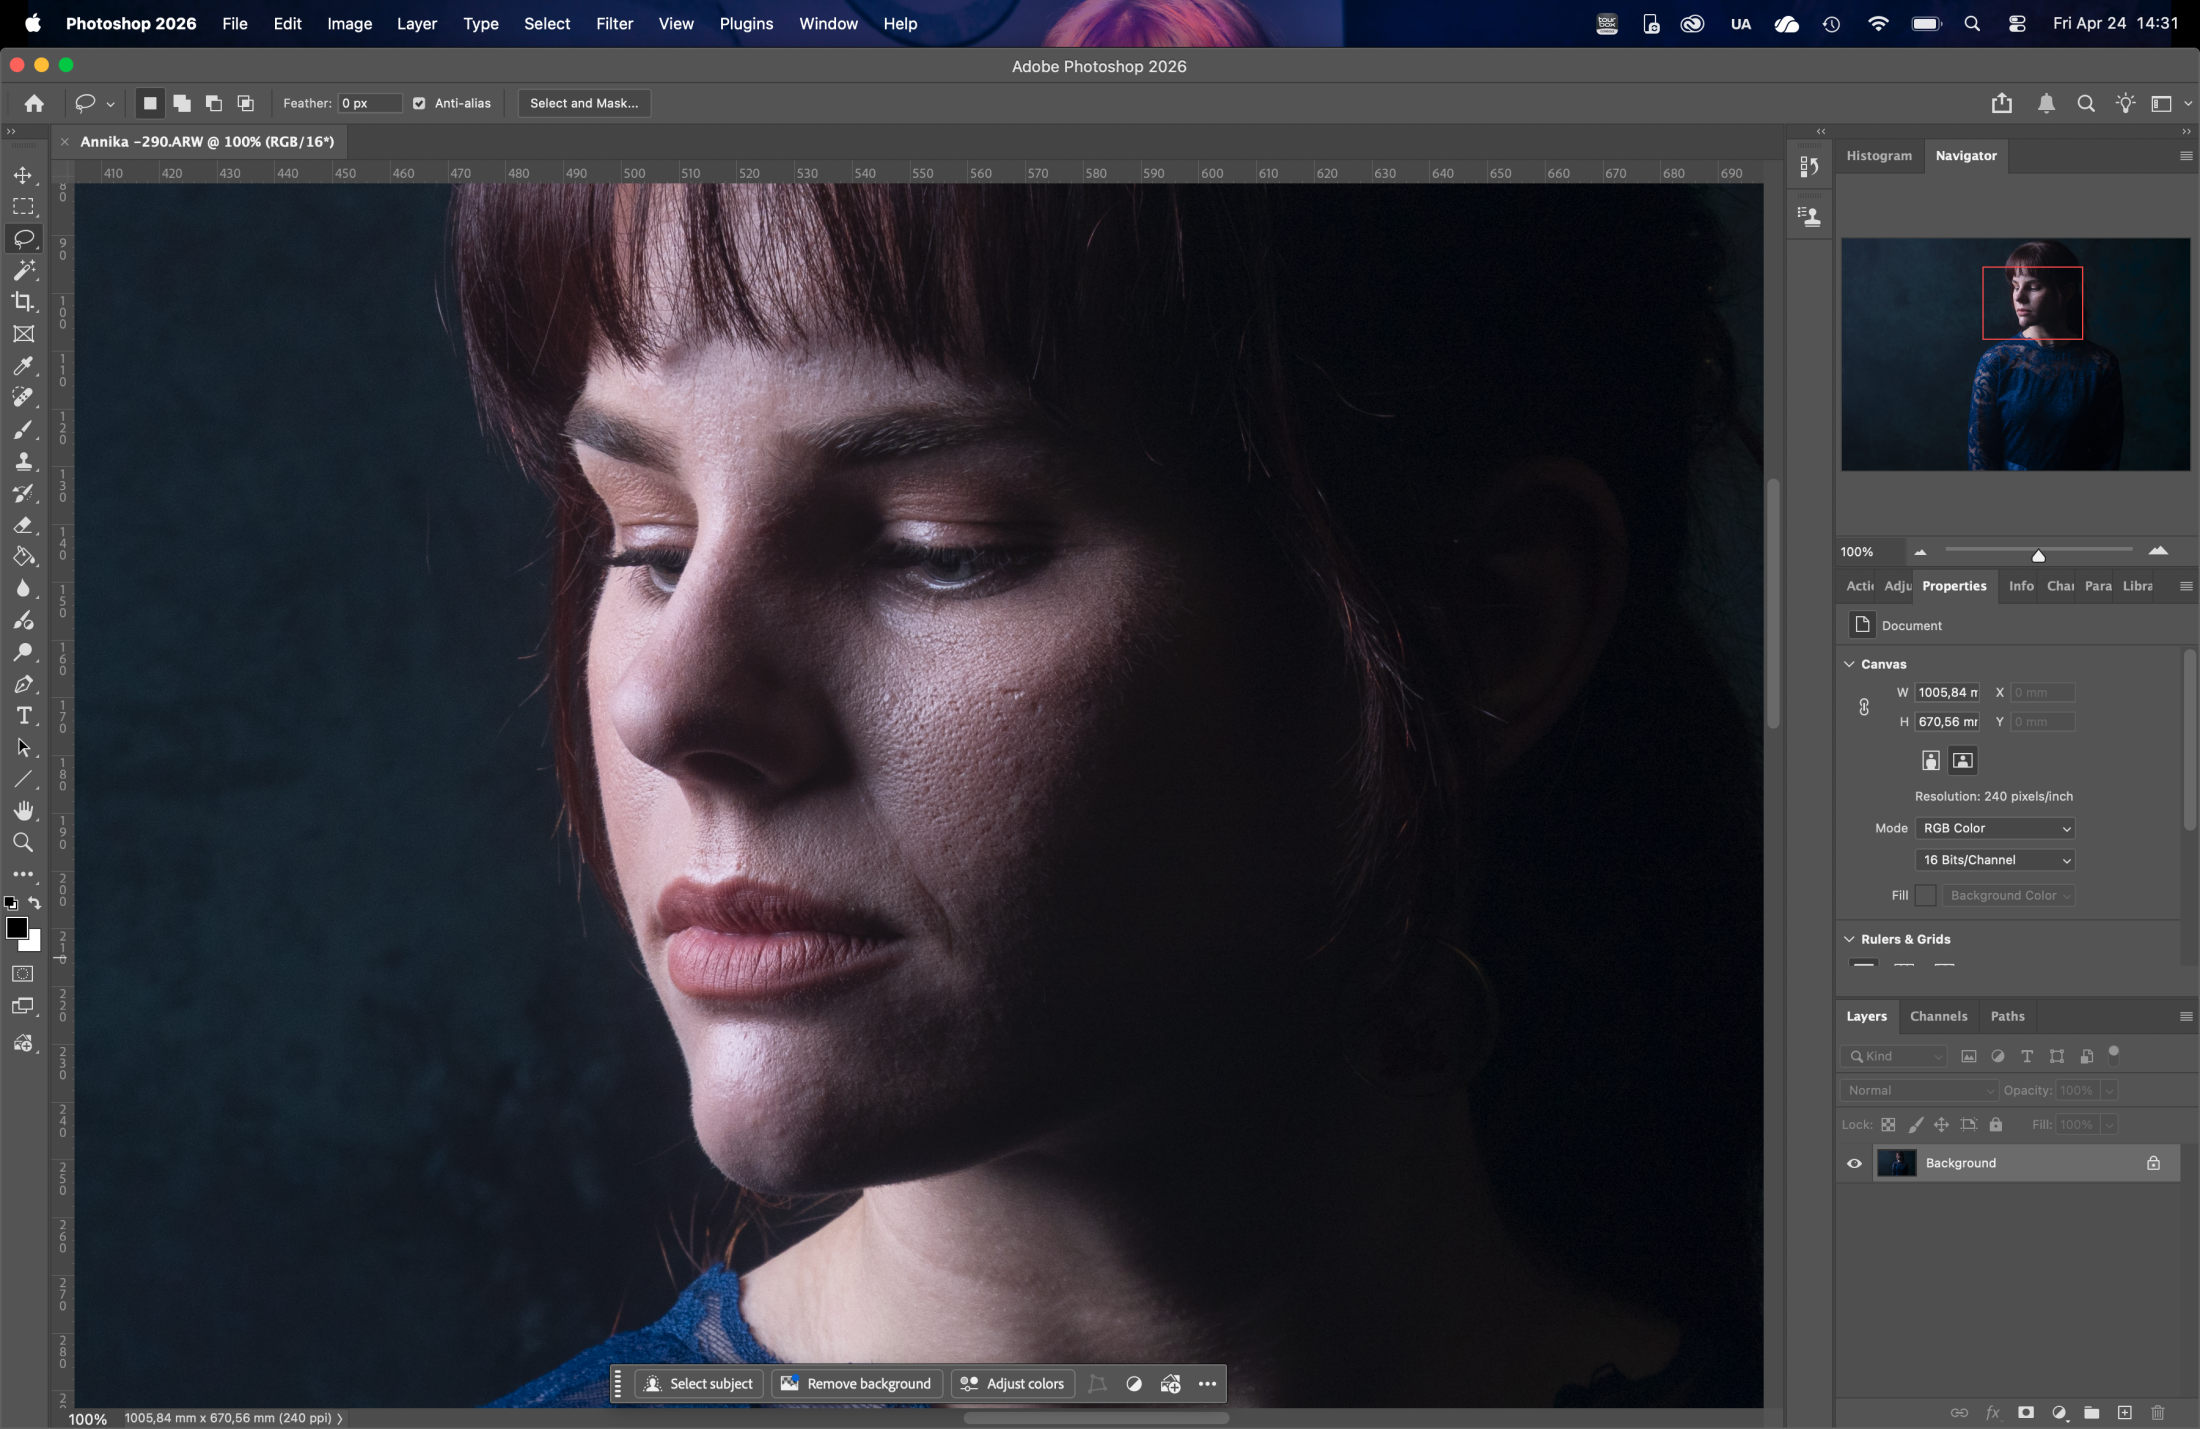
Reblum can be run straight from the top in Photoshop (recently used filters). And it will just run the filter on your present image, and after that, you can start the rest of your retouch process.
And it’s fast, and I mean really fast!
On my M4 Pro MBP you don’t really it working on 60MP files, its just there almost instantly.
It means my workflow has been considerably shortened, which is always a good thing 🙂
Reblum skin retouching, examples
So let’s take a look at 2 examples.<br class=”yoast-text-mark” />>Of course, I can redirect you to their website, but you never know if a company cherry picks photos (I’m 100 sure everyone does). And of course, there is nothing wrong with that, but I think real-life examples are always done best with your own images. And Reblum gives you a 7-day trial version so you can, of course, test it out for yourself.
The first image is a standard high contrast portrait. I like to keep some pores on the cheeks, which keeps the model looking real.
But I don’t like it to be “rough” due to shadows and color differences.
With most skin retouching software, it’s great on flat light and a model looking straight into the camera. But it becomes a lot harder when a model is at an angle, and you are using high contrast lighting.
So… that’s what I tried.
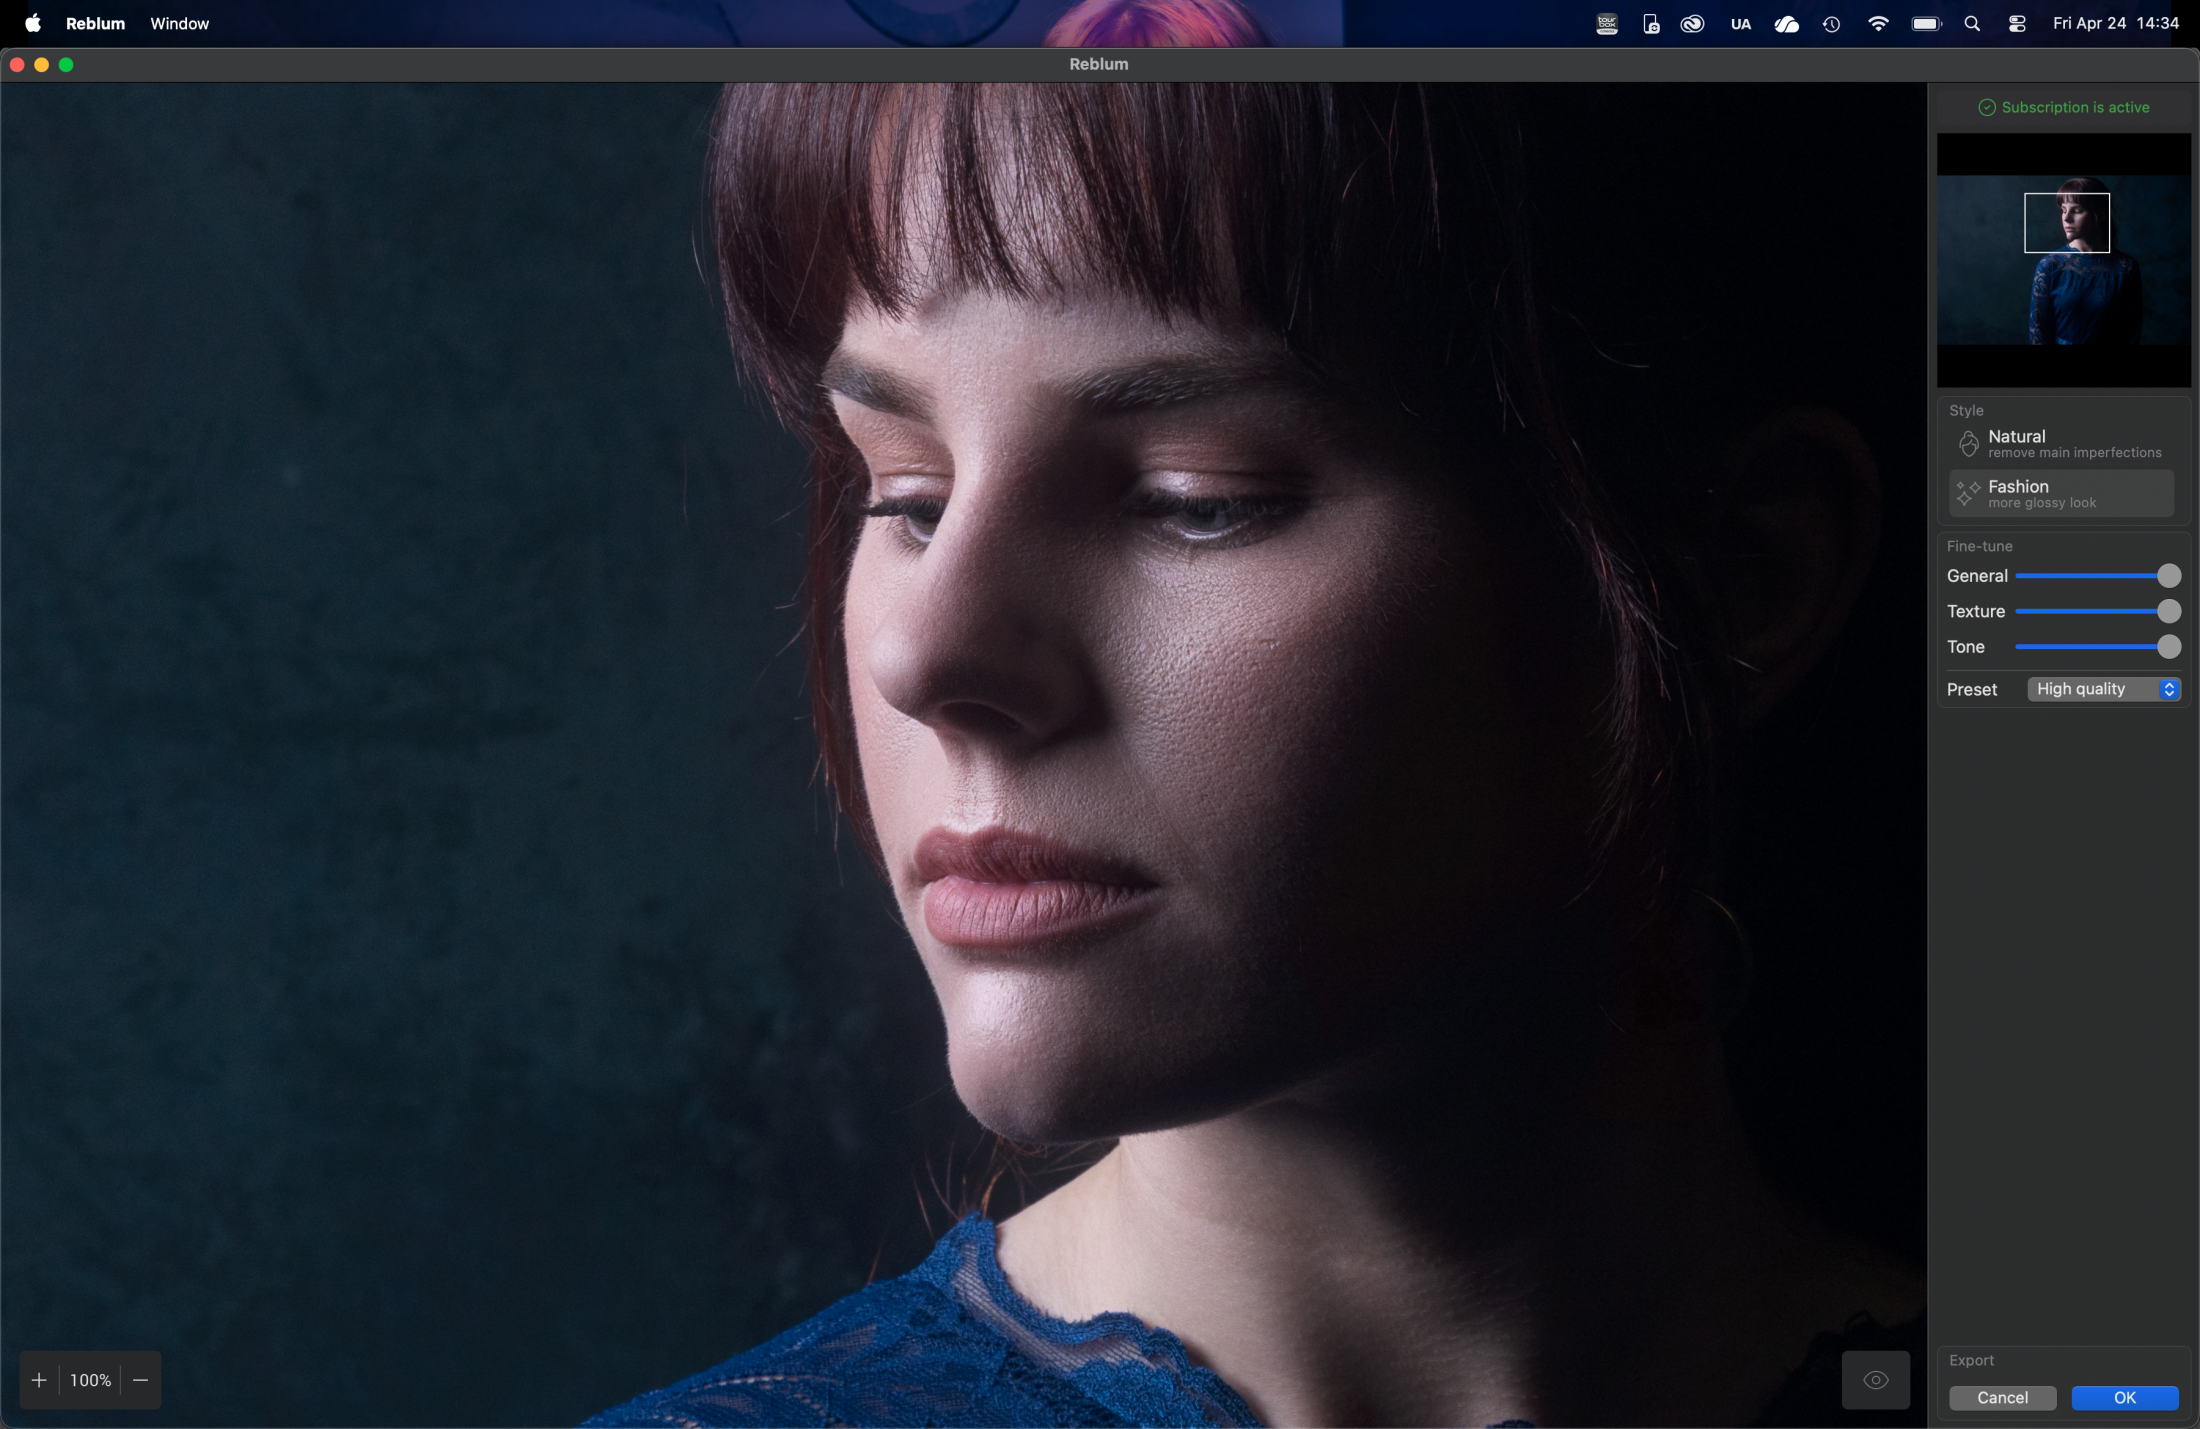
If you are looking for Barbie skin, you are in the wrong place, as you can see.
But for me, this is the “perfect” retouch. Loads of detail in the skin, but it looks so much “fresher” and natural. On the original image, you really see the relentlessness of the camera and the harsh lighting (not something you always want your model to see).
The retouched image keeps all the contrast in the skin, but it smoothens out the things you don’t want in the skin.
For me, this is the preferred way of retouching. I sometimes call it “retouching around the pores”.
But how about a shot that we did with our model Nadine?
We did a quick shoot with Nadine after the birth of her daughter, and we had a little less time for makeup. So let’s see how Reblum skin retouching works its magic.

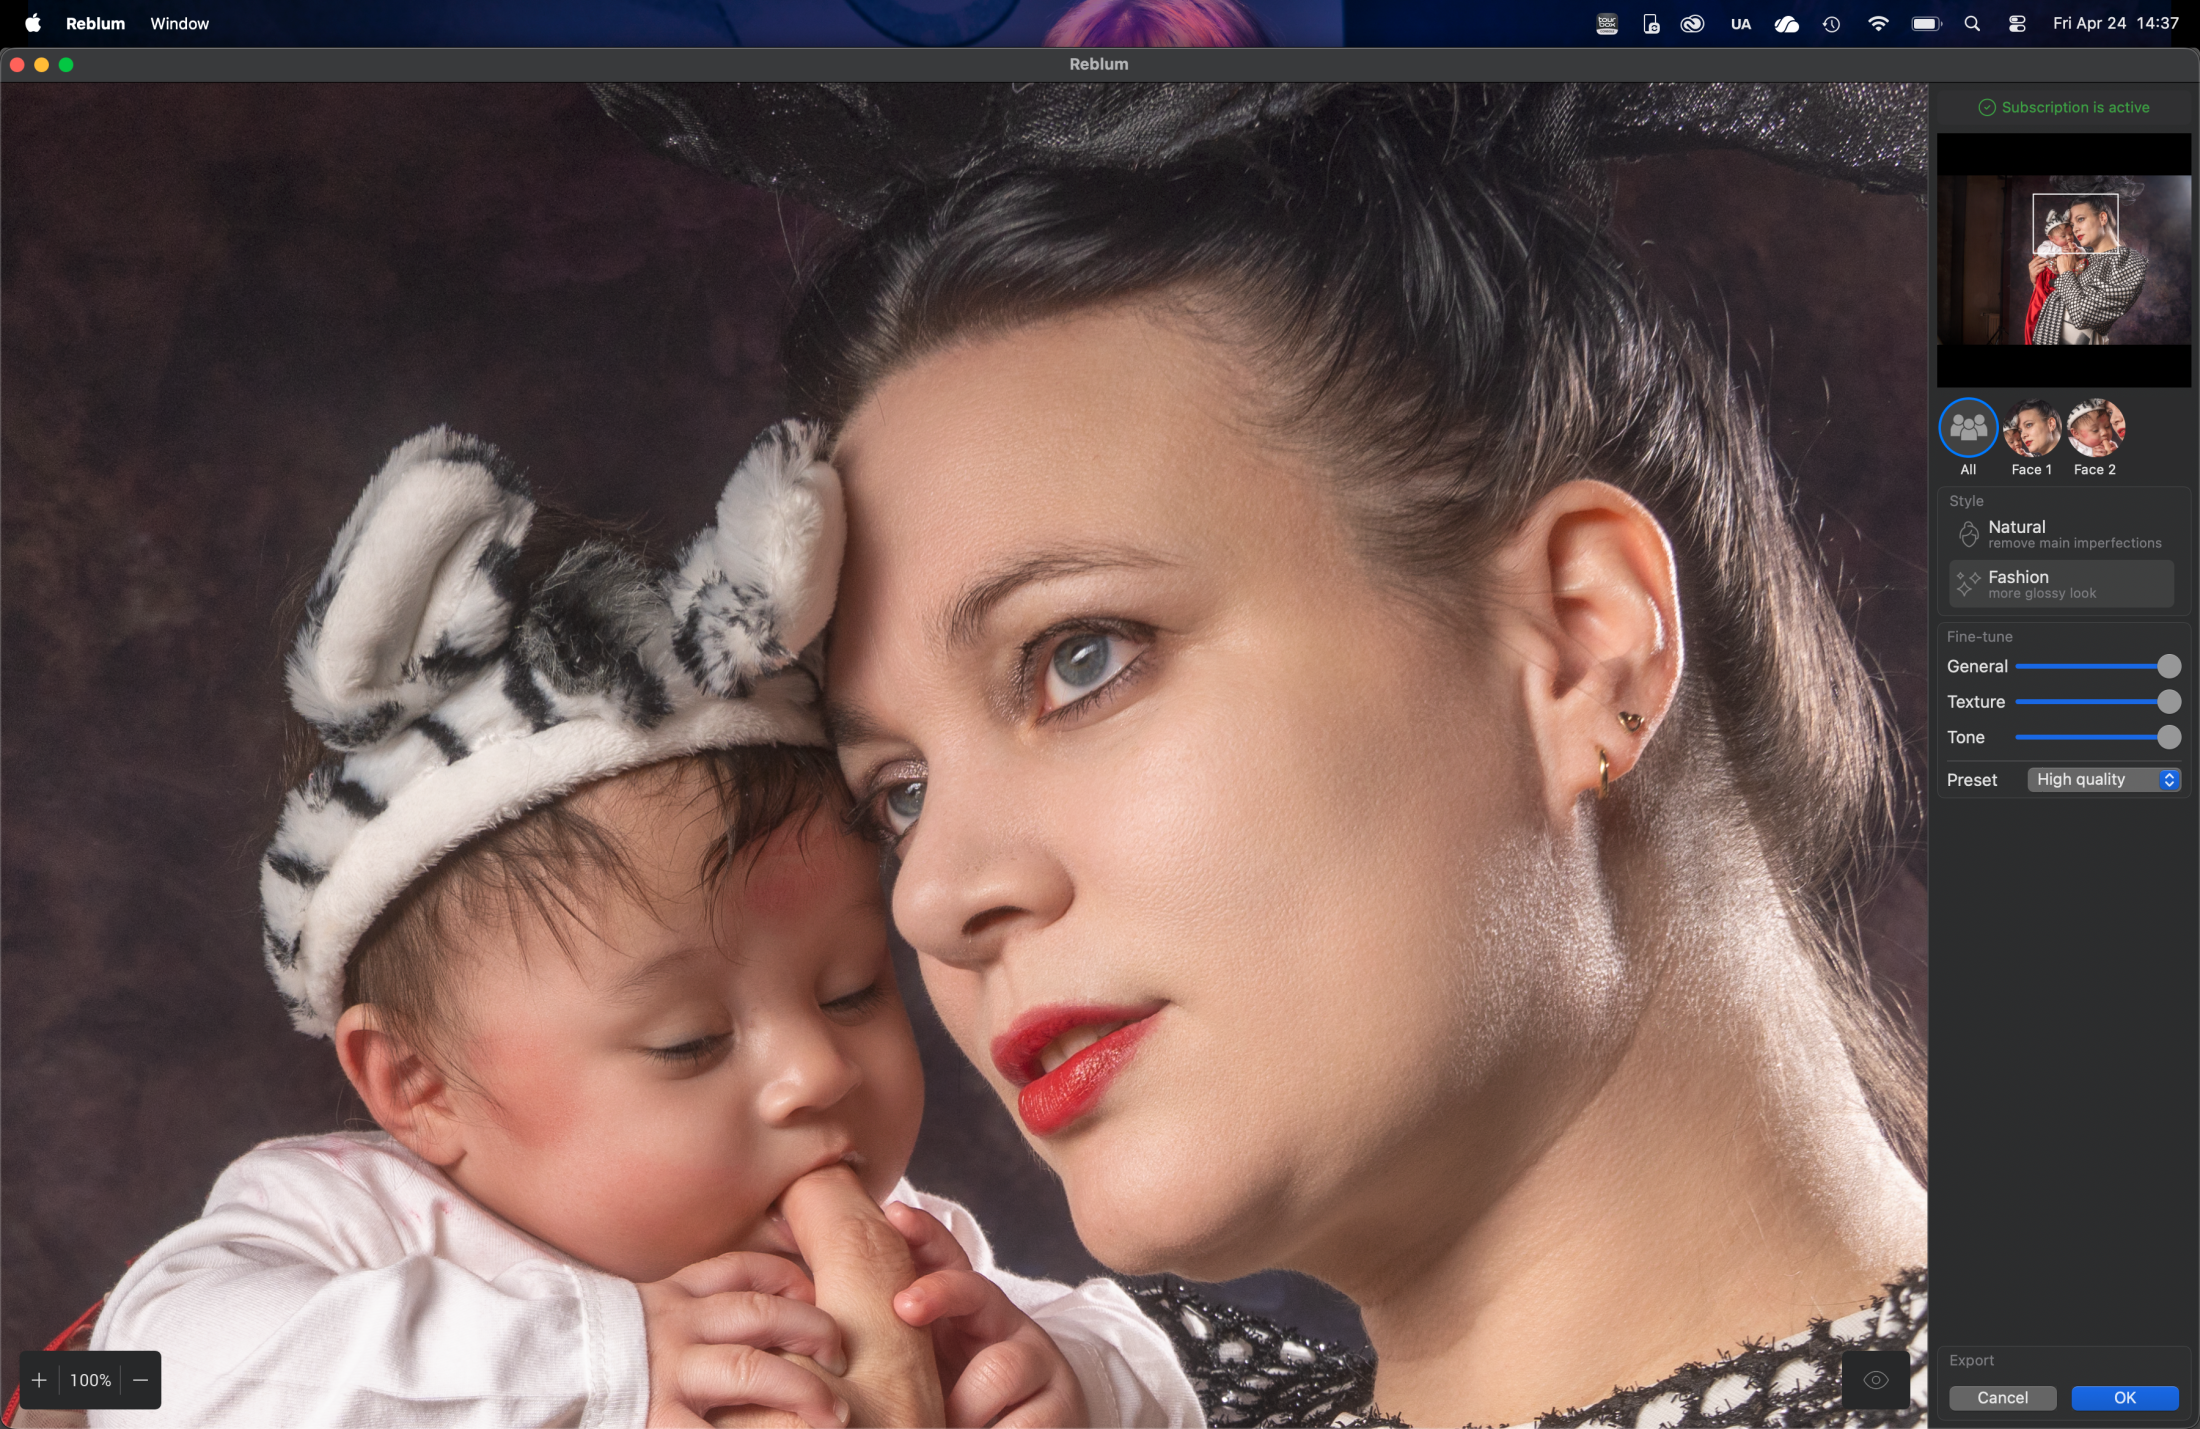
It detected two faces, and in this case. I show you how it worked on both faces.
Of course, you can also uncheck faces, so for example, only the ladies are retouched and the men keep their roughness.
So in essence, you really don’t need more than a few sliders.
General is great for control over the effect.
Texture is exactly what it says; it controls the details and the “sharpness” in the skin.
This is a slider that is really interesting to play with.
Tone works wonders on some models that have different colors in their skin, or it can smooth out colors, as you can see in the example above. I wanted to disable the filter for the baby, but it actually shows you exactly the power of the tone slider; this is not to be underestimated. It’s a slider that I used a lot when working in Capture One. And can make a huge difference.
Fashion vs Natural
In all honesty, the difference is very slight.
The Fashion setting is a bit more “aggressive” and would, for me, be the standard setting for flash photography.
For event photography like weddings, I would prefer natural in most cases.
Weddings….?
Reblum is awesome for event photographers.
When I started the review, I was not 100% convinced it would fit in my workflow or if it would stand out from other solutions.
And in just the skin retouching part, there is a lot of competition. In just batch processing, there are also other solutions. However, I think that Reblum just takes the best from all and combines them in one blazingly fast and super simple plugin. It does batch processing, and …. well, it just works. What more do you need… honestly?
Well ok because you asked
While I was testing Reblum skin retouching, I found myself using it more and more in my standard workflow.
Especially when combining it with BorisFX for the film looks it speeds up my workflow a lot.
But there is one thing I would love to see added.
“Eyes are the soul of the shot,” and I would love to see them add just a simple slider that will lighten up the eyes, nothing more, just a bit more light.
When I mailed Reblum with this request, I got a very quick reply…. “working on it.”
Conclusion: Do I like Reblum skin retouching?
The market for plugins is overwhelming, and
I’m pretty sure there are more solutions out there.
For me, Reblum is interesting for the way it can speed up your workflow. Especially when you shoot events and have to work through hundreds of shots. This will shave off hours or make it possible to deliver much higher quality photos to your client, simply because now skin retouching is a press of a button.
Another thing I really like is the one-time buy and get a lifelong license idea.
Let’s be honest, we already pay a lot o
f money to listen to a streaming service for music (where you can also find my music), and also watching TV and movies is getting more expensive by the year.
The thing I really hate is paying for plugins. I have no problems with the Creative Cloud concept; you get a boatload of software for a price that is a LOT cheaper than upgrading every year (we did that in the past, and trust me, that was painful). Both Apple and Adobe deliver a lot of goods for the money.
But paying for every photo, simple plugins, or one piece of software really has to stop!
OR give the option for a lifetime license.
Reblum runs locally, so no Ai us used to train on your photos. You don’t have to buy credits, and you can choose a subscription or a lifelong license for use on 2 machines.
For me, this is the perfect mix, and I’m using the lifelong license.
Now, as with most reviews of software, the software was gifted to me, but I would also have chosen the lifelong license.
So, if you are working with boatloads of photos and want to have a simple but great solution for skin retouching, I think Reblum will fit your needs perfectly.
But also, if you’re like me, working on 1 photo at a time speeds up your workflow, and the results are good enough for publication. For high-paying jobs, I would do a proper check and some extra retouching, but with most budgets nowadays, this works like a charm.
You can download a trial version from their website.
If you use our link when buying, you also support our work, and you get a cool 20% discount.
As always, the review is done 100% without input from the manufacturer.
I’ve also declined two reviews this week of software that I liked but did not stand out.
I try to only select products to review that can really add something to my and your workflow.
 But there is one more design change that will make a lot of people really happy.


 You can get the Platypod products in our webshop at