A room divider
A room divider is loads of fun
We all know that you can mount light shapers in front of your strobes to manipulate the light.
However, you can also use materials or objects placed between your subject and the light to create unique effects on the set or on your subject.
The key thing to remember is that the “sharpness” of the shadows is determined by the distance.
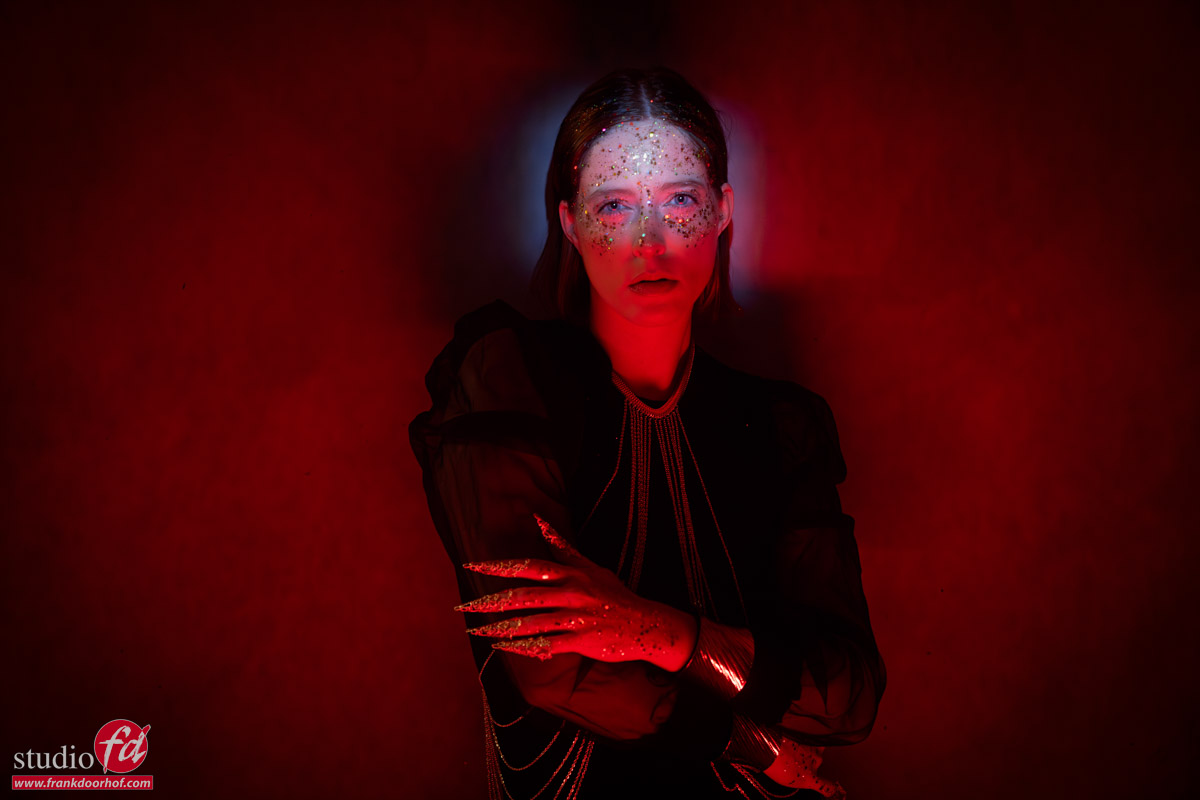
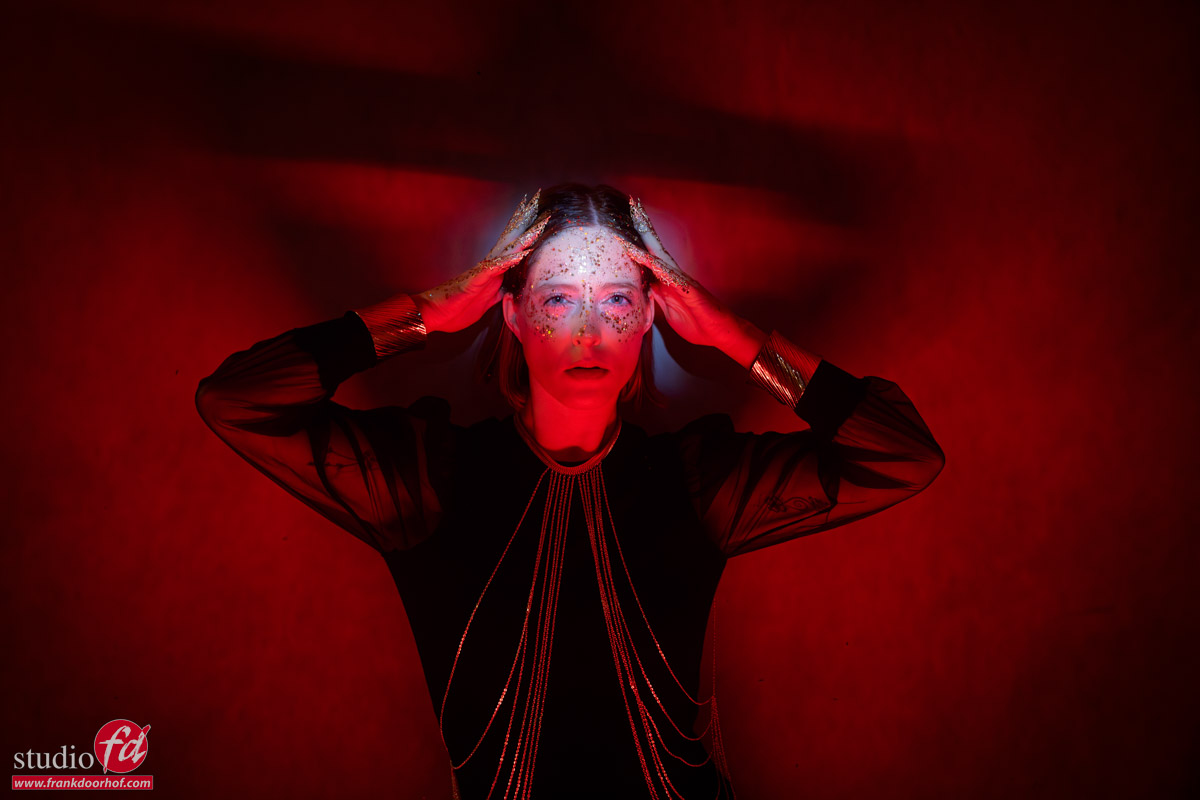
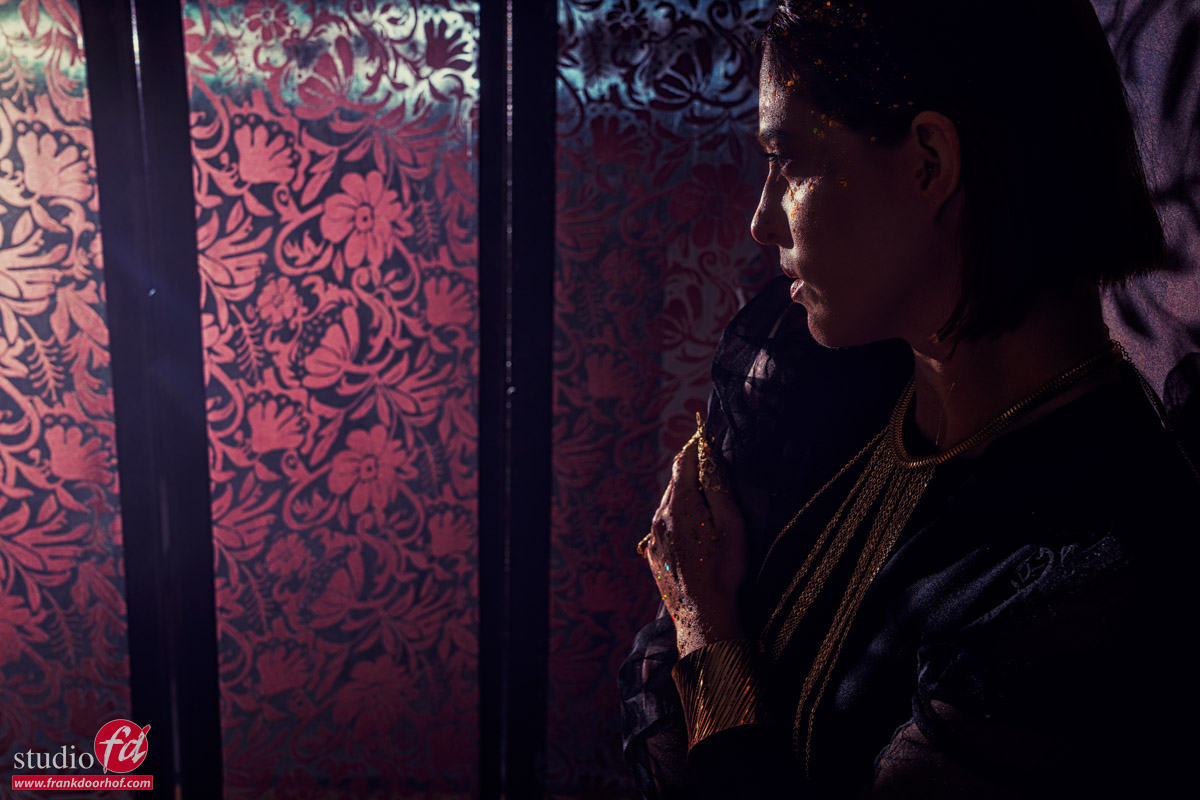
In this case, we use a room divider in our set to create some cool shadow effects on both our model and the background.
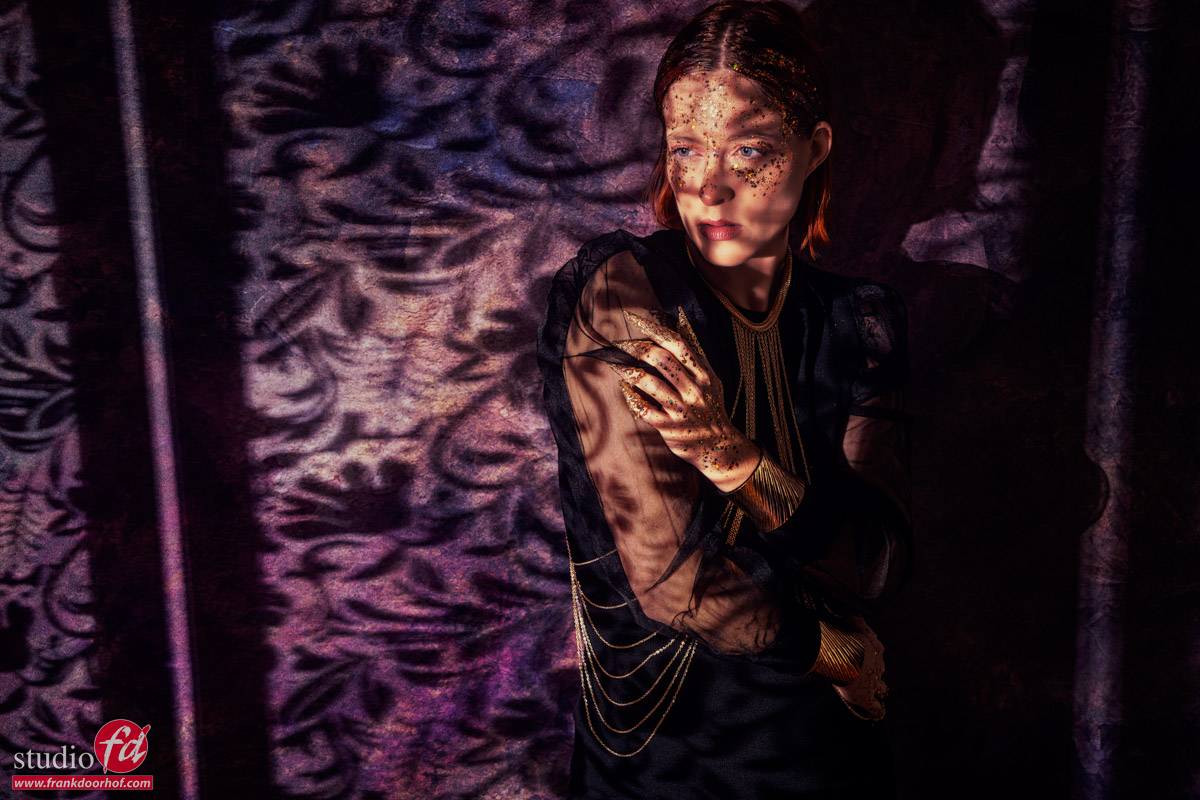
The key to a setup like this is, as mentioned, all in the distances. Begin by placing your light source as far away as possible and use a snoot with a grid or a reflector with a very tight and thick grid.
We want to ensure that the light is not spilling over but is focused on the room divider.
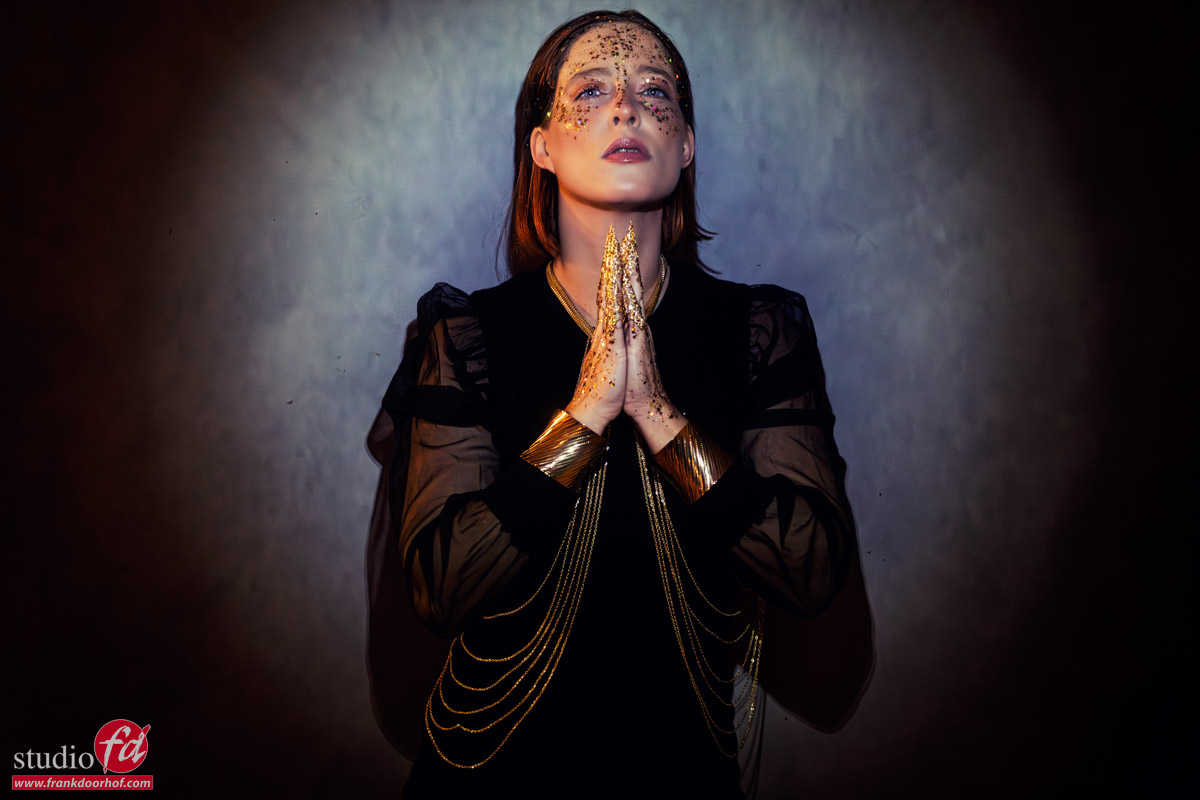
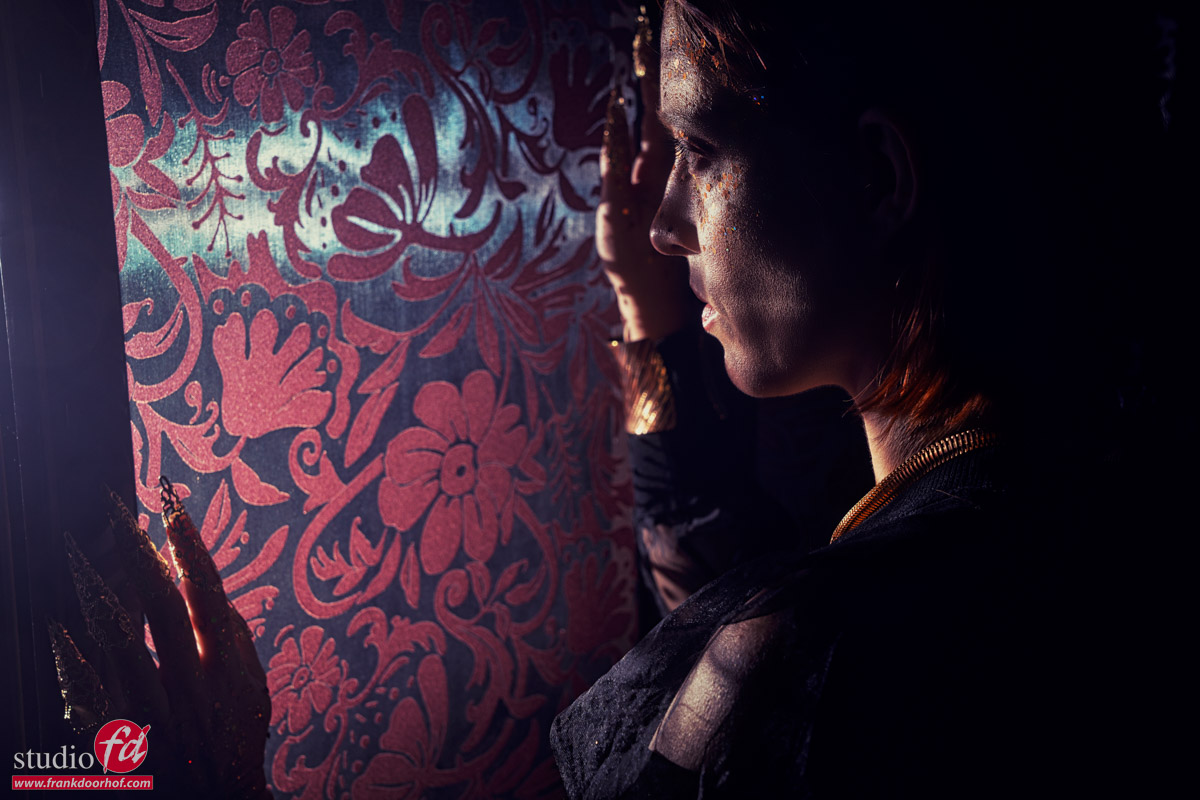
The “sharpness” of the shadows can be controlled by moving the room divider closer or further away from your subject. When you move the room divider closer to the light, the shadows will become softer and disappear a bit earlier on the background, moving the room divider closer to the model will result in sharper shadows that move further over the wall. As you can see, for this setup, I’m using the divider very close to the model.
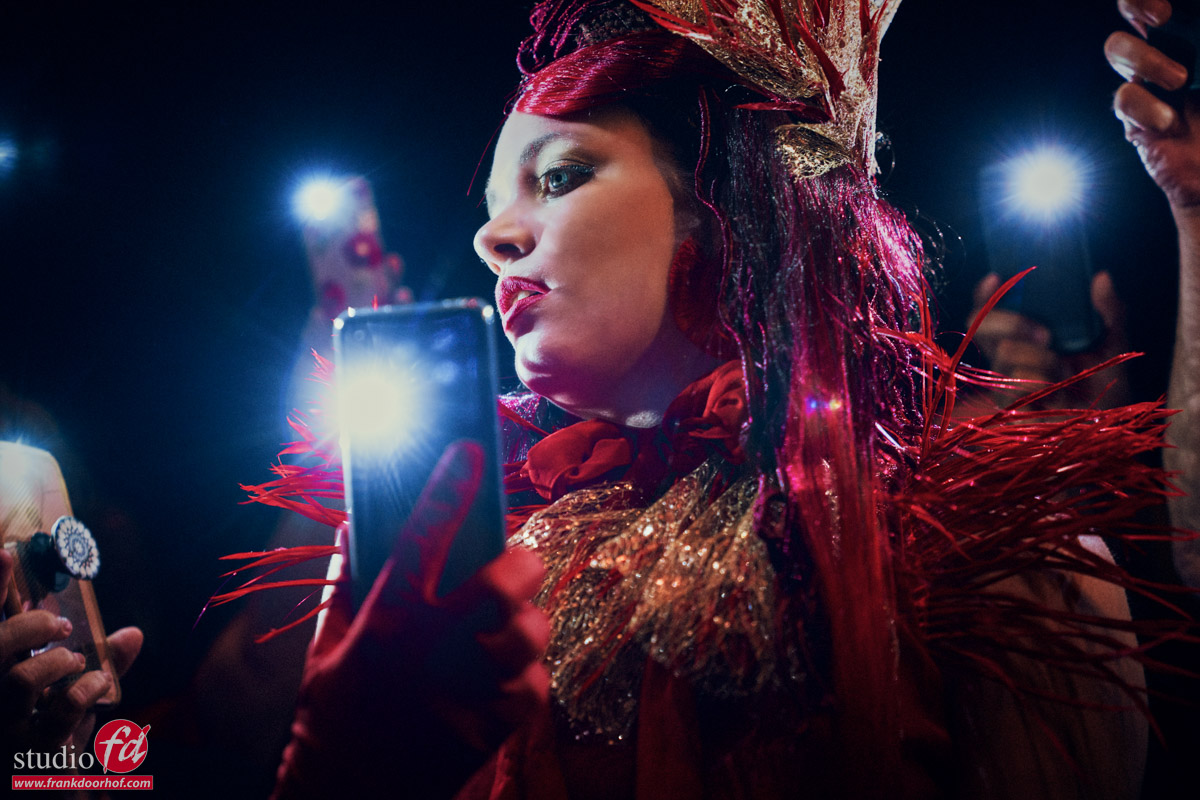
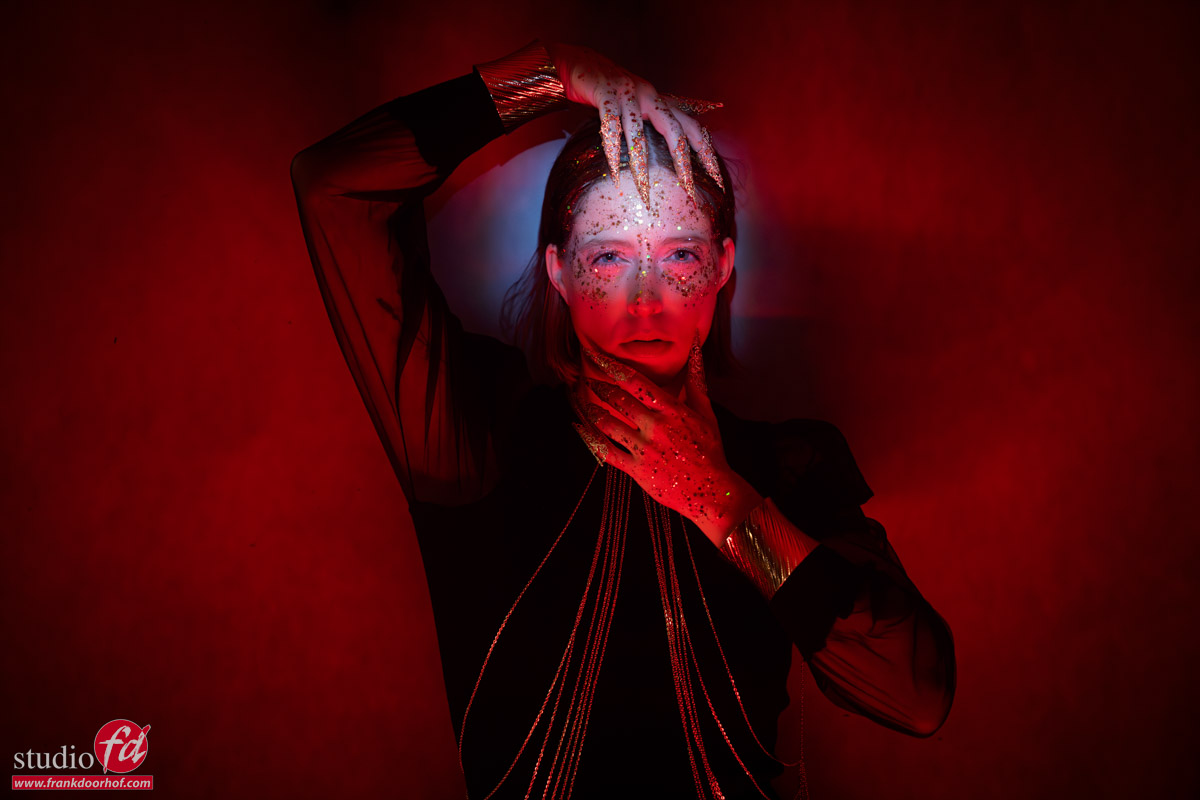
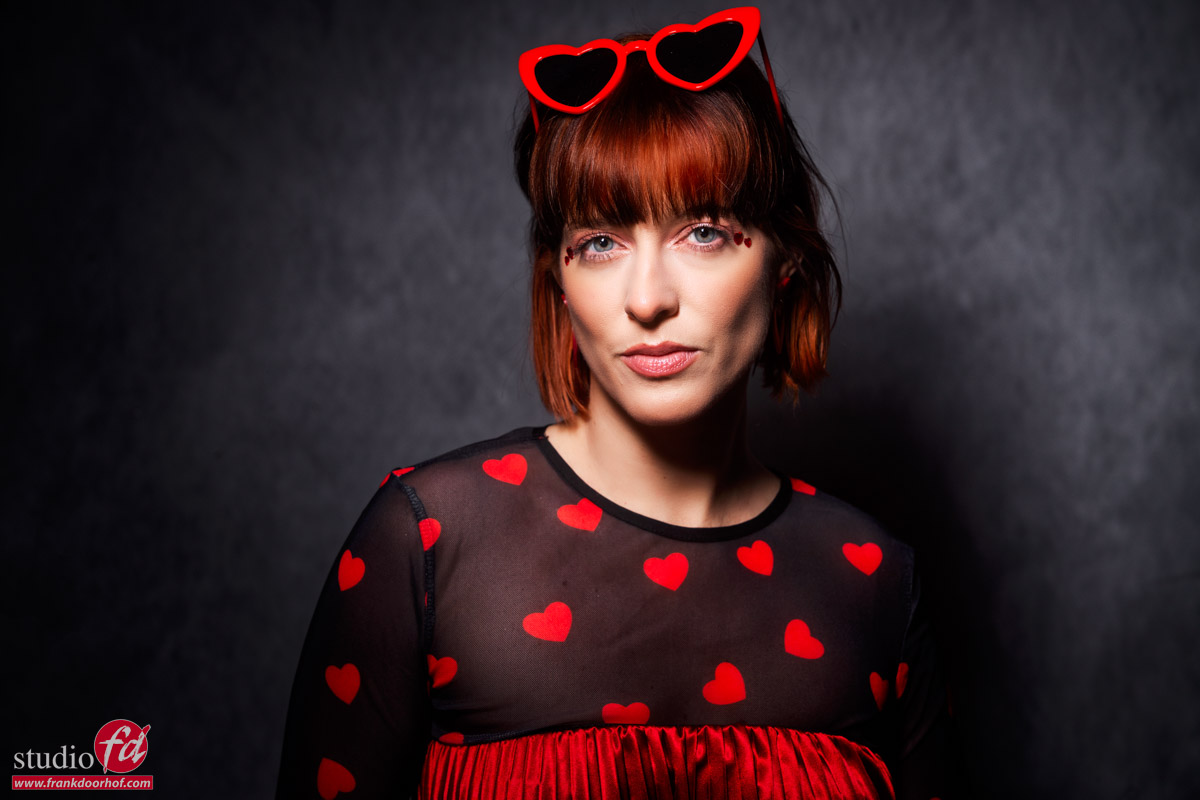
Don’t stop me now….
“I’m having such a good time”…
This should always be your motto during a photoshoot.
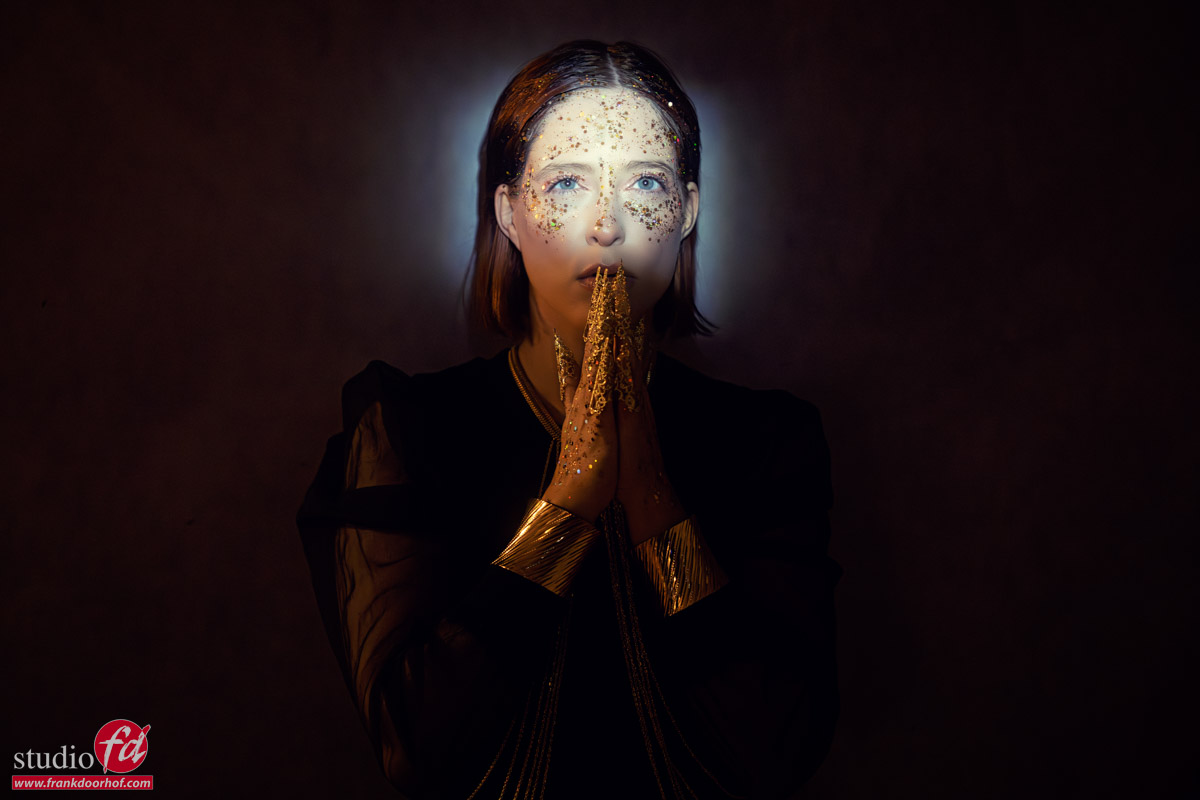
Whenever you believe you’ve captured the perfect shot, don’t hesitate to experiment a bit further. In most cases, this can involve simply changing the angle or, as in the case of using a prop like our room divider, you can always find a different way to incorporate it into the composition. In this instance, the solution is to… well, let’s just say, choose a different angle.
See the whole class
Hopefully, you’re interested in learning how we shot, edited, and prepared this video. This is just one of the setups you’ll find in my brand-new class on KelbyOne. You can find the class here:
https://members.kelbyone.com/course/frank-doorhof-special-effects-simple-materials/
If you enjoyed this class, be sure to explore my other classes as well. Lighting setups are just one aspect of a photoshoot; it’s also about storytelling and creativity in lighting and color.