Oh wow, we love this location!
Is what we hear from a lot of people when they visit our area.
And indeed, we live in a pretty nice area of the Netherlands, but there is one period that is always extra special: Tulip time. This blog is about lighting a model in tulip fields
Now, in all honesty, I’m not really a flower kind of guy, meaning I don’t feel the urge to jump on my bike and start shooting some tulips.
We did it in the past, but I’ve grown up in this area, and somehow you get used to it, I guess, and every time when I think “I have to do something with a model…” well, they are gone already.
Maybe you know the feeling.
So when Claudia approached me to do a shoot in the tulips, I had my excuse.
Location, location, location
If you graduated from a commercial school, you probably know this expression.
Location is everything. And locations enough you might think, but that’s a bit more difficult over here.
Don’t be an a$$
When I was younger (than today), you could just walk into the tulip fields and take some pictures, and sometimes you could take 1-2 tulips for yourself. There was no real problem.
Over the last few years, everything changed. I don’t have to tell you how messed up the world is, but also in smaller areas, this is felt.
The tulip fields that were open to the public for a few years are now protected and illegal to enter.
Why? You might ask.
Well, because a lot of people don’t realize they are a guest on someone else’s territory, working with something (the bulbs) that person has to sell to feed their family.
Over the last few years, tourists and visitors have been misbehaving like “beasts,” just jumping around in the tulips, lying in the fields for a photo, picking whole bouquets for themselves, and if someone would tell them “please behave,” most of the time, aggression is the answer.
So when we started to look for a location, it was a bit of a worrying experience, the moment you start about a photoshoot… well, let me say it like this.
PLEASE behave and destroy a good opportunity for others.
A special location
Moms are awesome (as we all know), but when they know someone, they are also saving your bacon 😀
This is how we ended up shooting at a beautiful location with loads of tulips.
Today I want to share some of the images we shot there, and in the next blog, we will take you behind the scenes during this special photoshoot.
But let’s start by taking a look at the shots and how I shot them.
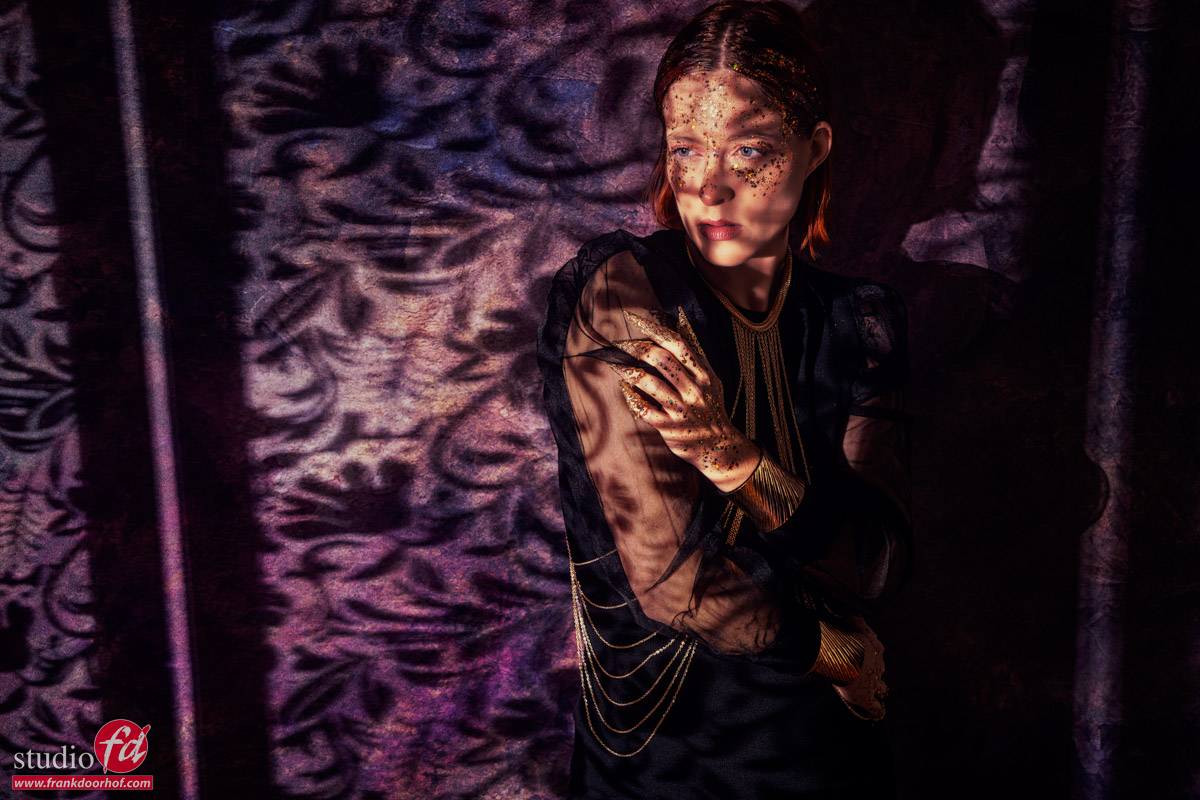
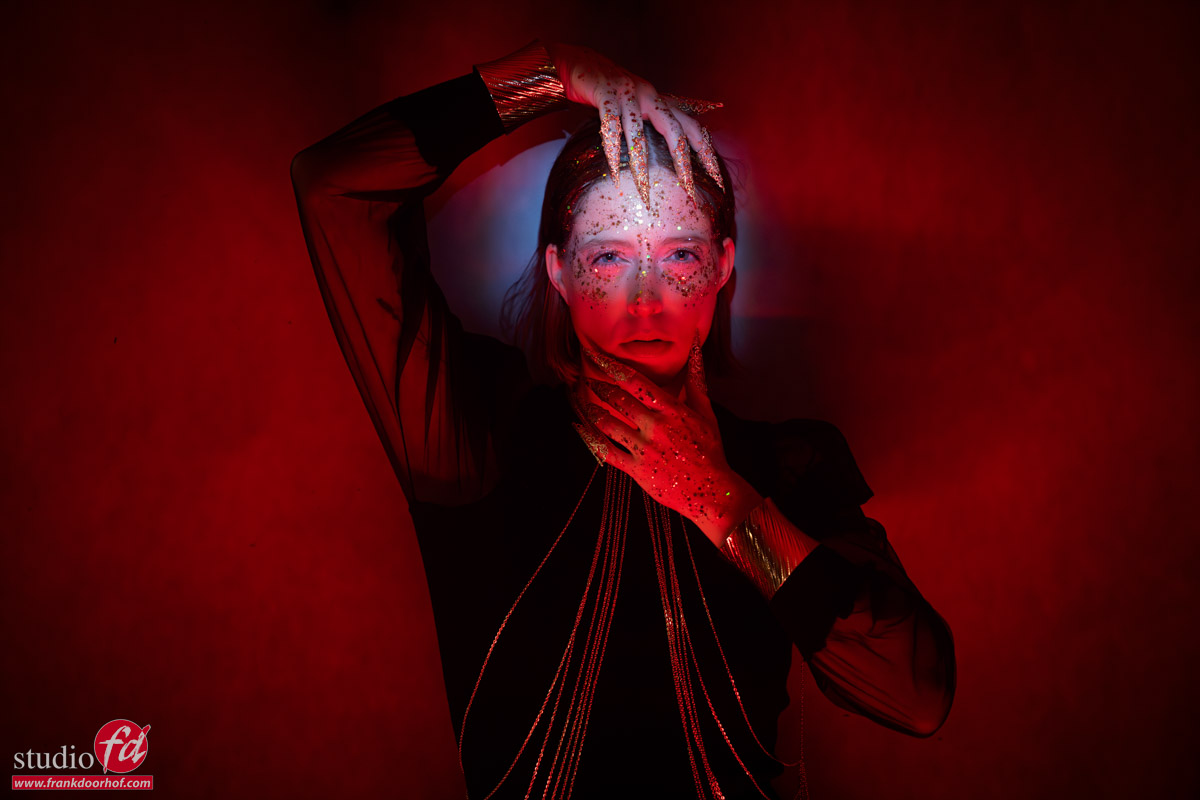
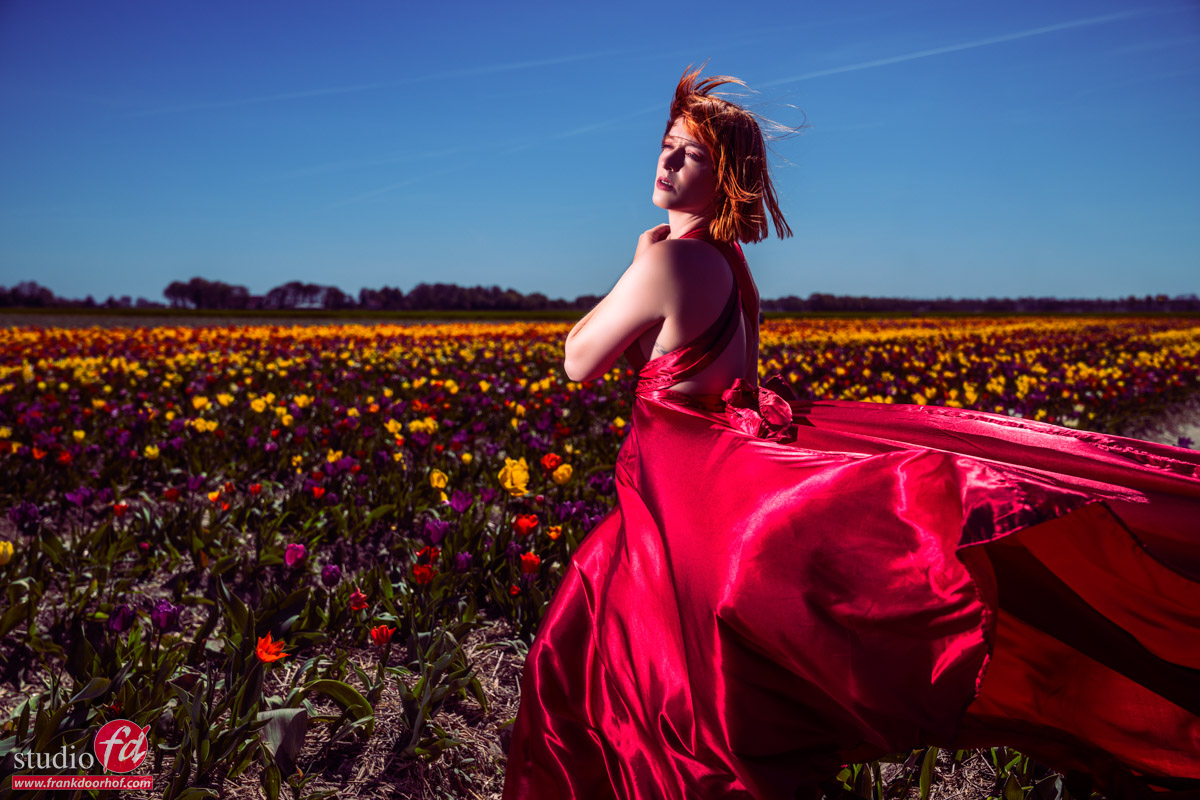
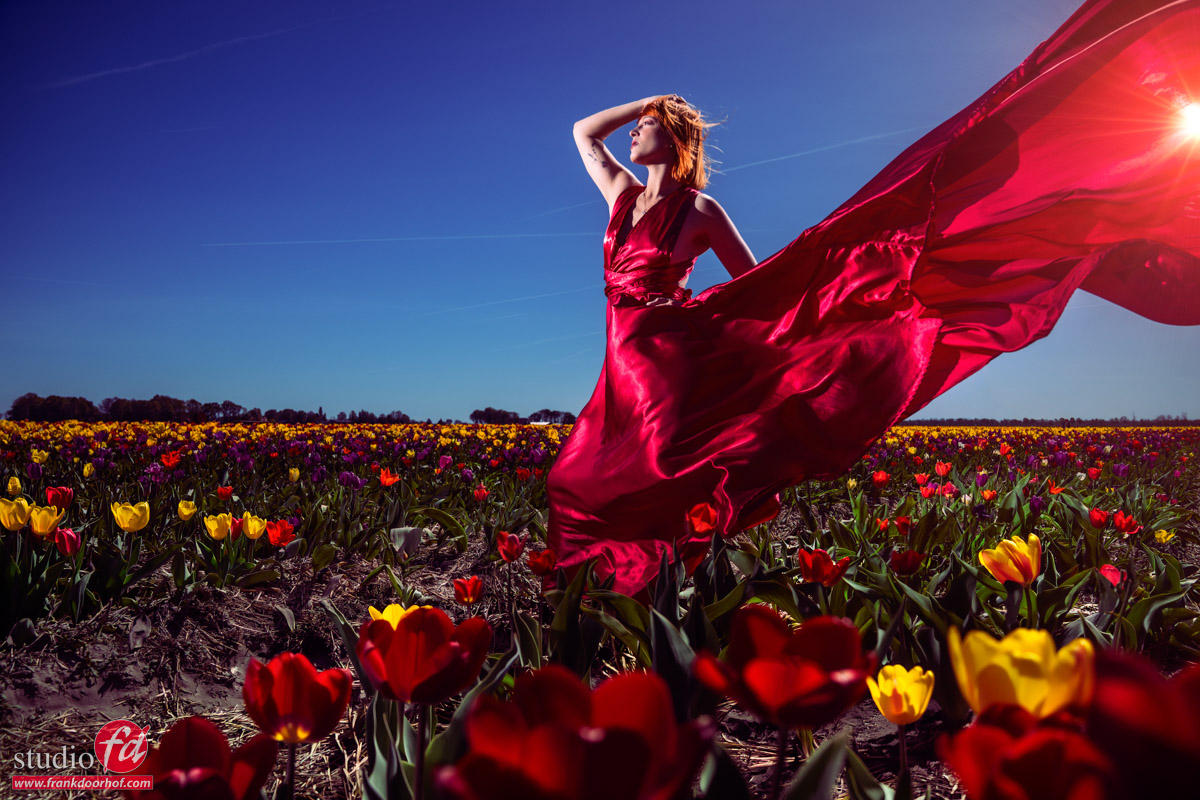
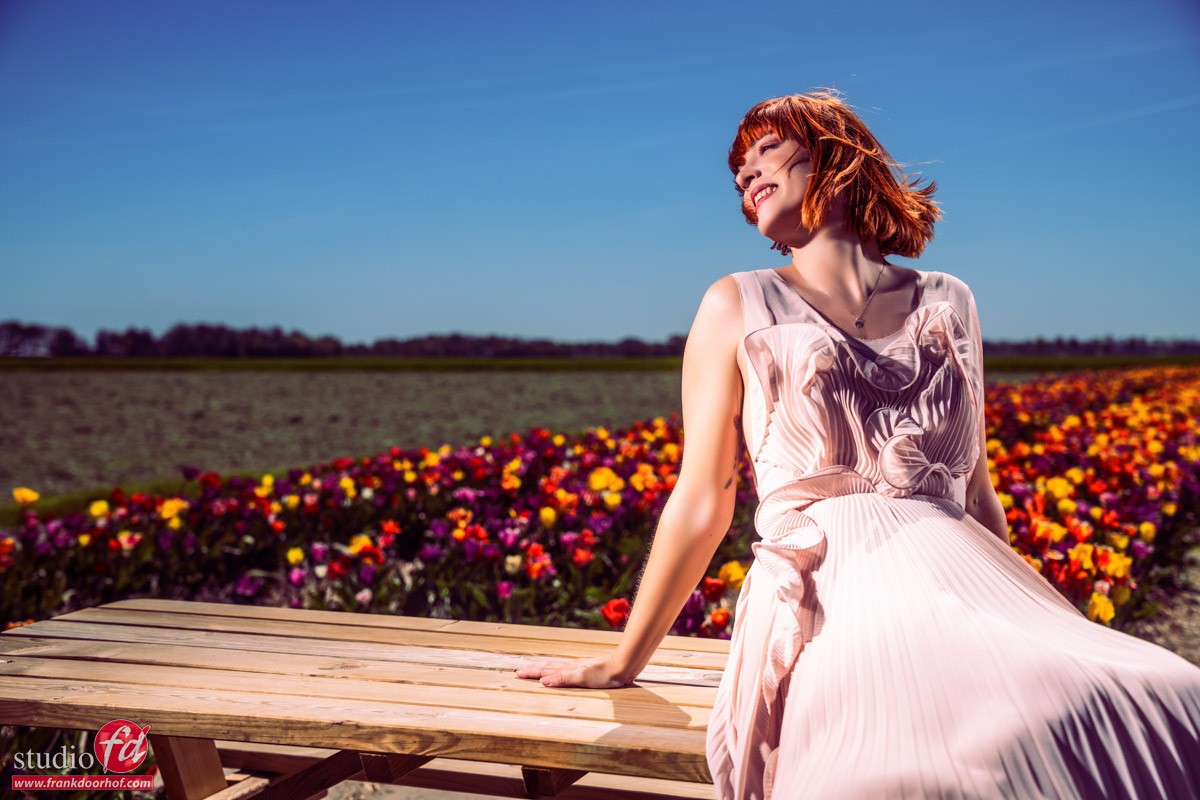
Set 1: Combining natural light and flash
For the first set, we decided to use a nice red dress.
The idea was to throw it in the air and create some “motion” shots.
However, it was incredibly windy, so we didn’t really need a lot of extra motion 😀
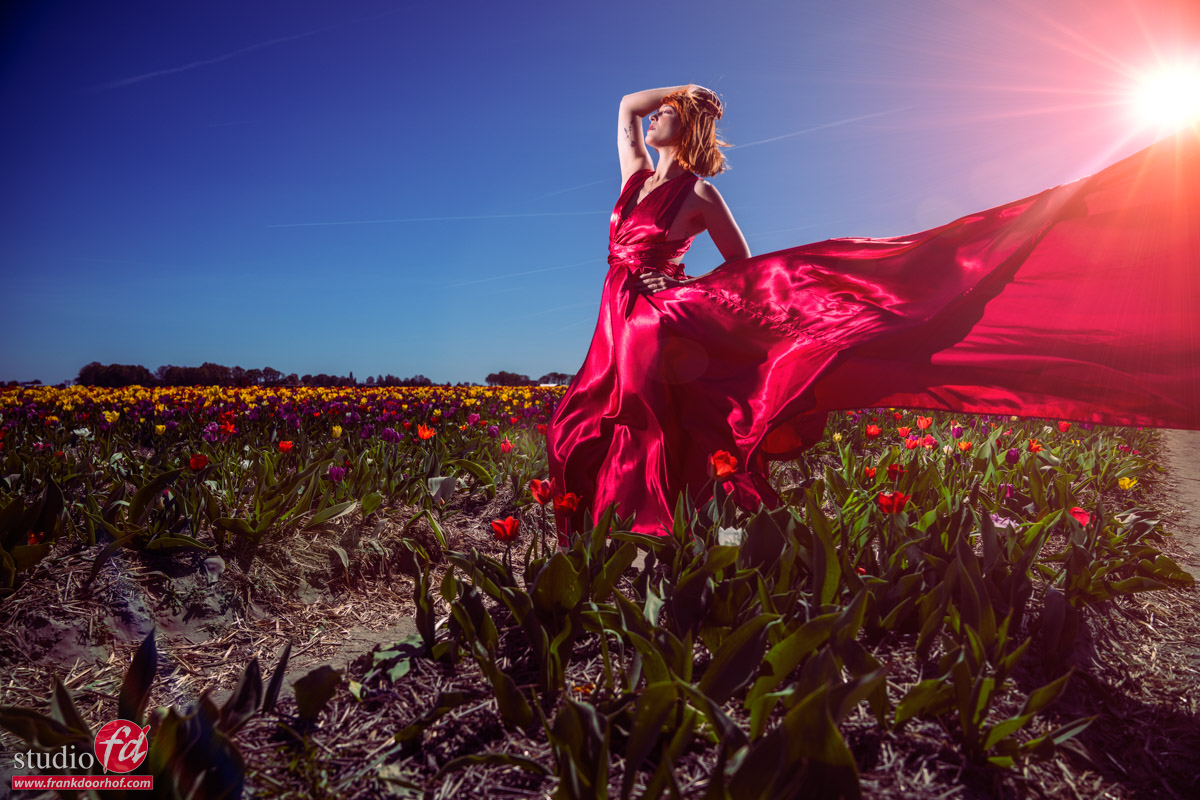
Lighting-wise I’m using one Geekoto GT200 with the Nanlite Fresnel
And as an accent light, one Geekoto GT200 without any lightshaper.
Gear
The reason I’m using the Nanlite Fresnel is the light output.
The main advantage of hybrid strobes is, of course, the possibility of shooting at HSS. (high speed sync) meaning you can use a faster shutter speed and a more open aperture for a nice shallow depth of field, but still lower the ambient light.
Ambient light
The reason you want to lower the ambient light is simple.
One, it looks cool, but it also looks cool because the colors pop more.
On YouTube, I actually got a comment that I oversaturated the colors….
Well, believe it or not, but I did not.
The thing is, that as soon as you lower the Luminance of a color, the color looks more saturated. This is why those “day to night” shots always look so incredibly popping with colors.
A Fresnel adds some extra contrast to this without making the light too “harsh”, and it gives you a lot more light output than, for example, a small or large softbox.
I can HIGHLY recommend everyone to get at least one of those Fresnels.
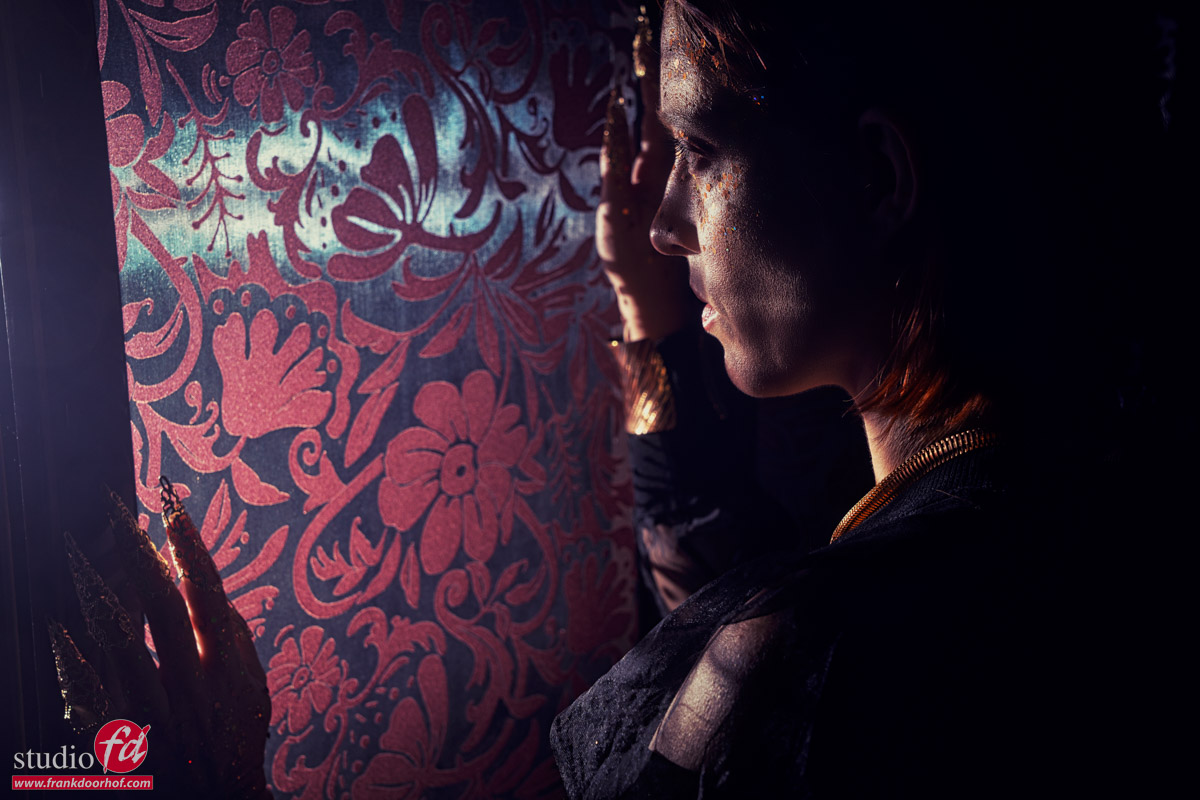
On location, I try to stay away from two things.
The first one is shooting the subject with the light too close to the camera. For me, this gives me a “glued-on” effect, which I find very unrealistic in most cases.
By placing the light slightly from the side, you get much more depth and a more natural-looking shot.
You can choose to shoot under the same angle as the sun. But in this case, I wanted something a bit more “surreal,” so I opted for one strobe without a lightshaper under the same angle as the sun (just lower) and my main light almost opposite of this.
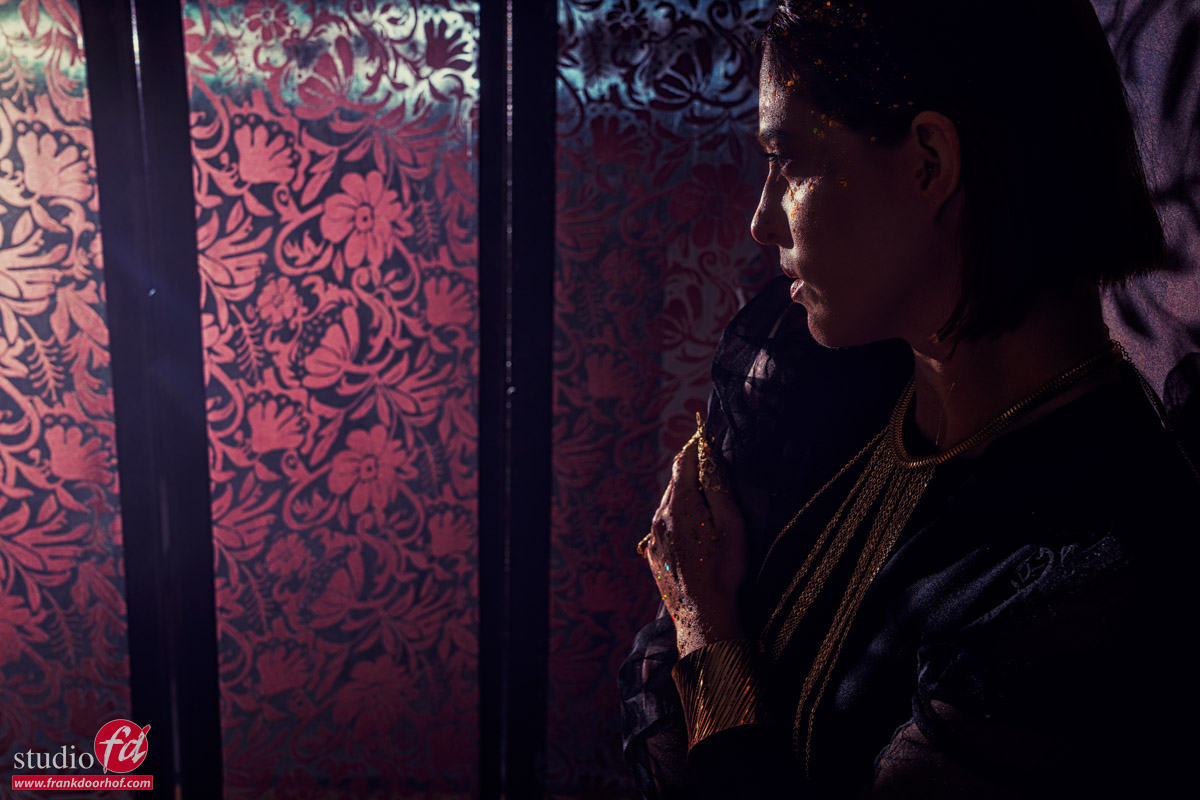
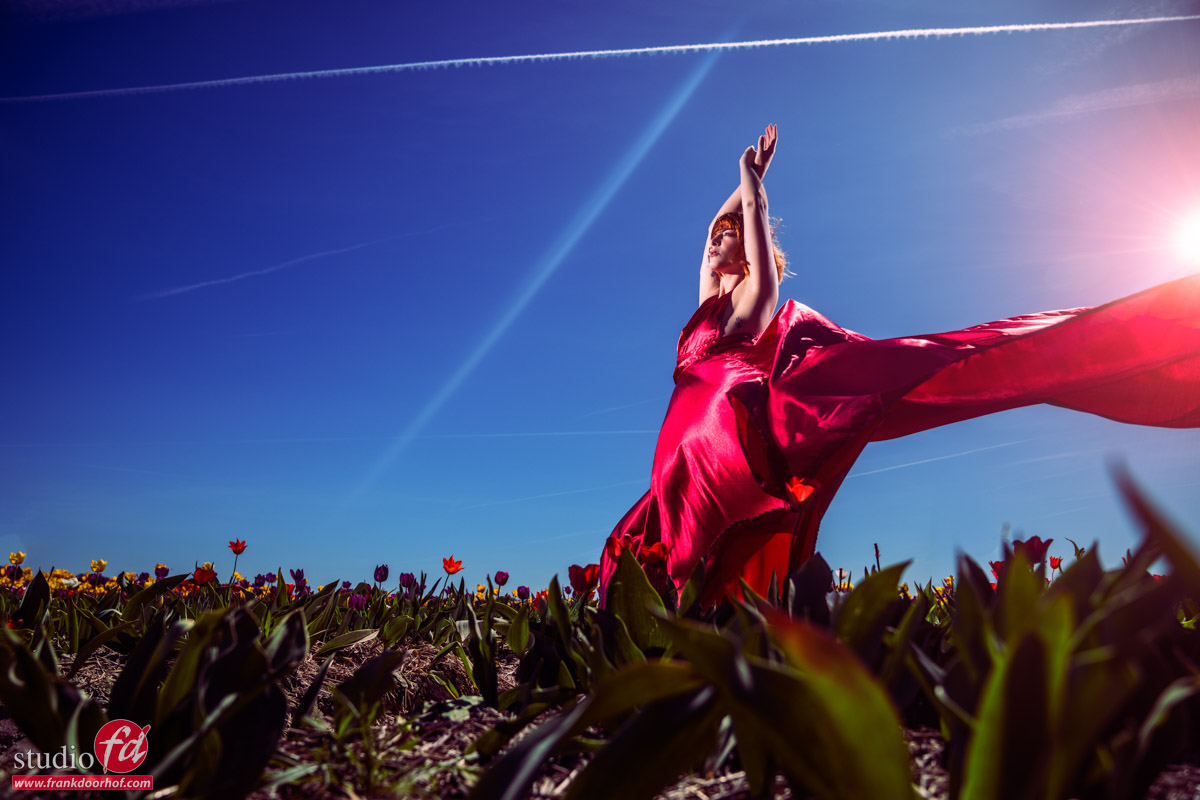
Of course the images on top are nice, but always try different angles.
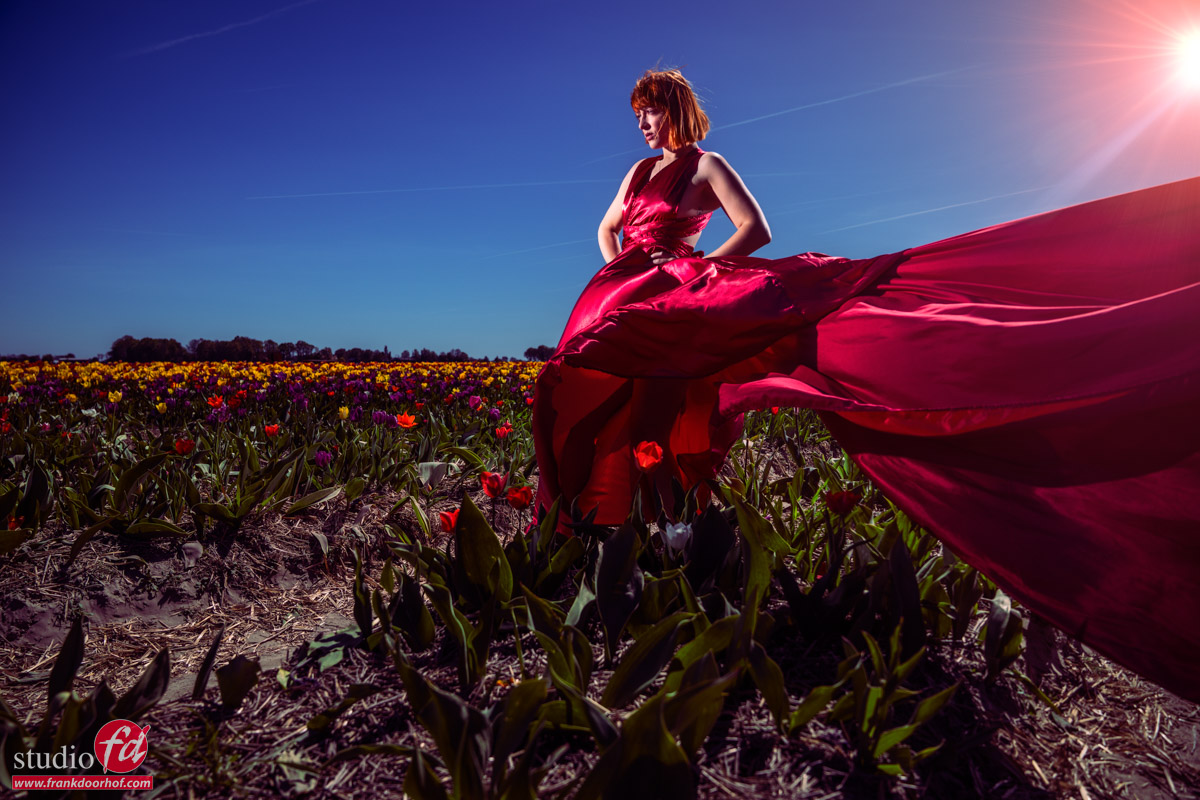
And of course, also some extra low angles.
For that extra special sauce 😀
Ai or Hi?
With all the AI (slob), it’s often hard to see what’s real and fake.
So I’ve decided, as soon as it became possible, to NOT use AI in my images, unless you see it clearly.
In other words, I’m using AI to extend backgrounds, maybe add some hair in a gap, etc.
All the stuff you would normally do with the clone or healing brush. It’s just faster.
For me, it’s super important that the shot comes out of the camera and not out of the computer.
Which doesn’t mean I never use it…. I love going full AI with Cosplay shots, for example.
Let me say it like this: if I use AI, it’s VERY clearly seen.
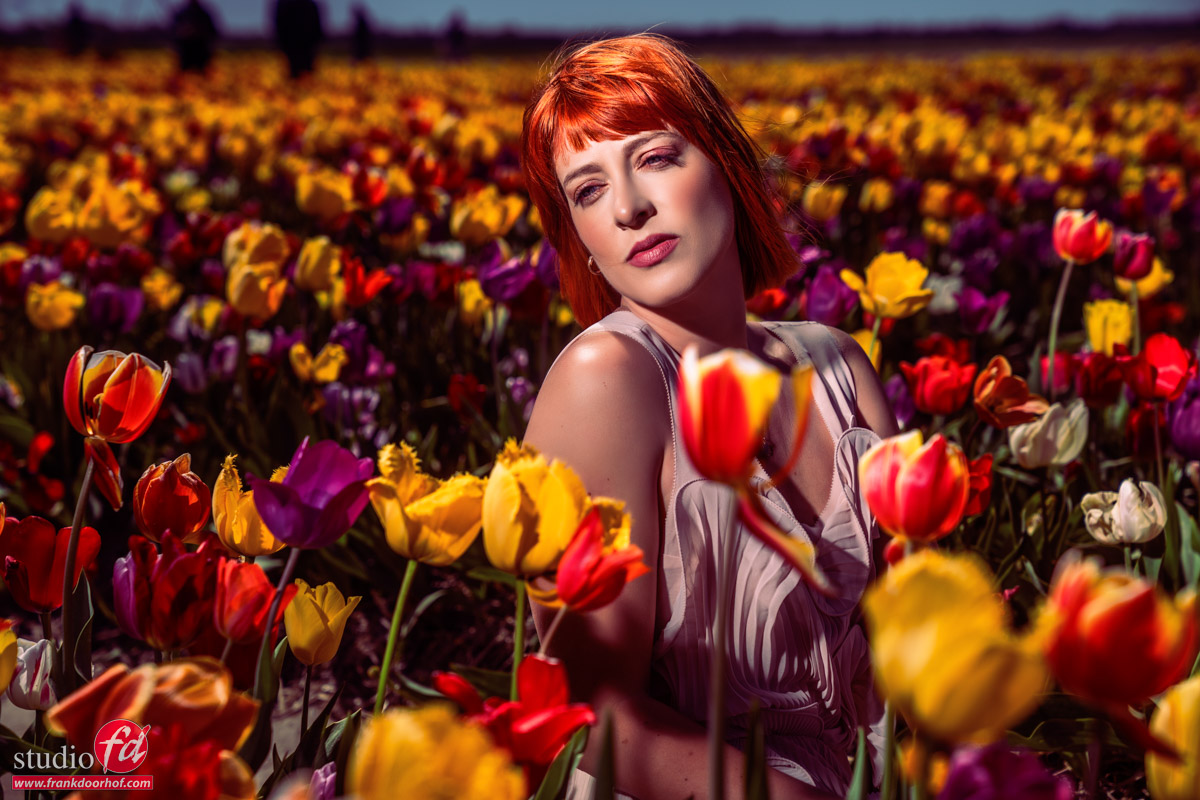
So when Claudia asked me to add some tulips in the front, I was a bit like “well, yeah, but…..well, ok, I’ll do one.”
And that turned out to be this one.
As you can see, it looks great, and that’s why I mention it’s AI 😀
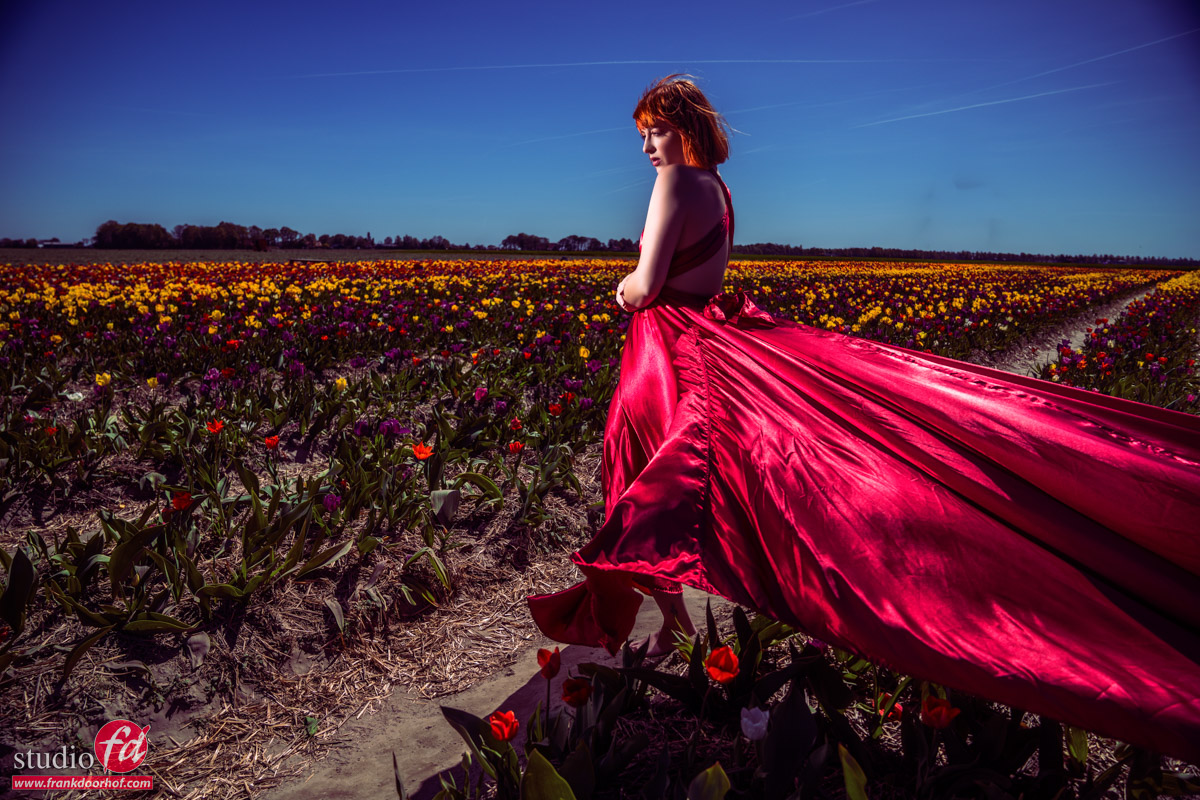
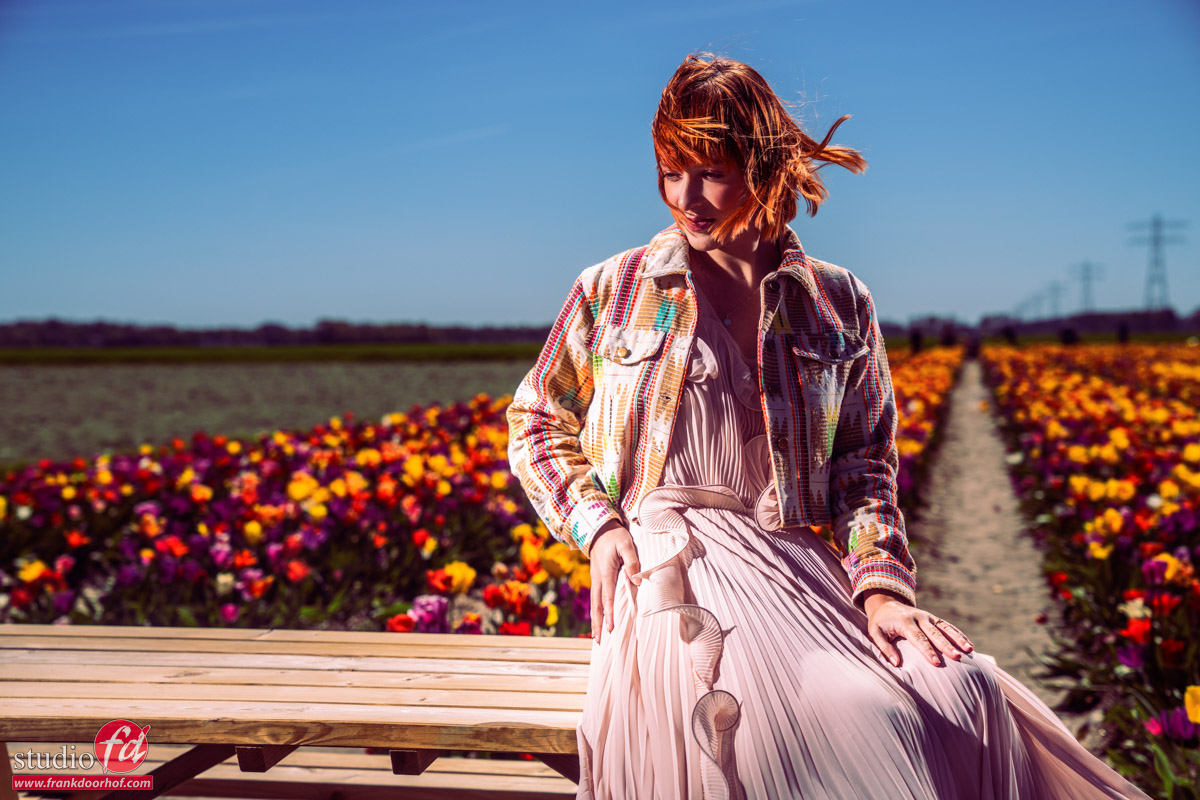
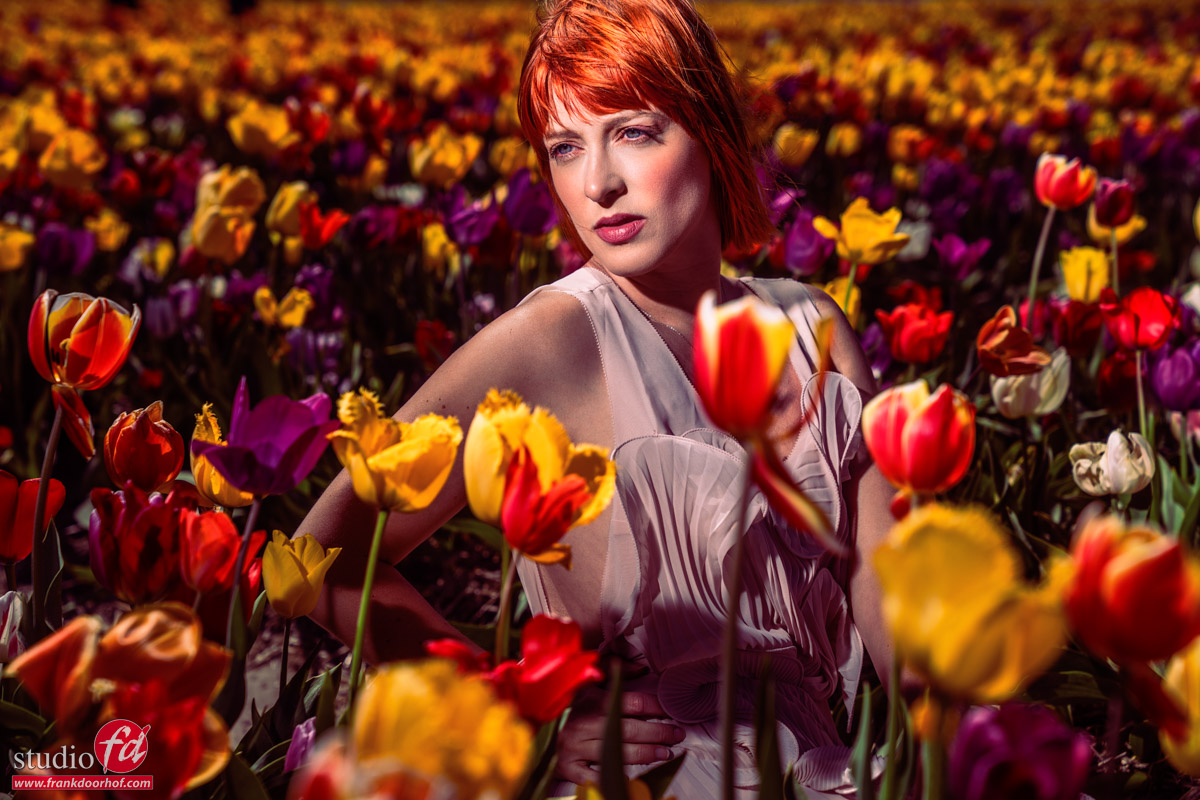
Set 2: Fashion shots
Scouting your location is always a key element.
Find different angles and locations before you start your shoot, or while the model is changing clothes.
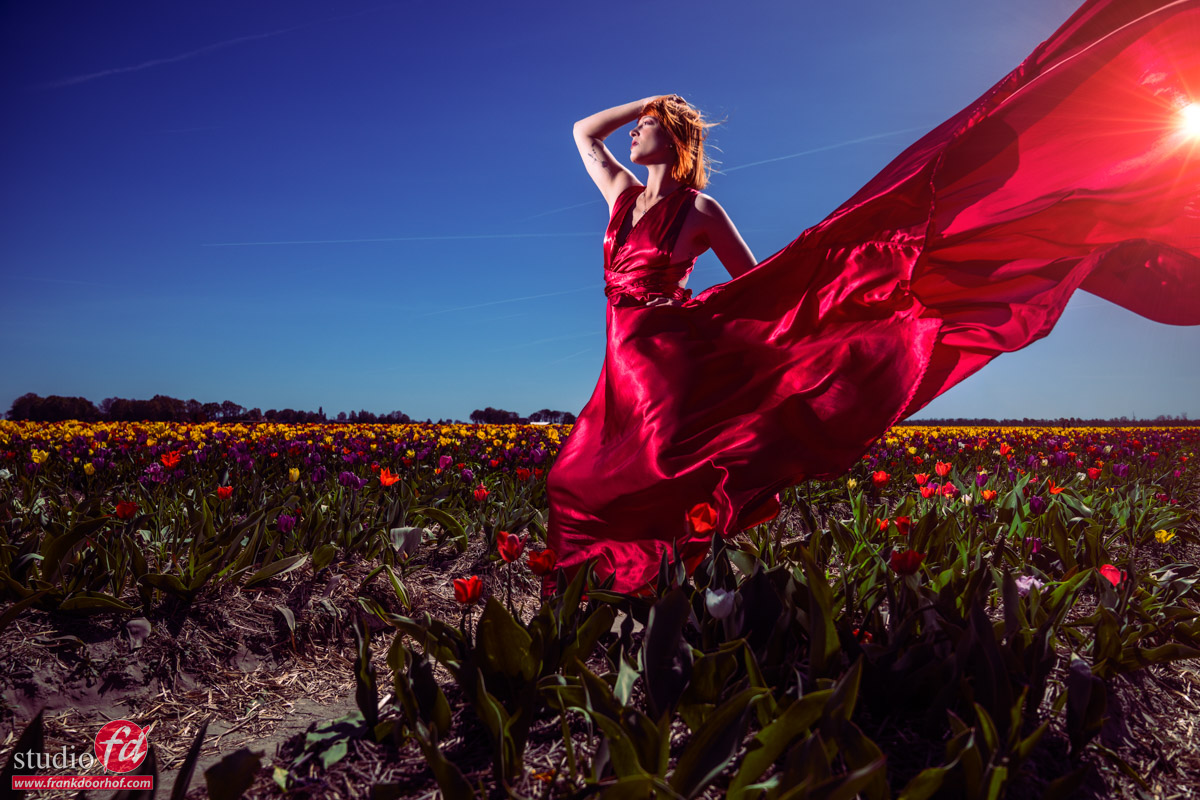
For the second location, I’m using the same setup but with a different balance.
We did bring a Geekoto Quicky softbox (one of my favorite light shapers), but we did not use it due to the strong wind, and I actually liked the Fresnel a bit more in this setting.
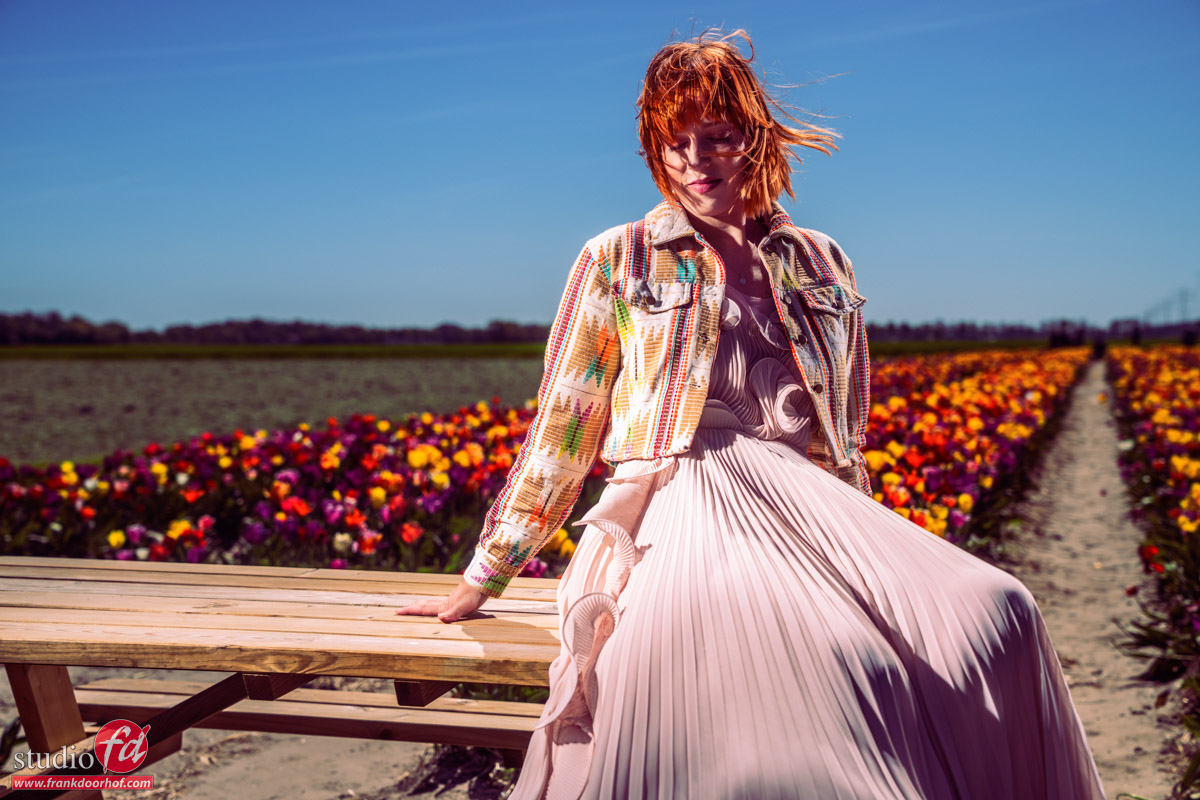
Also, in the second location, we of course changed some angles and clothing.
It’s easy to make small adjustments, but I think it’s a vital part of your shoot if you want some different options to choose from.
Sometimes you shoot something on location and think you shot the best images ever, only to come home and, to your horror, find out you don’t like the angles or the clothing choice.
Of course, this never happened to me 😀
In fact, in the car back, I actually thought I messed up some of the shots that later on became some of my favorite ones.

Set 3: Portable power, lighting a model in tulip fields
It’s no secret I love low angles, so for the last set we asked Claudia to sit on the ground.
You have to realize that tulips are planted in rows, and you can see on the images.
This also means that if you shoot under one angle, you will see the rows, but if you shoot from another angle……
I absolutely love these images.
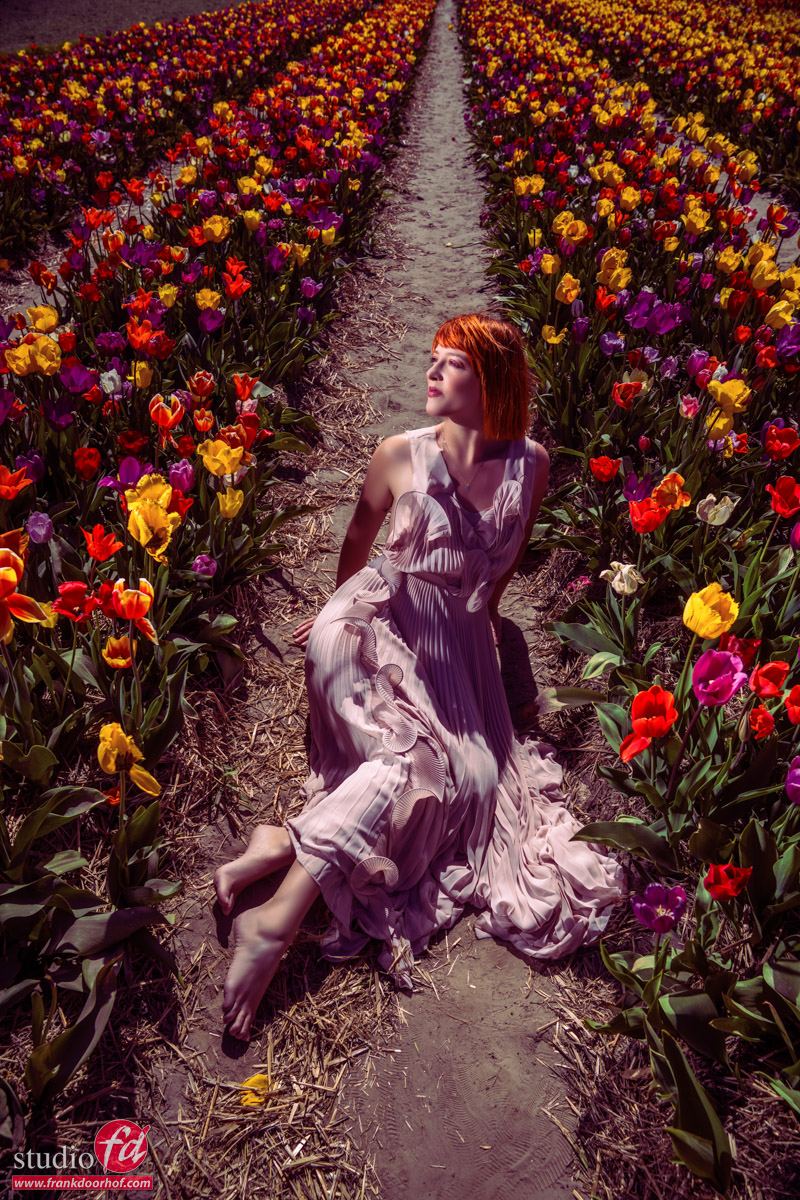
But when we shoot it like this….
We also of course had to shoot it in the other direction.
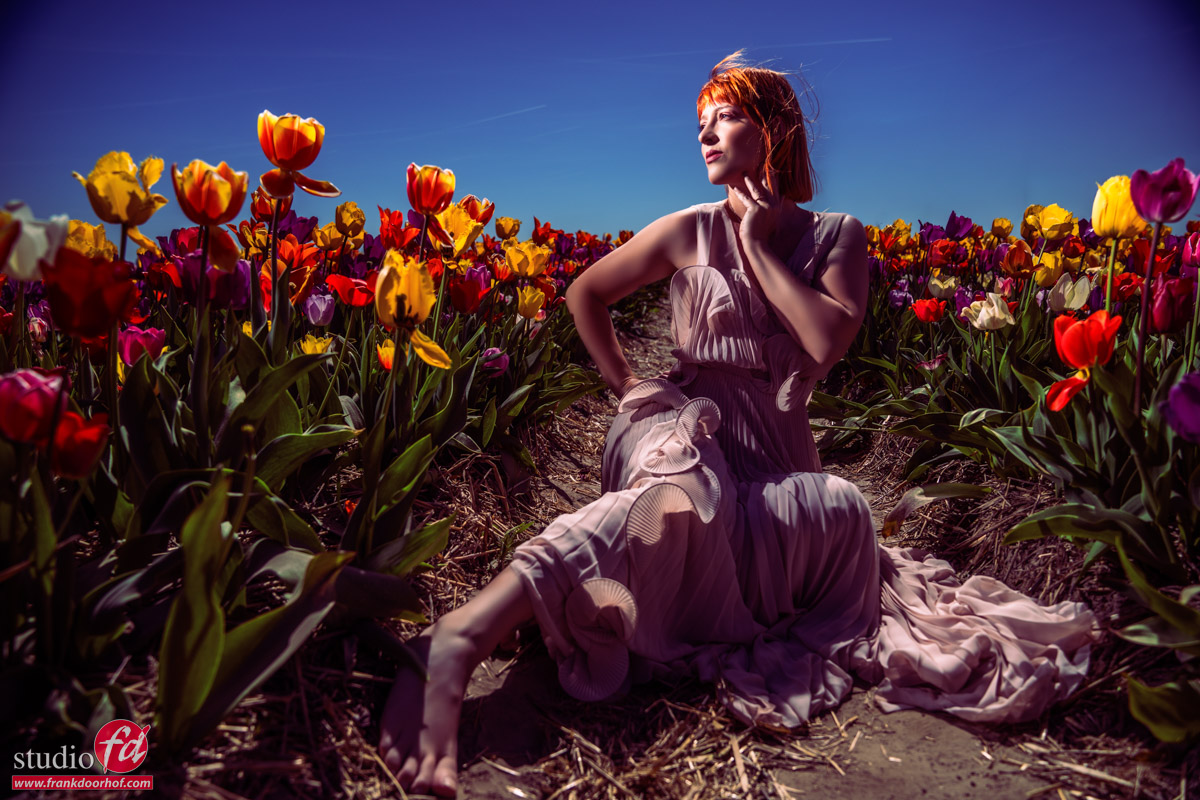
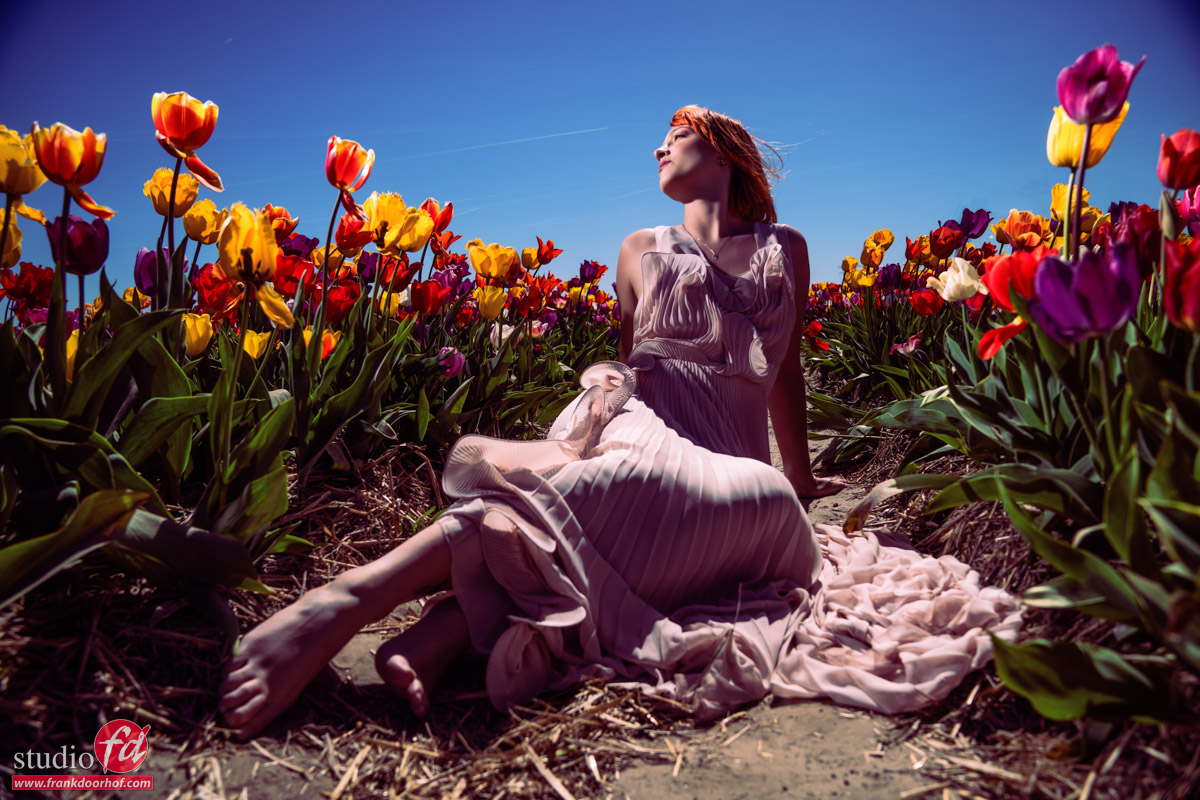
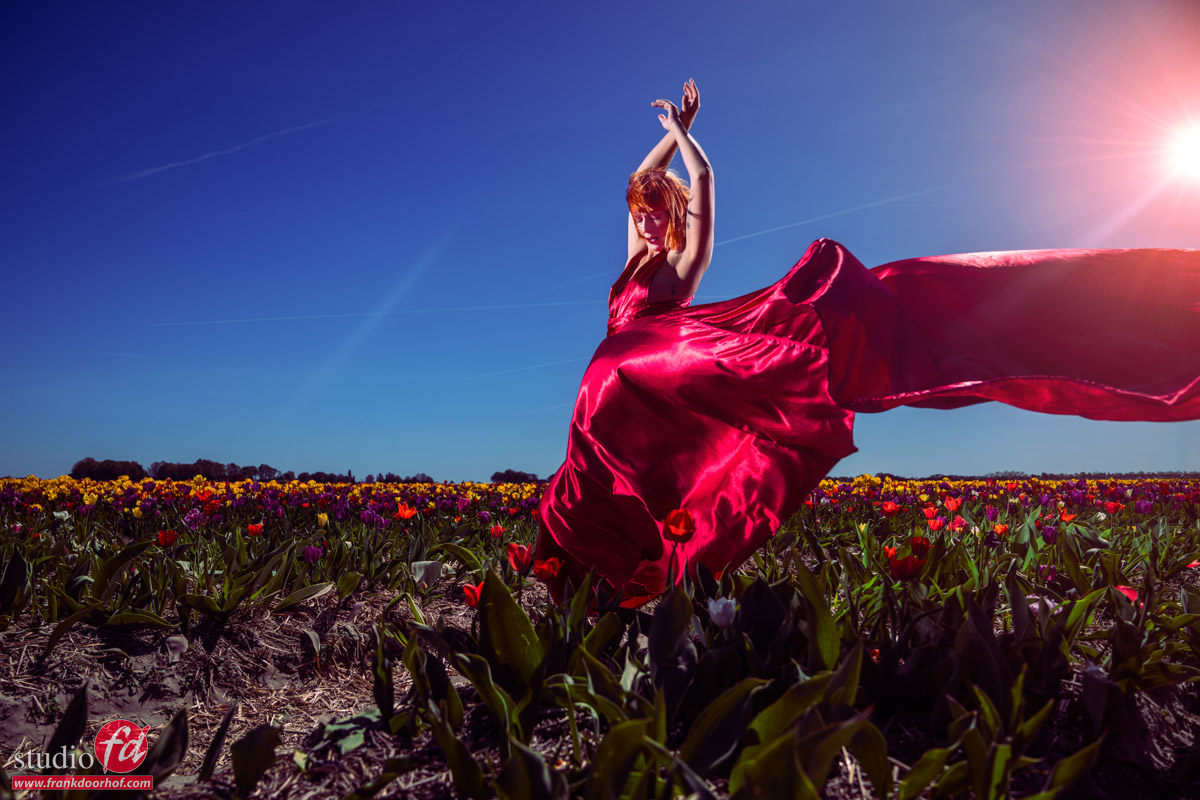
As you probably also know, I love the landscape mode.
It gives the image a lot of room to “breathe”.
I would actually love to call “negative space” “positive space”, because it does so much good for your images.
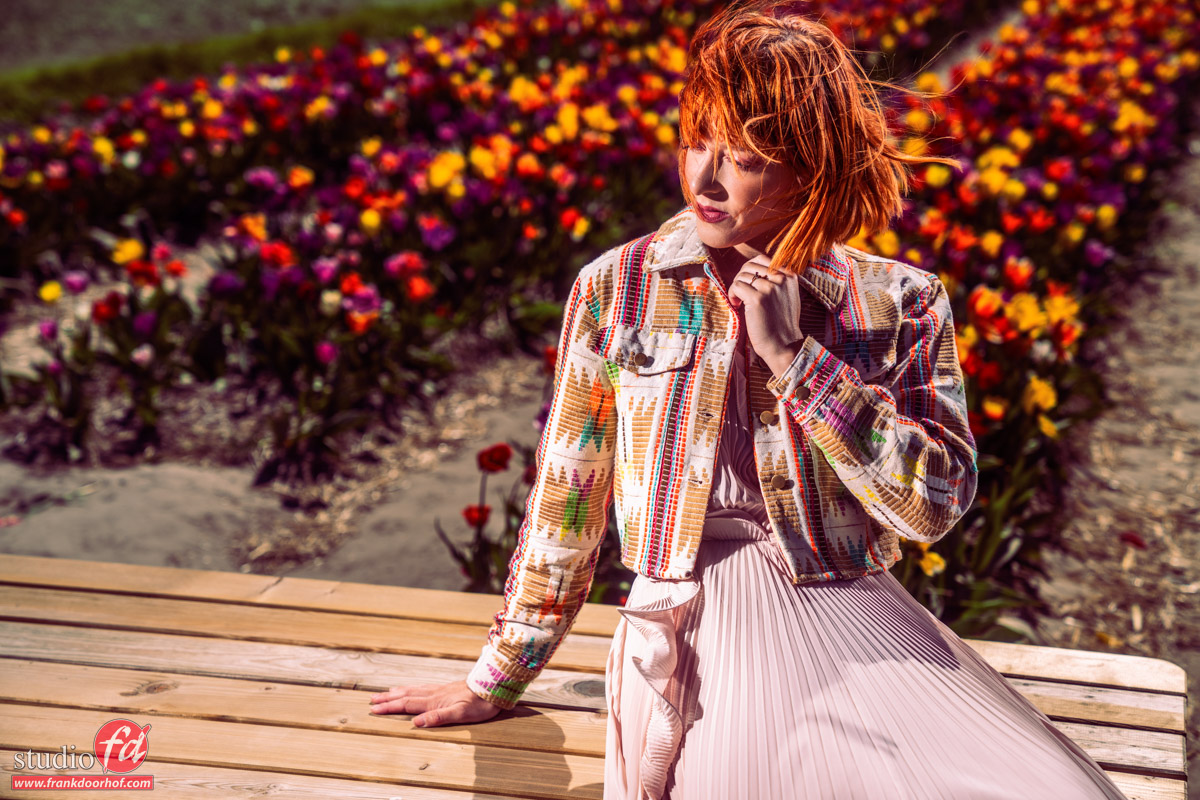
But sometimes, portrait mode is best.
Although I love all these shots, I think this last one is my absolute favorite from this session.
Conclusion: portable power, lighting a model in tulip fields
I hope you enjoyed the photos and the technical info.
But I hope the best tip you got from this article is to behave on location. The reason we have strict (drone) rules and can’t shoot on tulip fields anymore has nothing to do with the “law” but with people who did not behave, and they had to restrict the possibilities you have.
So if you shoot somewhere, make sure you have the proper permissions.
And lighting-wise.
Always make sure you bring spare batteries (HSS in the bright sun eats batteries), and when it’s windy, a light shaper like the Nanlite Fresnel is great.
And when you use softboxes or umbrellas (which I would highly advise against in windy sets), make sure you use sandbags on your stands.
See this blog about: Using the foreground to add dimension to your images, a workshop outside with pregnant Nadine
Check out this video when we first used the Geekoto Flashes