A step by step workshop with Nadine and using Geekoto strobes outside
Workshop outside with Geekoto strobes
What do you teach?
Probably one of the first questions people ask when they want to know more about my workshops.
And let’s immediately take the bull by the horns. It sometimes seems everyone is teaching workshops and the quality is often not what people expect. A guided photo shoot is NOT a workshop. I’ll teach you lighting with Geekoto strobes (but any brand will do). Continue reading more about using Geekoto strobes in a workshop outside.
For me, there are a few things important during the workshop.
- A small group
I love to work with groups varying from 3-12 attendees. This way I can give a 1:1 experience to all the attendees and we all have enough time to shoot portfolio material. - Theory
Knowing how the light works is essential and will immensely help you understand what happens during a shoot. How to place the lighting quickly and solve problems. In essence, lighting isn’t that hard (no really), it’s the creativity and getting the right shot that’s an everlasting journey of learning. - Creativity
The theory is essential, but after that, it’s all about creativity, how to style a set, how to find the right angles, how to coach the model, etc., etc. this is in essence what makes or breaks the shot - How to work with the model
You can’t take a perfect shot (if that’s even possible) if the model doesn’t feel at ease, so during the workshop, there is always attention to coaching the model and also how to prepare for the shoots. - Workflow
Understanding your gear and software takes away so much stress and means you can focus 100% on the session and your subject. - Q&A
Believe it or not, I hardly prepare my workshops, but I’ve taught a lot of them over the years, and at the moment I start all the workshops with a Q&A. In this part, the attendees can ask whatever they want. I will answer the questions immediately for the theory part and create a set (or make it part of the set) during the workshop. Do you have a problem with a white background? Then we create one set with a white background. This way attendees always get what they want and expect.
Themes of our workshops
All the workshops do have a theme.
For example, Cosplay, Classical Masters, Glamour, Gels, etc. but the content will be different every single time due to the Q&A which keeps it fresh and challenging for me but also for the attendees that visit several workshops a year.
One of the themes a lot of photographers struggle with is using strobes on location effectively.
So let’s take a look at the workshop “On location in Emmeloord” with Nadine.
All shots were done during the workshop outside with Geekoto strobes
During the workshop, we worked with the Geekoto GT200 and a large metal reflector for most shots.
These reflectors add some extra light output to the strobe which helps a lot outside when it is really bright.
On the second Geekoto GT200 I used the Rogue magnetic system for some added color or a grid with the reflector for color.
The Geekoto strobes support ETTL and HSS but for the workshops, I have to limit the strobes to full manual mode.
The reason for this is that all cameras operate via a different radio system. This means that if you use a camera that is not supported you cannot shoot which of course is not the idea of a workshop. So we are using so-called “dumb” triggers that work on all cameras. The only limitation is that I have to shoot at a max shutter speed of 1/125 which means we shoot with rather small apertures. When I shoot commercially or for myself I’m using HSS for a much shallower depth of field. As you can see in some images.
Outside with Geekoto Strobes, set 1
After the Q&A it was time to go outside.
The idea of this workshop is that the attendees have to find interesting locations around our studio. In other words, you don’t have to travel far to find awesome locations. And always remember, seeing it through the lens and with strobes it’s a totally different scene.
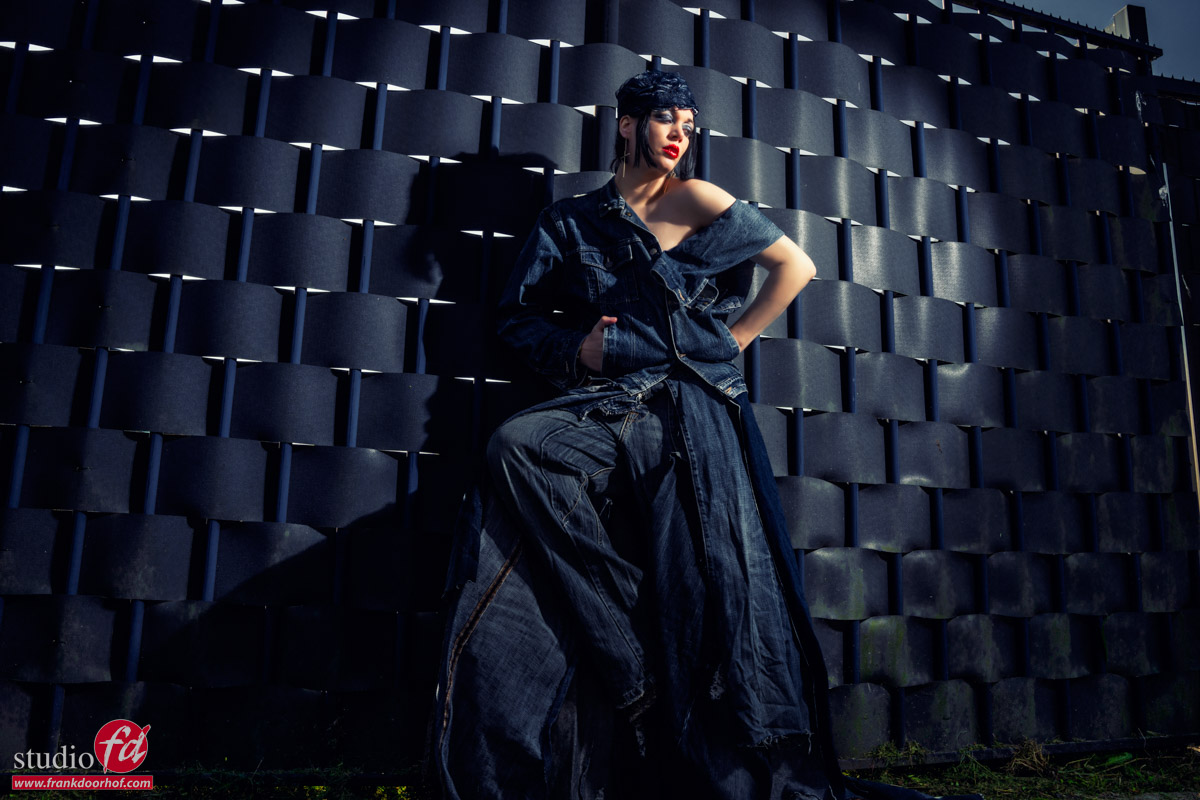
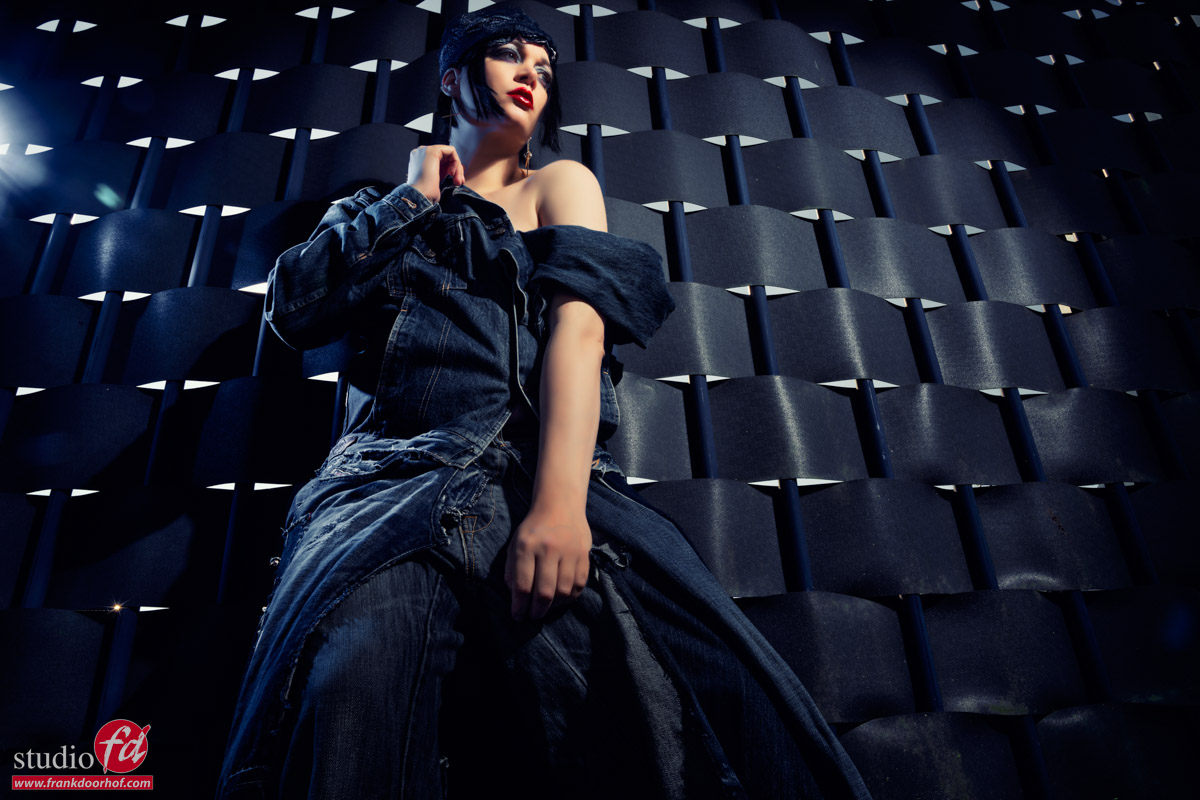
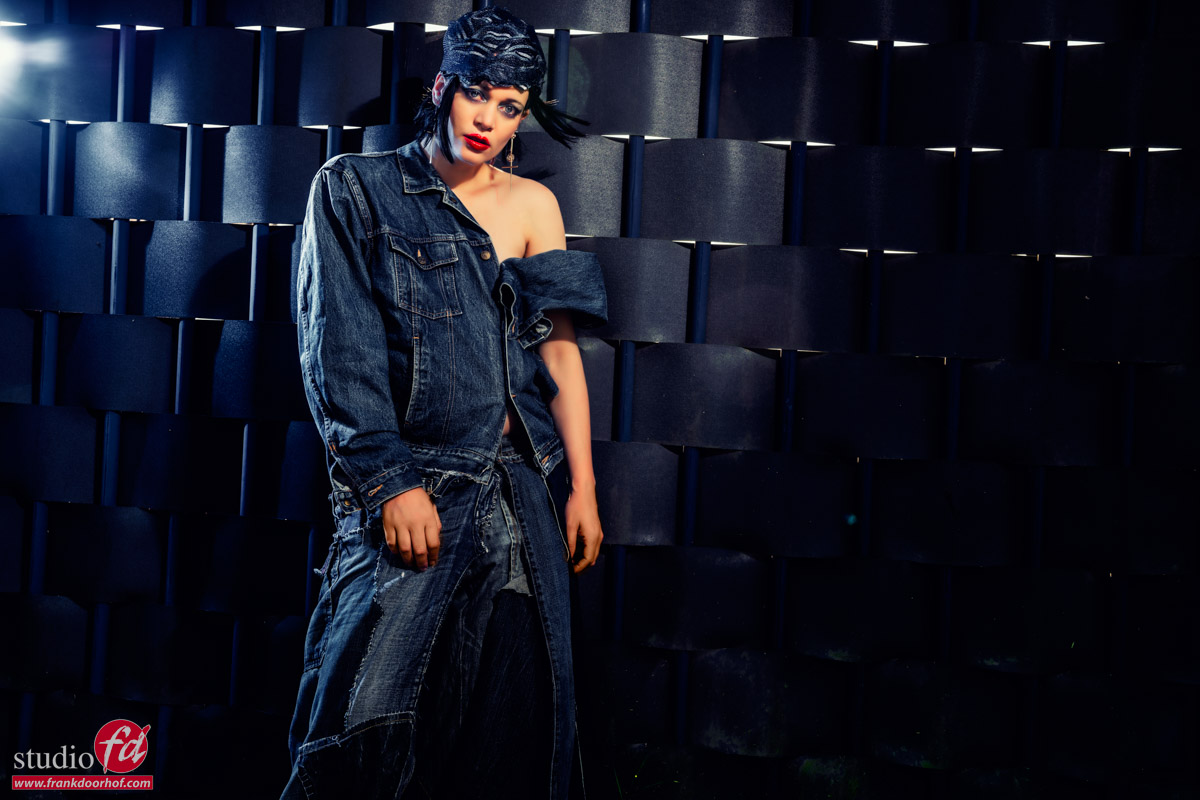
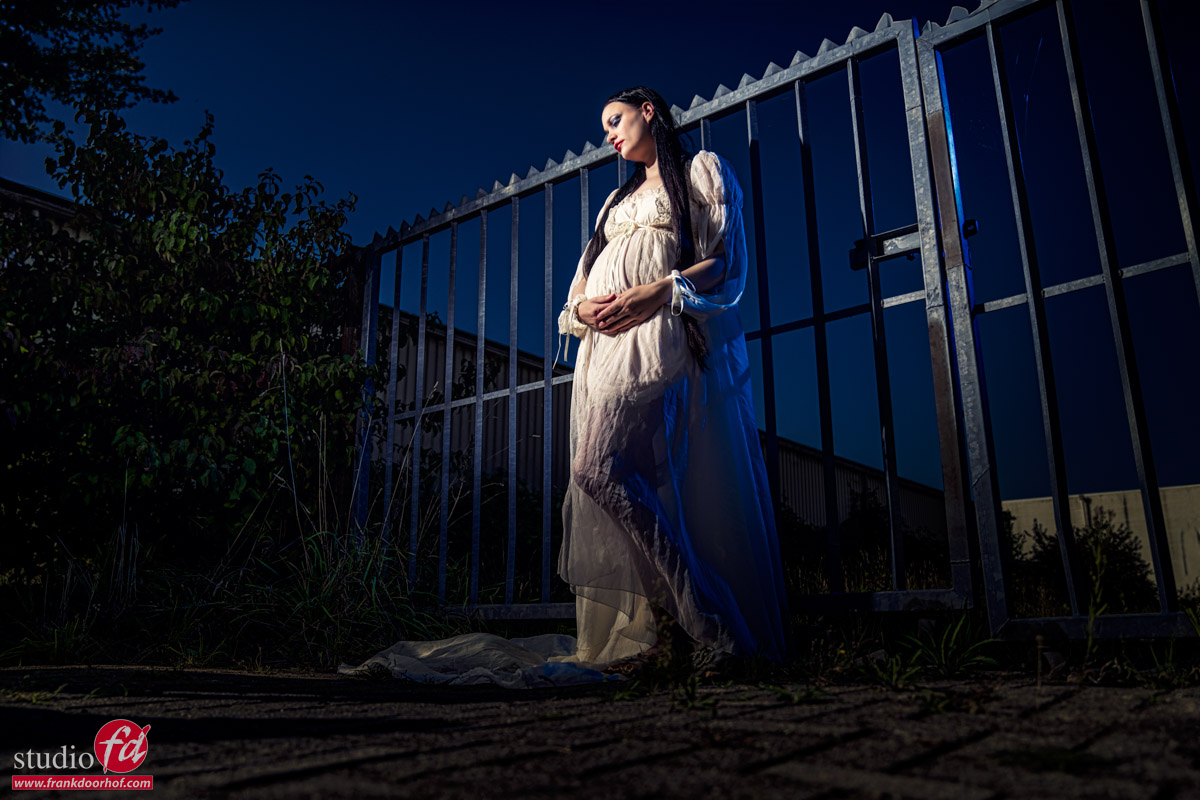
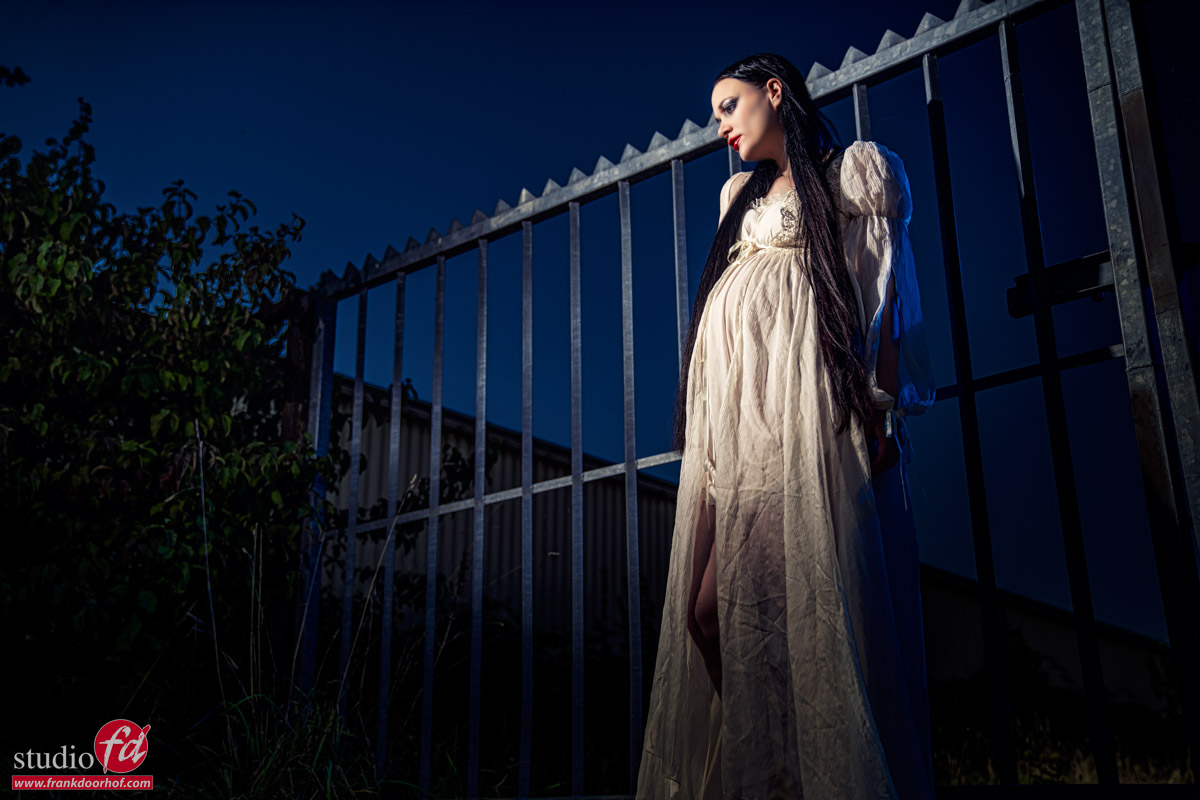
The first set was right next to our studio.
Our neighbors use a closed fence. The clothing Nadine was wearing worked flawlessly with the fence.
I started using the reflector straight on the model but to create a more interesting look I added a blue gel from the side.
By experimenting with angles and the balance between the strobes you can quickly change looks on location. Even without the client noticing.
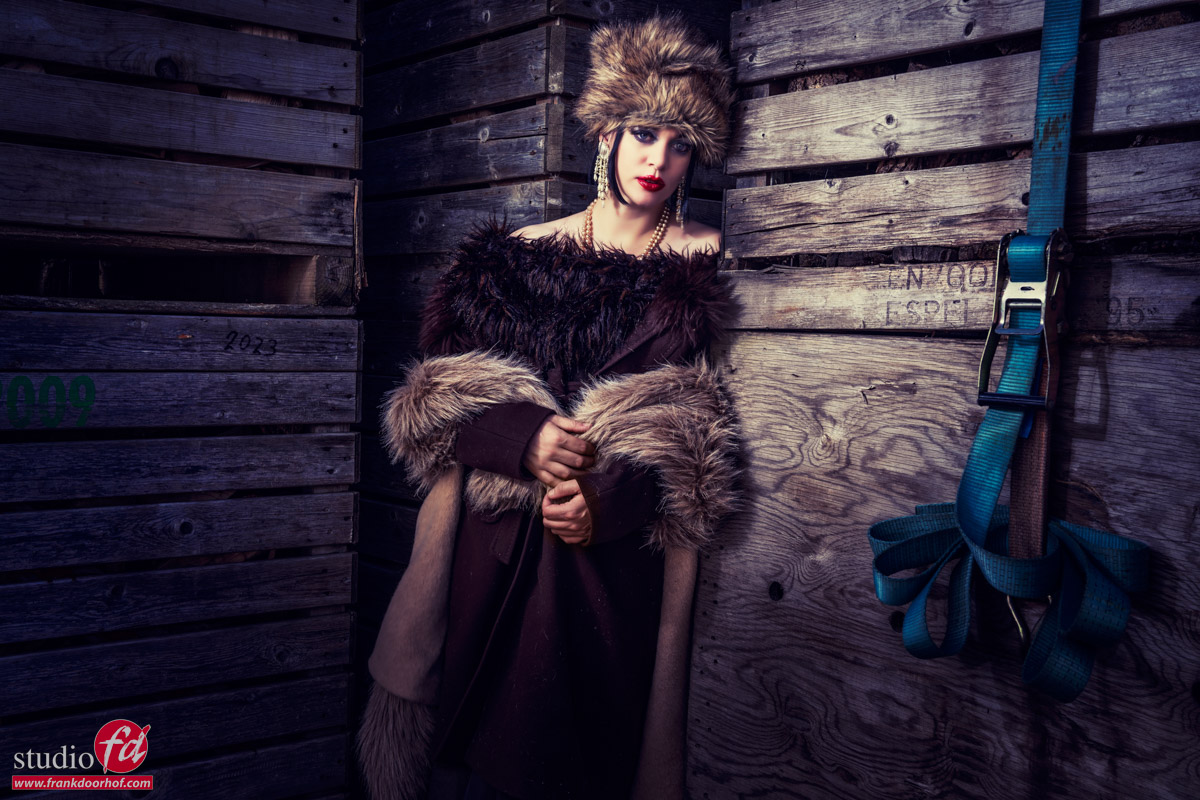
Outside with Geekoto strobes, set 2
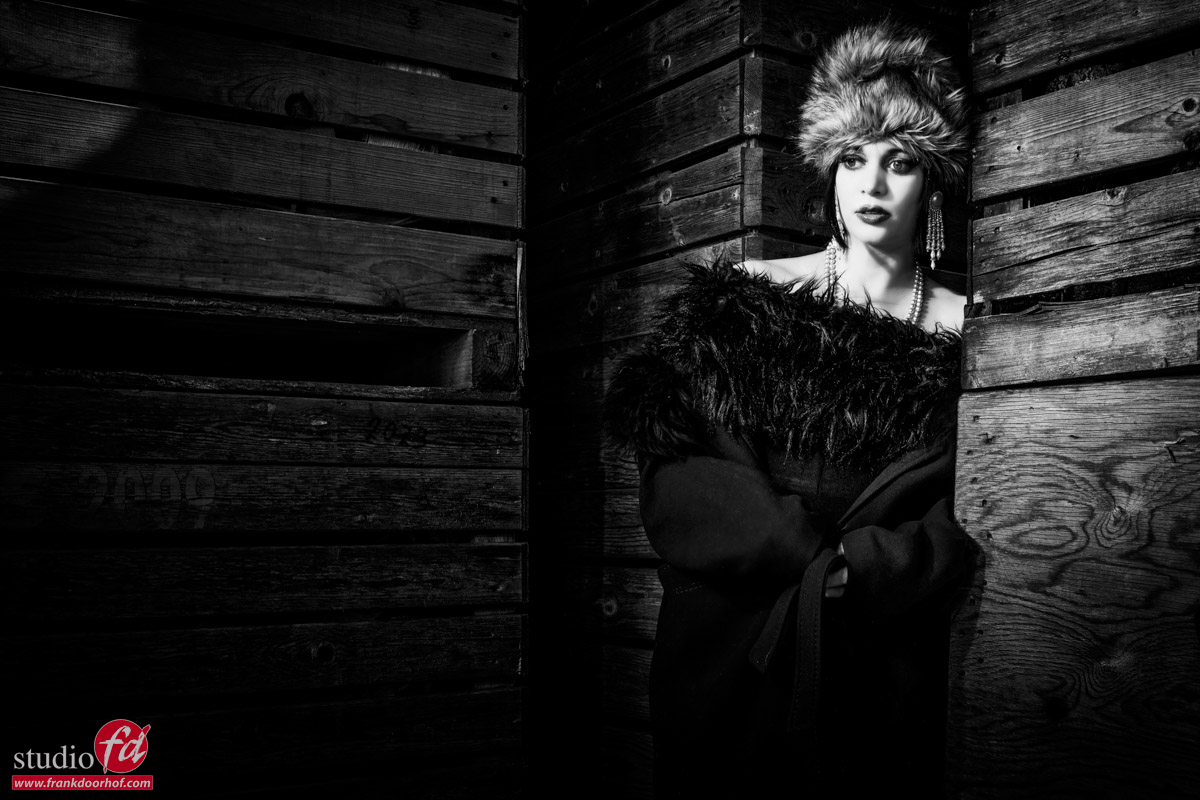
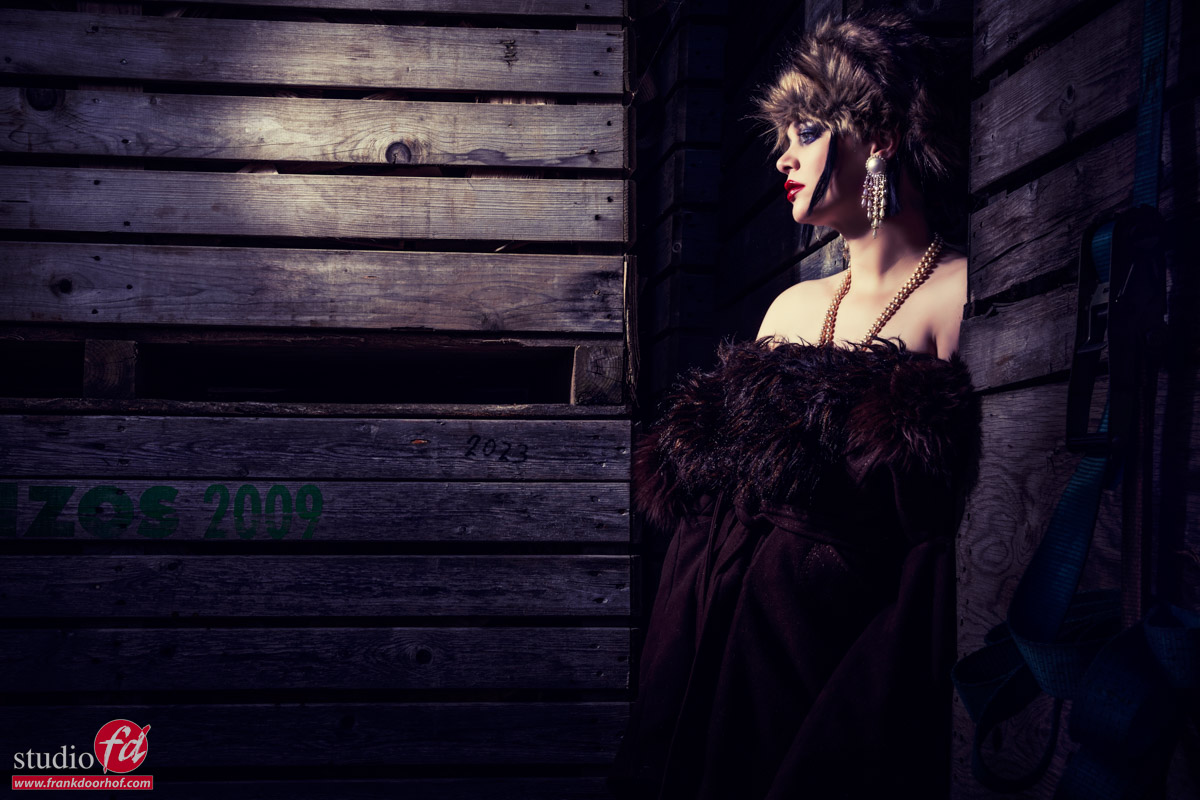
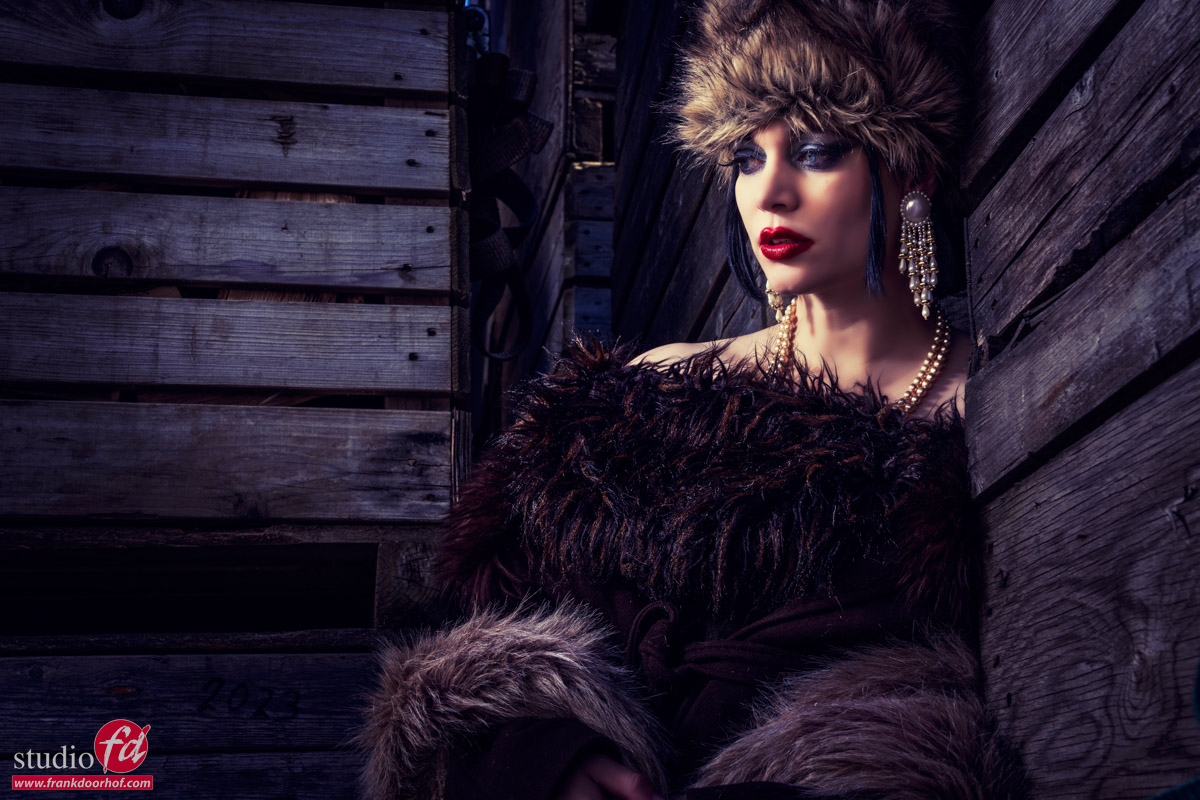
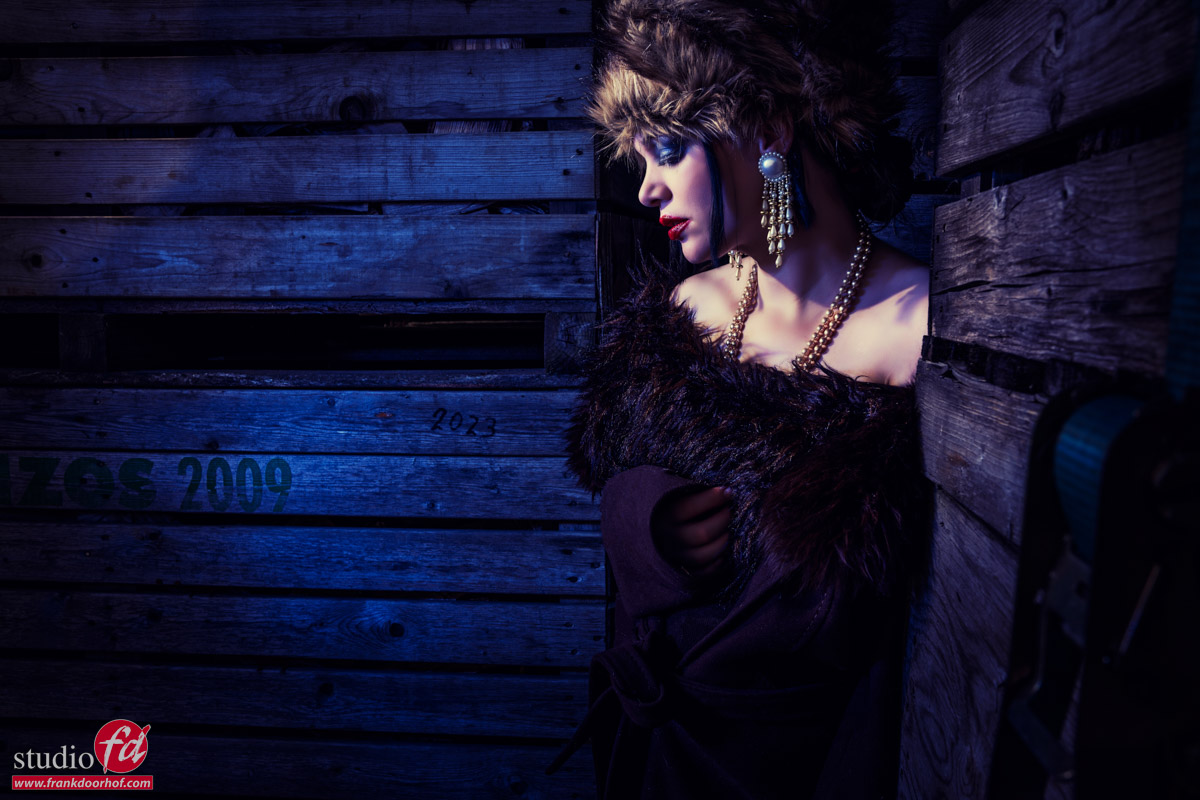
For the second set, we found a few large onion boxes that were stacked up and Nadine had the perfect outfit for this.
I started out with just the reflector on Nadine. But soon we switched this over for a Rogue grid as the main light on Nadine’s face and the reflector with a blue gel top opened up the shadows with a blue tint for a totally different look. And of course, as you can see you can change the output of the blue strobe to create totally different looks without losing the focus on the face of your subject.
Outside, set 3
You probably will notice it with these shots but….
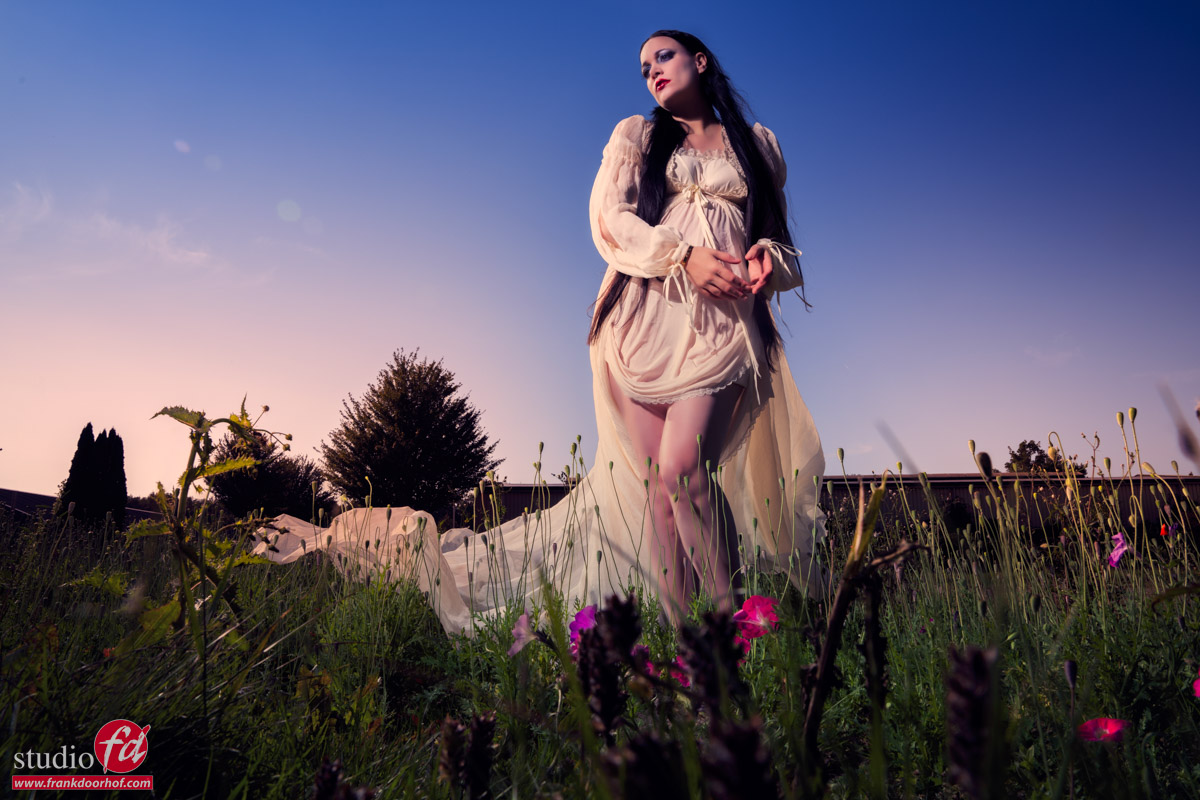
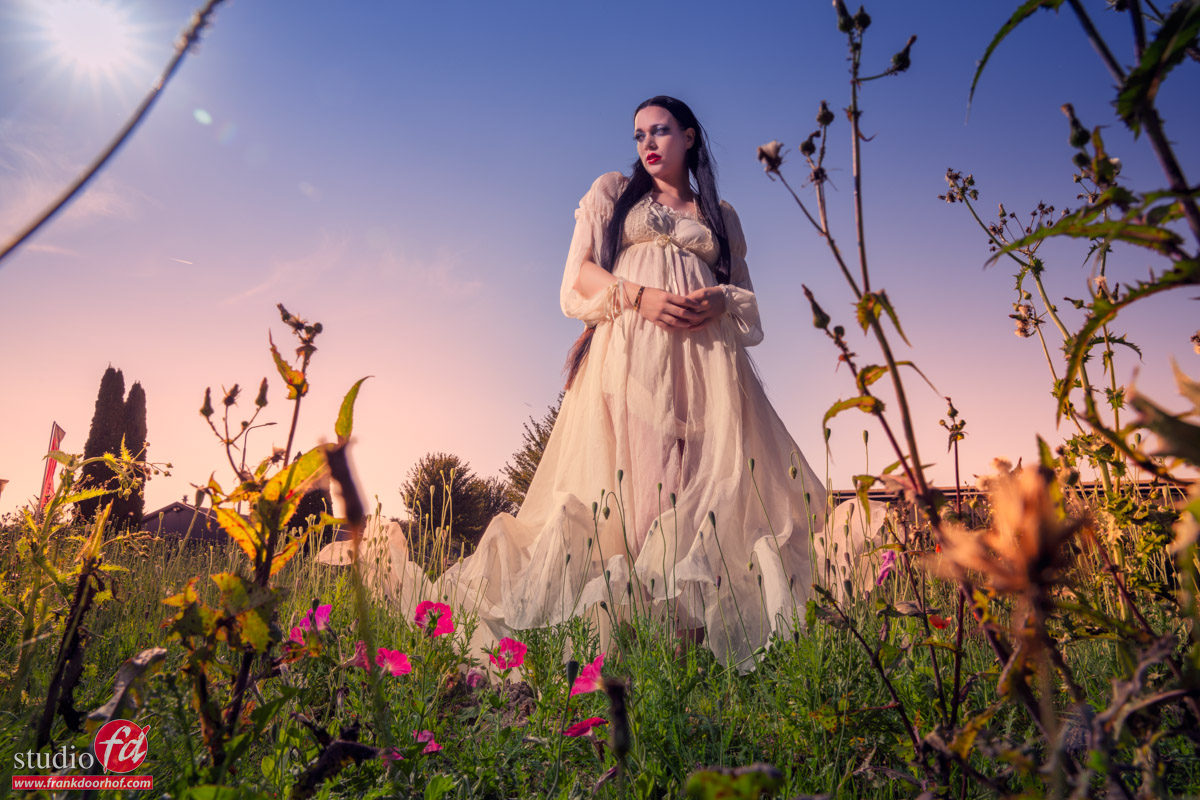
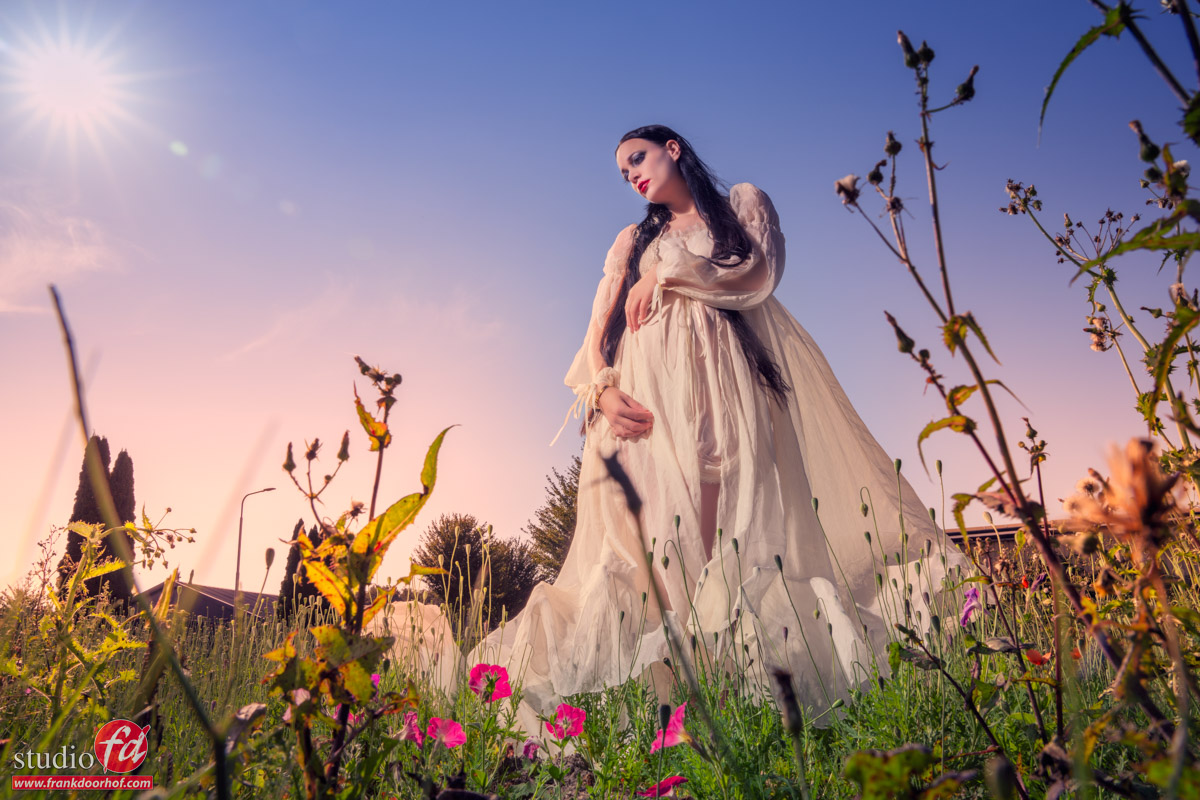
Nadine is pregnant. So for the next set I wanted to shoot her pregnancy shots. Well some of them at least, because I think we will do some more at a later stage.
For this set I wanted something a bit more bright and airy.
In front of our studio there was an old building. Great for photography (one of my signature series backgrounds is actually from that wall) but they recently demolished it. And now there is a large field right in front of the studio… not a disaster 😀
I used the Geekoto GT200 with the large reflector for a harsher quality of light.
This is the set I also shot on HSS as you can see 😀
The part of this shoot was to not only find the location but also find the right angles. And how you can change the look of a scene and shot by changing your perspective, using material in front of the lens and of course maybe angling the camera slightly or…. Well let’s take a look at the different options I chose from this set.
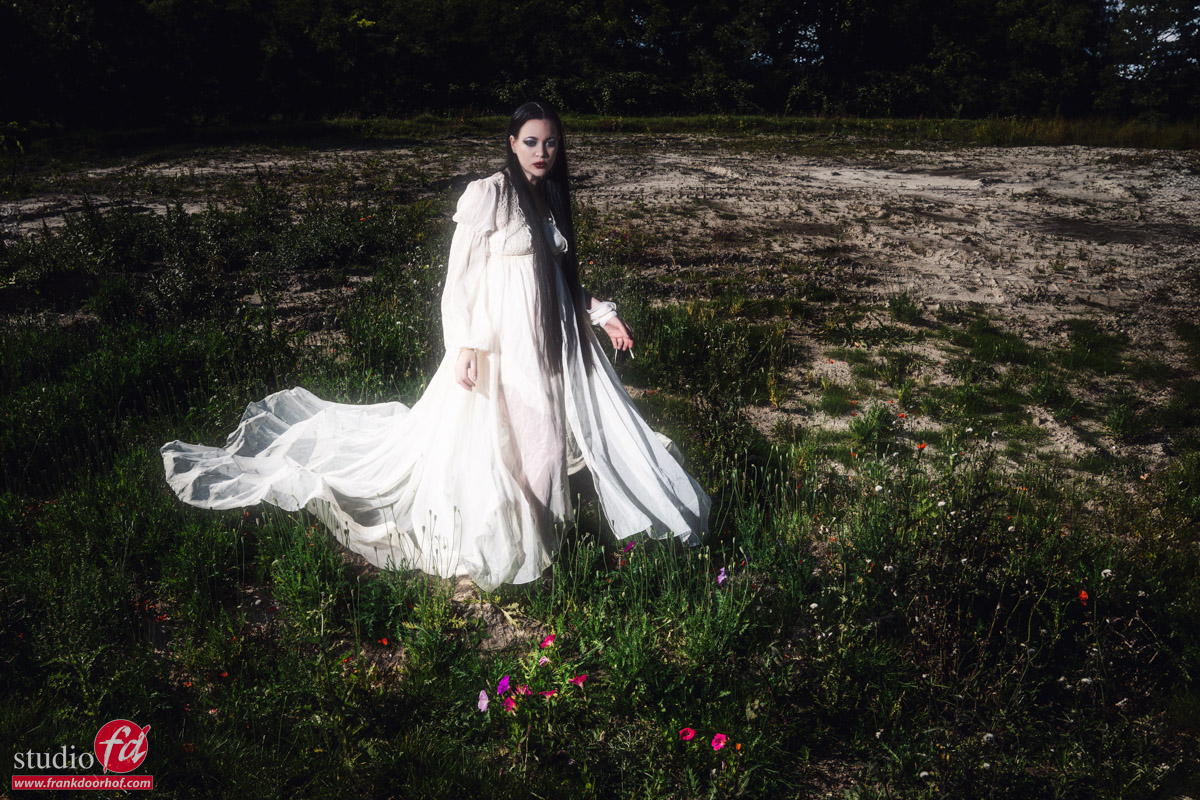
Outisde, set 4
This location was at the edge of Set 3. and the last one in the workshop outside with Geekoto Strobes
I used the Geekoto GT200 as main light and the reflector with a blue gel in the back.
Choosing a lower angle gave me a cool triangle in the back which I feel gives the image a nice flow.
And of course a more close up shot is part of the setup. This was the time we changed batteries on Geekoto Strobes.
Also want to visit a workshop?
Today I showed you the results and different sets we did during the workshop outside with Geekoto strobes “on location in Emmeloord” with Nadine.
During the workshops I always try to use 3-4 different setups explaining different techniques and of course it’s a great way to get a good addition to your portfolio.
If you think “that’s for me”
Than visit photography-workshops.eu for the Dutch workshops.
But if you are not living in the Netherlands or don’t speak Dutch we also have other options.
If you let is know 2 weeks in advance I can teach the workshop you want to visit in English.
Or if you can’t travel to our studio we also now offer the option to get a full 1:1 experience with 5 different camera angles, lightroom/Photoshop view and a talkback channel, you also get all the raw files and retouched results from the workshop. Visit our online workshops page for more info.


-Edit copy")


