Frank Doorhof
  • Blog (articles)
  • Rent our studio space
  • MAIN SHOP
    • MAIN SHOP
      • Orders
      • Account details
      • Downloads
      • Addresses
      • Lost password
      • Cart
      • Checkout
      • Terms webshop
      • Return policy
      • Privacy Policy
      • Privacy Statement in3. Dutch customers only. When you want to pay in 3 parts
  • IQwire Tether Cables
  • Rogue Modifiers
  • Geekoto Flash and Modifiers
  • Platypod
  • Click Backdrops
  • PORTFOLIO
  • Learning with Frank
    • Dutch workshop agenda
    • Workshops
    • A Year With Frank
    • Online 1:1 workshops
    • 1:1 workshops in English
    • Portfolio review by Frank Doorhof
    • Patreon
  • Support our work
  • Merchandise
  • Digital Classroom LIVE
  • Our YouTube channel
  • Biography Frank Doorhof
  • Services
  • Discounts etc
  • I need help
  • Menu Menu
  • Shopping Cart Shopping Cart
    0Shopping Cart
  • Link to Facebook
  • Link to X
  • Link to Youtube
  • Link to WhatsApp

Tag Archive for: ambient light

The most important shot period

6-06-2025/in blog, Visions and technique/by Frank Doorhof

Don’t forget this one ever

Normally on the blog I give you several tips and photos/videos in one post.
And although they are all parts for a successful photoshoot there is probably one that I never shared because it’s so basic, but to my surprise during workshops I always find out a lot of people don’t use this.

So today it’s about

The most important spot period

and it’s this one

I call this, the “don’t worry” shot.
So what’s going on here, did I lose my mind and trying to create a new art form….
No don’t worry let me explain.

Often when we shoot with strobes we are using smaller apertures in controlled lighting situations, but it also happens quite often we don’t. Sometimes you just want that nice shallow depth of field in your studio or you have little control over the lighting situations, and depending on your situation the following can be vital.

Did it ever happen that you have some weird color infection on one side?
Did it ever happen you had this weird reflection in your shot?
Or did you ever see your studio lights or window in the shot?

Well that last one is obviously wrong and doesn’t need an explanation.
The other ones however can be more problematic.

In every space we work there is some kind of ambient light.
As you know all light has a certain color temperature, and when you mix them together it can cause problems with continuity.

When we shoot in a studio with strobes it’s therefore vital to first take a shot without the strobes going off.
In other words if you want to shoot at 1/125 with an aperture of f2.8 you take the shot you want to make but don’t let the strobe fire.
Now carefully check the picture, it should be 100% black (you can use your histogram for this, but better is to shoot tethered into an app like Cascable or Lightroom), if you see the outline of your model this means there is spill light in the room, close your aperture further or make sure there is no more light in the room.

Shooting an image without the strobes going off is simple and gives you an immediate overview of the lighting situation and if you have to adjust something.
It will help you to keep your color temperature “clean” when shooting in different locations or different apertures, which is an immense help for your retouching.

If you want to make sure your workflow is fool proof also shoot a white balance card or for example the Calibrite Color Checker Passport series.
But even then always the black photo.

I hope this helps you with getting more consistent results.


https://frankdoorhof.com/web/wp-content/uploads/2025/05/Black-Frame.jpg 700 1208 Frank Doorhof https://frankdoorhof.com/web/wp-content/uploads/2015/03/studioFD_Logo-1FV.png Frank Doorhof2025-06-06 18:00:442025-05-16 10:31:46The most important shot period

Why fake it when you can create it?

3-06-2025/in blog, Visions and technique/by Frank Doorhof

It’s still my motto: Why fake it when you can create it?

When I started teaching workshops, the first tours and workshops were often labeled “Why fake it when you can create it?”
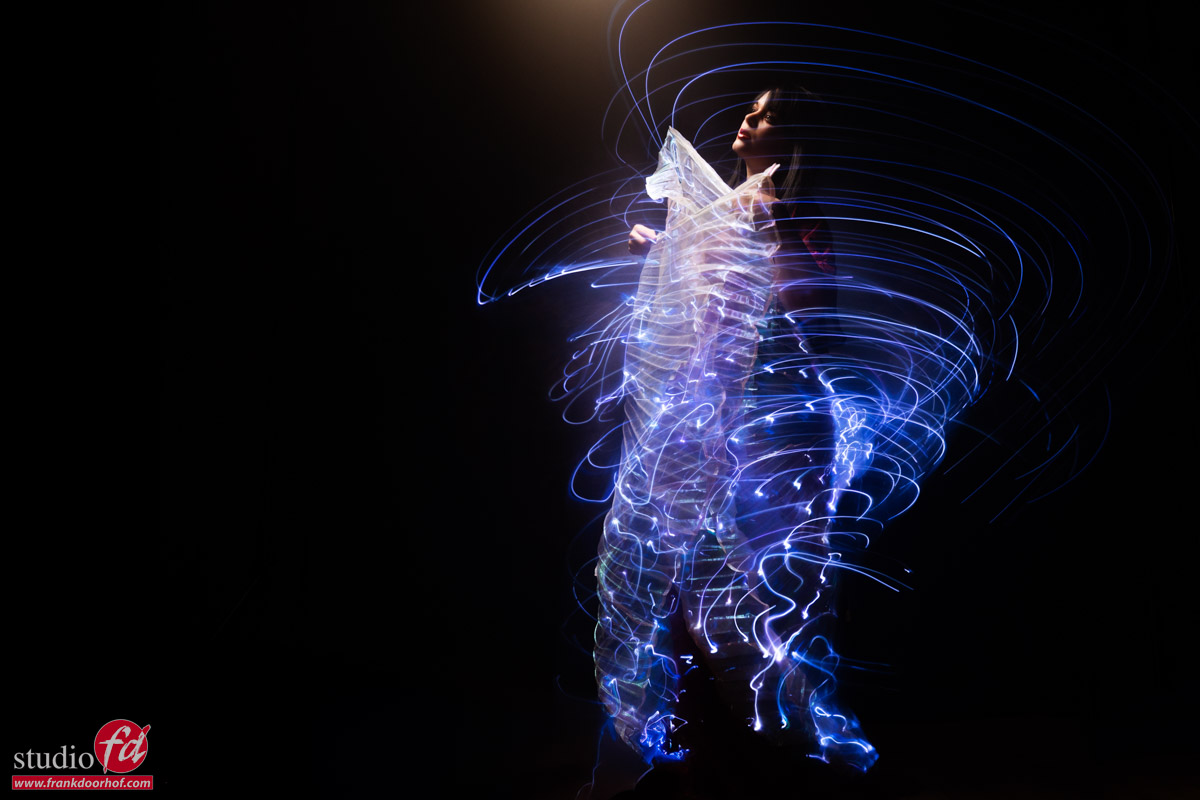
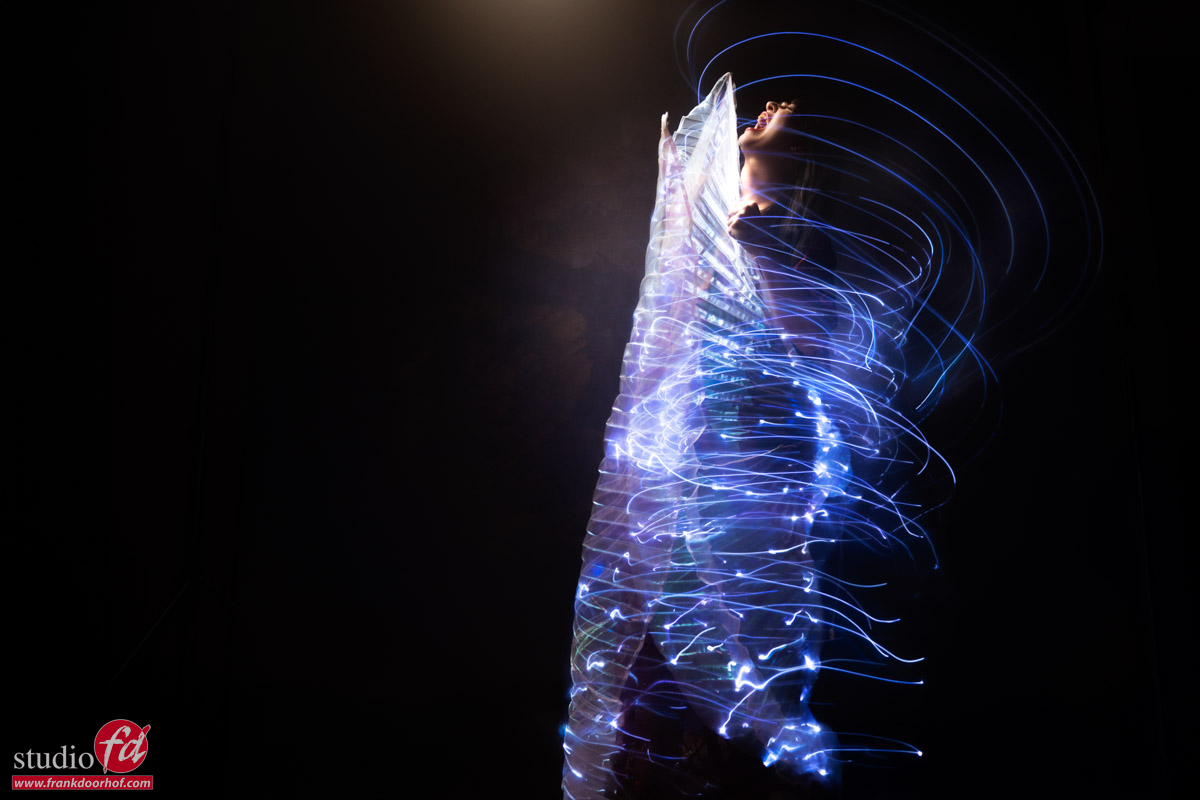
And that wasn’t even about using AI. The shots we are discussing today were all captured in-camera, and some people did not believe it, so I will explain how we achieved this.
Why fake it when you can create it

I love working in Photoshop and spending hours on digital art, but with my photography, I like to get it right in camera.
When you browse through my portfolio, for example, most images were shot during workshops or events like trade shows.
Retouching-wise, it’s 99% skin softening and giving the image a film look. Especially the film look is essential for my workflow.

By the way, did you know you can get my preset packs for a few bucks?
Why fake it when you can create it? mug

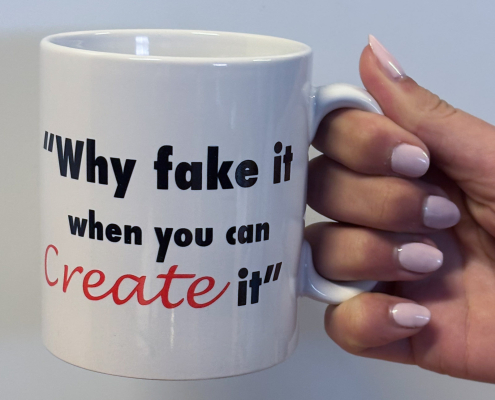
We sell this mug so you don’t forget

Why fake it?

The way I use AI in Photoshop is mostly for cleaning up and extending backgrounds, and with Cosplay shoots, adding elements or building a complete set.
But when I use it, it’s 100% clear and visible. So why do I tell you this?
The first time I showed one of these images to someone, the first thing they asked “What software did you use?”.
Nope, this was done in camera! “Yeah, but how did you add the swirls?”….

So today, let’s take a look at how we did it: Why fake it when you can create it.

How it works

Let me explain why I like my motto: Why fake it when you can create it?.

When we use strobes, we are working on a shutter speed of 1/125 in the studio.
This is also called the X-sync. When we shoot faster without HSS, there is a chance of a black bar in the frame; the faster the shutter speed, the larger that bar.
The bar is your second shutter curtain catching up the first shutter curtain.

At the moment, only Sony has a camera with a new sensor that can break this X-sync up to the flash duration (and higher with light loss) of your strobes.
In the past, there was a Fuji consumer camera that could do the same trick. And if you’re shooting with Medium Format or leaf shutter lenses you also can shoot at higher shutter speeds.

For today, it doesn’t really matter because we will go the other direction.
Because we are mixing very dim lights with very bright lights.

Luckily for us, the very bright light is just a pulse. And this means we can use the shutter to get the right balance because the dim lights are continuous.
And you probably already guessed it, the lights are in the wings, Nadine is holding here.
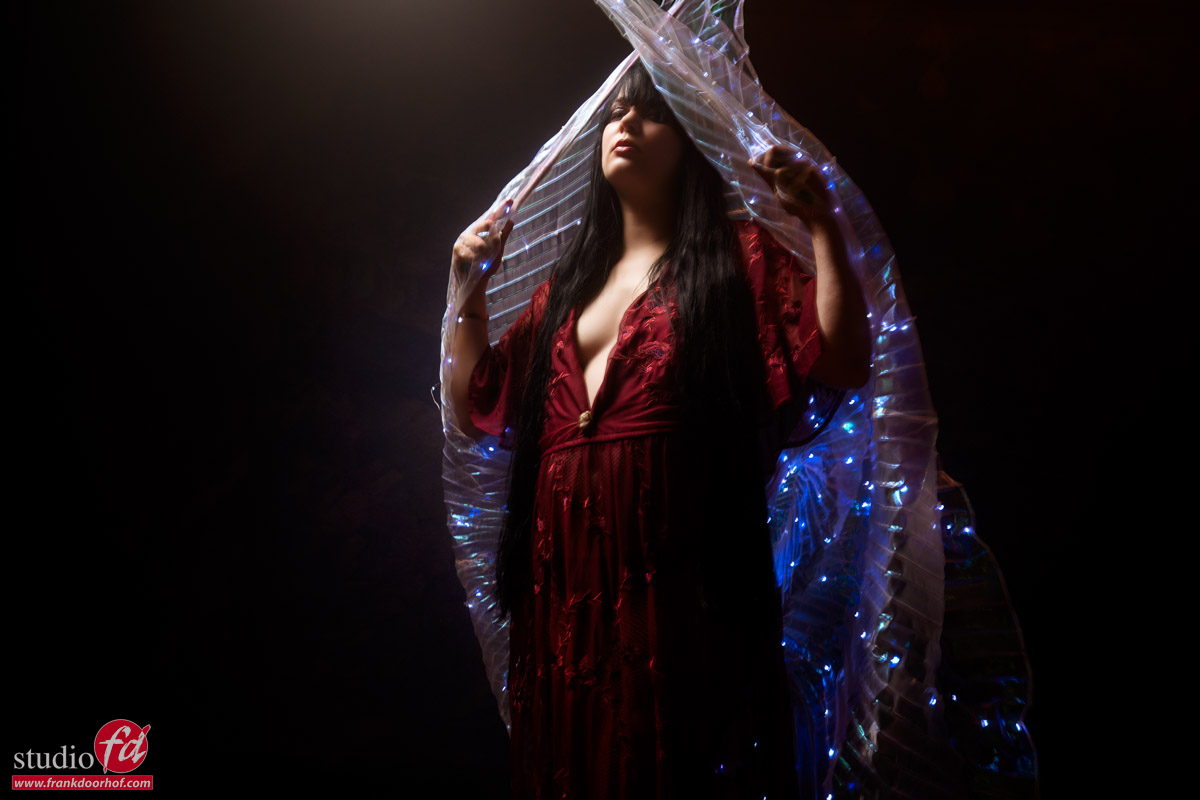
Why fake it when you can create it

As you can see, we have a pretty good mix of our model and the lights, easy, right?
Yes and no.
There are a few things you have to take into account with a setup like this.

Vital parts

First of all, you have to realize that when you want to mix strobes and continuous light it’s very smart to set the strobe on the lowest possible setting.
The reason for this is that you will need less time to make the continuous lights show up in the shot. Meaning shorter shutter speeds.

Luckily for us, we are using the Geekoto strobes, and they have a great range. So, I can go as low as needed.
Also, don’t worry about ISO. With modern cameras and noise reduction via Topaz or Lightroom (or your favorite RAW convertor), you can easily use ISO800-1600 for commercial use.

Second of all you have to remember to turn off the modeling light of your strobe.
We are shooting with longer shutter speeds, and this means that your modeling lights will register and mess up the color balance. But also add motion to the area that you wanted to freeze with the strobe.
If you have problems focusing in the dark, get a Sony camera…. just kidding (or am I). Just ask an assistant to light your model’s face with a flashlight. And when you have focus locked, take away the flashlight. It works like a charm, and you have zero infection of the area your strobes hit.

and finally…
The same as above, but the other way around.
The strobe is much more powerful than the continuous lighting. So, when I set something like this up, I will be using a very focused light source.
You can use, for example, the Frank Doorhof flashbender, a striplight with grid, the Geekoto Quicky, or the Rogue snoot. Just make sure you are only lighting a very small part of the total area. You want to make sure the lights really show up in the final image, and when you blast your strobe everywhere, it won’t work.

Ready to shoot?

Almost.
When we want this to work, we must make the model move in the right way and at the right moment.
Mostly, I will count down and tell the model that as soon as she sees the strobe, she has to start the movement.
In this case, we ended up with shutter speeds between 1-2 seconds.

So, first, the strobe freezes the model’s face. The modelling lights are off.
Now, in 2 seconds, the model moves around, and the lights of the wings register on the black background.
Now you might wonder why the colors are visible. And they are not turning white with a 2-second exposure.
And this is a 100% solid question.
IF the model does not move, the lights would indeed burn out. Because they stay in the same spot.
However, because the model is moving, they don’t have “time” to burn out, so you keep the colors.

We started with some turns.
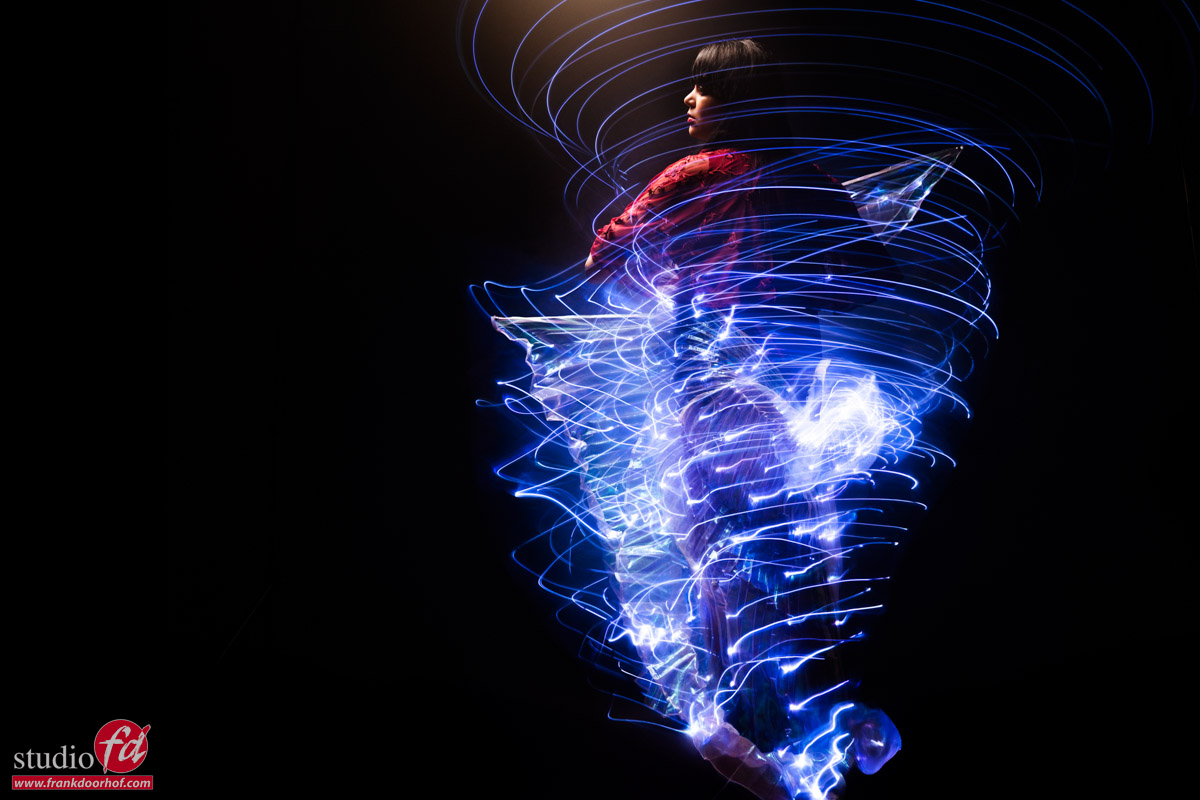
Why fake it when you can create it

And of course asked Nadine to scream, for some extra OOMPF in the shot.

But what would happen if you don’t keep the camera steady but also start to move yourself, or zoom in?

One quick tip about zooming
In most cases, zooming in will work fine and give some really funky results. Zooming out (starting in close up) can work, but with these kinds of shots, it didn’t.
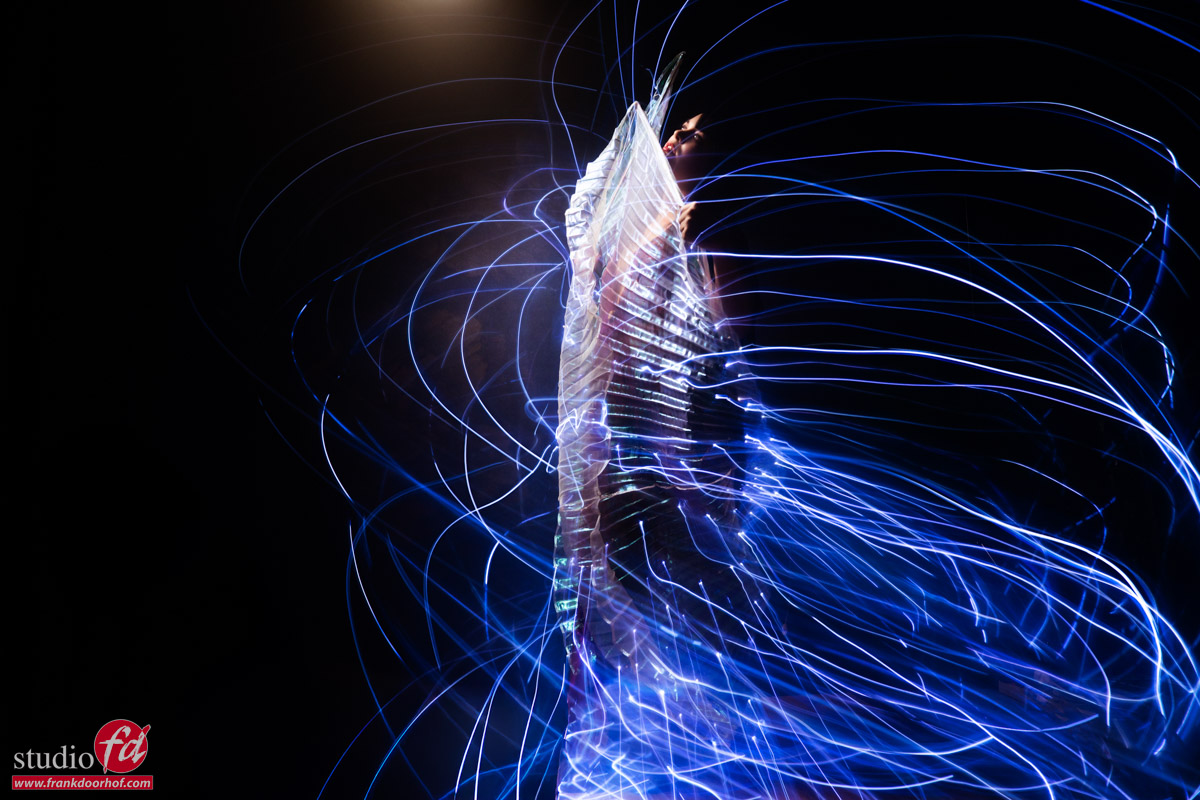
The workshops are super creative. Do you also want to learn how to not fake it but create it?

This is probably one of the things I love most about the workshops, when attendees bring their props and ask me to incorporate them into the workshop.
In this case, the angle wings were bought on Aliexpress/Temu/Amazon and were brought to the workshop by an attendee.
Nadine was, of course, the perfect model for this, and we ended up with some great shots, I think.

If you also want to visit a workshop, visit fotografie-workshops.nl for the agenda.
If you don’t speak Dutch, don’t worry. Let us know a few weeks in advance, and we can switch the workshops to English.
Or of course, book a 1:1 workshop in our studio, or even online right from your comfort zone 😀


Check out this video also with Nadine. The devil is in the details.  

 

https://frankdoorhof.com/web/wp-content/uploads/2025/05/Nadine-97-April-12-2025-Edit.jpg 800 1200 Frank Doorhof https://frankdoorhof.com/web/wp-content/uploads/2015/03/studioFD_Logo-1FV.png Frank Doorhof2025-06-03 18:00:112025-06-05 12:23:32Why fake it when you can create it?

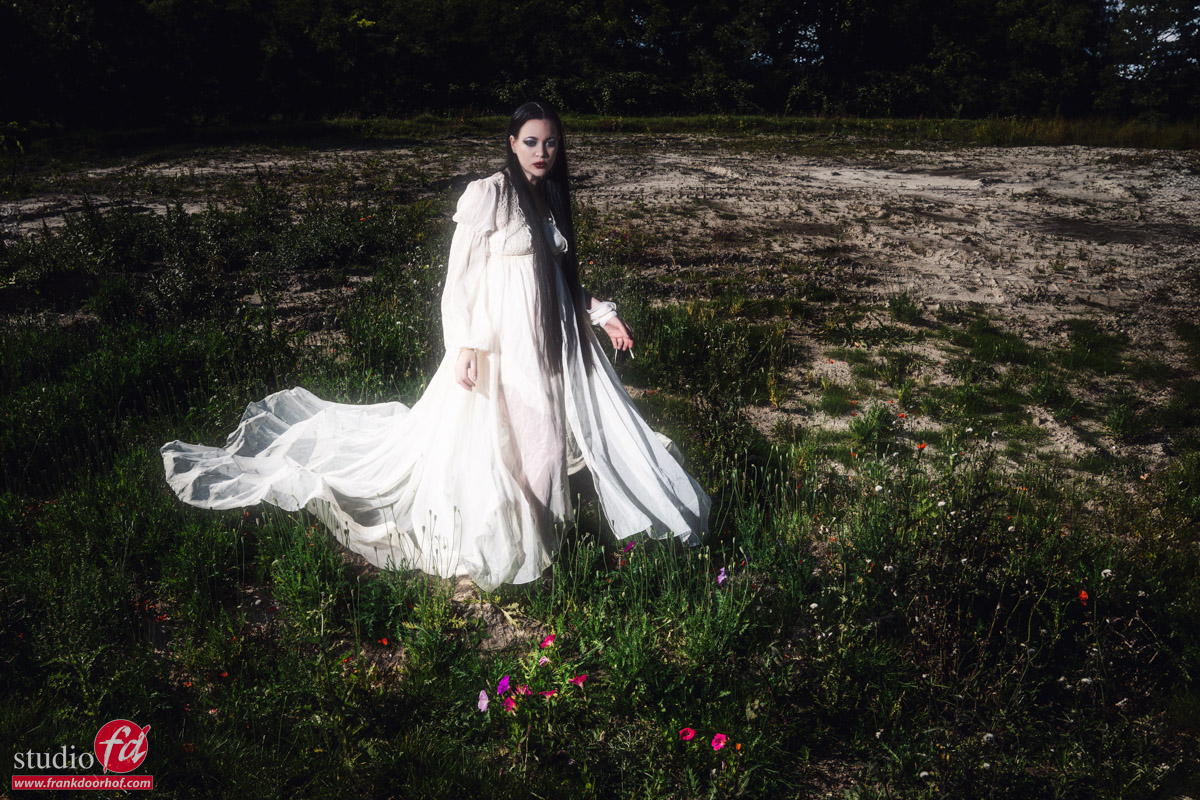
Using the foreground to add dimension to your images

20-11-2024/in blog, Visions and technique, Webinars and instructional videos/by Frank Doorhof

Sometimes we need something extra

We all know that when we want to show scale it’s handy to include something to show the scale.
In the case of a mountain we can of course place some people in front but today we are doing something else.

During the workshop “on location in Emmeloord” the challenge is to find locations that look not so interesting but still create some cool images.
If you ever visited our studio you know there always was an old building just in front of our studio, it didn’t look nice but it had some great walls to shoot against 😀 one of them actually made it into my signature ClickBackDrop backgrounds.

Recently they demolished the building and we ended up with a large empty building area.
Of course a great option for this workshop.

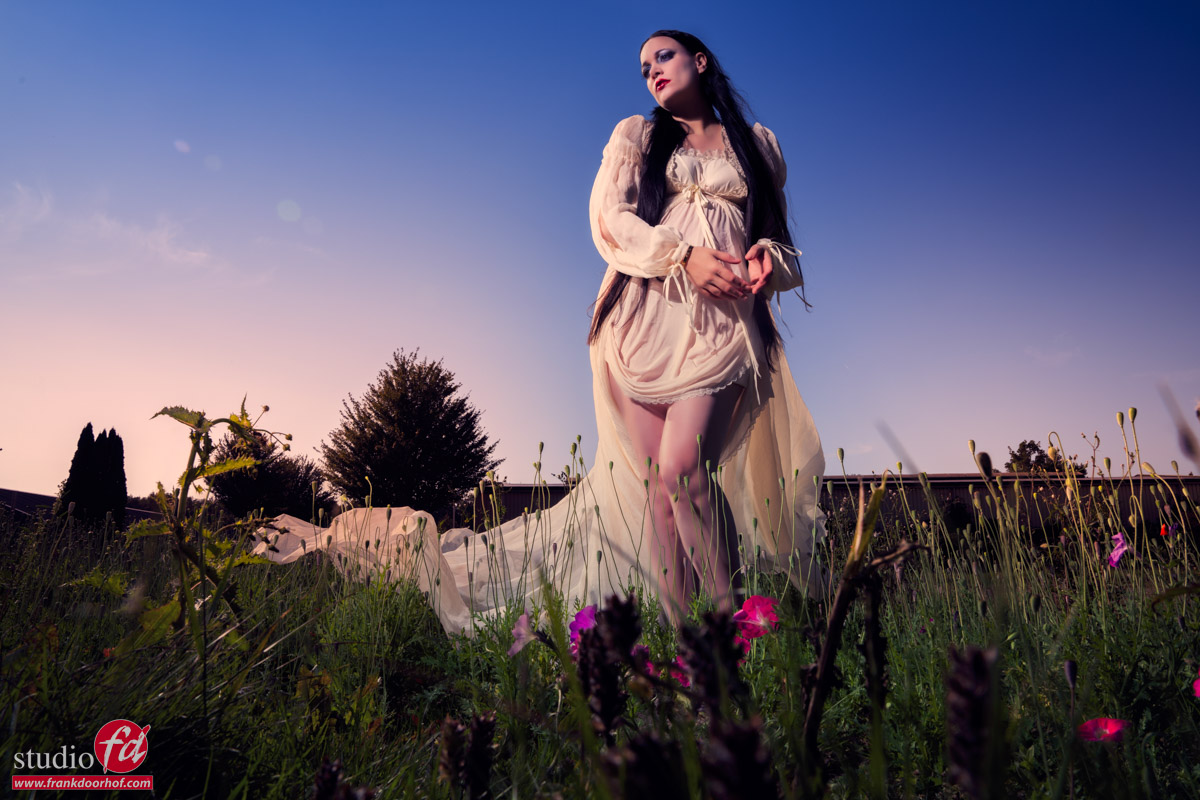
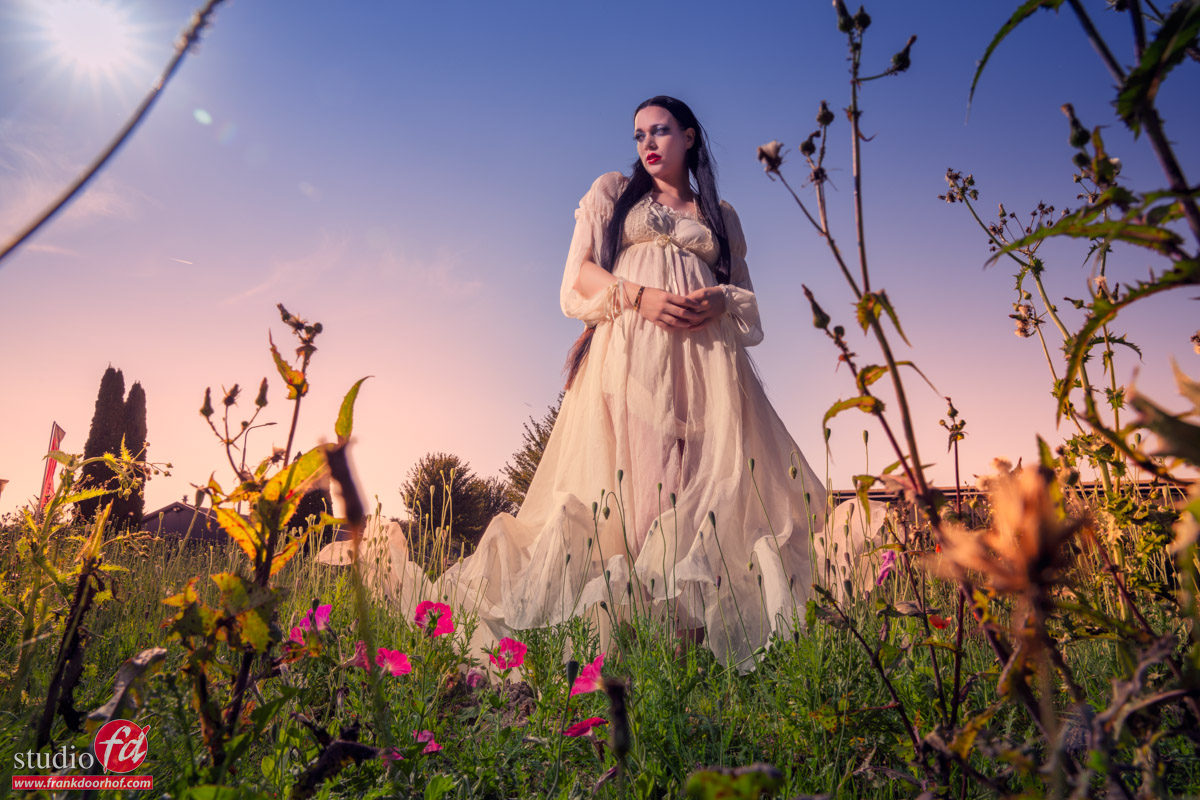
The lighting setup was pretty simple, one Geekoto with a large reflector shooting on manual mode.
During the workshops we have to shoot with so called universal triggers due to the different camera brands that are used during a workshop, this means we can’t use extra options like HSS and ETTL.  

The setup itself was ok.

But I wanted something more. Something to give the image more dimension and framing.
Because I’m shooting from a very low angel I decided to include a few of the flowers in the frame.

This already made a huge impact.
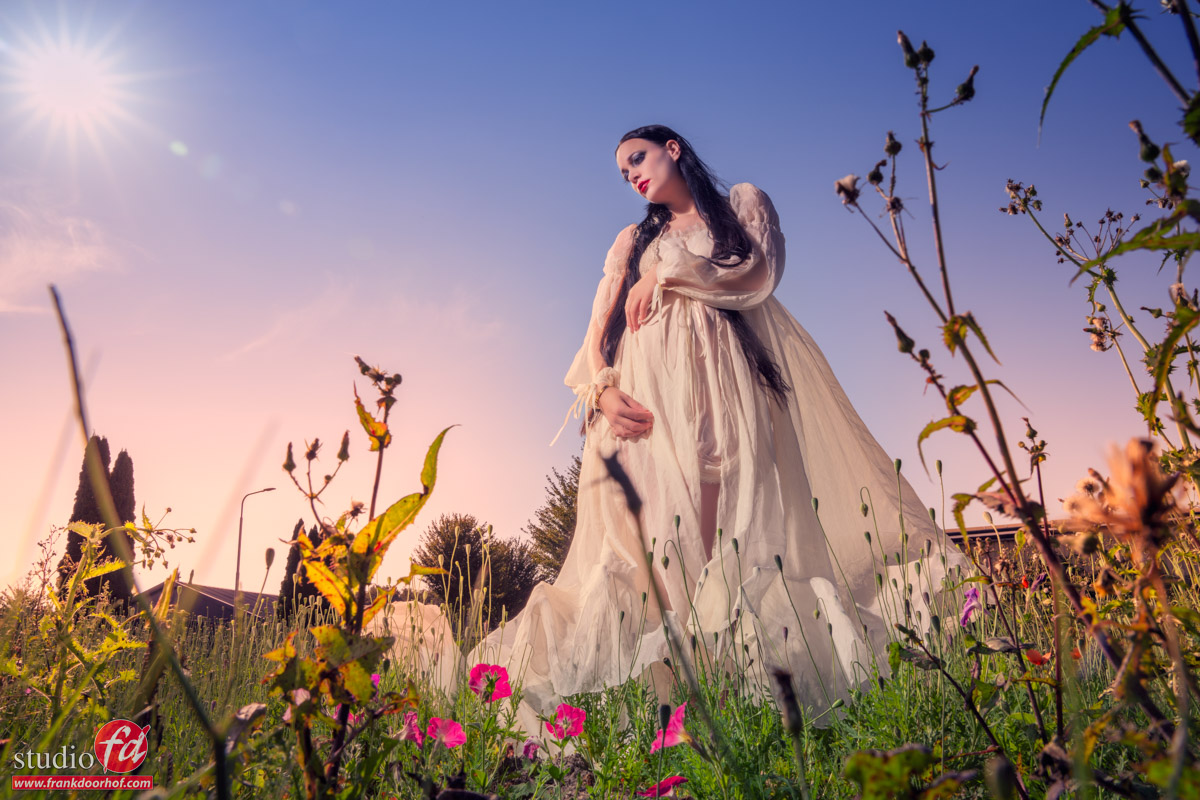
But because Nadine is pregnant we also needed a slightly different pose, and I slightly tilted the camera for a nice effect and include the sun.

I also shot on extra image from a slightly higher angle to experiment with.
I ended up with a darker look which to my surprise became the favourite image for Nadine 😀
So always shoot something different, you never know what hits the spot.

Now that we talked about the setups and the framing of the shot, let’s take a look at the video from this setup.

Also want to visit a workshop?

Today I showed you one of the  different sets we did during the workshop outside with Geekoto strobes “on location in Emmeloord” with Nadine.
During the workshops I always try to use 3-4 different setups explaining different techniques and of course it’s a great way to get a good addition to your portfolio.

If you think “that’s for me”
Than visit photography-workshops.eu for the Dutch workshops.
But if you are not living in the Netherlands or don’t speak Dutch we also have other options.
If you let is know 2 weeks in advance I can teach the workshop you want to visit in English.
Or if you can’t travel to our studio we also now offer the option to get a full 1:1 experience with 5 different camera angles, lightroom/Photoshop view and a talkback channel, you also get all the raw files and retouched results from the workshop. Visit our online workshops page for more info.

https://frankdoorhof.com/web/wp-content/uploads/2024/09/Nadine-91-September-21-2024-copy.jpg 800 1200 Frank Doorhof https://frankdoorhof.com/web/wp-content/uploads/2015/03/studioFD_Logo-1FV.png Frank Doorhof2024-11-20 18:00:202024-11-06 17:17:06Using the foreground to add dimension to your images

Working on location with strobes and making something boring interesting

18-11-2024/in blog, Visions and technique, Webinars and instructional videos/by Frank Doorhof

From the workshop on location in Emmeloord

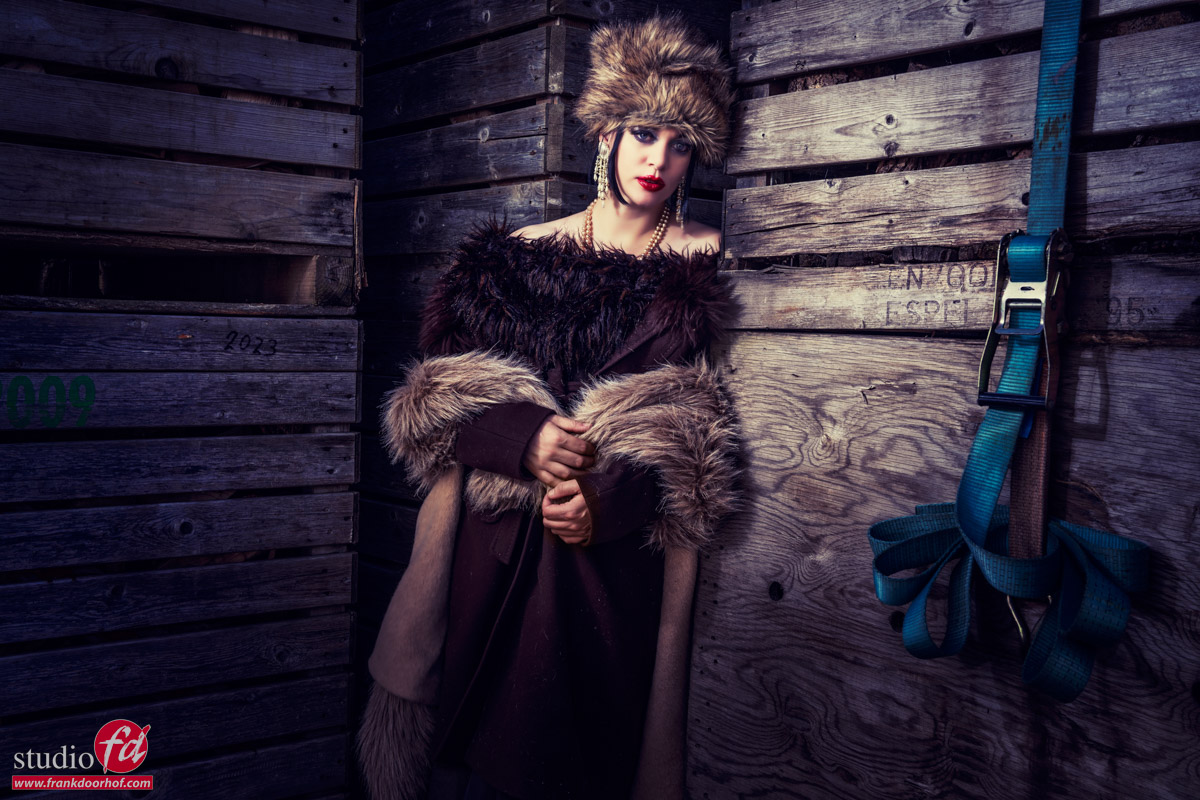
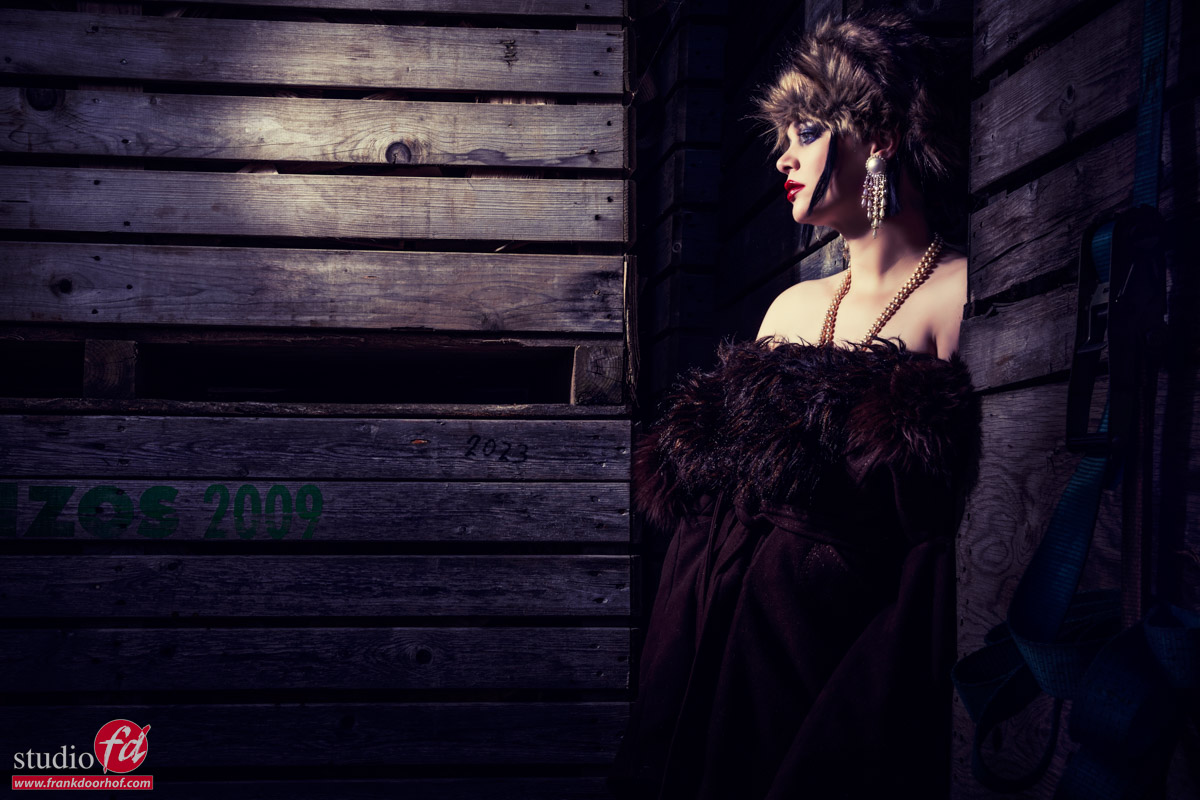
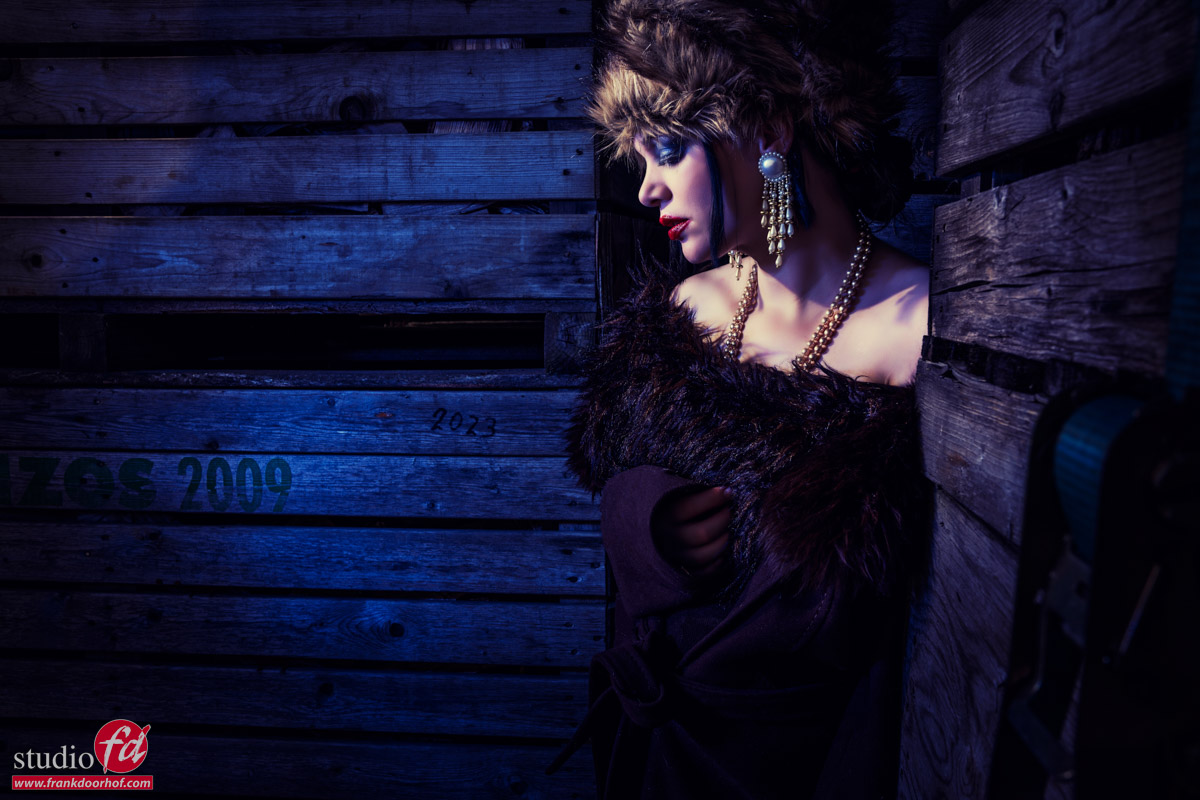
During the workshop “on location in Emmeloord” we scout for locations that look not so interesting but the challenge is to create some cool images anyway. This is a great training exercise because let’s be honest in most cases working on location is not as superb as often hoped for, but we are still expected to deliver awesome images.

For me there are a few different things I use to make a location look more interesting.

The first is of course the location itself, I try to find angles or other details (small or large) that I can use, or that I don’t want in the shot.
In this location we loved the onion crates, they blocked off the sunlight for a large part, which is always handy when working in the bright sun. The less direct sunlight on the model the better in this case.

After I have something in my mind for the general location I’m going to use in the set it’s of course time for the lighting.
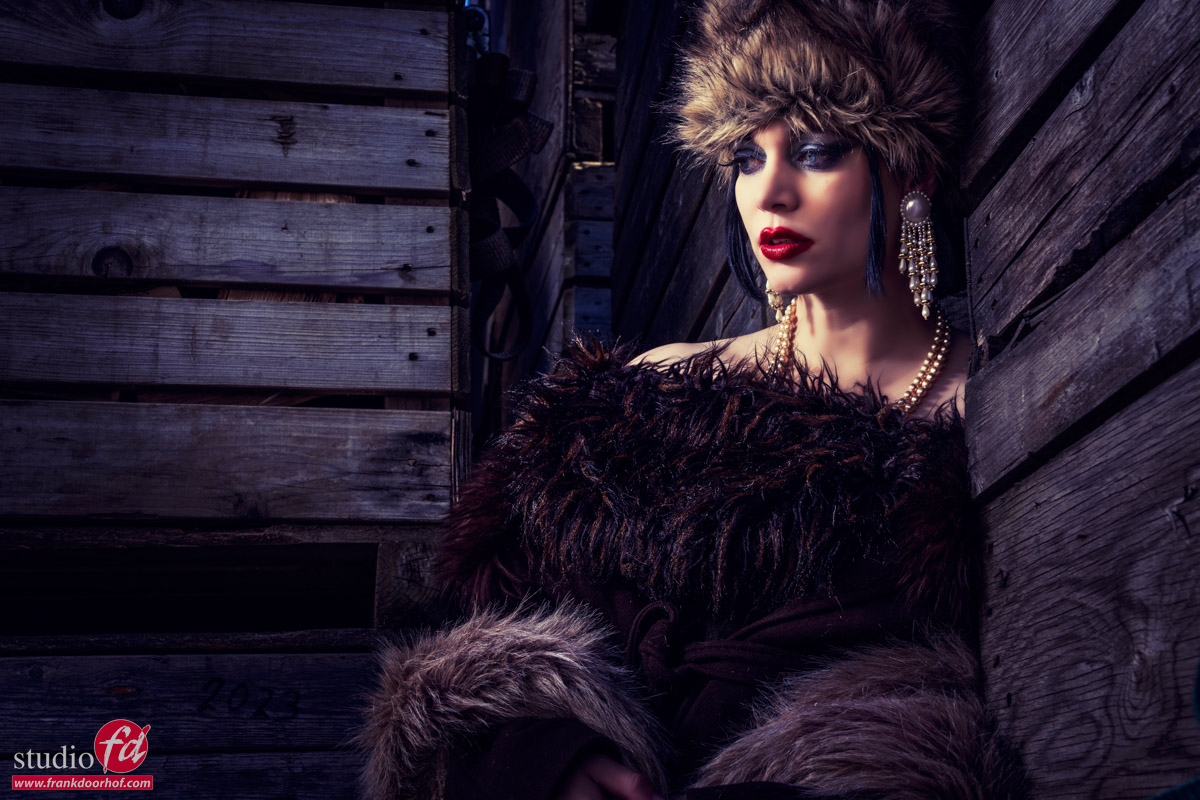
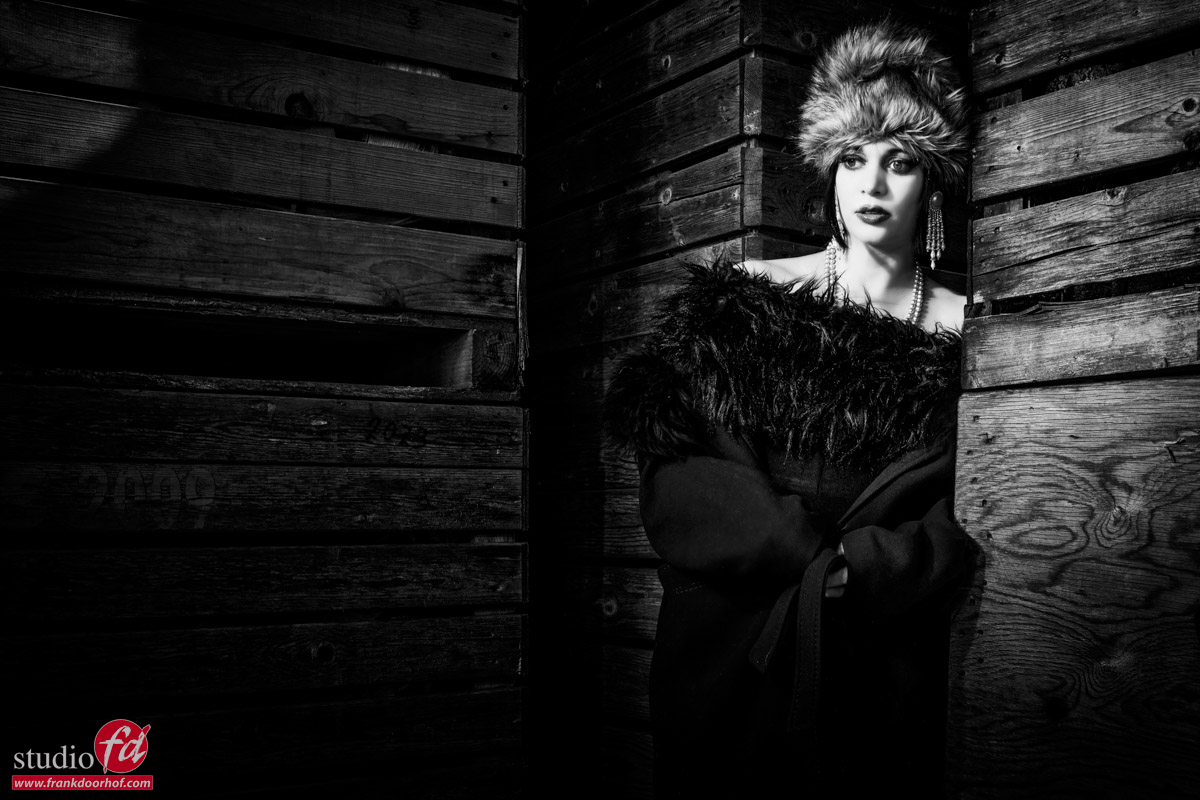
In this case I’m using the Geekoto strobes aimed at our model Nadine from the side to create a nice light patten on the crates. Although this was nice we wanted something more, so I added a blue gel to the set. But as you can see in the video and images we started with a more flat lighting setup.

Of course we can talk about, but often a video is much better, so here we go 😀

And also lets take a look at the images separately

Also want to visit a workshop?

Today I showed you the results from one of the sets we did during the workshop outside with Geekoto strobes “on location in Emmeloord” with Nadine.
During the workshops I always try to use 3-4 different setups explaining different techniques and of course it’s a great way to get a good addition to your portfolio.

If you think “that’s for me”
Than visit photography-workshops.eu for the Dutch workshops.
But if you are not living in the Netherlands or don’t speak Dutch we also have other options.
If you let is know 2 weeks in advance I can teach the workshop you want to visit in English.
Or if you can’t travel to our studio we also now offer the option to get a full 1:1 experience with 5 different camera angles, lightroom/Photoshop view and a talkback channel, you also get all the raw files and retouched results from the workshop. Visit our online workshops page for more info.

https://frankdoorhof.com/web/wp-content/uploads/2024/09/Nadine-20-September-21-2024-copy.jpg 800 1200 Frank Doorhof https://frankdoorhof.com/web/wp-content/uploads/2015/03/studioFD_Logo-1FV.png Frank Doorhof2024-11-18 18:00:582024-11-06 17:16:58Working on location with strobes and making something boring interesting
Page 1 of 3123

Newsletters

Subscribe to our newsletter for updates, discounts, and much more

English news letter
Dutch news letter

Interesting links

Here are some interesting links for you! Enjoy your stay :)

Snel naar

  • Blog
  • Learning with Frank
  • News etc
  • Reviews
  • Shop products & books
  • Contact

Contact

Studio Frank Doorhof:
Constructieweg 8
8305 AA Emmeloord

The Netherlands
+31-6-14522327

Or Email : info@frankdoorhof.com


© Copyright 2000 - - Frank Doorhof
  • Link to Facebook
  • Link to X
  • Link to Youtube
  • Link to WhatsApp
Scroll to top Scroll to top Scroll to top