Using separation with smoke to glue the scene
Sometimes it’s not black and white
People often claim that “this is the way” and “the only way”.
For photography I always think “there are more ways to do it”.
And that goes without a doubt when we work with smoke.
When I explain using smoke I often explain it’s best to first built the background and then use a small puff of smoke on the front.
This is indeed a great way to use the smoke to glue the set together, but that doesn’t mean that you always have to use smoke in the front. Sometimes it can be great to have a real cut out effect. Especially with smoke.
So let’s take a look at the difference.
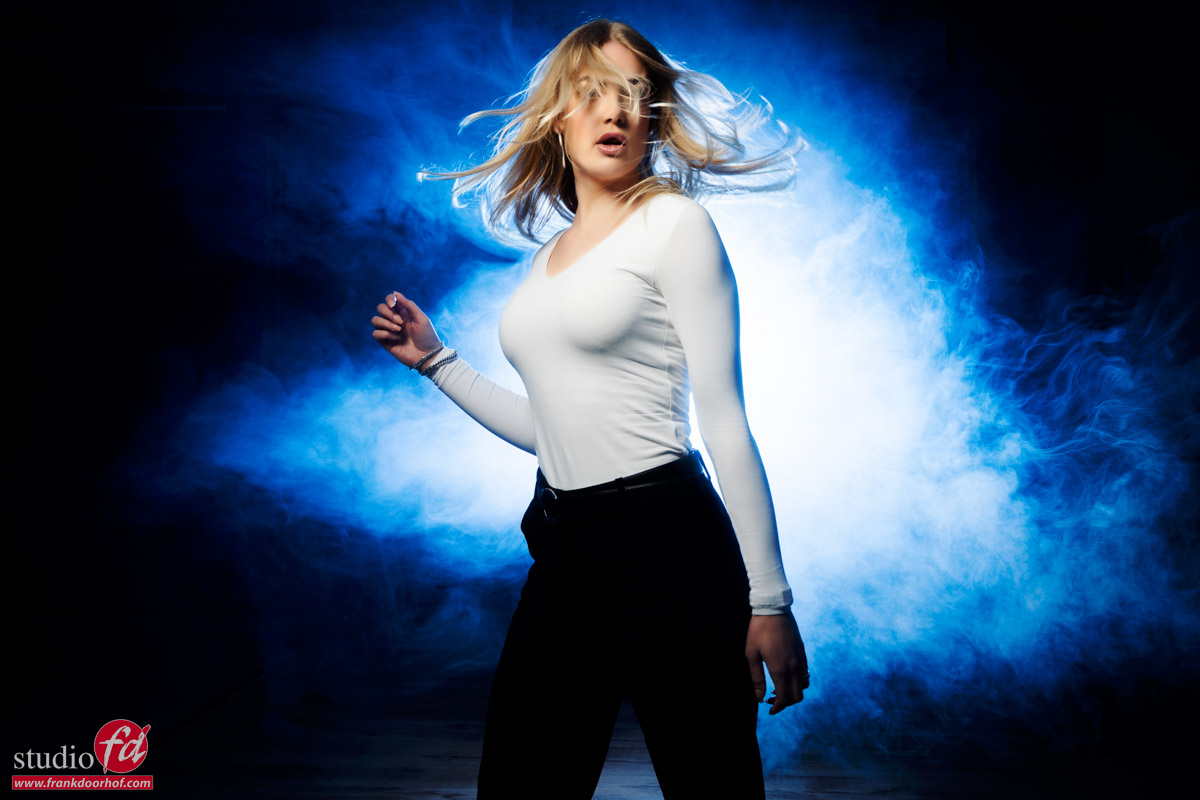
In this image I’m using no smoke on the front.
One strobe is behind the model aimed at her back, and we only used the smoke machine in the back.
The result is in this case a loss in detail in the black pants.
Would she be wearing lighter pants you would probably see some faint details, but it will be very dark.
The contrast between the background and the foreground does create a very nice image.
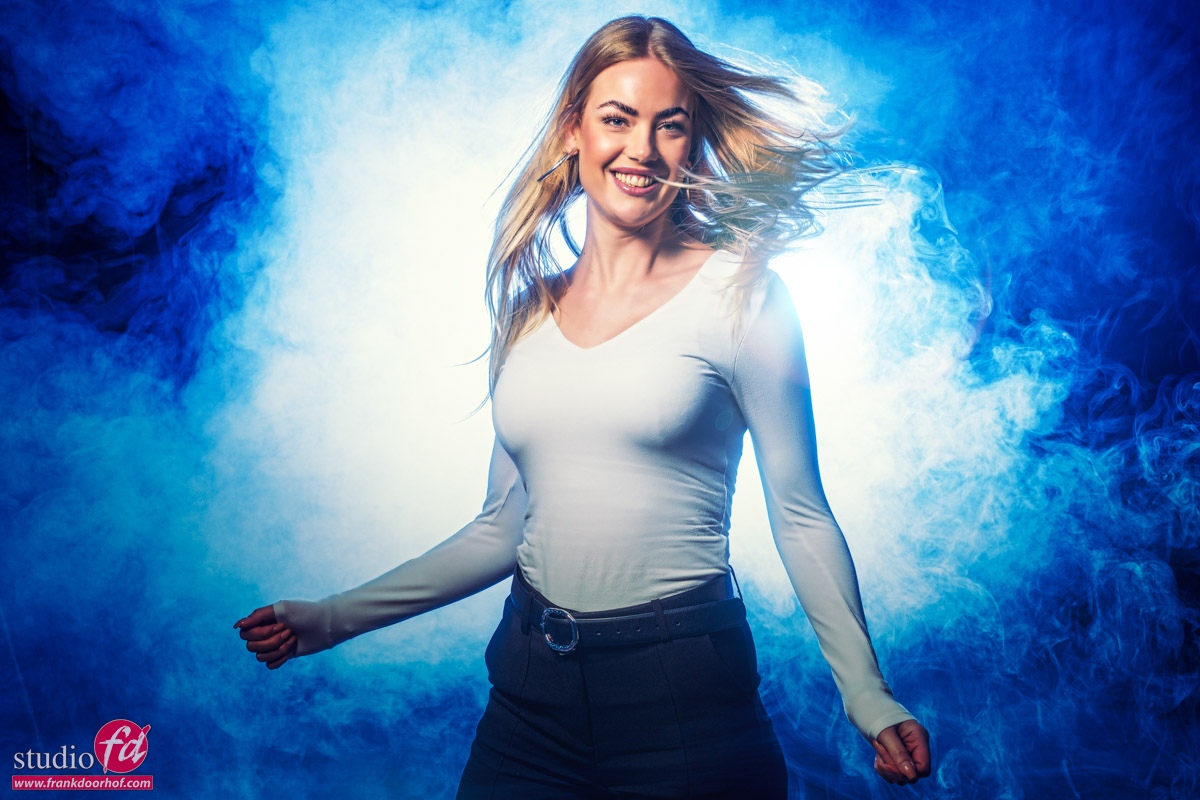
However if you want to glue the scene together a bit more, It will help to use a little bit of smoke in the front.
Aim the machine at the floor and wait for the smoke to drift up.
By using the floor you are in essence bouncing the smoke, making it more diffuse/haze, which works a lot better when you just want a slight “glue” effect.
Depending on how much you use it will look a little bit like this.
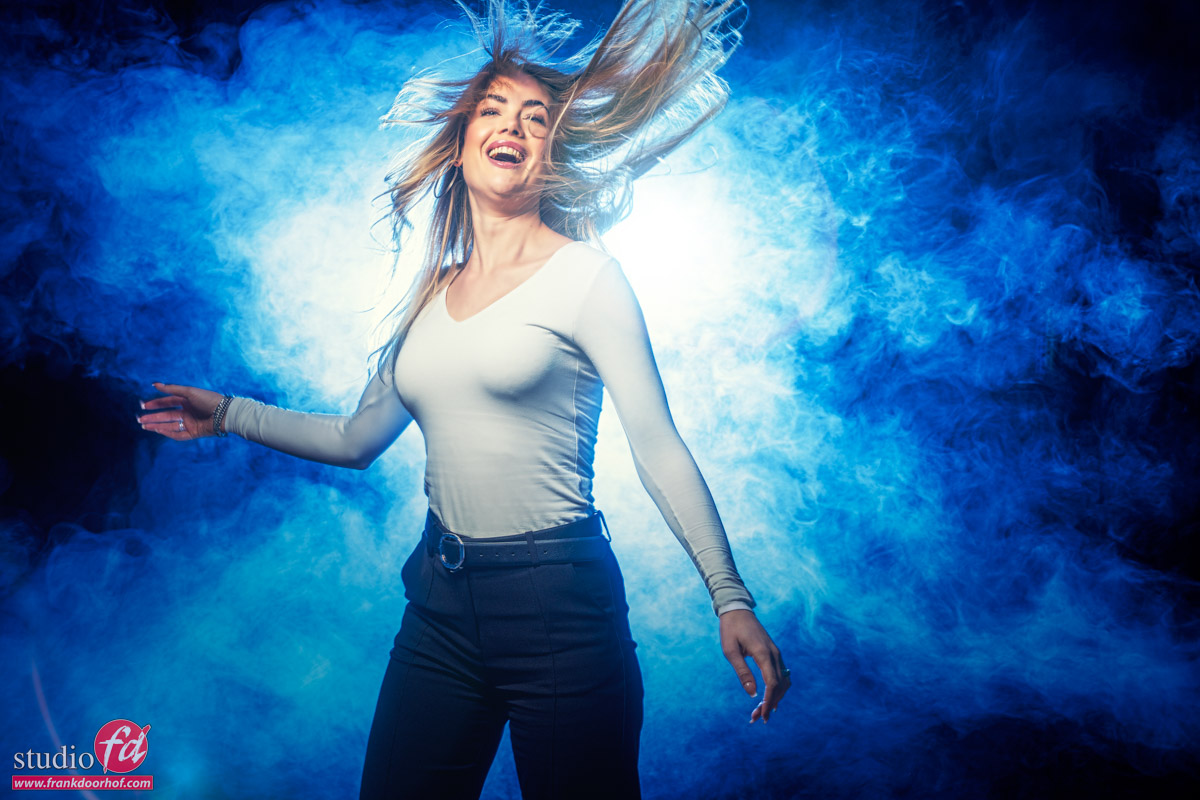
For me this is more natural, but loses that high contrast a bit of the first one.
In other words, both can work, but will give you a different look.
It’s always smart to first shoot a few images with only the back, smoke will often look like it’s gone but will still bounce back some light. So first shoot the background 😀
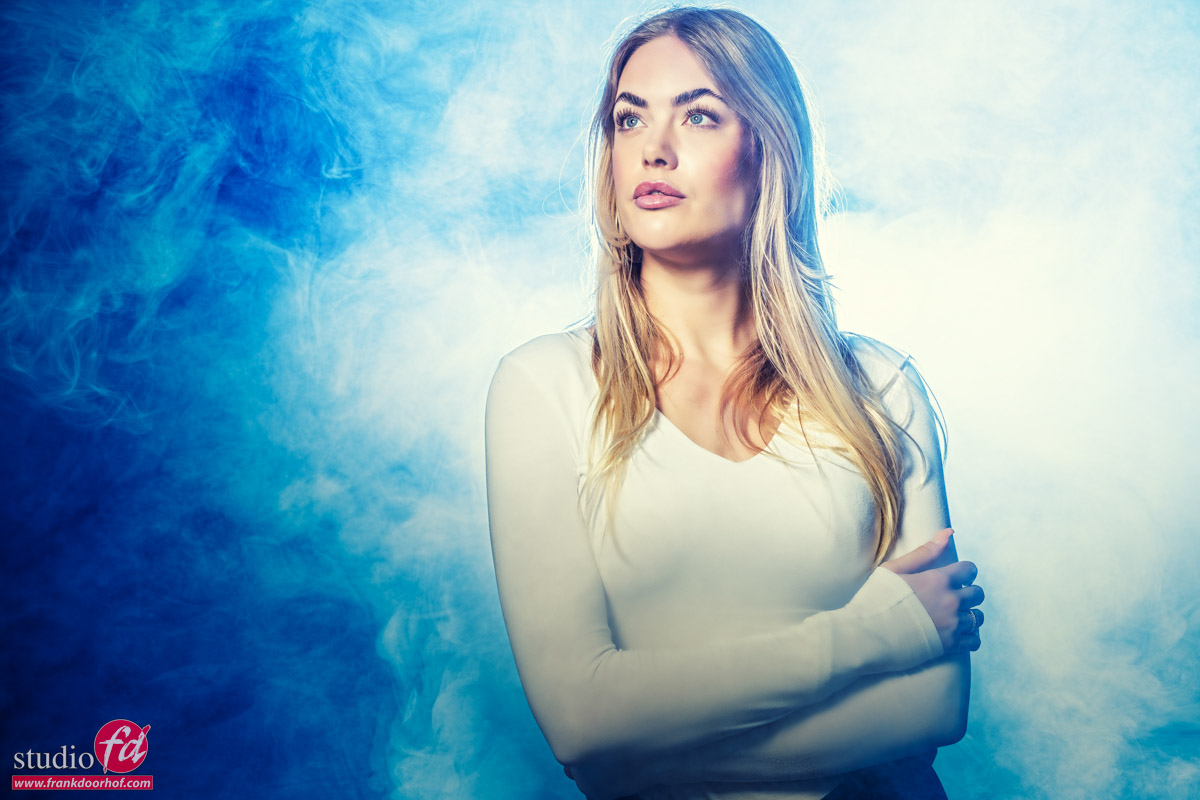
It also works great with portraits.
Next time we will start to add some effects in the smoke .
Workshops
Want to learn everything about light control?
Want to visit a workshop where it’s not just shooting a model with a fixed lighting setup, but see how the setup is built and adjusted to the taste of the group?
And of course learn how to work with poses, backgrounds, small sets, styling, retouching, and a lot more…..
If this all sounds awesome, visit fotografie-workshops.nl and book your workshop.
If you don’t speak Dutch, no problem, let us know a few weeks in advance, and we can switch the workshop to English.
Not possible to travel to the Netherlands?
We got you covered with our 1:1 online workshop.
We have a full streaming setup in our studio. 4 detail cameras and of course the retouching software, so you can see every detail and of course ask questions during the day. Plus, you get all the RAW files after the workshop.


