Finding the right angles and visualizing them
This is one of those things I struggled with a lot
and still sometimes it totally surprises me when I check my images later in Lightroom.
When someone asks me “what is the perfect lens” I often tell them my story.
When I started with photography I thought the 70-200 f2.8 was the lens that ruled the model photography business. (don’t ask me why).
And in all honesty it is an awesome lens for portraits, it’s great to fit your model jumping around on a relatively narrow backdrop, and the lens was razor sharp and focused great. So no reason to switch.
Due to a defect I had to work with my 24-70 for a while and although I was a bit worried that I would miss the 70-200 I was actually pleasantly surprised. To make a long story short, my 70-200 f2.8 is still unused in the safe.
Why the 24-70?
Working with the 24-70 gives me a few different choices I did not have with the 70-200.
The 70-200 always compresses the scene and that’s great for throwing the background out of focus, but at one point it also becomes a “trick”.
When I started with the 24-70 I found I loved to actually shoot at 35-50 a lot more than with I thought.
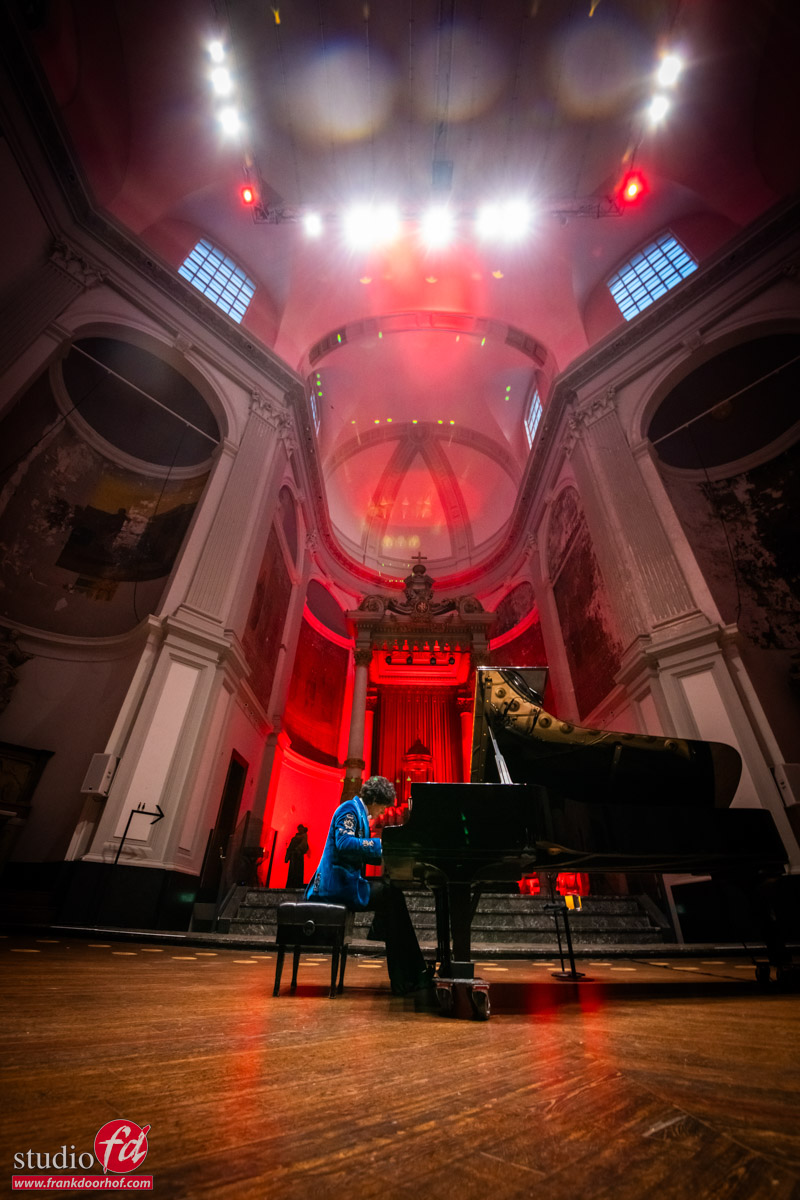
And slowly I started to experiment with 24 and that was it.
The extra depth you can give to a shot, and draw the attention of your viewer to the your subject is highly addicitive.
There is however a problem
With a compression it’s important to not go too far, because you will just squeeze your model to a flat 2D looking cartoon character.
But with the wide angle the same can happen, but in this case it can also give you the result you like when used correctly.
So it’s important to know how to work around this “distortion”.
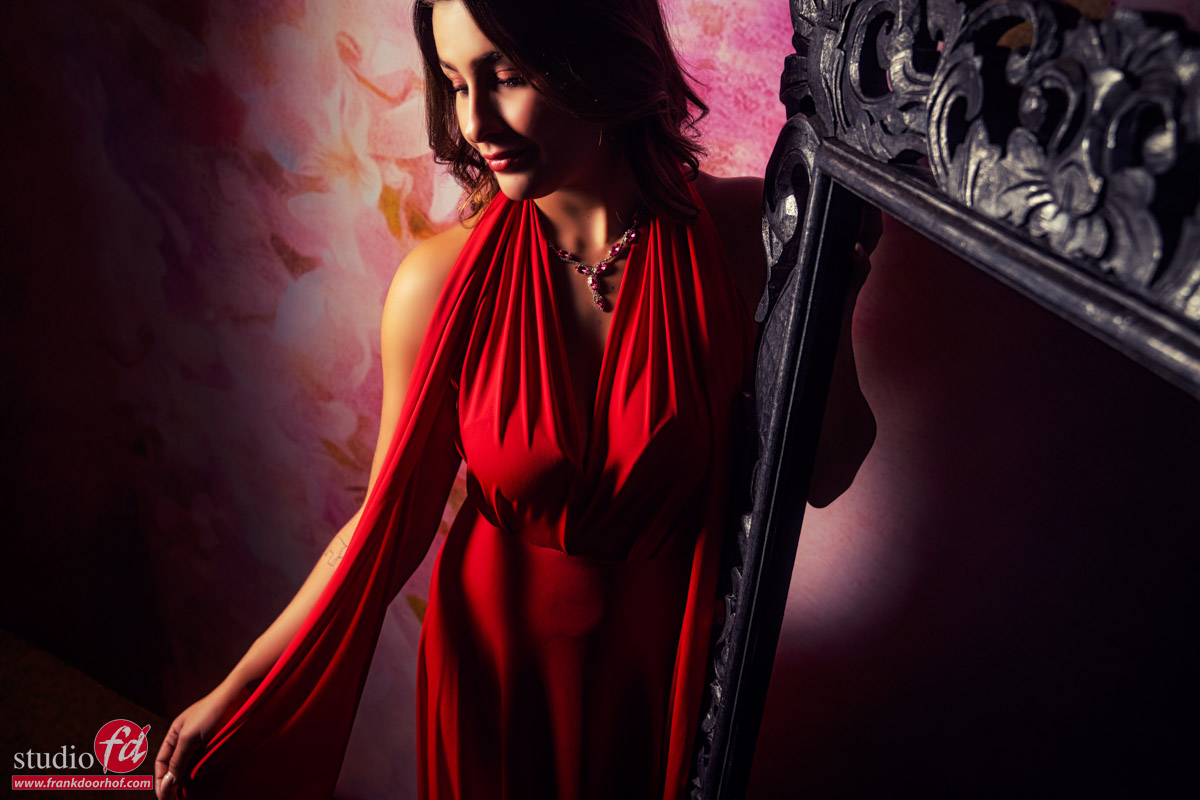
A camera doesn’t see “depth” it will render objects closer to the camera larger than objects further away from the camera in relation to the closest distance. In other words if you stand really close to your model and use a 24 mm you will get a lot more effect than the photo you see above.
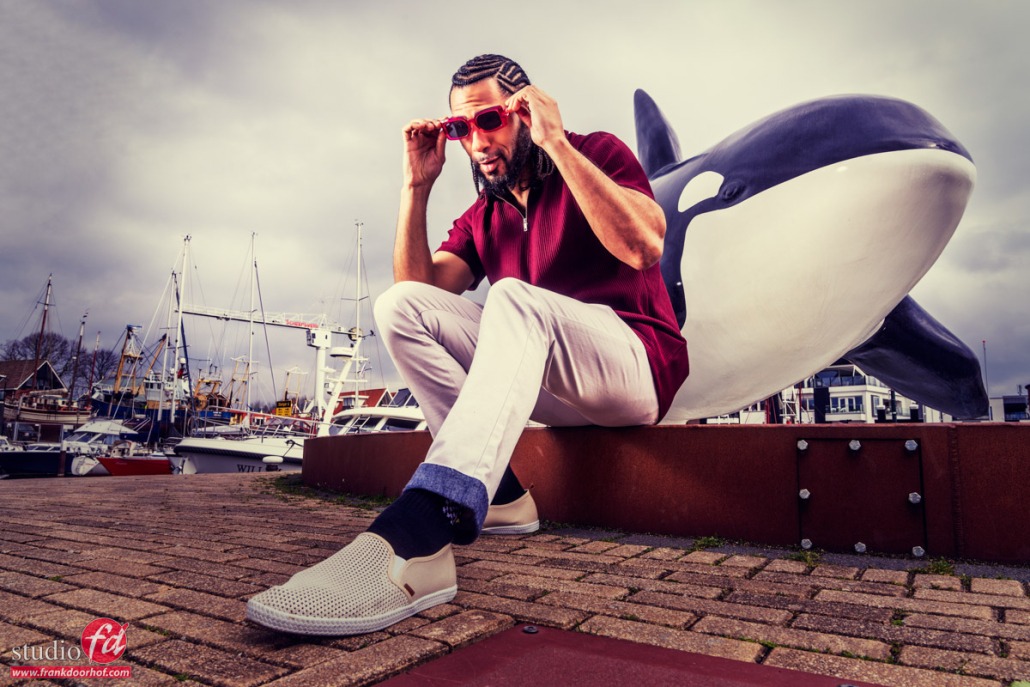
Now this can go wrong when we start to introduce props into the set.
And because video is always easier in these kind of situations we shot a tutorial.


