Because size matters, also outside
Today Part II from the workshop “Working on location in Emmeloord”
In this workshop, the challenge is to use not-so-interesting locations and create awesome shots.
In the previous blogpost we showed set 1 and talked a bit about the gear, today we dive a little bit deeper into the deep reflector. What gear do you need for an outside fashion shoot?
But first, let’s take a look at the setup.
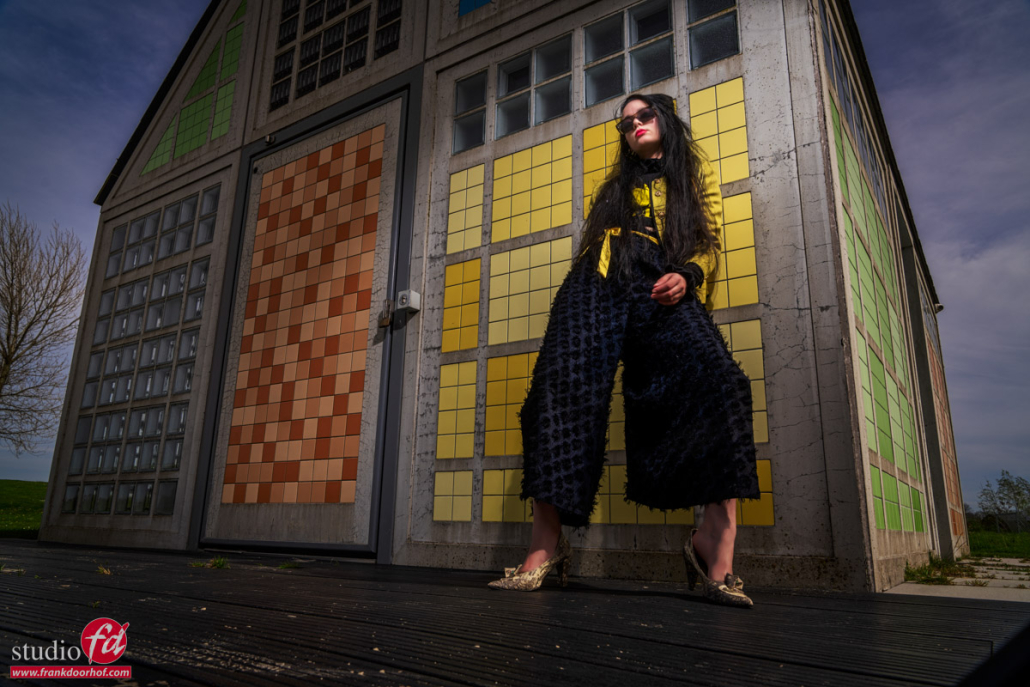
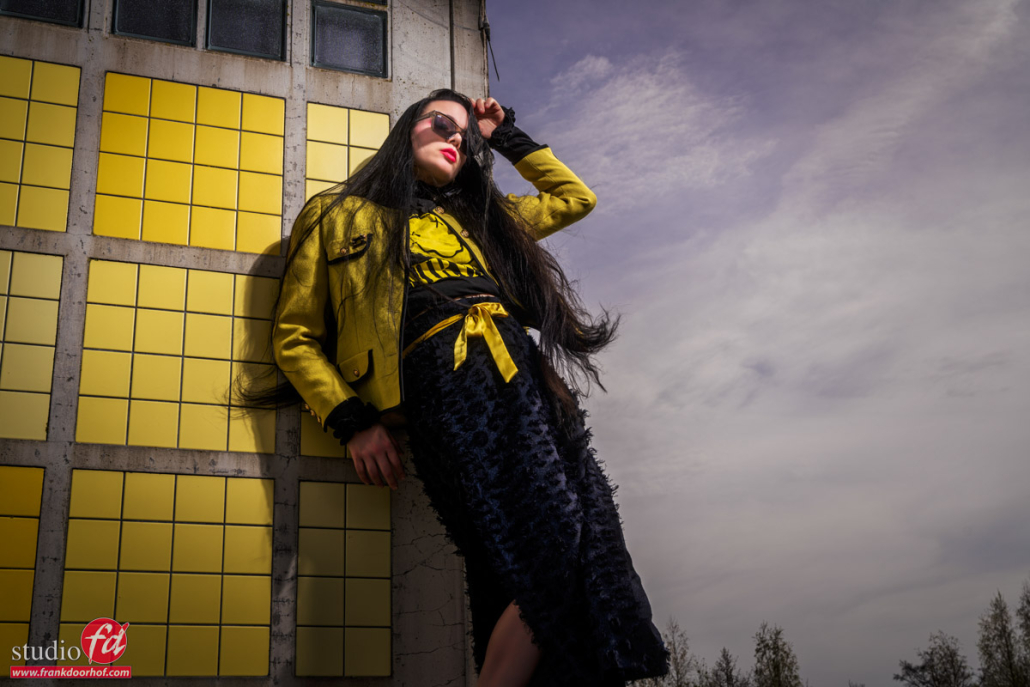
The third set we used during the workshop (set II will follow the next time) was a small house near the beach. This is an interesting location but in all honesty, I had the most trouble with this one to create something interesting. But by using the lines in the location and changing my angles of shooting, I think we got some interesting looks.
For the images, I used our Geekoto GT200 and a large reflector
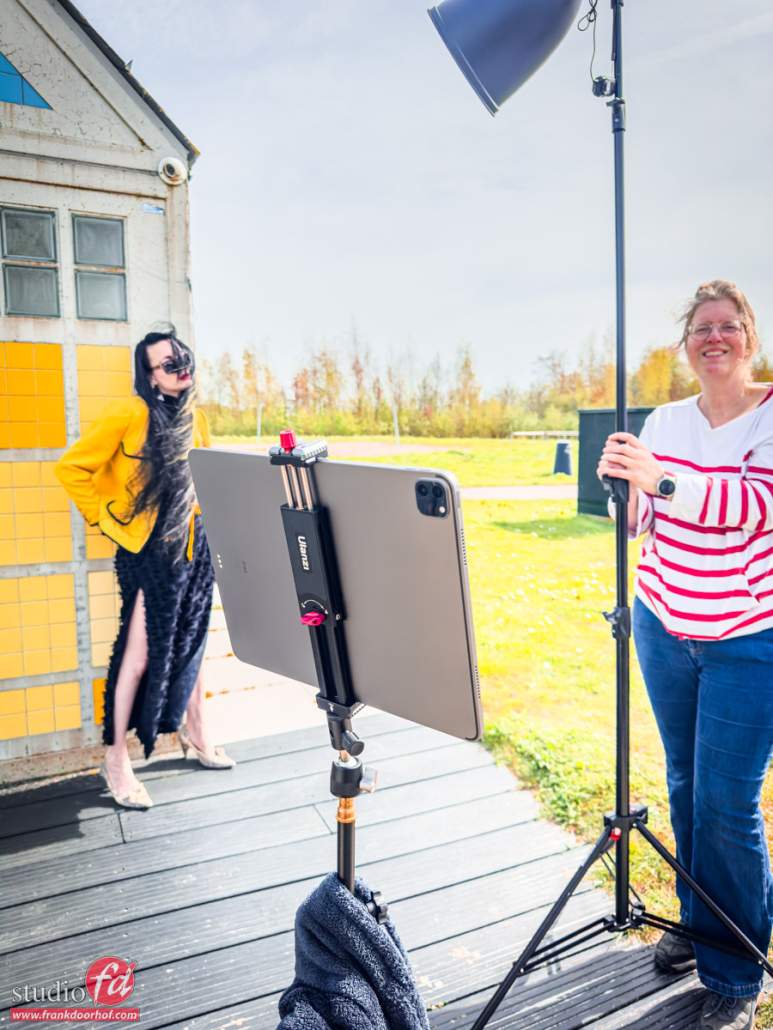
Outside my favorite gear is of course Annewiek, but also my iPad in the Ulanzi iPad holder and a large reflector.
Outside Fashion Shoot Gear, the must-have reflector
As you can see this is a pretty large reflector.
And that’s exactly the reason I love using those on location.
The thing is that even with a 200W strobe you are still not “killing” the sun from let’s say 3 meters distance. And when you love those Day2Night shots or love to shoot HSS you will have to run almost constantly on full power. But even with fill-in flash…. ok you get the idea without any reflectors even a 200W hybrid strobe with HSS is not perfect for all day Day2Night photography
However, as soon as we add light shapers, the story becomes different.
When we add a striplight like the Rogue flashbenders or any other brand of course we will actually lose light output compared to the bare strobe.
But luckily we can also add light to the output.
You probably also know from studio use that reflectors can have a huge impact on the light output of your strobes. And the same goes for outside. We are using a Bowens converter to hold our Geekoto and connect the reflector. The reason the reflector is so deep is that it will focus the light more the deeper the reflector (on average, it also depends on the material of course). In usage, this can mean the difference between shooting a strobe on 1/3rd power instead of full power, and that is something you really notice.
As a bonus I love the look of these deeper reflectors, they are not as harsh as some smaller reflectors but they still give a tremendous deep shadow and high contrast. If you order one make sure you also order a grid if that’s available. I’m using a generic brand from AliExpress, if you are shooting with Hensel it’s called the 14″ reflector (which is even larger than this one) and for Elinchrom it’s called the MaxiLight or MaxiSpot. I highly recommend getting one for outside work. The reflector is really my favorite gear on an outside fashion shoot.
The iPad solution is another must-have for your shoot on location
As you can see in the image I’m using an iPad on location.
I’ve been using MacBooks for years but the disadvantage of a MacBookPro is that they are very fragile on location, they can easily fall, attract dust like crazy, and have loads of openings to collect dirt. Plus they are very expensive to replace or repair.
The iPad on the other hand can be securely fastened to just one stand with the awesome Ulanzi holder (we got so many questions about it that we added it to our webshop).
The nice thing about the iPad is that it will run all day on one charge and the light output is really nice for outside work, as long as there is no direct sunlight hitting the screen of course.
During this workshop I shot wireless to the iPad but in 99% of the cases I’m using an IQwire USBc-USBc 15meter tether cable to shoot to the iPad using CasCable. I’ve been using this combination for a while now and it never disappointed me. If something goes wrong the advantage of the iPad is that you just close an app and start it again and it all works fine again. But to be complete I’ve experienced a super smooth workflow so far with little to no problems. This is also the main reason you see me using the iPad more and more during shows. Especially with Adobe releasing great updates to their Lightroom and Photoshop apps which makes the iPad a real workstation nowadays.
Especially on location, you want gear you carry around easily and don’t have to be afraid that something falls during the hike to the next location.
The results
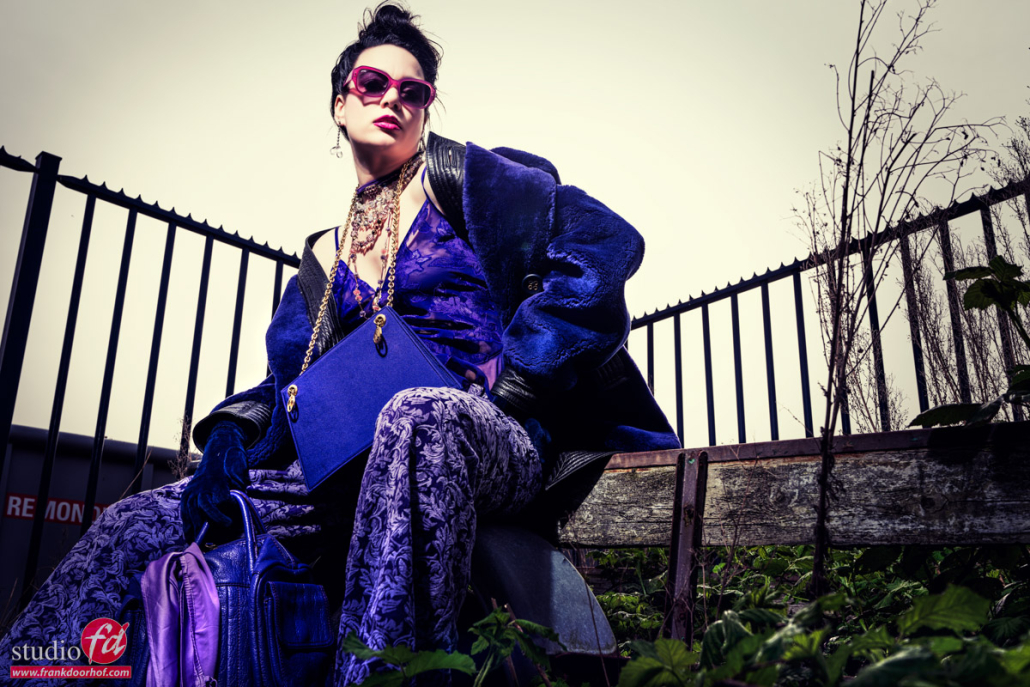
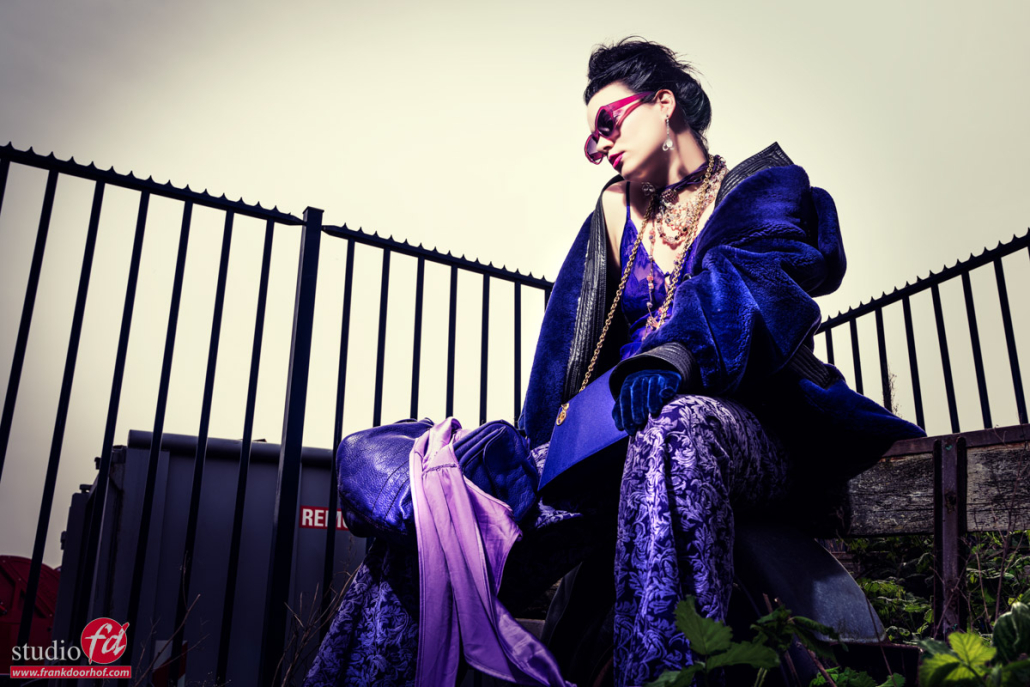
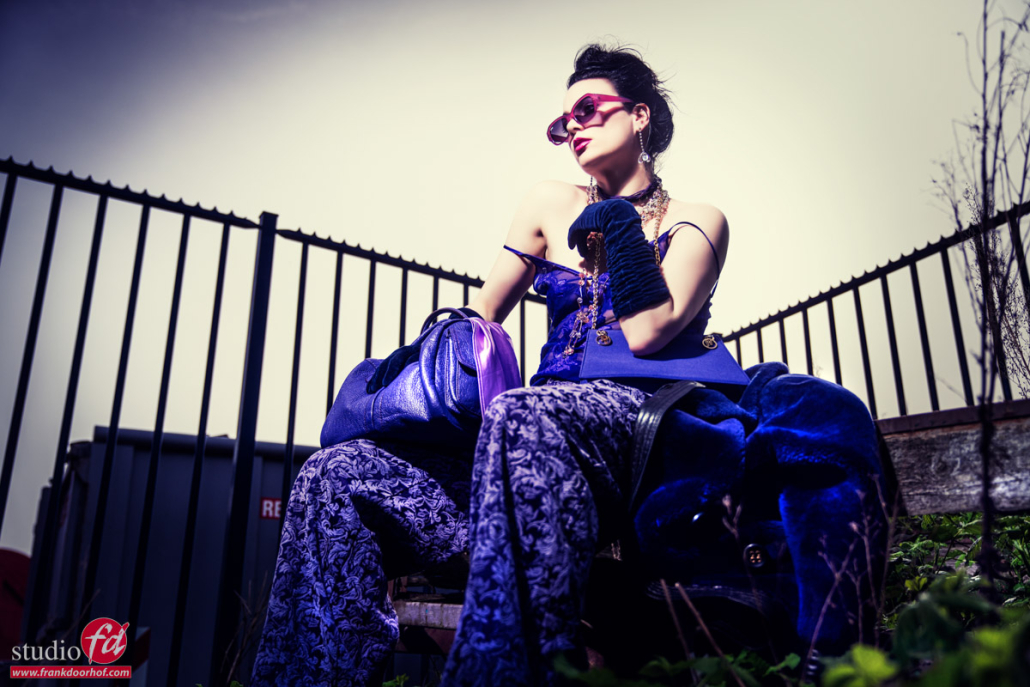
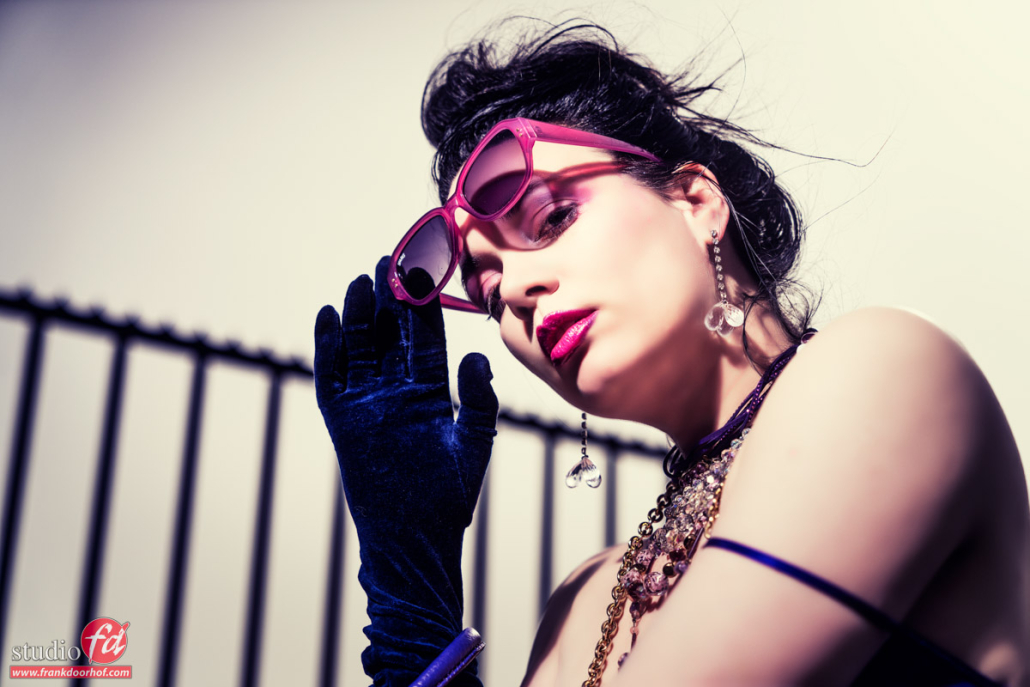
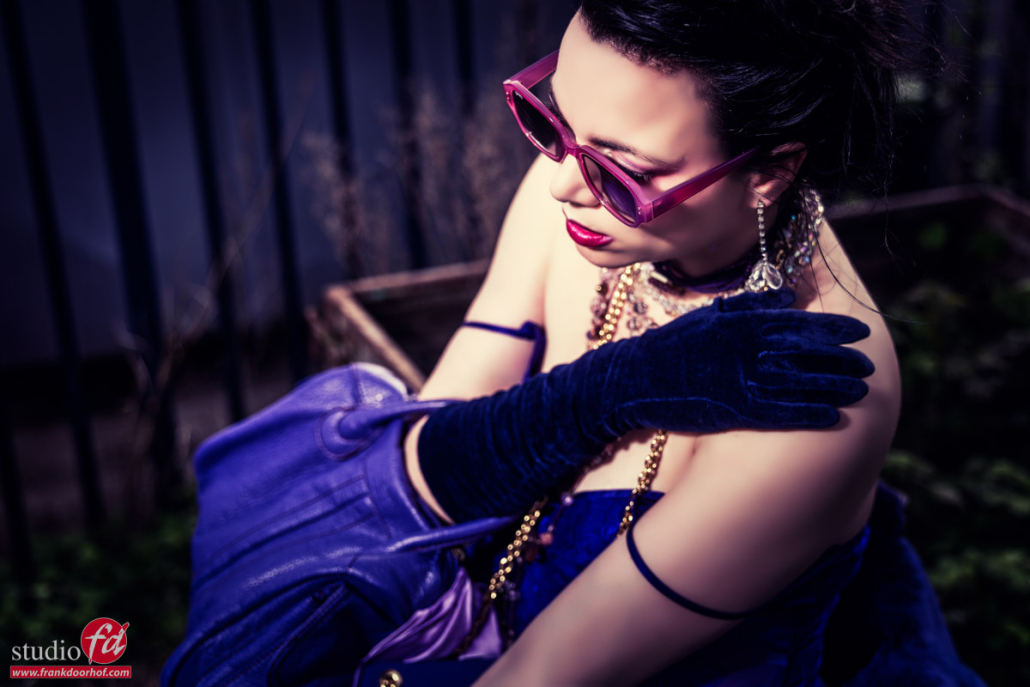
Ok let’s take a look at the results from the third set during this workshop (next time set 2)
Model/Styling: Nadine
Sunglasses: Sparks
www.fotografie-workshops.nl for the Dutch workshops
www.frankdoorhof.com/shop for my gear
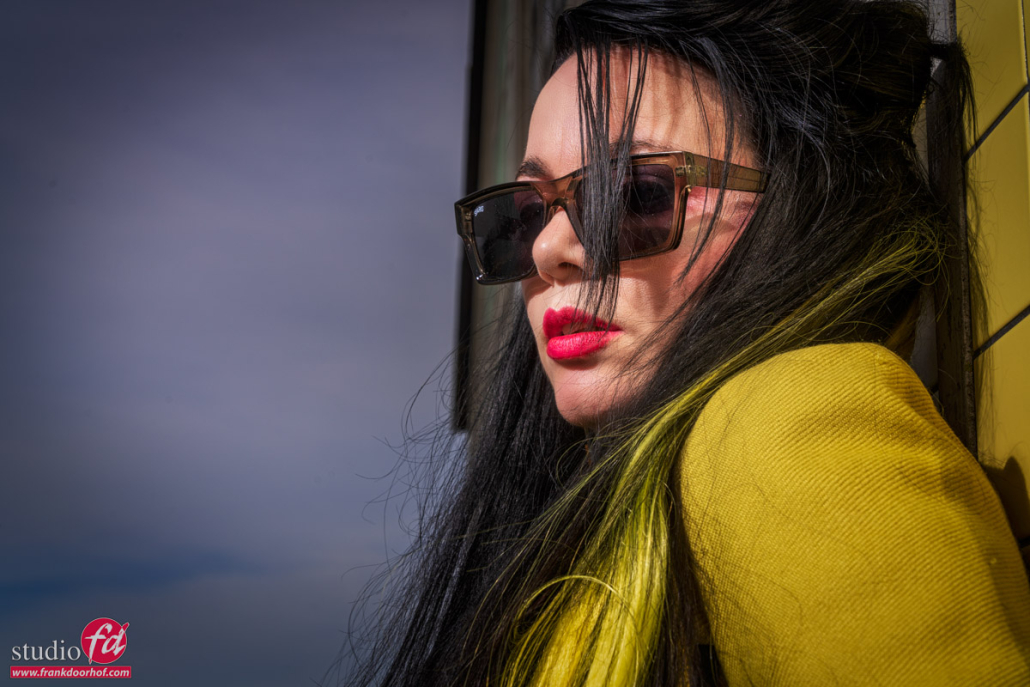
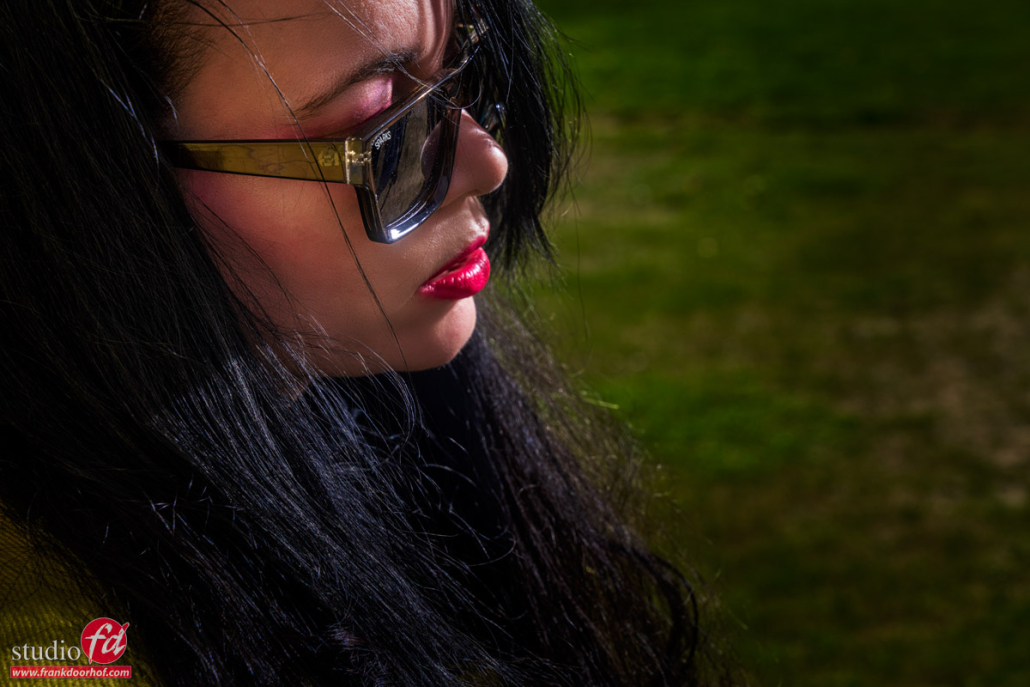
Just a bit more light on the model’s face with the reflector
