A cool set with clickbackdrops
Building a set can be easy
Using a set in your photoshoot adds a lot.
When I started out with modelphotography I mostly shot on seamless (paper) and although it was a lot of fun working with different colors at one point you get a bit bored with it and I started with using custom walls with paint, structure or wallpaper.
A few years ago we came into contact with clickbackdrops and loved their huge selection of prints and the materials vinyl and especially pro-fabric (which mimics the old vintage canvas backgrounds without all the disadvantages)
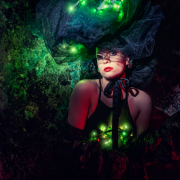
Today in the blog some images I shot during a workshop with Felisa.
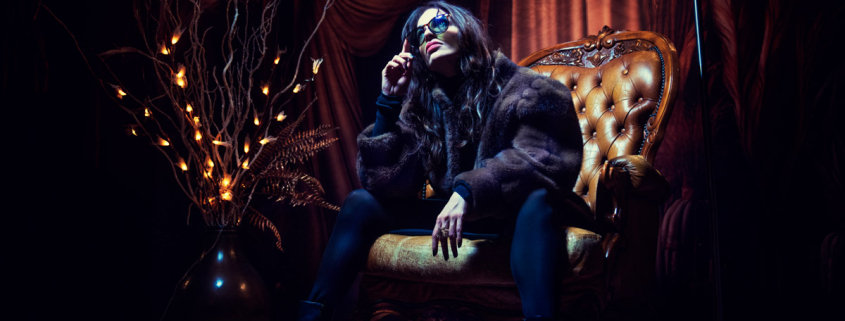
During this workshop I used the “boho drapes” background which can be used without anything extra and gives a real sense of shooting on an old fashioned set.
But it becomes much more interesting when you start to add some props.
In this case I added a chair for the model but also some branches with faint lights and a nice lamp.
For the workshop this is was a great setup to experiment with mixing light sources, finding interesting angles and of course also shoot some images without the strobes.
By using props in front of a scenic backdrop and taking into to account the way the shadows fall on your backdrop you can quickly create something that looks like it was shot on a cool vintage location.
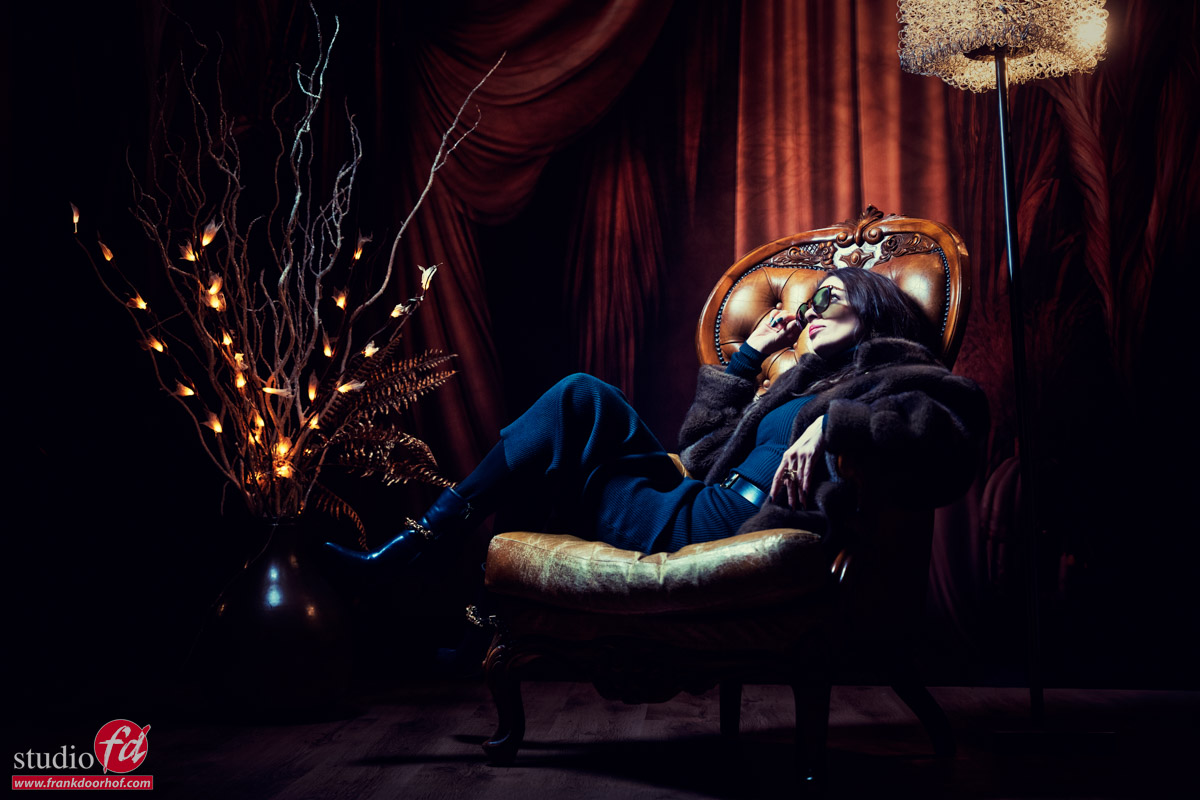
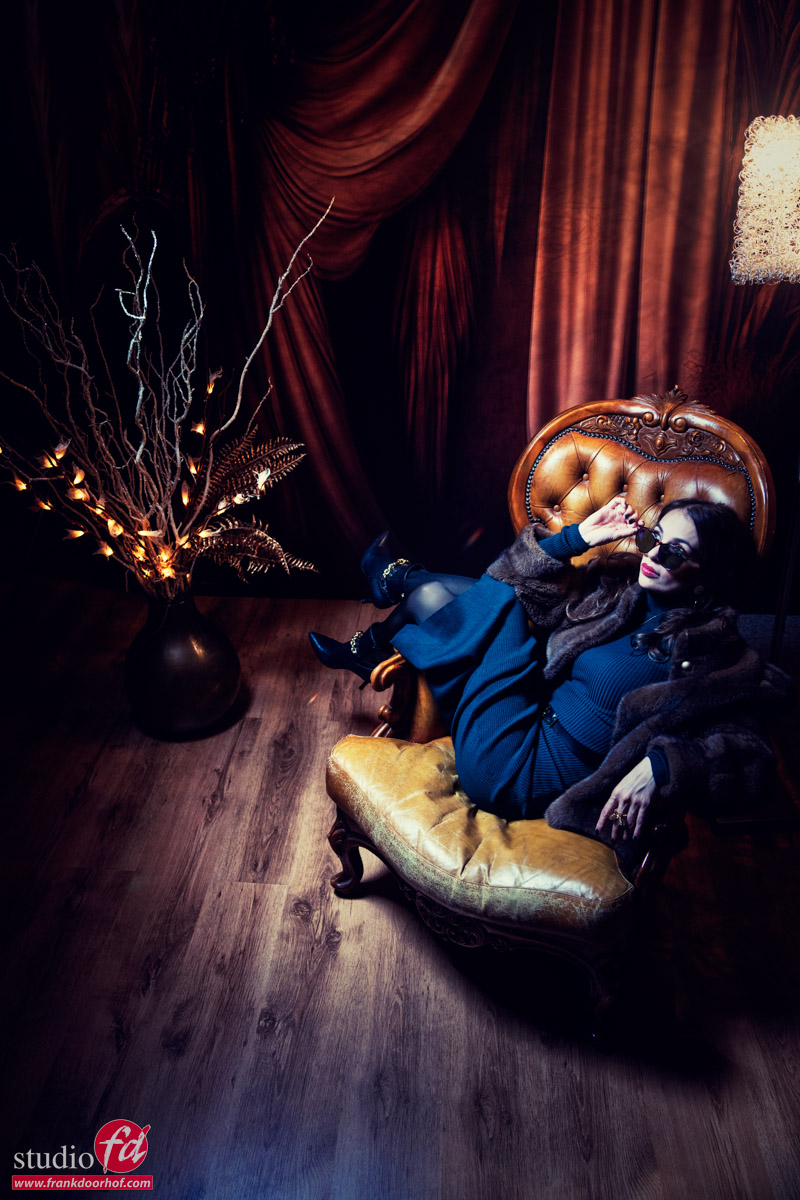
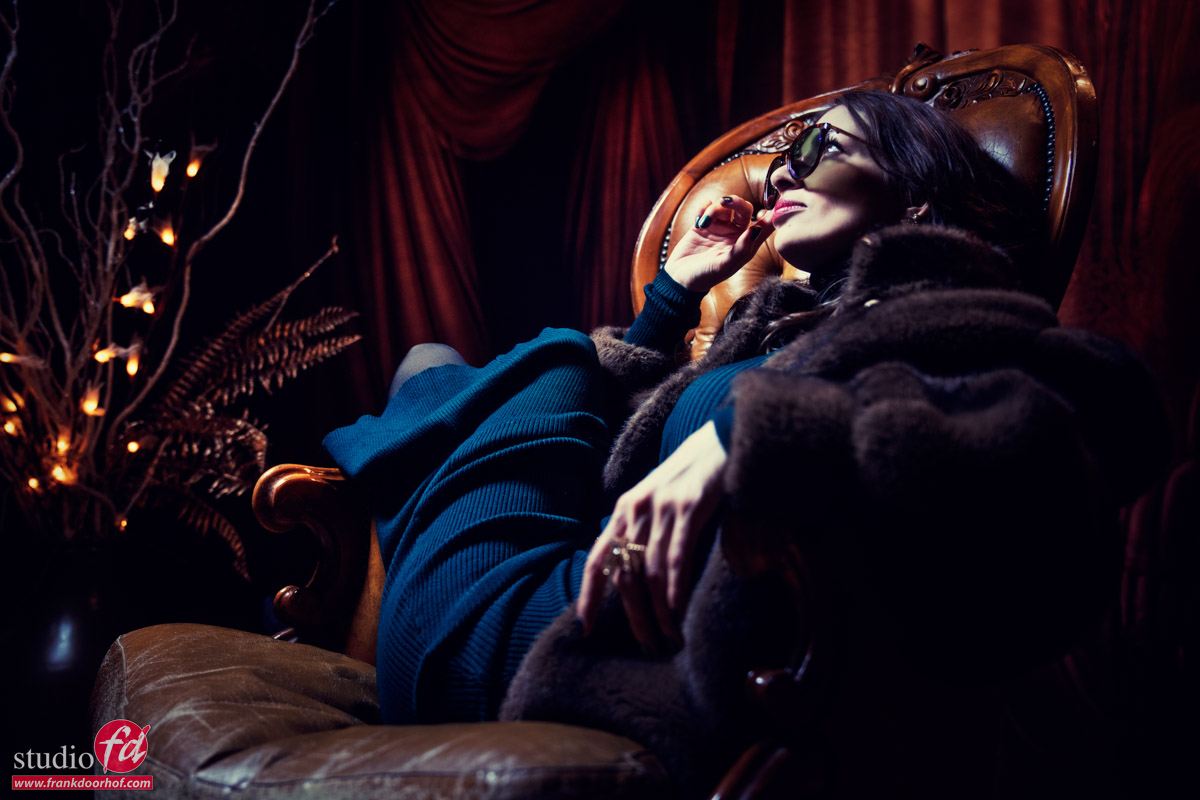
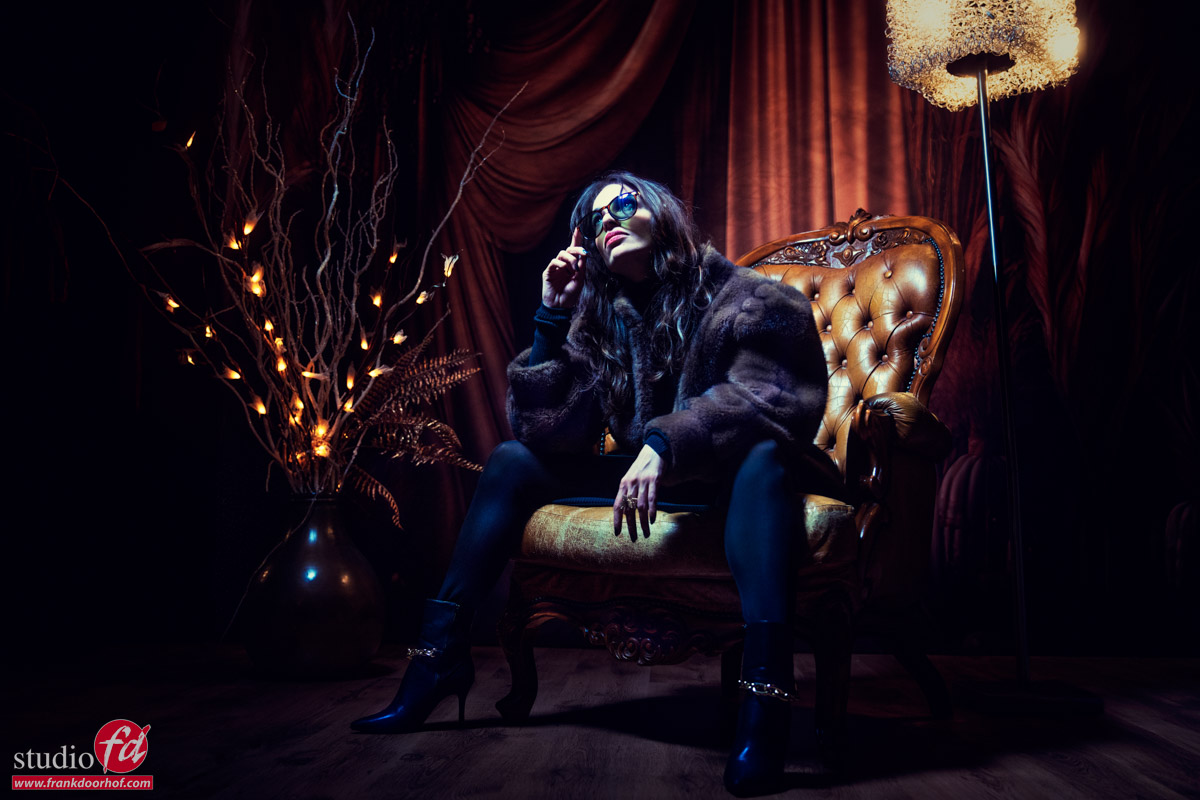
During the workshops I always try to include several “challenges” into the sets and mixing light sources is always one that is often requested.
In essence the technique is not that hard, but you need to realise some important facts.
The continuous lights are of course a lot less bright than the strobes.
The strobes however are just a pulse, and after the pulse they don’t emit light anymore, so when you shoot images like this it can be cool to leave the modelling lights on, but if you need longer shutter speeds it’s important to disable the modelling lights, if you use the longer shutter speeds the strobe will freeze the model, but the modelling lights will start to register on the model at one point, so if you don’t want this make sure you only use the pulse of the strobe.
Let’s set the shot up
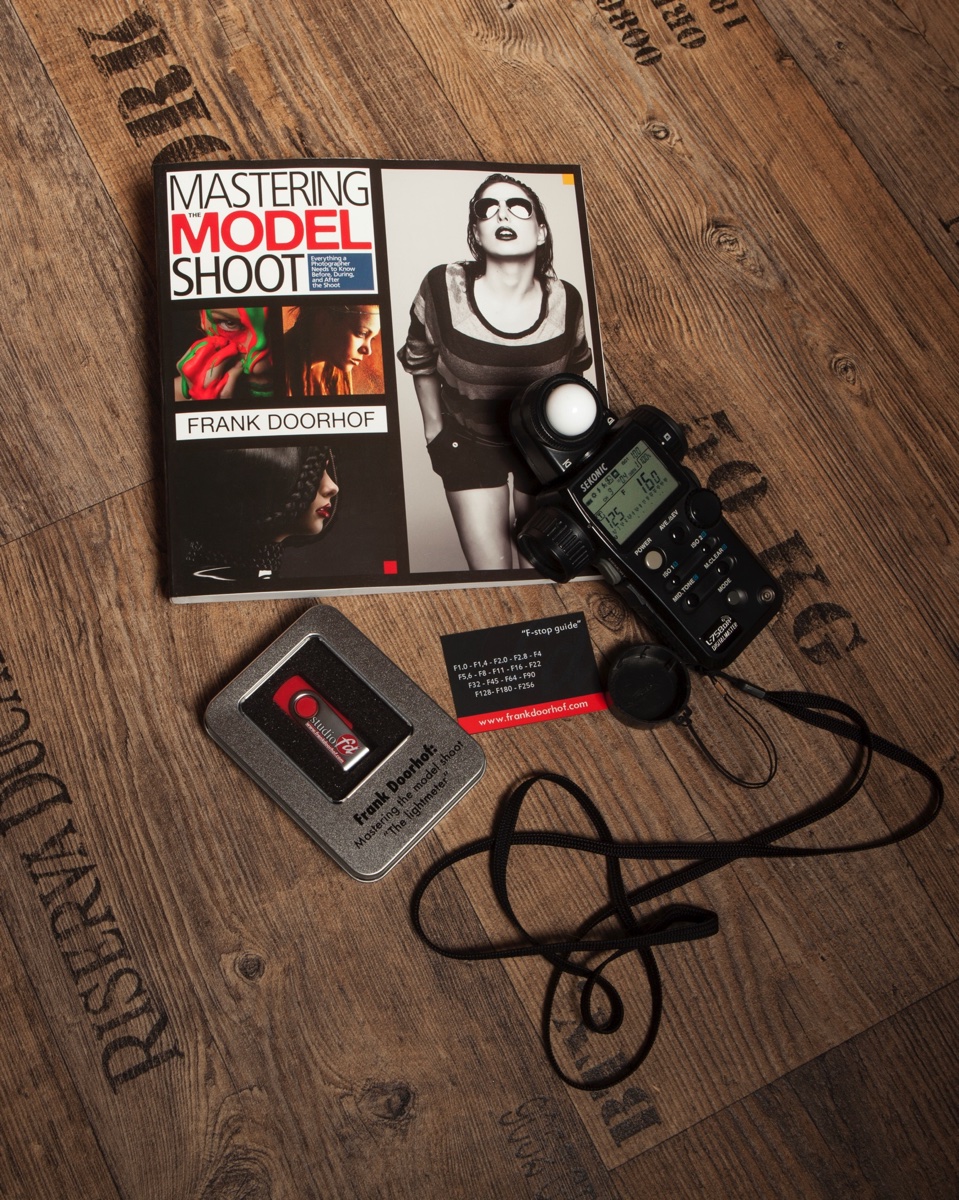
For a quick setup I’m using a lightmeter.
The Geekotos I’m using can go really low in their output, which is a huge benefit for these kind of setups where you mix faint light sources with strobes.
With the Geekotos it actually often means that I don’t have to use them on the lowest setting, which gives me more headroom to correct the balance without having too much noise in my images. If you use strobes that are more powerful or can’t go lower on their output it can help to choose a different light shaper, for example a striplight with grid will eat light while a metal reflector will boost your output. If you tried everything and just can’t go low enough think about adding a ND filter to your strobe (not the lens).
But let’s continue with my setup.
First I will meter the strobe on the lowest setting, when I know my aperture I will raise the ISO on the lightmeter till I hit that aperture (the light meter will calculate the aperture in real time when you change the ISO values).
Now it’s important to put the camera in the “exposure compensation” mode when using an EVF.
Look at the EVF and change the shutterspeed till you like the output of the lights.
Longer shutter speeds means more light from the continuous lighting, and as long as you don’t change the output of the strobes and ISO the shutterspeed will have to influence on your strobe output (as long as you take into account the Xsync of your strobes, max shutterspeed).
As you can see it workshops great when you mix continuous lighting with strobes.
I love to keep the color of the continuous lighting warmer than the mainlight, but if you want to correct the strobe to mimic the color temperature of the continuous lighting you can use so called Color Correction gels.
Workshops
During the workshops we always try to shoot at least 3 different setups with different challenges, if you want to visit one of the workshops visit fotografie-workshops.nl
The workshops are in Dutch but if you let us know a few weeks in advance we can switch to English.
We are also now offering online 1:1 workshops live from our studio, where you can ask questions, see all the light setups via 4 cameras and see the whole retouch process.

