Building a solid foundation
This weekend we had a nice discussion during one of the workshops about being creative and using all the tools like light meters and color checkers.
Somehow a lot of people now a days are only trusting their instant polaroid on the back on the camera, we have grown to know as the LCD display. This LCD display indeed shows you an image, and a histogram and of course shows you were the image clips in the blacks and whites, so what more would one need ? Well as mentioned some times before on this blog the histogram is highly inaccurate because it’s based on the JPEG tumbnail that is part of each RAW, but it’s also based on the settings like contrast and brightness which have no influence of the RAW files. Same goes for the color temperature. As explained in a previous blog post the use of the light meter is of vital importance to get the “diffused value” correct, or in more simple terms, make sure the “brightness/skin tone” of your model to be correct time after time and under different situations.
The colorcheckers are used to get the color right.
There are many different ways to achieve this, I’ve done experiments with both the Spyder colorchckr and Xrite color checker passport both I love to use. The color checker passport is great to make a custom profile for your camera, the colorchckr is used for every setup to get the overal color much better. But if you have to choose one my preference is the passport because both the software and the workflow is easier and quicker and the results are with both product great and with both combined without a doubt more than adequate 🙂
No creativity
According to some (more than you think) using all this technique and tools is killing of creativity.
“just shoot and concentrate on the story, forget about all those tools, they are making the shots too technical, too perfect, too clean”.
Yeah ok, I get this.
However I think those people are missing a vital part of the think process.
Let’s look at it from this angle.
We have two architects. Both are very creative and want to build a building that’s the best in the world and breaking all common rules of standard and make people go “WOW”. Number 1 will start building his/hers creation from the ground up and is finished before you know it.
Number 2 starts with digging in deep and making a foundation below ground level and builds his/hers creation on top of this.
Both buildings are breathtaking.
Both buildings make people go “WOW”
Both buildings win prices…..
However suddenly there is simple small earthquake.
Building 1 immediately tumbles to the ground and is done with.
Building 2 has no problem at all and stays solid.
Now people can only see building 1 and architect 2 has to start from scratch.
One could wonder what this has to do with photography.
Well let me explain.
Not visible but still visible
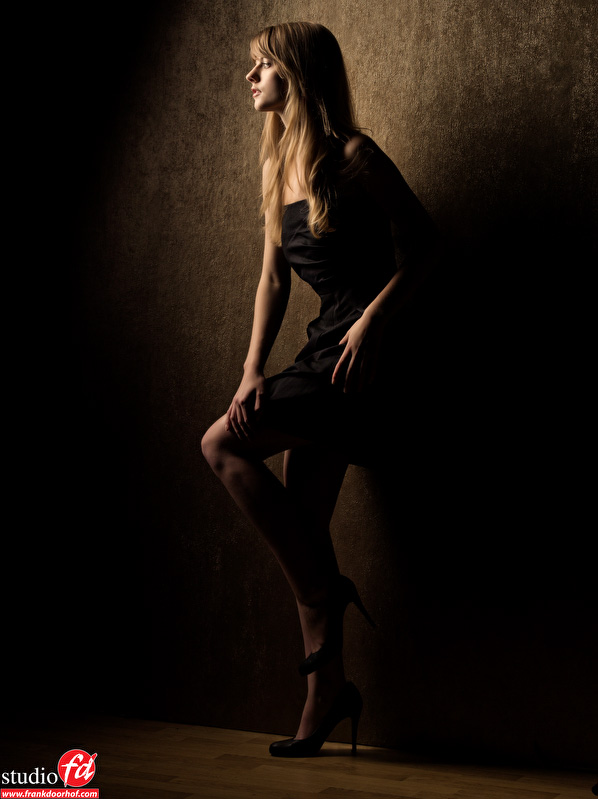
Using technique the correct way is like a foundation for a building, you can’t see it in the end result. Just browse through my portfolio, you can see a lot of different looks, you will also notice that most of my models will vary in skin tone, skin brightness etc. I just love to experiment with looks and vintage film effects, this means that my images when see in a whole indeed have a lot of variety and model 1 will not look the same today as 3 months ago.
HOWEVER….
I can do it.
All my images are shot with a profile for my camera (made with the colorchecker passport).
All my images are shot with the light meter to make sure my diffused value is correct.
This gives me a SOLID foundation.
After this I import the image in Photoshop and from that point on, everything goes.
In other words, my foundation to build upon is done during the shoot (light meter) and in my RAW convertor (color profiling).
After this however every thing goes, I can make my image darker, lighter, tint it, dodge and burn it etc. whatever I feel is fitting my vision and creativity. The main advantage for me is that when I find a look I really like I can recreate this, store it as action (or preset) and run it on EVERY image I want, the outcome will be the same because all my images start the exact same way, correct colors, correct exposure.
This makes the technique behind the shoot 100% invisible per shot, but 100% visible when a customer wants me to recreate a certain look. When you just “dabble” with your sliders and filters and don’t really have a solid foundation (good starting point that’s stable over the shoots) you can get the same results without a doubt, but recreating this is incredibly difficult, especially when the images will appear in one publication but are shot over several weeks/locations etc. Or to go back to the architect example, while you look at the images as loose images, they can be equal of quality (even beter of course), people will love them, they will win prices etc. But, when you have to recreate something or when something goes wrong with your workflow everything will come down and you will have to start from scratch, or say that you can’t do it…..
Mastering the techniques and using the tools, is very easy.
In a total workflow it will take you maybe 10 minutes extra work per day, but in the end it will probably save you many hours when looked upon in a year.
Feel free to comment and share your thoughts, even if you think this is total rubbish 🙂





Very well put Frank. I don’t yet use some of the tools you do but I can really see why it’s so important. I have been doing some editing on a model shoot and the consistency in the images with the same effect varies, no matter how careful I am. This has been in my thoughts a lot while editing and I don’t really like it. You’re right, when I’m dabbling I can’t recreate the look with another image. I hear people getting at you for the light meter but your portfolio speaks for itself and it’s amazing.nGreat post, thanks for all the great advice. I’m saving for my light meter & colour checker.:)nAll the best, Jonathan
You will love it when you get them, makes it a lot easier.
You will love it when you get them, makes it a lot easier.
Great read Frank. Yes, I totally agree and I love how you described it. In the photography business you definitely have to think outside the box or everyone’s images look alike. I have the colour checker but am still waiting to get my light meter. Thanks for posting.
Hope you have it before Vegas 😀
Hope you have it before Vegas 😀
I’m still having mental trouble trying to grasp how to work with a light meter. Since most of my indoor work is TTL with Nikon flash, not pocket wizards that the light meter can talk to. It’s my mental process and I can’t figure out how to bridge that. I’ve been using the passport for awhile
You can trigger the strobes with your transmitter.nIf you’re shooting TTL you don’t get a good reading (no use), when shooting full manual it’s important to measure, just use the trigger in the camera or on the camera to trigger the strobes and take the reading.
You can trigger the strobes with your transmitter.nIf you’re shooting TTL you don’t get a good reading (no use), when shooting full manual it’s important to measure, just use the trigger in the camera or on the camera to trigger the strobes and take the reading.
I like the way you put this together Frank! I think non-lightmeter users (if there is such a word) are so used to doing this auto this auto that, they don’t realize the benefits that it holds. Example I have see quite a few videos on kelbytraining.com and you and maybe Jack Reznicki used a meter. I am still stuck myself on calibrating my meter but understanding the difference between incident and reflective makes a world of difference. Yes when I meter it comes out too dark or too light still looking for that medium
If it comes out too dark or too light you’re measuring technique is not correct I’m afraid. Often it always comes out .x stops too dark OR too light. That’s why you calibrate. nnDo you measure close to your subject, TOWARDS the light source ?nnIf you measure towards the camera there will indeed be differences in exposure.
No I meter towards the lightsource. I will post example of what i did
Please do. nWhen you measure the SAME setup several times does the reading change ?
Very interesting Frank! Your blog is always very informative and interesting to read.
Thanks. Spread the word 😉
I second that Frank.
One of the best photo blogs around.
Thank you so very much. Really appreciate that.
Great post as always, I think when you first start using a light meter you need to go in to it with the same mindset as with any new piece of gear or software. Study it, read the instructions and practice with it. What at first might seem foreign and difficult if you practice will soon become second nature and you can fly right through it. I for one much prefer to spend my post time enhancing my images and not fixing them.