How to read a light meter
How to read a light meter?
A light meter is a tool to meter your light. Some photographers think it is something from the old days. Others don’t “need” one. And some people never use it. I am a big advocate for using the light meter. In this article, I explain why and how you read a light meter.
Lightmeters are cool
Let’s start right away with a bold statement 😀
I know for a lot of people light meters are not the first thing they think about when starting with photography. But that’s wrong. I might say it’s one of the most important parts of your kit.
Why is the light meter so important?
First of all, we have to realize that we only see 3 colors as human beings.
We call those colors the primary colors, Red, Green, and Blue.
We also have secondary colors, Cyan, Magenta, and Yellow.
All colors are connected via the blackbody curve (white points for color temperature) and determine the colorspace.
Now how do they determine the colourspace you might ask?
Good question actually.
All colors within the colorspace have 3 coordinates, x y, and Y.
Hue, Saturation, and Luminance.
When we want accurate colors in our photos I think it’s clear we need to make sure the colors are captured as accurately as possible when shooting them.
We have 2 tools for this that work together.
The first one is the color checker (I’ll write a different post about that in the coming days) and the light meter.
The color checker is used to calibrate the colors in your RAW converter, but to get the colors (x,y) right we also need to get the Y correct and that’s where the light meter comes in.
It’s super easy actually
Sometimes, I feel a little bit like the light meter helpdesk with all the questions about the use of light meters. And most problems occur by not understanding the meter, so let’s dive in.
First of all, let’s make it clear…. it’s really super easy.
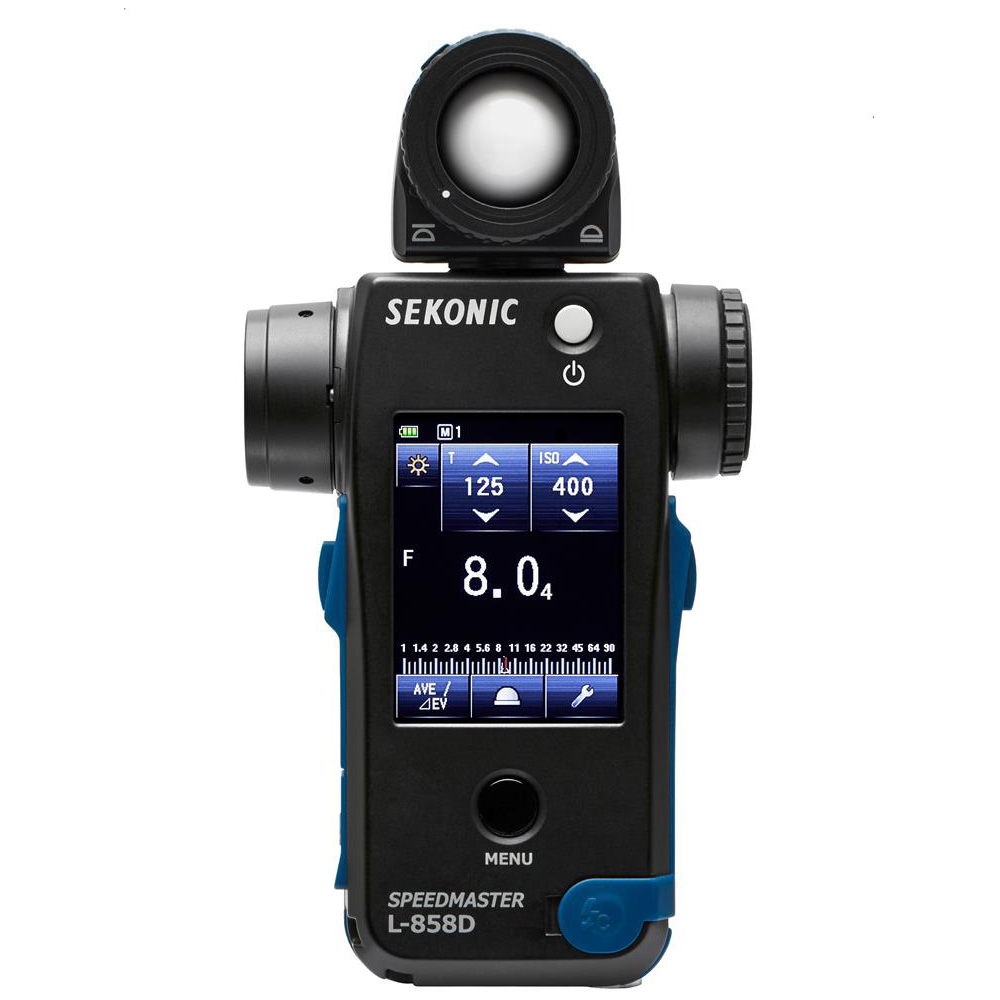
Let’s first take a look at the display.
On the display, you see the shutter speed: 1/125
The ISO: 400
And the F-stop: F8.0 (4)
And that’s where it often goes wrong.
A lot of people will now set up the camera for F8 on ISO400 1/125 and… well the images are overexposed.. so how is that possible when using a light meter? Right?
Well because there is one extra number that is really important, and that’s the little 4.
It’s in the details
When we look at our camera you will probably know that you can change your F-stops in 1/3rd stops.
On most strobes, you can have 2 options, also in 1/3rd or even on 1/10th stops.
But don’t confuse the two. The settings on your strobes have nothing to do with what you see on the meter. It’s just the power output, and there are also settings like 2.8, 4.0, or 5.6 that are pure because… well those numbers are there.
So how do we proceed?
When your meter reads F8.0 (4) this means the meter reads F8 and 4/10th.
If you have strobes that can be adjusted in 1/10ths you can just lower it by 4 clicks and you’re probably reading F8.0 after that (if you have good strobes).
If your strobes can be adjusted in 1/3rd stops we have to improvise a little bit. Go down one click on the strobes and the meter should now read F8.0 (1) now its a matter of just moving the light a few inches further away and it will read F8.0
Now I have to be honest, for 1/10th I don’t really move my lights, but if you really need to be very accurate it does work great.
 Let’s try it out!
Here we see F5.6 (7)
We have a few options:
1. We can go down 7 clicks on a strobe with 1/10ths adjustments and get F5.6
2. We can go up 3 clicks on a strobe with 1/10ths adjustments and get F8.0
1. We can go down 2 clicks on a strobe that works in 1/3rd adjustments and move the light slightly for F5.6
2. We can go up one click on the strobe and end up at F8.0
1. Set the camera up for F8.0 and lower your aperture one click for F7.1
2. Set the camera up for F8.0 and raise your ISO 1 click (also the ISO is set in 1/3rd on most cameras)
The nice thing is that if you know how to read the light meter you can very quickly change settings.
Do you have problems with calculating settings like ISO, shutter speed, and the connection between the Aperture?
Don’t worry, if you use a meter you can just change one setting and you will the other settings change.
In other words, if you misjudged the lighting and you get a reading of 1/125, ISO400, F8.0 and you need a faster shutter speed, you can just change the shutter speed, ISO, and Aperture until you see the settings that will work. You don’t even have to do a new reading.
Are light meters only for strobes?
So is a light meter only handy when using strobes?
No absolutely not.
A light meter, just like your camera can be used in different configurations.
You can use it to determine your aperture or shutter speed and of course, play with your ISO.
It’s like the perfect pocketknife for all situations 😀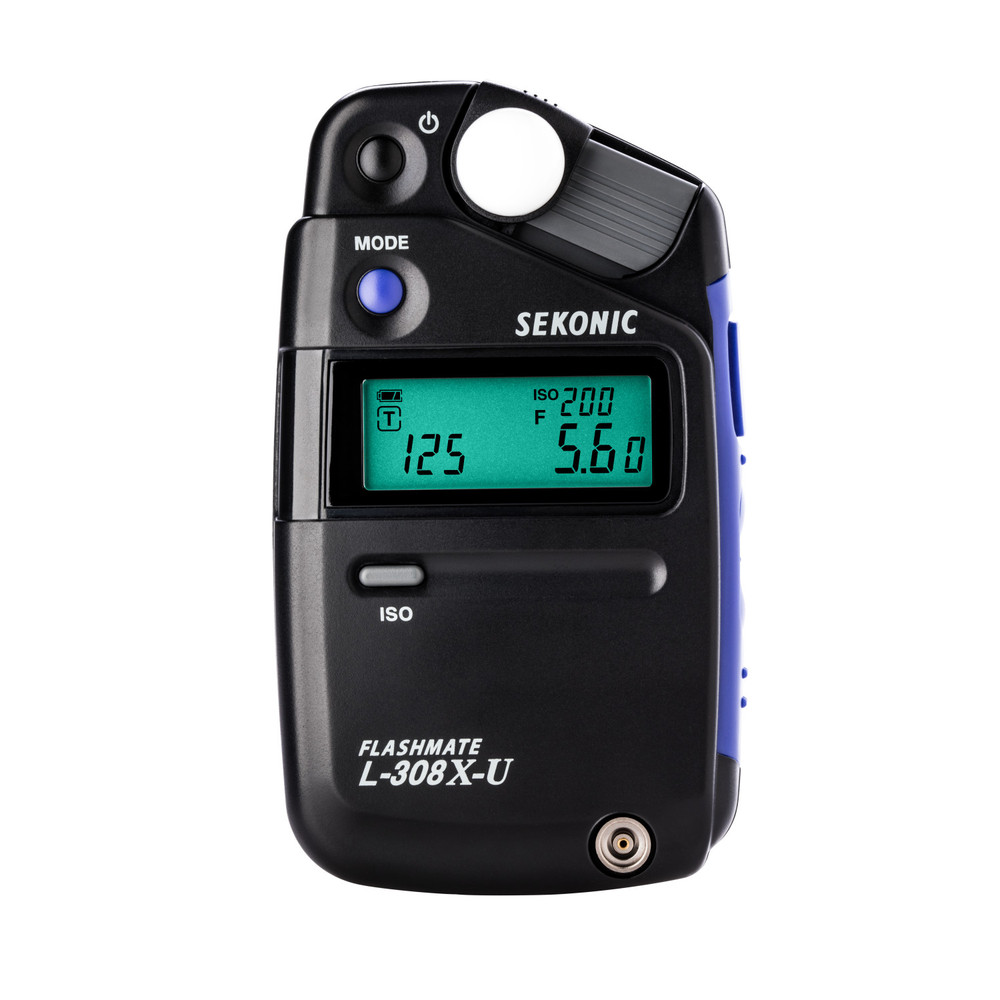
Ok, I’m sold, which light meter should I buy?
It’s no secret I love the Sekonic brand, but in essence, you can also get a different brand, just make sure you get the right one.
First make sure it’s a flash-compatible meter, so most very old meters will not work.
Also, make sure to determine if you need an incident meter or want both (reflective and incident).

Incident vs reflective
When we look at the difference between the two it’s easiest to compare the reflective meter to how your camera works. It will give you the value for 18/12% grey. These meters often have extra attachments (spot meters) or have the spot meter build in. Personally, I would highly recommend getting a meter like the Sekonic 758 or 858 with a very tight spot meter build-in. You can also buy attachments for some other meters but I don’t want to mess around with attachments that can be lost, so the 758/858 would be my choice.
But do you need it?
That’s a good question.
The main thing where we use light meters for is the incident meter.
This means you hold the meter in front of the area you want correctly lit and the meter gives you the correct value.
Now you might say… why would I ever use a reflective meter if it only gives me 18% grey?
GREAT question.
We use reflective often to make white backgrounds 100% white and not 98 or 110%. This prevents spill and shows all the details in clothing and hair which you would lose if you overexpose the background “too much”. Or we make sure that certain areas are 100% black. But you can also calculate light falloff.
Now I have to be honest.
Mostly I used the reflective meter outside to calculate the output of my strobes to create day-to-night images, fill light, and everything in between. But with modern cameras, there is a really cool trick for this.
Is the EVF a replacement for the light meter?
Yes you read it correctly the EVF can replace the “reflective” meter, but only in certain circumstances.
For example, if you are on location and want to create a cool day-to-night effect.
Just set the EVF up for emulation mode and fix the shutter speed where you want it, start to play with aperture and ISO, and just watch in the viewfinder, let’s say you love the look at F8, 1/125, and ISO100. Now, The only thing you have to do is set up your strobe for F8.0 for which you still need an incident meter (to do it fast and right).
How to read a light meter conclusion
Reading the light meter is super easy when you understand the extra numbers and how they interact with your camera and strobe.
The benefits are immense, you can work a lot faster, visualize and set up location shoots within seconds, and wow your customer by nailing the shot right away (something you see less and less).
When you look at eBay you can probably find a lot of meters but if you want to buy new (something I do advise with precision instruments) I would check out the Sekonic range like the :
Sekonic 858 (my meter)
or the Sekonic 758
but the Sekonic 358 is alright too
These are examples of the meters I owned over the years but they also have some really good alternatives like the :
508, 308x, 478 etc.
Check out Sekonic.com for more information on the different types.
Buy via our links to support our work.
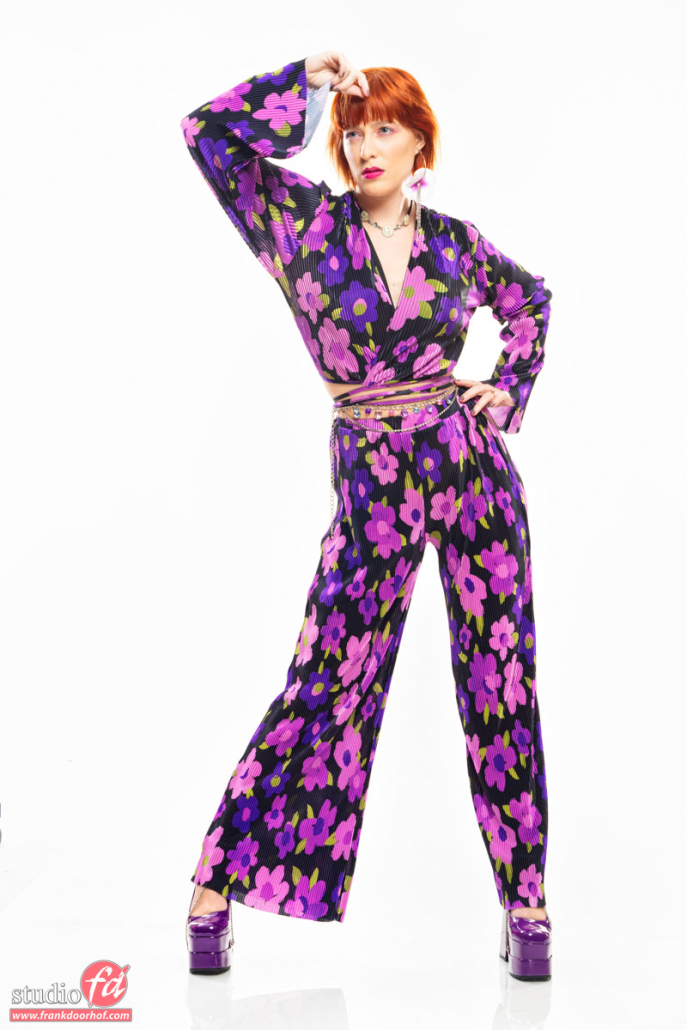
Read this blog on a white background with only 3 umbrellas, I couldn’t have done it without the light meter
This article is about colors and sets


