Strobist masterclass Kamera Express
For me teaching workshops on locations is one of the most challenging and rewarding things I do, it forces me to do things differently and see things in a fresh and new way. That’s also one of the things I always try to teach my students, know your gear and theory so you can shoot in any possible situation and deliver a good image. I’m therefore a big supporter of the idea that shooting on locations at least once every week or so will force the photographer to grow much faster than if he/she only shoots in the well known area of their studios. Because of the workshops I teach I’m often asked by companies and clubs to do the workshops in their (or an arranged) location and as you might have guessed it’s always something I really enjoy.
March 6th it was time for the Kamera Express workshops with as theme, “Strobist”.
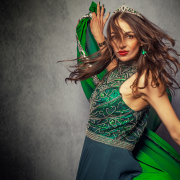
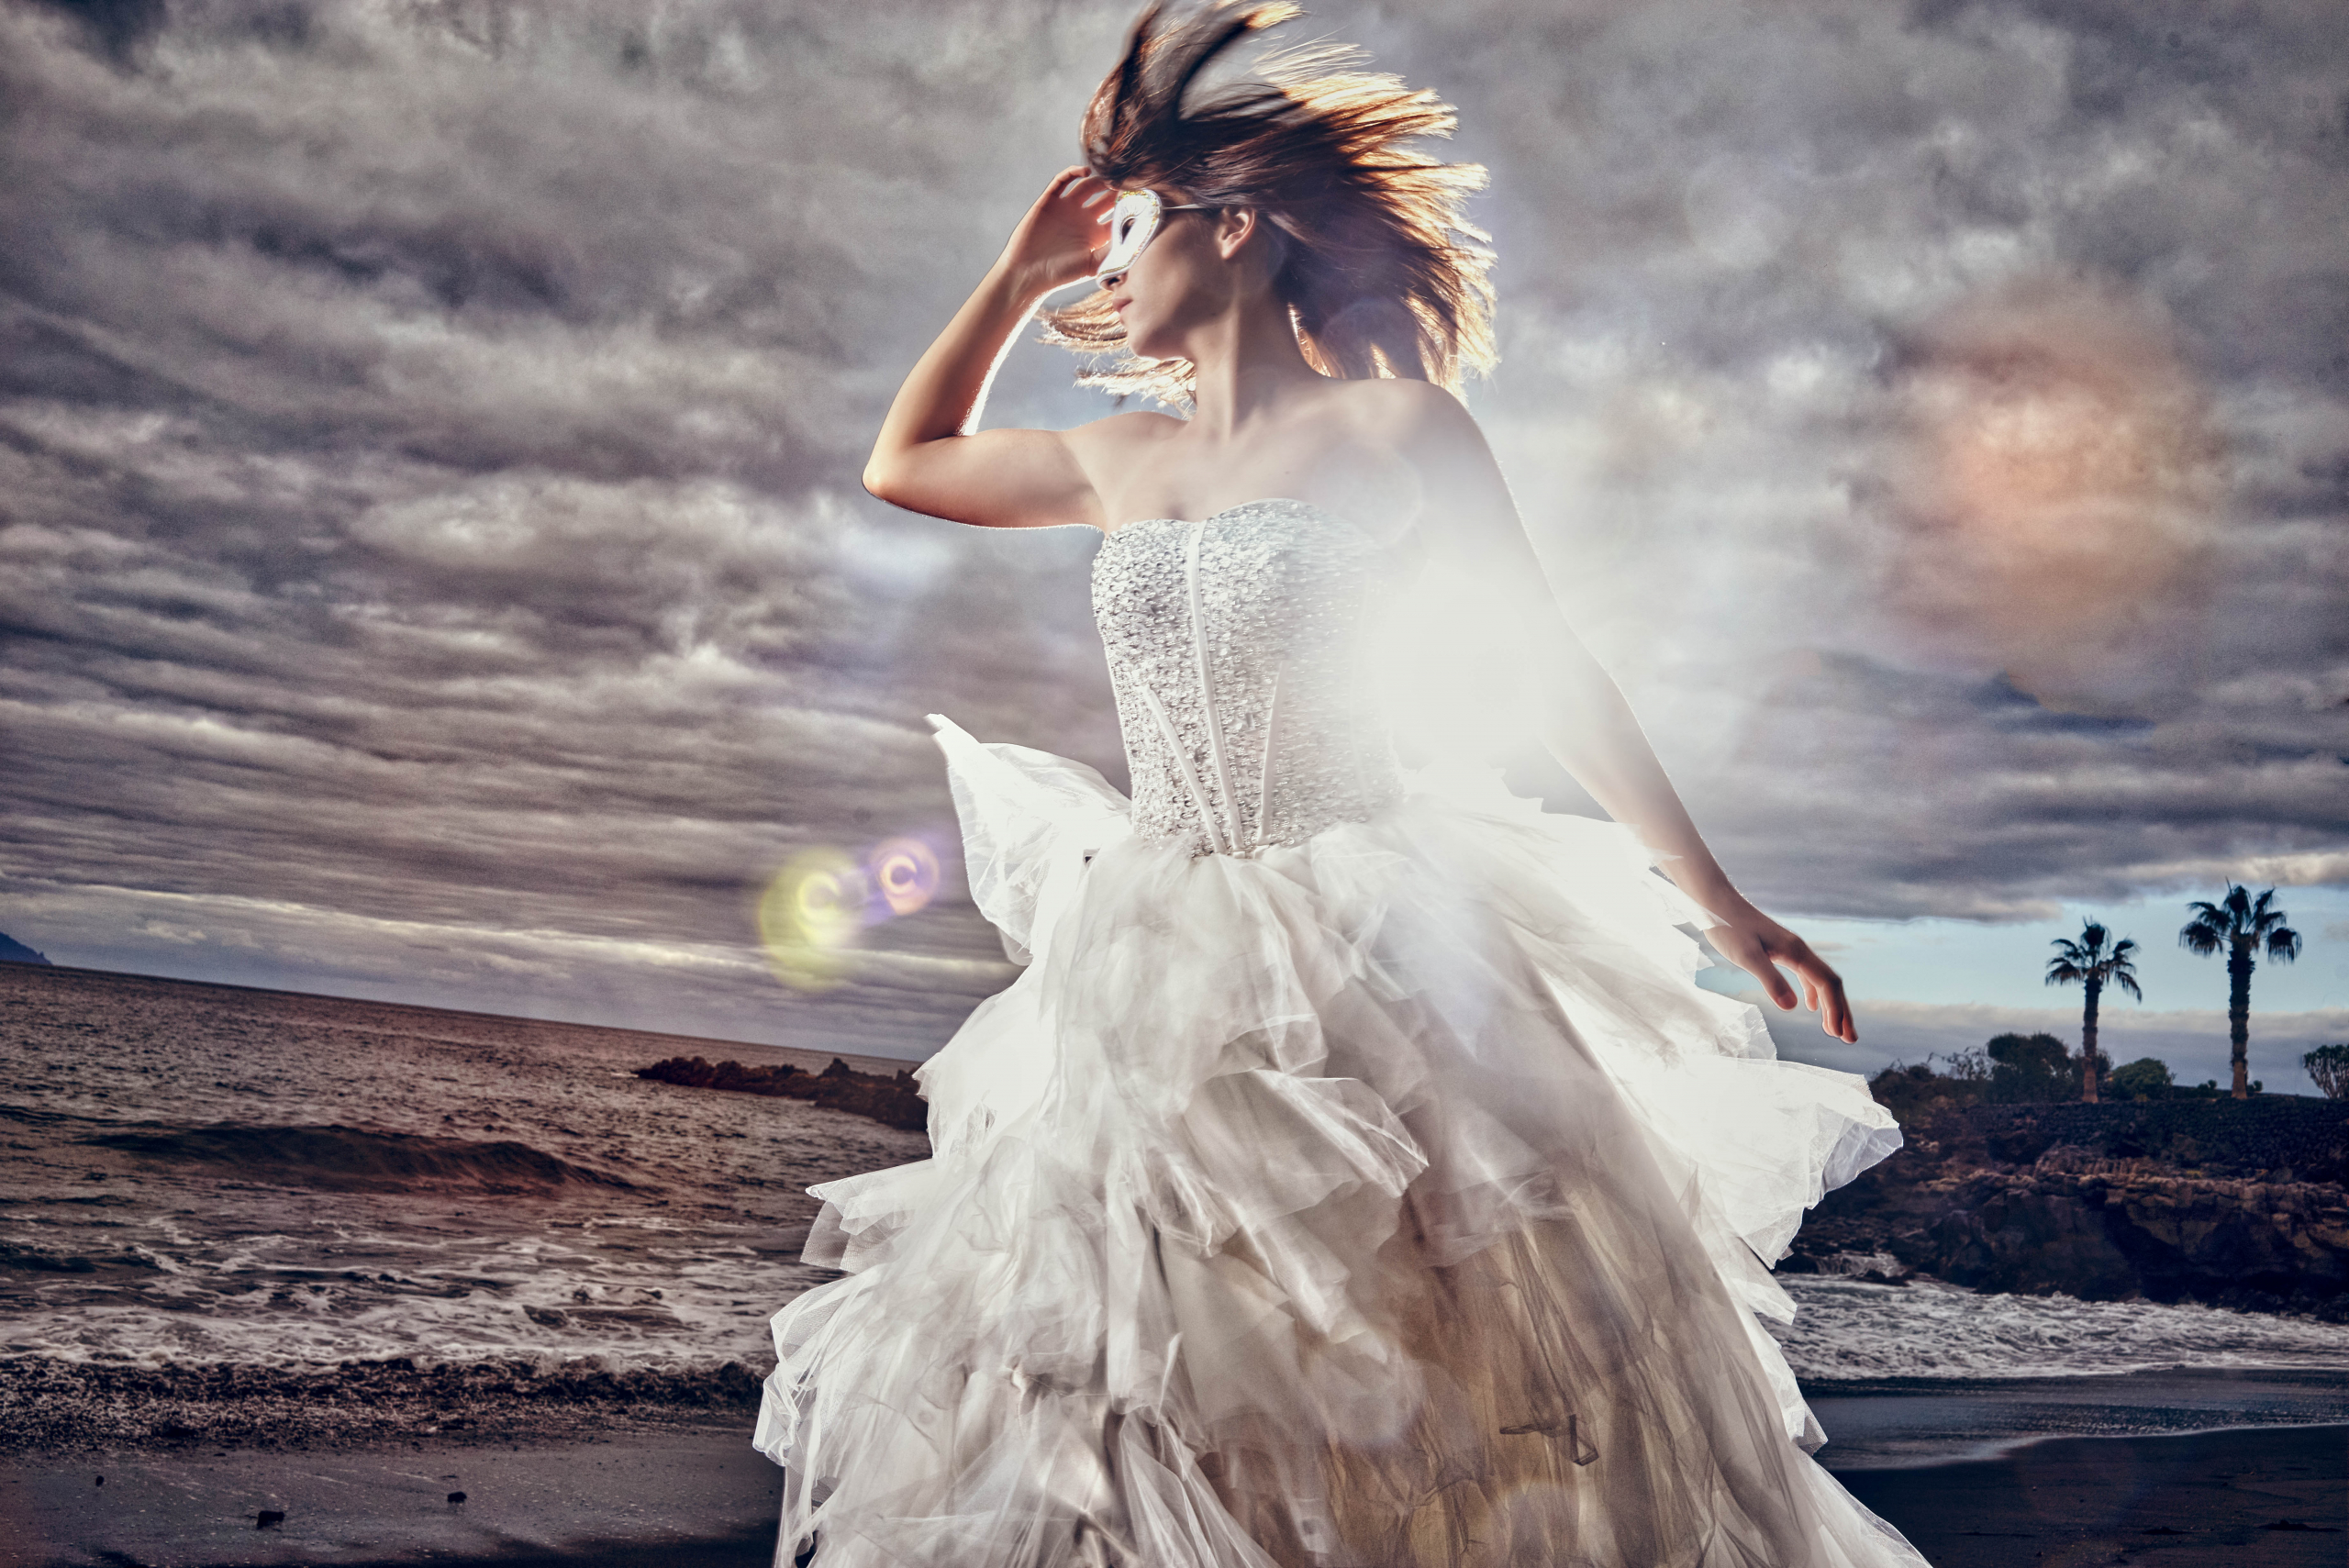
You might have noticed that there is a lot of strobist stuff going on lately with me and that’s true. I’ve always been a huge fan of “big flash” but after a nice chat with Joe McNally (who pushed me into “small flash”) I decided it was also time to add the “small flash” or so called strobist way of using flash into my workshops. However I try to do it slightly different, in this blog post I take you backstage with the workshops I did for Kamera Express, you can see the backstage video at the end of the blog post (or now) and you can see my favorite shots of the day. I will also explain the techniques and vision behind the shots.
The downside of my work
According to some people it’s all glamour and glitter and they would love to do what I do because it’s all fun…. well to be honest I’m a blessed person and everyday I’m thankful for what I’m able to do, however sometimes I would have loved to just have a normal job. This day was one of those days.
We booked a hotel for the night before the workshop because the drive from Emmeloord to Capelle a/d Ijssel is not something you are likely to do very quickly when traffic is heavy and on a Sunday you never know in that area, so to be sure we would arrive around 9:00AM we booked a nice hotel close to the store. That Saturday the flu hit me really bad to a point I was almost considering to cancel the workshops for the simple reason I lost my voice, my throat was killing me and I ran a fever…. well I said ALMOST, actually there was no chance I would ever cancel something like this unless I was in a hospital, I knew the day after there would be 50 people attending the workshops (2 in total) and Kamera Express did their best to tailor the whole day to fit the workshops and they had arranged some very nice backgrounds, so cancelling? no way.
Styling and setups
One could say I’m always very easy going when it comes to arranging the workshops, as long as there is something interesting to shoot or pose the model to I can teach the workshop, that doesn’t mean that we don’t pay attention to that part, in fact it’s one of the most important things but let’s rephrase it, I’m flexible….. In this case my contact Martijn mailed me some backdrops I immediately loved so that was done. He choose two different setups with natural led lights that changed colors constantly, some disco balls and very reflective backgrounds, a recipe for disaster so it would work out just fine.
As model there actually was one choice that for me was perfect and that was Nadine.
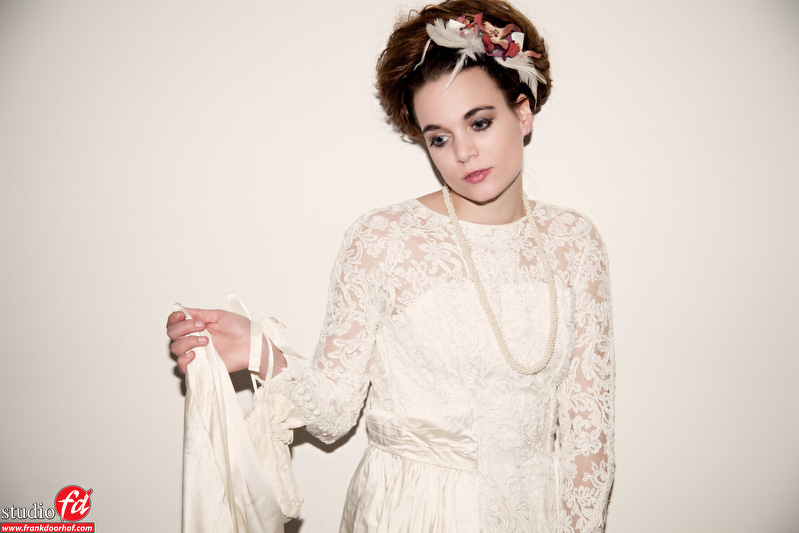
Nadine is without a doubt one of my favorite models when it comes to styling, how she does it I don’t know but she always has some amazing outfits with her and her posing is also top notch (she must be living in a house with loads of clothing by now). When Nadine confirmed the date I couldn’t wait to start the workshop.
Different setups, different problems, but first some basics
The first thing I always explain during the workshops is theory, because these workshops only ran for 3 hours I implement that into the first shoot. With small flash the main thing I will explain is that although E-TTL sounds like a miracle in fact it is but only when you understand that it isn’t.
Yeah I know that sounds funny.
But in fact it isn’t, when you look at how a camera measures light it’s easily understood that this is not the most perfect method for getting accurate results. Inside the camera the measurement is done by the so called reflective measurements, were in short all values of a scene are measured and the camera makes the area(s) used for the measure to be app 18% gray. (some will say 12% and that’s also possible depending on your view on the matter). When you take this into consideration you will very soon realize that when we measure our models in the studio we use incident readings, meaning there is no attention for the models clothes etc. but only the light falling on the model is measured, this method will give you very accurate results in almost all situations. Reflective is always something that you have to think about.
To demonstrate this I used both a black wall and a white wall and a very zoomed in shot and a wide shot, I also moved myself around the model showing very quickly that the E-TTL reading did not blow out (or destroyed the shot) in most shots, but the skintone was not stable from shot to shot. The first thing I will learn the students is to lock exposure. Zoom in on the face, lock exposure and now zoom out and take the shot (with Canon you can use the asterix). This seems tedious and it is (and something a lot of people don’t think about when doing E-TTL), that’s why in this part I also showed the students how they could set the flash units to manual mode and use a standard lightmeter to get very accurate shots, and after measuring the speed in which I could capture the accurate shots was much faster that the zoom lock, zoom out method. For some it was a real surprise in the first place that E-TTL was so easily fooled (well to be honest I know how to set up a shot that E-TTL is really performing bad, but don’t tell anyone) but for all it was I think a surprise that using a lightmeter is really that fast.
Working towards the real setup
For the first real setup I used a reflective background with one of the disco balls, the main thing to explain in this setup was the effect that the reflective material can have on your E-TTL system and how to counteract for that. Most of all however the focus on this setup was the idea to mix ambiant lights with the strobes and using the exposure compensation in combination with the flash exposure compensation to make a mix that is exactly the way the photographer wants. Also in this setup I started to explain the different groups of the Canon flash system and how these can be set very quickly to change the mood of the scene completely.
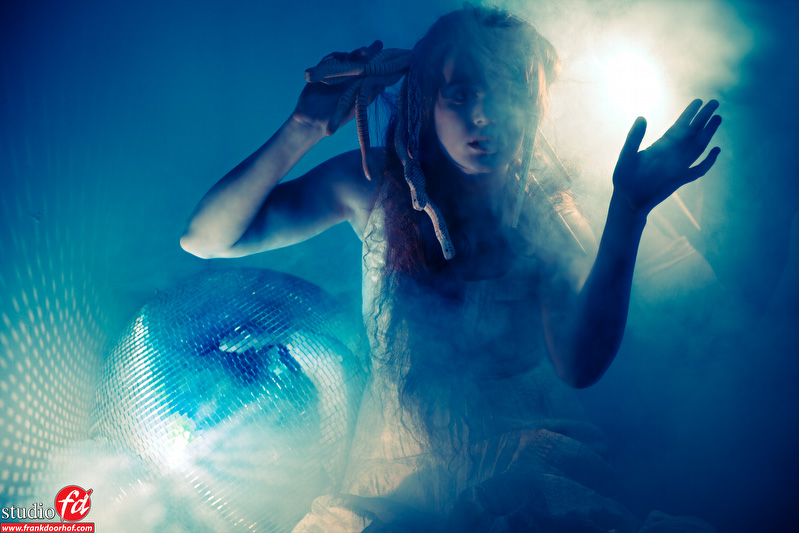
For some people it might have seemed that this was already about getting a good shot, this was however not the case. For that shot we moved the whole group to the other side of the room where a very reflective wall was created with another disco ball, this is were I was aiming for mixing everything I taught in the previous setups into a final image that would “rock”. When everything looked nice balance wise it was time for the final ingredient that would make the set change completely…smoke.
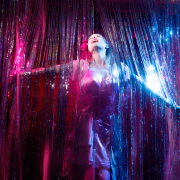
Smoke is without a doubt sometimes that secret ingredient that can change an ok shot into something that is stunning, in this case it masked some of the reflections and it made sure the attention of the viewer was going to the lights and the model and not the difference between the carpet floor and nice background, so in a fact smoke was used to “mask” and to “enhance”. I always add smoke at the end because (as people who have shot with smoke before will know) when there is too much smoke in a scene the scene will wash out and there is no good definition of the face anymore because there is smoke everywhere. For the first group Nadine dressed herself like a rock/disco version of Medusa complete with snakes in her hair.
Adding a bit of color
For the second group I repeated the program with some slight differences (I never do exactly the same because I try to interact with the group and see the needs for that group and interact with that). The main difference was in the final setup were I also added some color to the strobes.
A bit more about the technique
Showing some images is fun of course but I think that explaining some of the technique behind it will satisfy you even more, so here we go.
Let’s first take a look at the hardware used.
For all shots I used the Canon 5DMKII with the Canon 24-105 f4 IS
A lot of people have asked me why I don’t use the Canon 28-75 f2.8 and to be honest I normally always would use a f2.8 lens, in this case however it’s slightly different, the 5DMKII is used mainly as walk around camera and I film a lot with the camera, having IS in the lens and slightly more tele reach is very nice, also when I walk around with the camera my most used aperture is between f4.0 and f11.0 so using the 24-105 for me makes a lot of sense, although I have to add that when Canon releases a version of the 24-75 f2.8 with IS I will probably use that one.
For the strobes I used the Canon 430EXII units which are triggered by the ST-E2, you can also use an extra Canon 580EX to trigger the 430’s but I always decide with the workshops to show the techniques with the lowest budget possible, people will understand it also works with the more expensive strobes but often it’s more difficult to believe it will also work with the more budget strobes.
As extra accessories I kept it really simple with a striplight from the Frank Doorhof strobist set and I used almost all setups with the grid from this Kamera Express set I have to add that this set surprised me for it’s price and quality. Again here I strongly believe that you don’t need high-end (expensive) materials to make good images, in fact when using the strobes bare and just implementing the zoom function on the 430’s you can already achieve some stunning results, add the simple off camera cord (a must buy) and you will be surprised at the results you will be able to get. Add some color with gels like this set an let the creativity flow. To finish the shots we added some smoke from a very simple smokemachine (a must have for every studio).
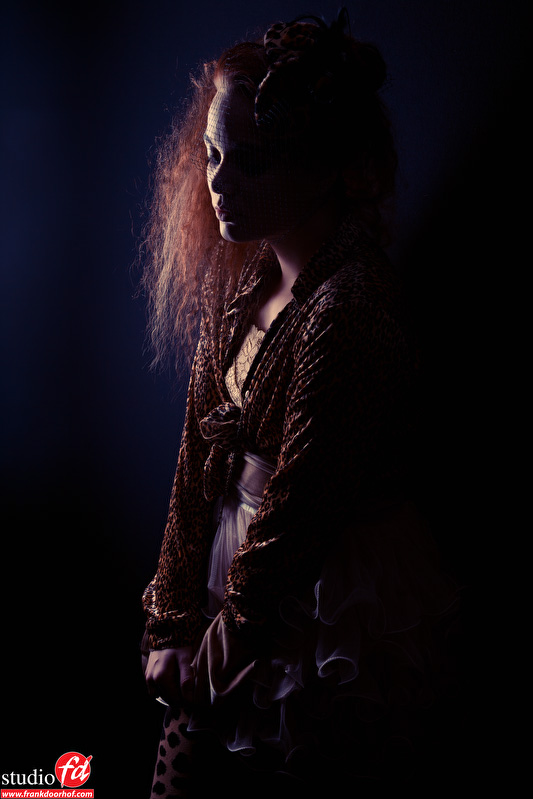
During the workshops I always tried to start out easy and explain the technique behind the E-TTL system and show the difference between on camera flash and the use of the off camera cord. By showing and explaining this the students will very quickly see that it’s very important to understand angles and the way they interact with the shadows and the total look of the image. When we moved to the use of the striplight it’s very easy to see that when you choose your angle more extreme you can get a very quick switch from rather flat light to the ultra high contrast look (make sure to check out my videos on Kelbytraining to see some of these samples).
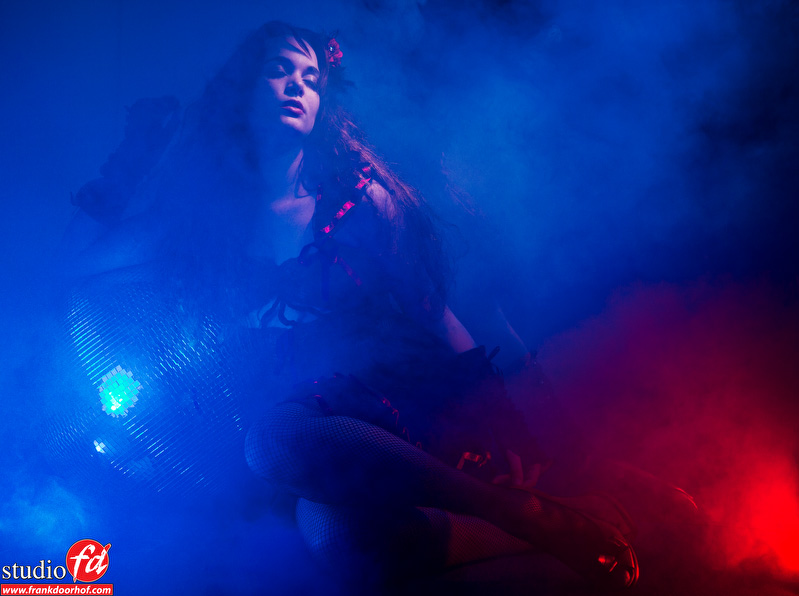
When moving to the final setups I started out with adding the strobes (3 in total) aimed at the model and mixing in ambiant light to get the mood right, however the most important part of the workshops is when I started to use the strobes in a different method. One of the strobes for example was aimed on the wide setting to the disco-bal and model getting a nice reflection on the wall but also hitting the models body for some definition in the shadow areas.
Another strobe was lying on the floor and was used (with a color gel in the second workshop) to give some mood to the smoke and add some highlights to the feet of the model. The final strobe was aimed on a boomstand and was placed above the model with a grid attached to give some light on the models face, it was also placed so that the reflection of the strobe could be seen in the reflection from the background giving the idea there was another strobe used like a spot on a stage.
One added tip for smoke, when lighting smoke from behind you will get very nice results, lighting it from the front will at best show some smoke but most likely it will just blow out the image because the smoke is reflecting light back to you.
Final words
By understanding light and by understanding the way you place your light and choose your angles, but also understanding the little things that can make a shot work or not (like posing, styling etc.) you will find that working on locations will not be intimidating but challenging, have enough theoretically knowledge and you will be able to not only deliver a nice looking shot that’s ok but you will be able to shoot some stunning work in the most uninspiring situations. For me this is one of the things I really try to teach my students because a lot are willing to make good images but are not willing to use things like meters or theory for it. And in fact you can make some stunning photography without it, but in the end when mastering the skills like measuring and understanding how light behaves will lift your work to a whole new level and will give you an incredible freedom with the most simplest tools.
Please visit the site www.kamera-express.nl for getting the materials I used in this workshop, they also have great service and a wonderful store, so make sure to visit them online.
And to finish this blog post the video that was shot by my lovely wife Annewiek Doorhof and edited by our intern Dilani Butink (with a little help from me).


Awesome shots like always Frank!
And yes… the house is littered with clothes… ;-p
Thought so 😉
Hai Frank
Zag net je filmpje van strobist bij Cameraexpress en vroeg me af wat op 2:01 van Falcon Eyes dit apparaat is
Groeten Frans Paalman
Denk dat je de grid bedoeld op de witte adaptor ?
Dat is het set waar ik naar link in de blog post van 99,00.
leuk te zien dat ook jij je op het strobistgebeuren hebt gestort, hier heb ikzelf erg veel belangstelling voor , een strobist masterclass moet je zeker ook eens in BE geven!!
Uiteraard was het een zeer interessante workshop.
Maar ik wil toch ook maar even zeggen dat ook de film die van de workshop is gemaakt er goed uitziet. Complimenten voor je vrouw, en uiteraard ook een beetje voor de montage!
Dank je wel, ook namens Annewiek.
you rock as always, live snakes next time…
I like your iphone app Thanks you
I now need to learn you language.
thanks :D. we did a shoot with live snakes a while ago, very nice but also somehow creepy 😀
Great work Frank,
I have really enjoyed the lessons at kelby training, today I just found this site through Matt k facebook. It is just amazing the way you put things across in such a plain simple way.
Thanks for sharing
Thank you, my goal is to explain things clear and without any “hocus pocus” :d