A model and a wedding dress
Today some images from Claudia
During the workshops I always build up the set.
This way the attendees can see what every light does in the set and how they interact, and that makes it much easier to solve problems in the future.
So let’s take a look at some images from Claudia during one of the sets.
Let’s build it up
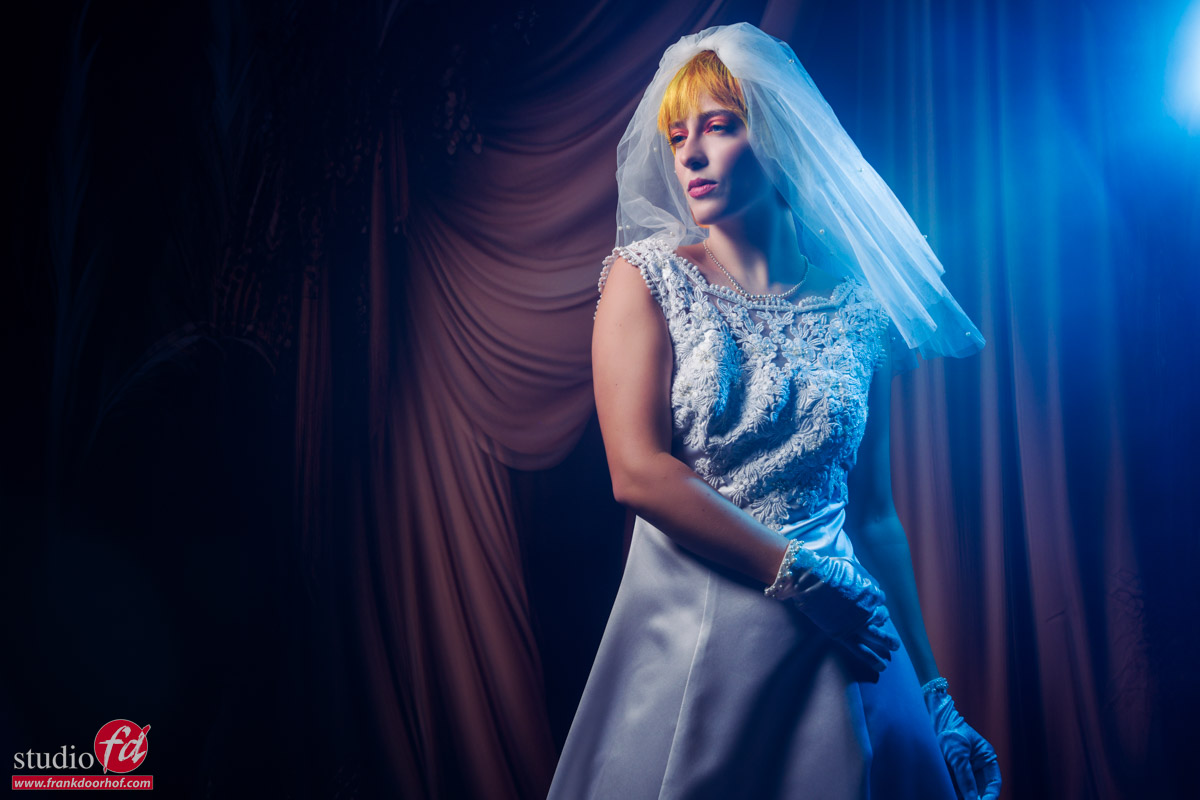
In the first image I’m mostly using my mainlight and just a very slight accent light with a blue gel.
Of course we want some more power on the blue.
With the Geekoto commander it’s very easy to change the output of the strobes individual.
What I mostly advise is to use group A for your main light, B for background, C for color or aCcents, and D for De rest (that’s Dutch for The Rest).
This way you don’t to figure out during a busy shoot what to change and where.
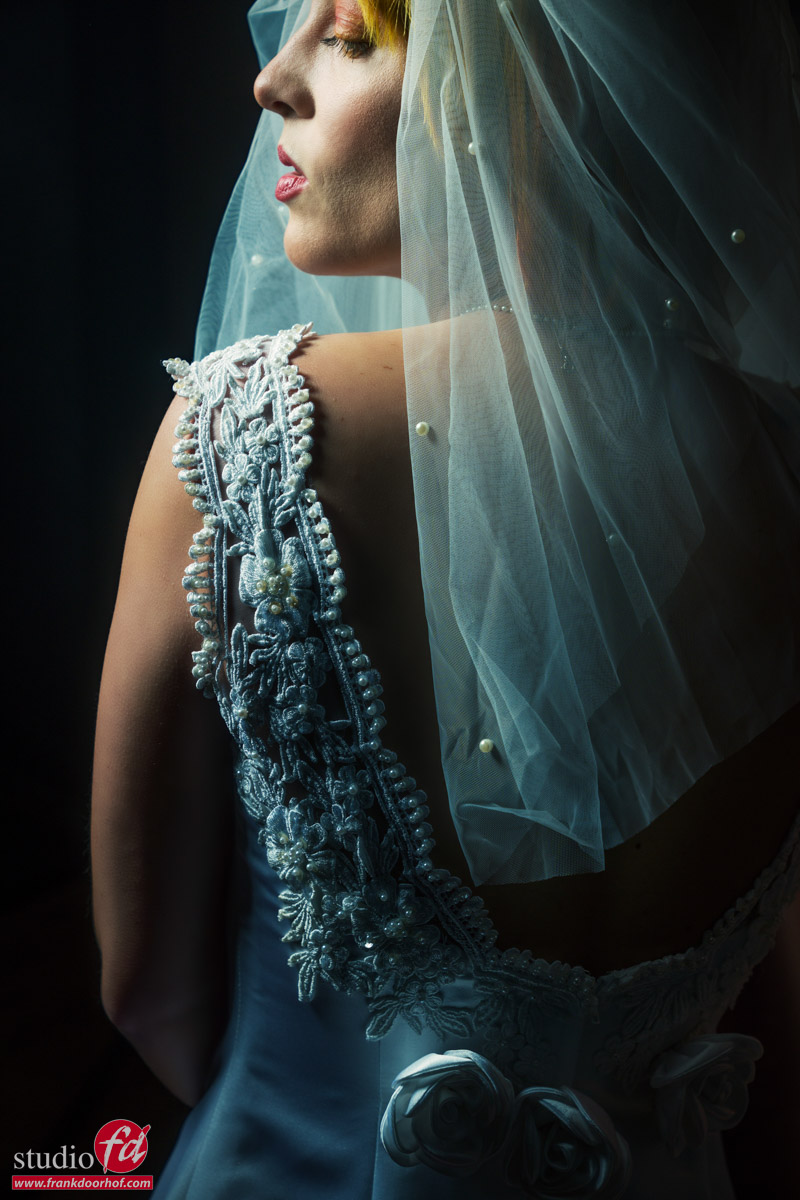
Walk around your model
Often it’s easy to fall into the trap that we have our favourite angle, or favourite lighting setup and we keep using that.
When I shoot or teach I always try to setup my lighting so I can easily walk around my model/subject and shoot from at least 2 different angles.
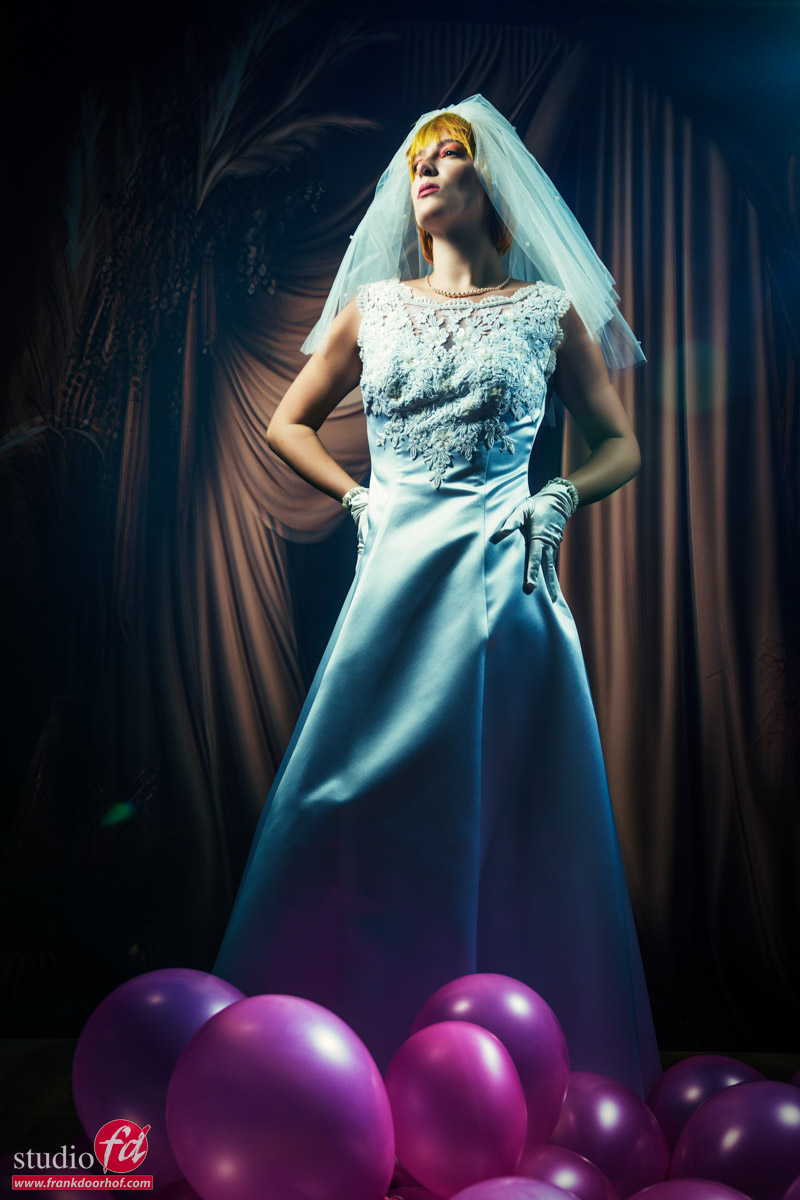
In this case I chose to disable the blue gel and just shoot with the main light.
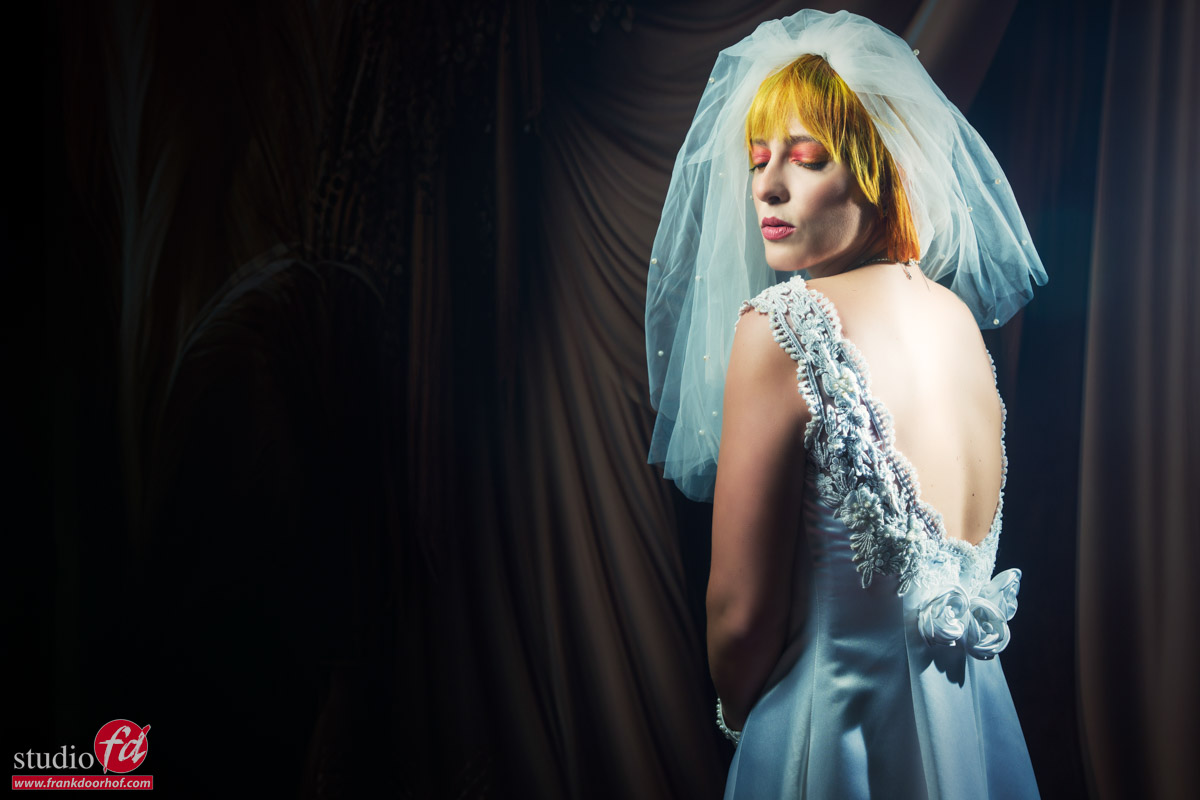
For the final shot I removed the blue gel and now we have our main and accent light without gels.
By setting up the lighting this way and using a remote like the Geekoto Commander you can very easily switch lights on or off and also change the output. I will mostly keep my main light on the metered setting, but change the accents just the way I like the effect. In most cases I will shoot at least a few with loads of power and flares and some with just a little bit, your client will be very happy to be able to chose, and you will be happy because you will not ask you to deliver images A with the flare of B but without the …… 😀
Also want to visit a workshop?
Visit www.fotografie-workshops.nl


