Fashion shoot with Rianne
On Wednesday it was time again for a live stream from our studio.
During some photoshoots we use a webcam in the studio and stream the whole day for the viewers who are interested to see what we do during a photoshoot. Rianne was our model for this day and she needed a new portfolio so that meant a lot of different looks in a short period of time, a perfect day to stream.
Our team :
Photography : me
Assistants/Video : Wendy Appelman / Dilani
MUA : Linda (Beautyfx)
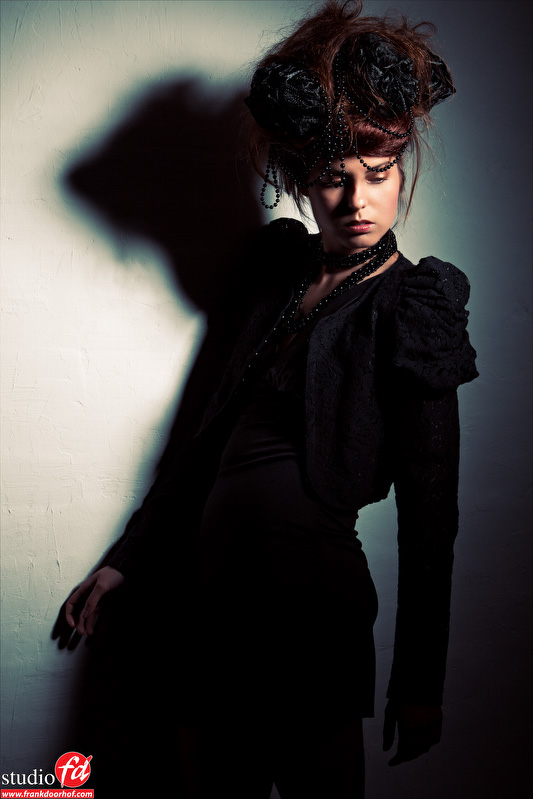
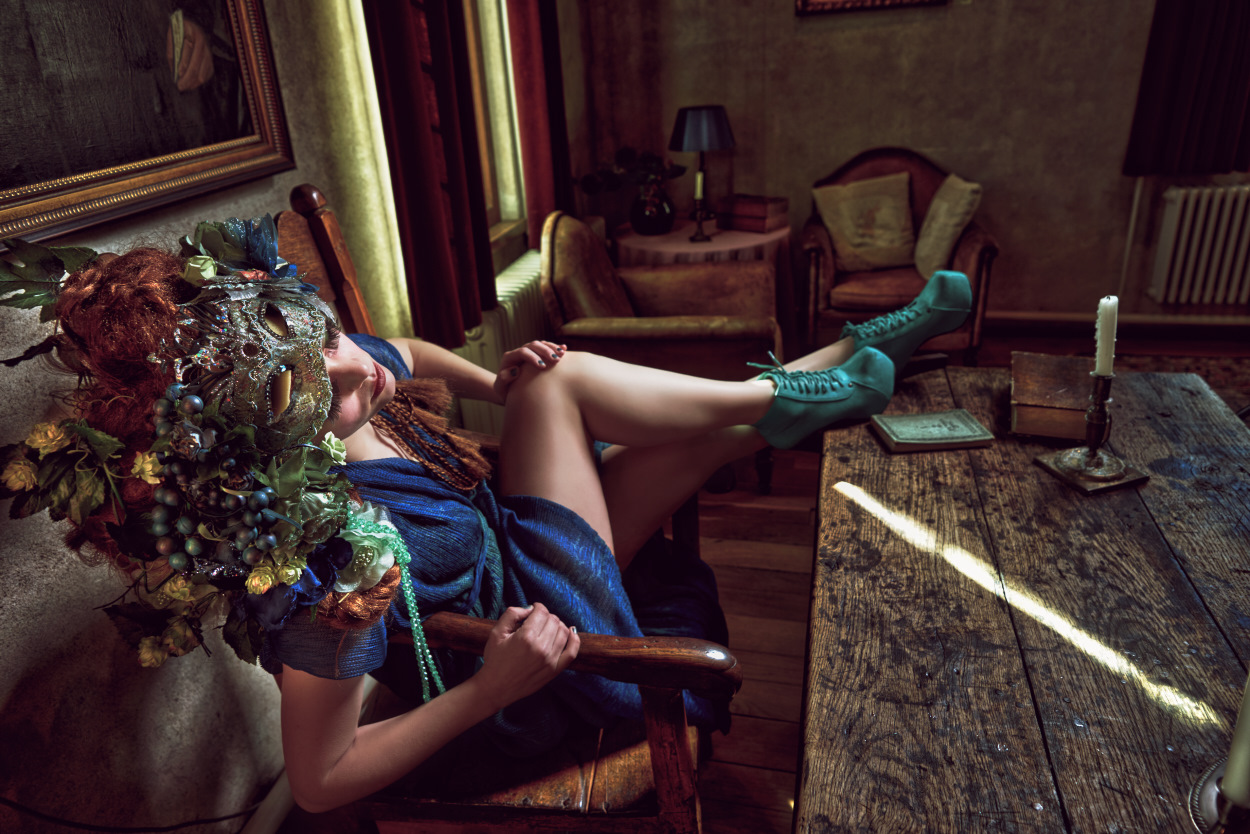
Set 1
This must be one of my favorite setups.
Just one striplight and move around the model to create different moods and contrasts.
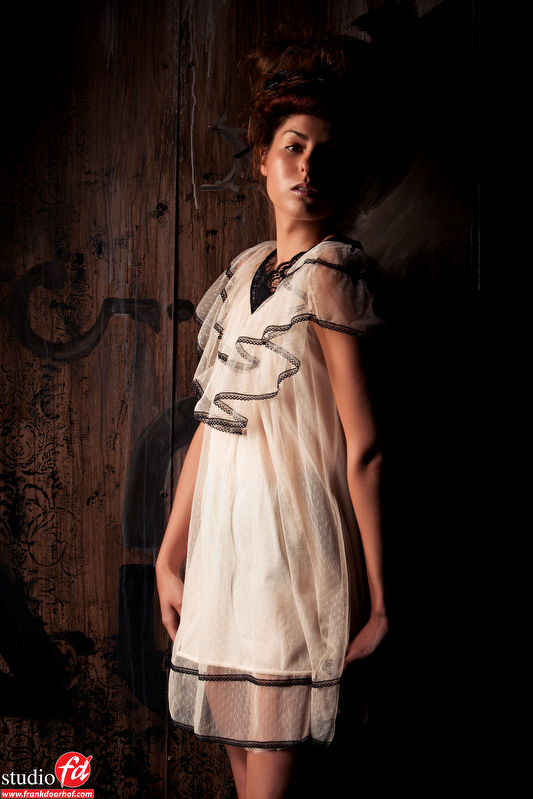
Set 2
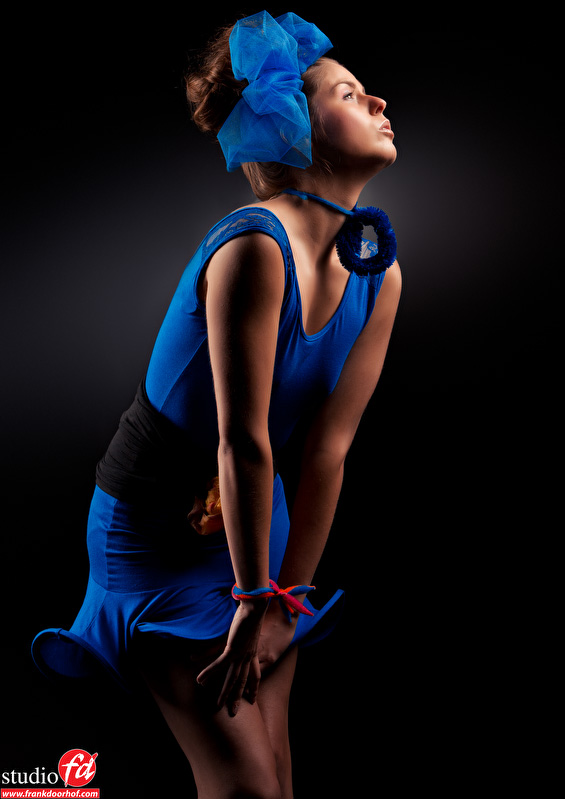
Also a setup I love to use for it’s simplicity.
In this setup I used the Elinchrom maxilight with custom grid.
As you can see Linda had a lot of fun with the styling.
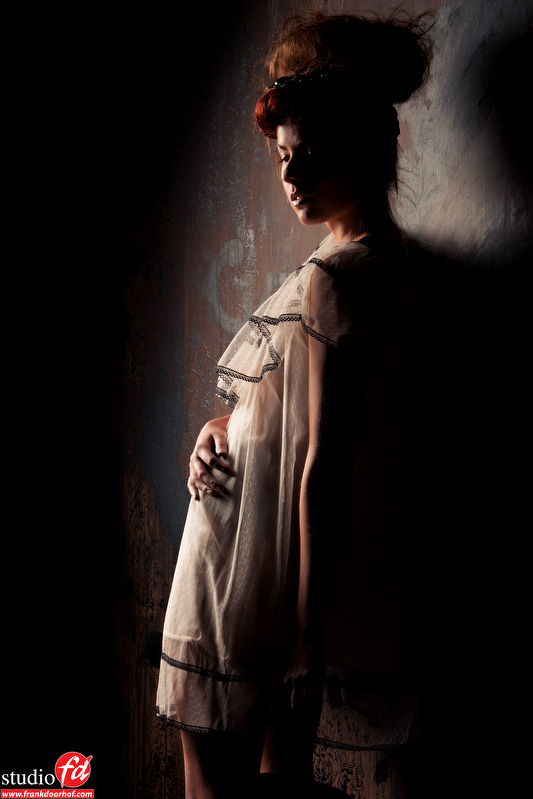
Set 3
For the next setup I used the Deep Octa with lighttools grid and a striplight as accent light.
With this setup you can really play with the way the highlights and shadows fall, but by moving the model just slightly to the front or back you can create totally different looks in a few seconds. If you need a lot of different looks quickly this is a killer setup.
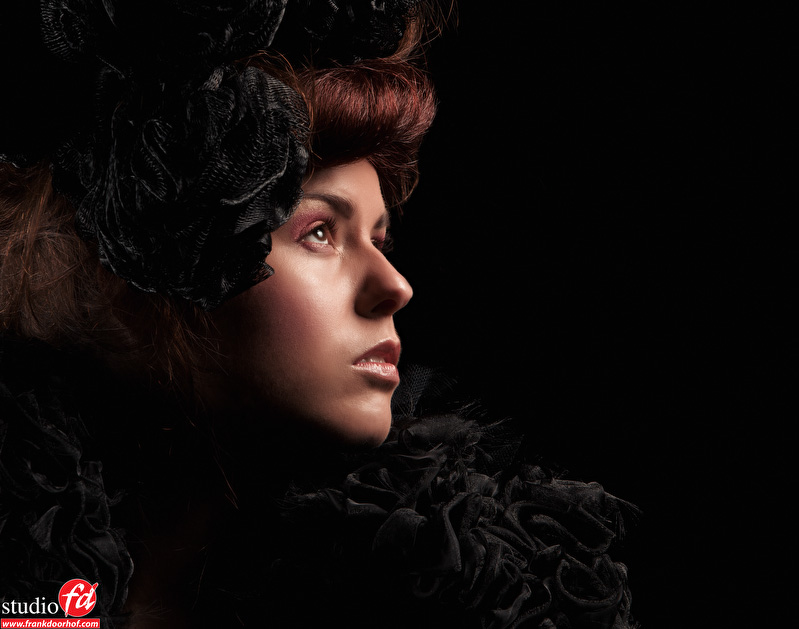
After the portrait I added a standard Elinchrom reflector with grid on the background.
 Set 4
Set 4
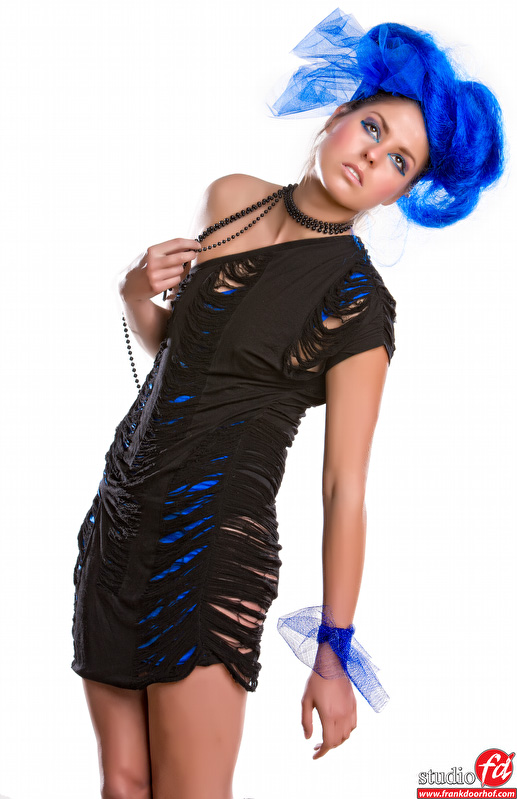
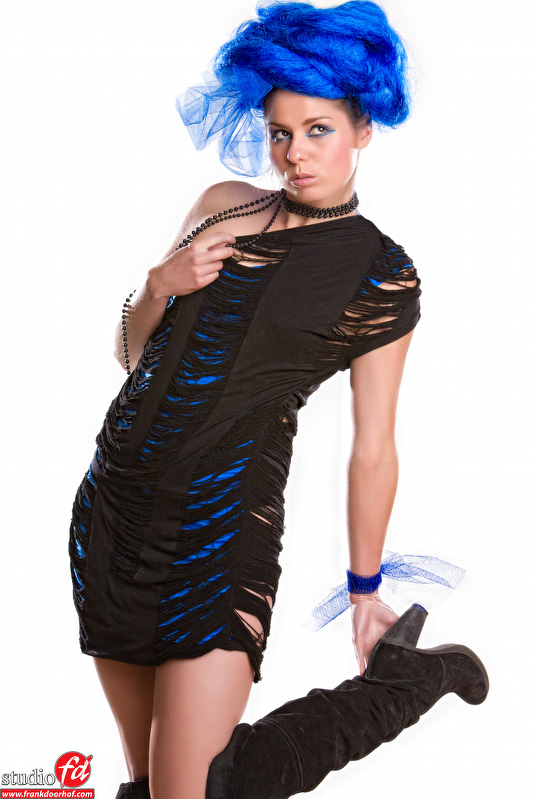
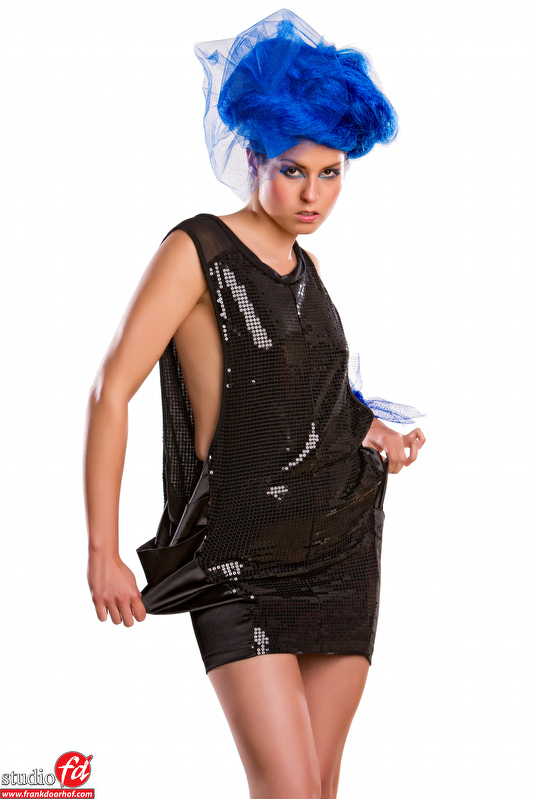
For set 4 we switched to a white background.
For some people this is always problematic.
To light the background evenly I’m always using two Elinchrom wide reflectors which are great for white backgrounds and I highly recommend them.
Remember that you need a good meter to do this perfect. You can measure the background in two different ways if you have a white background. When you own a meter that has only incident you can measure from the background to the model and make sure the light falling on the lightmeter is not higher than 1/3 stop higher than the mainlight (yes measure towards the model instead of to the lightsource, this is because you are mixing two strobes), better however is using a lightmeter that has an reflective measuring option (preferable a 1 degree spot), measure from your shooting position towards the background and take several readings around your model, the measurement should at least be 2.5 stops higher than your mainlight to a maximum of 3 stops. Remember in this that the reflective meter reading in fact will give you an 18% reading, that’s why you have to raise it 2.5-3 stops. Adding more to the background will give problems with lensflare and blowing out small details like hairs.
To give the model a bit more depth because I used the 1.90 Octa to light her from the front-side, I used two open reflectors from the sides which are hitting the model from the side and giving her more depth. This in fact is almost the only time I don’t measure. I do measure the starting point (often 1:1) and will change the accents after that to “taste”.
For the final image I desaturated the skin slightly and boosted the blues.
Set 5
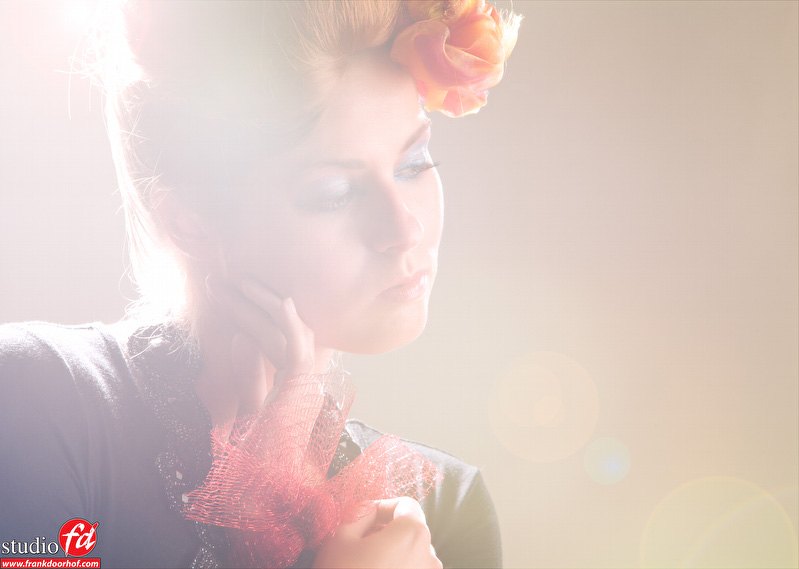
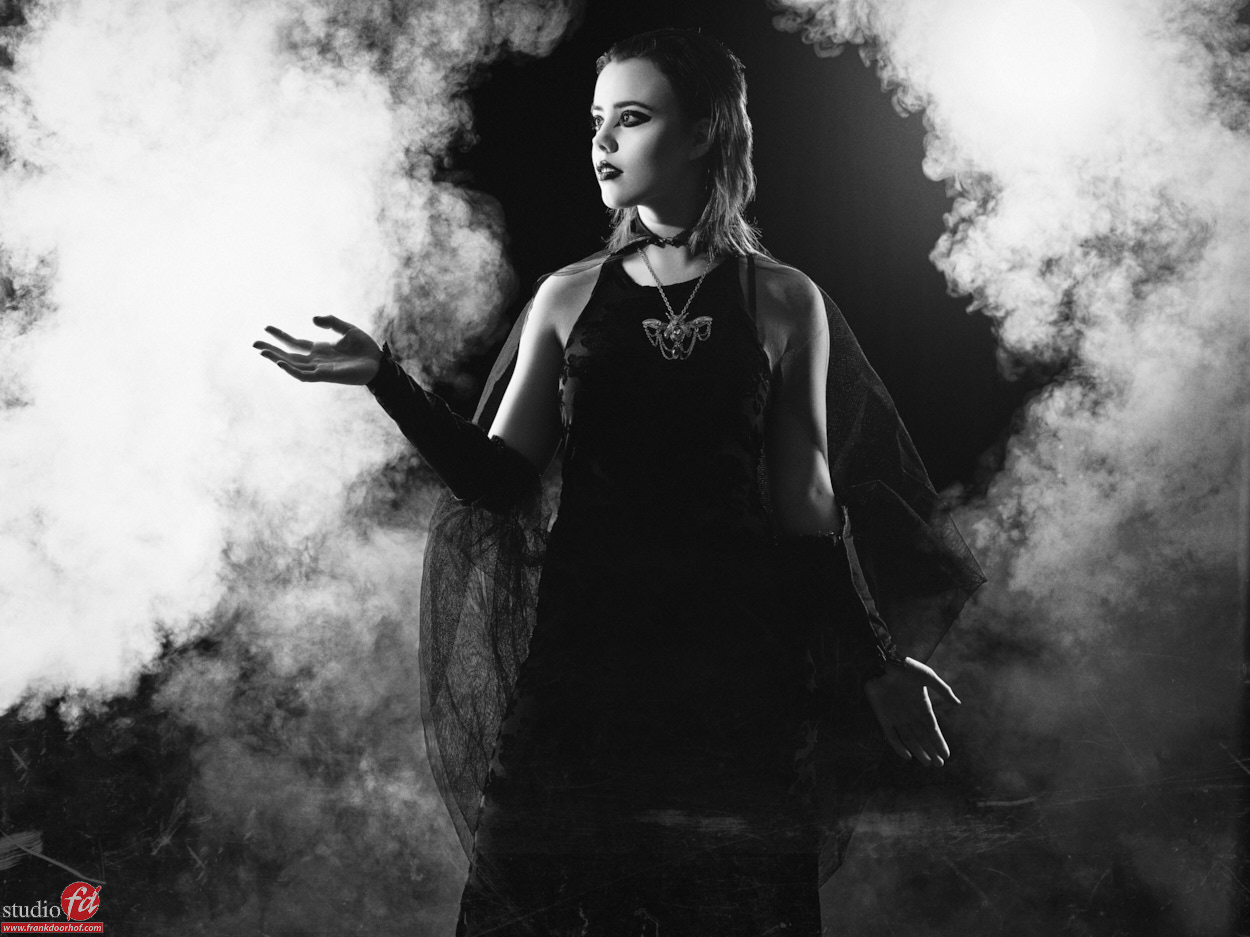
For this setup it’s not easy to explain what I do.
In this setup an open reflector was used very close to the model aimed towards the camera. Due to this setup you will get a lot of lensflare and you can forget to control this, so in fact every shot you take will be slightly different. If you change the angle it can be totally different from the previous angle, this makes it a challenging setup which can work very well however. The look I was after was a very soft milky lensflare with blown outs whites round the edge of the model but still some separation from the background. In the end we settled for this shot.
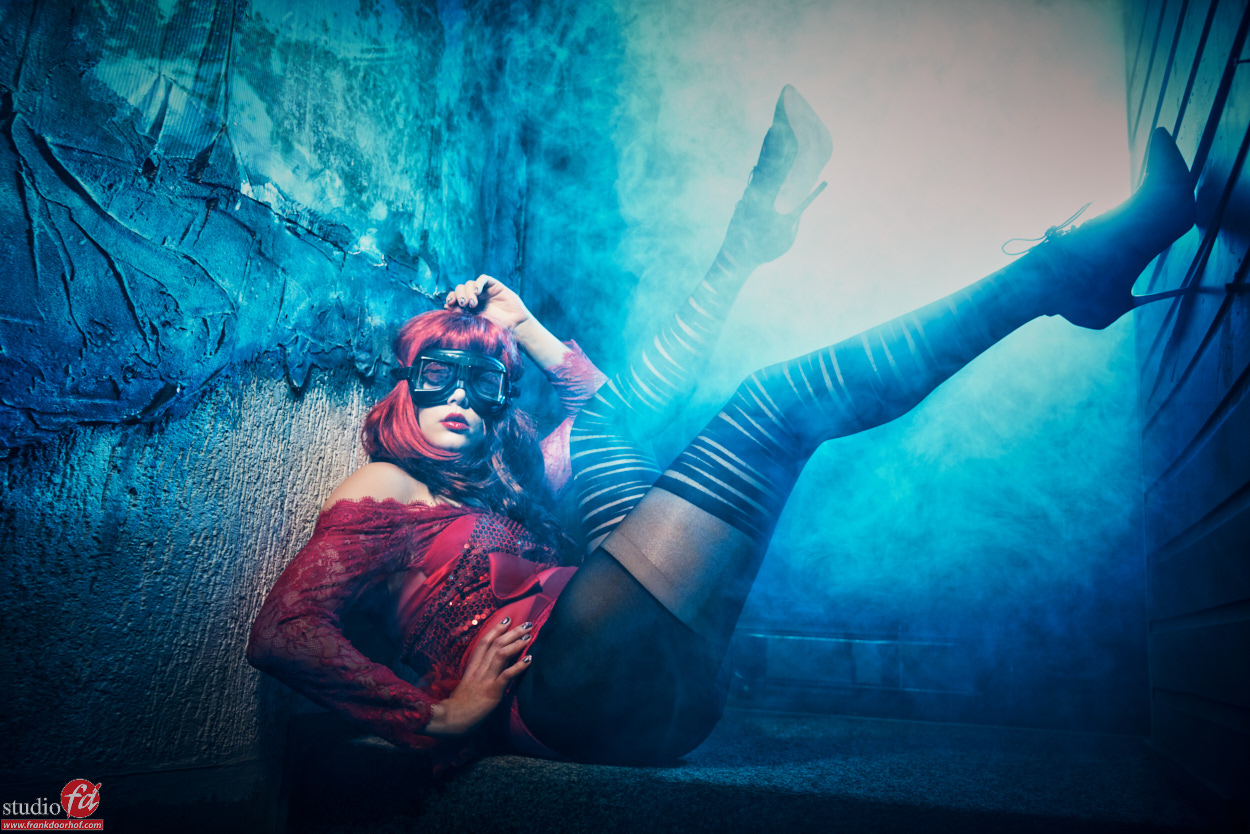
 Set 6
Set 6
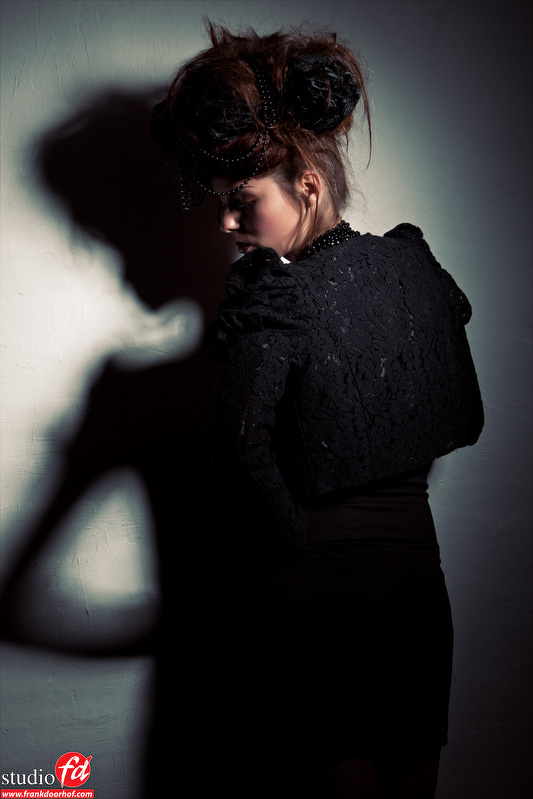
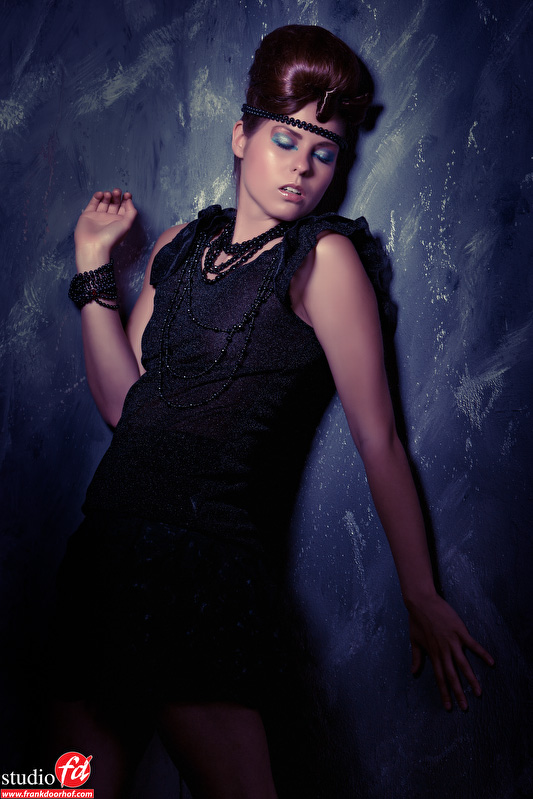
For the final setup the Maxilight was used again.
Rianne was posing in the corner which gives her a lot of options. This is maybe a good tip for photographers in tight spaces, make the best of the location and corners can be awesome to experiment with poses and light setups, for me it’s one of the most challenging things to find new ways to use the corner, but it’s also one of the locations that always work great in the end. So you can get a great shot quite quickly, but you can also try to go a bit further. In this case I loved this look so we decided to keep it a bit more simple this time.
I would like to thank our team and all the viewers online.
We don’t know a new date yet, but I will announce that via twitter.
If you like what we do here, and want to support the blog please buy from our affiliate companies by following the links or the links below.



I’m lost a little here…
“When you own a meter that has only incident you can measure from the background to the model and make sure the light falling on the lightmeter is not higher than 1/3 stop higher than the mainlight (yes measure towards the model instead of to the lightsource, this is because you are mixing two strobes)”
Hitting the background with umbrella’s (hey, I’m on a budget) works ok but I measure and go 2 2/3 over it (like measure F16 on the wall and dial 6.3…hitting the model on a measured 5.6 (slightly “keyshifting” for paler skin and high key effects).
As for setup 5: this happens a lot on concerts where there is lack of frontlight… I prefer to get some more details out by enhancing contrast levels and pulling a little black in photoshop. If you go for milky however… leave it as it is. 😉
Try it with 1/3rd and you will be surprised.
If you want to blow out the model do this with the main light also don’t overblown the back.
To get pure white without detail really 1/3rd over the main when measured incident on pure white should be enough if your meter is correct.
When measuring reflective you should be around 2.5-3 stops over, depending on the camera.
Everything you use thats higher will reflect back too much on the model causing lens flare, loss of detail around the hairs, and loss of contrast.
Personally I prefer the reflective method because it works on all kinds of backgrounds.
Umbrellas are about the same price as the wide reflectors 😉
“should be enough if your meter is correct”… indeed, I remember you telling about meters and correct measuring on the workshop now. nAnd I got lost in the explanation by incident measuring while I use reflective (my 2 2/3 over). All checked and well. Thx.
Oops… 5.6 is underexposing… 7.1 lighting measurement would do the trick dialing 6.3 on the camera (English and my math together don’t mix apparently… different brain parts activated). LOL
Love them, well done.
epic again
i have to say after seeing the first few awesome strip light shots and then get hit with the high key shots as you scroll down, they while being great seem so bland to the pictures that just graced the screen before you with the strip light 😉
im ordering 1 i see you use the chimera does taht require an adapter for the elinchrom rangers do you know Frank?
Hi,
Thanks, I love both setups, but I agree the high contrast ones are often regarded higher.
You need the elinchrom speed ring for it indeed, but b&h has them listed with the chimeras.
Great photos! And how I love the way you explain everything. Now I also undestrand better how to set up the flashes for white a background. I have a Seconik L-358 that can be used both for incident and reflectiv measuring. I am also a fan of using a lightmeter, it makes it so much easier. But it could be hard to learn how to use it, but thanks to you Frank, it all comes more clear now.
Have a nice weekend!
Mette 🙂
Good to hear, remember however with the 358 you need to measure close, unless you buy the attachment 1 degree spot meter which I highly recommend for that meter.
I have added the 1 degree spot meter to my looooong wish list in the B&H online store…
Soon I´ll make a order in their store, I just have to choose what to pick this time…
😉