working with smoke
One of the most interesting workshops is without a doubt “working with smoke”
It all might seem very simple, just pump some smoke and you’re done… but in reality it’s almost a science, I could literally write pages about it (I might do that one day).
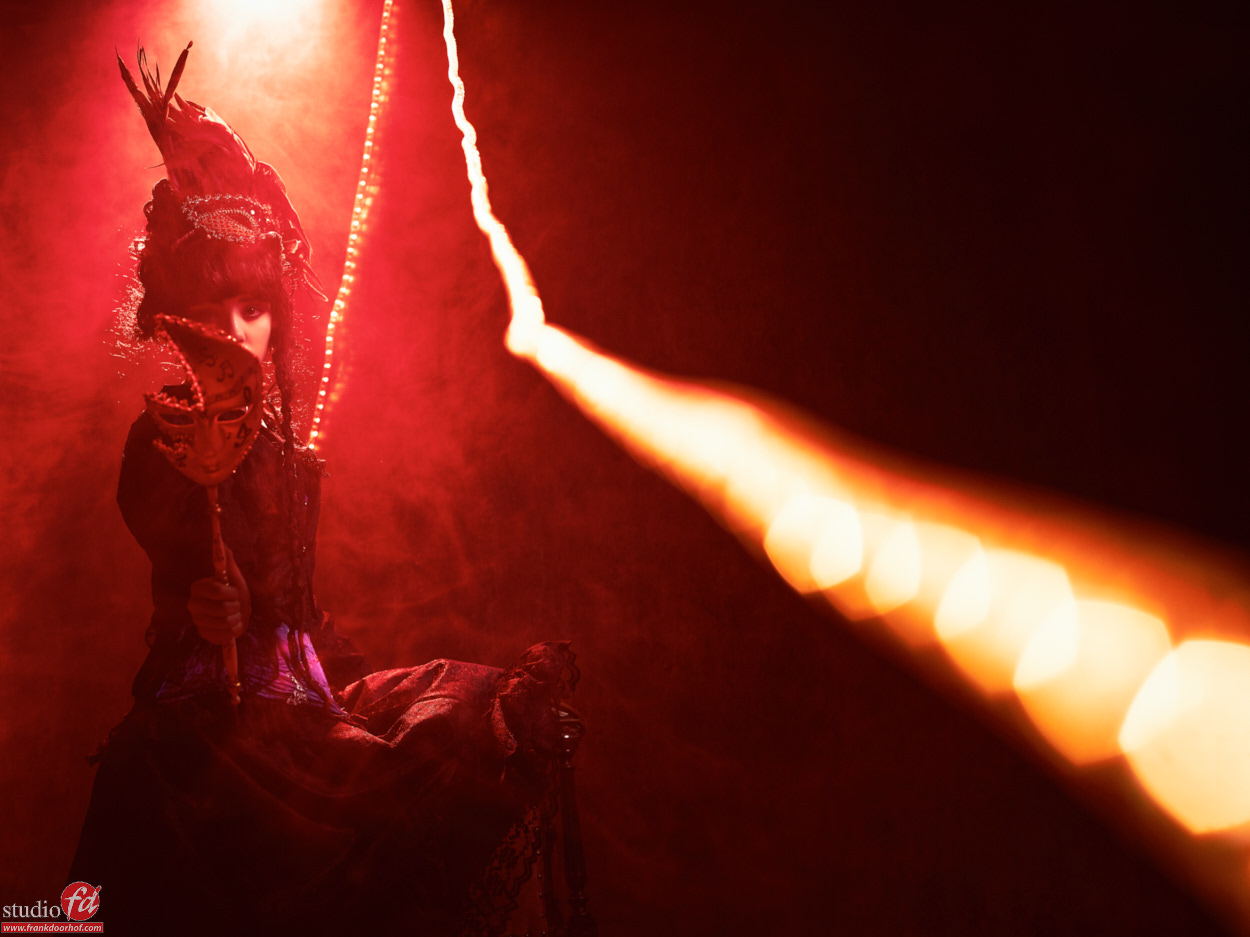
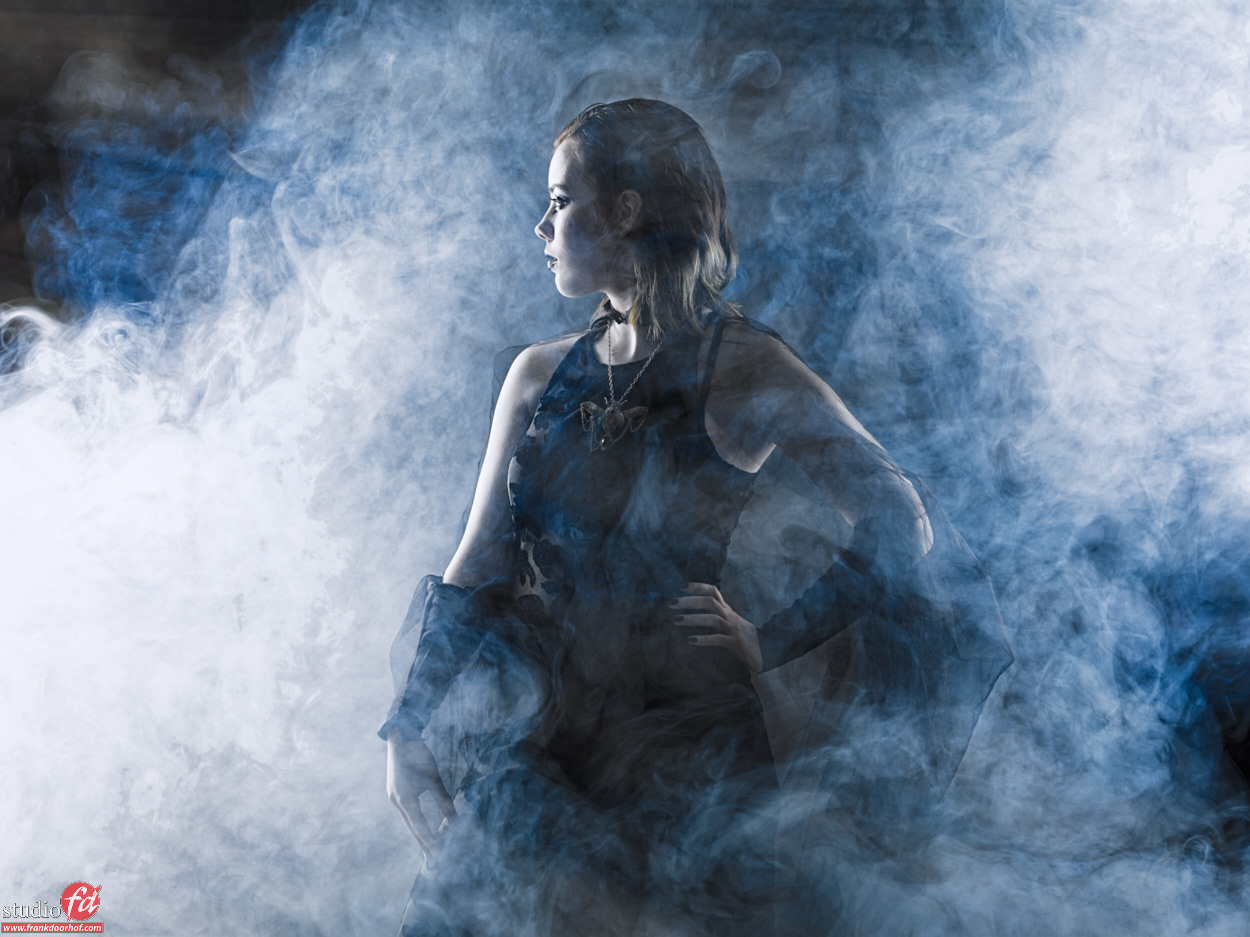
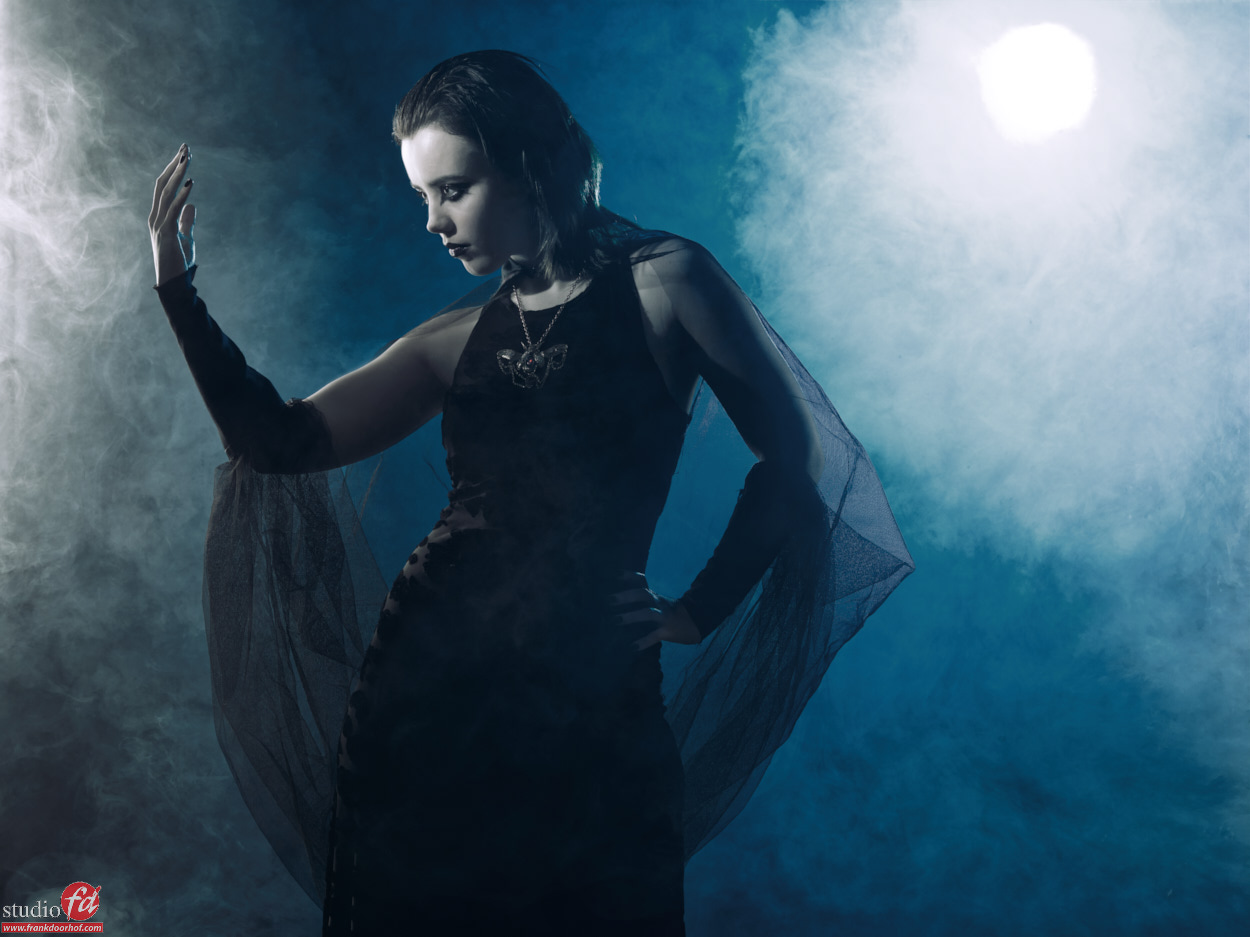
In essence you have to remember that smoke acts like a diffuser and reflector at the same time, so backlighting smoke can be awesome and front lighting a disaster, however if you set up your lights perfectly before you add smoke it could very well be that all falls down when you add the smoke due to the fact that smoke also acts as a diffuser, so it could be way to bright OR way too dark….
Now if you’re smart (and I know you guys are) you can use smoke also to light up your model in areas where normally it would a bit too dark, for example put two strips behind the model and you will end up with a very dark front, however add a bit of smoke in the front and the light will bounce of the smoke and actually light the dress…… easy right? well not that easy but in essence it is, now you have to start to learn how to add the smoke.
With smoke we always work with 2 smoke machines if we can, just layering in the smoke using patterns that will fit the scene, and this has to be very fast because smoke will always move around, so often I’ll ask my assistants to first blow smoke in the front of the model (in these kind of shots) and then behind them and move up very fast. This way you can create some pretty interesting effects.
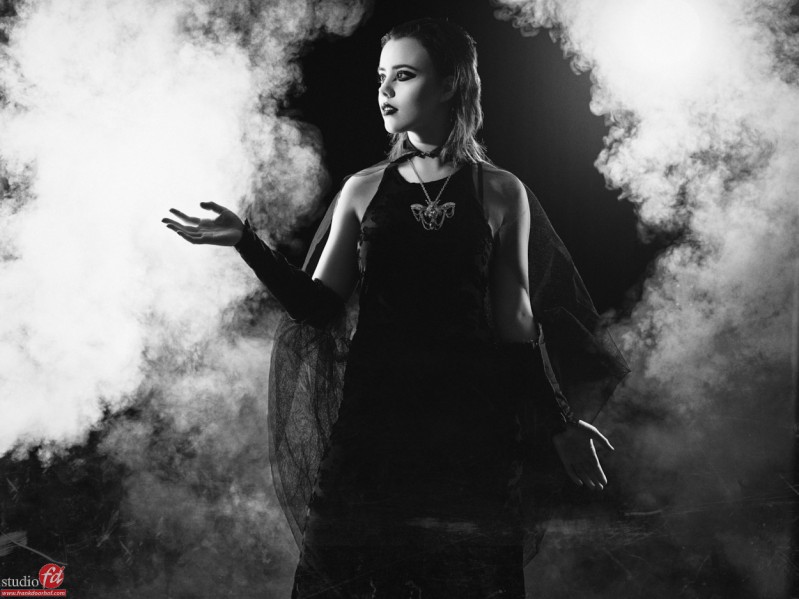
To show total control over your smoke you can even create two walls of smoke 😀
To light up the face of the model a bit more I used a small snoot with grid.

If you like these kind of tips make sure to check out my book “Mastering the model shoot” or get one of the instructional videos from this website.