Become an instant lighting expert (sort of)
Some lighting setups are special
It’s no secret I love to work with the more focussed light sources.
Let’s first explain what a focussed light source is.
When I talk about focussing the light it can mean two things.
- We use an optical snoot like the Westcott Lindsay Adler projector.
- We use grids or narrow light sources to aim the light on our subject.
Today it’s about the second one.
See what your light does
We get a lot of questions about what kind of light shapers someone should get to start with a studio.
In all honesty it’s very hard to tell, it all depends on the work that you do, and sometimes a Lantern is great, and sometimes you really need something like the Quicky.
But there are some things you might not know/realize about the design of a softbox that can help you determine which softbox fits your needs.
It’s all about the design
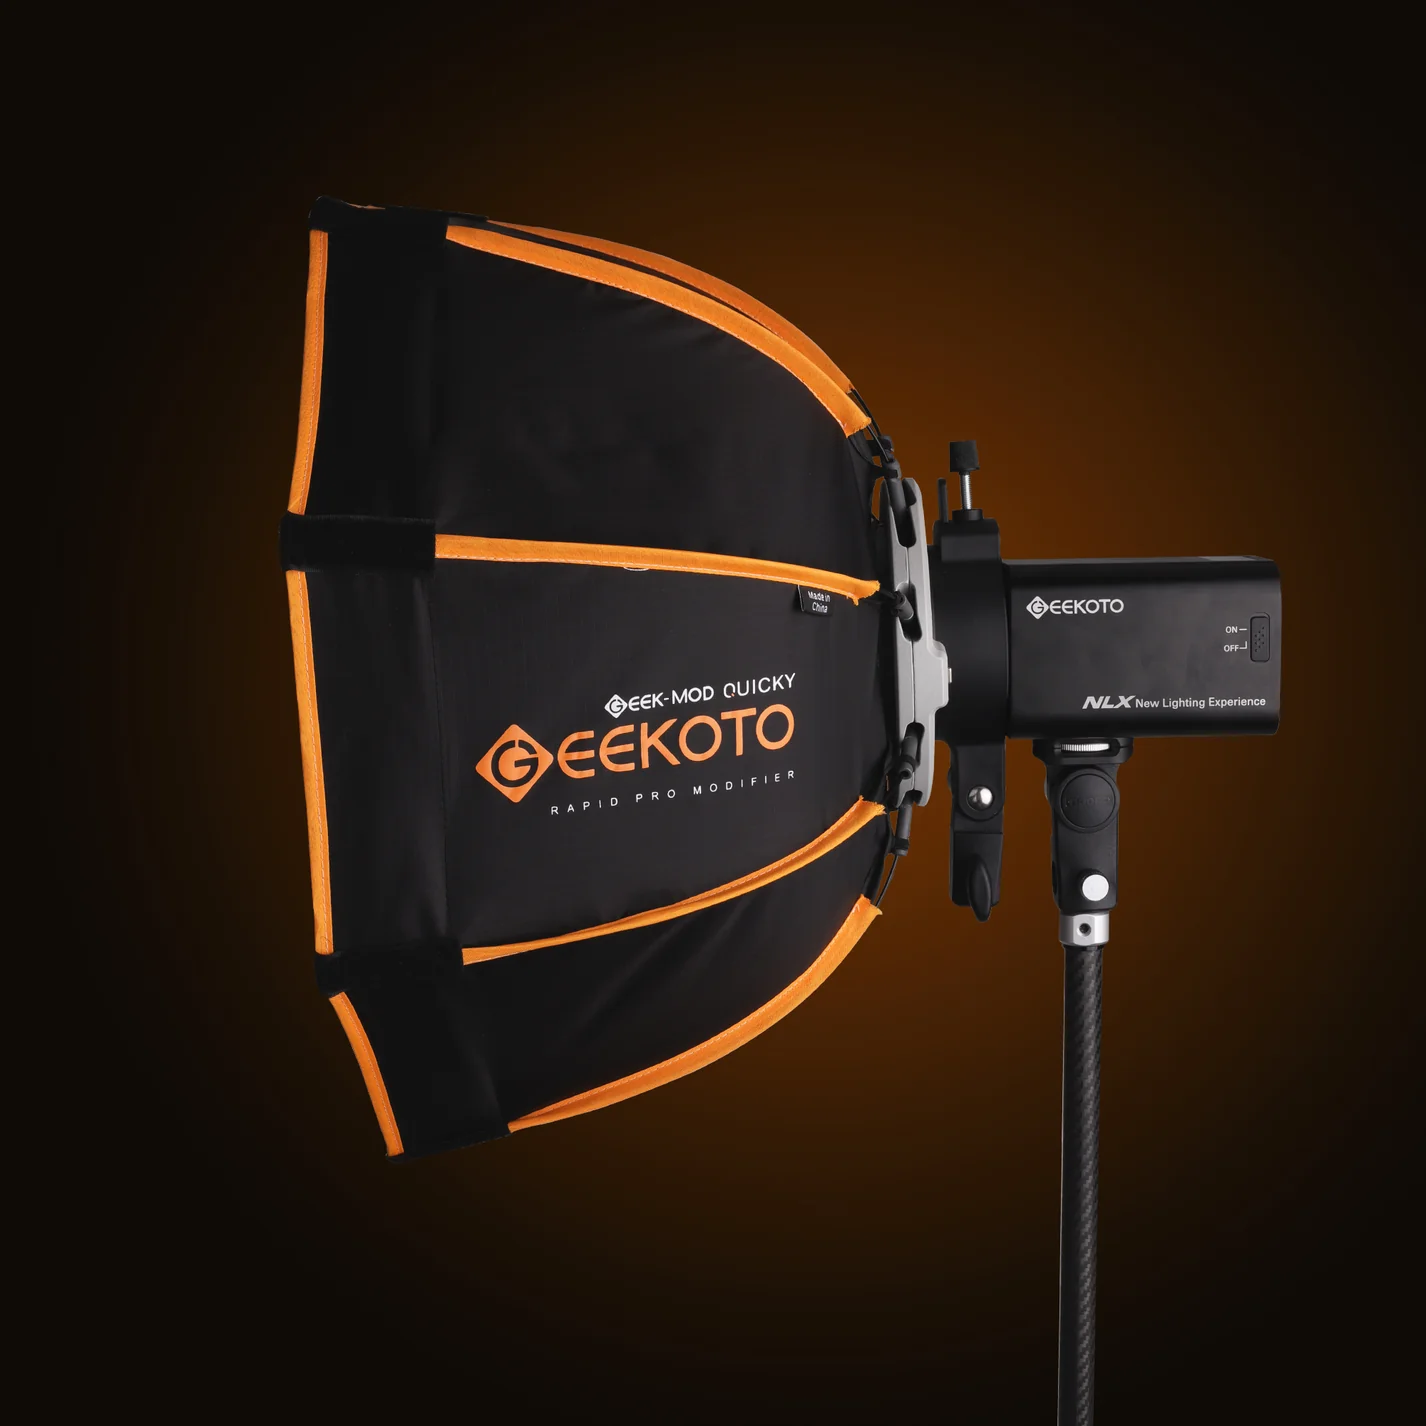
Let’s take a look at two of my favorite Geekoto soft boxes for focussed lights.
First up the 26″ softbox and next to it the Quicky
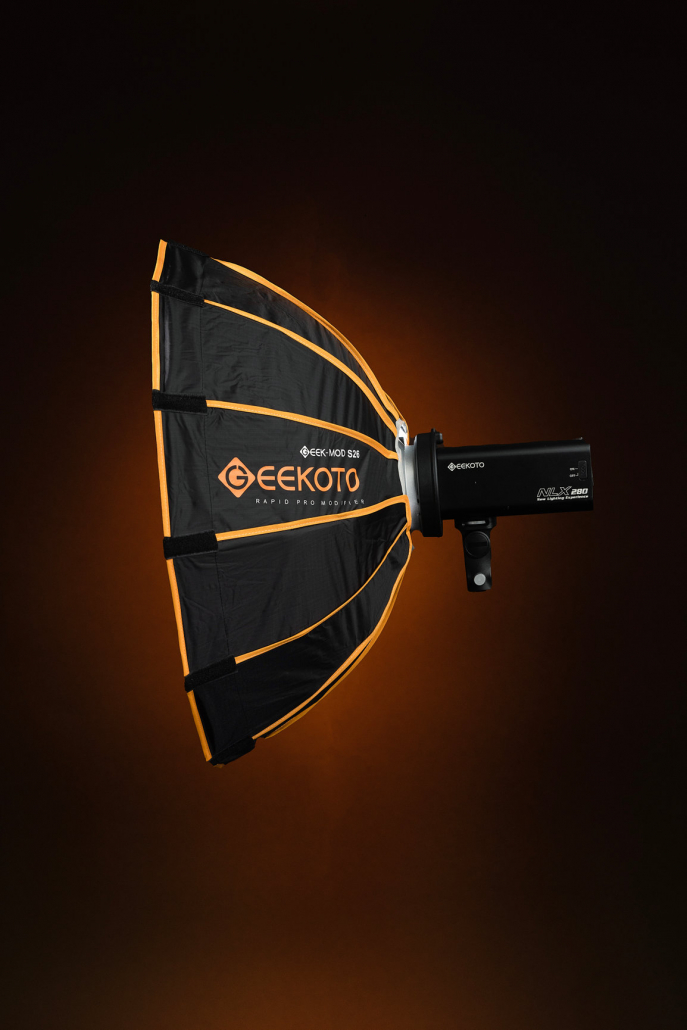
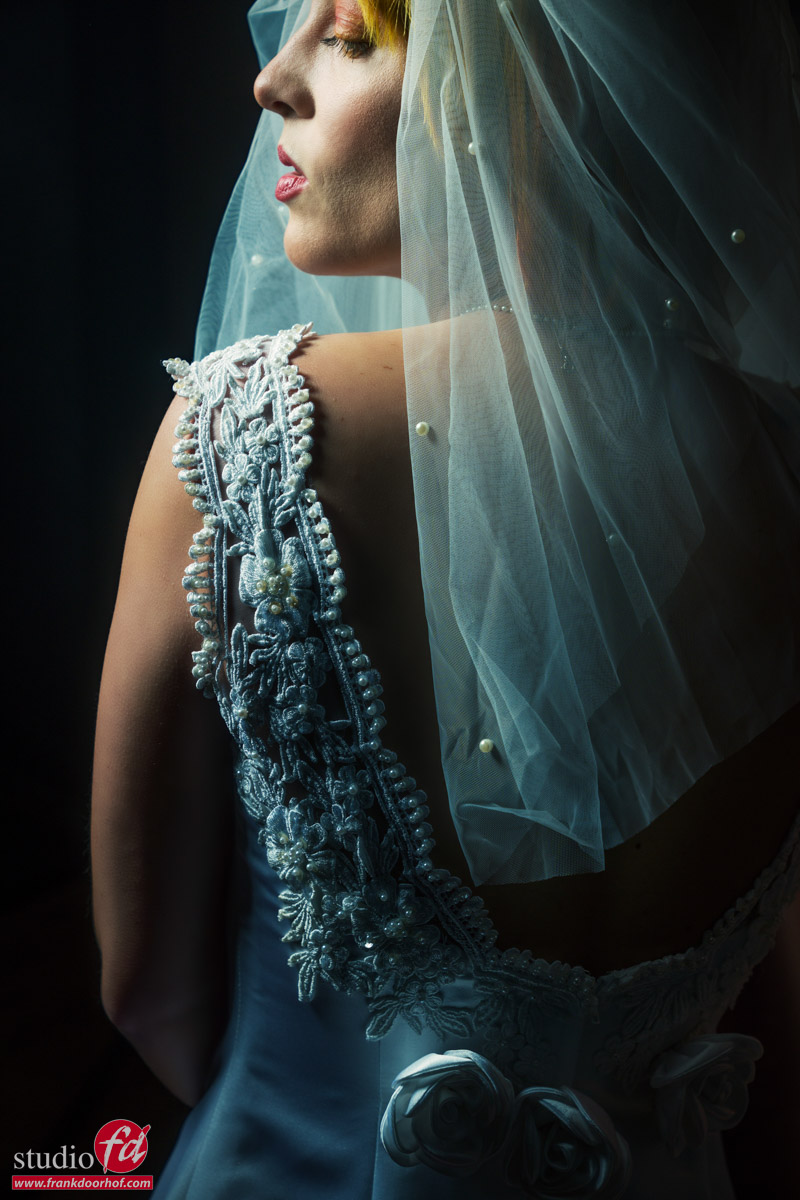
When you follow the rods of the softbox you can see that both soft boxes are totally different in the way they aim the light.
And this gives you some really nice lighting options.
With the S26 you can light a model from pretty close by and still get that nice “focussed” look but benefit from the very fast light fall off. which makes the S26 great for on location work where you want your model to jump out, but also want a very rapid light fall off. The S26 is great for this kind of work
When we look at the Quicky you can see that the rods are much more bent, and this means the light is much for focussed. This has a very nice advantage I personally love to use.
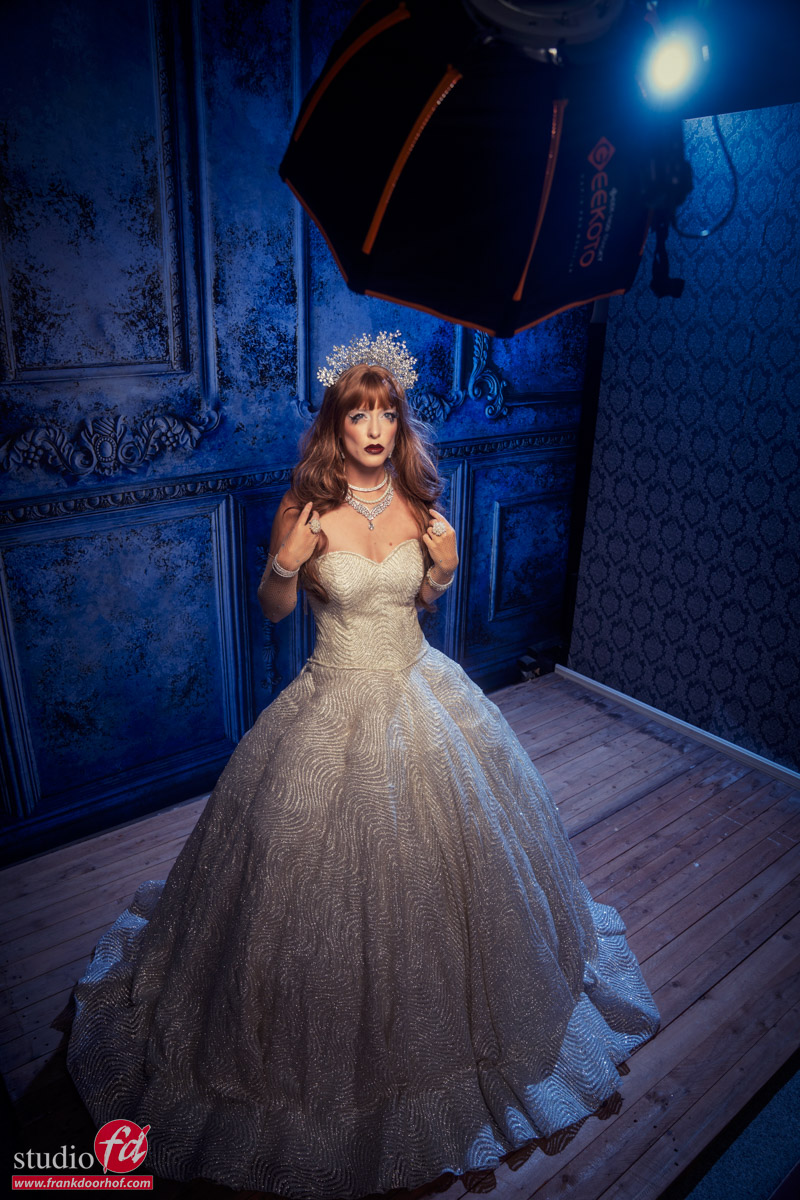
When I shoot a full body model I love to have the effect of a spot light on her face with a very nice light fall off showing just enough detail at the bottom to let the model blend nicely with the floor. (of course depending per shot). In the past I would use a snoot or reflector with grid on the face of the model. This meant a rather harsh light source on the face (so loads of makeup) and also a rather fast light fall off.
Light fall off can easily be solved with a large umbrella or for example the Geekoto lantern to fill in the shadows to the point you like.
There is one problem with this technique. The more I have to fill the less control I have over the light fall off. I can control a focussed light source but a large umbrella is a lot harder to adjust for light fall off when used as fill.
This is where the Quicky comes in as a huge problem solver.
Because the Quicky has a lot more diffusion and is in essence a “soft”box the quality of the light on the face of the model is a lot nicer, especially for female models, but due to it’s design it can be placed a lot further away from the model and still get a very nice “spot light” effect on the model. Because I can move the Quicky further away I can now also light more of the background with a less harsh light fall off than a snoot or reflector with grid.
And, for me the biggest advantage, the light fall off is a lot smoother than a snoot/reflector and larger, so I only need my fill light for the last part, which makes the final results a lot smoother.
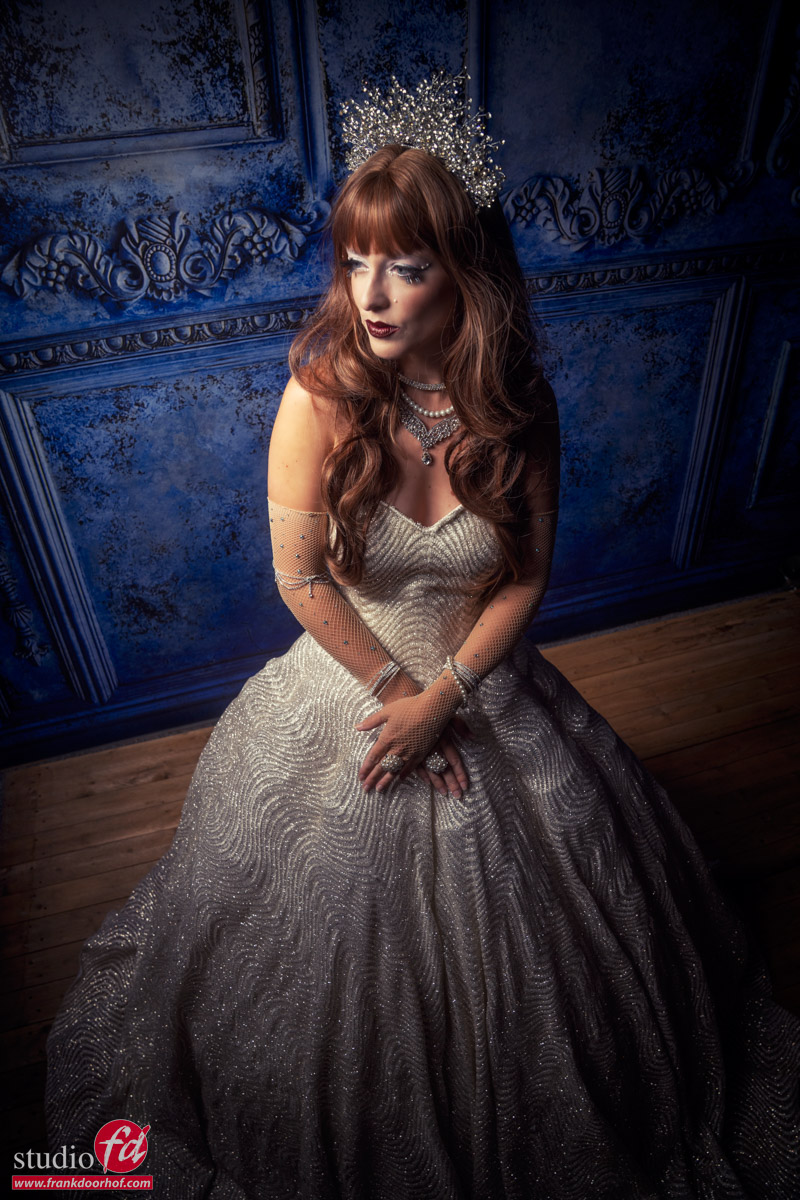
Here you see the Quicky lighting almost the complete model, and the Lantern is used in the back just to open a the shadows ever so slightly.
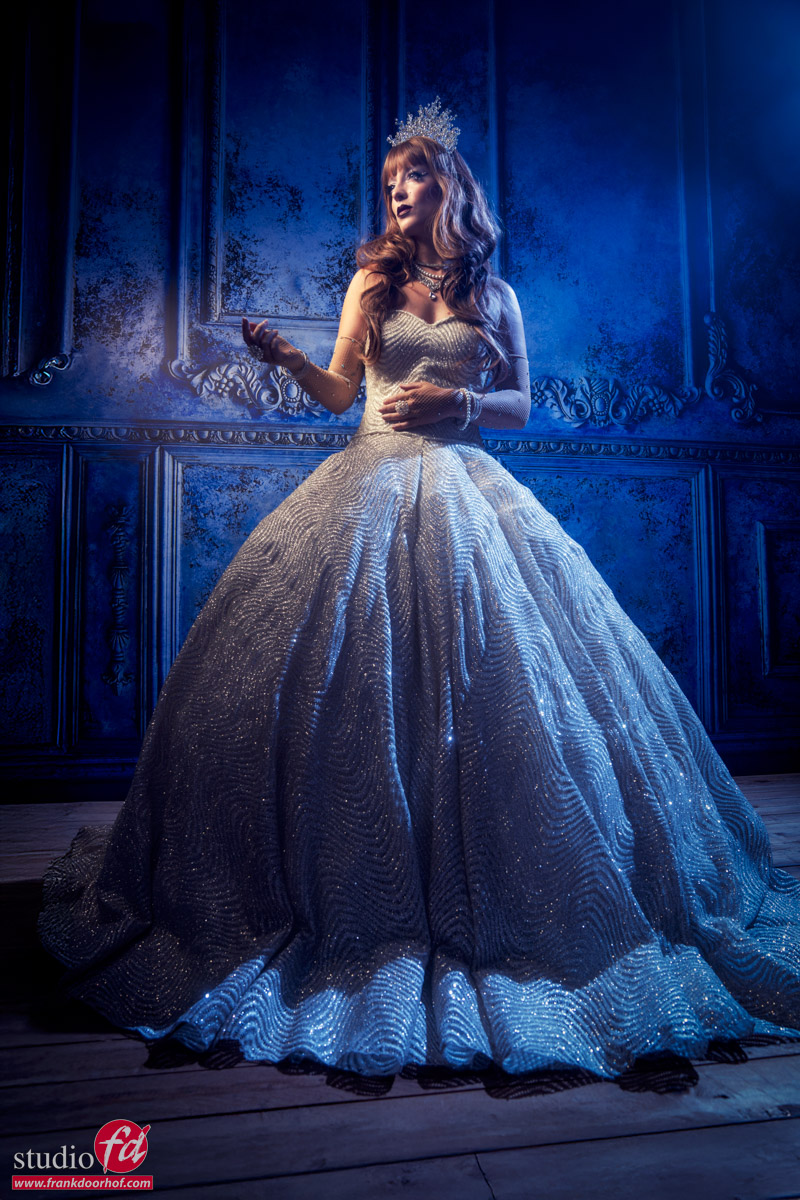
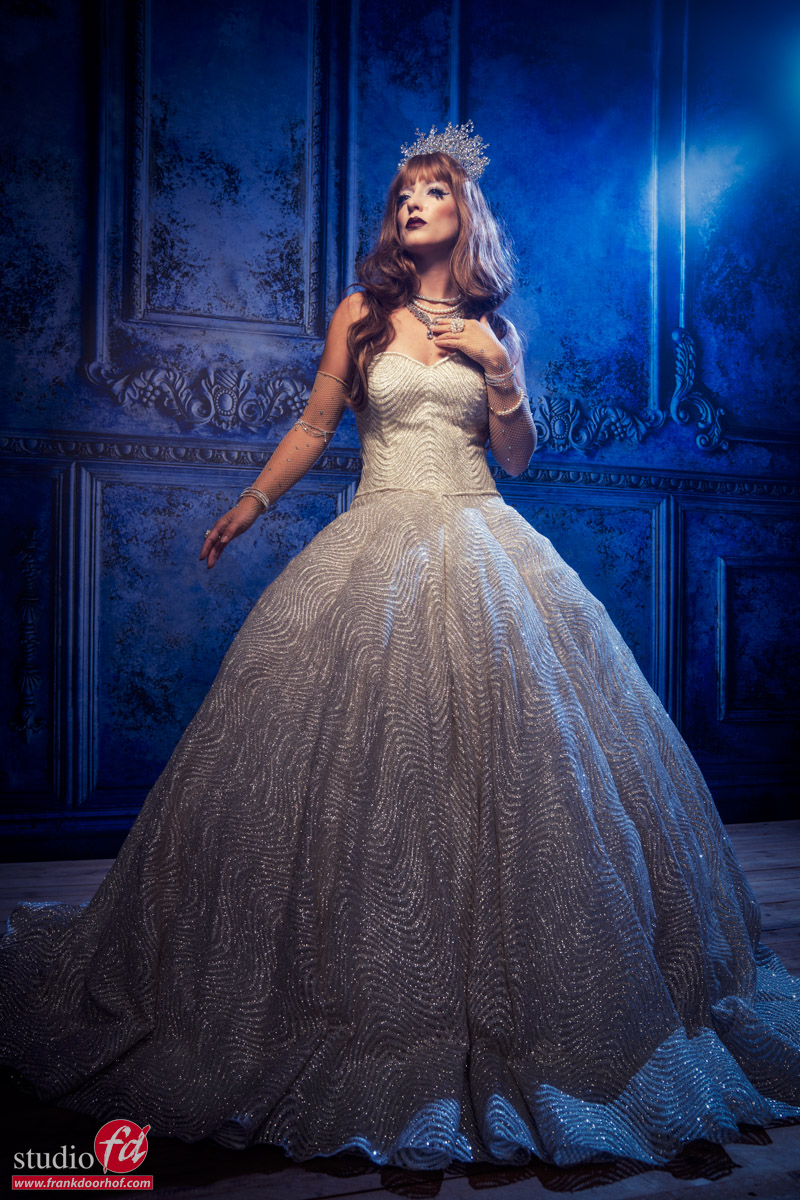
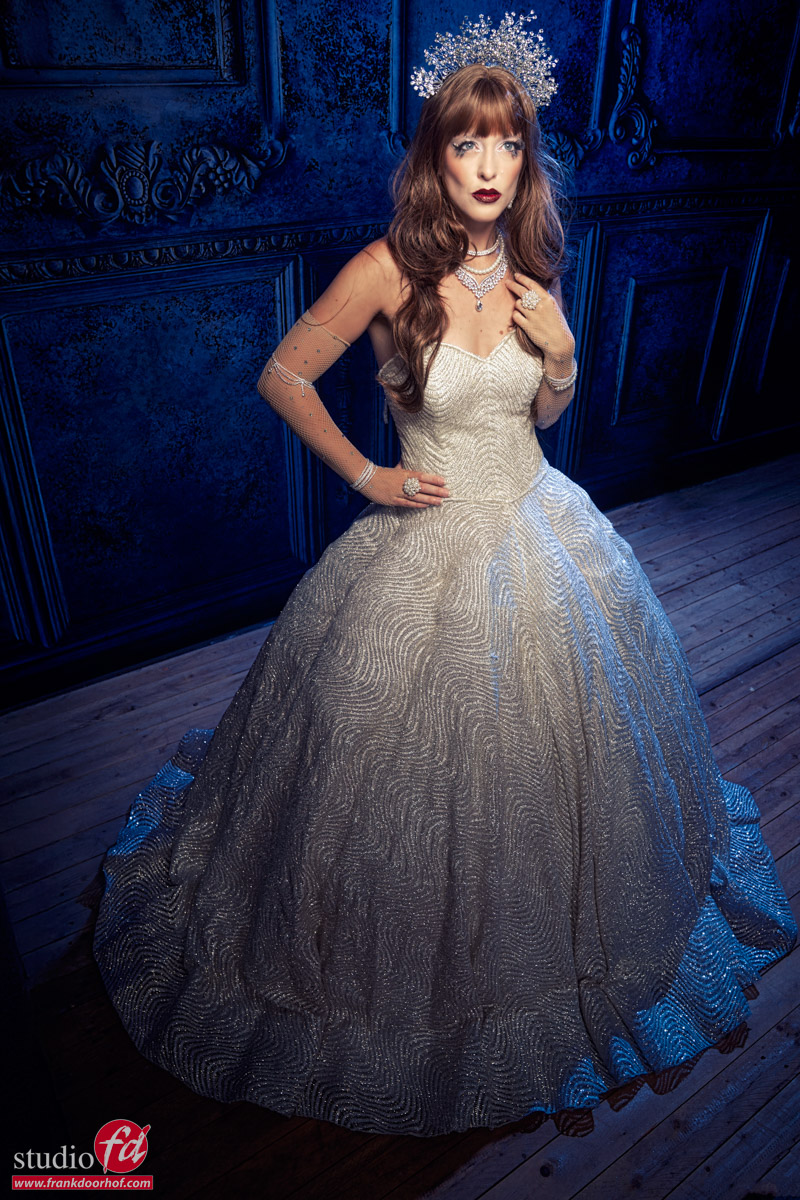
Lighting setup :
Geekoto GT400 with the Lantern as fill
Geekoto GT400 with the Quicky as main light
And one without the blue accent light.
(a Geekoto GT200 with a Rogue magnetic blue gel)
If you buy products from our Webstore you support our work.
We are the official distributor for the brands on our website, I use them in my daily work and highly recommend checking them out.