How to create depth in a scenic backdrop set
Today it’s about depth
Don’t get me wrong, I have nothing against creatively using AI. But for me using it to replace backdrops in all your shots, or even worse creating something from text to image and calling it art. Well, it’s not my thing. Today I’ll show you how to create depth in a scenic backdrop set.
When I shoot or teach the workshops I always try to use materials and backdrops in the studio. This means my images are 99% shot on set.
I always leave some marking, because I also use generative fill to extend a backdrop. Take out some things I didn’t see on set. Or just extend a set. But the whole idea, setup, etc. was done as much as possible in camera.
So why is that so important to me?
When I look at a picture I want to see depth.
And this is the one thing often lacking in AI-replaced backdrops, yes it looks great for an SF set, or Cosplay (use it a lot in those setups) but when you try to create something real, at least for me, it mostly fails because the backdrop and the model don’t “connect” in a natural way.
But what is different from using a scenic backdrop you might ask?
With a scenic backdrop, we use a backdrop that literally has a scene printed on it.
Using this as a backdrop can give you a great sense of depth even if it’s just a flat print. The reason is that if you place your lighting on your subject correctly and match the angles on the backdrops (very important to read the shadows), your light, model, shadows, etc. will all interact with the backdrop. Thus creating a much more believable setup.
But that’s not all.
It’s still just a model in front of a backdrop. This is why the least you can do is for example use a chair that is similar to the backdrop in style/color. Or maybe just the opposite (be creative). By angling the chair and your subject, and matching the light mood/color and angles you already have something really nice looking.
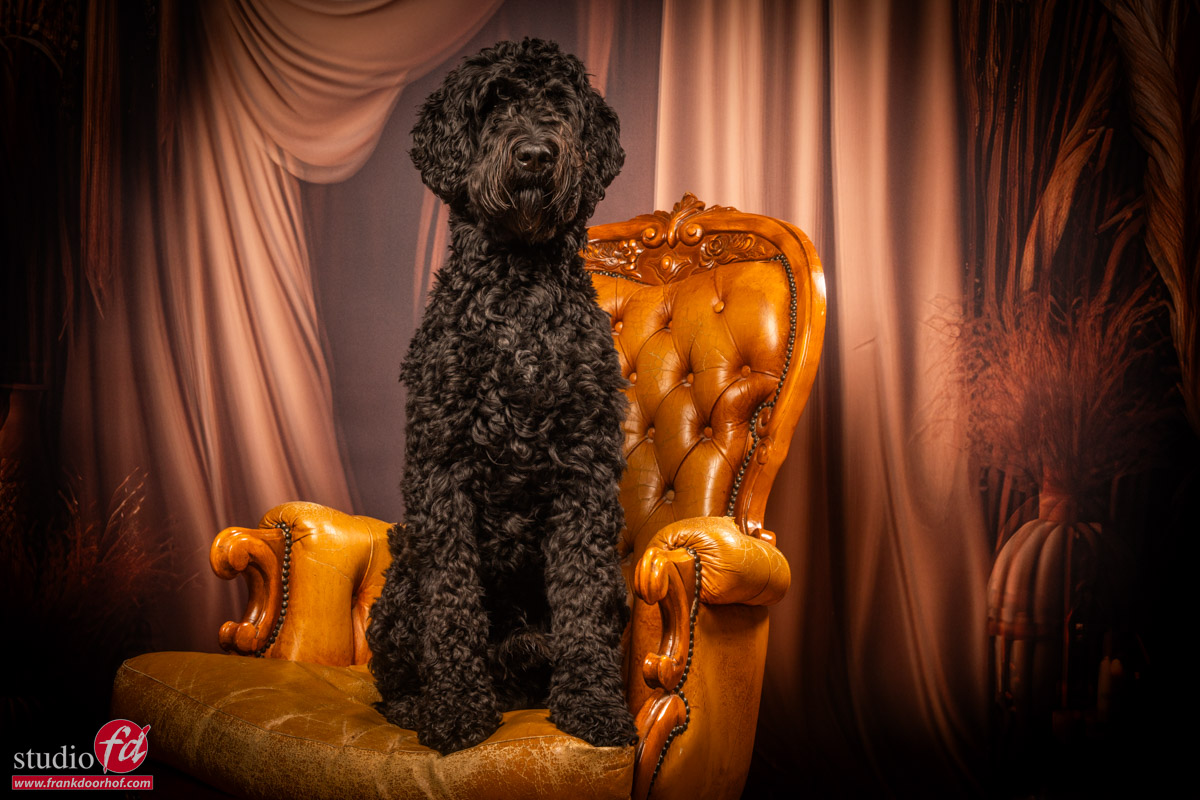

But of course, we want more
One part of the workshop is set building.
And the scenic backdrop is great for this. this backdrop can help enormously by creating depth.
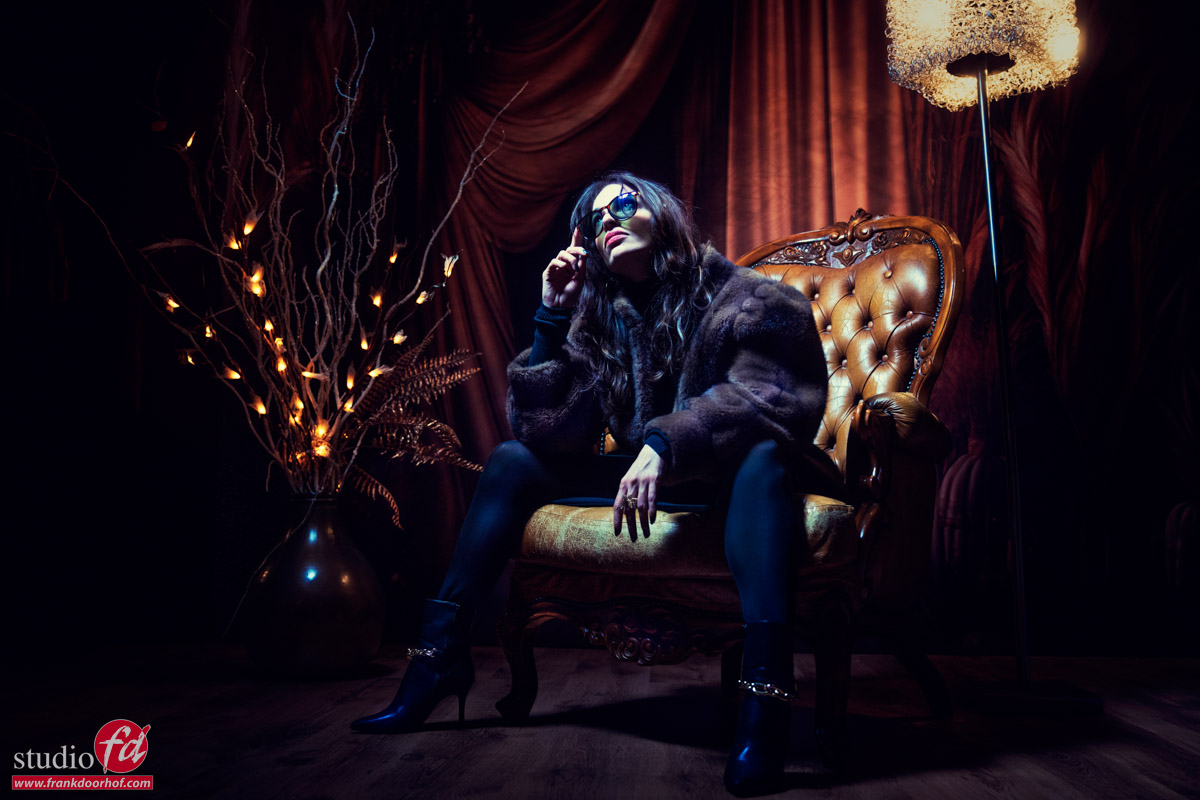
By adding props to the set you can not only create more depth in your image but it also looks a lot more realistic. Our mind seems to have less trouble with the “flat” background if it sees a lot of things in front of it.
During the workshops, I, of course, love a challenge. So in this case I added several continuous lights in the setup.
I’m using a nice focussed beam of light on my model via a small softbox on the lowest setting. And use the shutter speed to let in the amount of light from the continuous light I like.
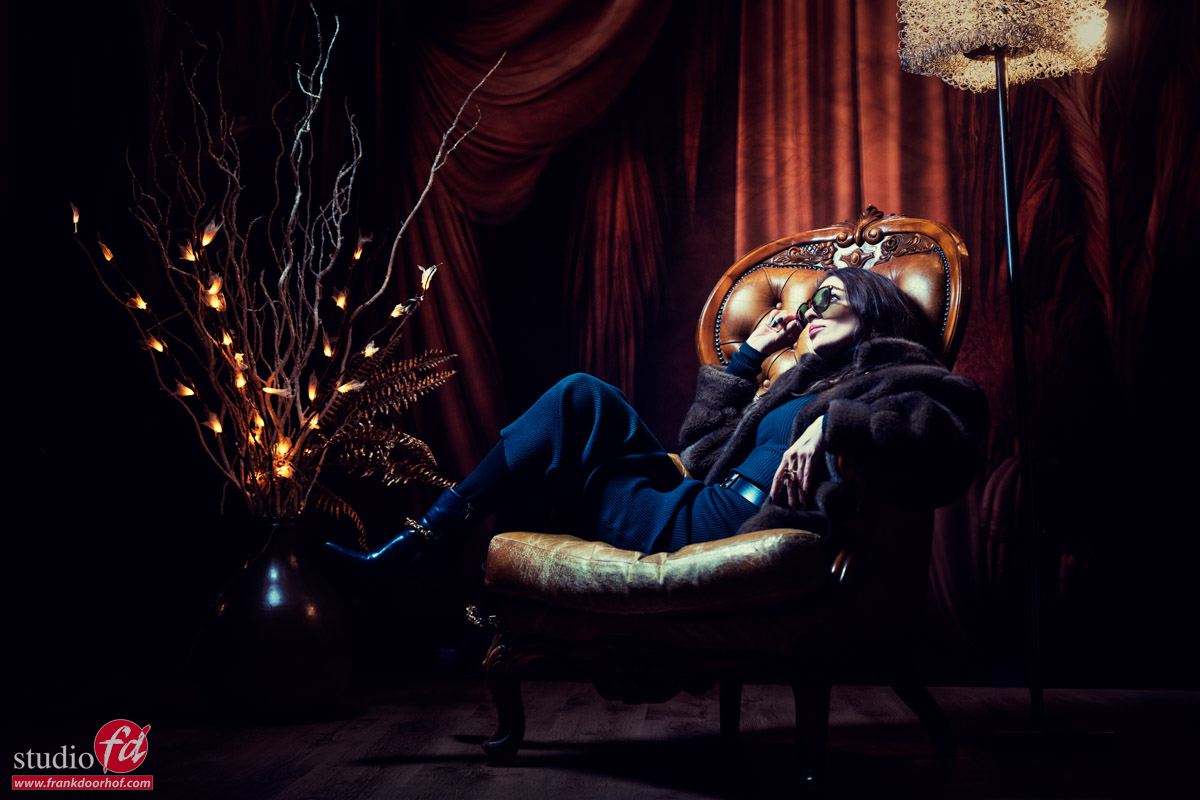
So far so good, I really like this shot.
But when you want the sense of depth to be a bit more exaggerated it can be nice to also take some shots closer by with a wider angle.
This really draws the viewer more into the shot.
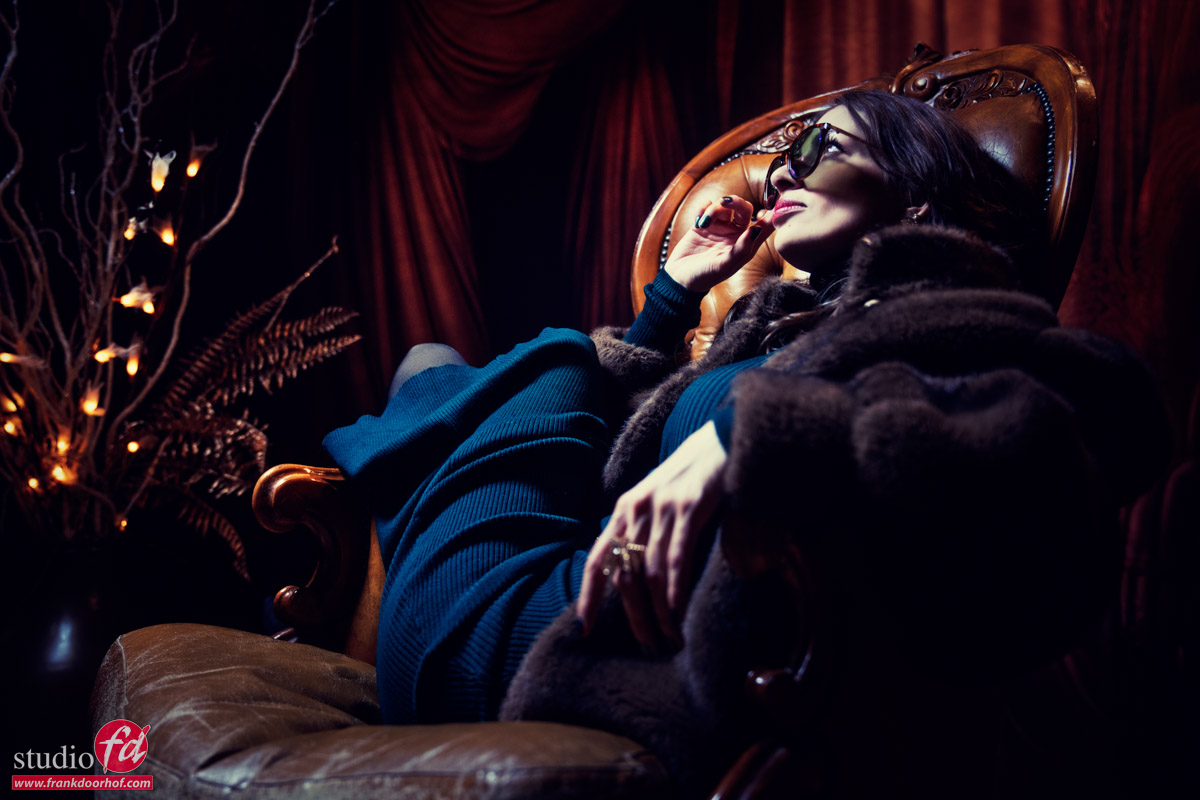
I also always tell the attendees of the workshops to shoot from different angles.
By changing the angle you can change the mood of a shot almost completely.
In the first image, I’m shooting from an elevated position down. It’s not my favourite shot to be honest but it does give you a different view.
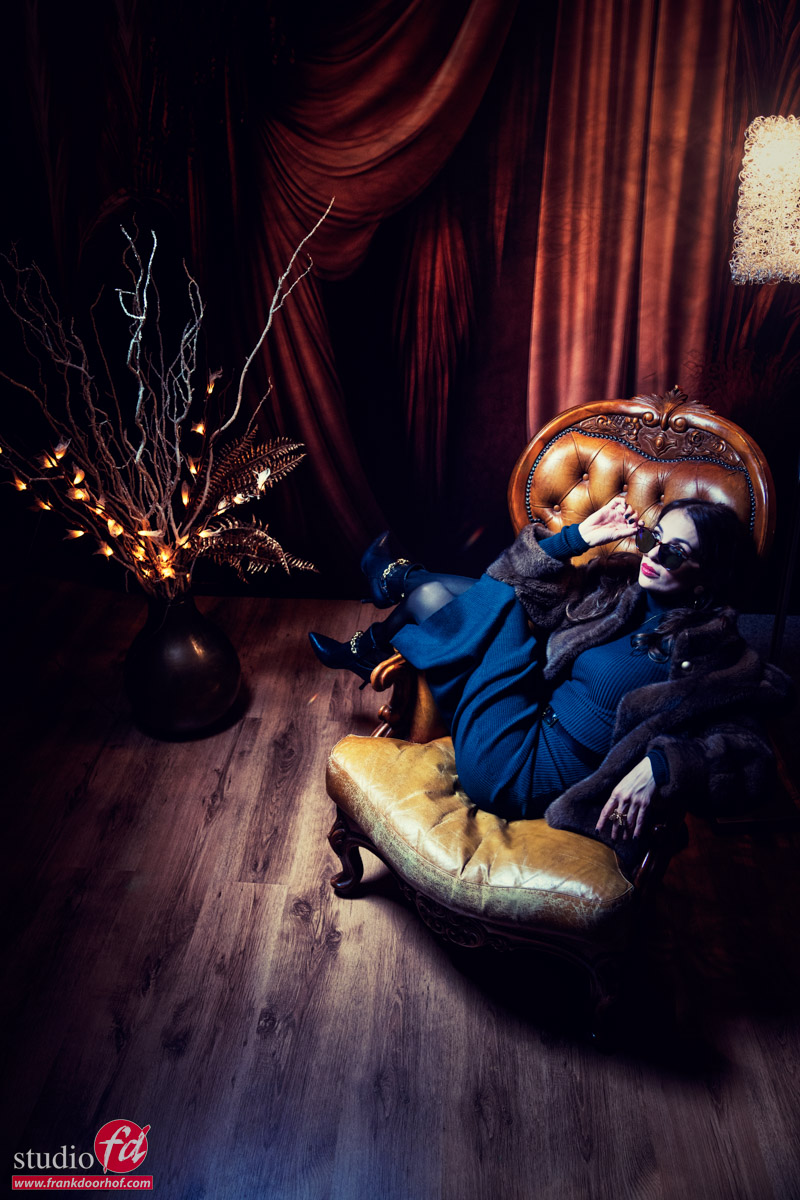
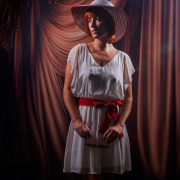
When I shoot from a lower angle the whole look changes. Of course, I also asked our model Felisa to take a different pose, for the simple reason it gave the shot much more depth by the leading lines. But also much more power which was more fitting for the whole angle. But of course, opinions differ and that’s why it’s always smart to shoot from all angles 😀
The workshops
How to create depth in a (scenic backdrop) set is one of the questions I get a lot in the workshop
When I teach a workshop I always start with a Q&A
During the Q&A the attendees can ask whatever they want and during that period I actually “build” the workshop. This means all the questions are incorporated into the sets we shoot that day. This way I can always challenge myself, but also have different kinds of images for the attendees and myself. Every single workshop is unique.
If you also want to visit a workshop, check out photography-workshops.eu
All workshops are in Dutch, but if you let us know in advance we can change them to English.
If you can’t travel to our studio, we now also offer full-day 1:1 online workshops.
In our studio, with a model, 4-5 cameras, and a direct line for questions, plus you get all the RAW files to play with.
For more info: see here