Storytelling with photography
It’s no secret I love guitars. I don’t label myself as a real collector but I do add guitars to my collection when I find something that’s unique or a good investment :D. And of course, I like to take pictures of my guitars. This blog is about storytelling with photography.
Vintage and stories
As a photographer, I love to tell stories.
And as a musician, I love vintage gear. I think the main reason I love vintage gear so much is the story behind it. A well-played guitar with some damage through an old tube amp… I don’t know… you just play differently.
I saw the brand Vintage a few years ago and really liked what they were doing, but never added one of their instruments to my collection. However, when they started to work with Joe Doe it became interesting.
Limited editions for the masses
Joe Doe builds guitars in a very limited quantity. And where other luthiers might build a copy of a Strat or Les Paul. He builds guitars that already have a backstory (made up). And that….. combined with great playing and sounding instruments is a very nice combination.
While looking at Marktplaats/Ebay I found a “lucky buck” in like new condition so I decided that would be my first Vintage guitar. (the brand is Vintage).
Now this is not a review of the guitar, but it’s a whole experience.
You get the guitar with the backstory, but also in this case a hard case with loads of “case candy” which all connects to the “made up” story. I can’t express how much fun this is and immediately connects you to the instrument 😀
The backstory
For the Lucky Buck, this is what I got from their Facebook page.
“Leslie ‘Lucky Buck’ Coal topped the Billboard Country Music charts in 1952 with his heartbreak-inspired single, “Whiskey for Breakfast”. Flushed with sudden success, Coal signed numerous endorsement deals, the most lucrative of which was a contract to become a regular fixture on the WHB national radio show Giddy Up Y’all!.”
And of course, when you buy a guitar you have to use it in a shoot right?
Yes of course 😀
My story of storytelling with photography
Now there are always different sides to a story.
For this workshop I thought it would be a great exercise for myself and the attendees to use one prop, one model, one theme but tell two totally different stories, and how lighting and styling can completely change the narrative.
For me, the story goes as follows (following the original).
Leslie topped the billboard chart and had it all, but…. lost it all and was forced to play in small bars. Almost like living rooms, holding her head down so she could imagine still being on the big stages playing the guitar they made for her when everything was going great.
Years later a rapper finds the music, uses her hooks, and immediately propels Leslie back into the spotlights and the huge stages. So she needed photos for magazines. And this is of course a totally different Leslie. Heads up and fun Leslie, she made it “again”….
The setups
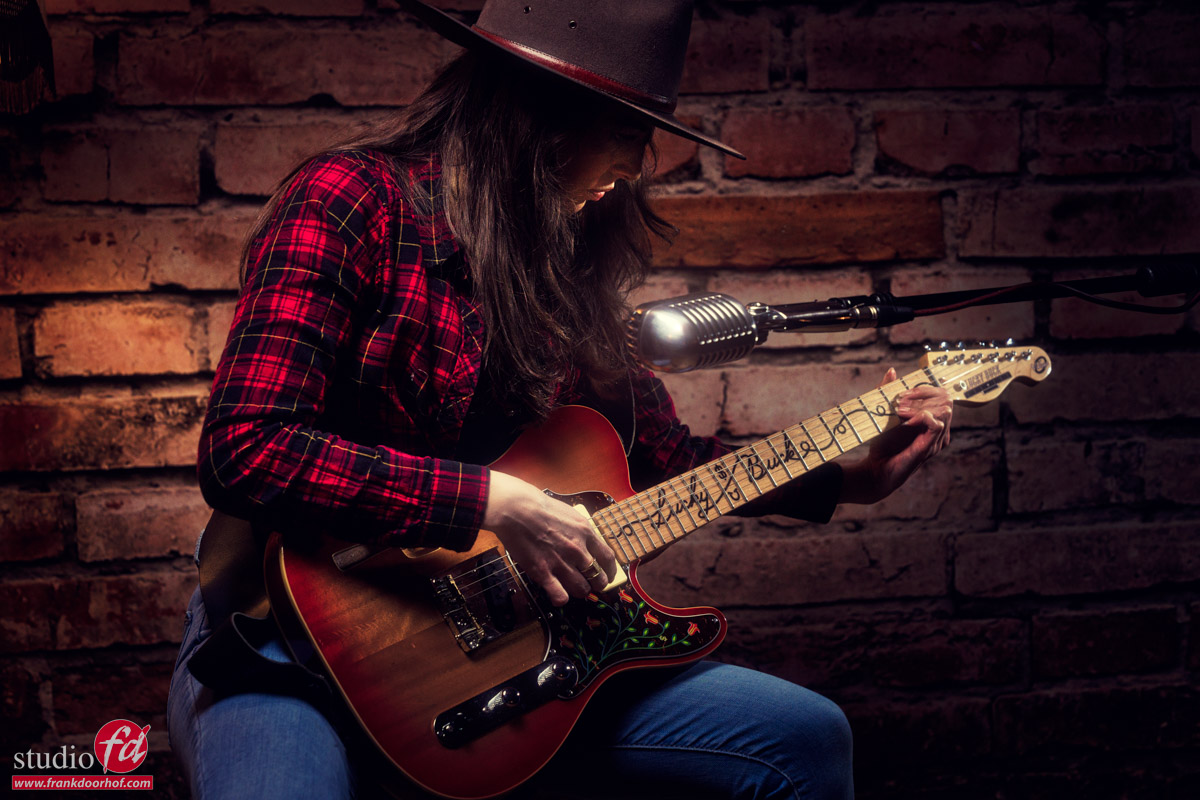
For the first setup, I wanted to create a very small stage idea.
One artist with a guitar and mic.
We used our brick wall from ClickBackdrops as background, and a wood floor to mimic an old western bar feel.
I’m using the small Geekoto 26″ softbox with a grid as my main light (one of my favorite light shapers) on the model (Felisa) and making sure the face is covered in shadow.
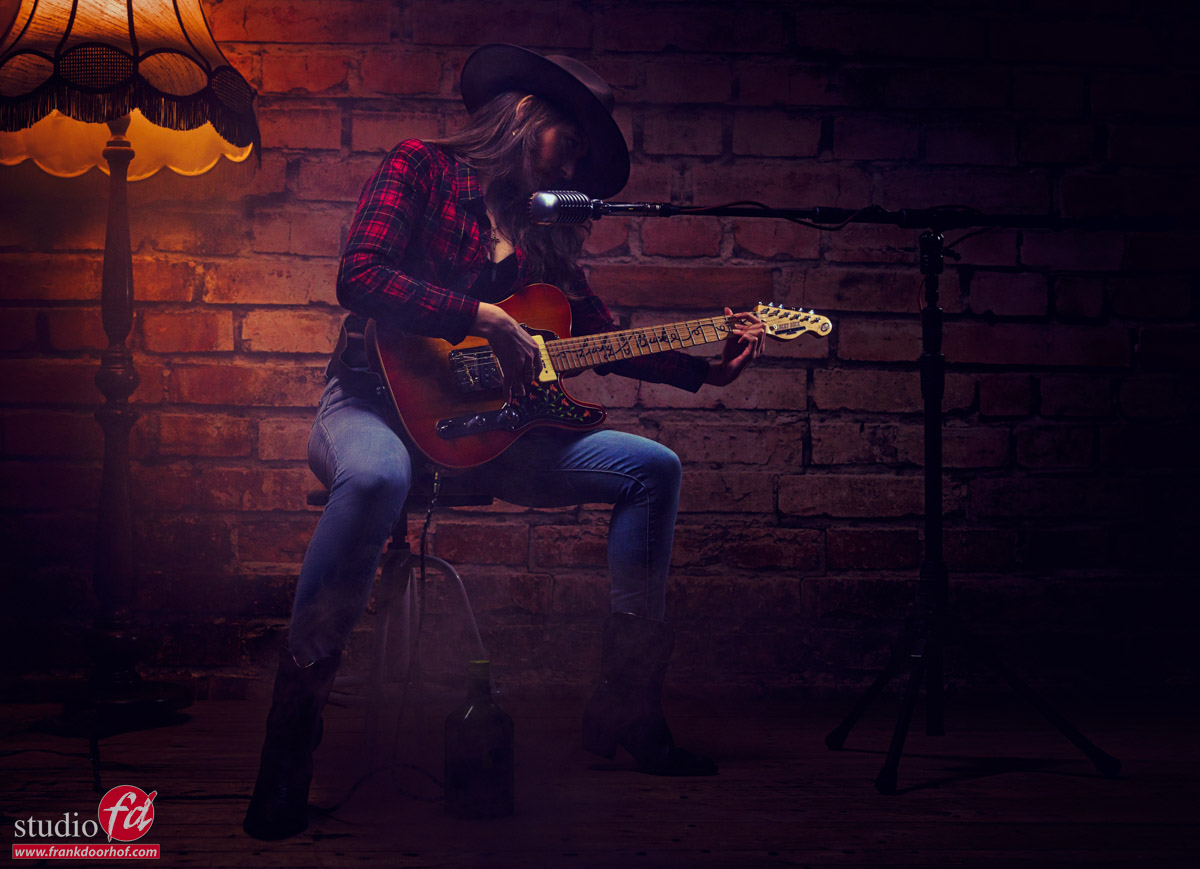
For some extra mood, we added a standing lamp with continuous lighting.
But that would make a very dark image.
So I added one Geekoto GT250 with our magnetic rogue grid to add some glare on the guitar en mic and just enough to give a slight outline to the face.
With that setup, a lot of areas were just a bit too dark/ So it was time for the final ingredient, a little bit of smoke.
Smoke doesn’t just add to the “smokey” atmosphere fitting the scene. But smoke is also a kind of “secret” weapon you can use as a diffuser and reflector. Add too much and it looks terrible. Add too little and it doesn’t look right. But add just enough and you get a sort of haze that’s great for light beams, glowing flares. But also to just light up areas where light doesn’t normally hit.
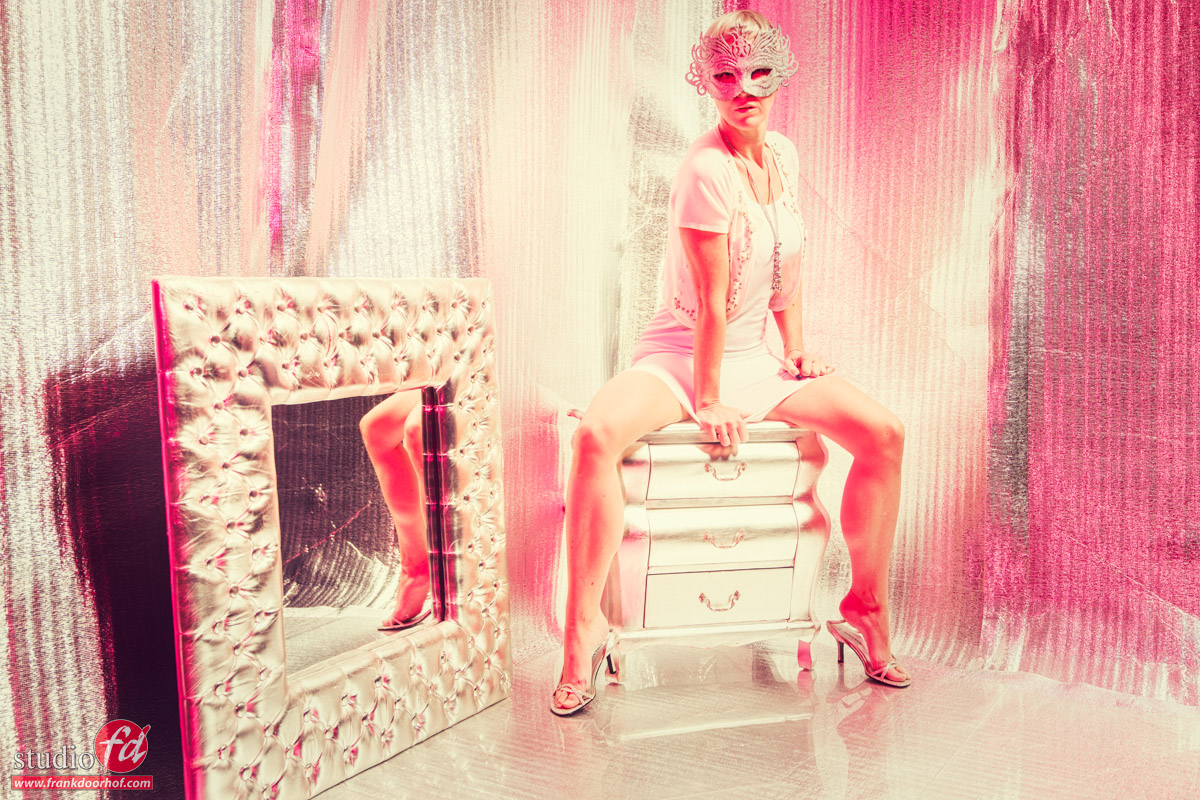
For the back, we are using larger smoke machines. But we recently started using smaller smoke machines for details and for smoke that actually sticks to the floor. The handheld smoke machines are great for location work but as you can see in the full-body shot. The attachment for making the smoke stick to the floor works like a charm. With the larger machines we can never get results like this. And the fun part is that they are very cheap and available in two sizes. I would highly recommend adding one of them to your kit bag, smoke really adds a lot.
This is the larger one, and the smaller one.
Setting this up is tricky
The main light has to be exactly right to light the model’s body and part of the guitar, but not the face. But also cover the front of the microphone and add a nice flare. This means you have to play a bit with the angle of the microphone, guitar, and position of the model. This does limit the poses the model can use, but in this case, we only need one or two shots.
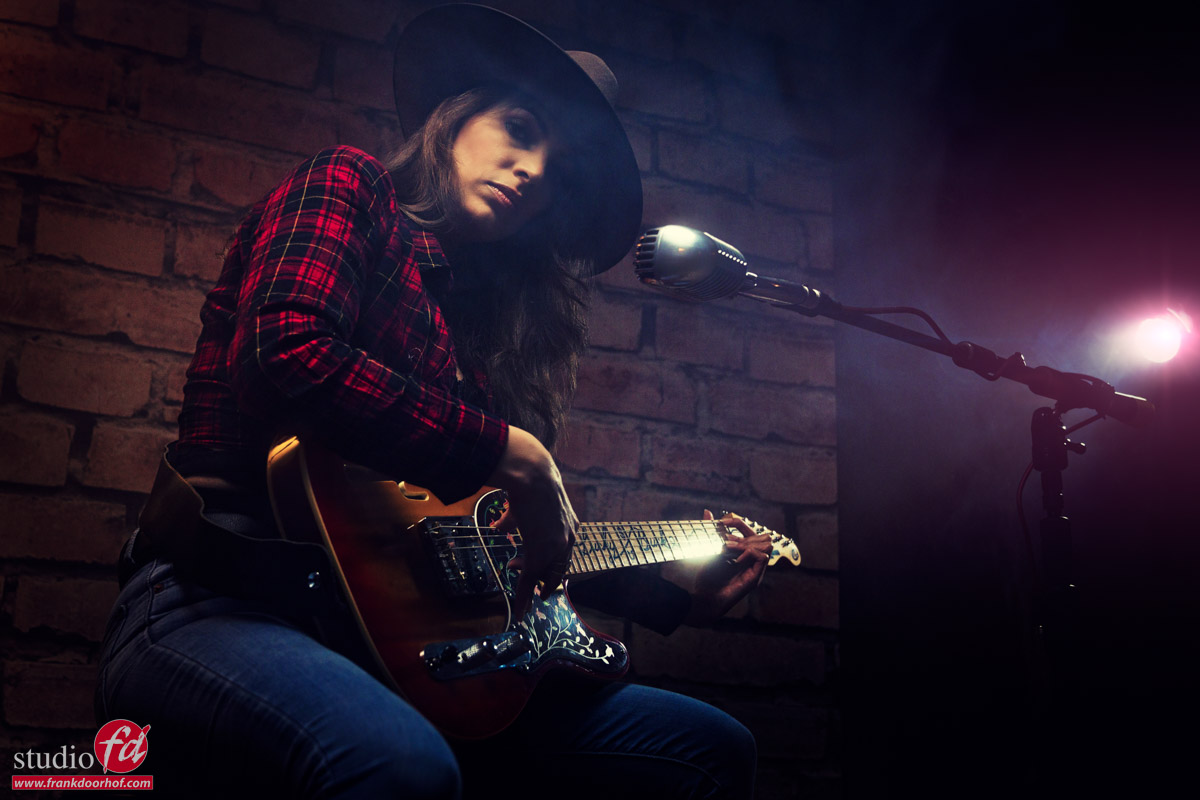
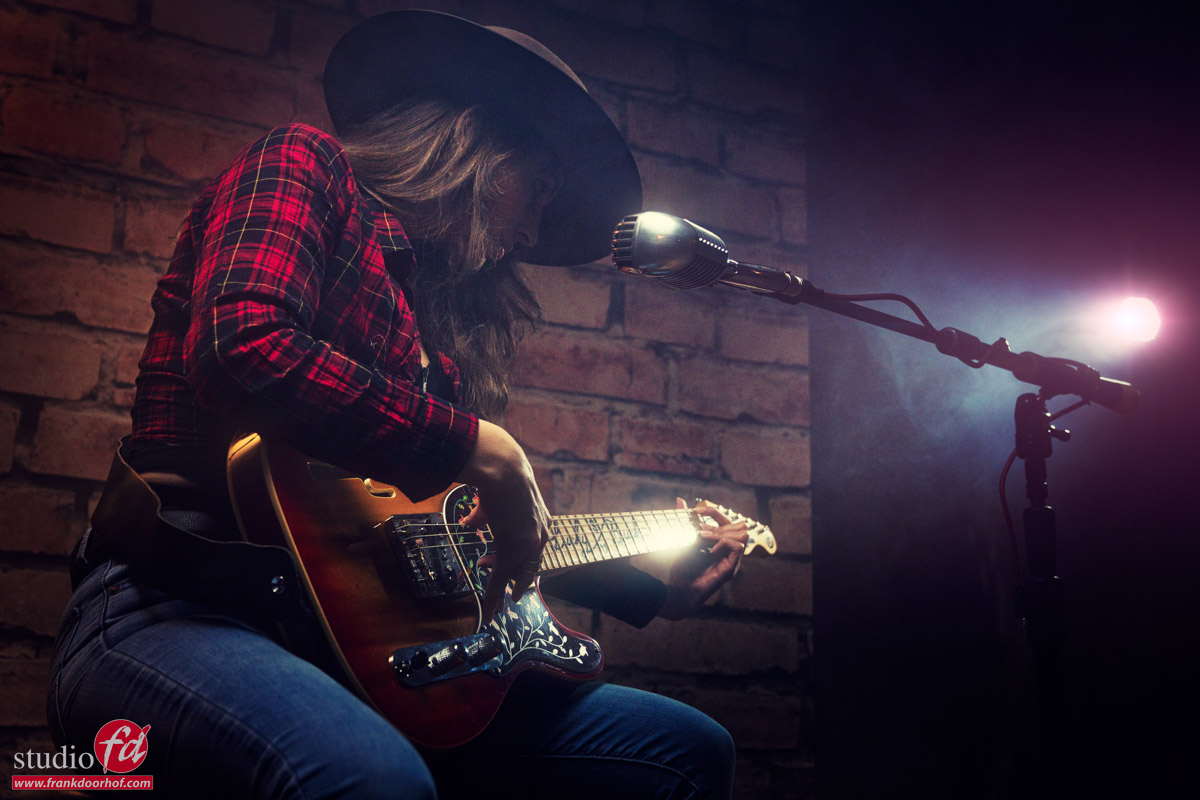
The accent light is the hardest.
It looks maybe natural but every position and angle is experimented with and changed.
Angle the guitar slightly forward and there is no light hitting the frets and no glare on the maple neck. Angle it too much and the whole fretboard and headstock are white. But do it right and the light hits it beautifully.
Same with the microphone, it’s placed exactly in the light beam of the accent light. The sides of that light beam just barely light the face.
When it all comes together you get images like this…..

So now that we did the story of the bar it’s time for……
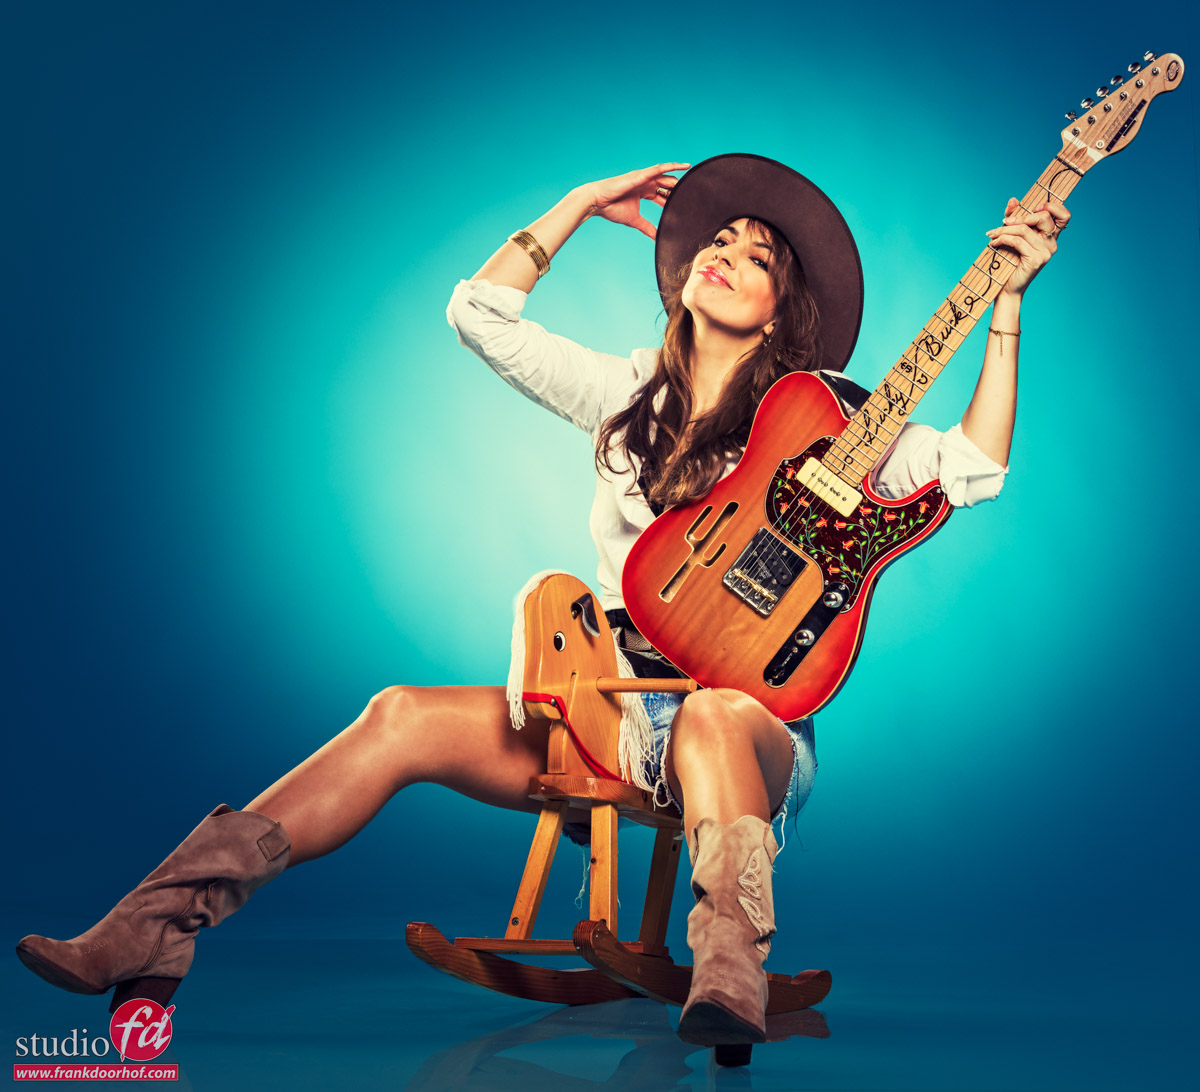
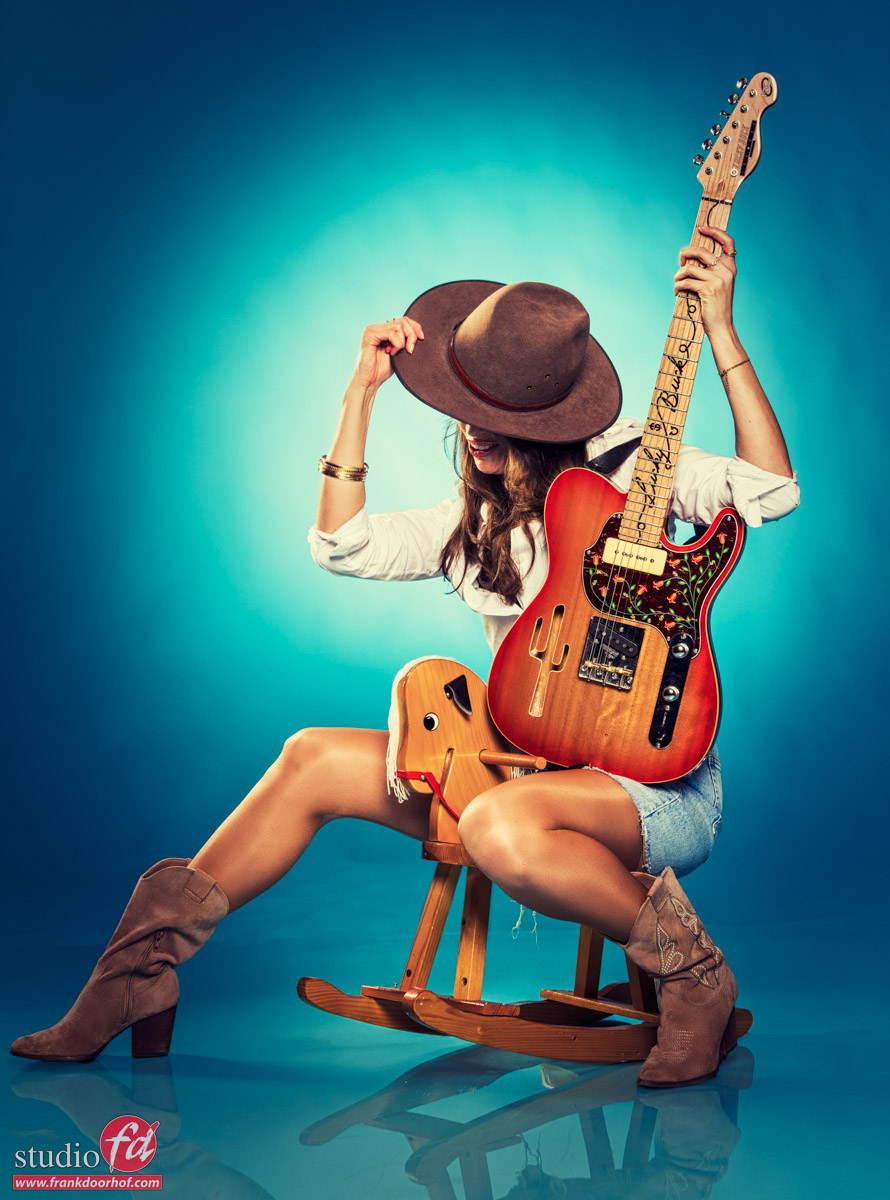
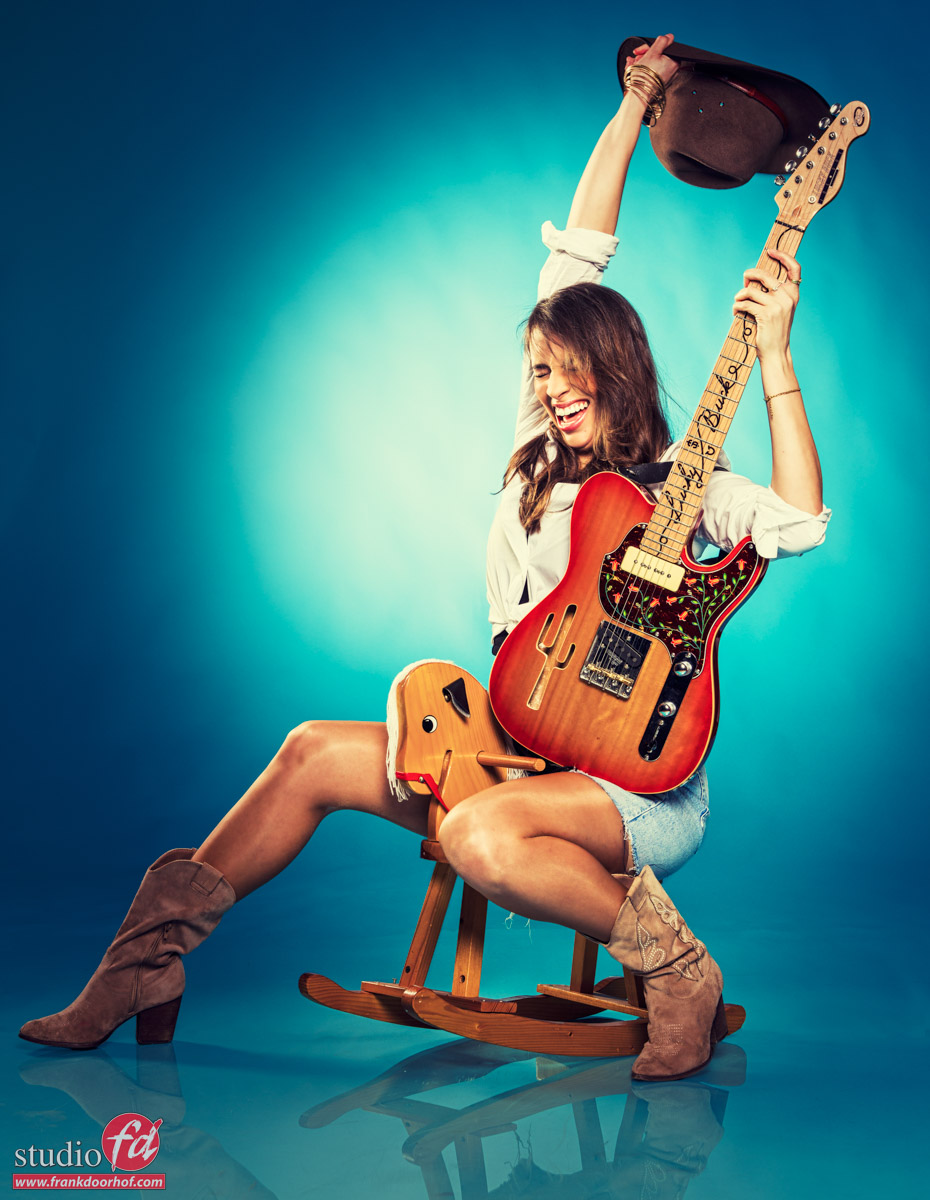
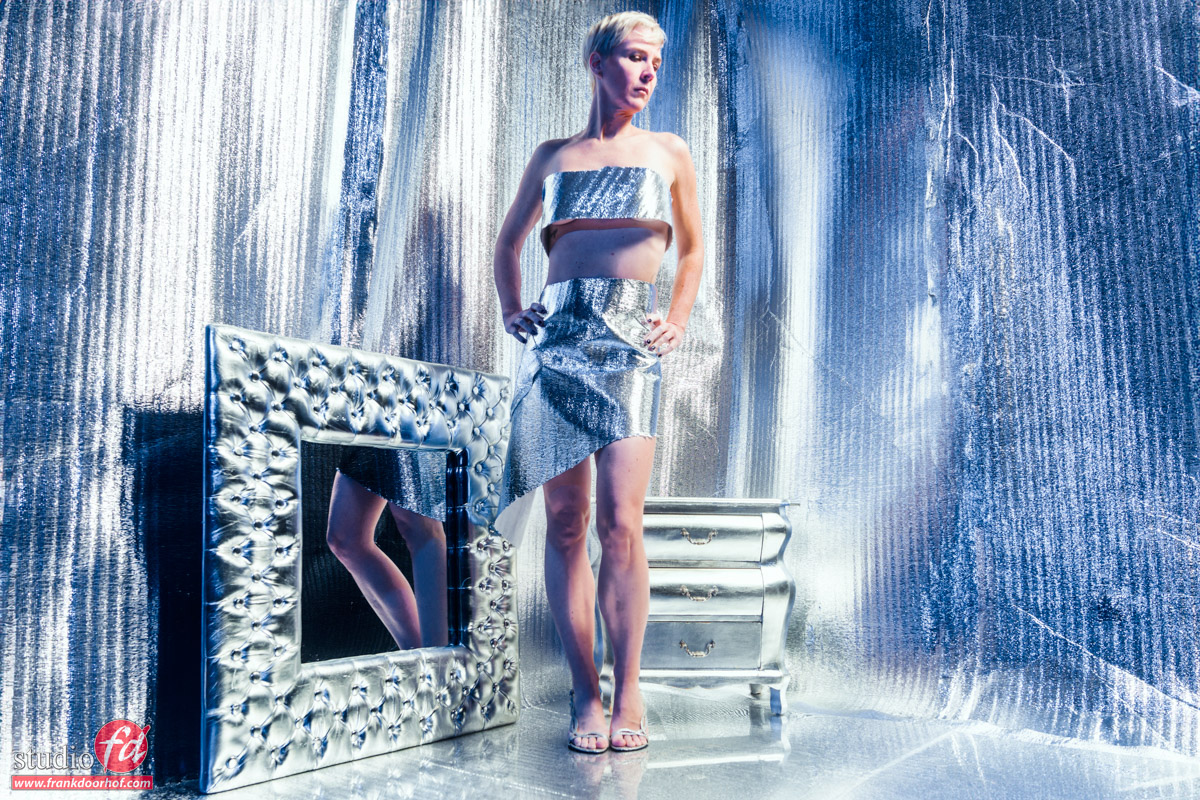
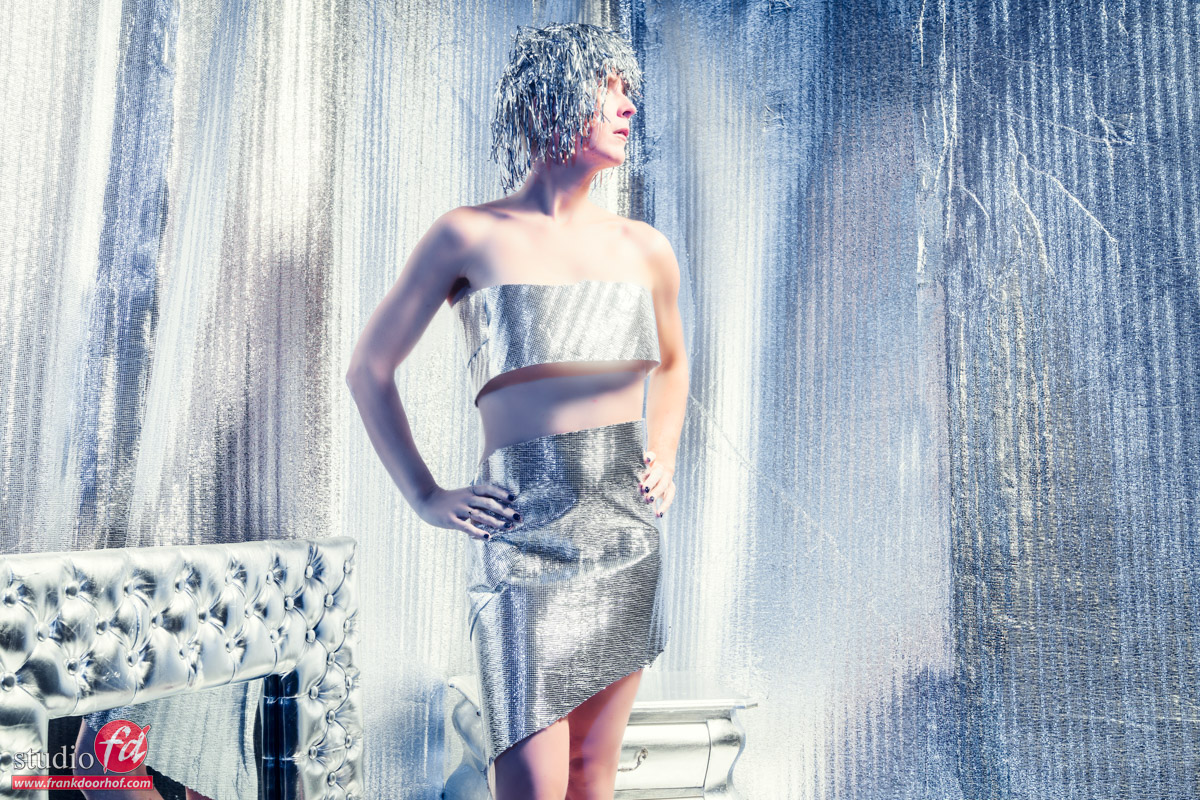
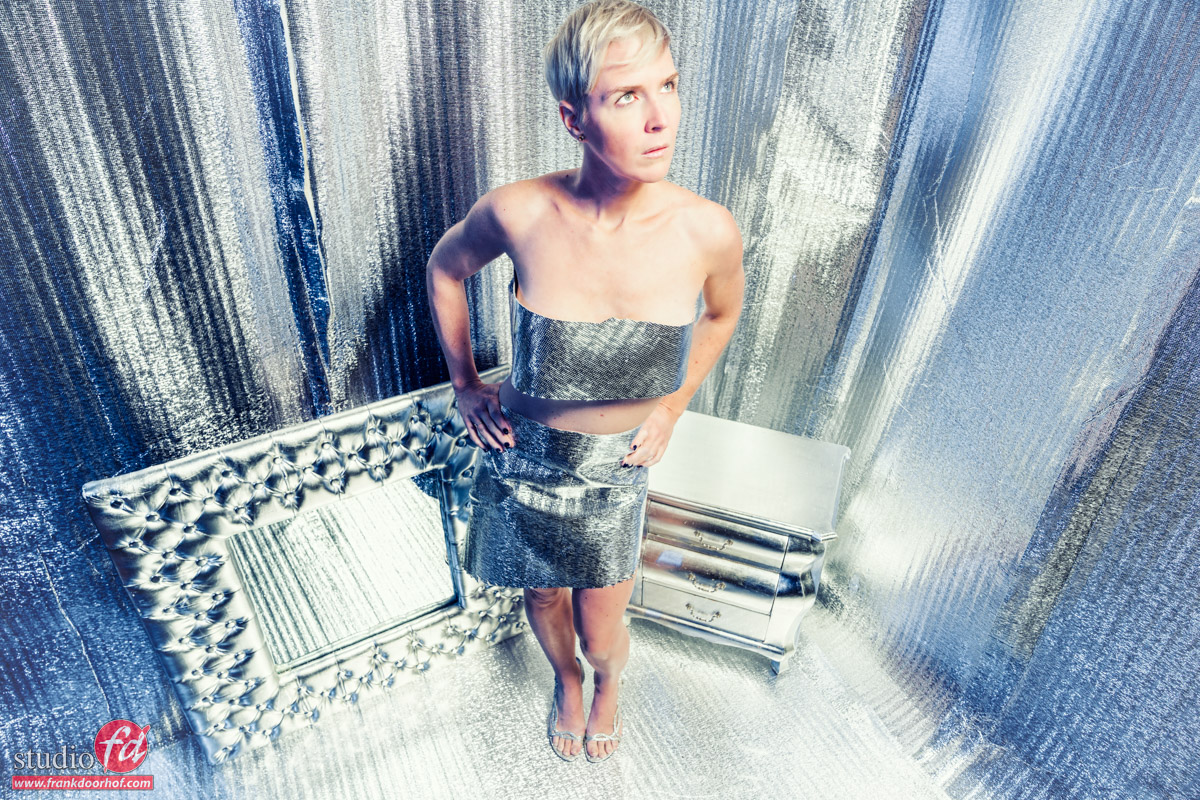
Better times
For me, David Lachapelle is a huge influence so for this shot I wanted to do something that has a “feel” of his work. Now we don’t have the budget or team he does, but I hope you get a little bit of that feel.
For the background, I’m using light blue with plexiglass on the floor for some soft reflections.
Because for this set I wanted something much more fun and focussing on the feeling of joy we used a small rocking horse and just let Felisa go wild.
The main light is a Geekoto GT400 with the 48″ softbox without a grid to get a nice and even light source.
You can also use an umbrella for this, as long as you have a broad light source in the front. Also, place it far enough from the model so you get a nice and even fall-off on the backdrop, we want the front slightly lighter than the back (due to the background light). And by placing the light far enough you use the inverse square law to get the fall off you like. Over time you will know exactly where to place it. But always experiment with what the light does, even if you find something you like right away.
Because just the main light looks really flat we want more depth in the image.
If you can’t use shadows to create depth you can use the opposite, highlights.
So for this setup I’m using two striplights with grids on the side.
If you aim them slightly up (or use grids) you prevent the annoying shadows that will run towards the camera and look unnatural.
For the background, I’m using a Geekoto GT250 with the Rogue magnetic grid.
If you like the center to be smaller (or if you have to place the light farther away) you can always stack our grids.
So let’s take a look at the more fun shots.

Conclusion: Storytelling with photography
As photographers we are storytellers, we freeze unique moments in time that never come back.
BUT… as photographers, we can also create our own reality out of “nothing”. This will not only create fun photoshoots but also help you as a commercial photographer to be able to be creative on set when a client wants something more than just a headshot.
During the workshops, I love to challenge myself and the attendees. And by using a strong storytelling concept I always keep the workshops fresh and interesting. And I can add a lot of techniques to the educational part of the workshop.
So the next time you do a free work shoot, pick one prop and try to tell at least 2 totally different stories with it. Trust me, you will have fun, the models will too.
You can order the gear I use via our website frankdoorhof.com/shop
You also find my instructional videos there, including the brand new “Did you know… Adobe Lightroom“.
If you have any questions or suggestions let us know.
You can find Vintage guitars here.
(we are not affiliated with them and I bought the guitar myself).
Want to hear some of my music?
Check out Frank Doorhof on your favorite streaming service.
Like this:
Like Loading...


You must be logged in to post a comment.