Tag Archive for: technique

Tethering

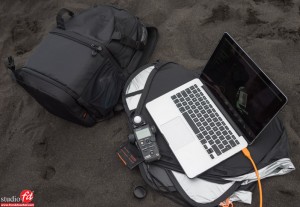
Shooting tethered is without a doubt something I always try to do, when in the studio or on location. So here some tips for making that experience easier.

Yvonne PTO workshops  (504) February 05, 2015-Edit

1. the right laptop
make sure you choose a laptop that is durable and make sure you use a protective case. My laptop is often used in locations where it’s easy to scratch and I always use cases on the top and bottom, these cases retail for 25-50 euros and really make sure the laptop stays brand new. A good brand is for example Specks.

As my laptop I’m now back at the MacBookPro 15″, the 13″ was great but for me a bit too slow when working with loads of larger files, also the extra screen size is very nice.

Read more

Posing tip….

Books have been written about posing, so called posing guides… and although they might work for a base I always believe it’s better to do something really creative when you are working with your models. Often it’s not that there is a 123 solution that always works, every model is different and has different poses that work for him/her so try to approach each shoot with that in mind.

 
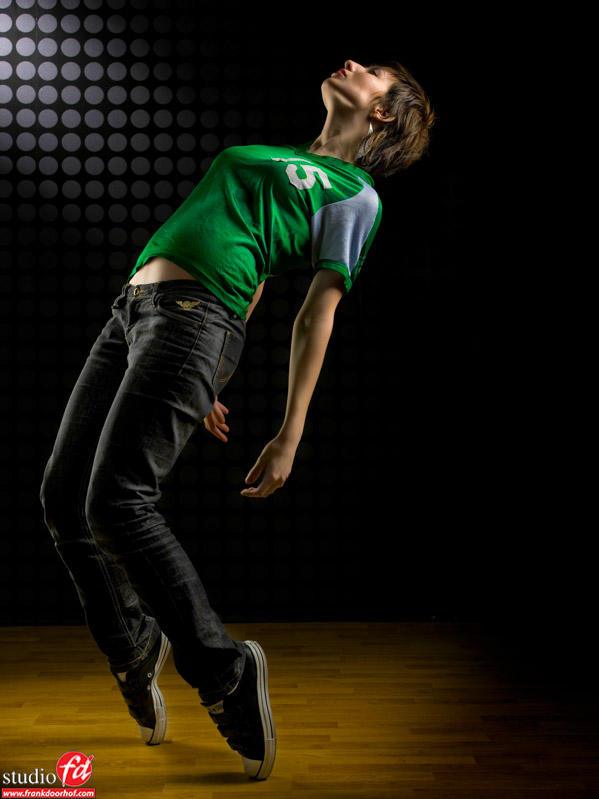
For example in this shot with Marie we choose for a pose not every model can pull off, and although it looked liked the posed very relaxed I can tell you that this is literally a split second shot, so time it correctly. but when you get it “right” you can end up with some pretty interesting results.
Marie 1 Maart 2008 workshop-12

For much more in depth information on model photography check out my book “Mastering the model shoot” (now also in Chinese :D) or visit www.frankdoorhof.com for instructional videos and daily updates, or check out my videos on www.kelbyone.com

A tip on skin retouching

One of the most made mistakes during retouching is “overdoing it” on the skin.
In my opinion the final image should have nice skin, not a barby doll.


You always have to see skin as 2 separate things.
1. the pores and details
2. the color


The biggest problem is often the color.
When you look at a models face you can often see many different colors, sometimes in smaller areas next to each other, sometimes in bigger areas, overall it makes the face often look very “uneven”.


For years people have been trying to counteract this by blurring, putting in new details by adding noise (a very nice technique overall) or using plugins like Imagenomic Portraiture or Topaz Clean 3 (2 which I often use). The results are often very nice, especially the 2 mentioned above can give you great results and they are very fast (Imagenomic can be even done as an action for the same model, making retouching a series very fast). When you wanted perfection there always was/is dodging and burning, a very time consuming process that can easily take you up to 3-4-5+ hours to complete.


A few weeks ago I got into the whole “Frequency Separation” technique for skin technique and must say that I’m very impressed with it, at the moment it’s my main “to go to” technique for a “perfect retouch”.


In essence you split the details and the skin tones making it possible to literally blend the skin tones into each other creating a very nice and even skin appearance, but because the details are on top you don’t loose these. Now because the details are separated from the skin tones you can retouch all you want on that layer without worrying about “infecting” tones and luminosity.


Of course I first have to try out techniques before I share them, but at the moment I feel more than confident that this is a very powerful and great technique that can benefit every fashion/portrait/etc. photographer so I created a small video on the use of this technique for the Quite Frankly series.


You can find it here :


Remember that the retouching in the video is rather “sloppy” when using this technique you can do a pretty good retouch of the face in about 5-10 minutes, and ok it’s a lot longer than running Imagenomic Portraiture (10-15 seconds) but the results is A LOT better.
Cherelle small flash

A few months ago I started teaching the small flash workshop.
I did use small flash before this of course but somehow never taught a workshop about it, until I talked a bit with Joe McNally who pointed out to me that there was a lot of interest for small flash workshops in a more technical approach, and because I’m a strong believer in understanding what’s going on when you shoot I decided to write a workshop that does not only tell you about ETTL and show some light setups, but a workshop that tells you where ETTL goes wrong and how you can solve this, but also how to shoot (and meter) for full manual mode, and of course how to use creative light setups, groups, ratios etc.

Last week it was time for Cherelle to be my model for the small flash workshop.
In this blog post some more information about the techniques, gear and of course some of my favorite shots from that day.


Read more