Tag Archive for: technique

Sharon in a small space

One of the workshops I teach is actually called “Small spaces”
Loads of photographers “complain” about their studio being too small, and of course this is possible, but in my opinion there is always an interesting shot to get.


You might not be able to make a model jump (although that could be funny, and painful) but there is always a option. So this workshop is all about working in tight spaces and this means smaller modifiers (often just a beauty dish) with grids to make sure the light hits only the places you want it to, and of course we have to adjust the models poses a bit.
Remember also that tight/small spaces can actually be incredibly cool if you let your model pose with them, for example lean in between two walls, make her look “locked up” etc. when you come to think about it shooting in small spaces can be much more interesting than shooting in wide open spaces 😀


Today some images from this workshop with Sharon.

Sharon Januari 8 2016 30877

Sharon Januari 8 2016 30880

Sharon Januari 8 2016 30890

Sharon Januari 8 2016 30907

Sharon Januari 8 2016 30912

As you can see sometimes you have to think outside the box… but in the case of small spaces it can help to think inside the box 😀


If you like these kind of tips make sure to check out my book “Mastering the model shoot” or get one of the instructional videos from this website.

Zoom in

There’s always this discussion about using zoom lenses vs primes.
LOADS of photographers will tell you that primes are much better… and well I agree they are.
But still I’m a zoom lens person.
I know primes are sharper and often a bit faster (or a lot faster, meaning wider aperture) but to be honest in the studio I always shoot between f4-f22 so most of my lenses are razor sharp in that area, but even if they would be slightly less sharp then my primes I still prefer the variety of looks I can get from my zooms.


Always remember that shooting an image on 50mm and walking towards your model or moving away will be different that shooting from the same location with a 24-70, with the zoom lens you are much faster and if you want a close up you actually compress the scene much more than when walking towards the model with a 50mm (for example).


In a photoshoot I would like to have to most options possible and I love to switch fast so for me a zoom is always a good thing. Combine this by walking around your model during the shoot and you can not only get different looks from your composition/compression but also by the light, because if you shoot under aimed lights (like in the studio) the difference can be incredible.

Do you remember the light snake images ?
Poeka Januari 9 2016 31017

Here we used the same set and I zoomed in a lot more to use the set in a completely different way, but also included some of the red strobe in the back for a completely different look.

Poeka Januari 9 2016 31052

Poeka Januari 9 2016 31055

And a few more with different styling and without the red spot.

Poeka Januari 9 2016 30967

Poeka Januari 9 2016 30986

If you like these kind of tips make sure to check out my book “Mastering the model shoot” or get one of the instructional videos from this website.

About input and working together

Today some more images with the light snake like we discussed in the previous blogpost.


This time we have added a small set and did a bit more with the styling of the model.
These images were shot during a workshop about smoke and props, in this workshop we show the attendees on how to control smoke, and believe it or not it’s almost a science, but also on how to work with very simple and budget friendly props to create something cool.


One of things I always try to teach is that you’re much stronger if you’re listing to your team or anyone in the room. There is a saying “you’re as strong as the weakest link” and that might be so for certain areas but I strongly believe that if you combine everything together even the weakest link adds to the total amount.


What I see a lot on sets is that the photographer takes control…(read this with a low voice) it’s HIS set and everyone should listen, if someone has input HE will determine if it’s right…. (switch back to normal voice) now that might work for some people, or at least they think, in reality they are missing out a lot.


During workshops and shoots I always listen to everyone, I want all the input I can get, some ideas I will not investigate further because I simply know they are not fitting the shot I want/need but most of the time you will find that if you create the atmosphere in which people DARE to have input your session will FLY and your creativity will blossom.


In this set I just started simple and together with the students we started to think about what we could do with the light-snake, and see what happened.

Poeka Januari 9 2016 31007

Poeka Januari 9 2016 31017

Poeka Januari 9 2016 31027

as you can see it’s just a very simple change of the light snake and it actually changes the whole shot, the light snake goes from a position in the back where you could actually ask “why” to a major role into the shot. Now this was shot during a workshop so my time is always limited to shoot but imaging going further with this and connecting the back part for example to the mask….. just thinking out loud 😀


So next time you shoot, make sure to listen to your team and value their input, they REALLY can make you better, often people compliment me with the diversity of my portfolio, and I always honestly tell them that it’s because I always work with very creative people and value their input, this way you can always improve and change, even if you work with a steady team there is always a new element like an internet, an attendee or even just a simple visitor that can add to your shots..


Good luck.


If you like tips like this and want even more check out my book “Mastering the model shoot” or get one of our instructional videos from this site.

What you can do with some simple lights

I think one of the problems that a lot of photographers encounter is being creative and most of all being creative with light. So the coming days some tips about what you can do with fairly simple lights.


Let’s for today look at the light snake (I hope that’s the correct term).
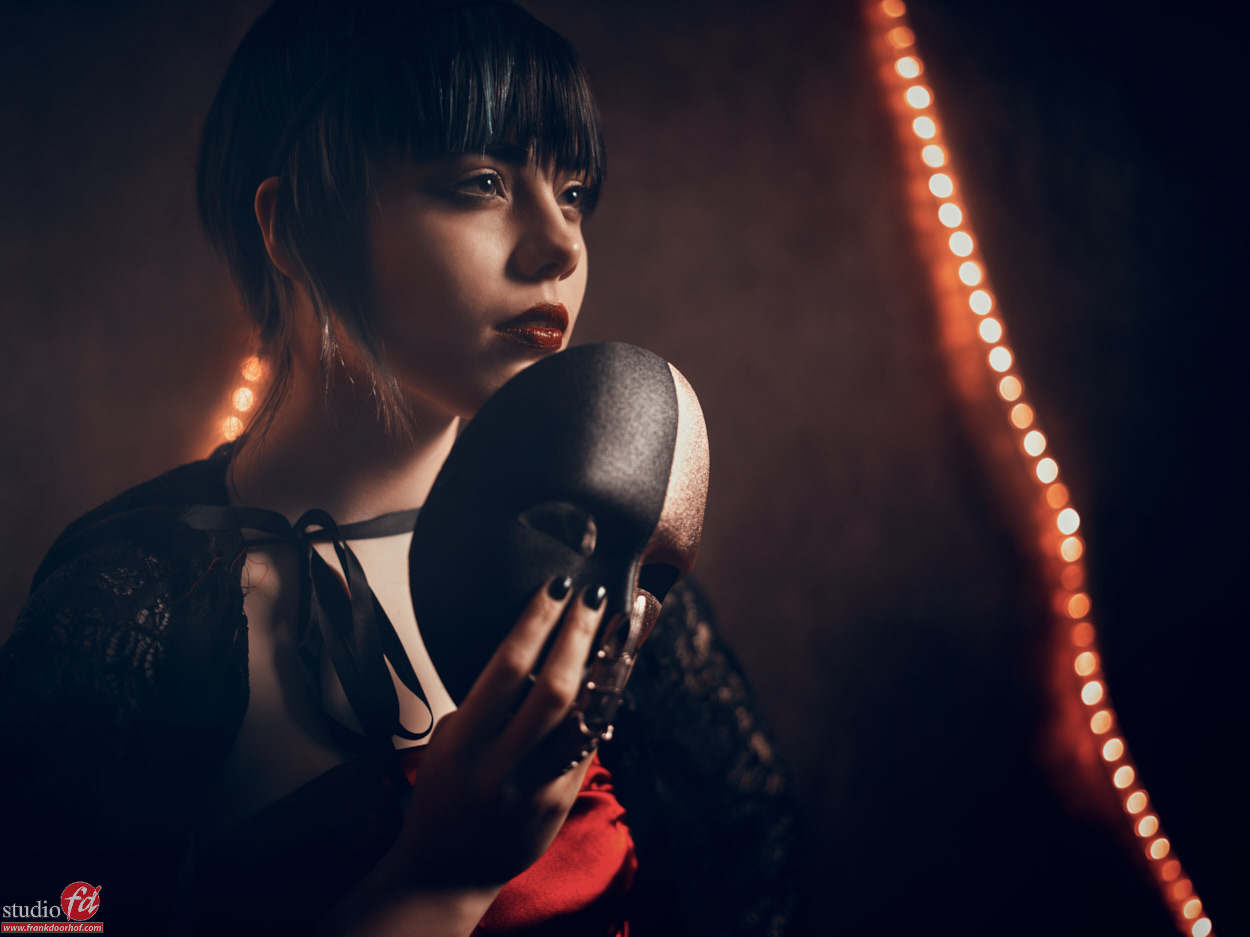
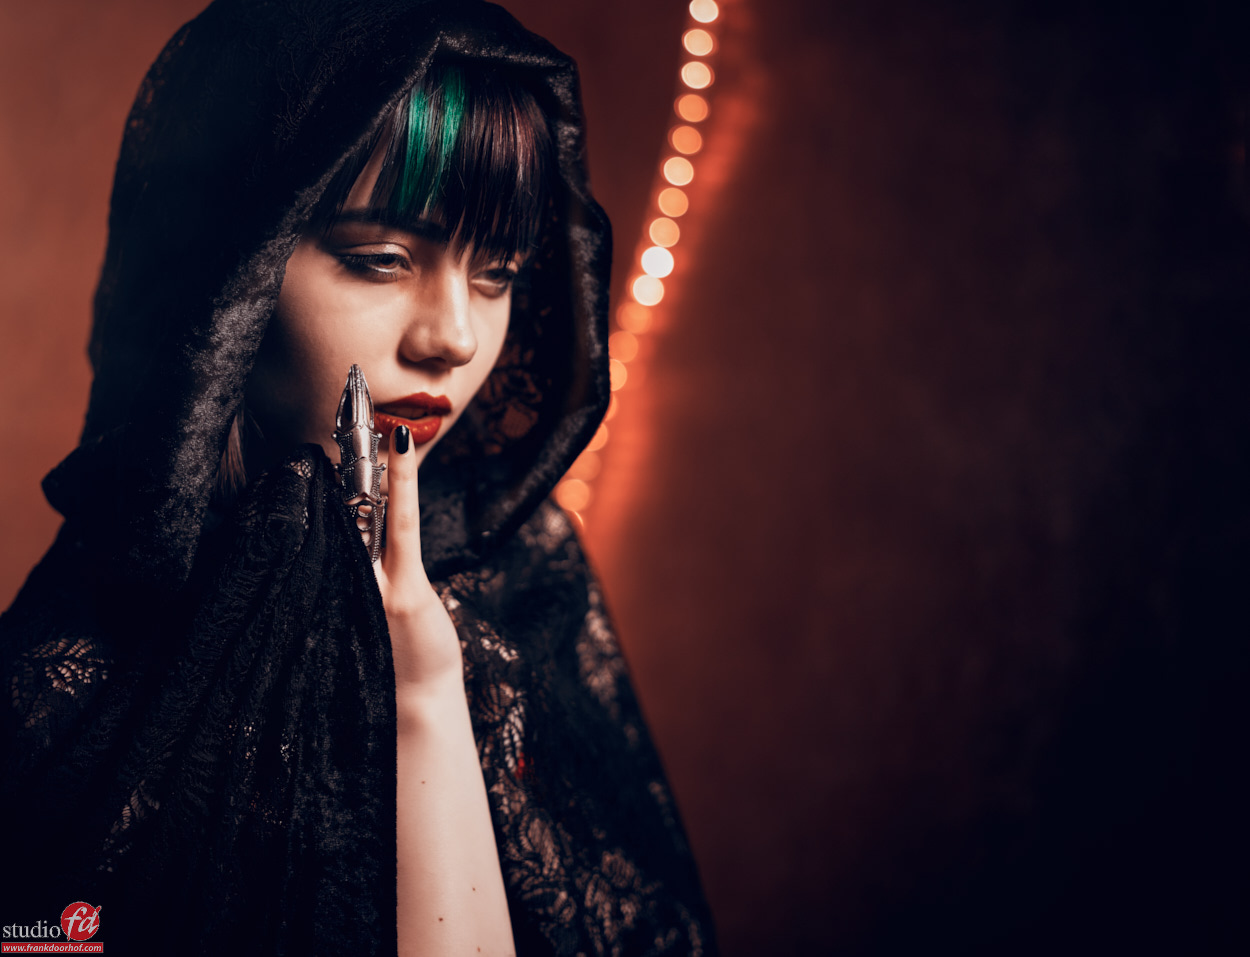
We all know these lights, especially around christmas they are used a lot, so actually now is a great way to get them cheap. Do make sure you get the ones that are pretty bright because if you are gonna mix them with strobes you want to have the most brightness possible.


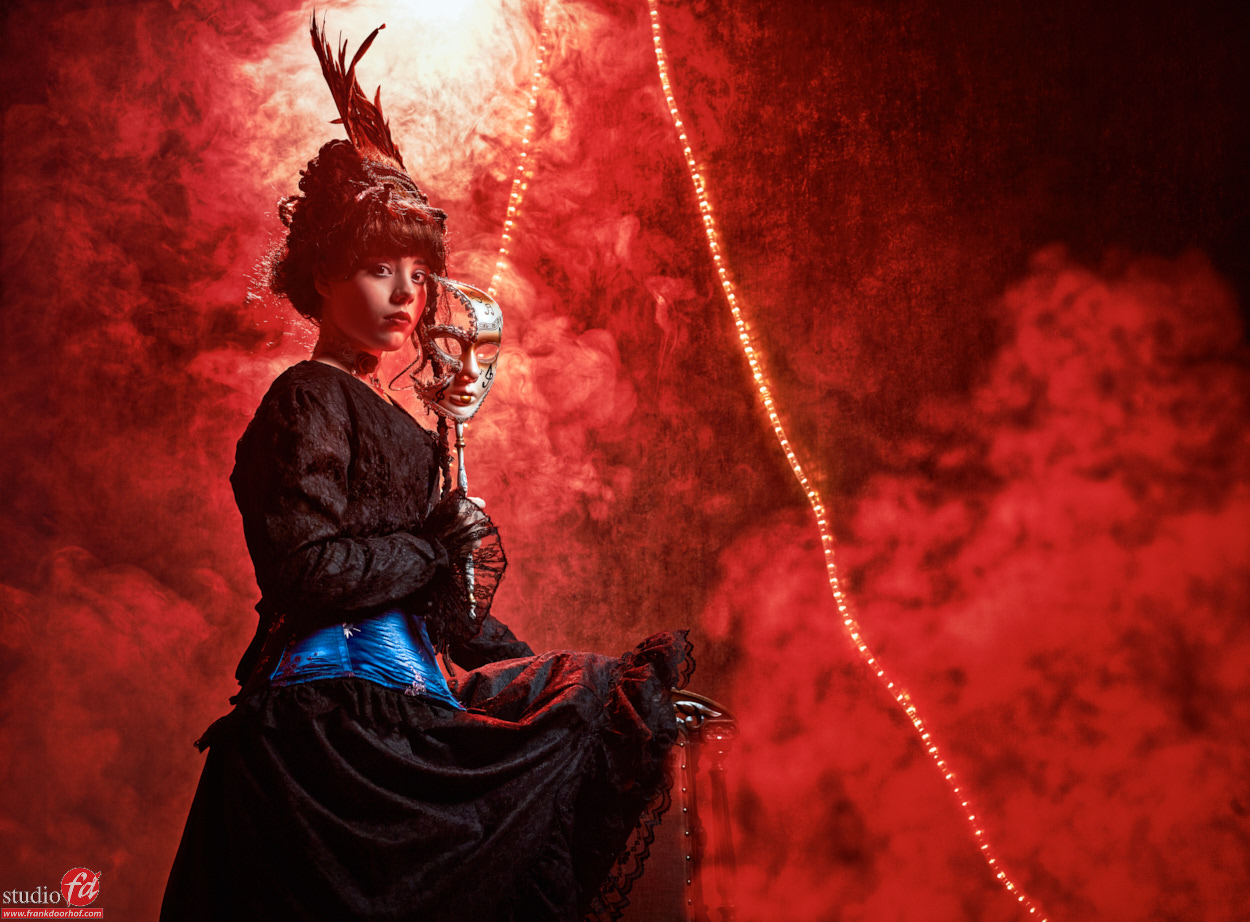
In this shot with Poeka we used the snake to light the model which is actually lying on the floor on a plastic mirror. The main advantage of the plastic mirrors is that they not only unbreakable but they als don’t have that nasty double reflection a lot of thicker mirrors can have.


Poeka Januari 9 2016 31098


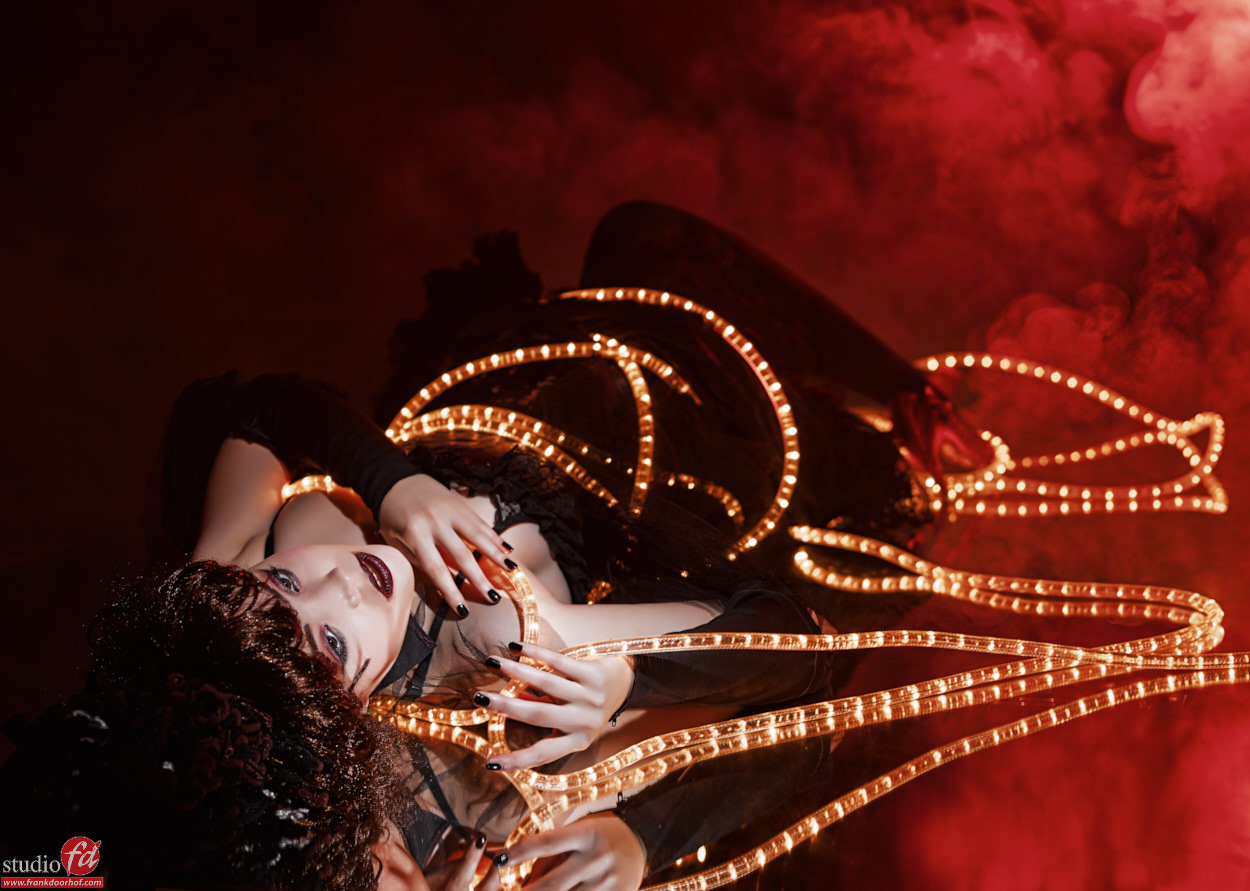
Doing a shot like this is not easy, but it’s also not that hard.
You have to make sure you use the lowest possible output from your strobes, this is where the Elinchrom ELCs really come in handy because they can go really low. The reason for this is that the output from the light snake is not incredibly bright so you will need a slower shutter speed anyway, but also the widest possible aperture to make sure the lights from the snake do appear.


One simple rule to remember is :
Aperture controls the flash appearance in the shot
Shutter speed controls the ambient light in the shot
Normally we would of course make sure that the aperture is metered and is fixed, otherwise the model would be under or overexposed, the light snake however (or any other ambient light source) we can let appear brighter, or dimmer in the shot by adjust the shutter speed, which has no effect on the strobe because the strobe is a pulse and not a constant light source.


So in a shot like this it would make sense to try to get the aperture to f2.8 and use the shutter speed to “taste”.
And this is the big advantage of digital photography, we have a huge “free” digital polaroid on the back of the camera, or in my case on a big screen tv in the studio, so we can really fine tune this, imaging how the “old” photographers had to do this using polaroids and meters to get the perfect results, and they did 😀
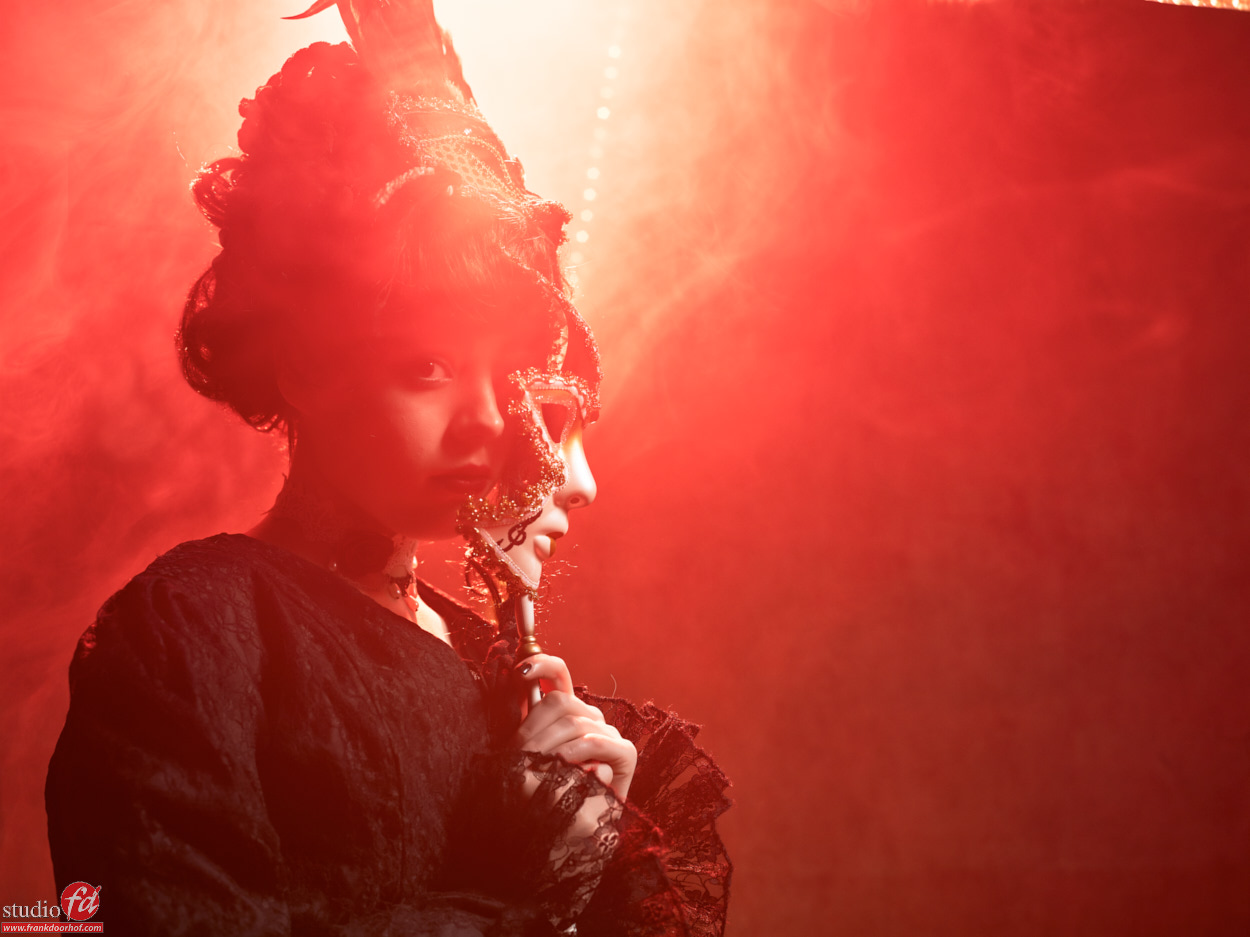
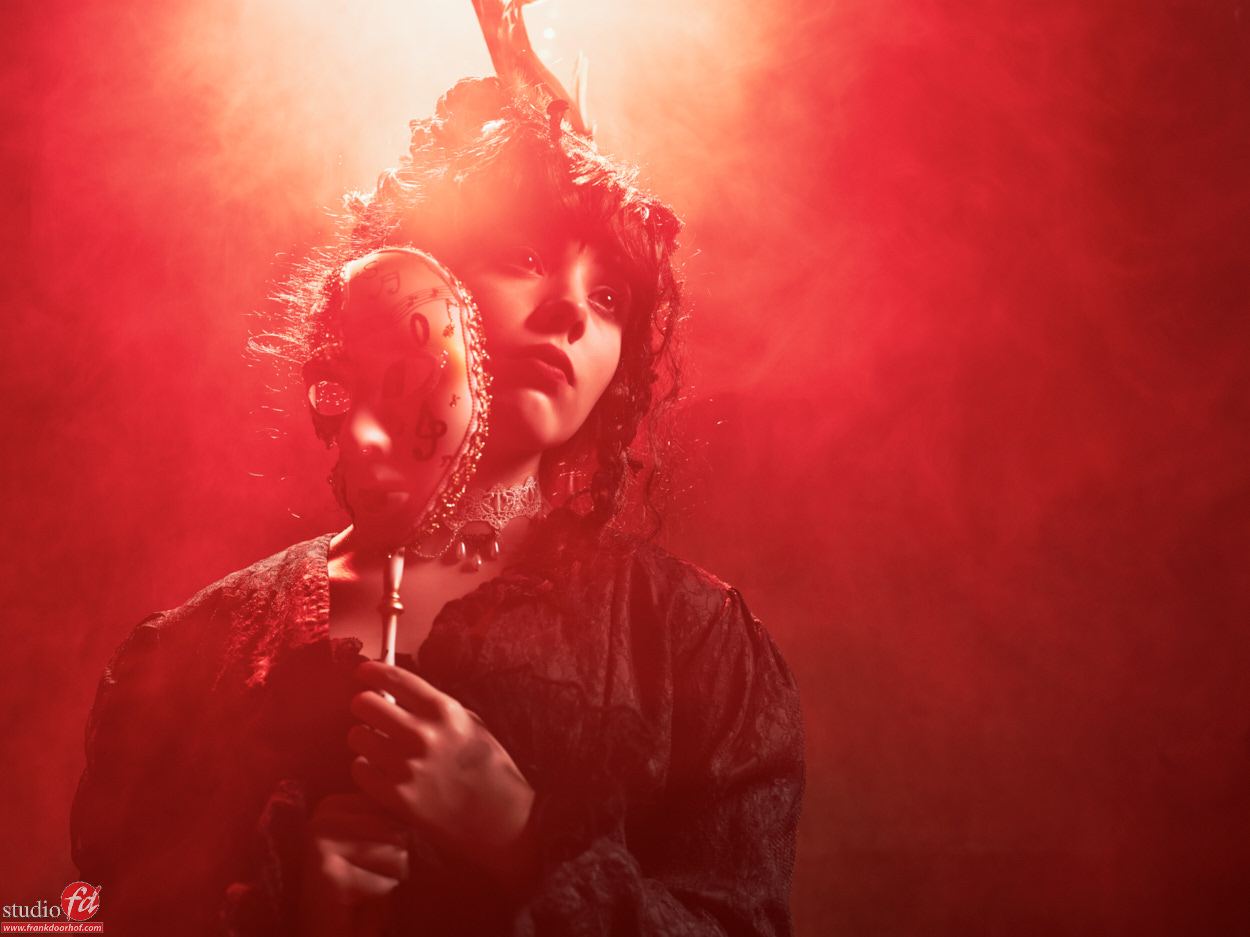
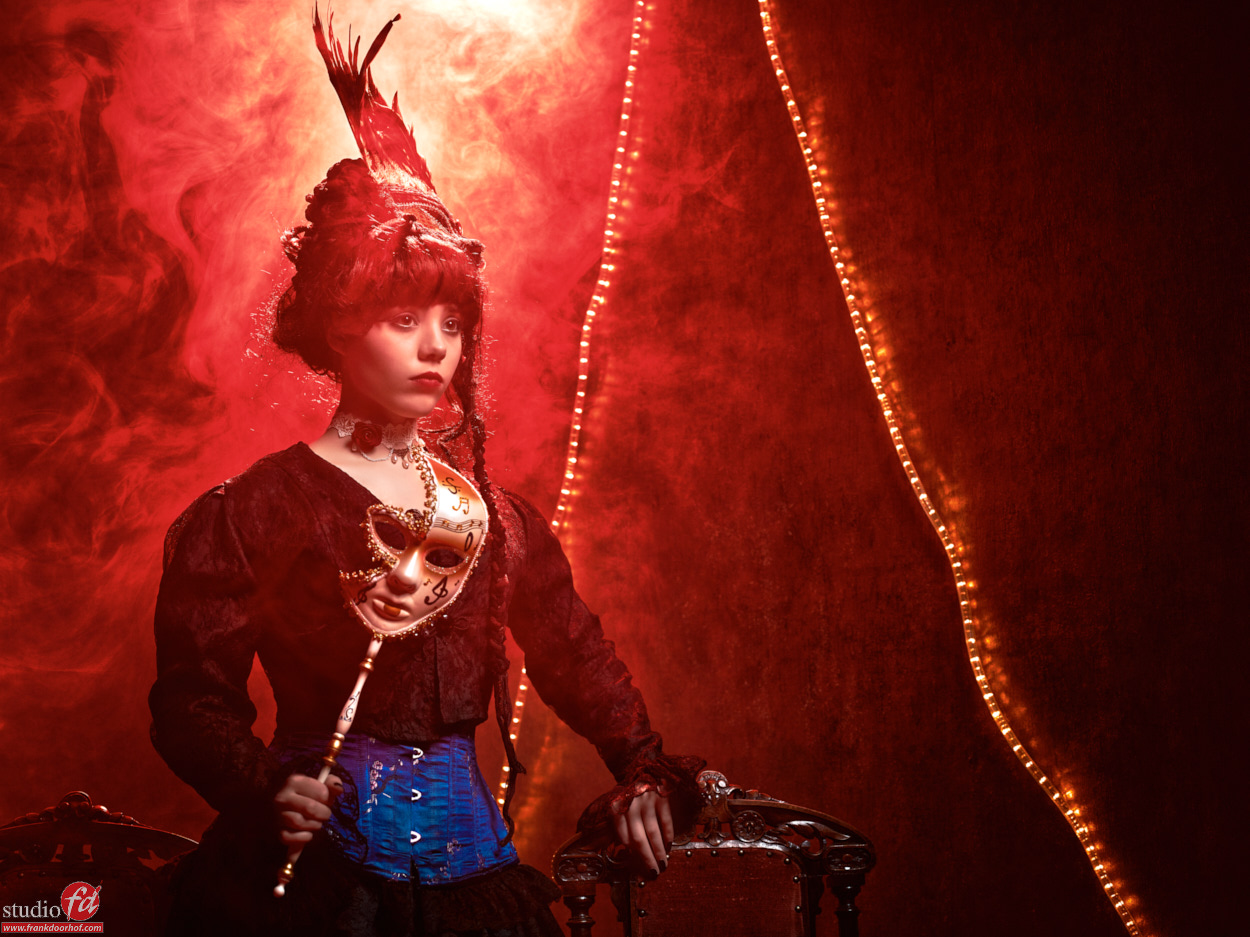
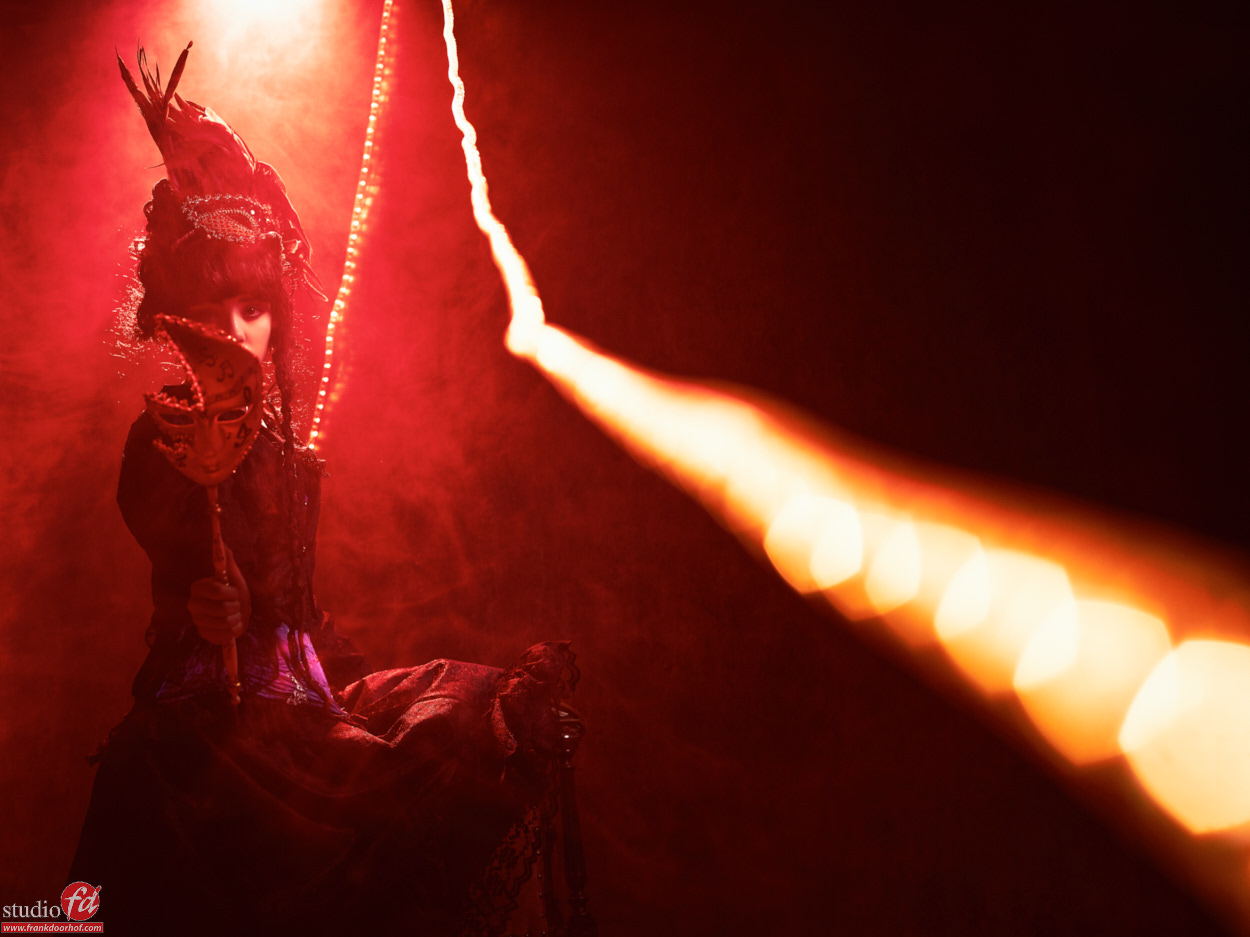
As soon as we had the result we liked we added an extra strobe in the back with a red gel, but this looked very basic, so a little bit of smoke was added for atmosphere. Now remember that smoke acts like a diffuser and reflector at the same time, so be very careful to where you point your lights, especially when you use light pointing towards the smoke, make the beam as narrow as possible, that’s why I actually used a small snoot with grid to light the models face.


If you balance everything nicely you don’t need any photoshop after the shot, if you later decide you DO want the light snake a bit more bright there is however a very easy solution, just use the dodge tool in Photoshop and slightly move it over the light snake and you will see that the lights actually become brighter, don’t over do this however. (Dodge tool settings are of course on HighLights).


Next week we are going to up the ante a little bit and include some more smoke and styling…..


So next time you think about what to do…. shop for some christmas lights and shoot your idea and show it to me via our facebook group called masteringthemodelshoot. If you like these kind of tips check out my book “Mastering the model shoot” or our instructional videos.