What you can do with some simple lights
I think one of the problems that a lot of photographers encounter is being creative and most of all being creative with light. So the coming days some tips about what you can do with fairly simple lights.
Let’s for today look at the light snake (I hope that’s the correct term).
We all know these lights, especially around christmas they are used a lot, so actually now is a great way to get them cheap. Do make sure you get the ones that are pretty bright because if you are gonna mix them with strobes you want to have the most brightness possible.
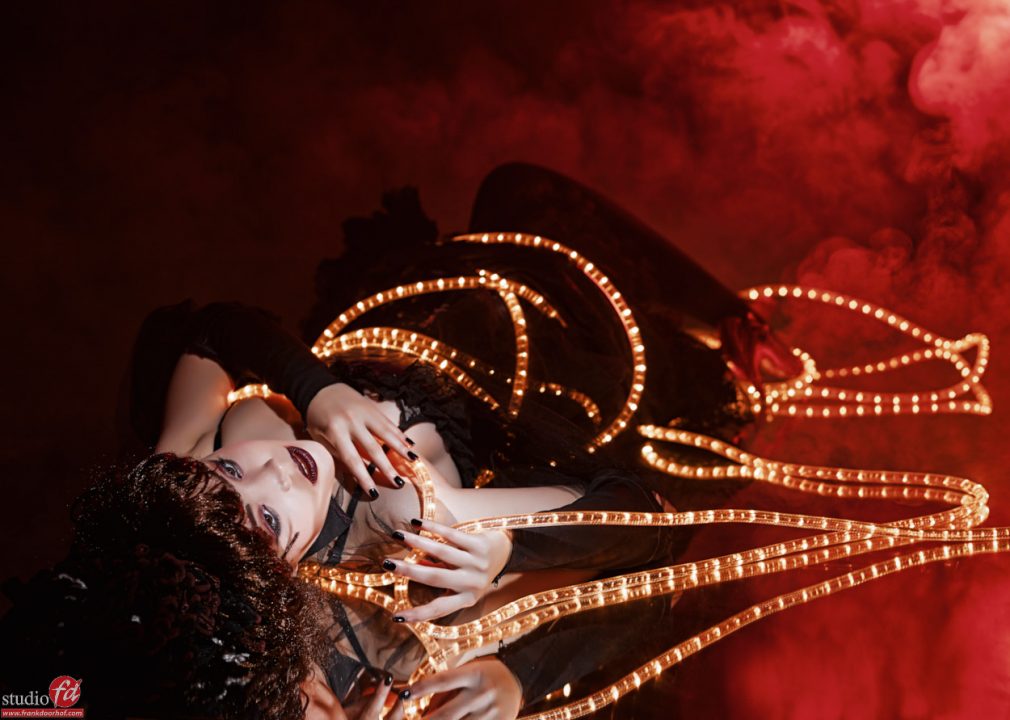
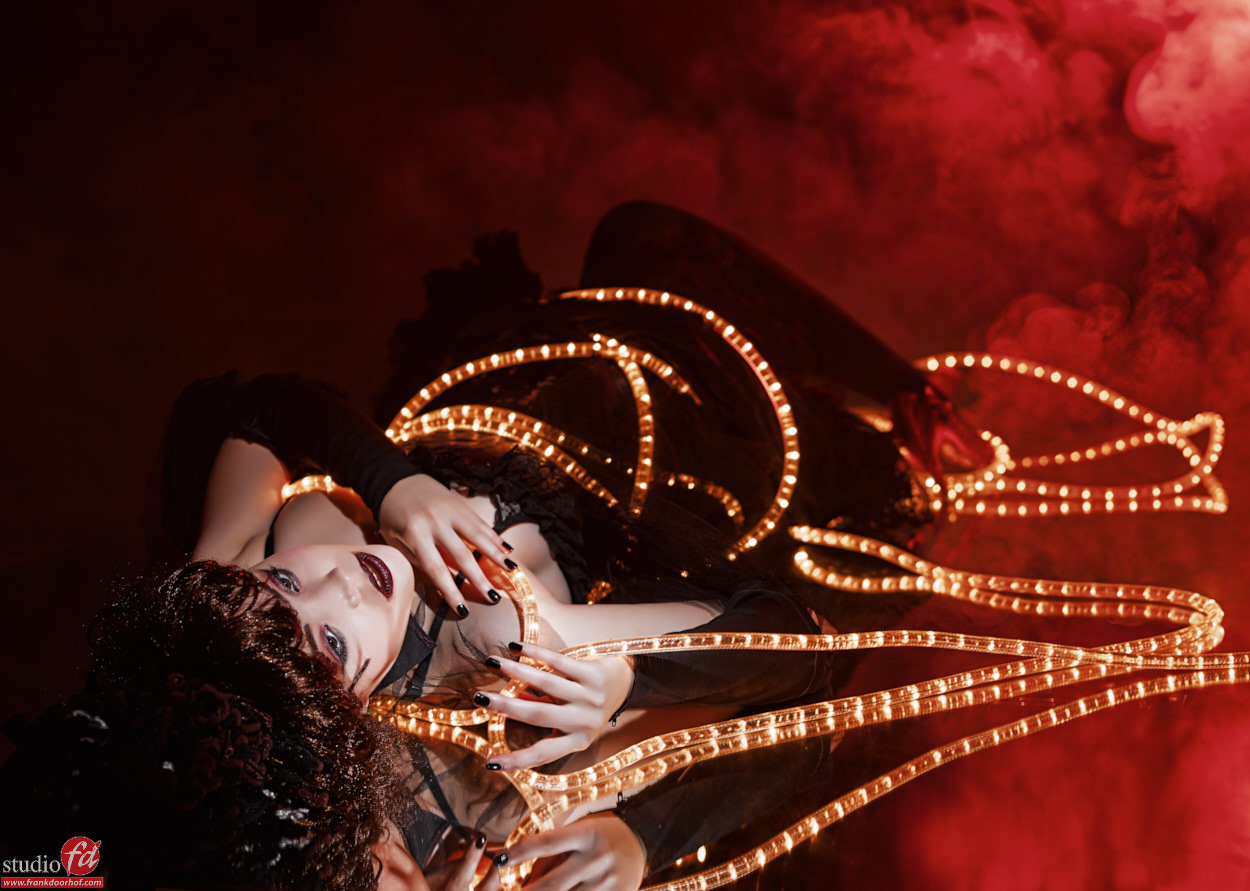
In this shot with Poeka we used the snake to light the model which is actually lying on the floor on a plastic mirror. The main advantage of the plastic mirrors is that they not only unbreakable but they als don’t have that nasty double reflection a lot of thicker mirrors can have.
Doing a shot like this is not easy, but it’s also not that hard.
You have to make sure you use the lowest possible output from your strobes, this is where the Elinchrom ELCs really come in handy because they can go really low. The reason for this is that the output from the light snake is not incredibly bright so you will need a slower shutter speed anyway, but also the widest possible aperture to make sure the lights from the snake do appear.
One simple rule to remember is :
Aperture controls the flash appearance in the shot
Shutter speed controls the ambient light in the shot
Normally we would of course make sure that the aperture is metered and is fixed, otherwise the model would be under or overexposed, the light snake however (or any other ambient light source) we can let appear brighter, or dimmer in the shot by adjust the shutter speed, which has no effect on the strobe because the strobe is a pulse and not a constant light source.
So in a shot like this it would make sense to try to get the aperture to f2.8 and use the shutter speed to “taste”.
And this is the big advantage of digital photography, we have a huge “free” digital polaroid on the back of the camera, or in my case on a big screen tv in the studio, so we can really fine tune this, imaging how the “old” photographers had to do this using polaroids and meters to get the perfect results, and they did 😀
As soon as we had the result we liked we added an extra strobe in the back with a red gel, but this looked very basic, so a little bit of smoke was added for atmosphere. Now remember that smoke acts like a diffuser and reflector at the same time, so be very careful to where you point your lights, especially when you use light pointing towards the smoke, make the beam as narrow as possible, that’s why I actually used a small snoot with grid to light the models face.
If you balance everything nicely you don’t need any photoshop after the shot, if you later decide you DO want the light snake a bit more bright there is however a very easy solution, just use the dodge tool in Photoshop and slightly move it over the light snake and you will see that the lights actually become brighter, don’t over do this however. (Dodge tool settings are of course on HighLights).
Next week we are going to up the ante a little bit and include some more smoke and styling…..
So next time you think about what to do…. shop for some christmas lights and shoot your idea and show it to me via our facebook group called masteringthemodelshoot. If you like these kind of tips check out my book “Mastering the model shoot” or our instructional videos.


