Frank Doorhof
  • Blog (articles)
  • Rent our studio space
  • MAIN SHOP
    • MAIN SHOP
      • Orders
      • Account details
      • Downloads
      • Addresses
      • Lost password
      • Cart
      • Checkout
      • Terms webshop
      • Return policy
      • Privacy Policy
      • Privacy Statement in3. Dutch customers only. When you want to pay in 3 parts
  • IQwire Tether Cables
  • Rogue Modifiers
  • Geekoto Flash and Modifiers
  • Platypod
  • Click Backdrops
  • PORTFOLIO
  • Learning with Frank
    • Dutch workshop agenda
    • Workshops
    • A Year With Frank
    • Online 1:1 workshops
    • 1:1 workshops in English
    • Portfolio review by Frank Doorhof
    • Patreon
  • Support our work
  • Merchandise
  • Digital Classroom LIVE
  • Our YouTube channel
  • Biography Frank Doorhof
  • Services
  • Discounts etc
  • I need help
  • Menu Menu
  • Shopping Cart Shopping Cart
    0Shopping Cart
  • Link to Facebook
  • Link to X
  • Link to Youtube
  • Link to WhatsApp

Tag Archive for: mirror

Reflections and how to use them creatively

20-03-2026/in blog, Visions and technique/by Frank Doorhof

Today a bit more about reflections

In my previous blogpost I shared the link to the digital classroom episode about reflections.
Today let’s take a look at the results and give you some information about how I shot them.

Set 1

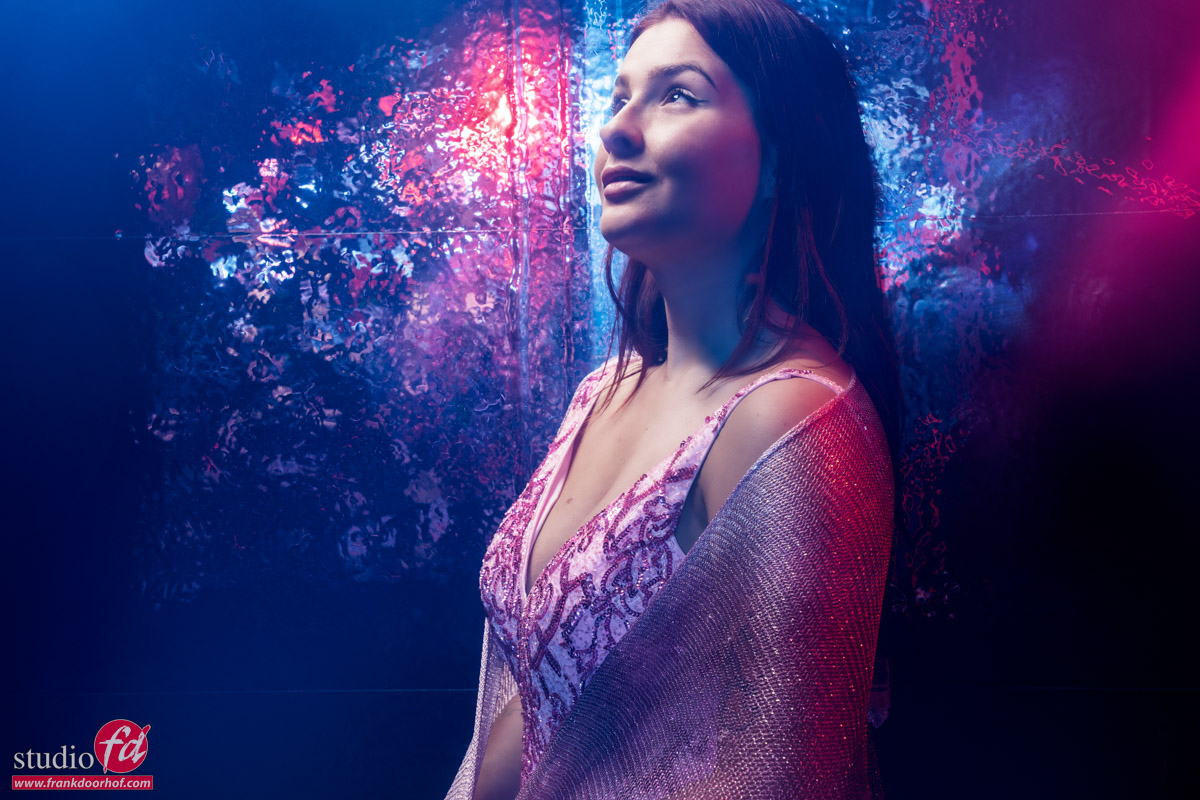
Here you see our model Lisa leaning against a wall that is covered with wallpaper that is sold, at for example Amazon, as mirror wallpaper.
I have to be honest, the effect is very cool, but it’s far from a mirror which you could use to comb your hair.

For a setup like this, the first thing you have to make sure is that there are no reflections in the wall from your studio.
When you stand in front you will of course see the studio, but remember that when shooting with strobes you are overpowering the available light so if you push enough power to the set it will render the reflection to a very nice black wall with of course a cool reflection.

The second point is of course to make sure you don’t see the strobe in your viewfinder.
If you don’t see it in your viewfinder, it won’t show up in the final shot. There could be some lens flare of course but that can also be a nice addition to the shot.
We call this effect “angle of incidence is angle of reflection”, in other works, follow the lines and you know where the reflection will show up.
As soon as you’ve done this a few times it becomes almost second nature.

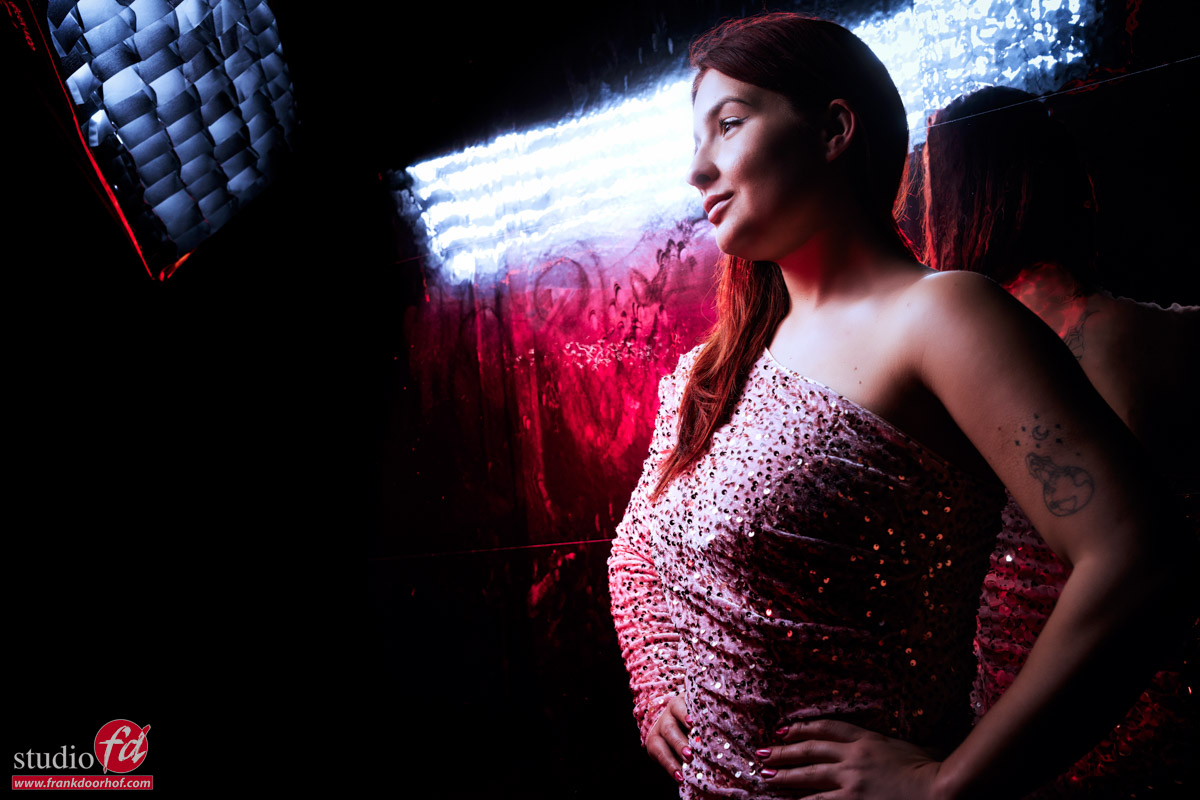
Set 2

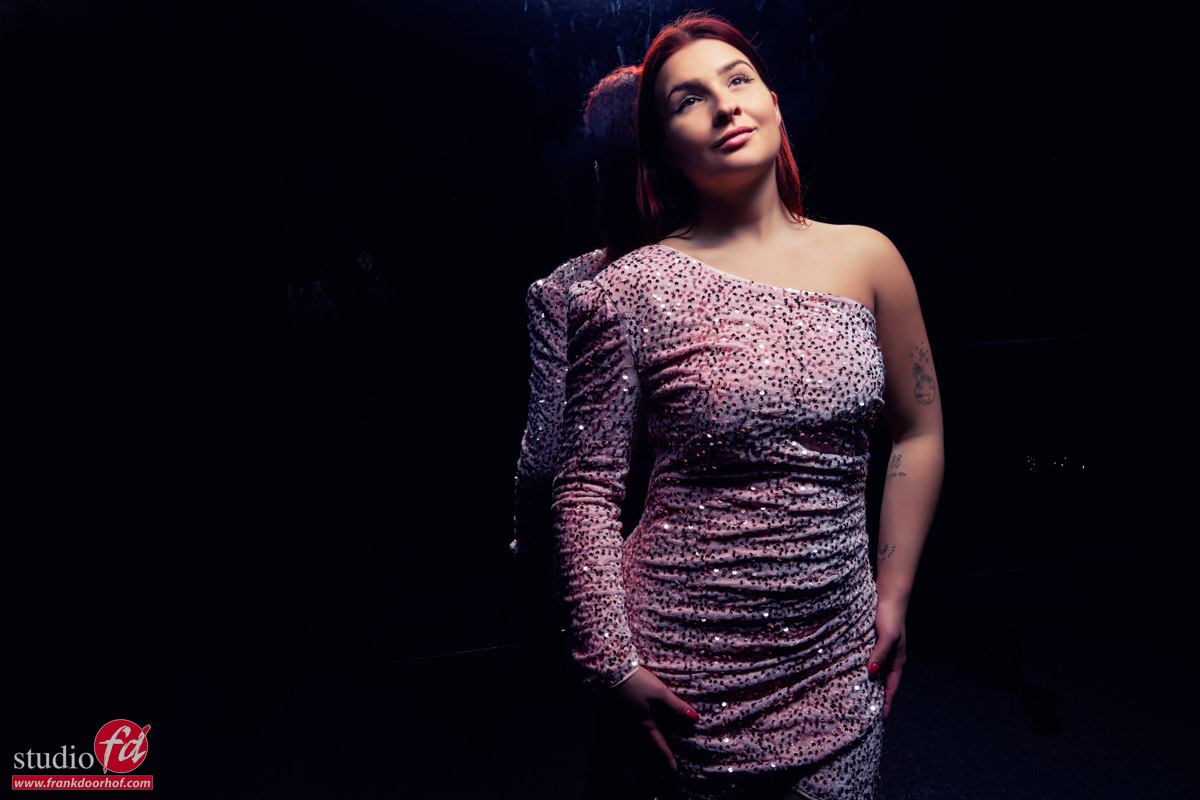
In the first set I did not want the reflections in.
But what if we are getting a bit more creative?
I have to be honest, this is a large amount taste.
Set 3

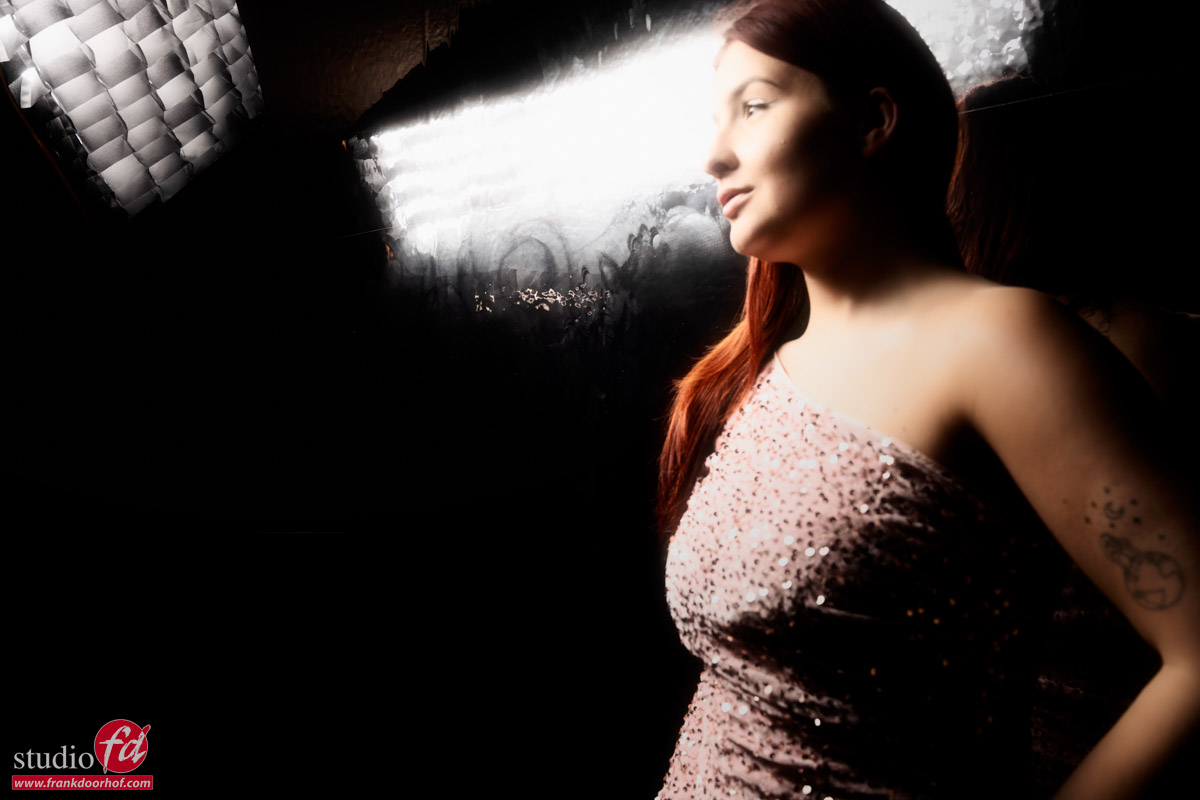
As you can already see in the last shot, I’m adding a red strobe.
Now you can use this strobe just as a fill in light, but you can also go a “bit” more extreme.
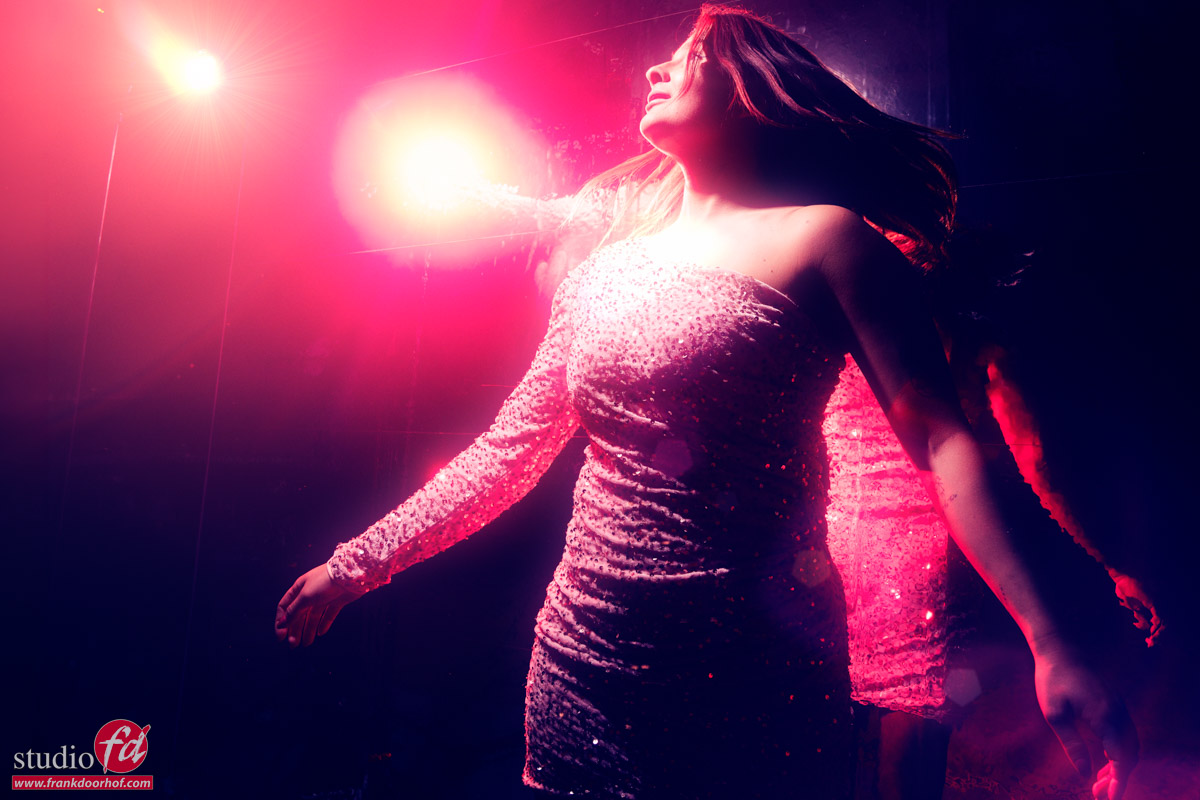
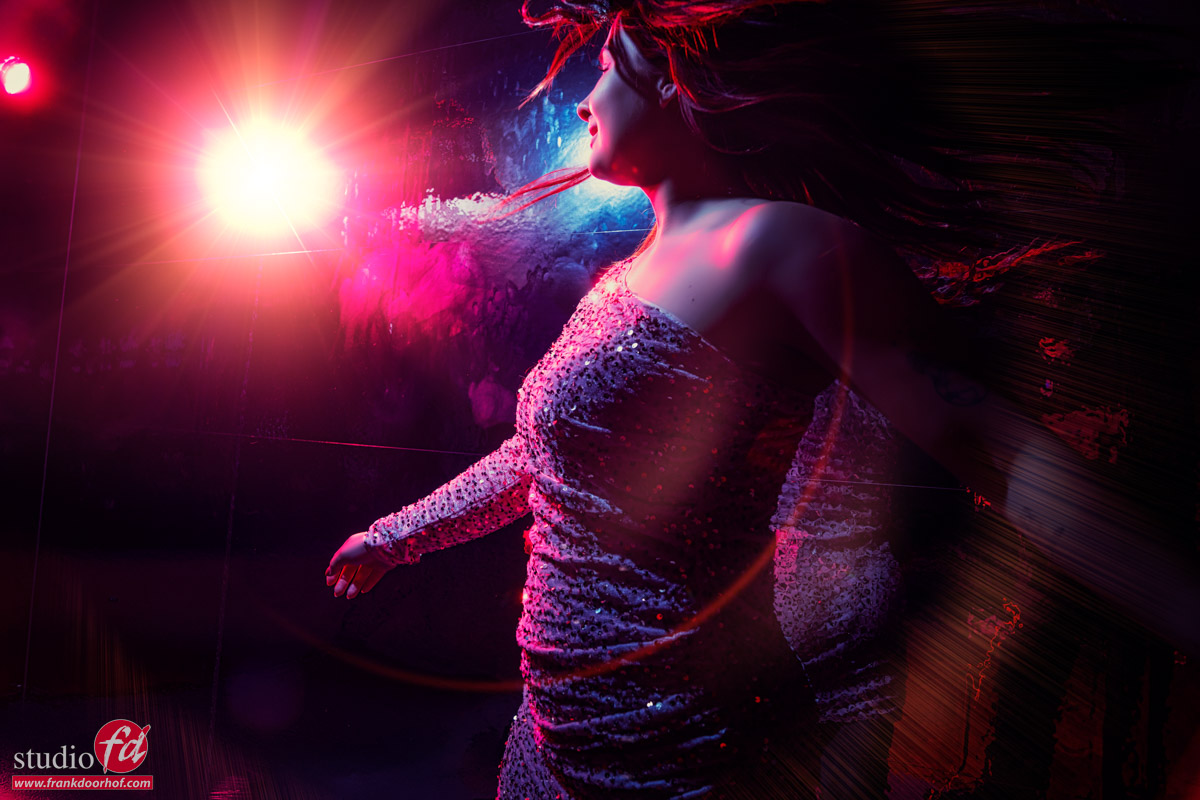
In the last image I’ve used a lens flare effect from BorisFx.
BorisFx is great software with loads of special effects including some very convincing lens flares.
I mostly use it for filmlooks and special color processing. But sometimes a lens flare can turn out not 100% perfect in the final results, or you want to add a bit more “oomph”
In that case BorisFx can really add something special.
I do feel that the lensflare/colored gels should be in place when shooting the image, just adding a lens flare when there was no lens flare does look nice, but also fake in cases like these.
But when it’s already in the shot, BorisFx can really add a lot of extra mood.

During the broadcast I also took a quick shot of the setup.
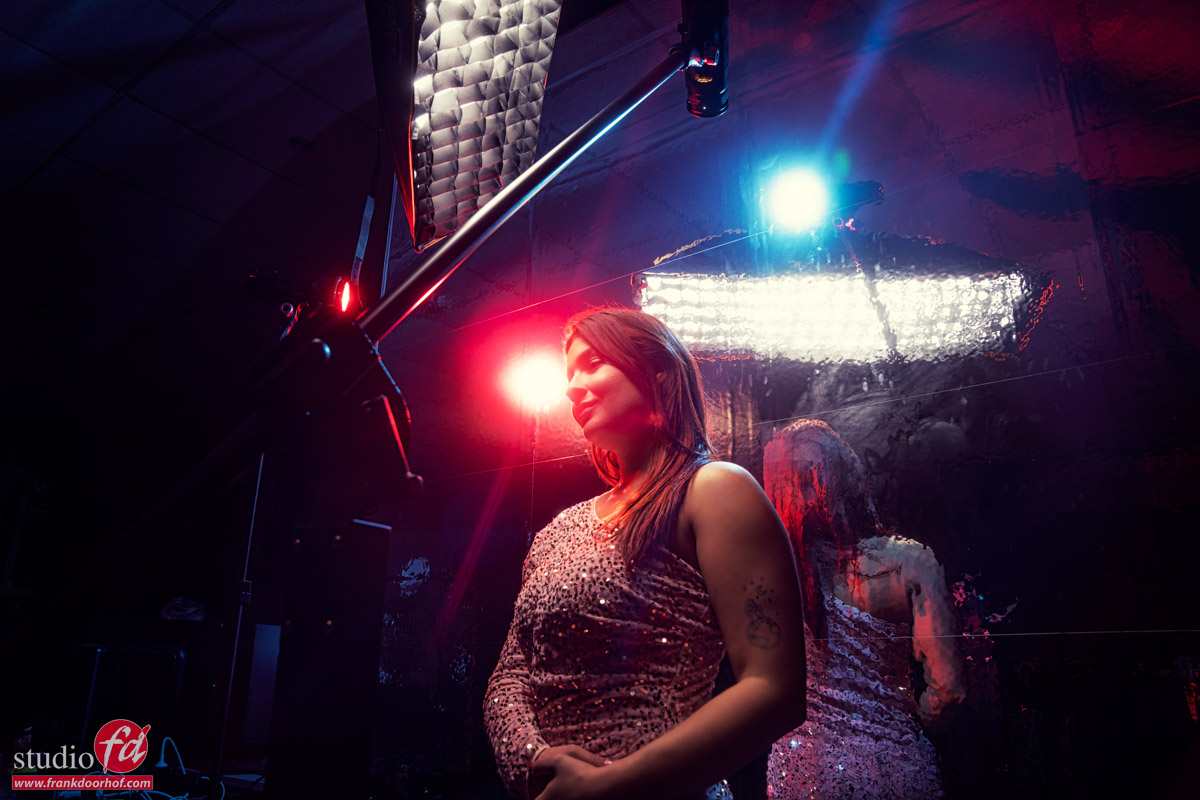
Yep, try to keep the reflections out, can be a challenge, so why not include them, right 😀

Set 4

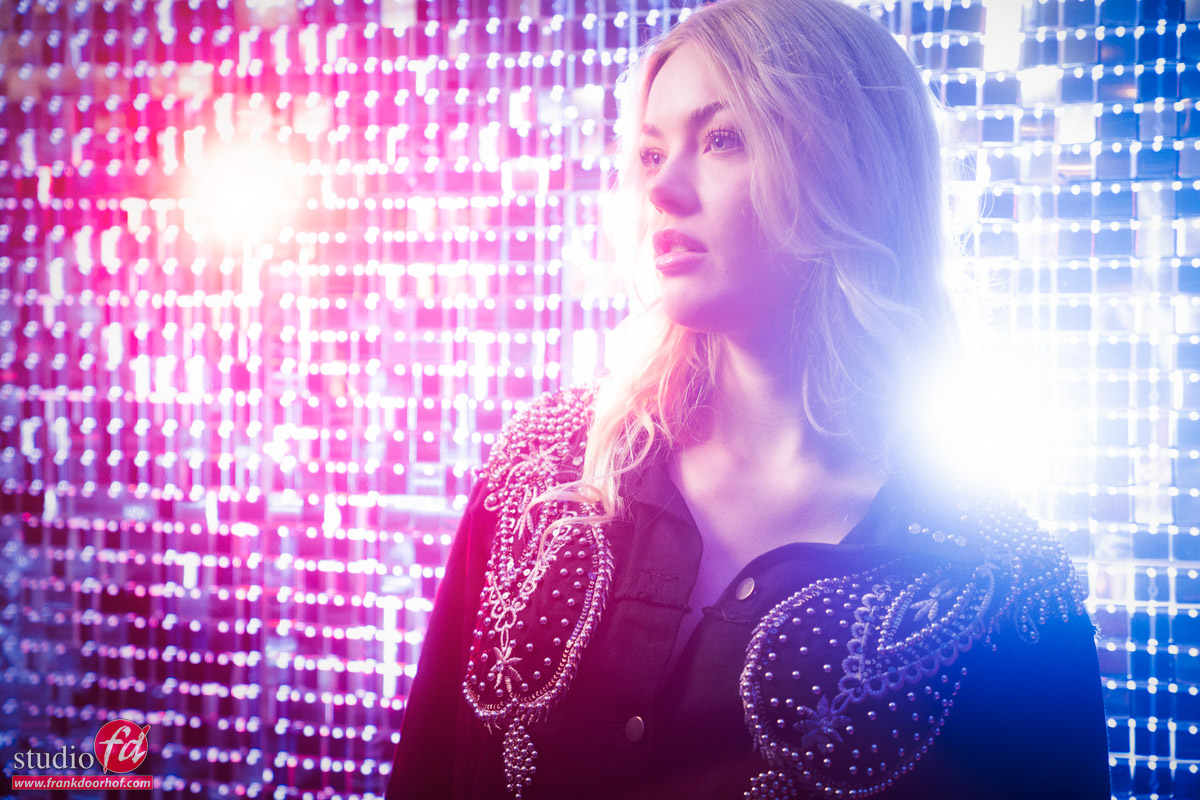
For the next set we used a very nice mirror background.
I bought this for a few euros online and must be honest it’s one of the coolest things I bought for the studio in while.
In fact you can use it in two totally different ways, so let’s start with option 1.
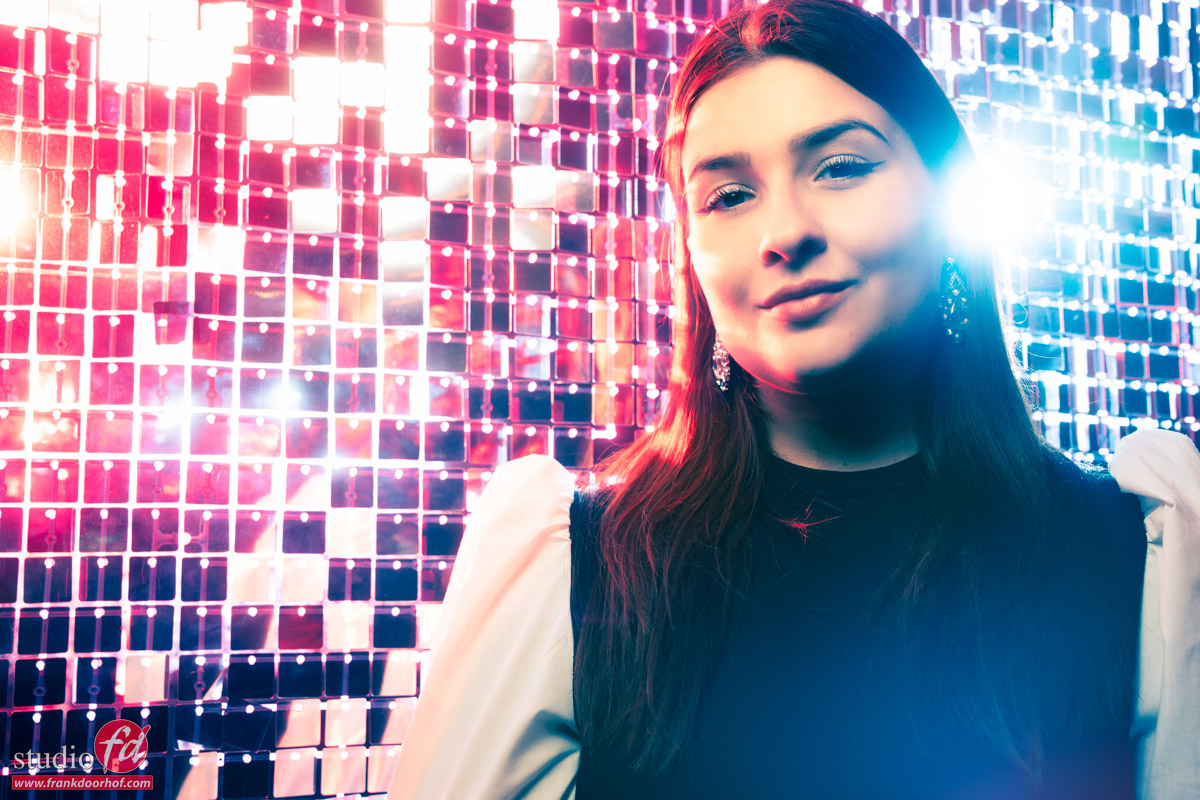
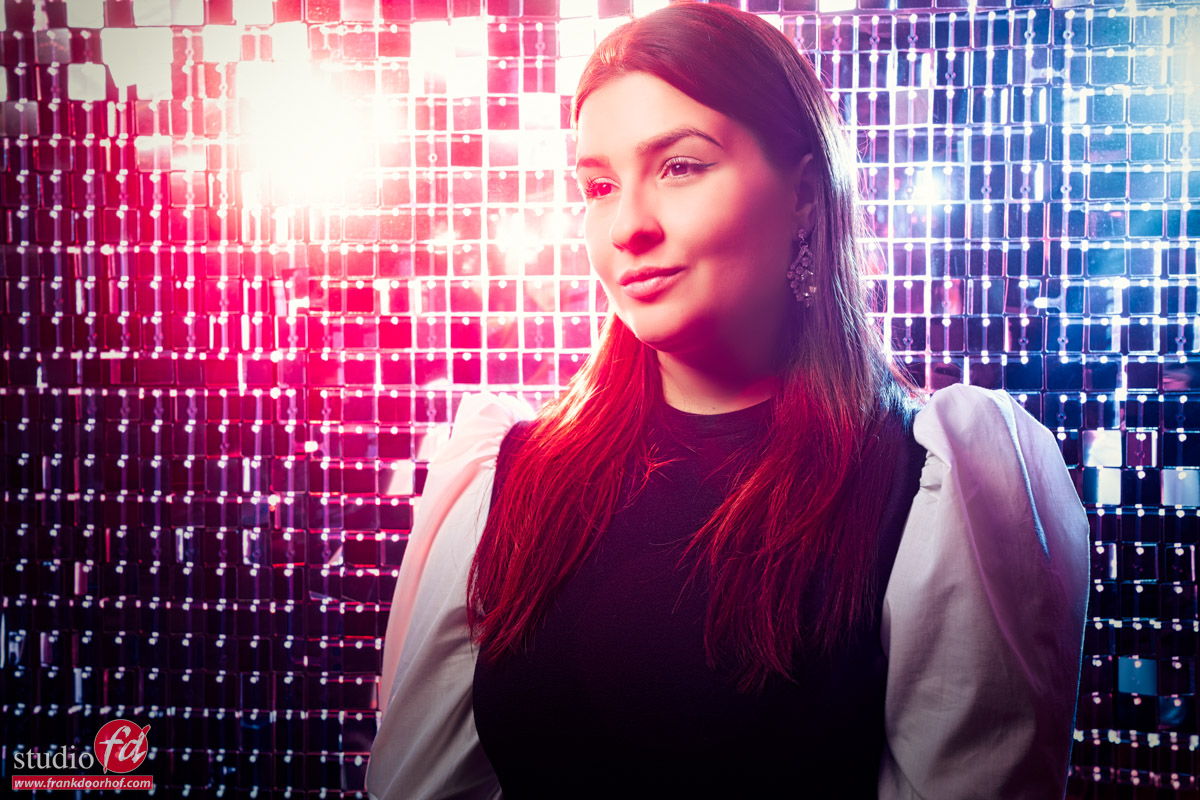
Here I’m using the background behind my model (duh), and placed two strobes behind the background.
Both the red and blue gel can be angled to get different results, if you just want to blend the colors, use a sort of cross setup, of you want to have some cool lens flare effects you can for example aim one of the strobes forward. Also make sure to experiment with the light output, in these cases I love it when it almost blows out the background on some of the edges.

The final set

Let’s combine the mirror wallpaper and the mirror wall for the final setup.
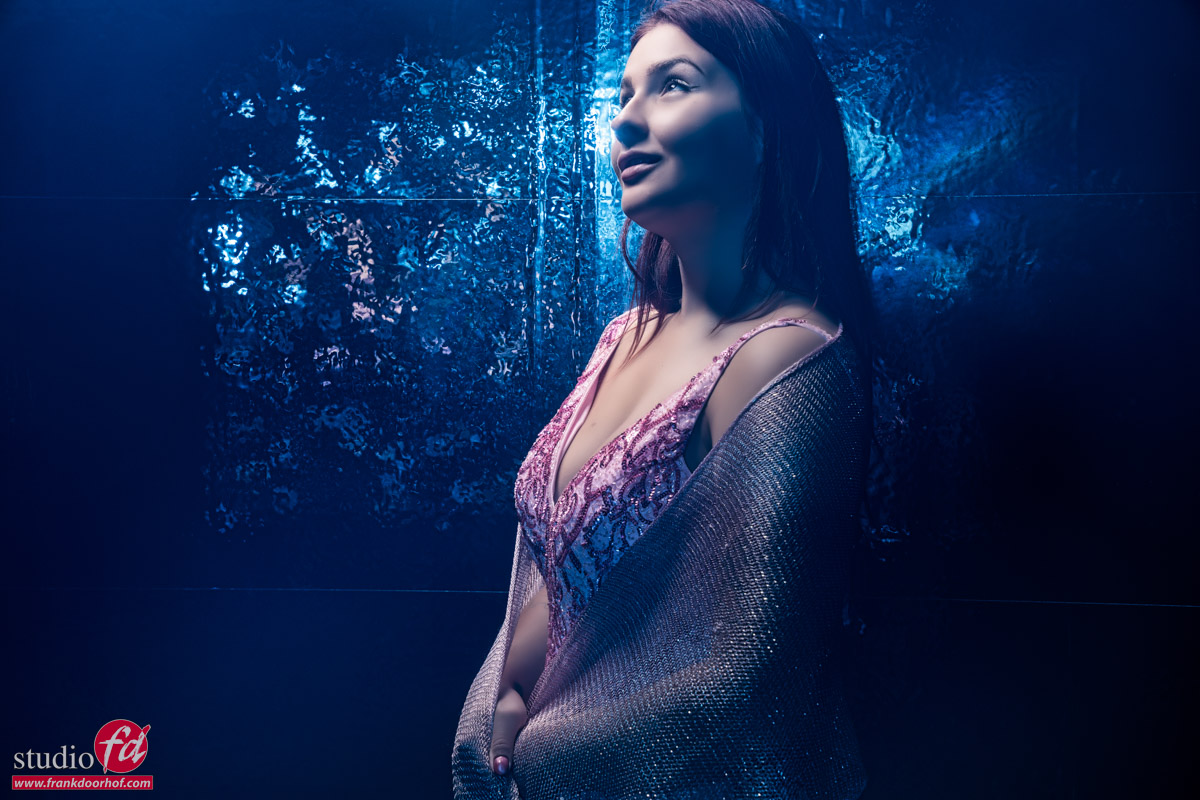
I’ve placed the small mirrors in front of the model.
Two strobes are aimed at the mirrors to reflect the light back on the model who is standing against the mirror wallpaper wall.
This way you don’t only get a very cool shimmer effect, but also a very nice blend of the red and blue gels.
By varying the output you can mix the colors of course.
Another cool thing you can do is shoot with one of the strobes aiming slightly towards the camera, this way you can get a blue or red “haze” in the shot due to lens flare.
It’s not as obvious as the lens flares from the back, but the effect is something I use a lot to spice up a shot.
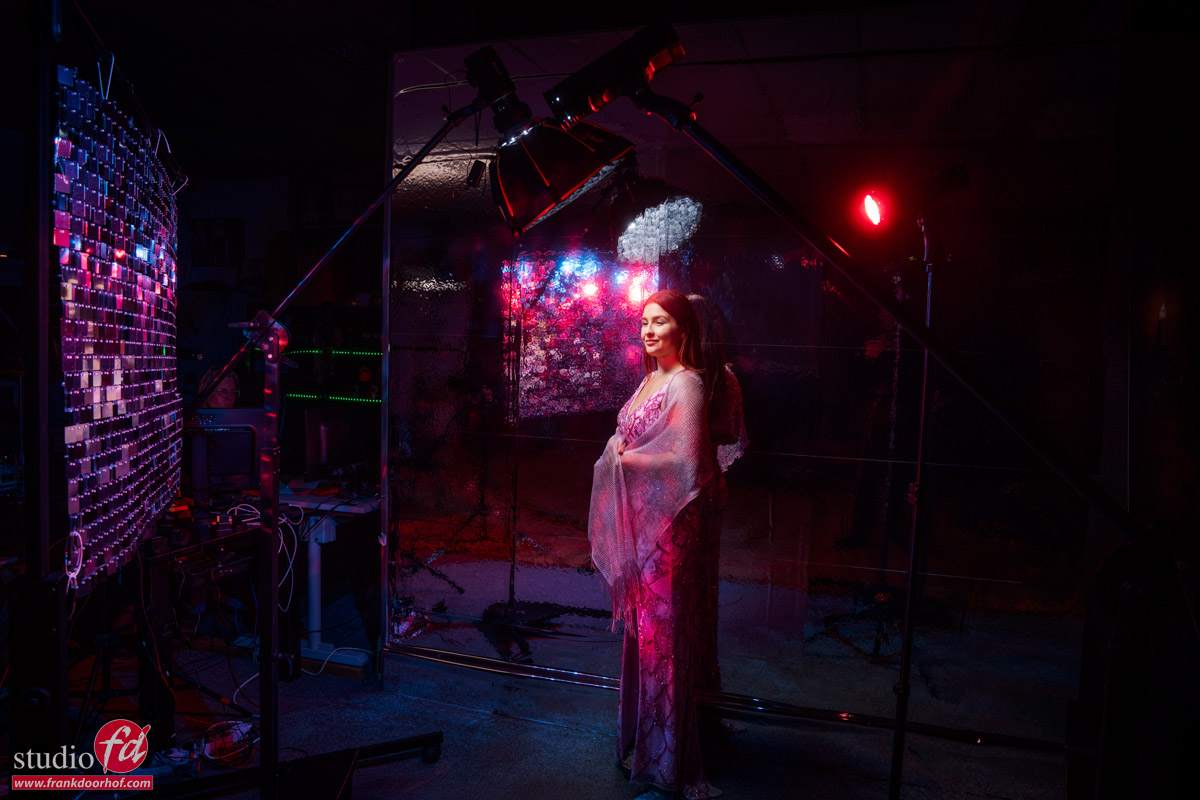
Here you can see the setup.
Two Geekoto strobes with the Rogue magnetic system on the background and our Geekoto Quicky softbox on the model.

Conclusion

I hope you enjoyed todays blogpost.
The images were shot during the live broadcast.

Want to learn everything about light control?
Want to visit a workshop where it’s not just shooting a model with a fixed lighting setup, but see how the setup is built and adjusted to the taste of the group?
And of course learn how to work with poses, backgrounds, small sets, styling, retouching, and a lot more…..

If this all sounds awesome, visit fotografie-workshops.nl and book your workshop.
If you don’t speak Dutch, no problem, let us know a few weeks in advance, and we can switch the workshop to English.
Not possible to travel to the Netherlands?
We got you covered with our 1:1 online workshop.
We have a full streaming setup in our studio. 4 detail cameras and of course the retouching software, so you can see every detail and of course ask questions during the day. Plus, you get all the RAW files after the workshop.
https://frankdoorhof.com/web/wp-content/uploads/2026/03/Lisa-102-Edit.jpg 800 1200 Frank Doorhof https://frankdoorhof.com/web/wp-content/uploads/2015/03/studioFD_Logo-1FV.png Frank Doorhof2026-03-20 18:00:592026-03-18 17:19:46Reflections and how to use them creatively

Solve the biggest problem in Photography

18-03-2026/in blog, Visions and technique, Webinars and instructional videos/by Frank Doorhof

One of the biggest problems in photography is probably reflections

We all know this nasty reflections in backgrounds, glasses, cars etc.
Always in locations where you don’t want them.
But in essence they are pretty easy to solve, so we thought it would be a great idea to dedicate a full digital classroom episode to the topic reflections.

A few weeks ago we installed a new reflective wall in our studio, and that’s of course the perfect wall to demonstrate the lighting setups.
In this 2 hour episode of digital classroom I show you how things can go wrong, how to see the reflections and how to prevent them, but also how to become very creative with reflections.

I hope you enjoy this episode.
We really appreciate a like, subscribe but most of all share our channel to your friends and fellow photographers so we can record more content.

https://frankdoorhof.com/web/wp-content/uploads/2026/03/Lisa-146-Edit.jpg 800 1200 Frank Doorhof https://frankdoorhof.com/web/wp-content/uploads/2015/03/studioFD_Logo-1FV.png Frank Doorhof2026-03-18 16:49:492026-03-18 16:49:49Solve the biggest problem in Photography

Reflective backgrounds are awesome

26-02-2026/in blog, Visions and technique, Webinars and instructional videos/by Frank Doorhof

Anything can be used as a background, but some are better

I love to experiment with backgrounds.
Of course, you can create something with AI, but where is the fun in that?
Plus, it never looks 100% convincing if you follow the lights in more complex setups. (yes it’s getting scary good, I know).

There are many websites where you can get cheap materials that can be used in your photography.
When I saw this material, I immediately knew this was going to be fun: a reflective background made from tiles with tiny mirrors.

Today, in a Digital Class tutorial, I show you how I shot this one, and more.

isabella for the reflective background

https://frankdoorhof.com/web/wp-content/uploads/2026/03/Isabelle-January-17-2026-43-Edit.jpg 800 1200 Frank Doorhof https://frankdoorhof.com/web/wp-content/uploads/2015/03/studioFD_Logo-1FV.png Frank Doorhof2026-02-26 18:00:082026-03-09 10:55:31Reflective backgrounds are awesome

Batman in a mirror

15-01-2026/in blog, Visions and technique/by Frank Doorhof

Playing with mirrors can be fun

Today a few images shot during a workshop with our model Linda.
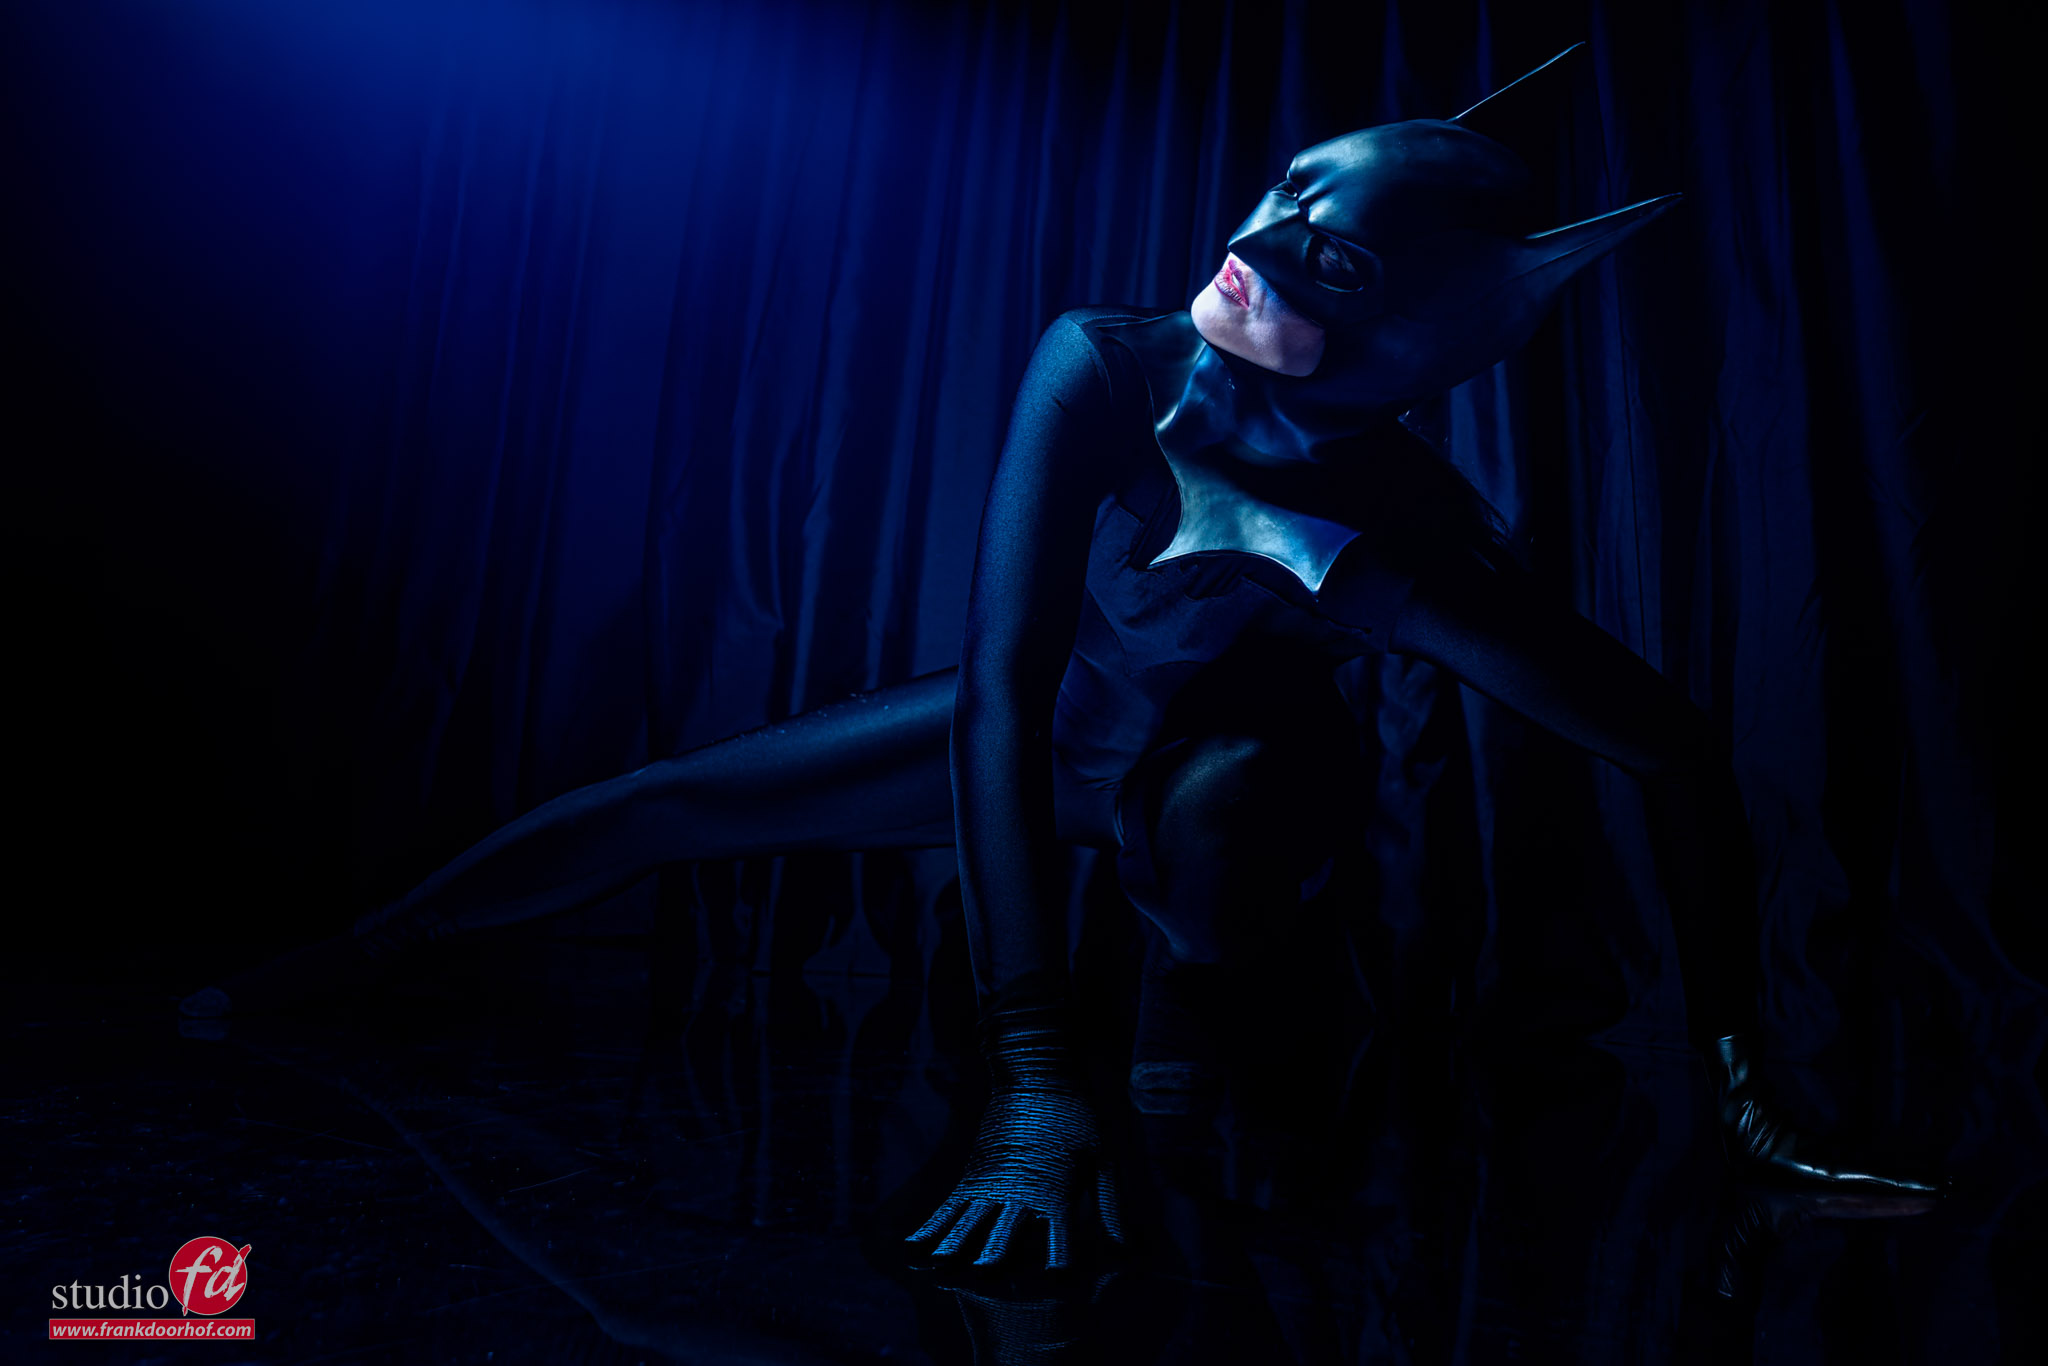
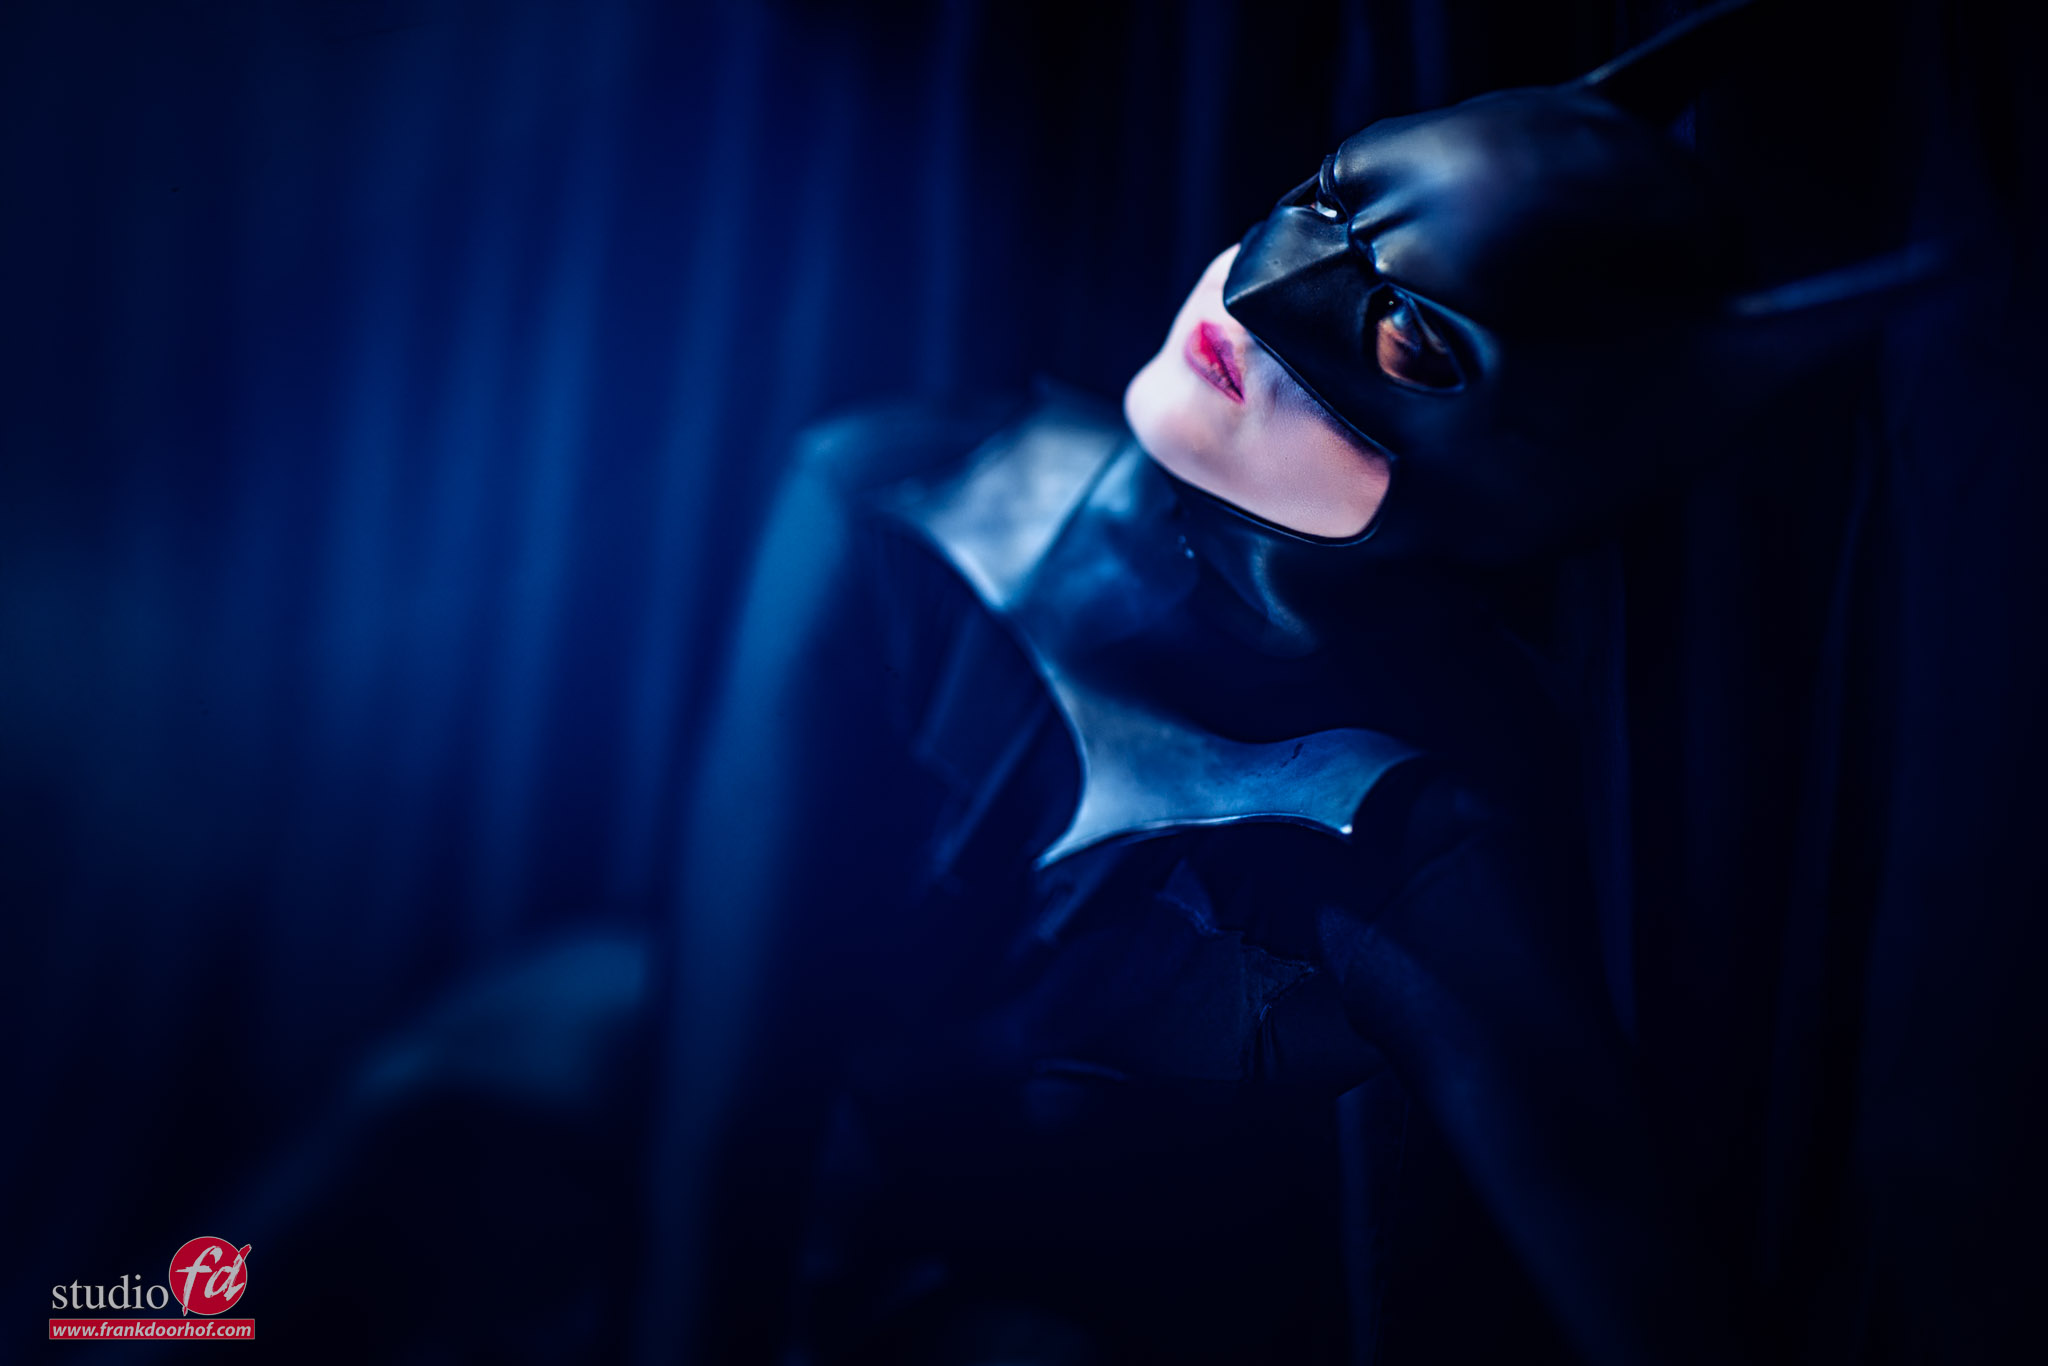
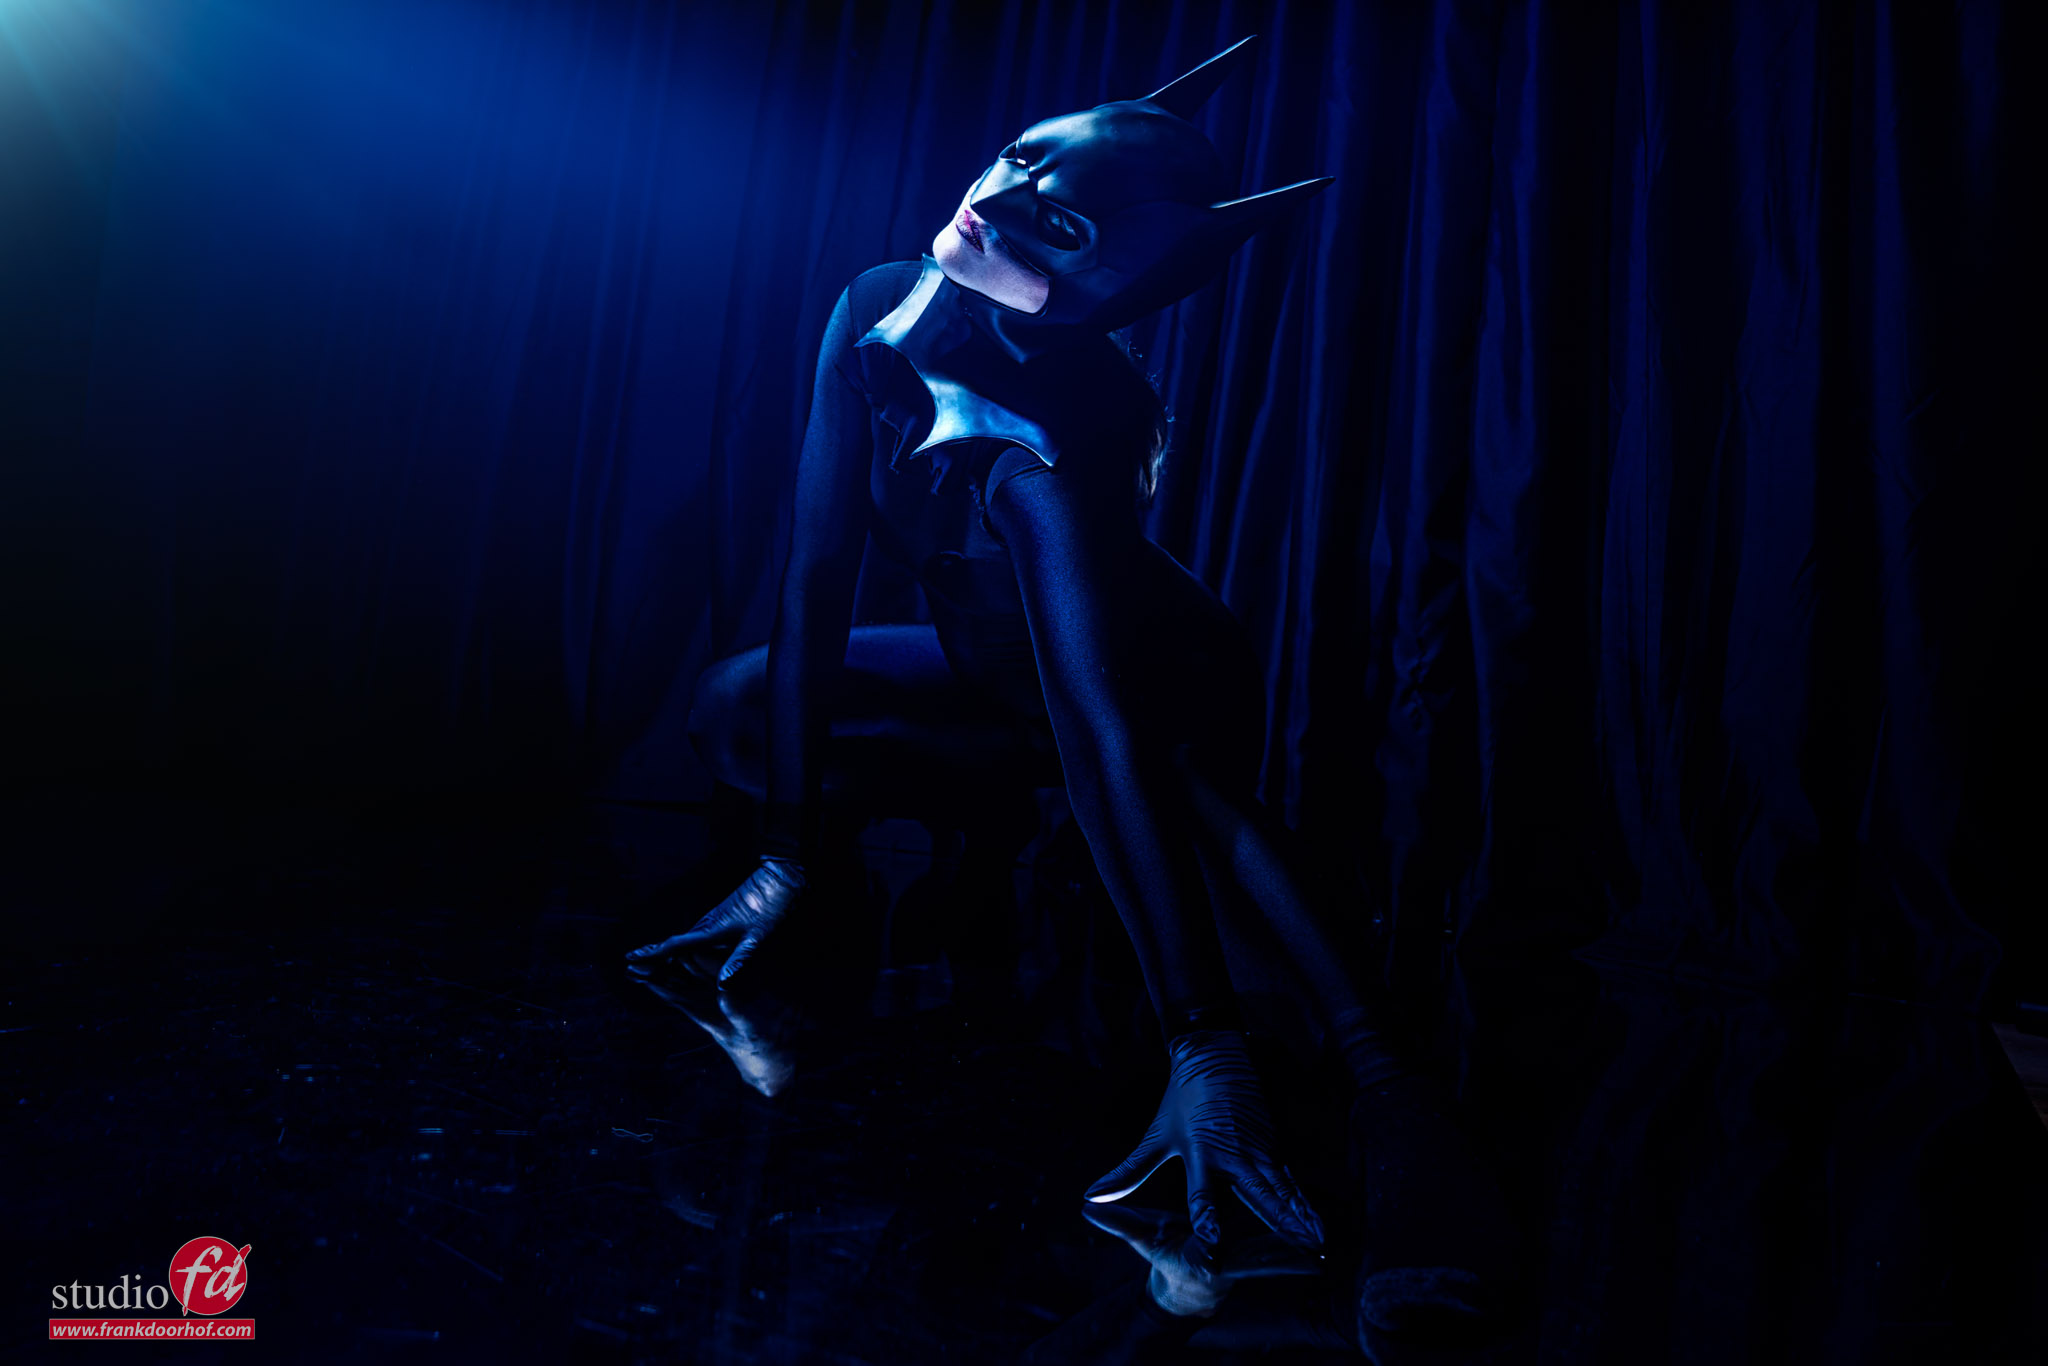
In this setup I’m using a plastic mirror against a black background.
One light source on the model with a grid to create just enough light to see all the details where we need them, and one small blue fill in light to open up the shadows.

You might wonder why you don’t see a real large reflection?

This might need a bit more explanation.
The idea of this setup was not to show the mirrored effect, but explaining the angle of incidence is the angle of reflection.
By using two light sources and a small mirror this will give a few challenges.

First of all make sure you don’t see the light sources. Or maybe show them in the frame for a different effect.
And of course to make sure you don’t see the ceiling in the mirror.
The idea of this setup was to get the mirror as black as possible with just a small reflection of the hands.

And there is another tip

When it comes to styling I’m always pretty thorough, but here I made a capital blunder.
When you look at the final results you will probably notice she is wearing different gloves.
In the original images, she was not wearing any gloves and this looked absolutely terrible, the white hands, were reflected in the mirror and drew all the attention away from the rest of the scene. So I did change the gloves in Photoshop…. 😀

Workshops

Want to learn everything about light control?
Want to visit a workshop where it’s not just shooting a model with a fixed lighting setup, but see how the setup is build and adjusted to the taste of the group?
And of course learn how to work with poses, backgrounds, small sets, styling, retouching and a lot more…..

If this all sounds awesome, visit fotografie-workshops.nl and book your workshop.
If you don’t speak Dutch, no problem, let us know a few weeks in advance and we can switch the workshop to English.
Not possible to travel to The Netherlands?
We got you covered with our 1:1 online workshop.
We have a full streaming setup in our studio. 4 detail cameras and of course the retouching software so you can see every detail and of course ask questions during the day. Plus you get all the RAW files after the workshop.
 

https://frankdoorhof.com/web/wp-content/uploads/2025/12/Linda-6-November-22-2025.jpg 1366 2048 Frank Doorhof https://frankdoorhof.com/web/wp-content/uploads/2015/03/studioFD_Logo-1FV.png Frank Doorhof2026-01-15 18:00:422025-12-03 17:37:59Batman in a mirror
Page 1 of 212

Newsletters

Subscribe to our newsletter for updates, discounts, and much more

English news letter
Dutch news letter

Interesting links

Here are some interesting links for you! Enjoy your stay :)

Snel naar

  • Blog
  • Learning with Frank
  • News etc
  • Reviews
  • Shop products & books
  • Contact

Contact

Studio Frank Doorhof:
Constructieweg 8
8305 AA Emmeloord

The Netherlands
+31-6-14522327

Or Email : info@frankdoorhof.com


© Copyright 2000 - - Frank Doorhof
  • Link to Facebook
  • Link to X
  • Link to Youtube
  • Link to WhatsApp
Scroll to top Scroll to top Scroll to top