Tag Archive for: technique

Tip on angles

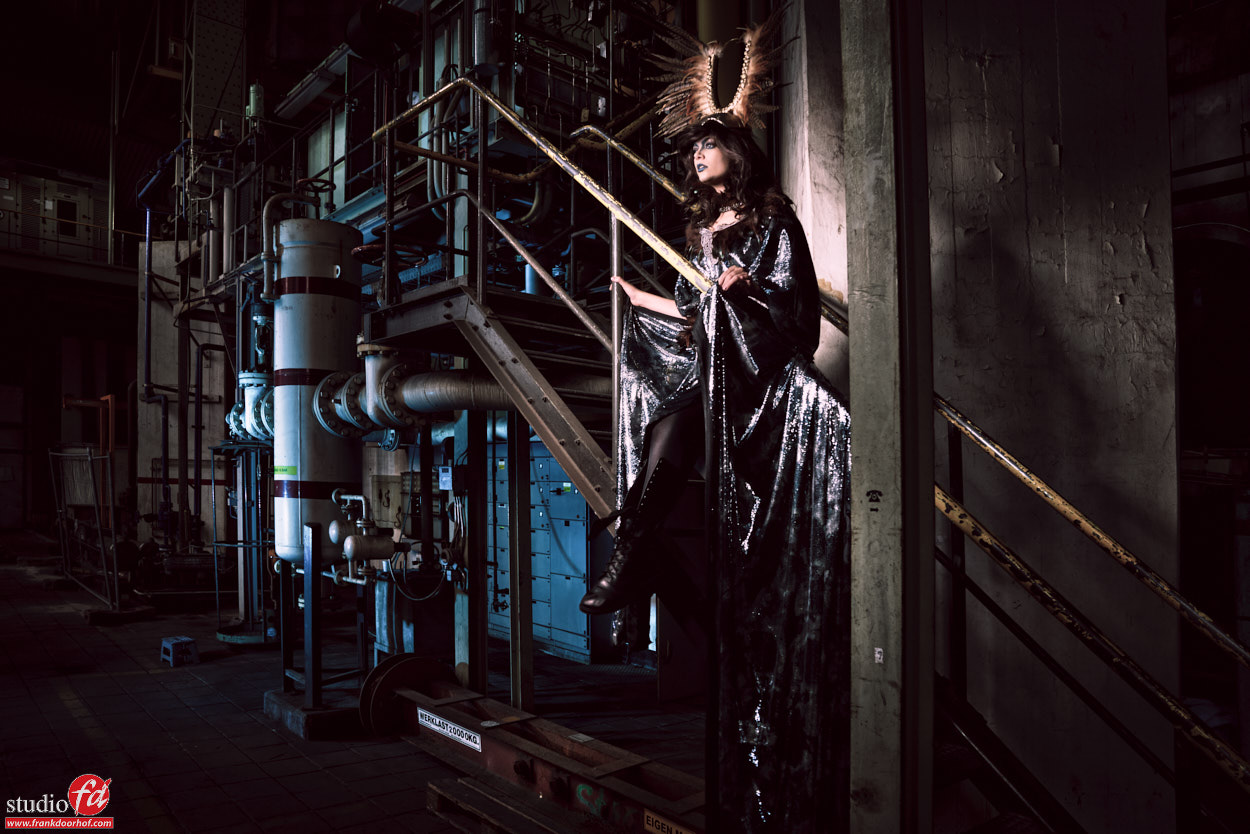
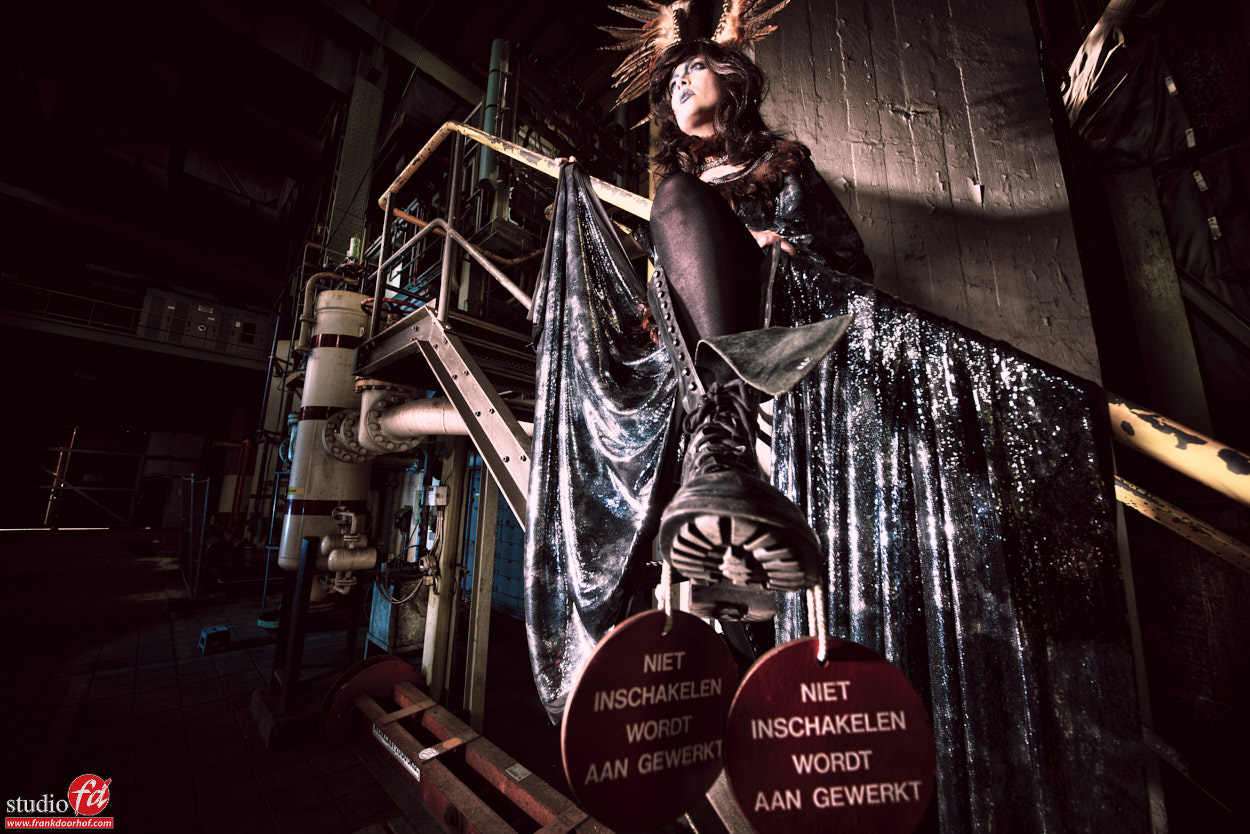
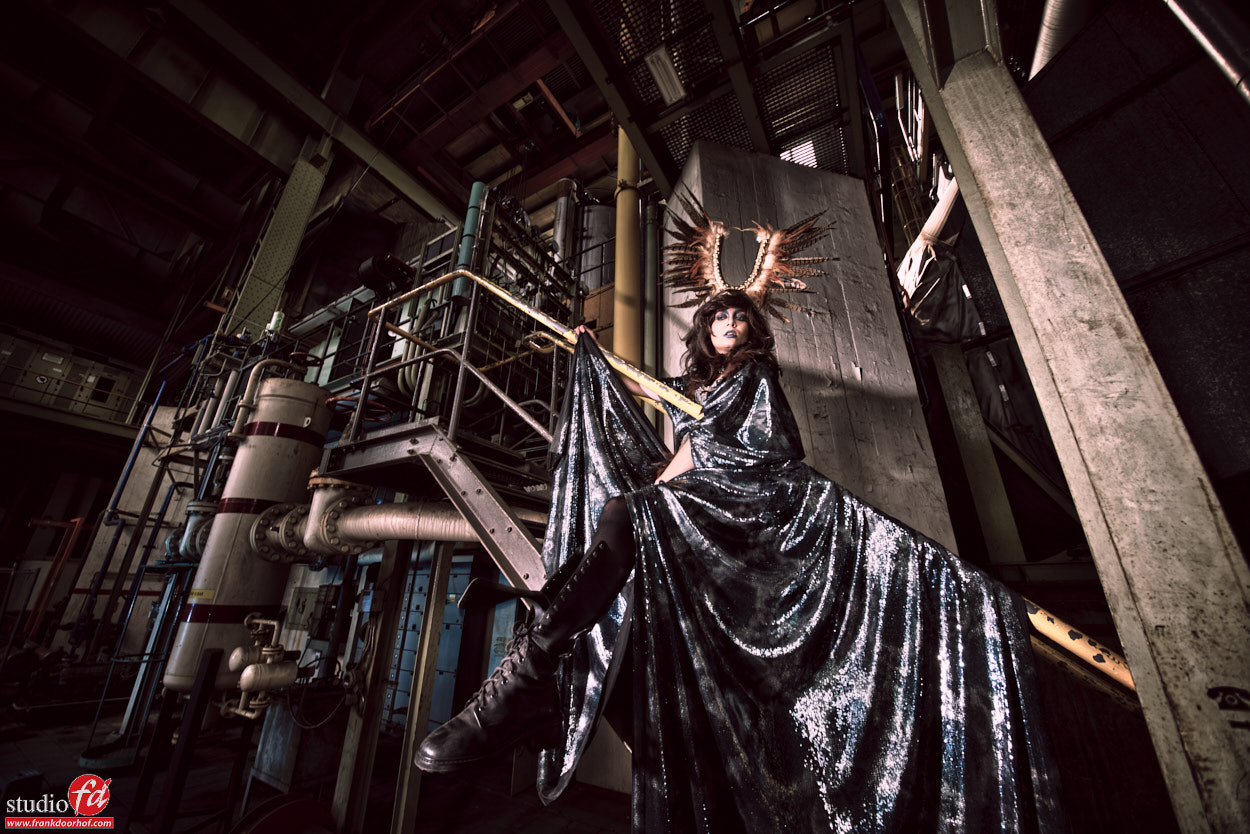
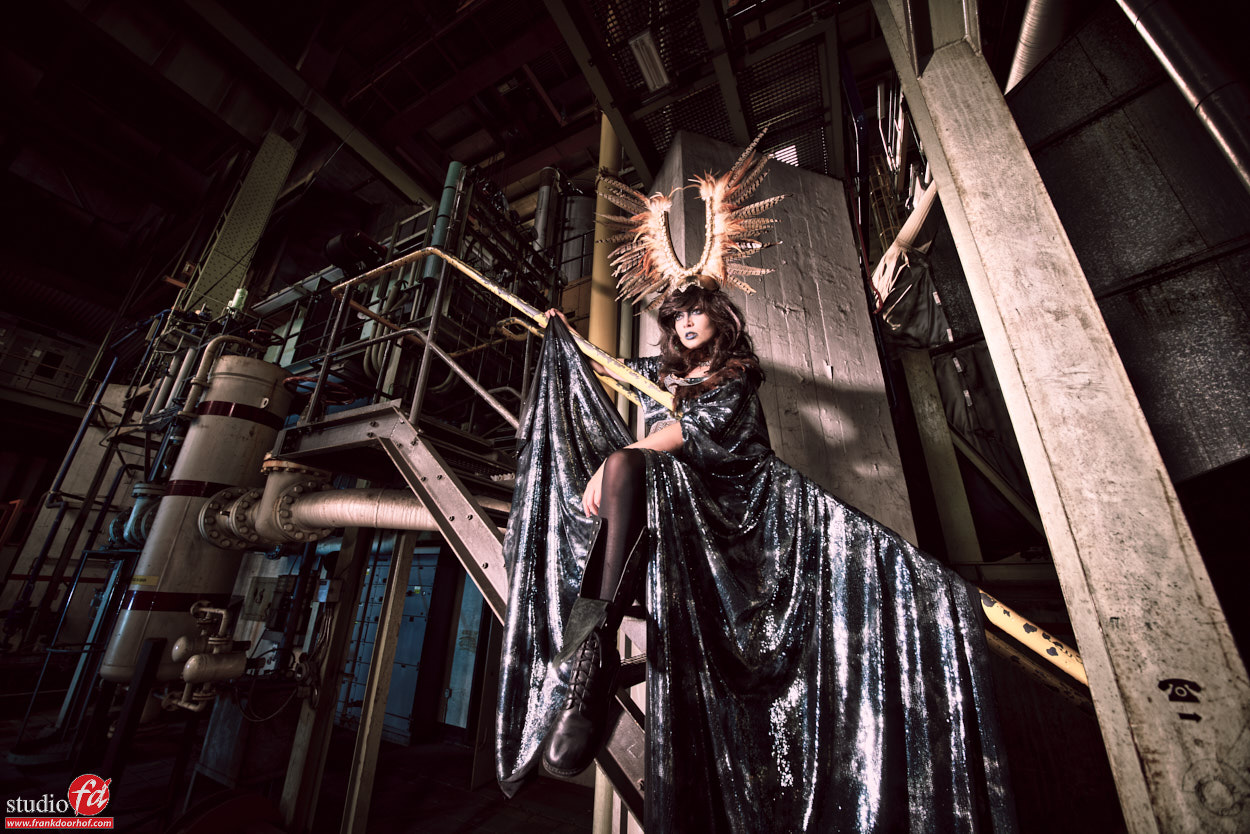
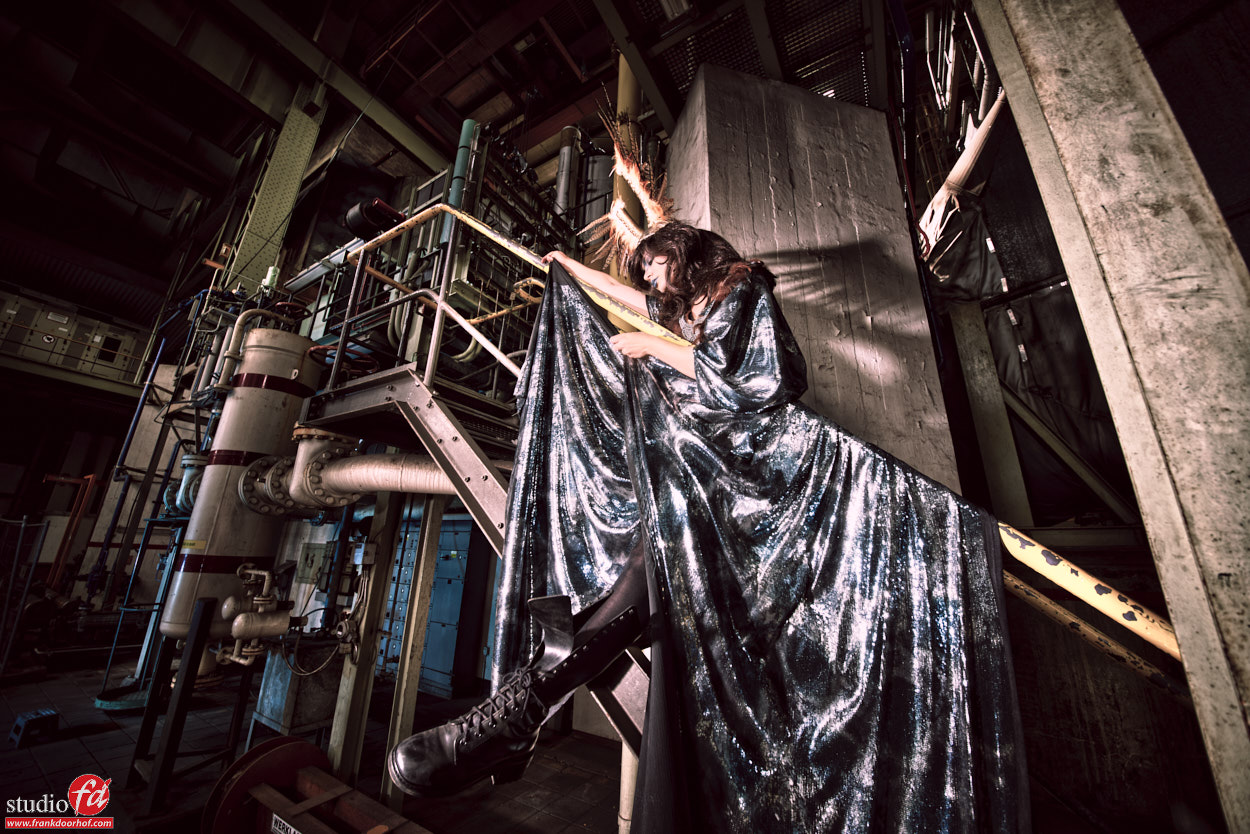
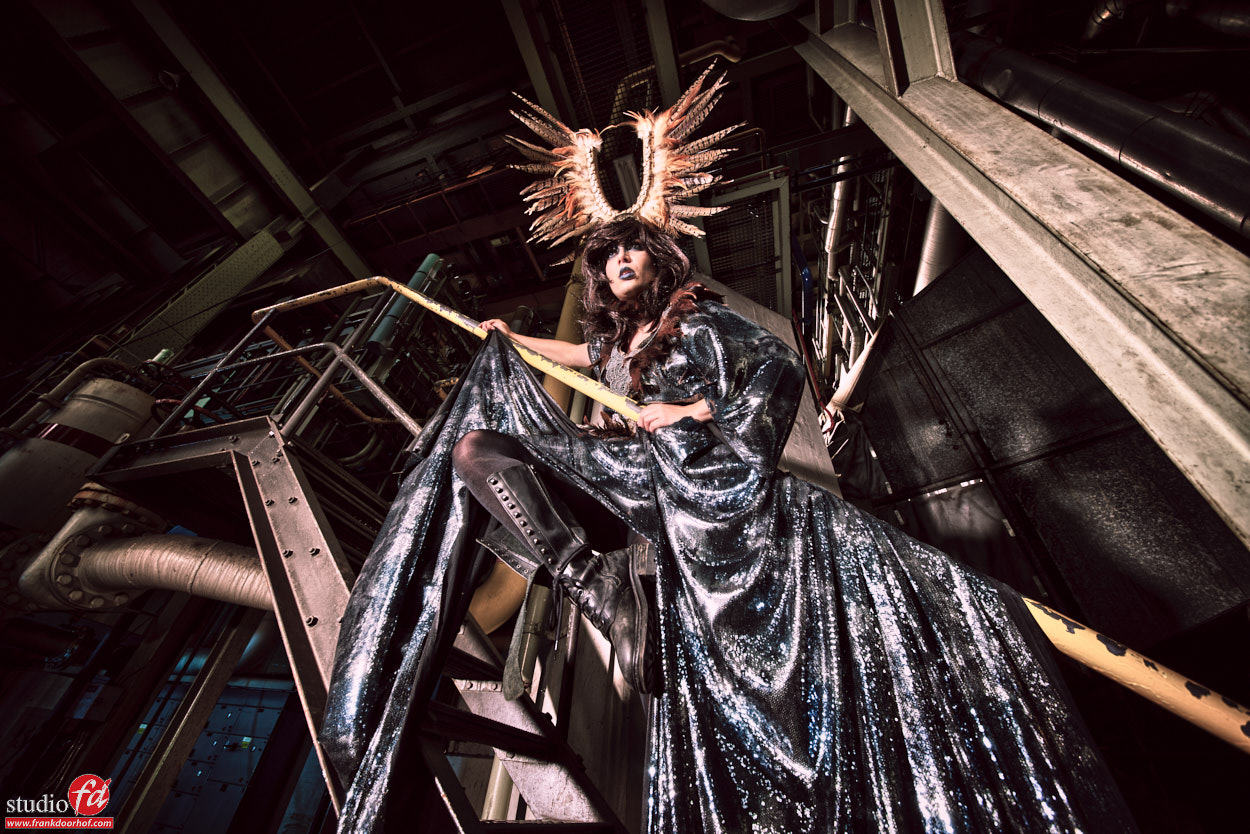
One of the easiest ways to improve your shots is by taking some care about the angle you shoot in/under.

As you can see in the samples in this blogpost there can be a HUGE difference.
The problem is that often the images you create during workshops or photoshoots where there is a lot of attention for styling already look really cool when shot from… well almost any angle, so often people are already impressed with the shots and don’t take the extra effort to do more, and why should they? often the responses from the public is also WOW, AMAZING, COOL… etc.

However those same images can be so much stronger when you also play with your angles.
Personally I love the way the images change and would really advise you to also play with these, even if you prefer the eye level shots in this series 😀

As you can see in the following samples I first changed my angle in the horizontal manner, and than I actually started shooting from much lower angles, for me the lines and drama are much more present in those really low angles.

Styling/model : Nadine

Nadine Augustus 20  2016 0009

Nadine Augustus 20  2016 0019

Nadine Augustus 20  2016 0026

Nadine Augustus 20  2016 0027

Nadine Augustus 20  2016 0029

Nadine Augustus 20  2016 0033


Mixing ambient/available with strobes

A situation most photographers encounter many times is mixing ambient/available light with strobes.
There is however a pretty simple rule you can always use to remember how to influence the look of a scene.

Shutter speed controls the available light
Aperture is the flash
ISO stays the same

If you change the ISO you have to change the aperture (because this is fixed pulse from the strobe).
By changing the shutter speed you can let in more or less ambient/available light.
This way you can make a background outside darker (faster shutter speed) or lighter (slower shutter speed) while the exposure on your model (the flash) stays the same. Do remember this is of course with manual flash with ETTL this works slightly differently.

Also remember that there is a point where the ambient/available light can actually over power the strobe, especially outside when working with fill-in flash this can happen quite easily, that’s why I always advise to setup your strobes on full power first and lower the output by counting (if your system has 1/10th or 1/3rd digital settings and is reliable). If you change the shutter speed you have to remember that if you double or halve the shutter speed this is ONE full f-stop so if you know your aperture and the combination of ambient and flash you actually can very quickly calculate when the ambient is higher that the flash. If for example the setup is f11 on the model on 1/125 and you overpower the ambient with 2 stops, you know that when you shoot on f11 1/60 you are now overpowering the ambient with just 1 stop.

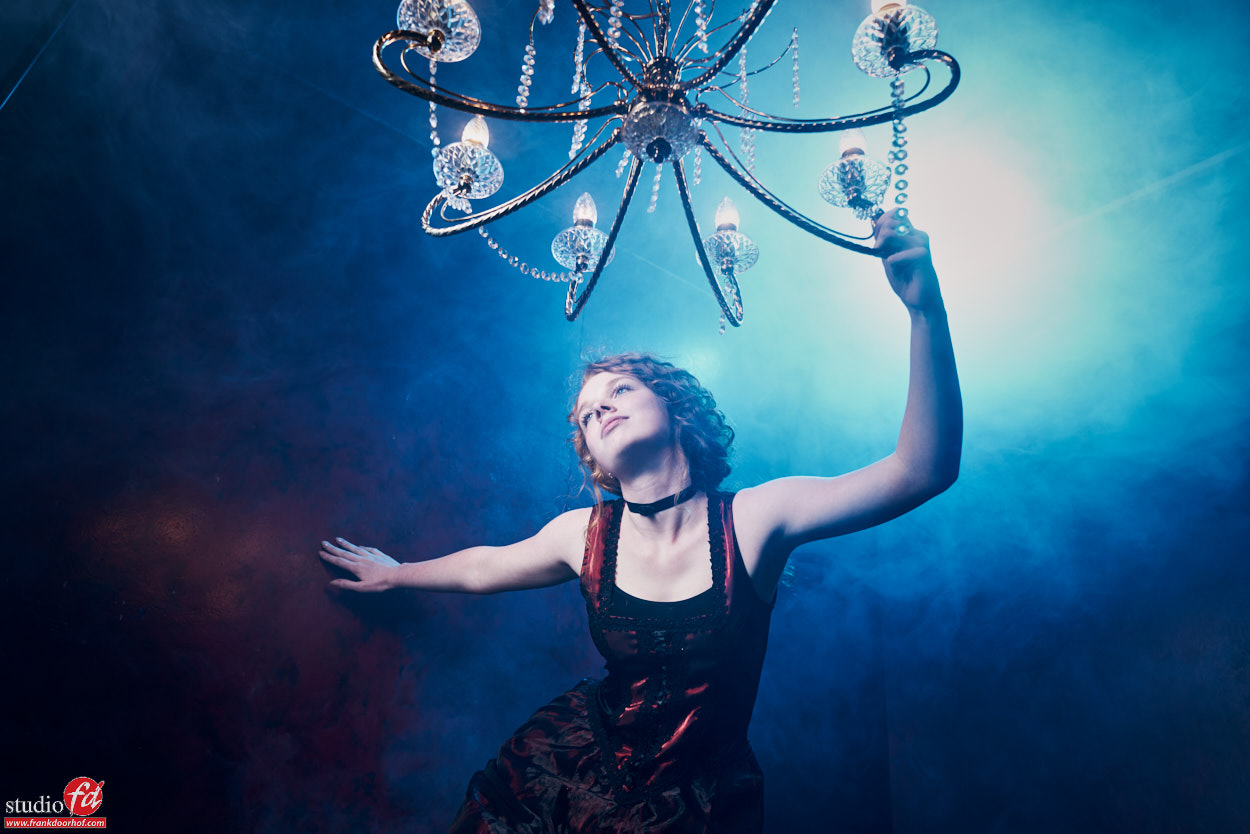
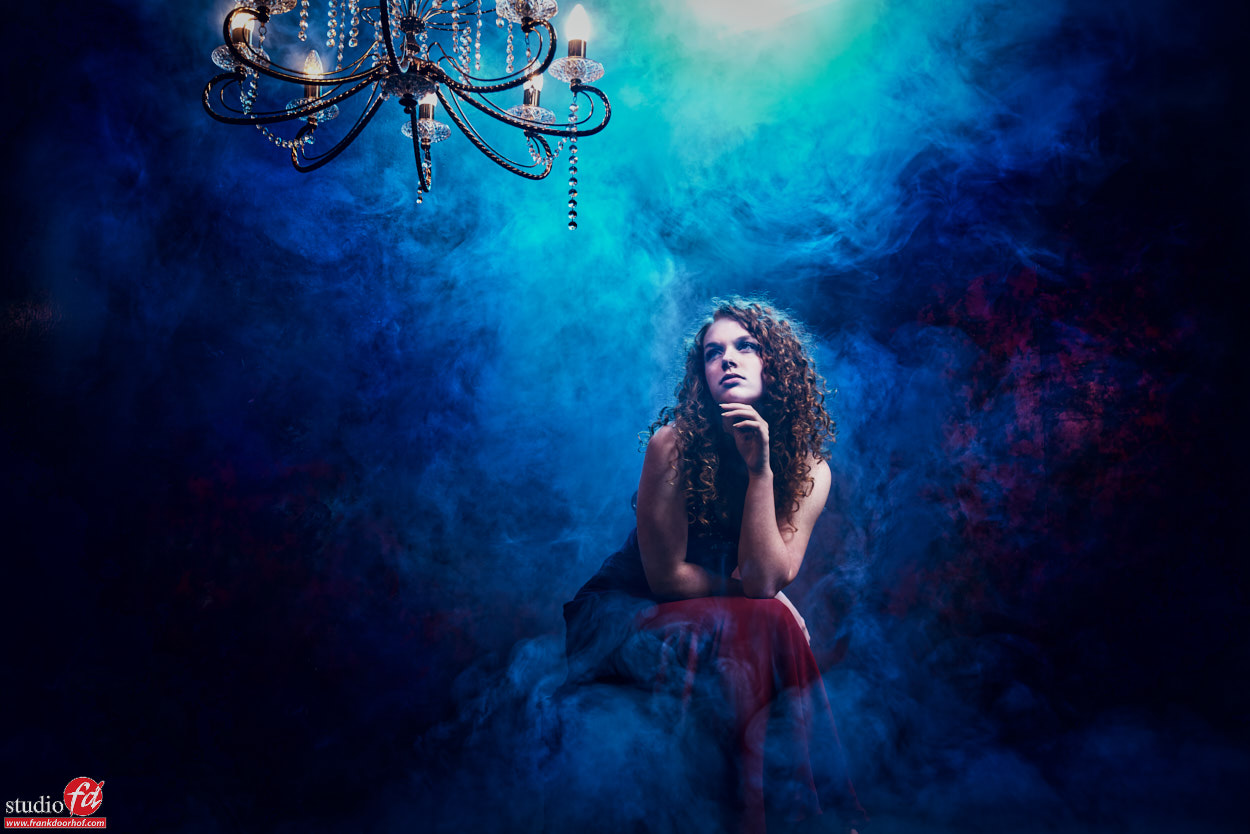
This comes in very handy when you start adding constant lighting to your scene like in these examples.
You can actually (to a certain level) control how much the lightbulbs emit, or how far they blow out.
I love using the Elinchrom ELCs for this because they can go down REALLY low in power, and that’s awesome for mixing them with this kind of light.

For this setup we used one strobe on the model and one blue gelled strobe on the back for the smoke effect. The chandelier was powered by 230V 😀

Mixing light sources can be incredibly fun but also a bit difficult at first. Also take into account that some light sources have a different color temperature (to be exact EVERY light source has a different color temperature, that’s why we use the X-Rite color checkers), you can solve this by gelling the strobes, or…. just leave it and play with it like I did in these shots, I love the cool hues you can get this way.

As a rule of thumb:
Outside light : no correction
Tungsten : Amber colored gels
Fluorescent : Green colored gels

Or find the proper CTO gels, you can of course also stack gels, I always advise to by them not to heavy and get two, this way you can stack them together if necessary.

Model : Danique
Dresses (black) by Sinister
Danique June 17 2016 2441

Danique June 17 2016 3408

Tip : The most simple location can be awesome

Often I hear photographers complain about the lack of great locations…
I always tell them “the best locations are in your head, and often right in front of you”.
Somehow it sometimes seems that if there isn’t a great location the creativity is gone, or is it just that……

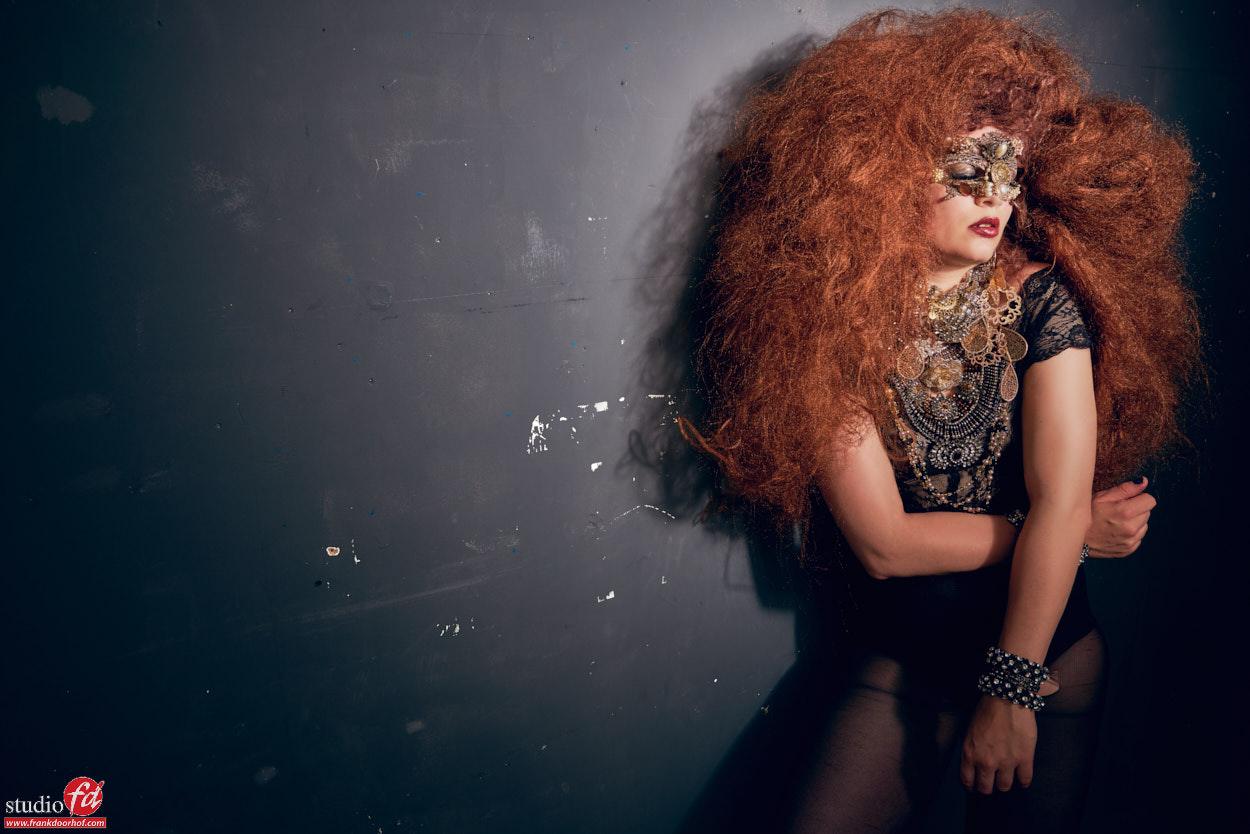
In my opinion every location is great to photograph, but I often do look for certain extras like contrast, grunge (rough) and color, OR the lack of it. The more rough the better in all honesty, on the other hand something really static and modern can also be awesome, as you can see there is always something if you WANT to see it.

As I joke I sometimes say “put on your photographers eyes and hunt, don’t look for opportunities but try to find uses for what you see” this is a different mindset but often helps a lot.

Now if you add a little bit of styling to it (or a lot like in this case) you’re on the way to a great shot.
These shots were done during a workshop in Manchester with Nadine, a very simple light setup with one Elinchrom beauty dish with grid straight at Nadine. The wall didn’t look like much but I loved it, and seeing the responses from the attendees as soon as the images came in… they did too.

Nadine June 8th 2016 Manchester  0285

Nadine June 8th 2016 Manchester  0289

Tip : should I actually see the eyes?

When you work with a model you often hear…. “it’s all in the eyes”
And although I often agree with this I also strongly believe that sometimes a pose can be SO much more powerful when you don’t see they eyes, in fact think about so many horror, SF movies or comics when you cover up someones eyes the attention of the viewer immediately goes to the pose and the expression/gesture in that pose.

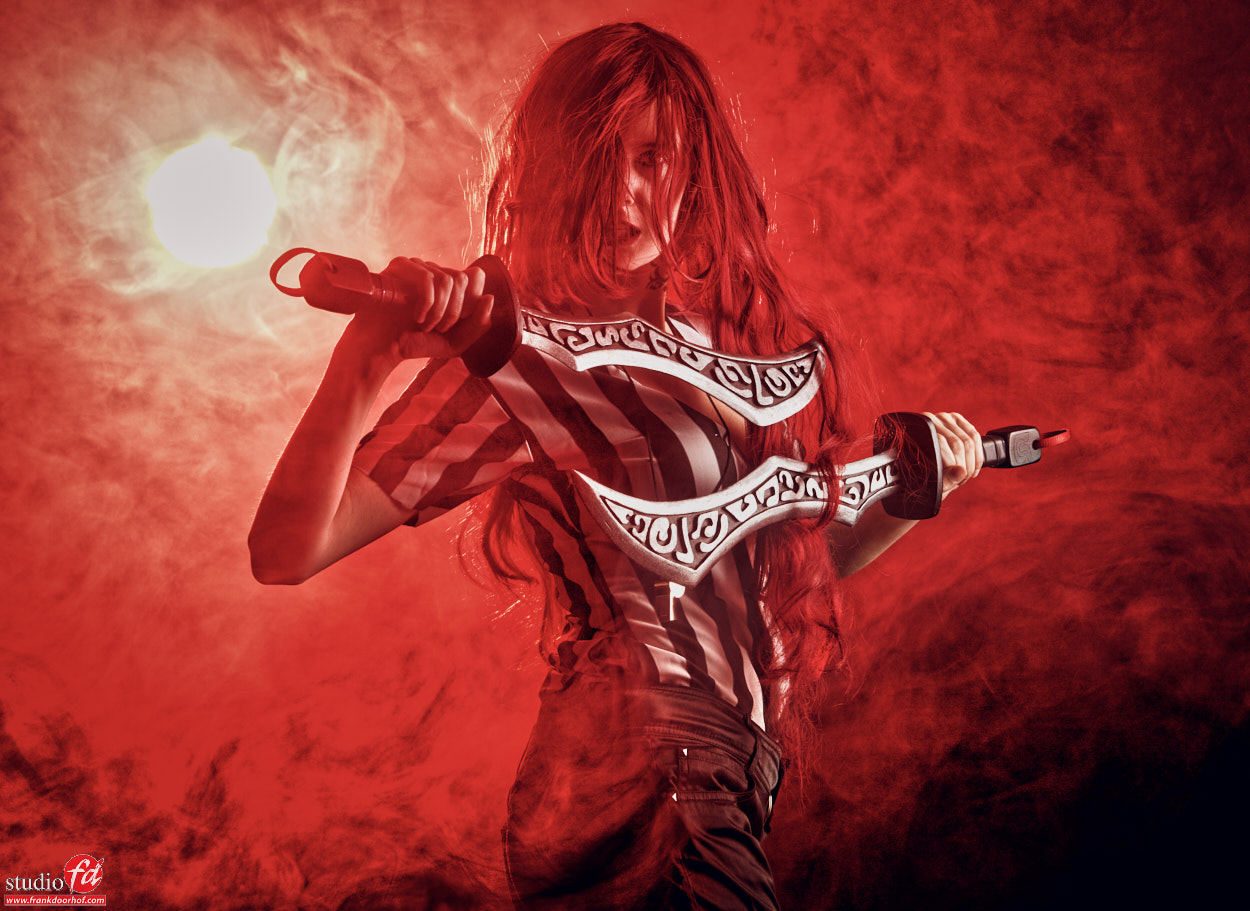
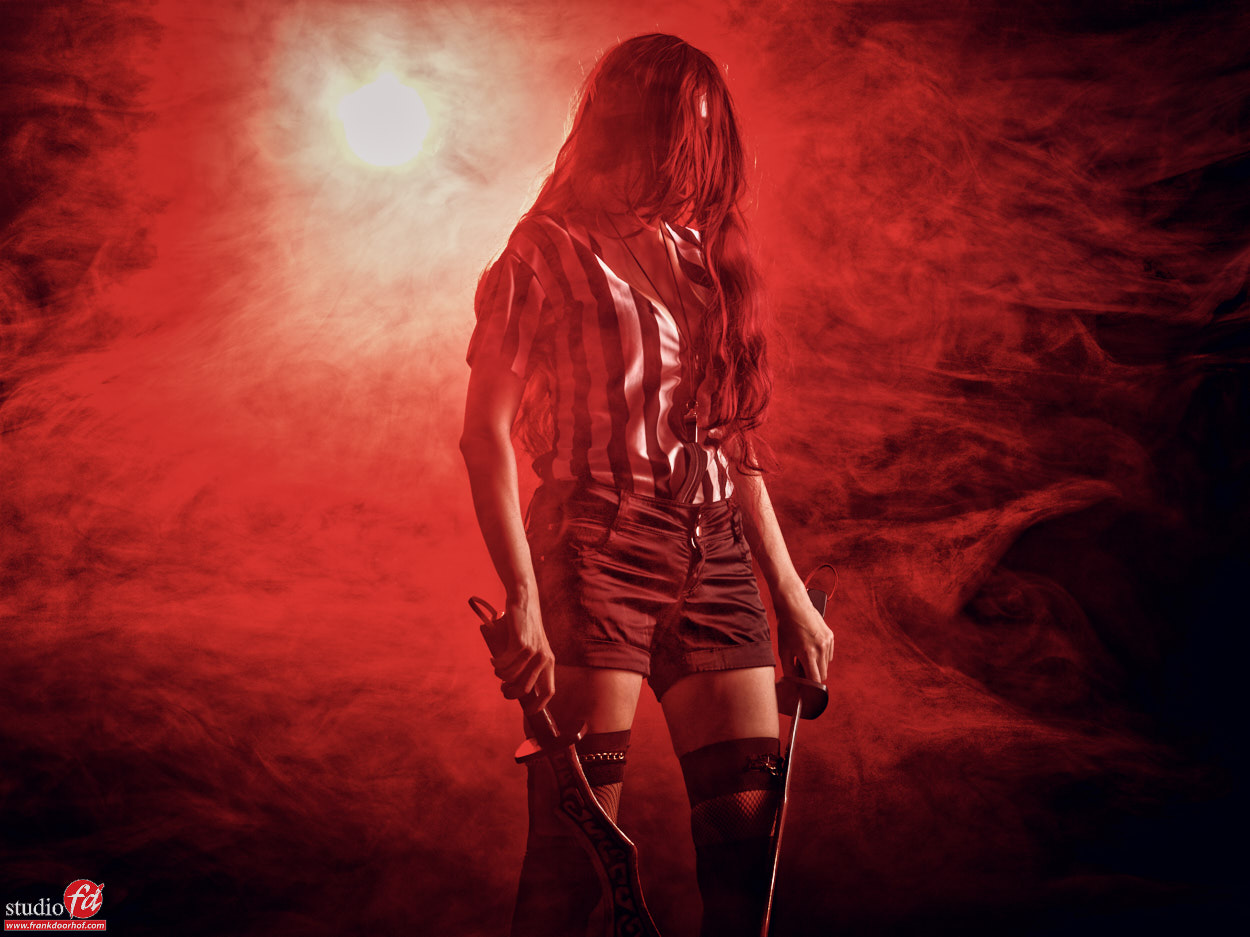
Take for example these shots I did during a recent Cosplay shoot, as you can see you hardly see the eyes in two of these shots, and to be honest the less I see the eyes the more powerful the shot becomes…. of course I shot it with the intend to let the pose do the “talking” but when you have a model that can show a very powerful pose it’s often much cooler and more threatening/moody to just leave the eyes out.

In the first shot I went for the motion and action.
The second shot only shows a “hint” of the eyes and with the third one it’s all about the pose.
So the next shoot you do… try to do something with(out) the eyes 😀

Cosplay May 29  2016 32612

Cosplay May 29  2016 32617