Tag Archive for: technique

How to shoot a model that’s lying down

This must be one of the most asked questions during workshops and especially the glamour workshops.
“How to shoot a model that’s lying down on the floor?”


Now at first this might seem simple.
Just lay her on the floor (watch out where you walk) and shoot her.
But in reality it’s often not that easy, for example what to do with the light, what to do with the background, what to do with her legs, pose, eyes etc. there are actually many things that can go wrong (including tripping over her).


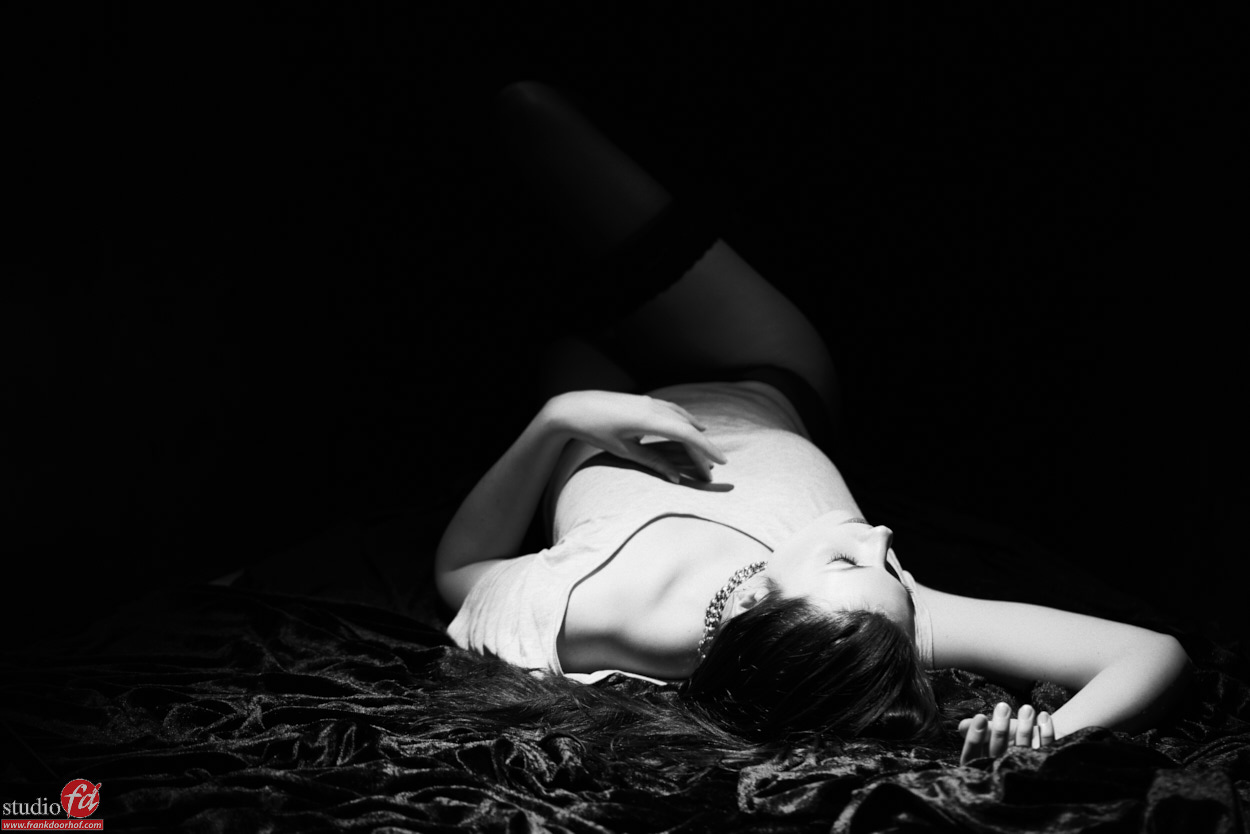
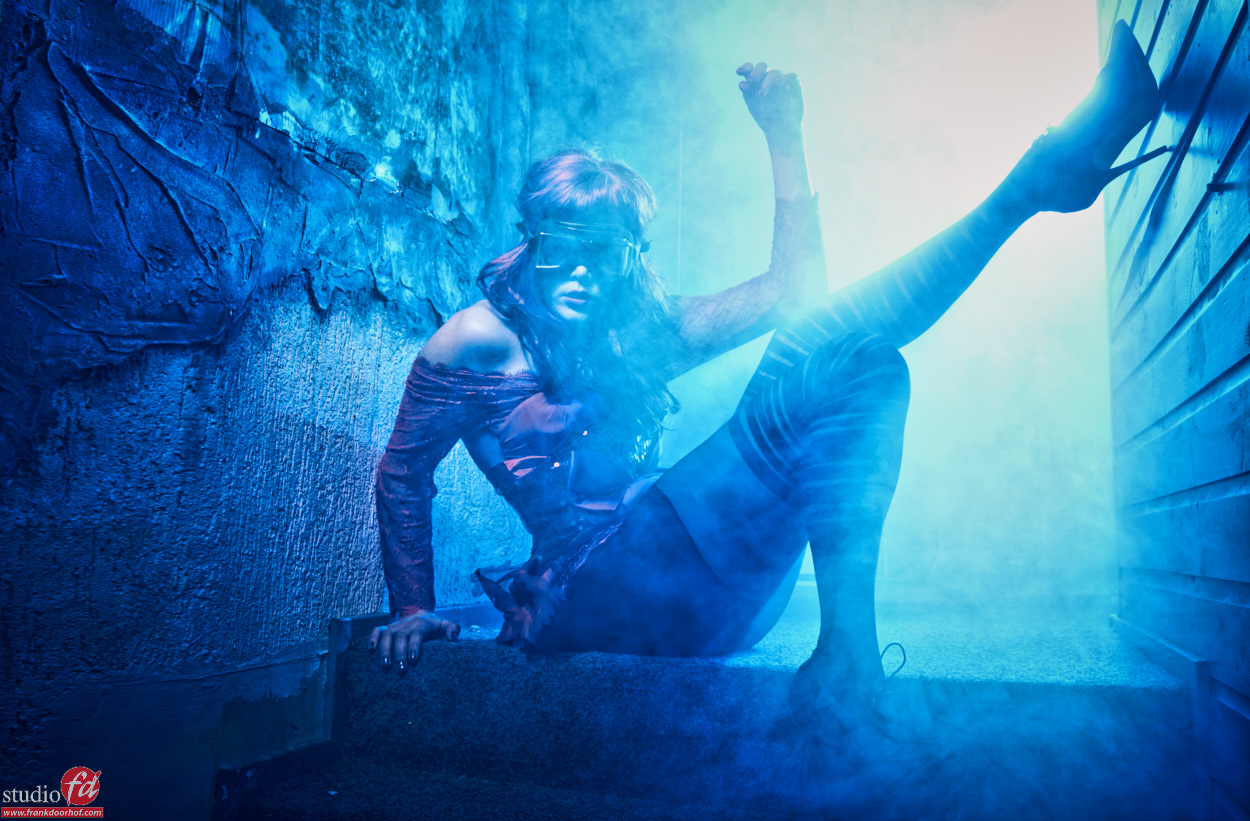
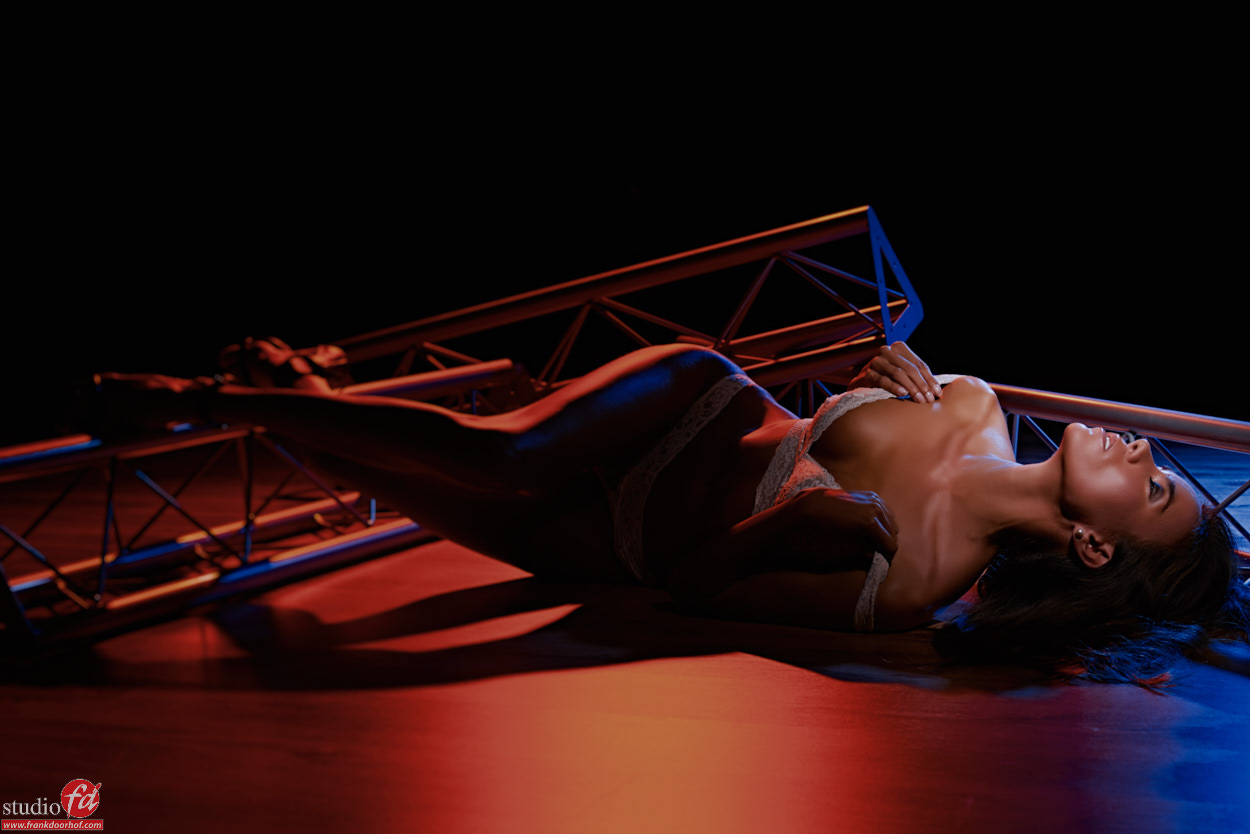
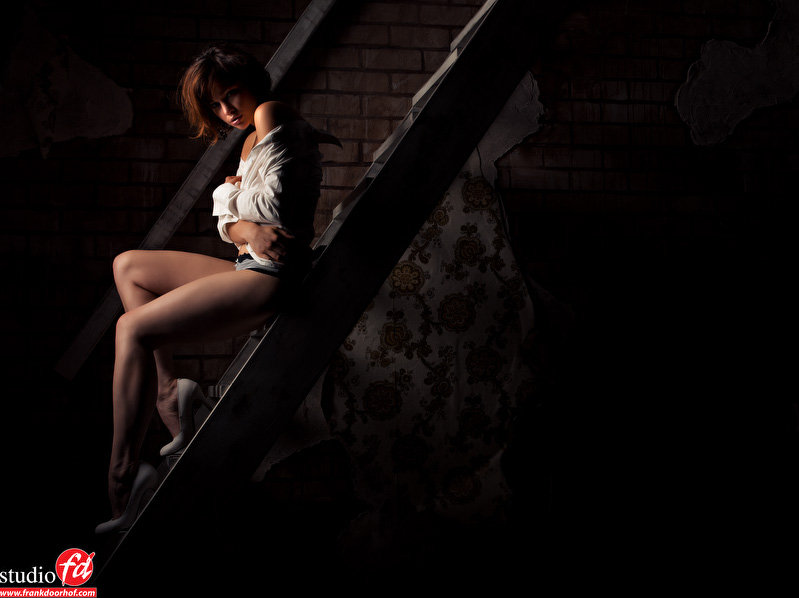
In this shot we used a speed light to light the model from above.
As a modifier I used the Rogue grid which is awesome to really pin point the light to our model Ingrid.
One of the things I love to do with these kind of shots is make the light fall off, this also immediately takes care of the background which in most cases in studio work is not that interesting. Make sure the background is dark (no shiny objects like stands in the back) and just change the grid (or the distance of the strobe) so that the light fall off is nice and covers her face and just a bit of her lower legs in the pose you like.


Remember that you narrow the beam of your light with :
The distance of the strobe relative to the model (further away will make the beam wider)
The thickness of the grid (the thicker the grid the narrower the beam)


Now the light fall off you can determine two ways.
1. the hard way and long way.
Just shoot, and look, change, shoot, and look, change etc.


2. the easy way and looks pretty darn professional (meaning it looks like you actually know what you’re doing).
Use a a light meter and make sure the difference in light between the face and the part you still want SOME details in is app 4 stops apart, meaning if the face meters f11 the fall off should meter app f2.8. However in most cases we shoot this kind of stuff on f2.8 to get a really nice shallow depth of field (later more on this) so to make metering a bit more easy you can cheat a bit by setting your light meter to meter on ISO1600 while you shoot on ISO100 this way the meter will not show you the dreaded EU reading (Extreme Underexposed… yeah I know it means something different).


So as soon as we have the light fall off correct it’s important to talk about lenses.
We want a shallow depth of field so this often means we are shooting this kind of shots with a LONG lens, anything about 100mm works fine, but a 200mm will give you a really narrow depth of field but makes focussing very tricky.
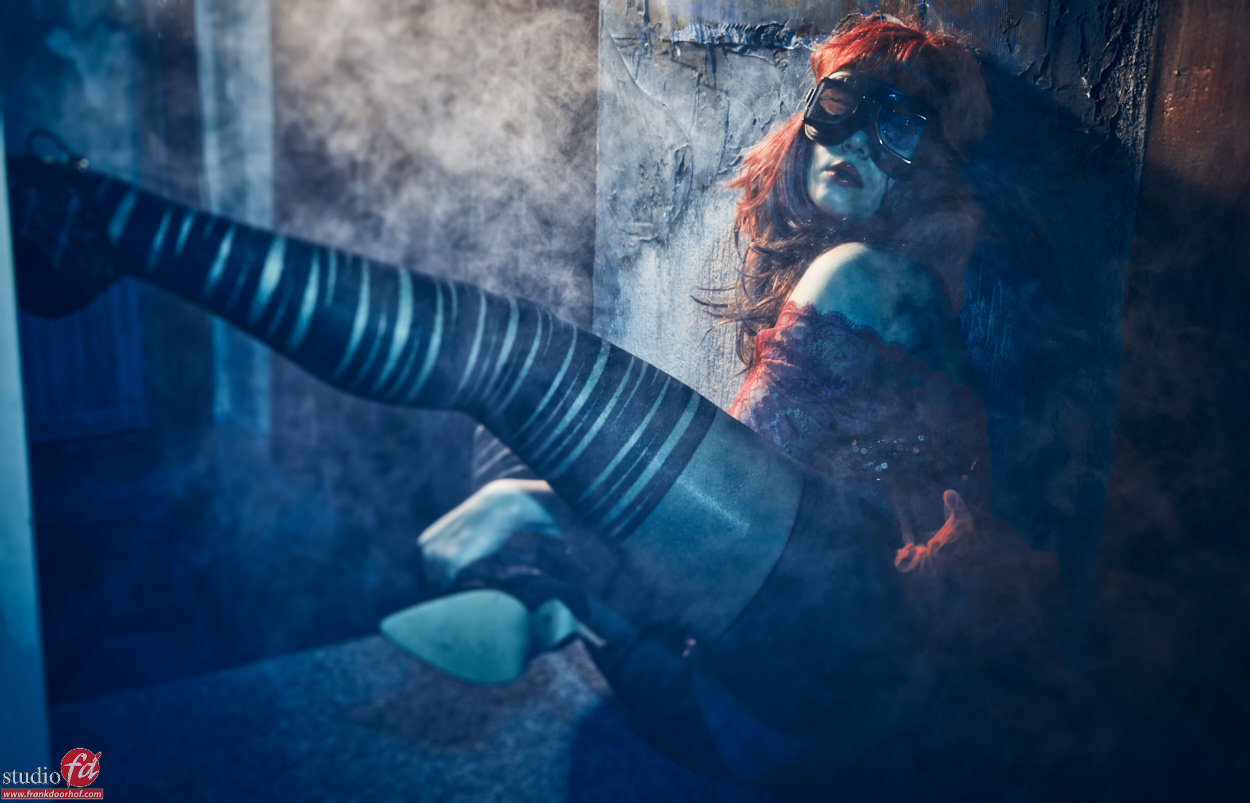
As soon as we have the lens sorted, it’s now about angle.
So where do we sit, stand or ……
In my opinion the best angle depends on the model, the pose and personal taste, but I love to shoot from an angle where I actually sit on the floor or on the lowest possible position of my studio stool (which is pretty low). But this REALLY depends on your taste and the pose you choose.


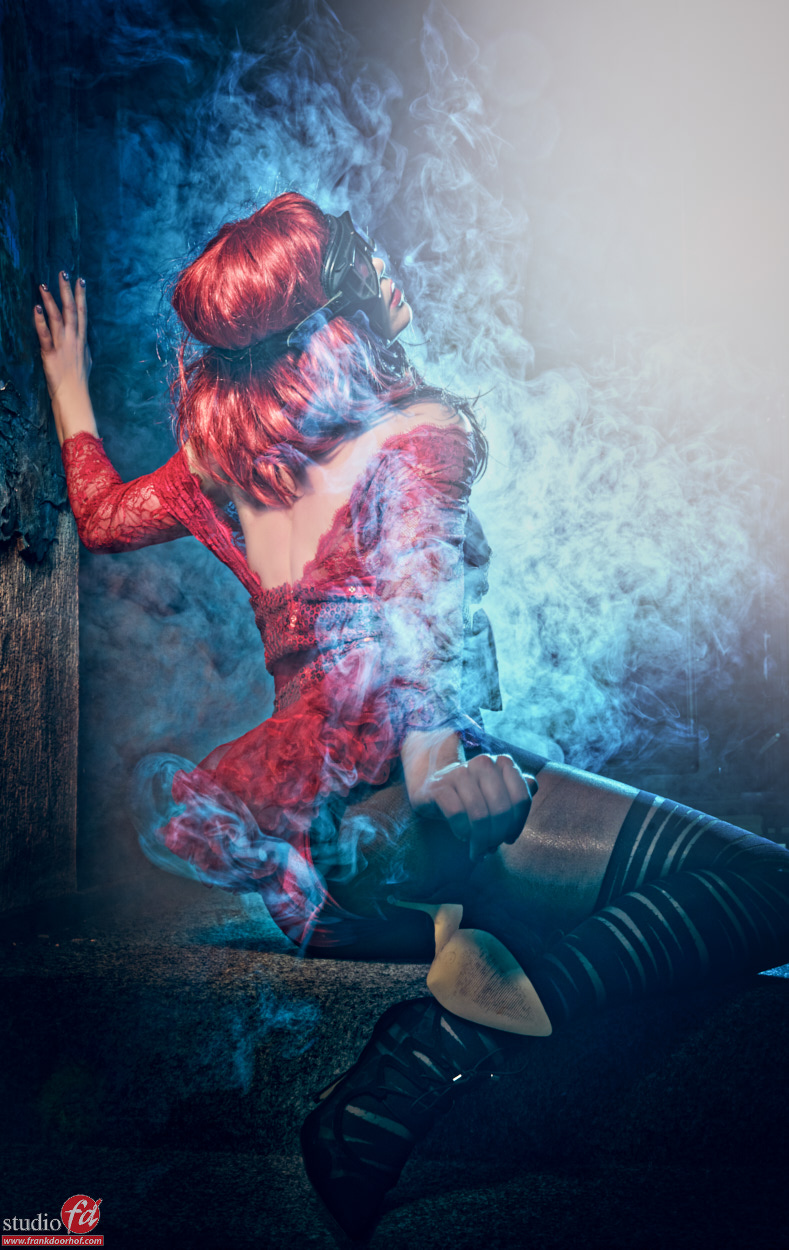
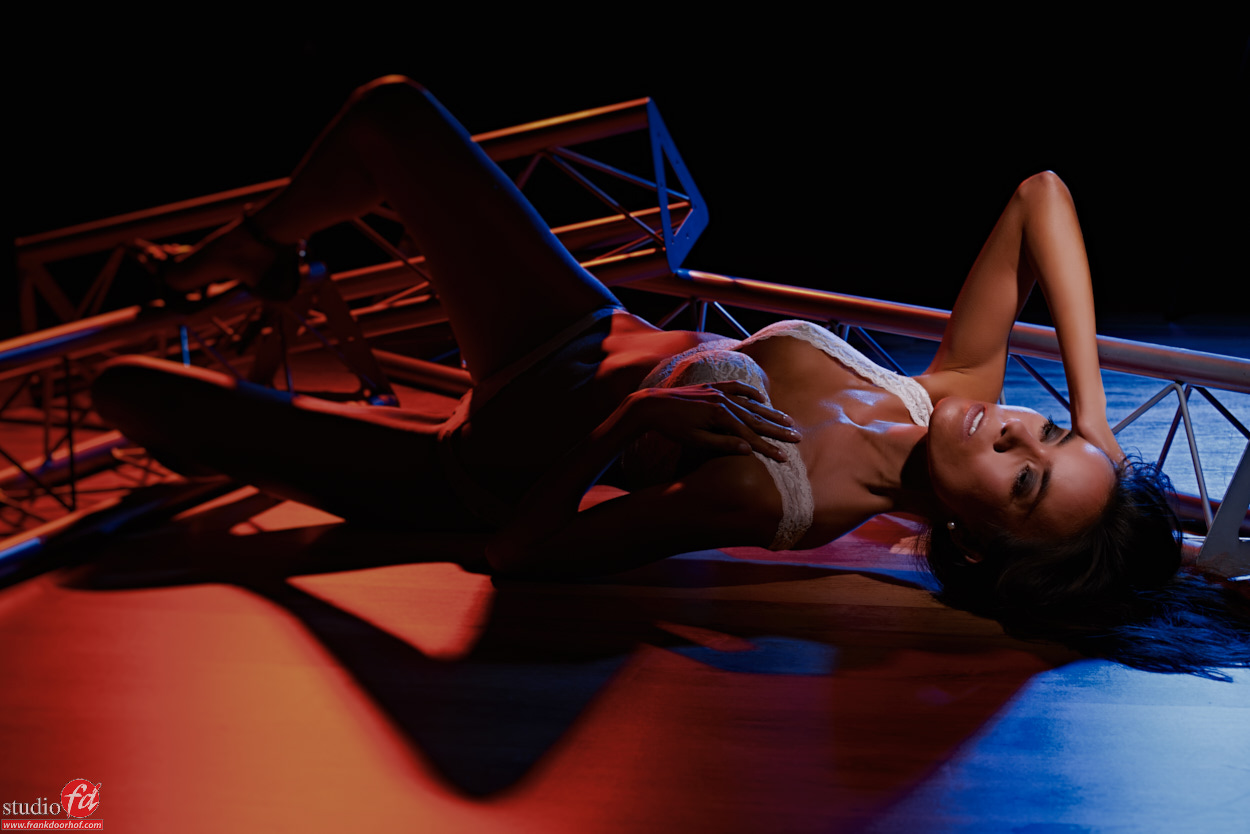
So now it’s about pose.
In my case I always like to see the legs a bit more up, model is lying on her back looking towards the light slightly (to get a nice nose shadow) or totally away from it (more mysterious) and I most of the time will start with one leg at a 45 degree angle and one just playing around it, not on the floor, not at 45 degree but just “puzzle” a bit, this is very personal and often the most difficult part. One final tip on this is to count down and make the model put tension on her body on the moment you click.


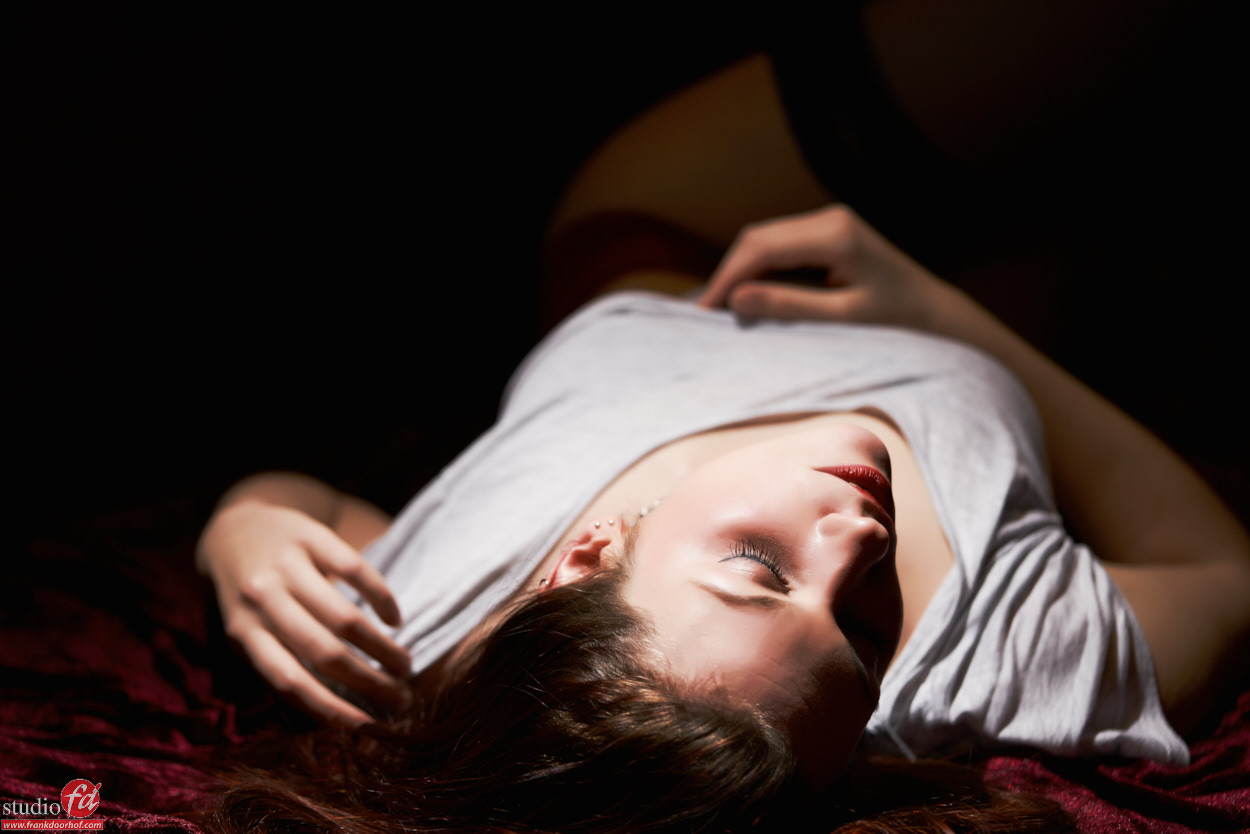
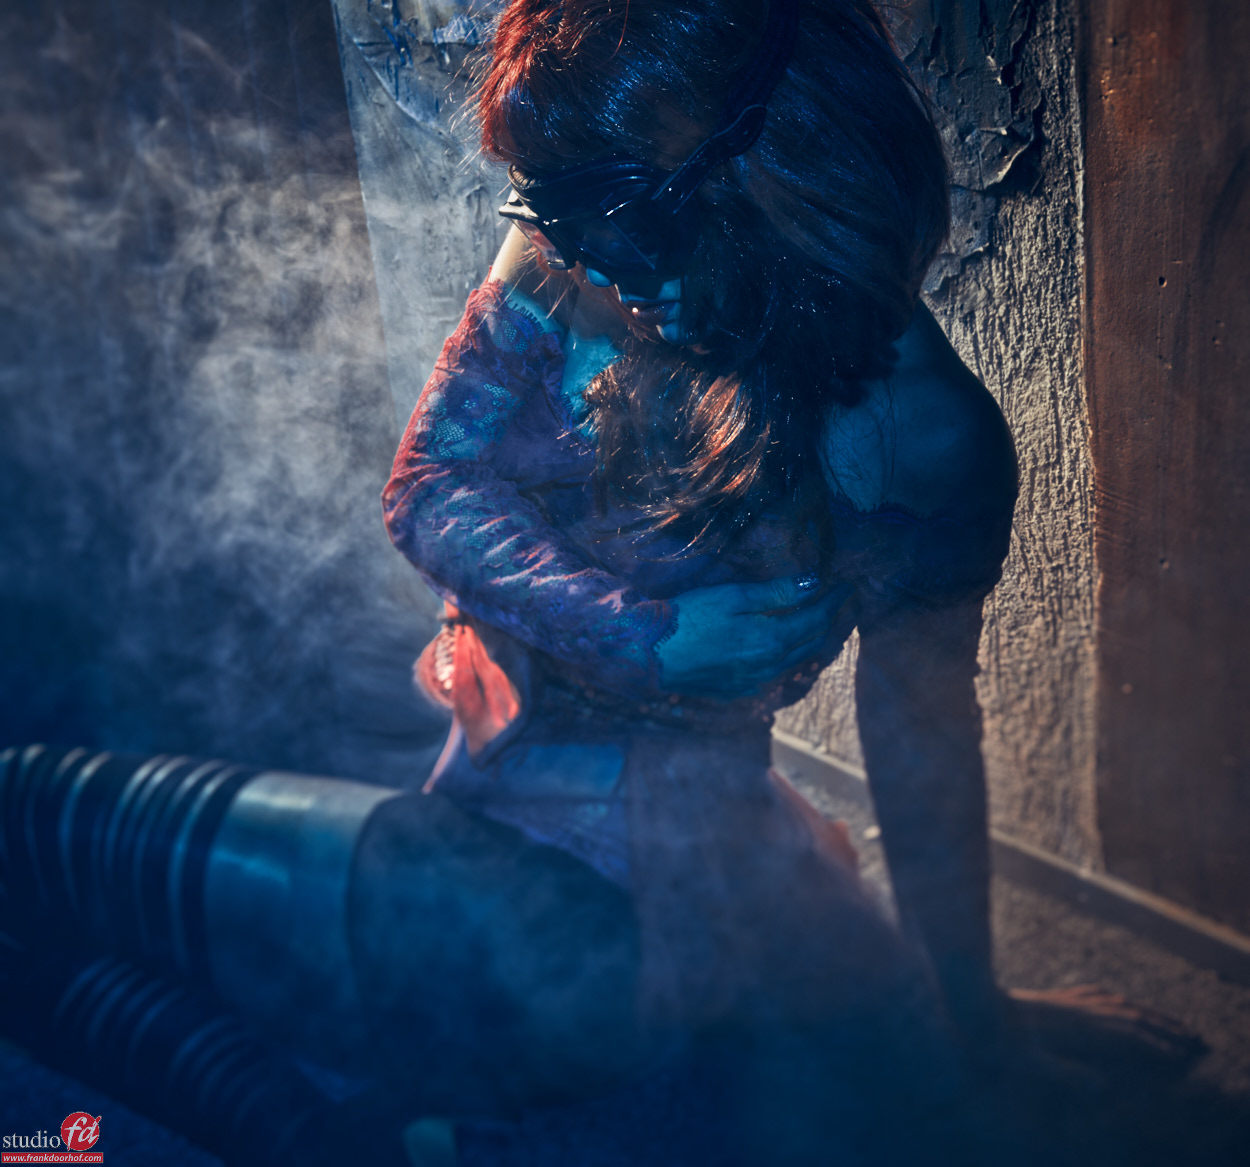
What about the eyes?
Good question…
In some cases it can be downright CREEPY if she keeps her eyes open, so in that case close them… yep it’s as easy as that, it’s not rocket science. If you want a bit more “sexy” close the eyes and let her hands just slightly move around her neck area but beware that you don’t go to far with this because a nice and relative sexy shot can VERY quickly become a very erotic shot which might not be what you’re after. Also make sure you focus on the CLOSEST eye.


So the next time you shoot a model lying on the floor I hope these tips help out.
Make sure to show your results at our facebook group with the name “Mastering the model shoot” and check out my book with the same name for much more information on photographing model, or get one of our instructional videos from the site.


Ingrid January 7 2016 0021 BW

Ingrid January 7 2016 0059

Small spaces are limiting? … nah

One of the most heard excuses is “my space is too small for a good shot”.
Well you might not be able to shoot a model in front of a white seamless, or fit in a whole family, or make a model jump (although that could be funny… for the photographer, not the model,….. nah don’t do it), but in essence EVERY location has potential as long as you use it to the max.


In this case we used a small staircase that is located at the back end of our studio and leads up to the “stage”. Our building is actually and old “church” and this was where the preacher was standing, it’s a tight space but for me it’s always fun to shoot there.


As you can see in the following shots I used some smoke to give the scene a bit more of an edge, but I also used my lighting to the max by moving around my model. Now always remember that smoke acts as both a diffuser and reflector so the more smoke you get… well let me put it this way, it’s always different. Also remember that as soon as the smoke gets in between the model and the front light source “all bets are off” smoke will start to act as a reflector and it will be one big white out.


We used one Elinchrom beauty dish with grid from the front and one gridded (and later open) reflector from the back with a blue gel.
Styling and model : Nadine

Nadine Januari 2 2016 0811

Nadine Januari 2 2016 0846

Nadine Januari 2 2016 0848

Nadine Januari 2 2016 0851

For the next one I left in a bit more red.

Nadine Januari 2 2016 0817

But you don’t always have to use the same pose of course…..
Why not shoot one from the back for example.

Nadine Januari 2 2016 0867

And while you’re at it. Why not move around your model and get a completely different look?

Nadine Januari 2 2016 0894

Nadine Januari 2 2016 0900

As you can see with the same light setup and the same very tight space you can create something really cool… just think outside the box… or in these kind of cases probably inside the box 😀


Good luck.

Tip on using colored lights

You have probably seen them in kits… color gels.
Most used are the so called CTO gels which can be used to correct colorcasts for example when mixing strobes and tungsten. However there are also the “special effects” gels, for example bright red, green and blue (and many others).


Now when I started out using these some years ago I used them on my black background to give it some color and this is probably how most use them. Later I used them (a lot) when working with smoke for that real “live concert” feeling. However they can also give some great results when you use them as accent lights, which we did during the last glamour workshop of 2015 with Jade.


Today some of the results and some more tips.

Jade December 18 2015 0139

Jade December 18 2015 0406

As you can see I did not just use them as accent lights but also to light the floor.
The main light in these shots is an Elinchrom snoot aimed at the face of the model and the rest of the lighting is all from the colored spots from the back (gridded reflector with gels).


If you start doing this, make sure to not overpower your strobes because in that case the nice tints will be replaced by blowout white areas and only sides with the original color, you can better feather the light slightly away from the model and use the light that way, the benefits from this technique is that you can actually get some funky lens flare if you want but most of all the light fall off is much smoother on the wall, ceiling, model or floor.


If you like these kind of tips make sure to check out my book “Mastering the model shoot” or one of our instructional videos (you can order them from the menu on the left).

Tip on using your area

This time a small tip on the use of… a staircase.

When we got our studio there was this huge staircase in the middle of the studio so that had to go, for months we didn’t have any other option to reach the upper floor than by using a fold-up stair which was ok because the upper floor wasn’t used except for storage and I didn’t want to waste any floorspace by adding another staircase.


When our business expanded (this was before the new studio) we really needed to start using that upper floor and there had to be a staircase, so we planned one in the back of the studio, very steep and as small as possible, because this would be ugly and a waste of space right….?


In the end however we used that staircase more than almost any other set in the studio, when you think about it there are so many ways to incorporate a staircase in your set, and in the end we even made a whole set around the staircase.


This is the problem with most photographers I speak too, we sometimes just don’t see the options right in front of us due to a certain mindset, I didn’t want the staircase so the staircase was bad…. however when it was there I started to see the opportunities and used it a lot you might even say that if I knew that before I would have build it differently.


Anyway, the tip for today is very simple.
Try to look at everything with “photographers-eyes” try to see opportunities for shoots and don’t think “that’s never gonna work” somehow when you think that…. well it indeed will never work.


In essence I think there is no space where it’s impossible to create some “magic”. Although some are harder or let me put it this way.. easier 😀
Good luck and show me the images you shot in places where you thought “this will never work”.


For much more in depth tips and techniques check out my book “Mastering the modelshoot” or our instructional videos which you can find on this site under the video downloads.

Lenaa W 18 October 2012 -327-Edit


Frank Doorhof 2

Nadine 6 Juli 2012 C60 - 0086


floor 30 September 2011 - 10190