New Mastering the model shoot instructional video : OUT NOW !!!!
Today sees the release of the second video in the “Mastering the model shoot” series, Video 2 : On location.
Working on location is one of the most challenging things a photographer can face, but also one of the most exciting and of course it can give you great portfolio results, but there can also go so much wrong.
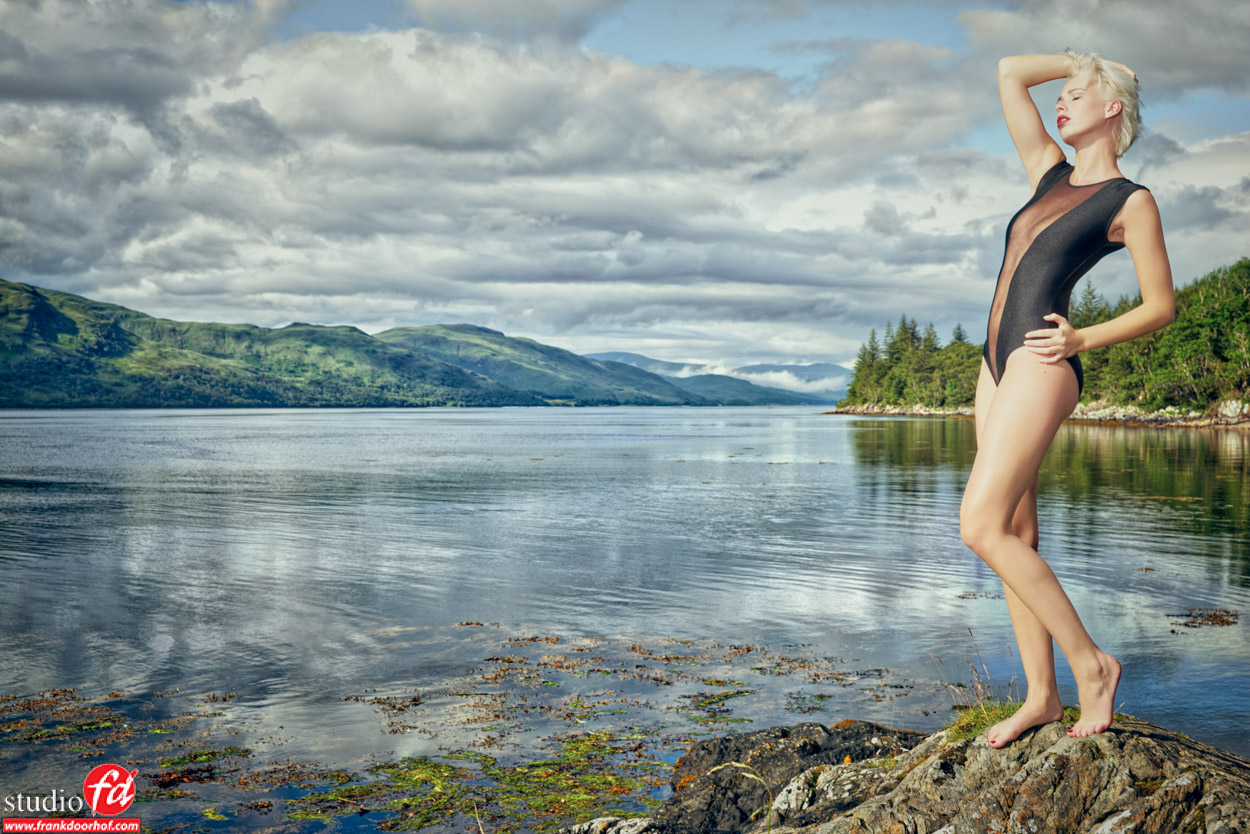
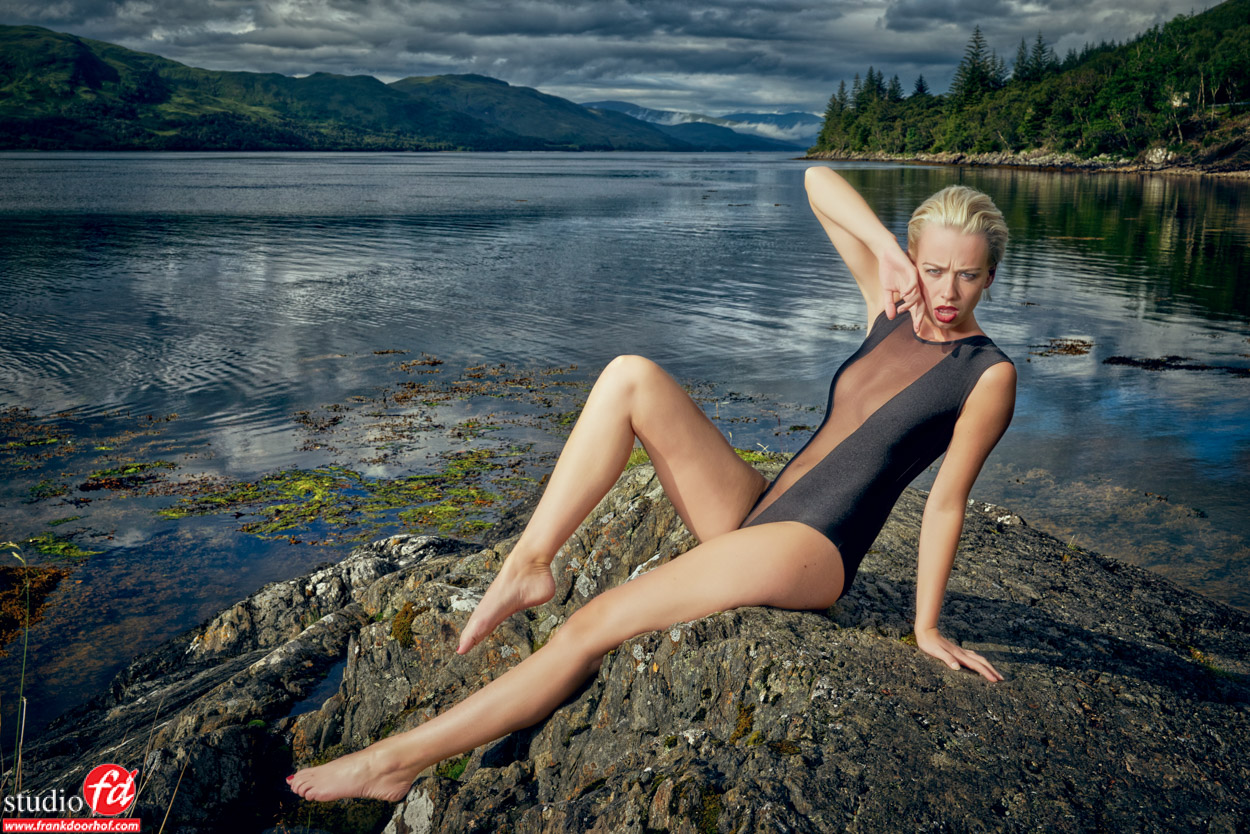
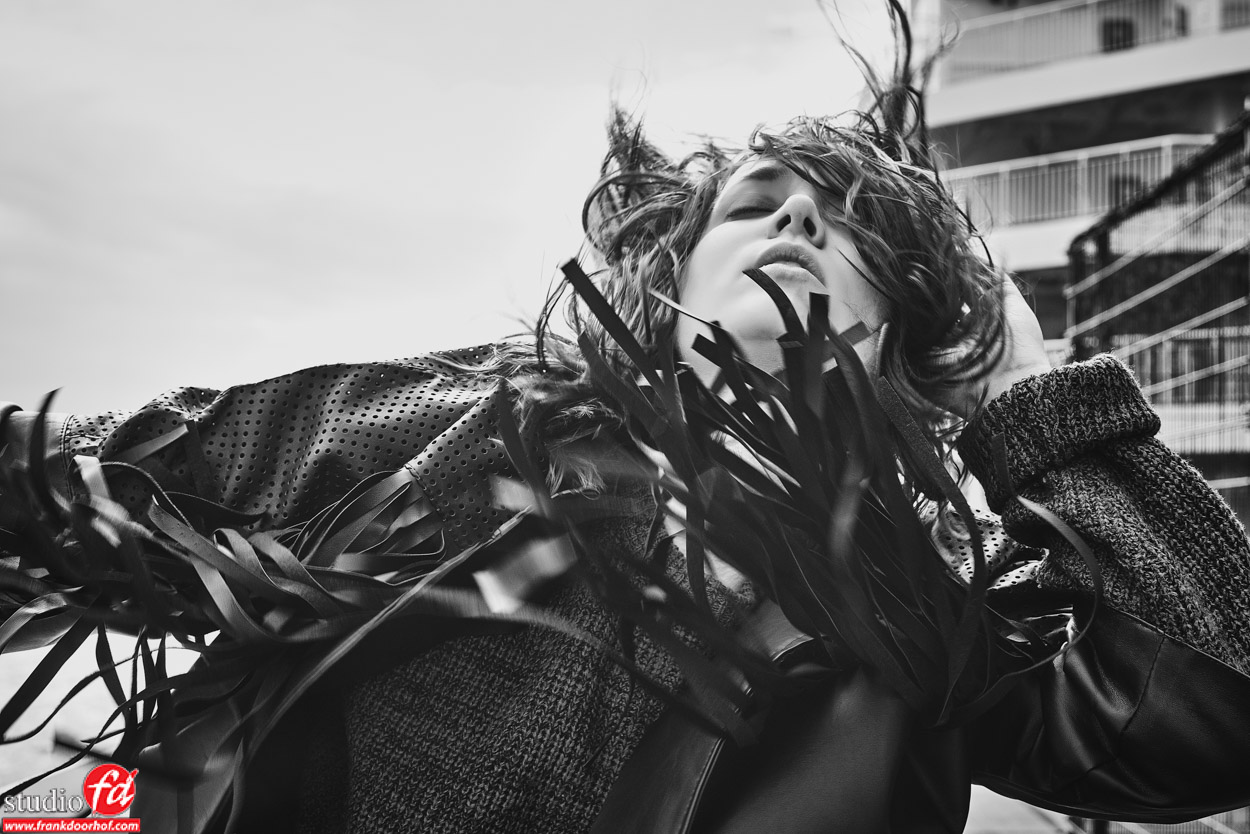
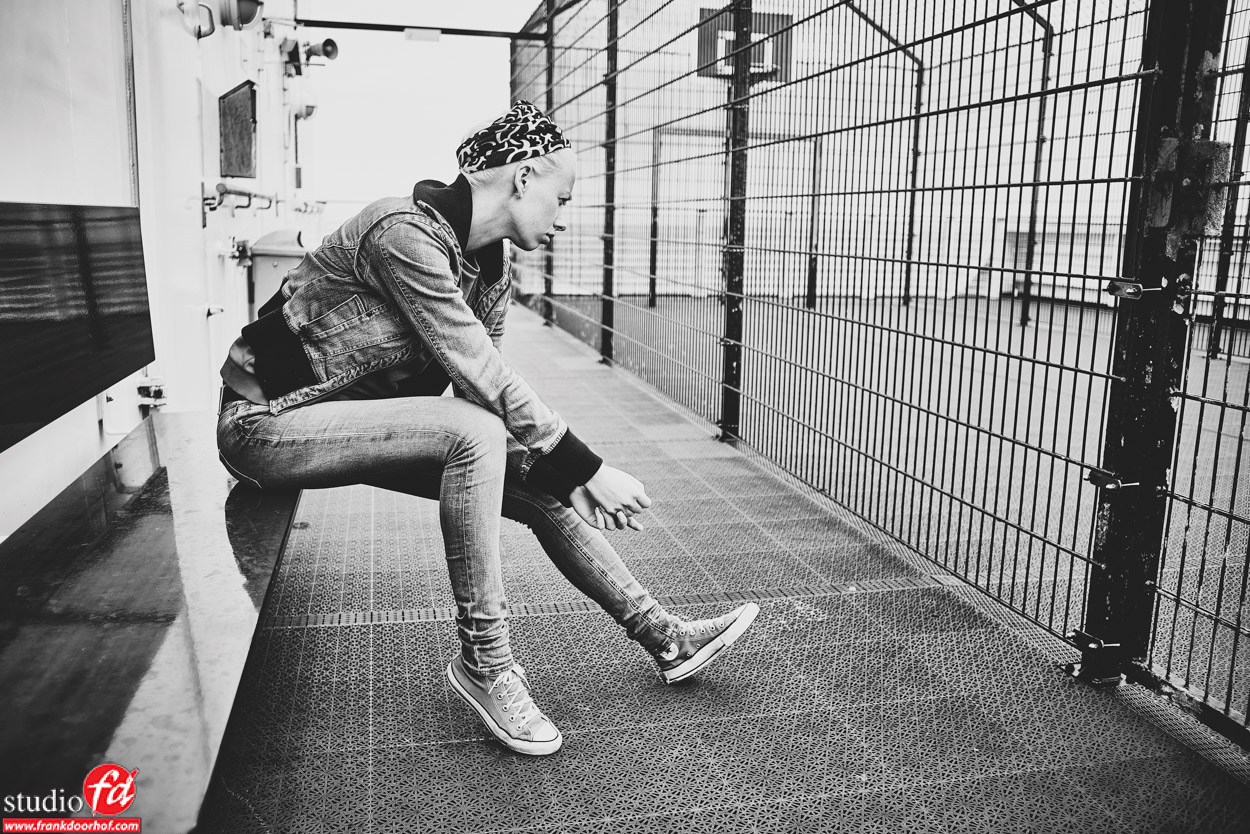
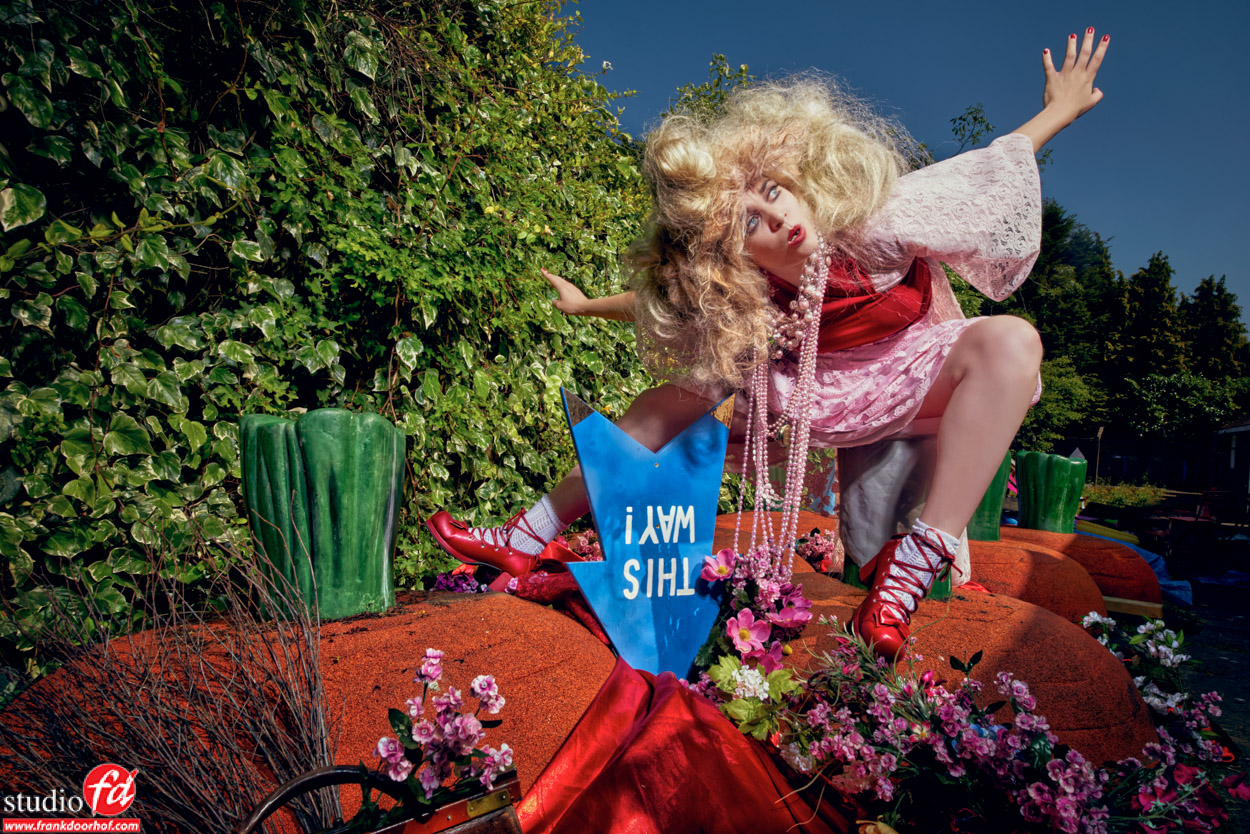
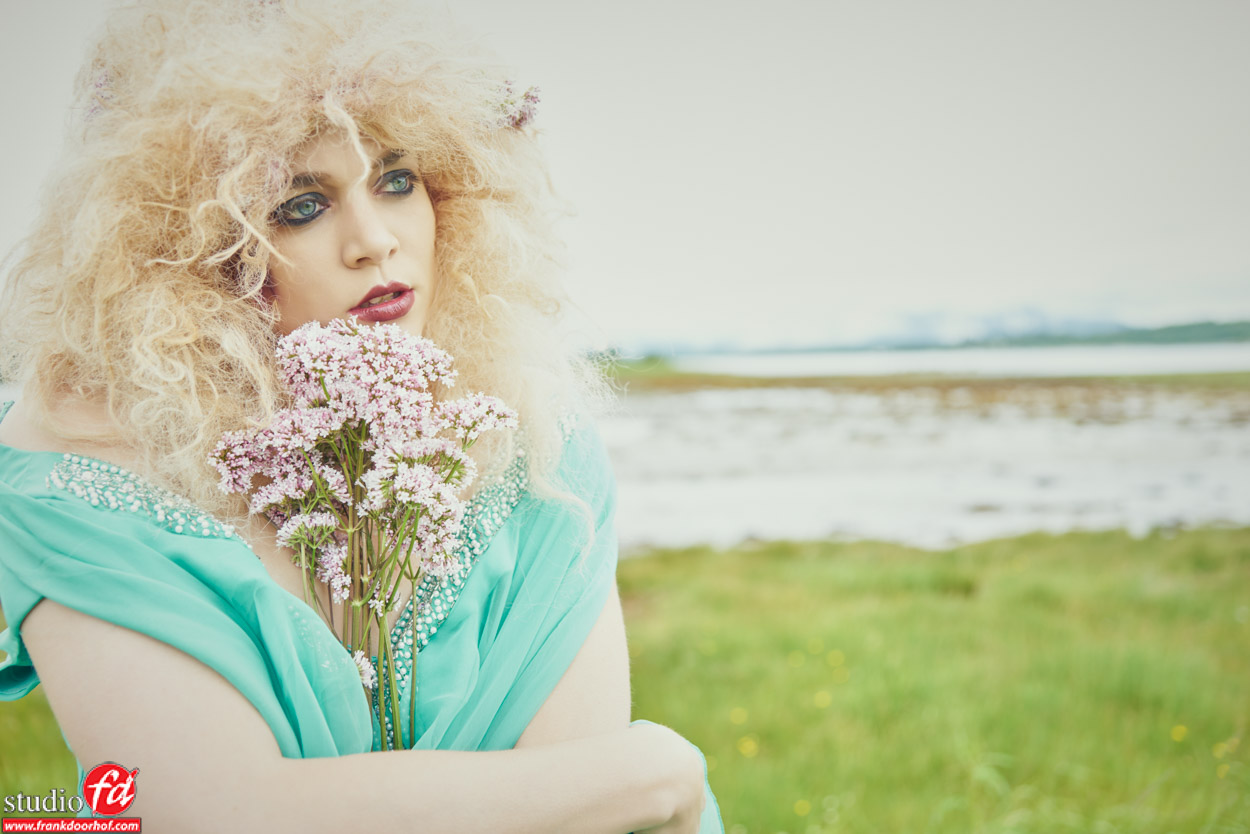
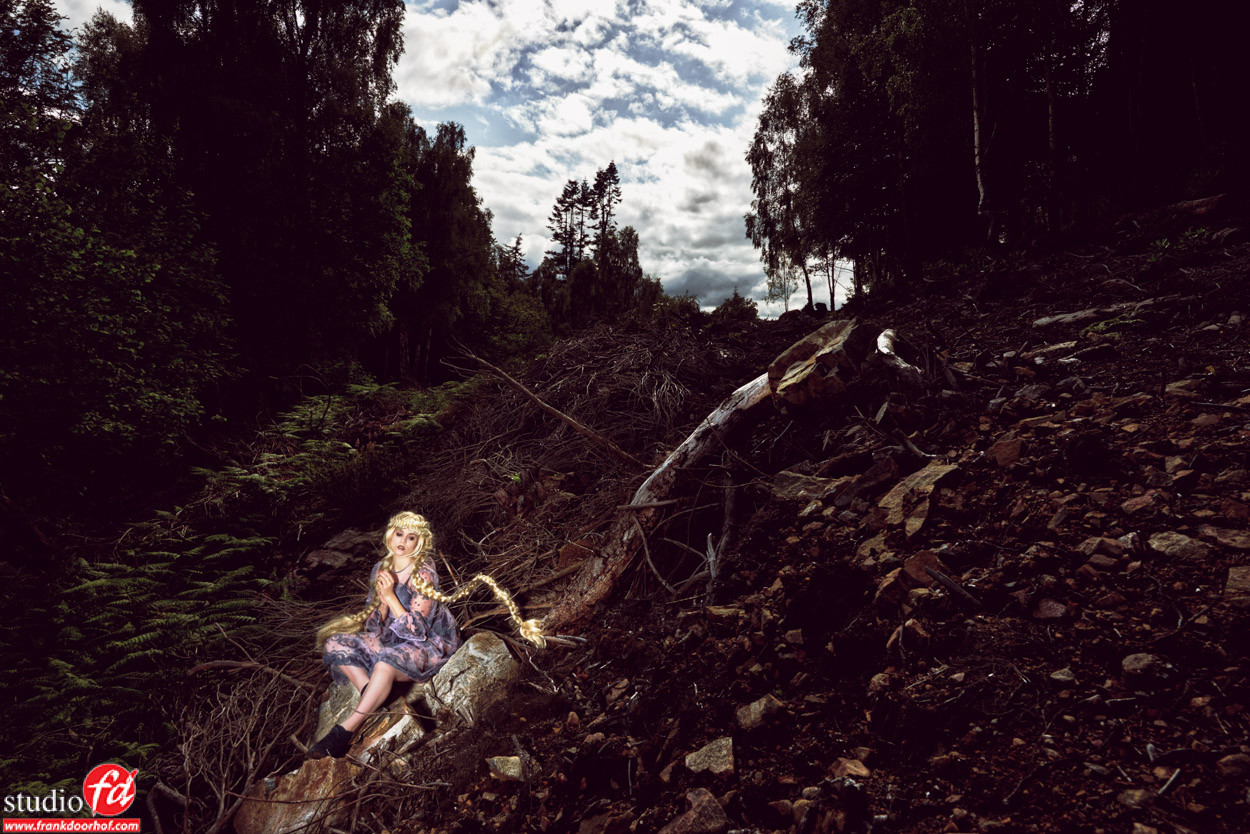
In more than 100 minutes you travel with me, Nadine, Lenaa and of course Annewiek through the UK and Scotland and you see me shooting in different amazing locations and with each locations I share the tips, techniques and the gear to go from ok to WOW.
Topics include :
GEAR
Working with small flash/speedlights, natural light, the Elinchrom Quadra. Old lenses on modern cameras.
TECHNIQUE
Metering the scene and calculating for stunning results on the fly, dragging the shutter, cheating to get out of the 1/125 rule without HSS, modifiers, working with wide angles or longer lenses and why.
COMPOSITION
What to look for in a scene, finding the right angles, changing positions for the perfect light, concessions you sometimes have to do and how to work around them
RETOUCHING
A complete run through of two images of the shoot from start to finish with loads of techniques and tips (I didn’t take the easy ones)
MODELS
Working with the model, coaching, poses, styling, story telling
And MUCH much more….
The video is now available on https://frankdoorhof.com/web/shop-videos-etc/direct-video-downloads/ and is priced at 35.00 euro.
We also created a new section with classic videos where you can download the first series of instructional videos for a very attractive price.
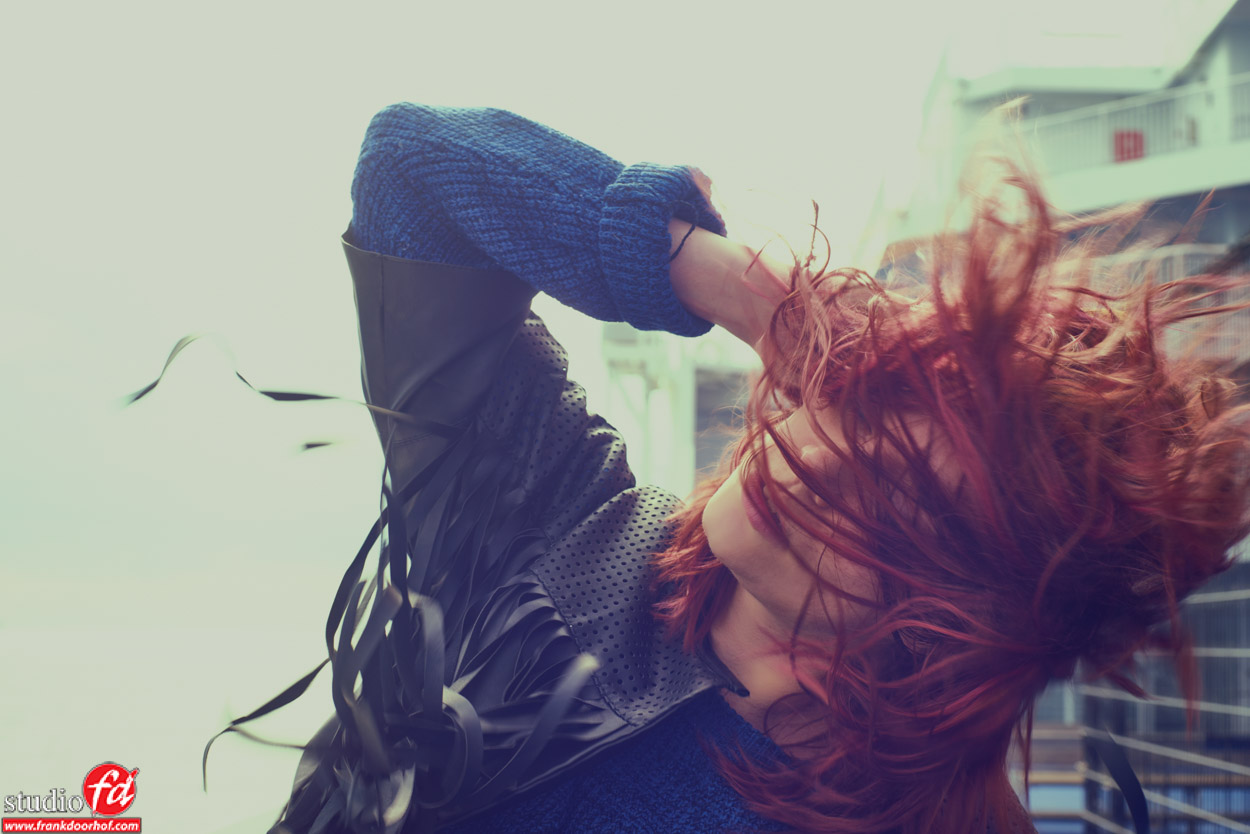
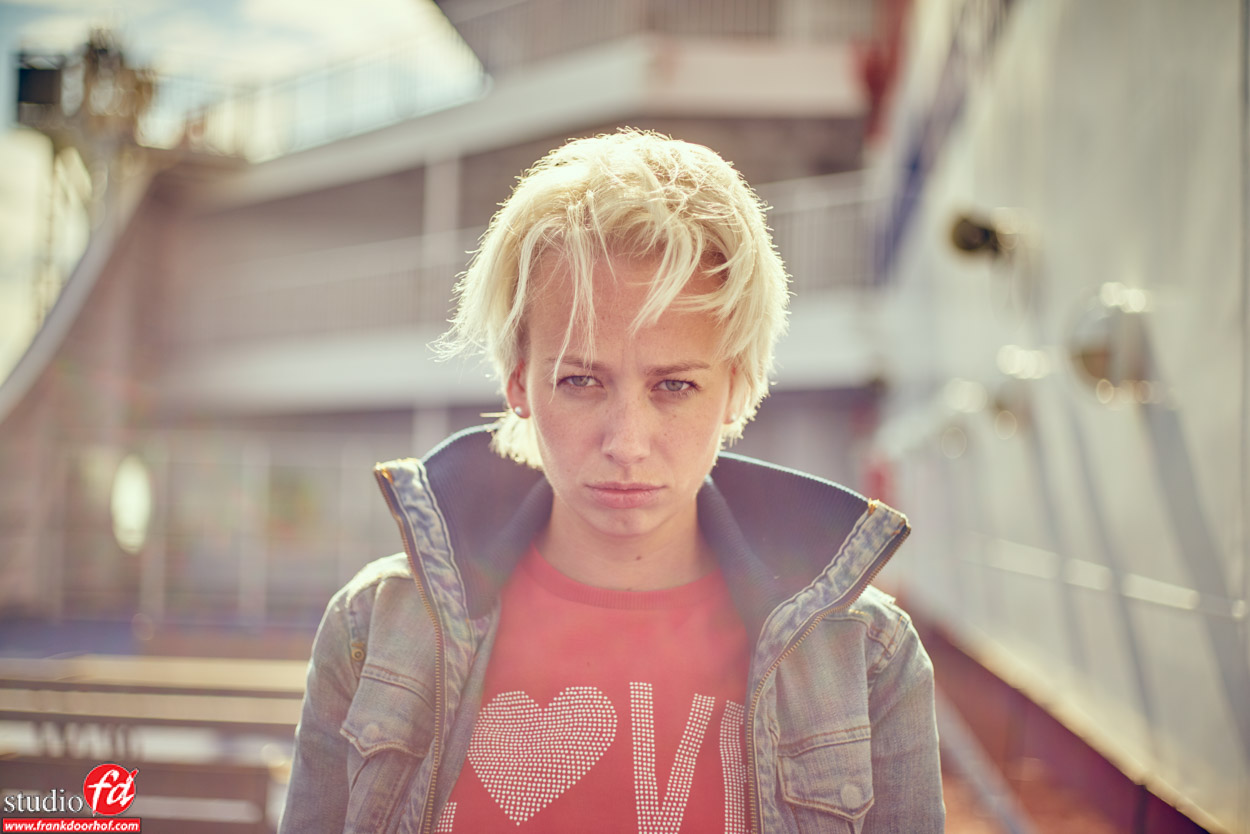
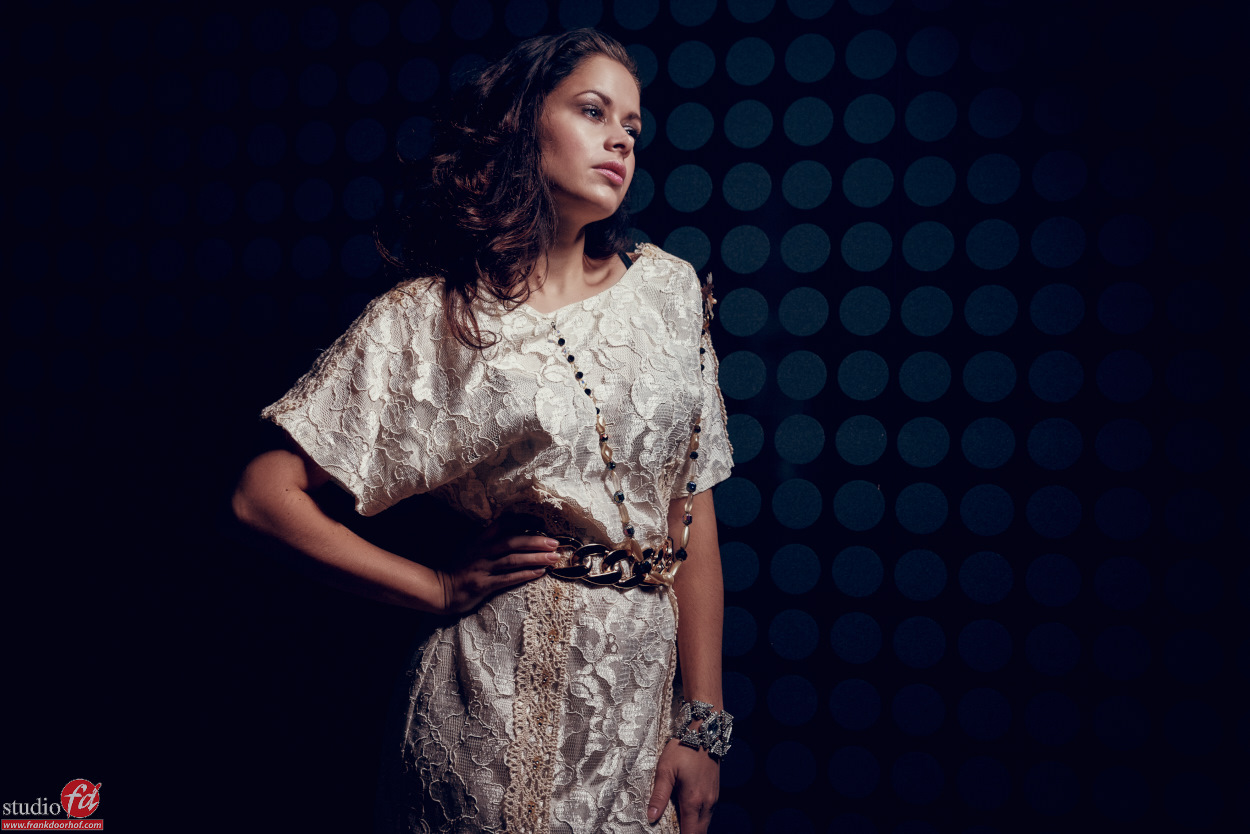
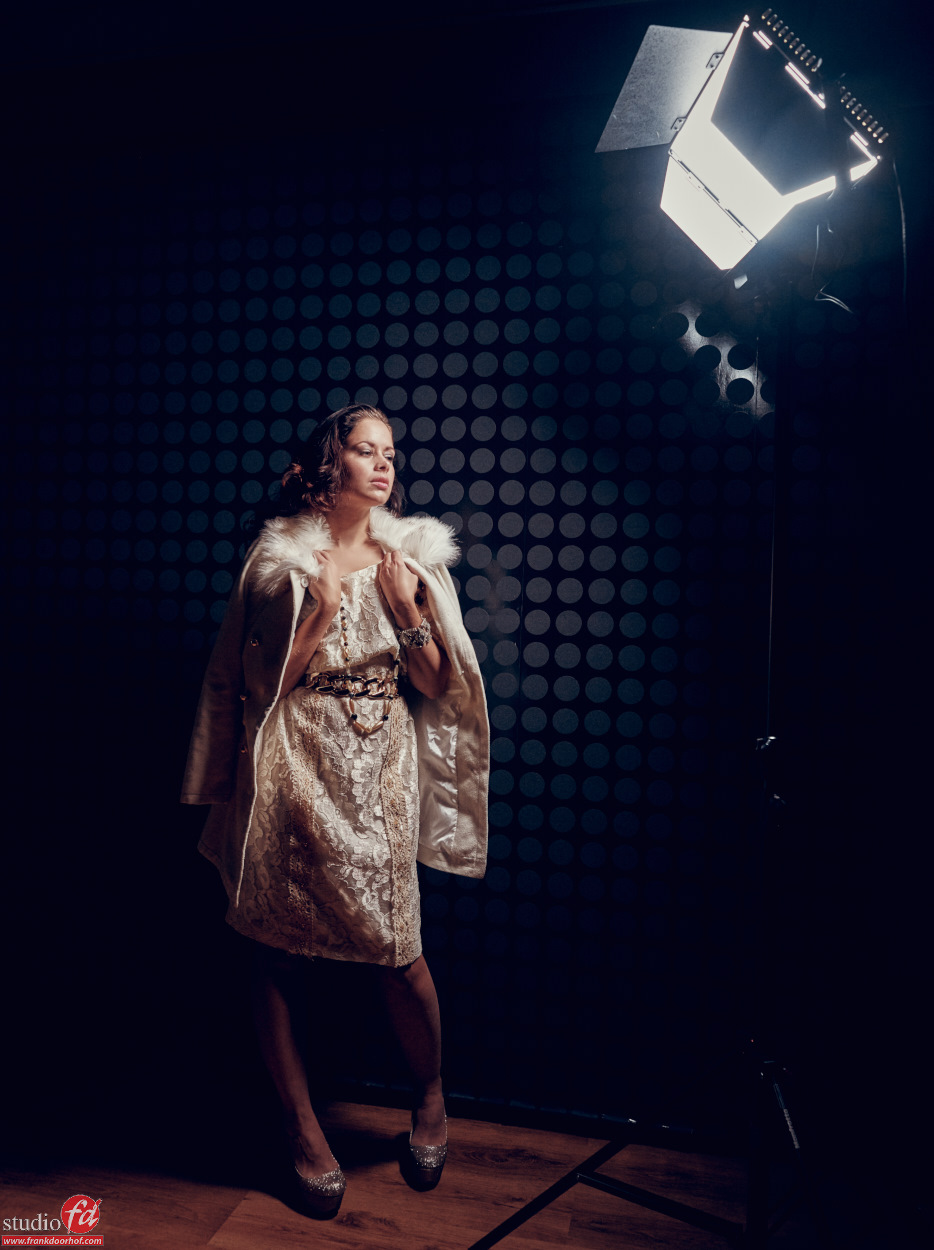
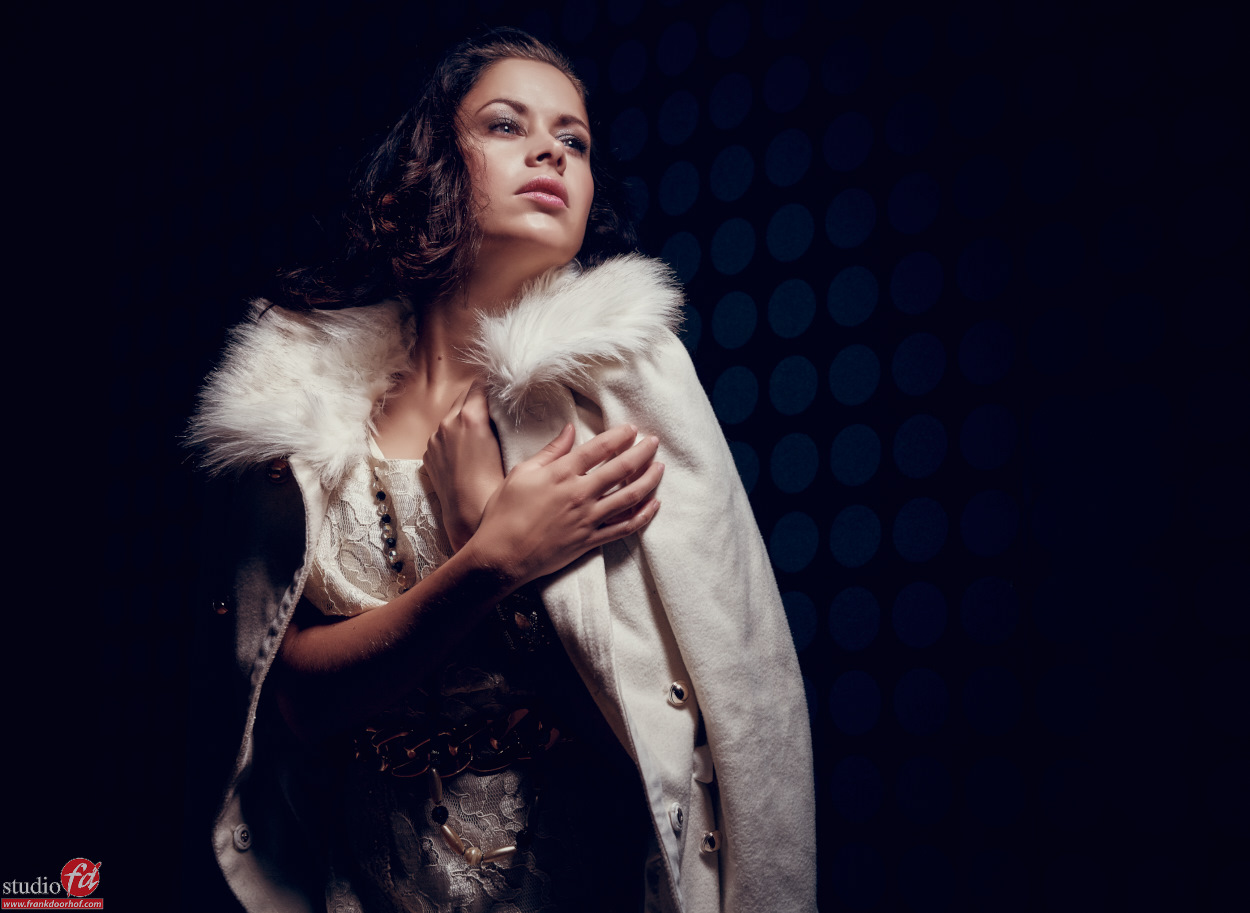
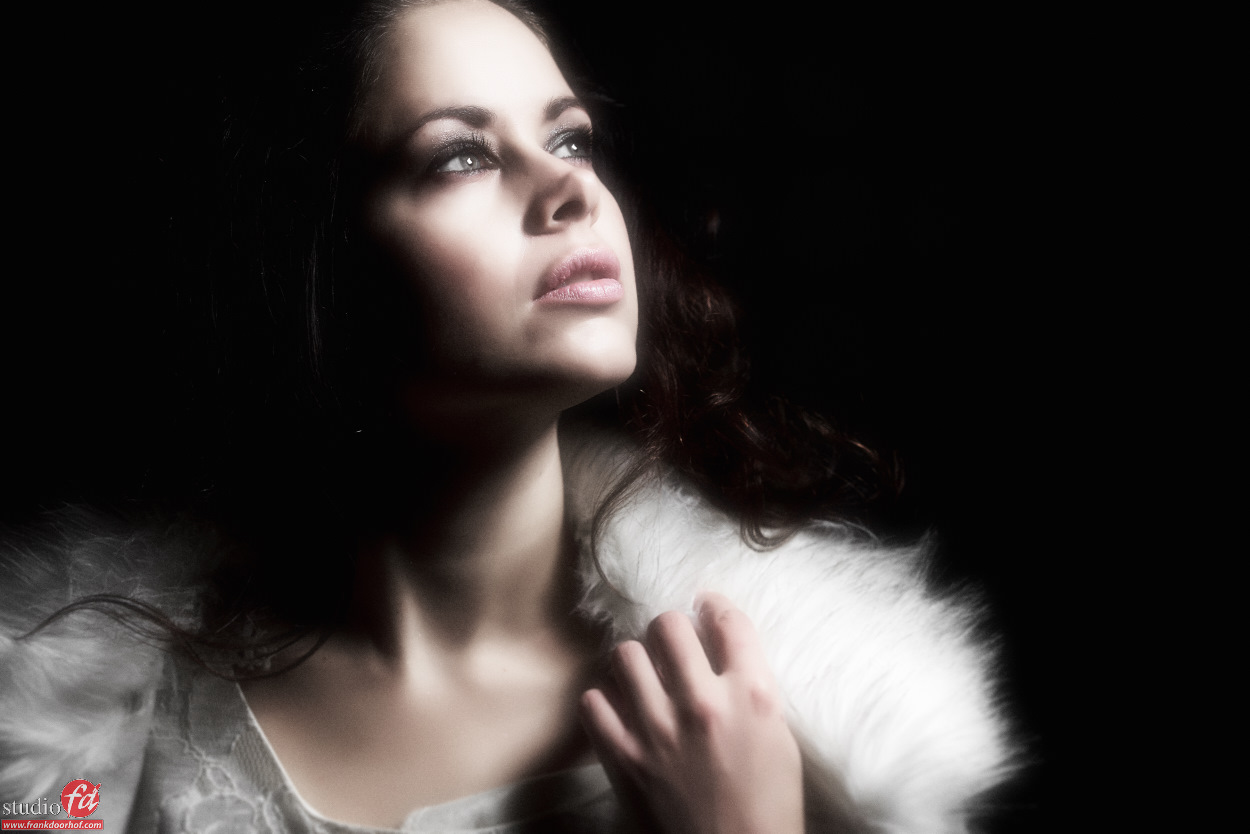
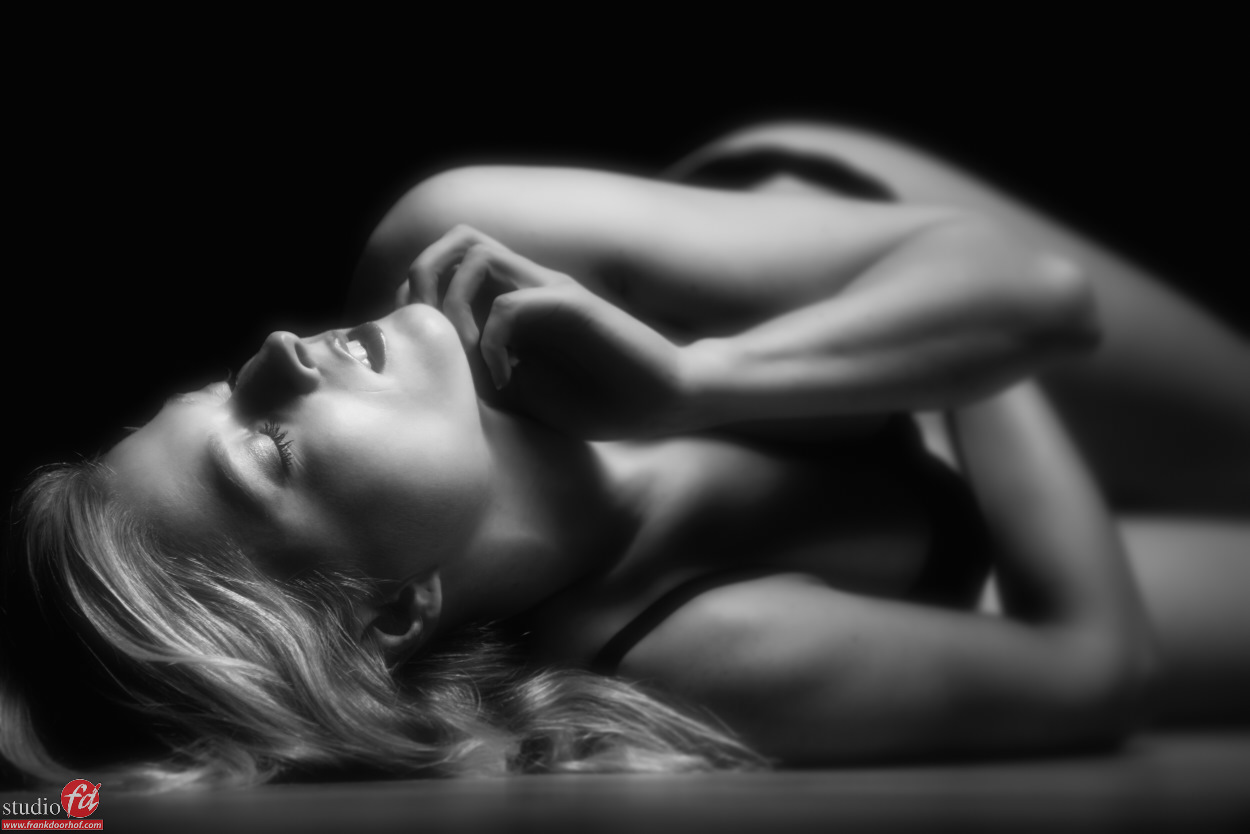
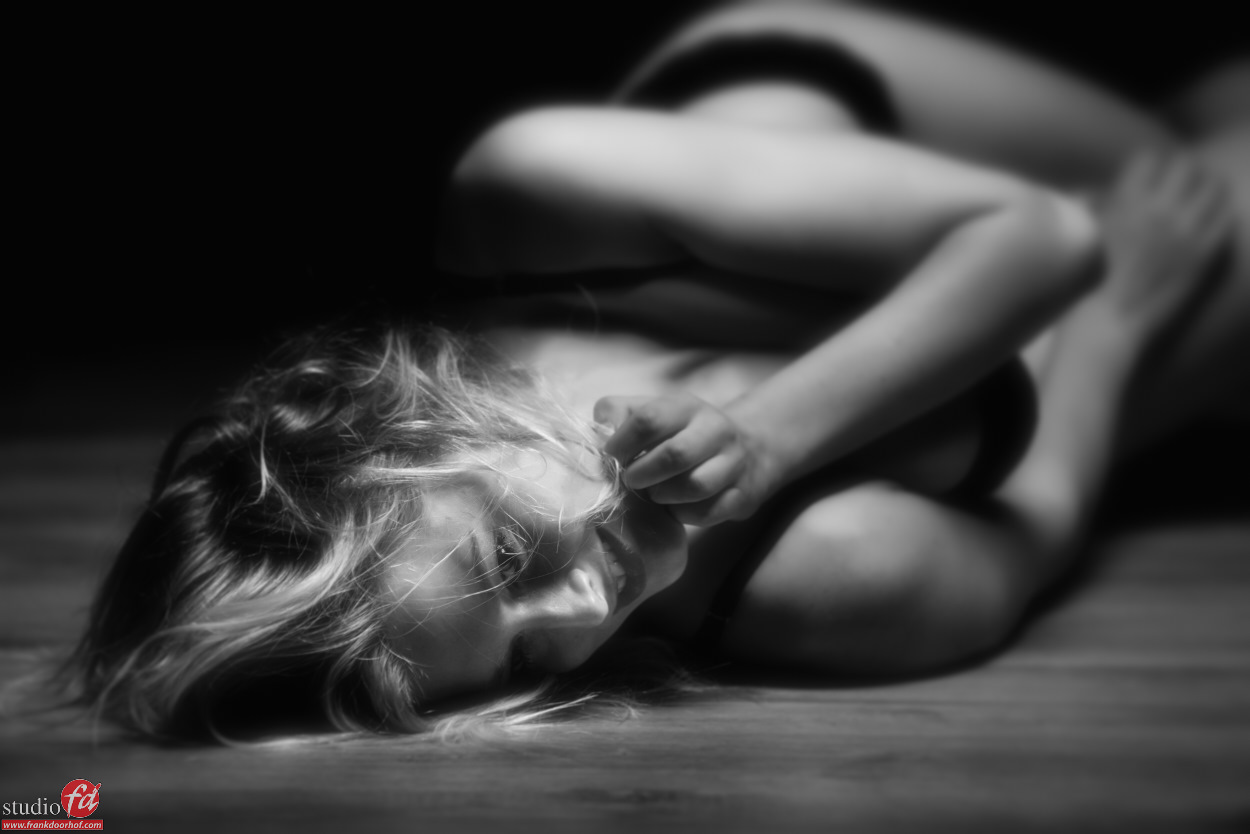
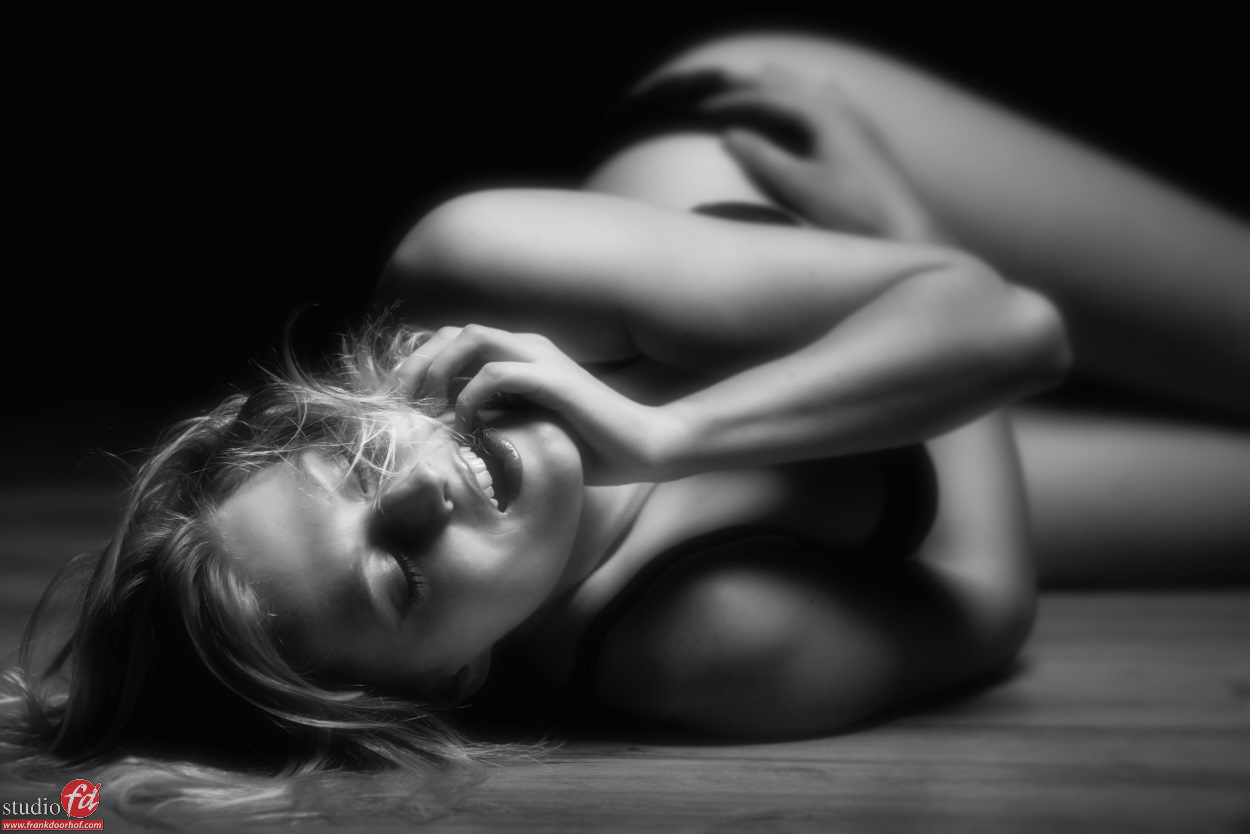
Only a few of the images shot during this trip.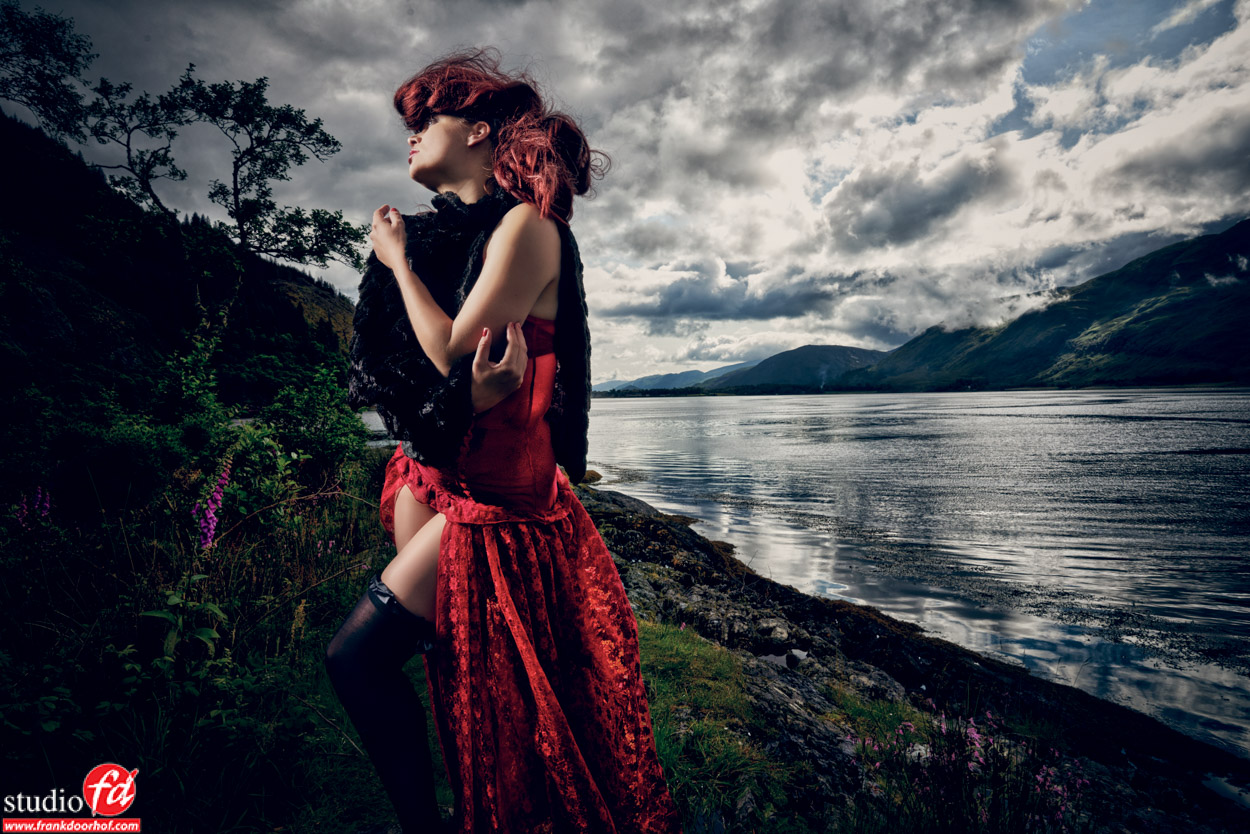

Like this:
Like Loading...


You must be logged in to post a comment.