Tag Archive for: lighting

Behind the scenes during the FotoFair 2023

Today we take you behind the scenes during the workshops I taught during the yearly FotoFair event.
The FotoFair is a fairly unique concept where almost every kind of photography is covered. Workshops range from animals, macro, nature, movement, flowershoots to fashion

Besides the workshops there are a lot of other activities and demos from major manufactures and some stores.
And it doesn’t stop there, although the workshops are only for paid attendees there are also a lot of cosplayers, steampunk, vikings and anything in between walking over the event terrain, so if you love to take photos, well you get the idea :D.

I taught 2 workshops each day and this was the first time we ever used the Geekoto strobes during such an event.
I did some smaller sessions with them in our studio but during the FotoFair they really got tested. Not just because they were used a lot (12 students per group) but also because the heat was almost unbearable in our tent, and I can say… they did marvellously.

I hope you enjoy the behind the scenes video we shot.


Working on location and what does flash do?

During the workshop on location in Emmeloord with our model Claudia the theme is to find locations that might look boring and make them interesting enough for some cool shots. in my opinion this is one of the best things you can do to train yourself to create better images.

The reason most people don’t shoot images close to their home is probably that they see it every day and don’t realise anymore that some locations can be great to shoot images in or against. Every day I walk Chewie I see locations where I think “this would be nice to place a model” but somehow you always travel to cool locations to do the same while in essence you could take the same kind of images close you your own location.

Now of course we do want to introduce also some interesting lighting, because if you just shoot something with ambient light it’s boring right?
Or maybe not….
So during the workshop we actually run through several different lighting solutions.

So today let’s take a look at what you can do with just an open parking place.

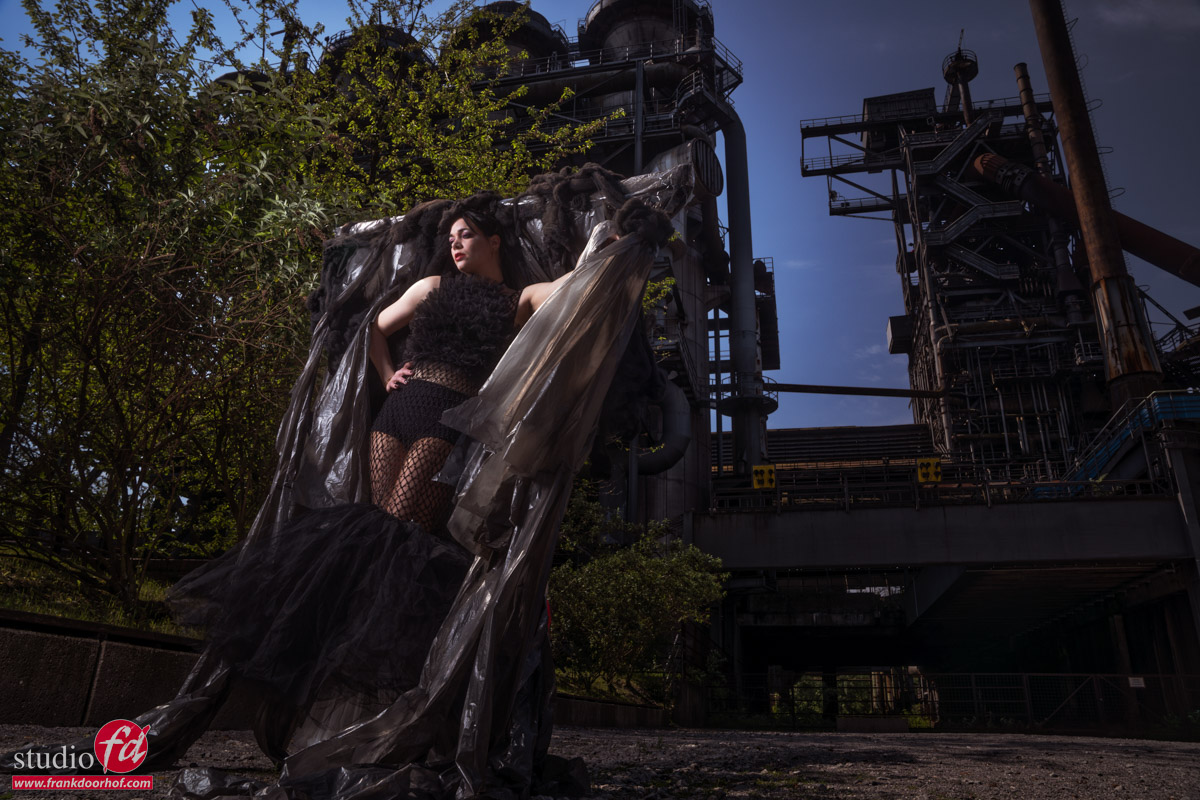
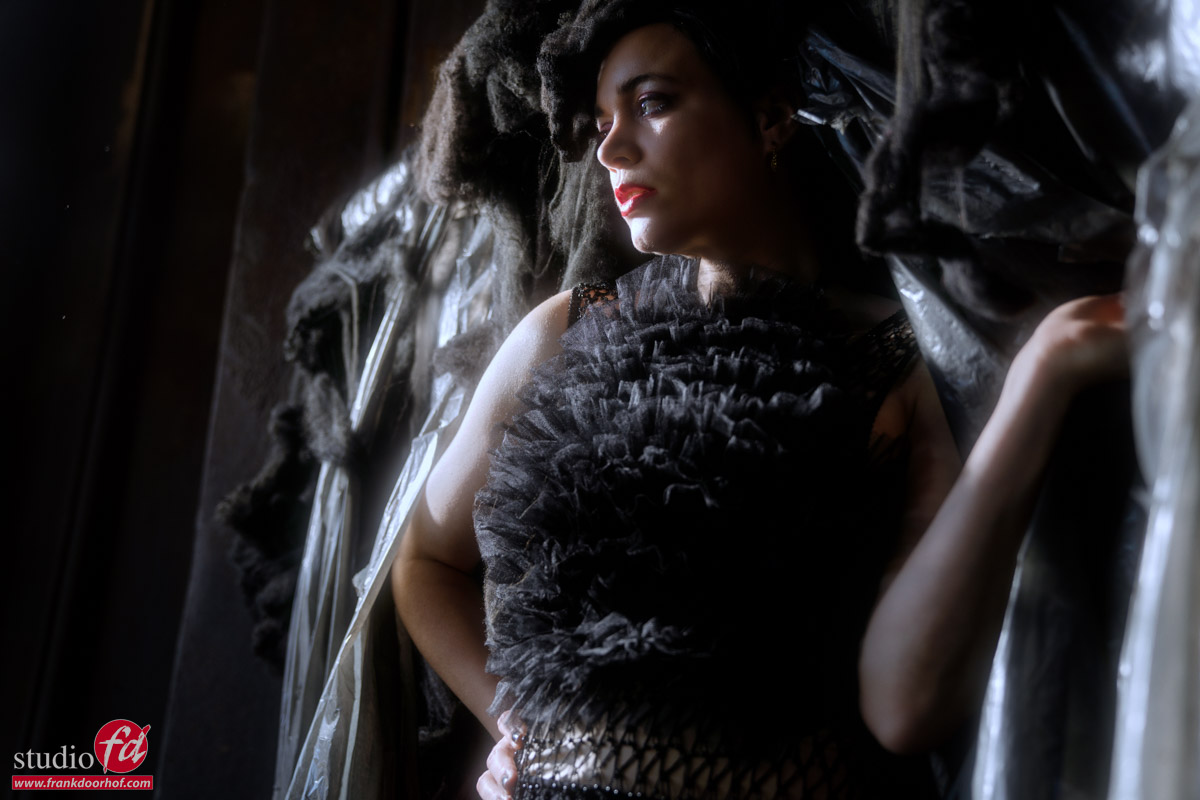
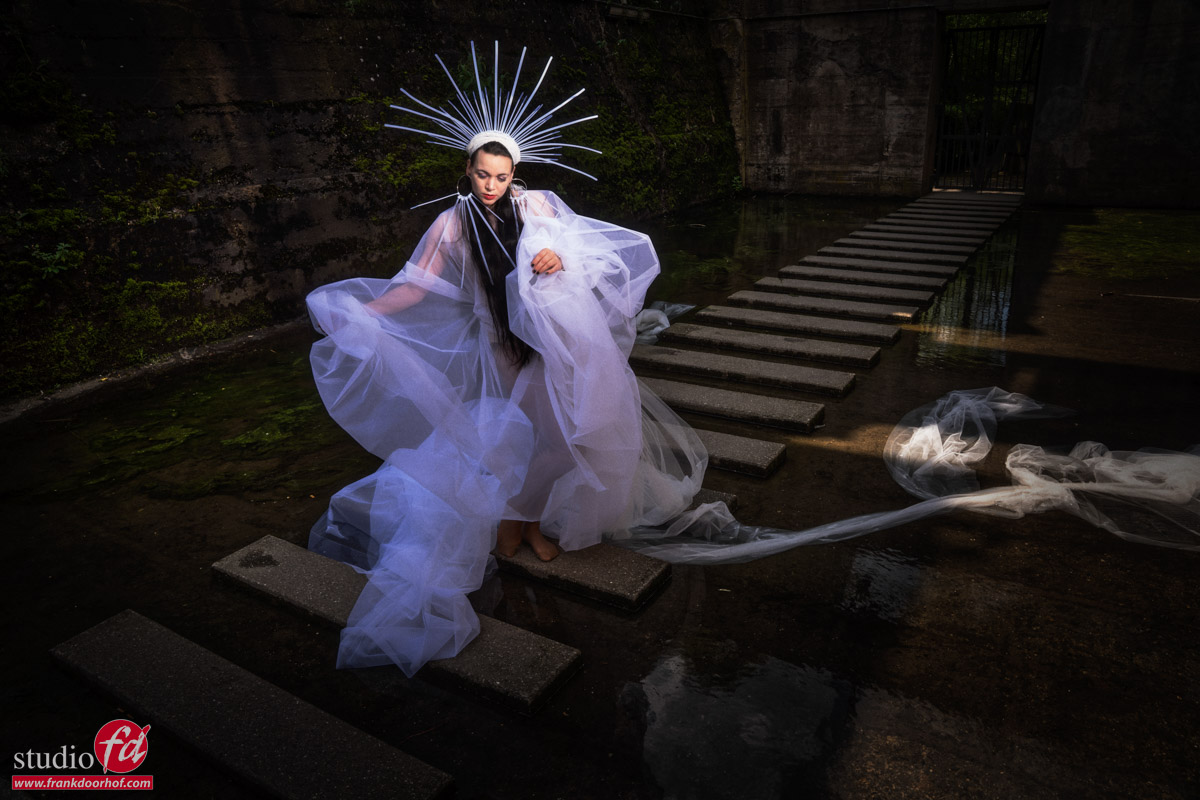
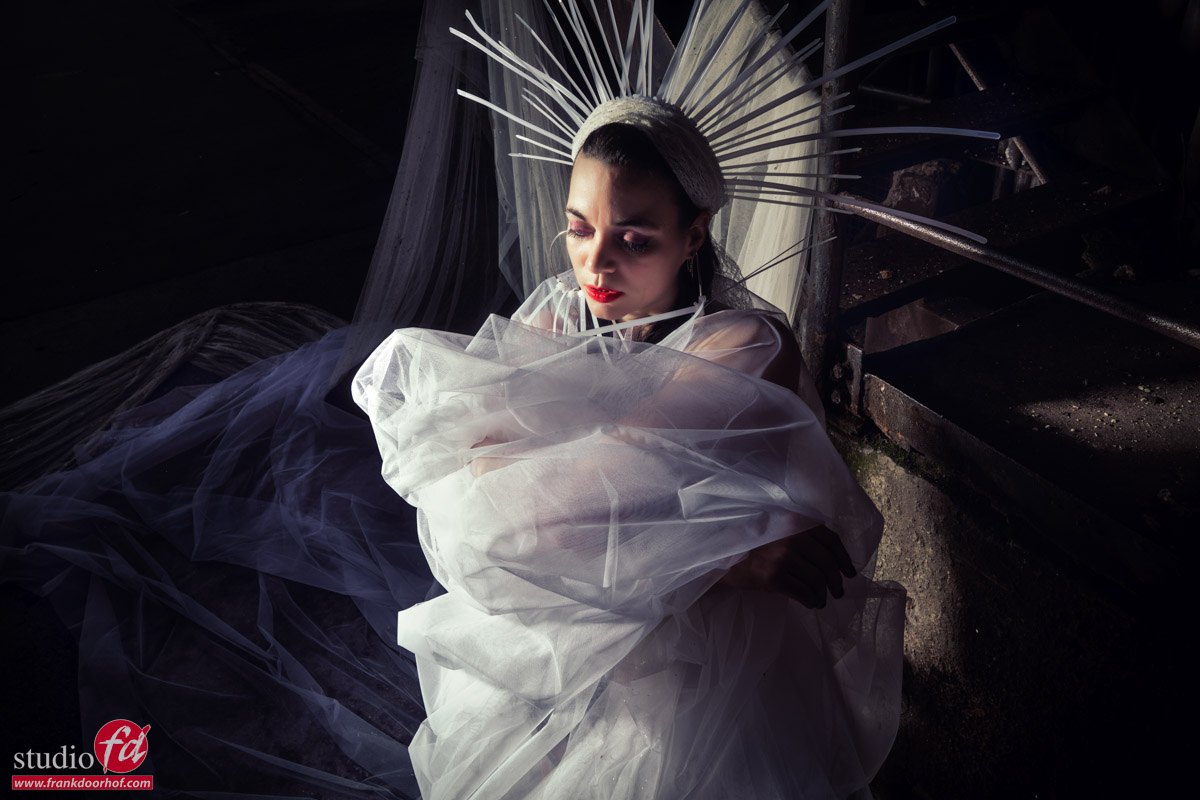
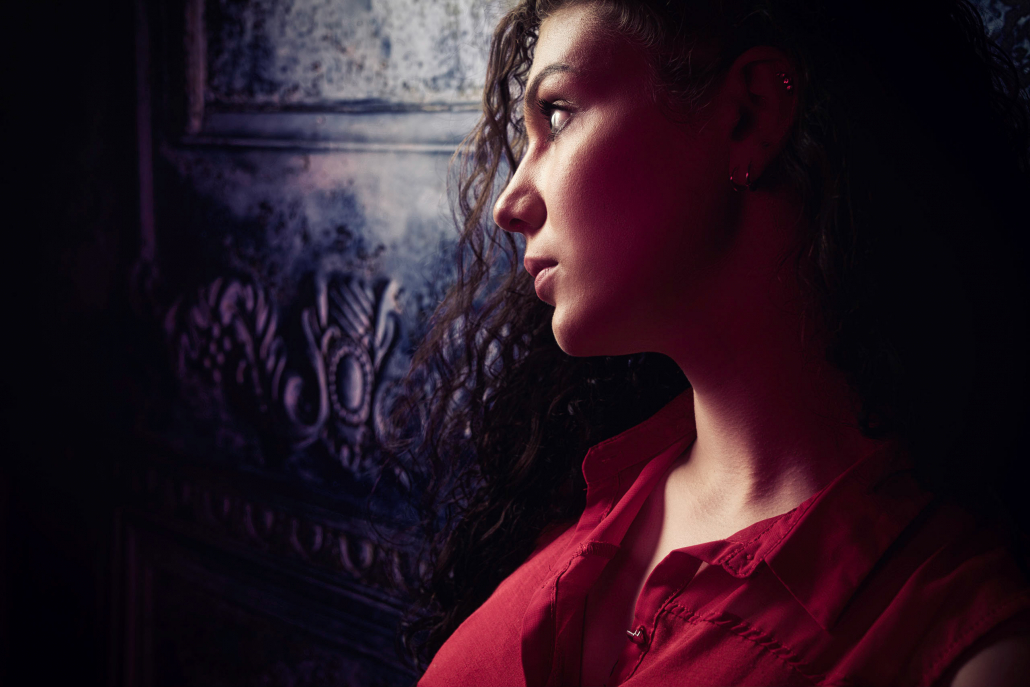
Let’s start out with ambient light only.

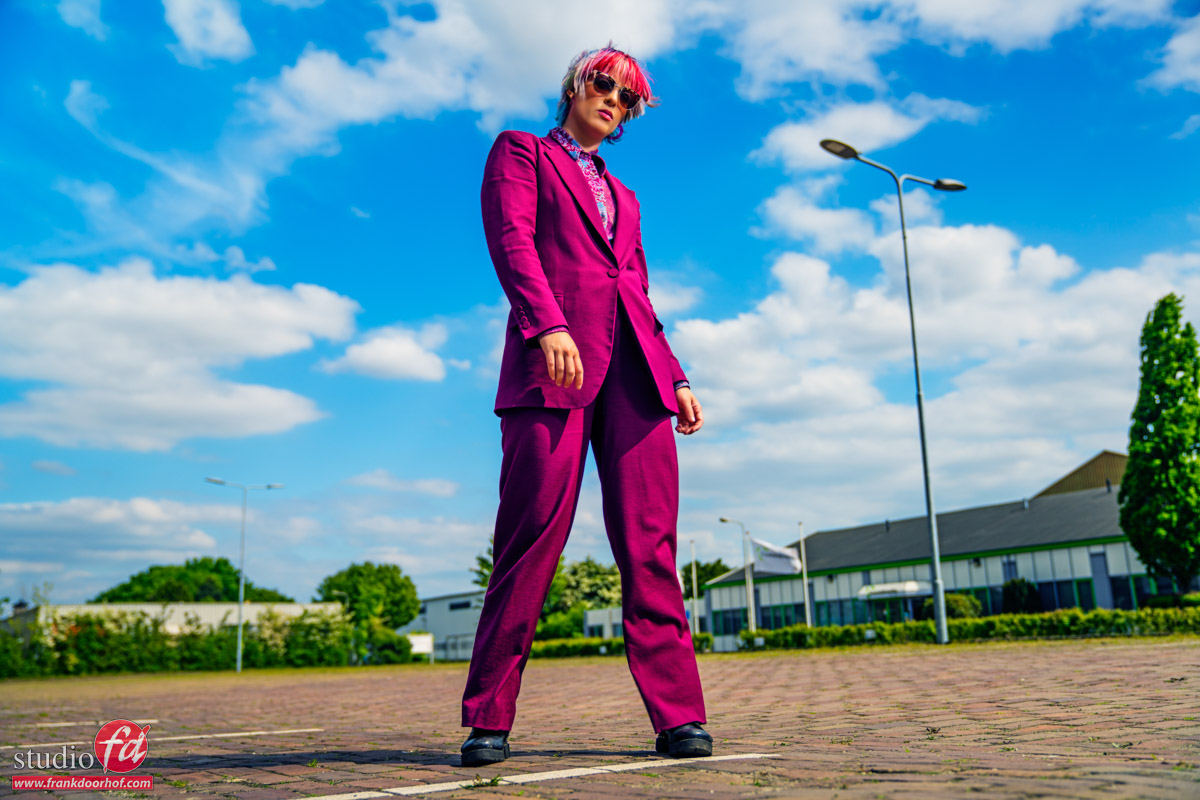
A low angle and a standard preset I created in Luminar AI (you can get those on frankdoorhof.com/shop)

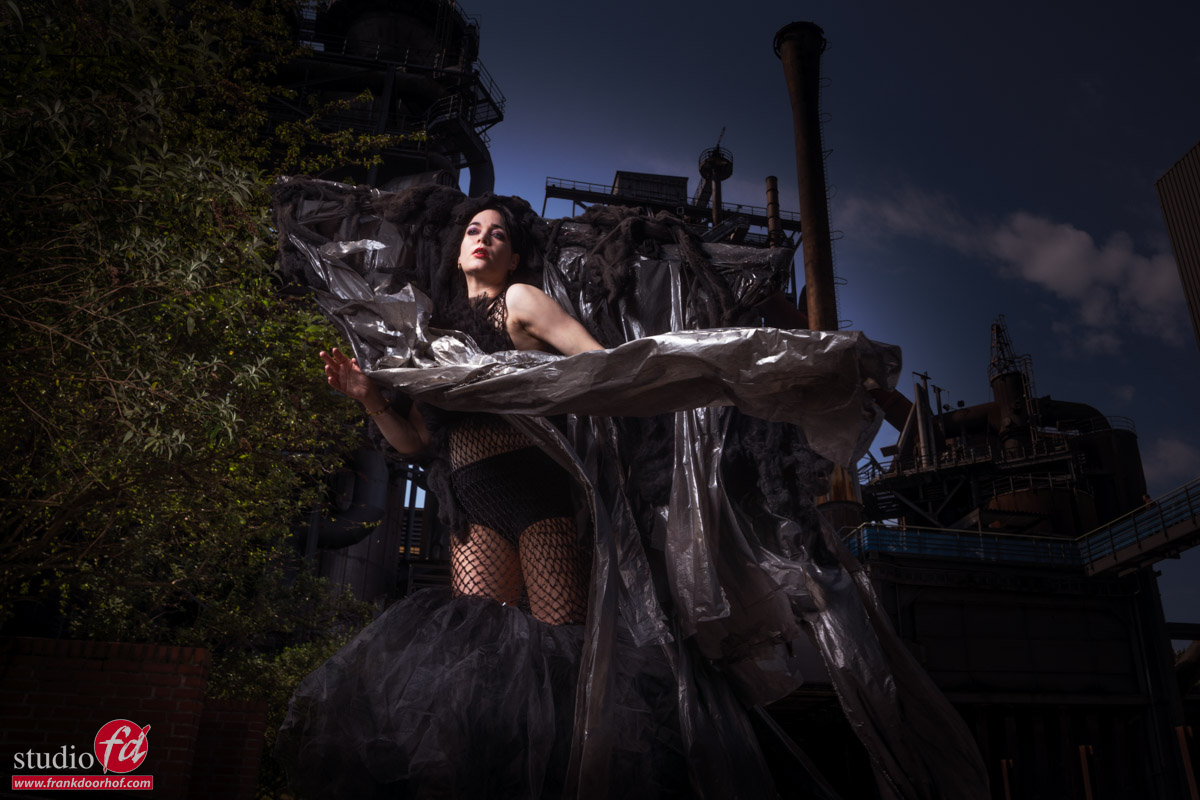
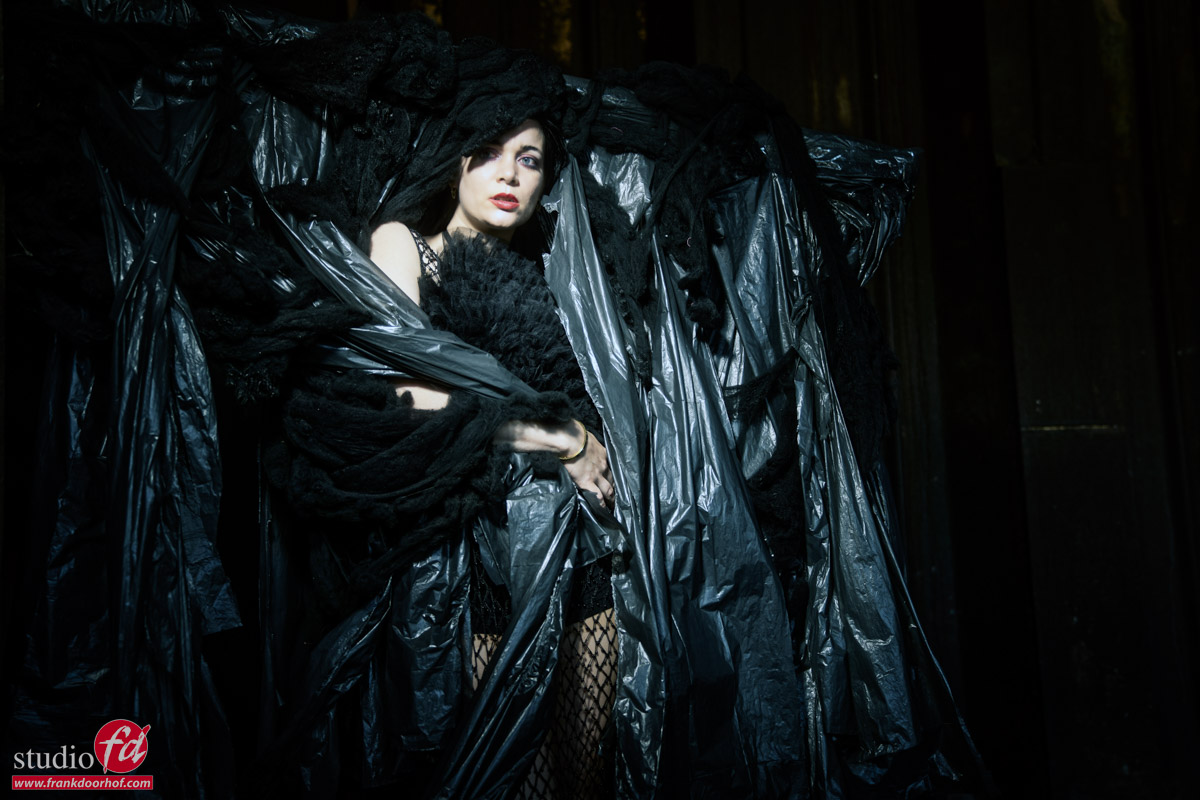
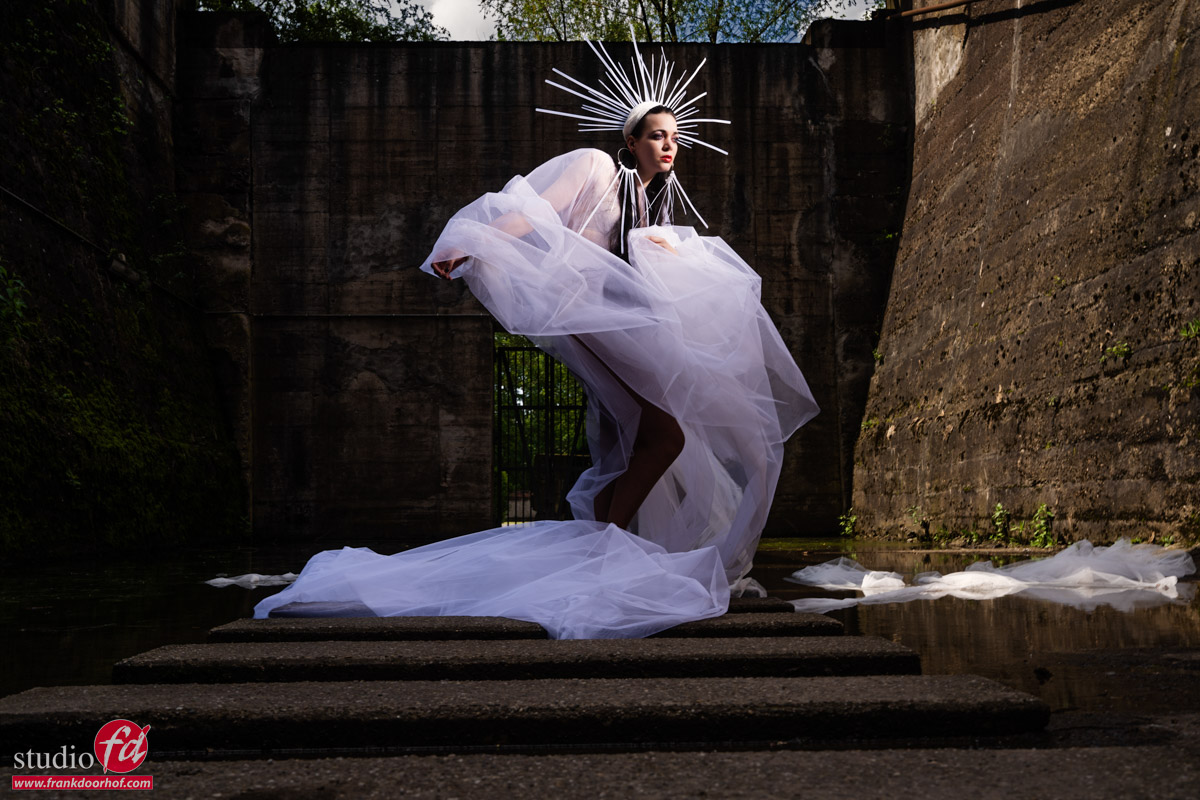
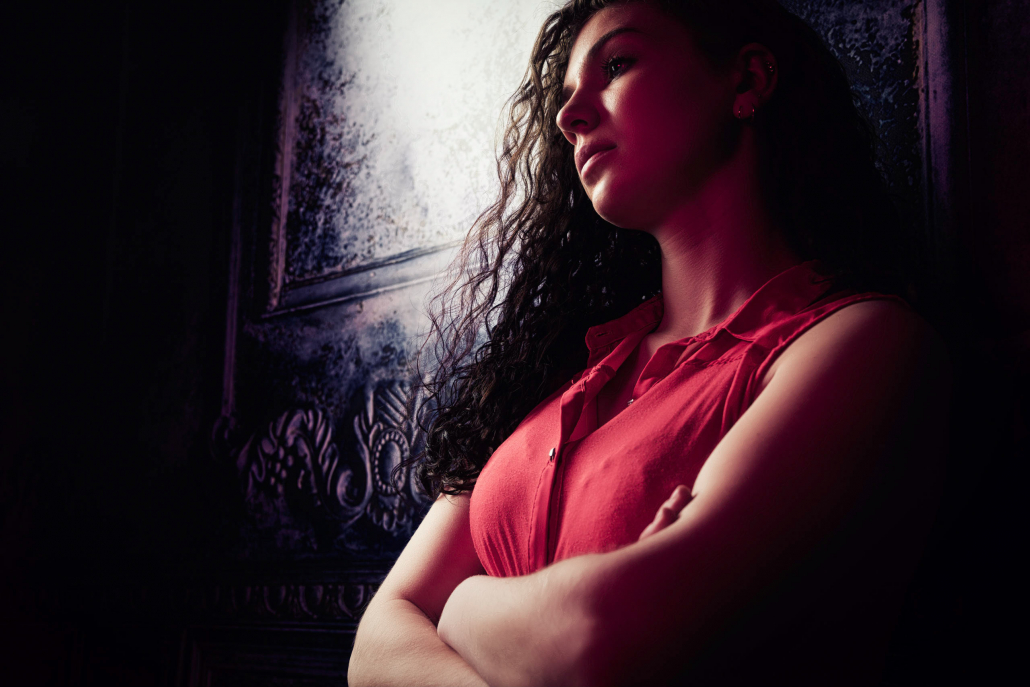
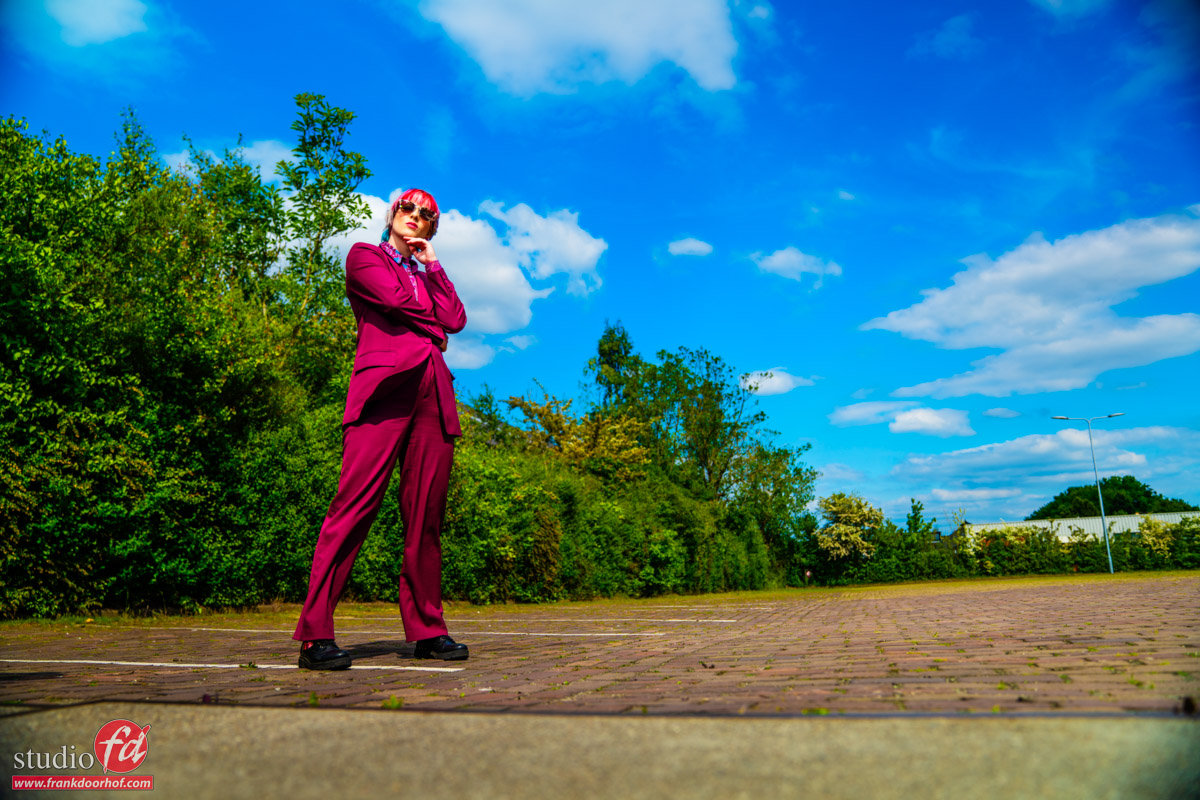
Now let’s add a just a slight amount of flash.
I’m using a Hensel Porty with a 14″ reflector here and to get this effect you really don’t need a lot of power, in essence I’m overpowering the ambient by just 1-1.5 stops.

With retouching you could get something similar quite easily.
Now one of the limitations of shooting with the Hensel Porty is that you are limited to the X-sync which in most cases lies between 1/125 and 1/200. So you will mostly shoot on smaller apertures when using a lot of power. This is why I’m using a variable magnetic ND filter on my lens when shooting with the porty system outside.

I’m using the K&F concept version which you can find in the Frank Doorhof kit which includes 2 Black diffusion filters (1/4 and 1/8) and the variable ND filter, all magnetic of course.

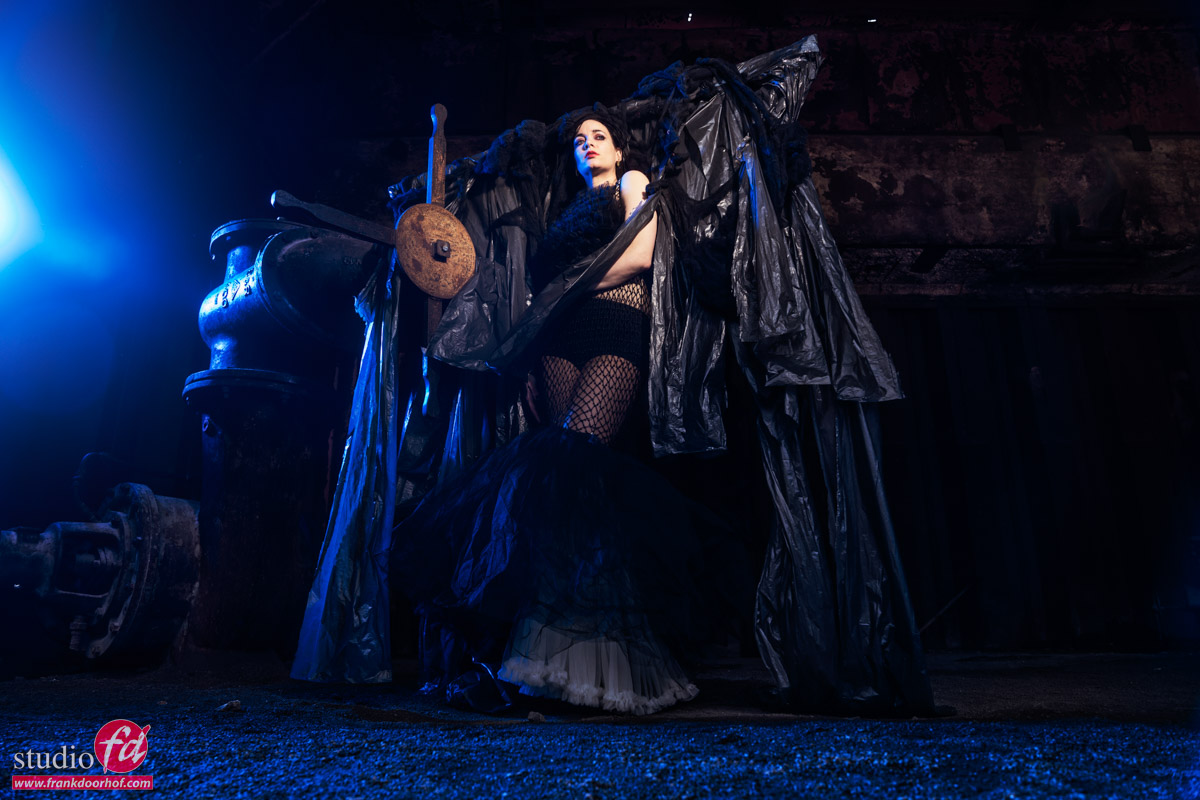
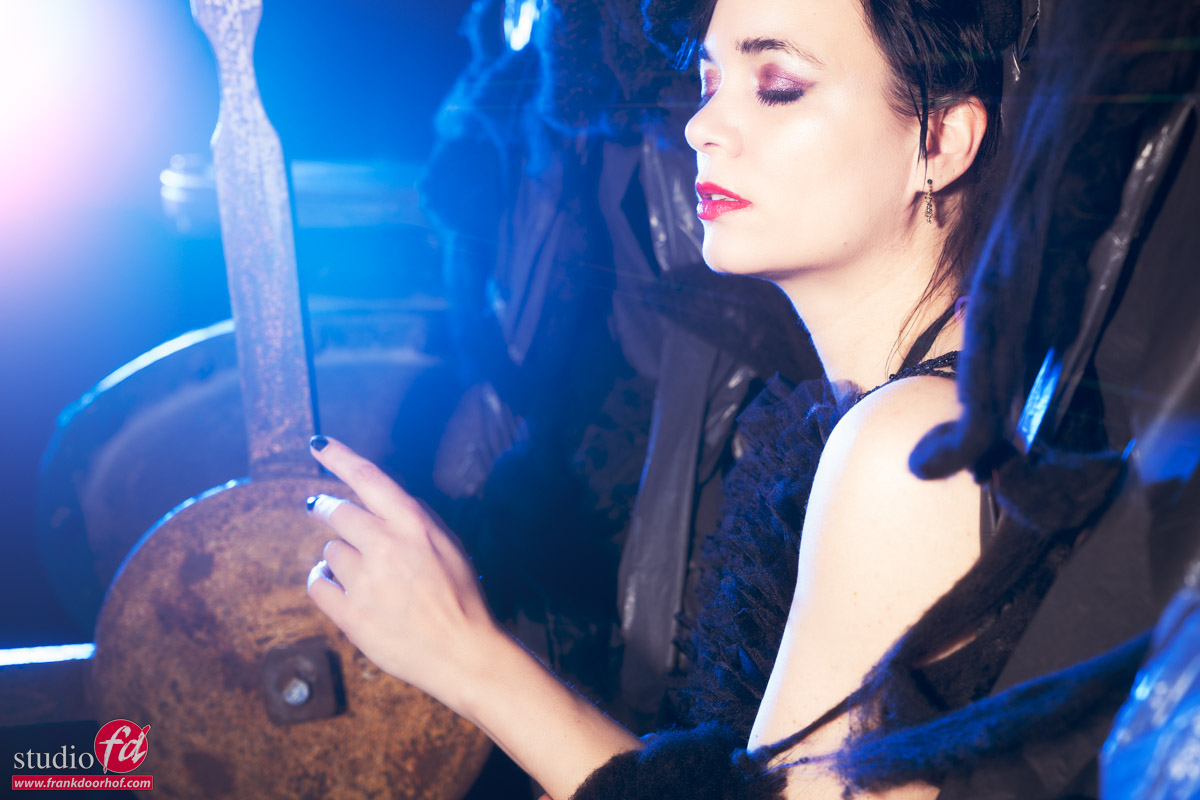
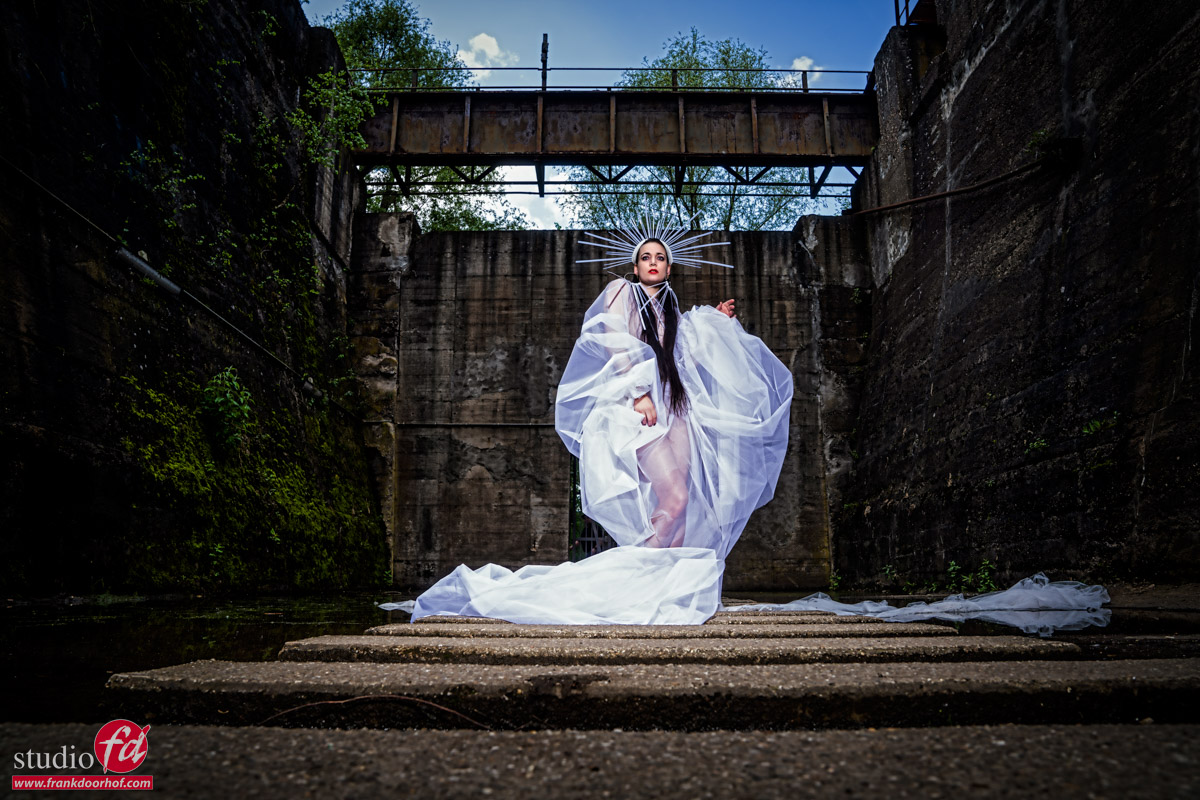
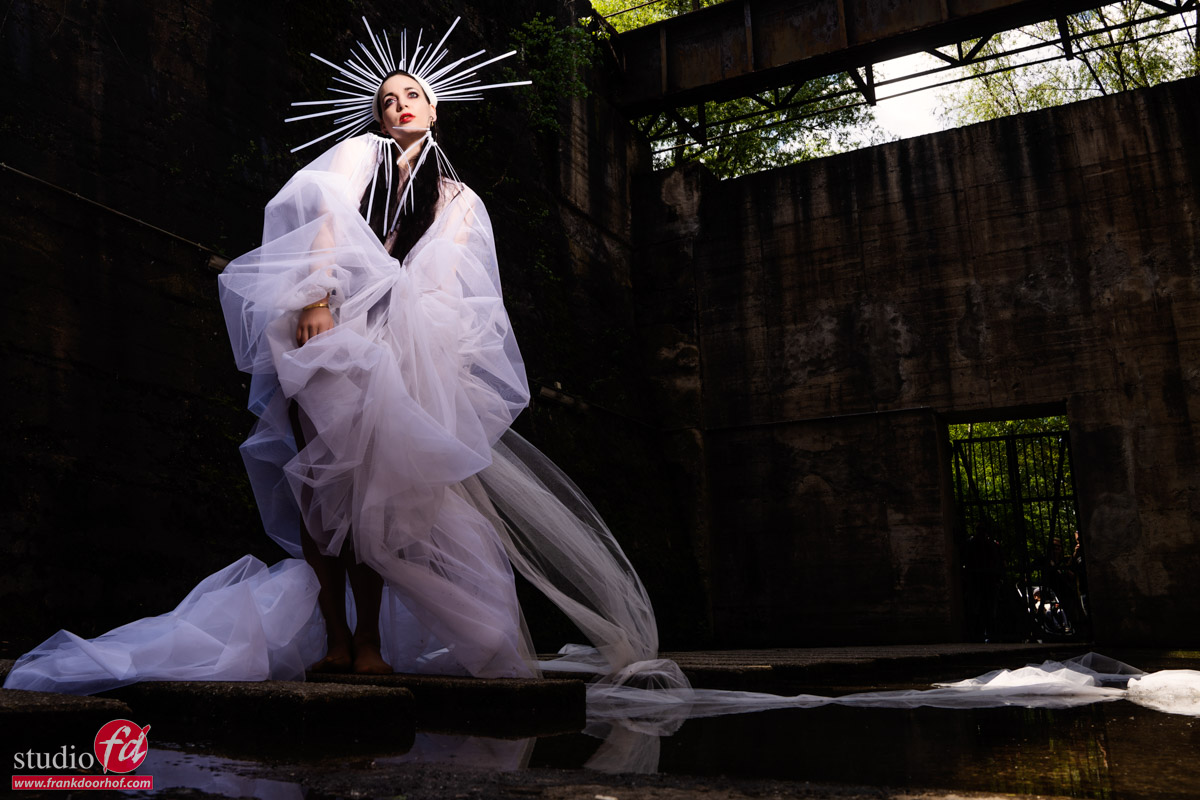
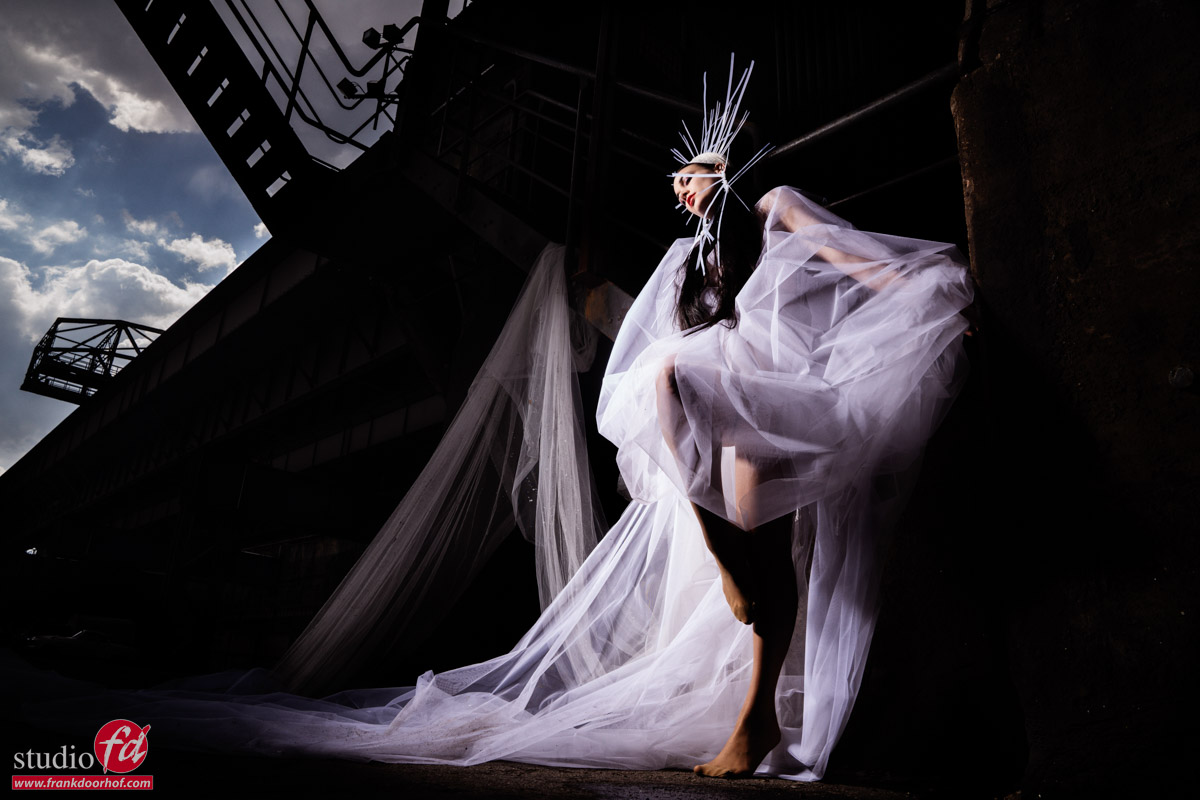
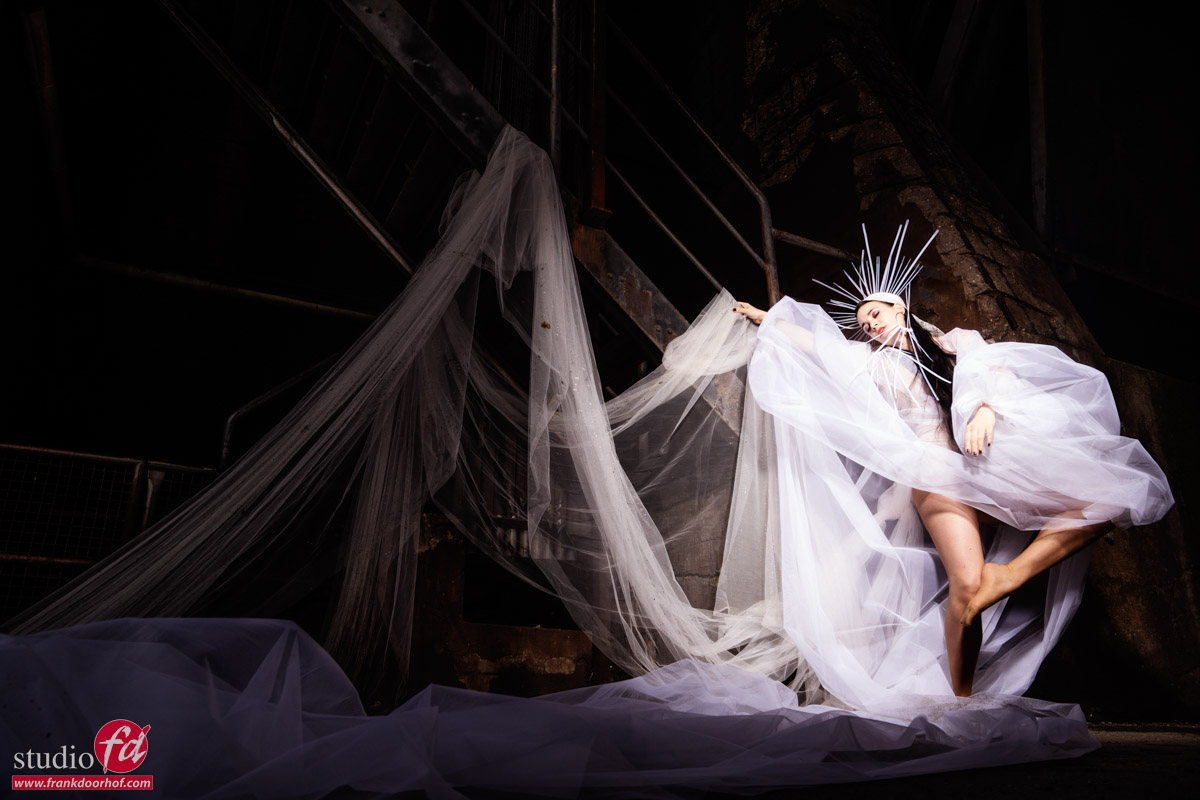
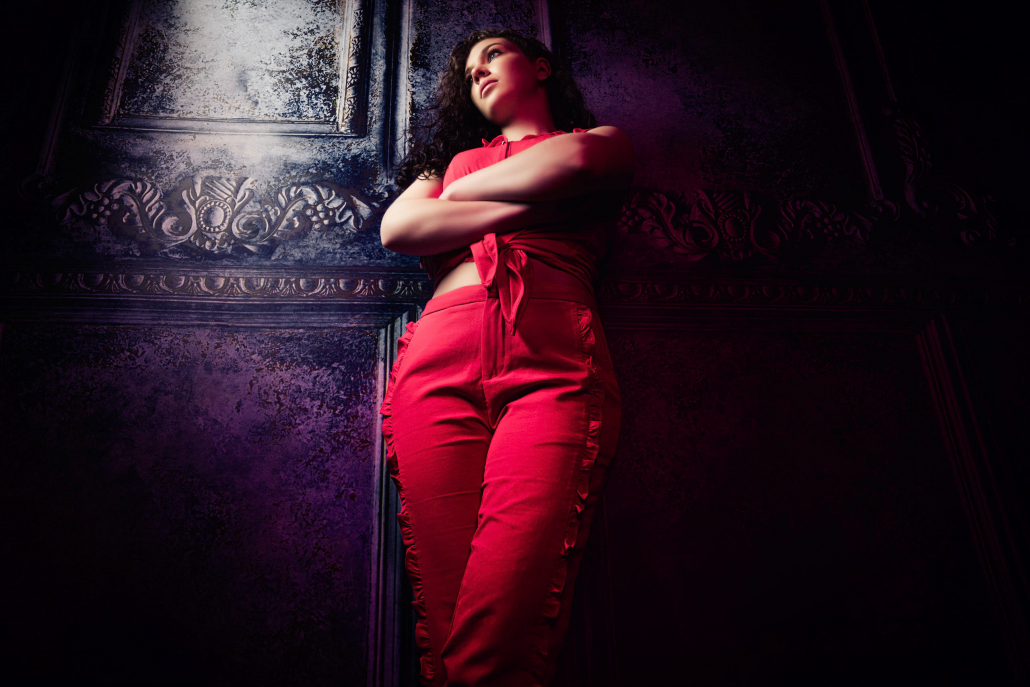
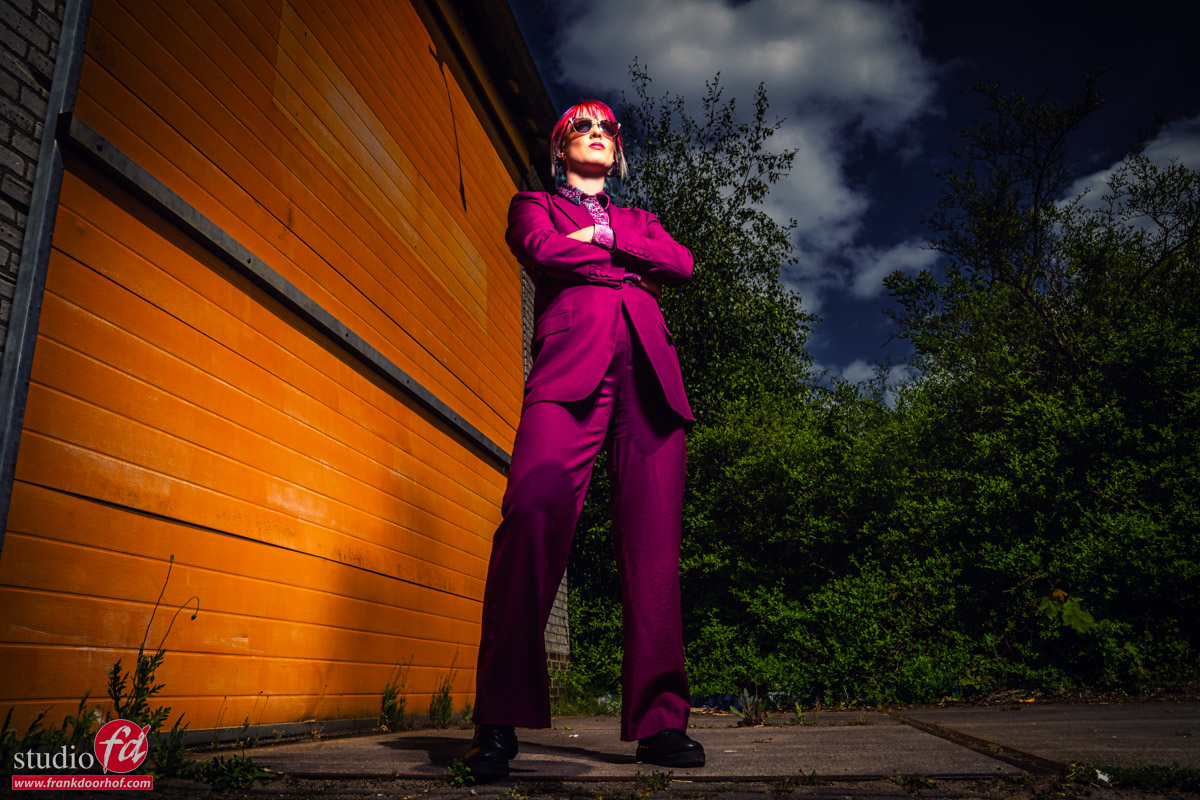
Ok, so now let’s add a lot of light.

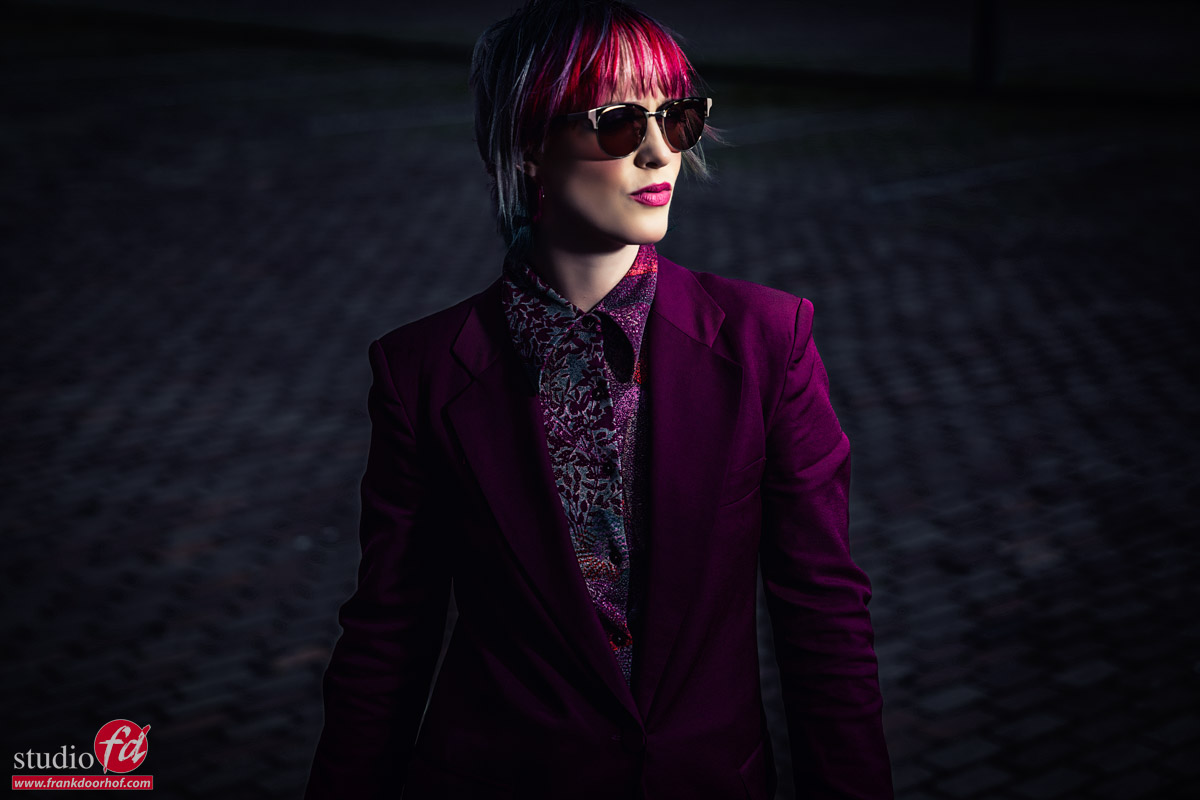
Here I’m totally overpowering the ambient light and also chose a different angle to enhance the contrast even more.
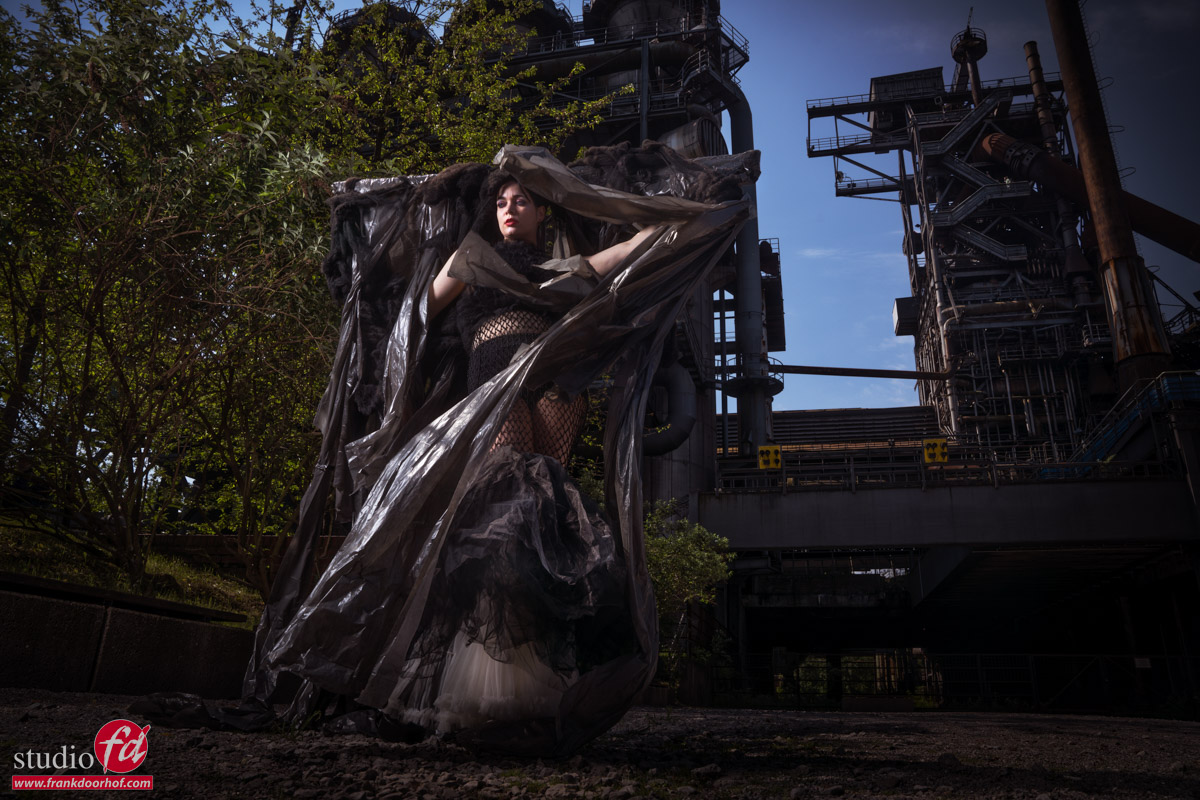
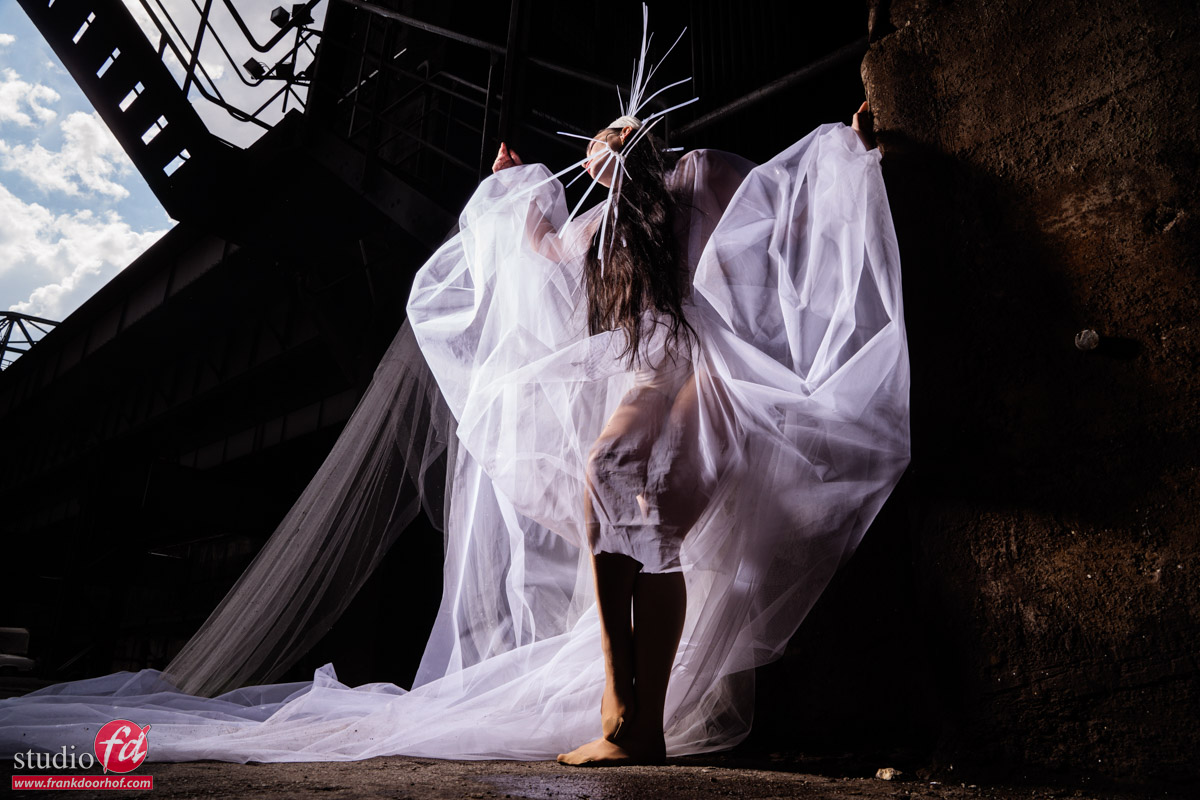
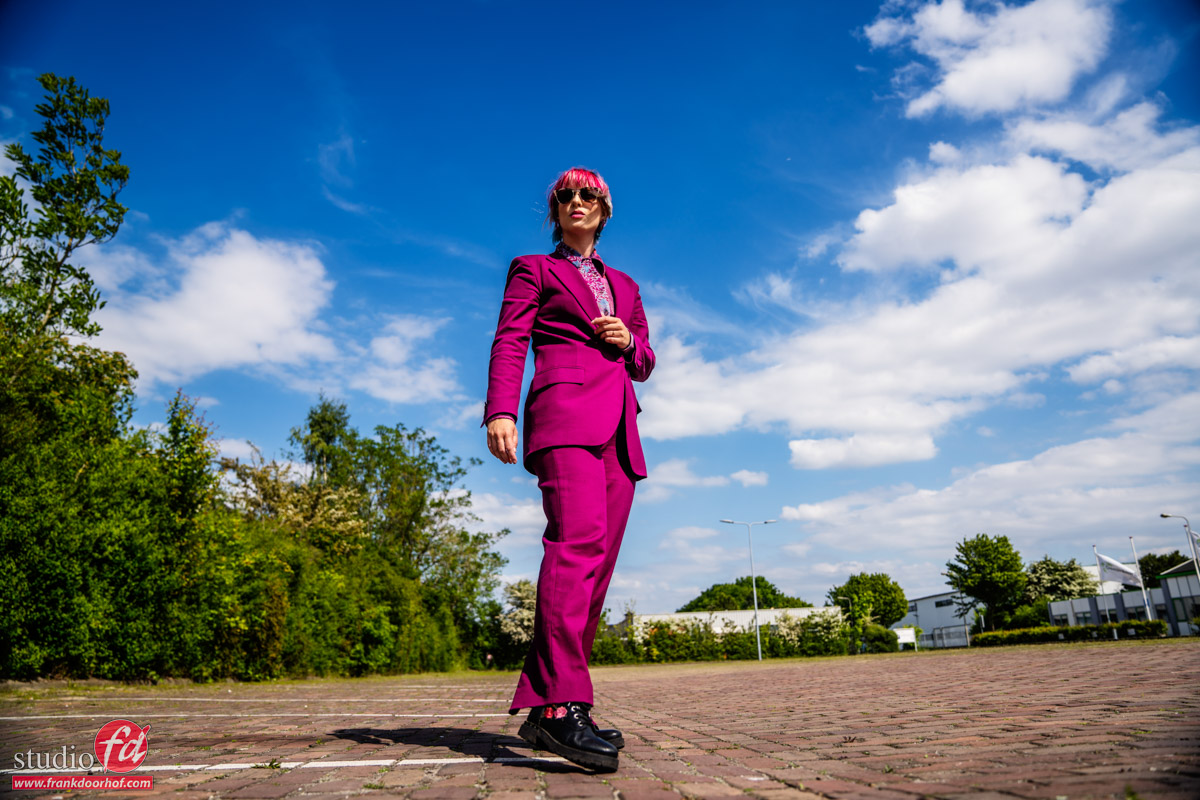
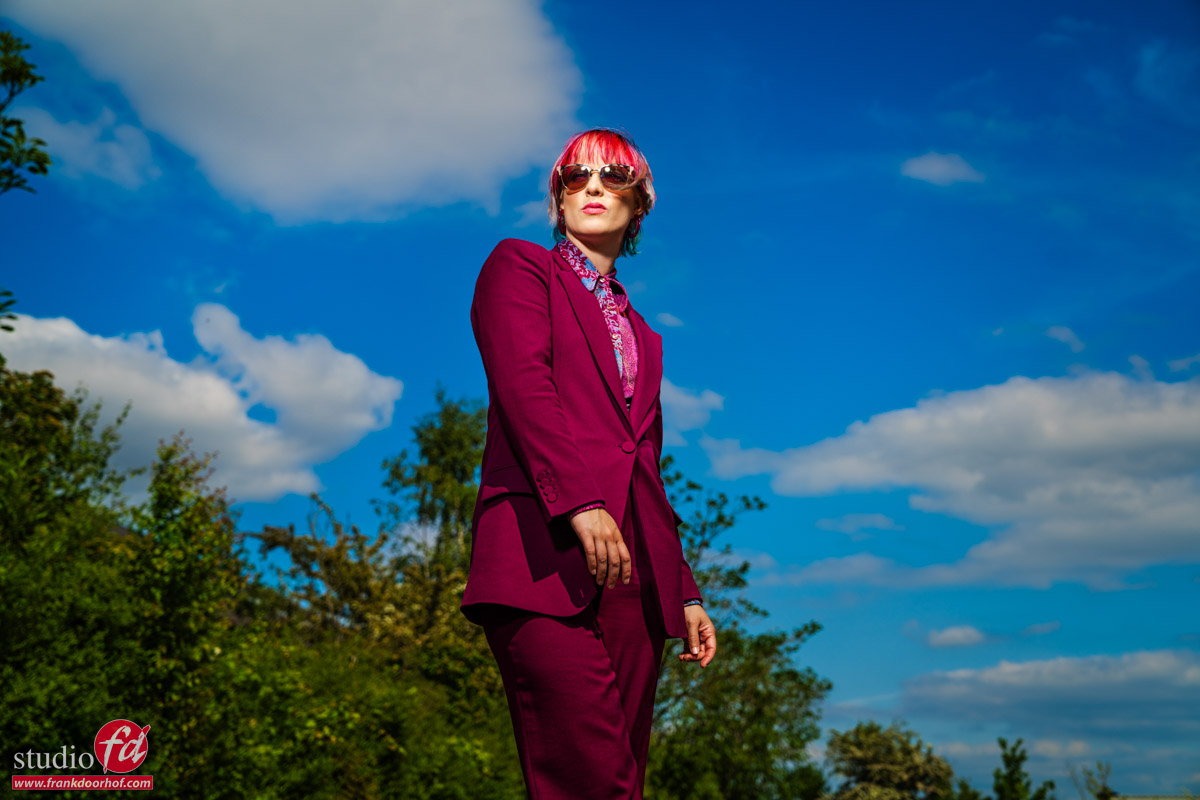
One might say…”hey this is cheating because we don’t see the sky anymore”
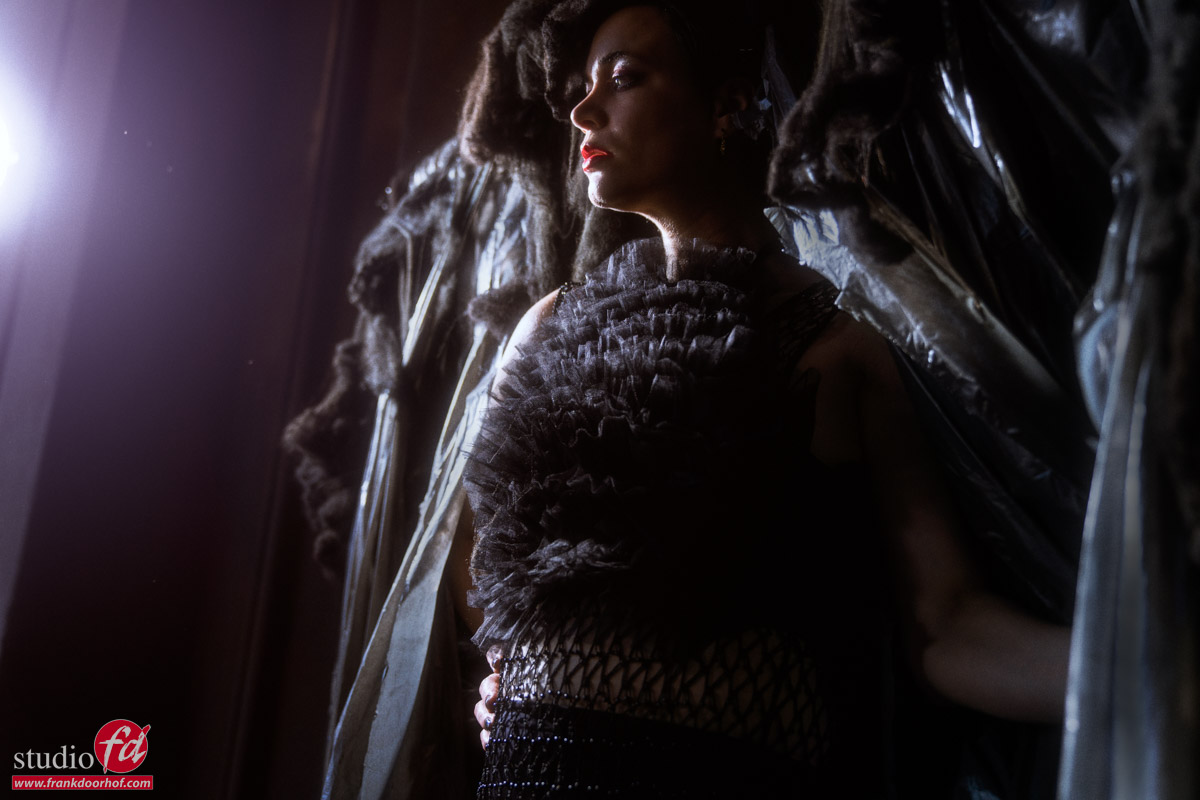
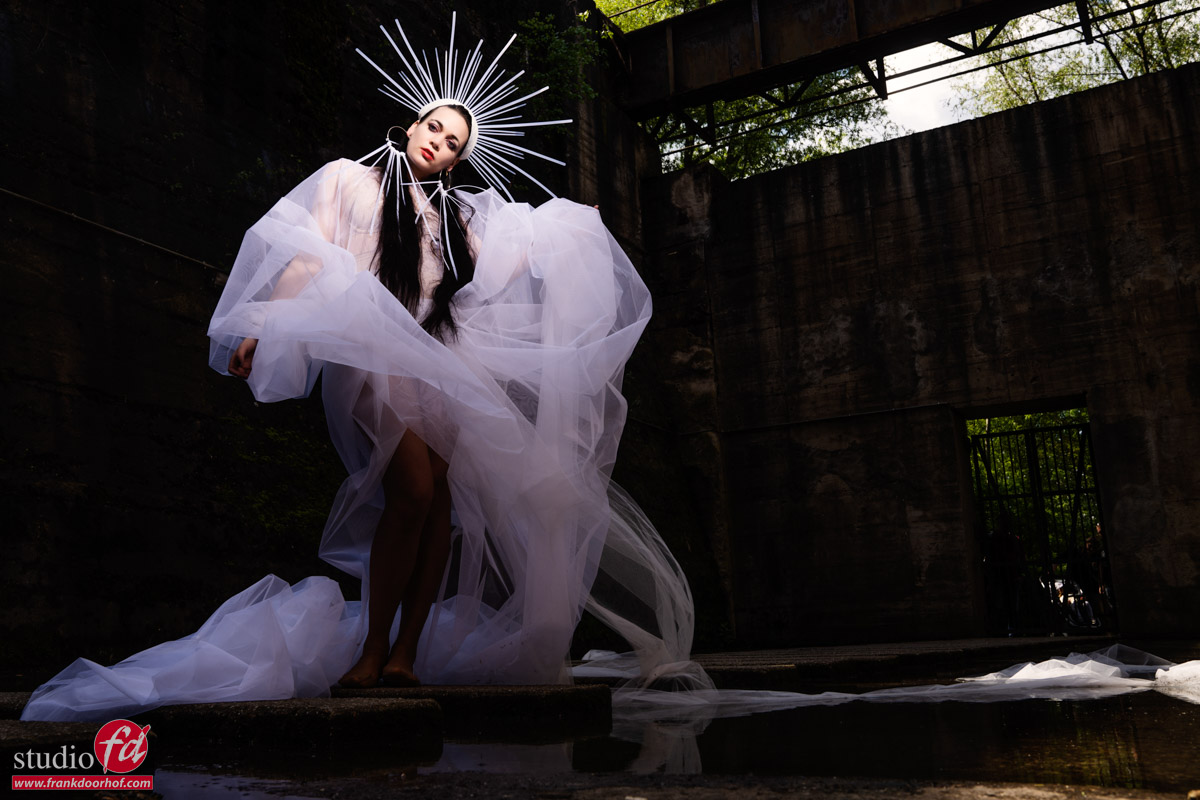
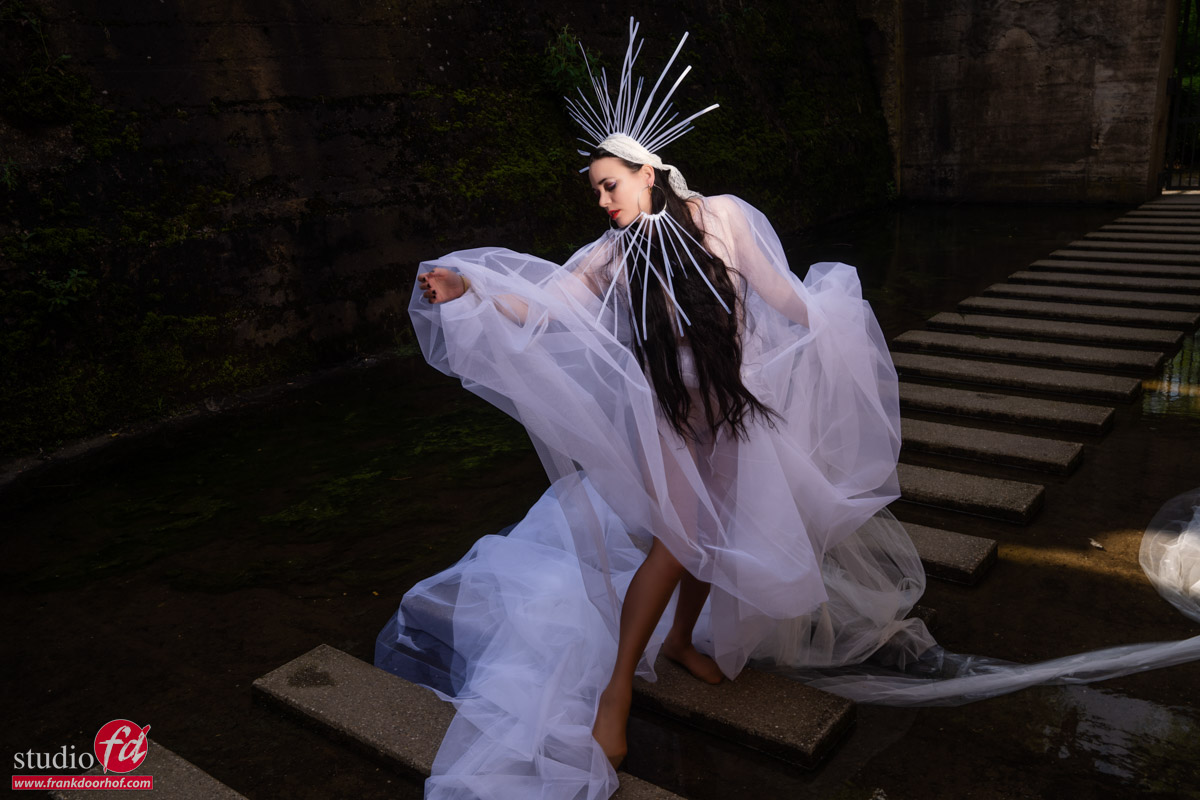
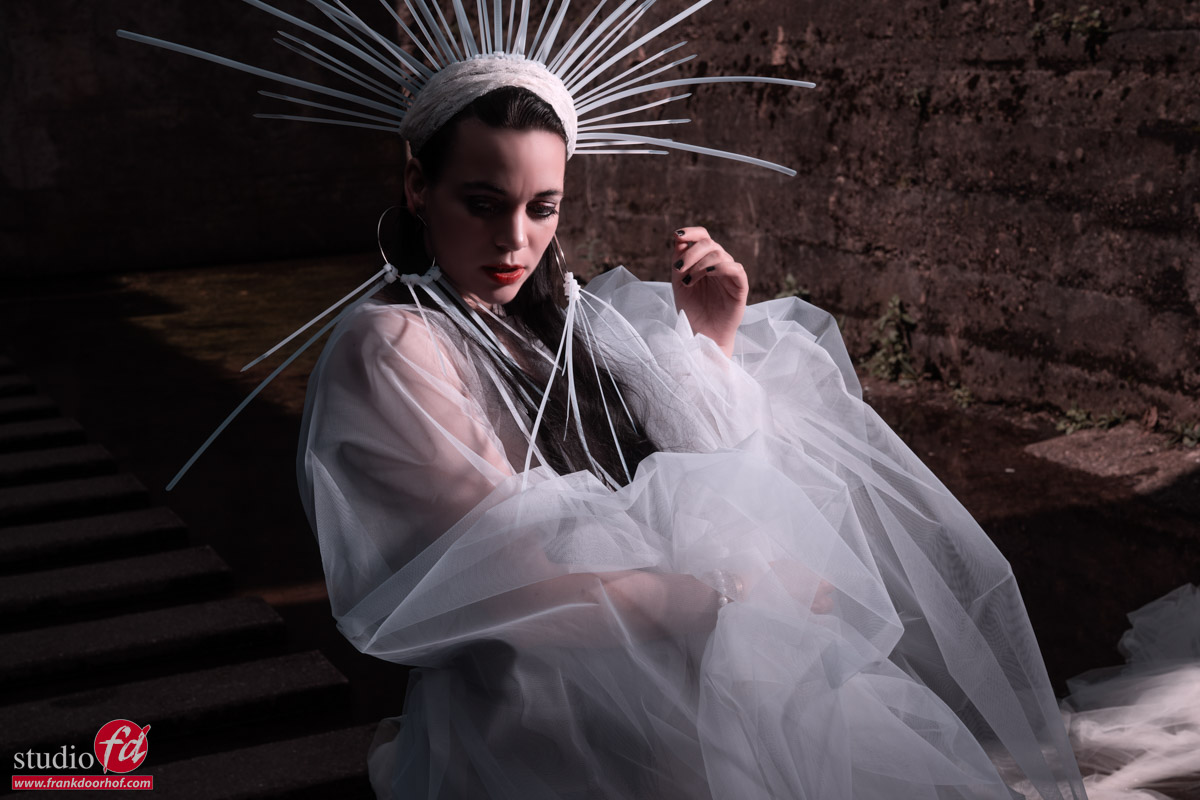
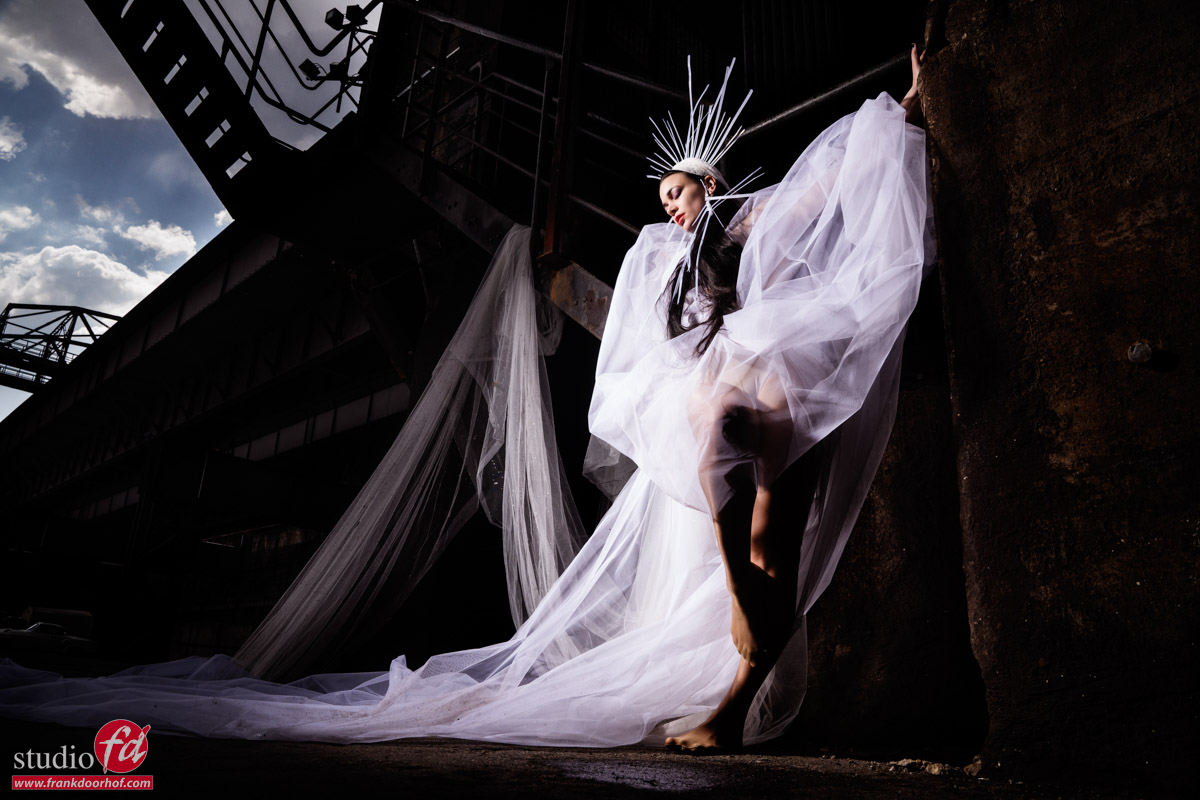
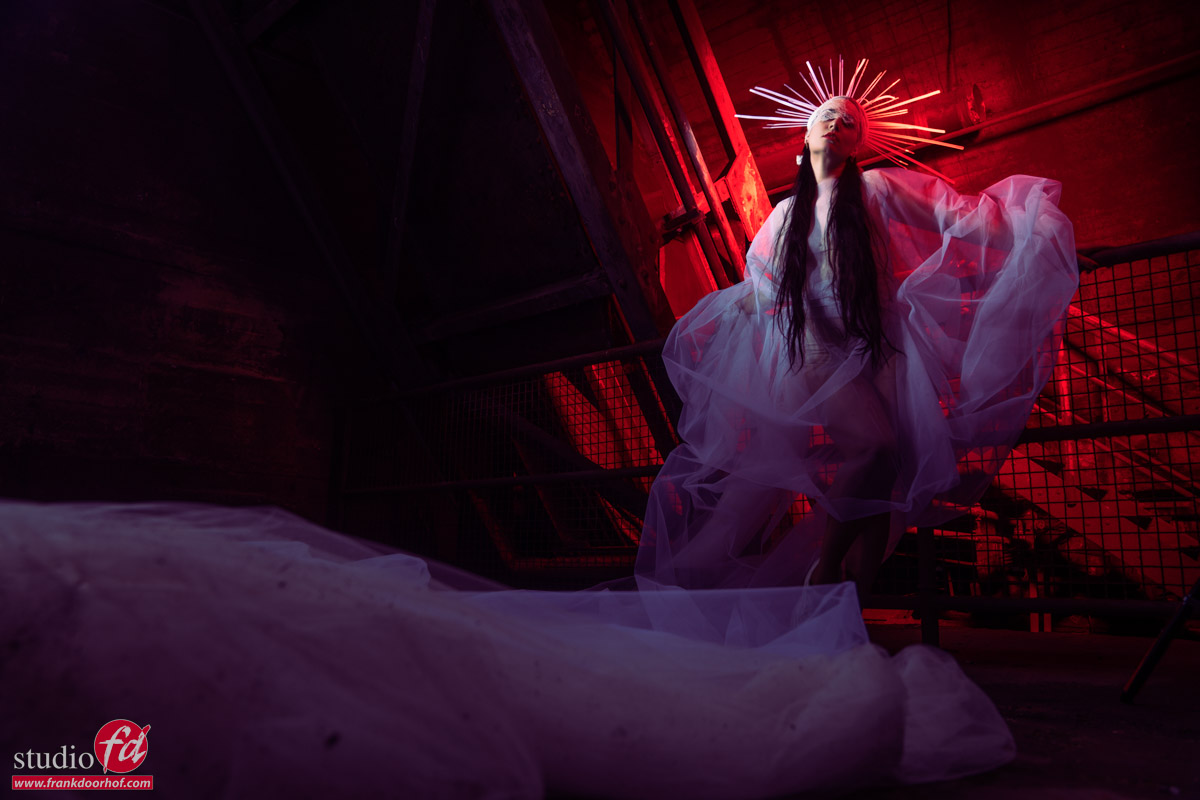
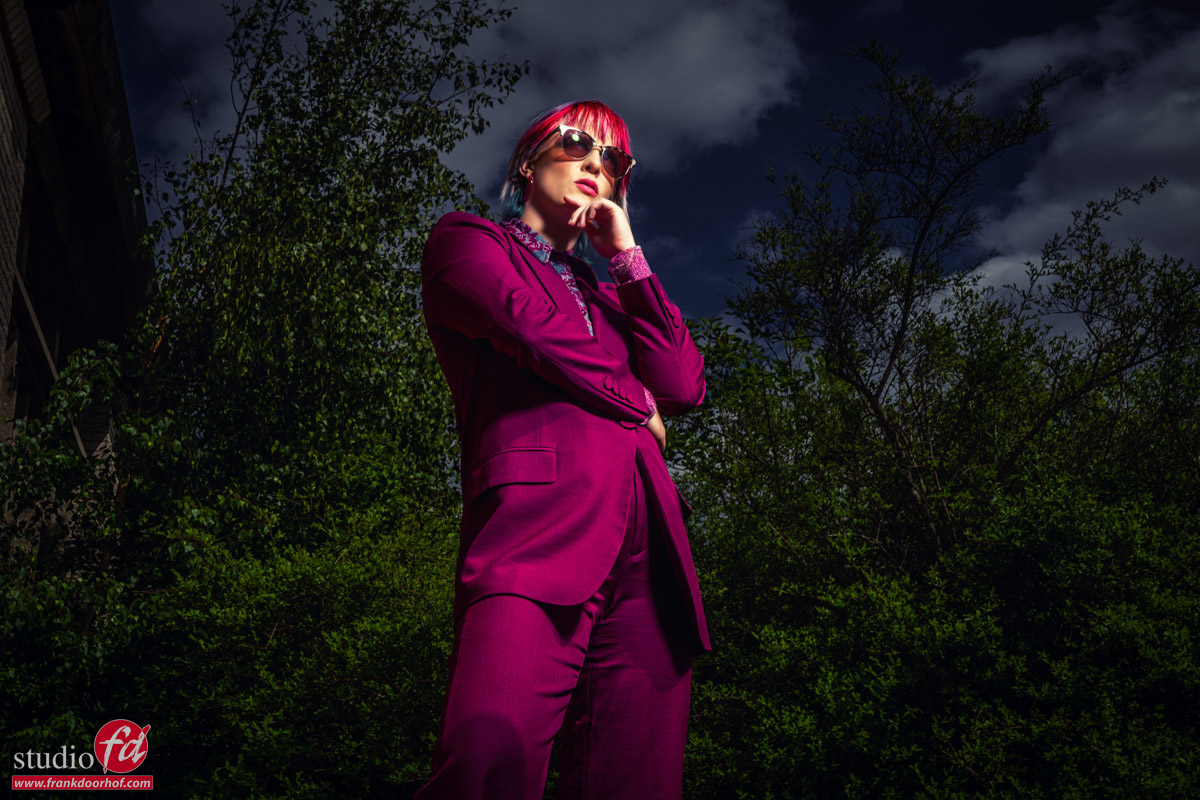
So of course I also shot some with the sky included but we did move the set a bit to make the series more varied.

This is something I always highly recommend.
If you shoot all images from the same angle and in the same location it can be very nice but also a bit boring, and you don’t have to travel or even walk to another location, it’s often a matter of choosing a location where you can shoot from different angles and create something new with every angle. It doesn’t only speed up your workflow but also give your client much more different images for the same price, so they will be much more willing to hire you again for another job.

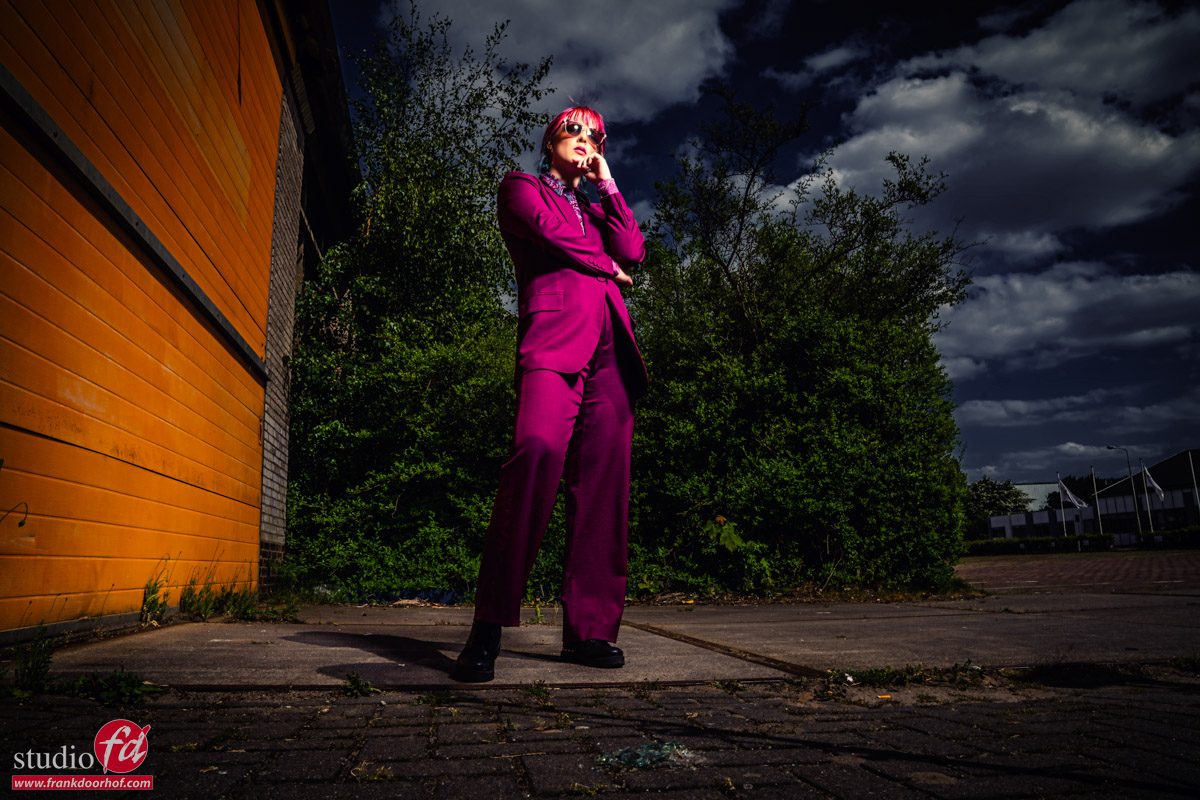
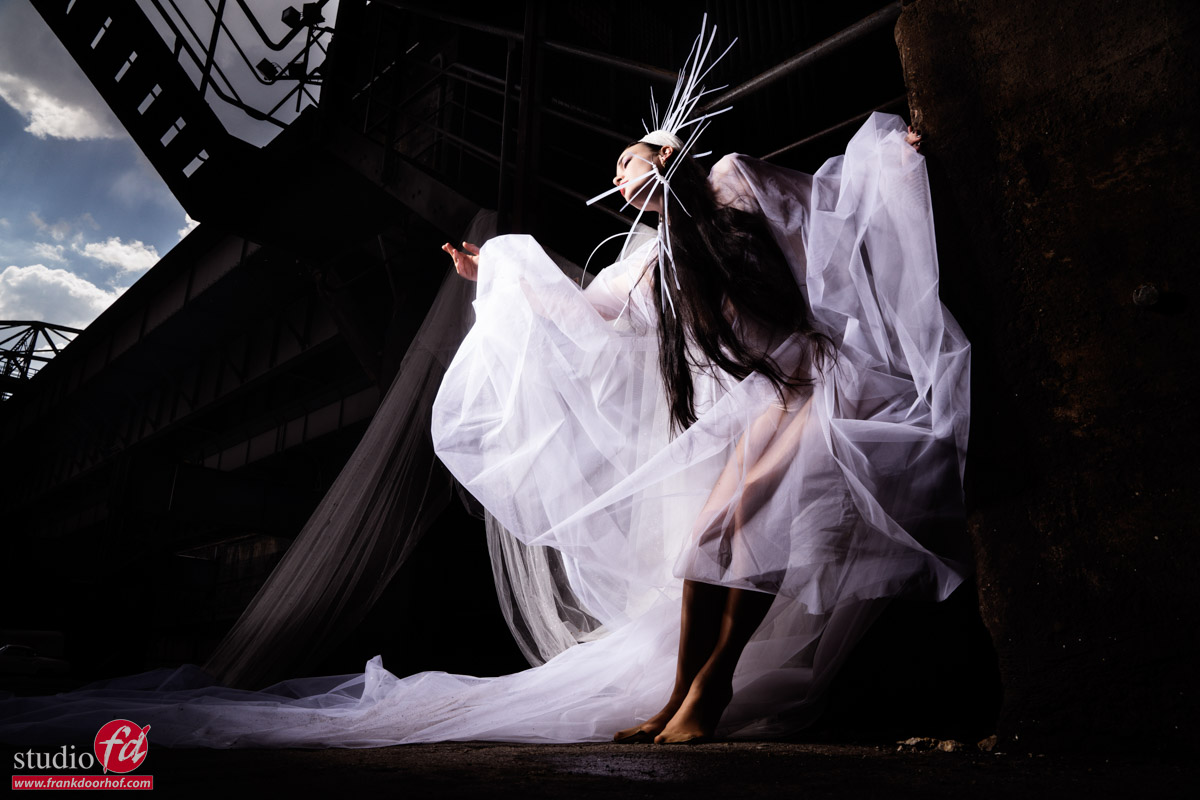
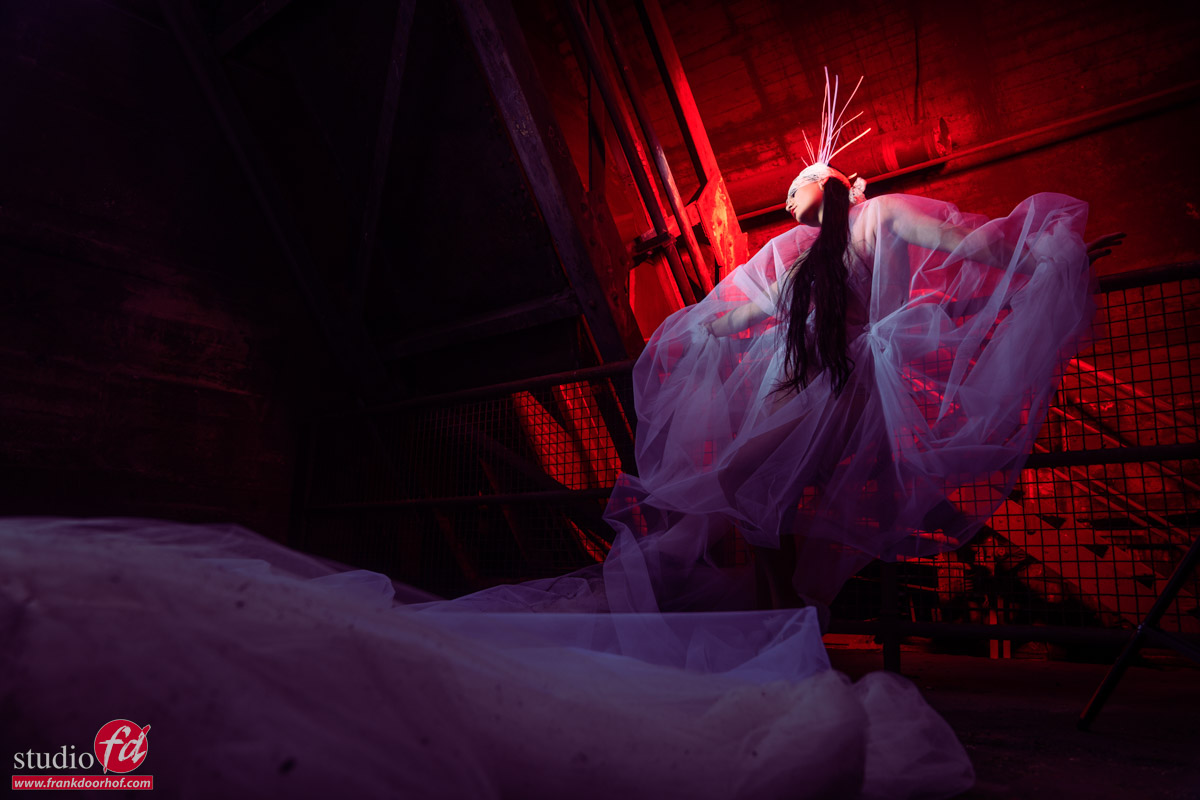
As you can see there is a huge difference between the first and last images.
However in reality it’s “only” the difference in lighting and by choosing different angles.

So the next time you are shooting on location look around for areas that can be shot from different angles and don’t be afraid to shoot with or without strobes.


Results from the Landschaftspark workshop with Nadine

This weekend it was time for an awesome workshop.
The location: Landschaftspark Germany (Duisburg Nord). For Photo + Aventure festival 
An awesome location where I taught a workshop a few years ago. The plan was to come back the year after but Corona had other ideas. So after a few years… this weekend it was finally time to visit this amazing location again.

For a location like this we of course want some fabulous styling and a great model, so we brought Nadine with us 😀
With Nadine, we always know we get some kick-a$$ styling and great poses.

Gear is also essential when working on location. In Landschafstpark we can expect some locations that will be very bright but also some very dark areas. Luckily the Hensel Porty system has no problems with any location you throw at it.

The first set in this workshop is shot with our fiberglass Rogue umbrella.

The nice thing about this umbrella is that it’s very sturdy due to the fiberglass. And on location, an umbrella is easy to bring and has loads of options for lighting your model. And on the Porty we can even shoot in the bright sunlight without any problem.

The first set we did outside with one of the buildings in the back.

For the next set, we move “inside”.

I’m using the 14″ reflector and a slightly smaller reflector to really focus the light on Nadine.
By adding a blue gel I added a touch of color and mood to the set.

We still had a few minutes left before lunch so I quickly set up another option by using the nice structured wall and one strobe under an extreme angle. By moving around the model you can get some cool results very quickly.


After lunch, we decided to take some shots in a beautiful part of the park where you can really work with some nice angles.
I started with the light straight at Nadine as a sort of fill-in flash.

There is nothing wrong with this setup but I really wanted some more drama and “oompf” in my shot, so we moved the strobe to the side and got these results.

When we saw these shots we knew we still had more than enough time to add at least one more set. But how do you improve this I thought?

We decided to go for a location where we could let Nadine interact with the building and use the sky a bit more prominent with some strong shadows and leading lines.

The next shots were done with one strobe with the 14″ reflector and grid.

Sometimes we have these amazing shots and we are happy and stop.

But …..
Over the years I’ve learned that you should always also try different angles. And believe it or not, in most cases those images are at least as good. But often a lot better. The reason is that we as photographers often chose an angle that feels “natural” and it can create breathtaking shots. But when we start to experiment with stranger angles or simply move to the other side….. it often is a lot more interesting.


I absolutely love teaching workshops so I never stop exactly at the time the organization sets 😀


That meant that we decided to not go back to the meeting room but add another strobe with a red gel, move the whole set a few meters to the right, and ended up with maybe my favorite shots of the day.


Many thanks to Nadine for the awesome styling and posing.
Annewiek for filming the whole day (video will be uploaded tomorrow)
And of course the Photo+Adventure organization for inviting me over.
But not to forget the awesome group of students, we had a blast 😀

If you also want to visit a workshop visit www.fotografie-workshops.nl for the agenda.

Choose your angles with care

Walking around your model or chosing different angles can have a huge impact on your final results.

When using a striplight with a grid like I do in the examples, you can make your model jump out from the background, even when using a more busy background. And you don’t need to add a vignette later in post processing.

By moving around the model you have a great control over the contrast and look of the image. You can go from relative flat to very high contrast. It’s a technique I always use to get the most out of a setup or give my client more choice

When you also add lower and higher angles you can see that with only one lightsetup you can get a lot of different looks.


In the following examples I’m using the #clickpropsbackdrops antique navy wall. The wall is blue and by using red in the clothing and accent light you can get a really cool effect.