Lighting tricks that work…..using the light behind your model, yes it works like a charm but it’s special
Sometimes you’re looking for something different, something a bit more daring or edgy.
Now mostly during normal shoots we always try to keep the lights out of the final results, but also to take out as much of the flare as possible. For the flare we have great coatings on lenses nowadays so when you add the sun hood on your lens you probably won’t have any problems with flare.
Something else
But as mentioned, sometimes we want it differently.
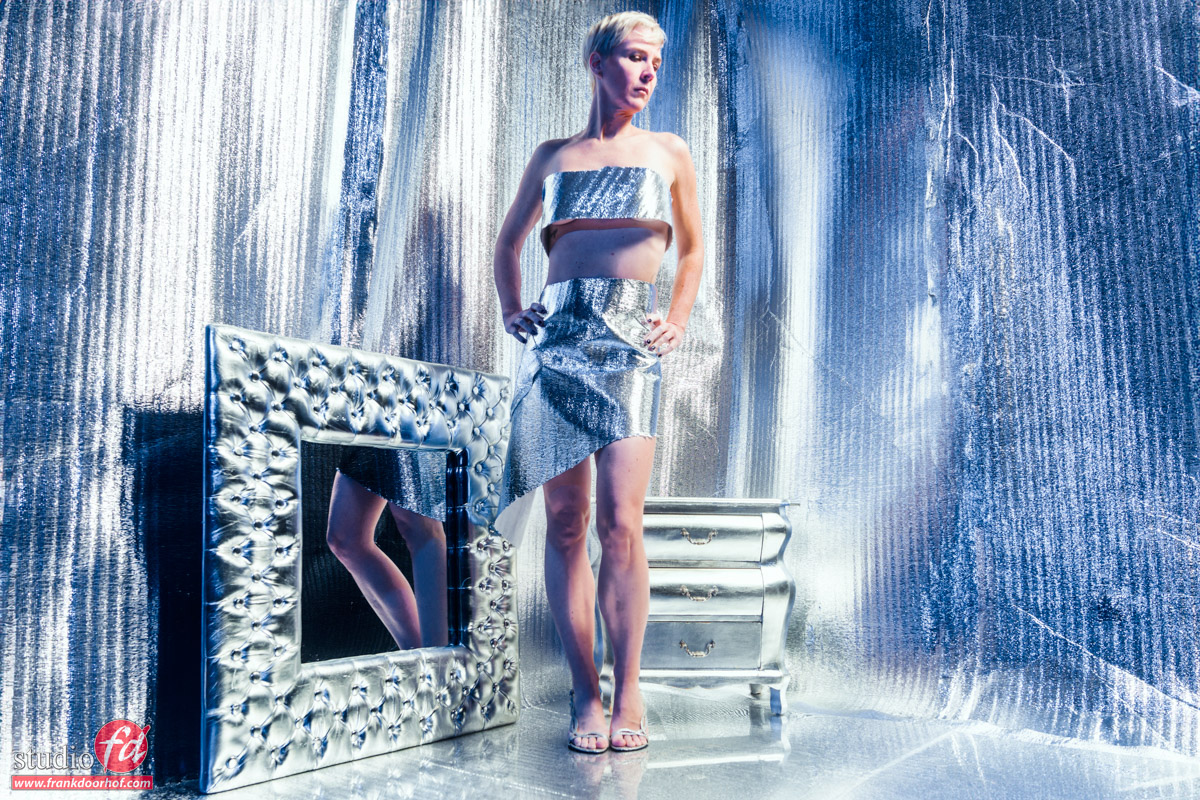
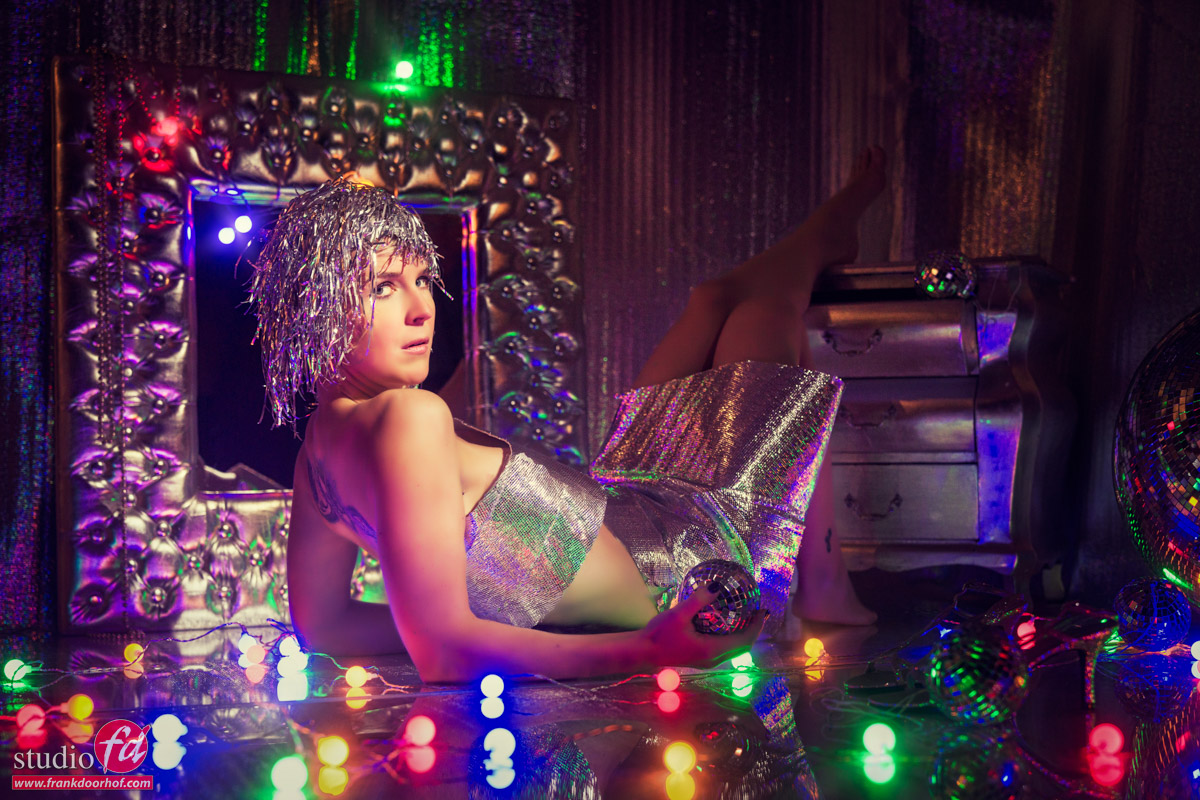
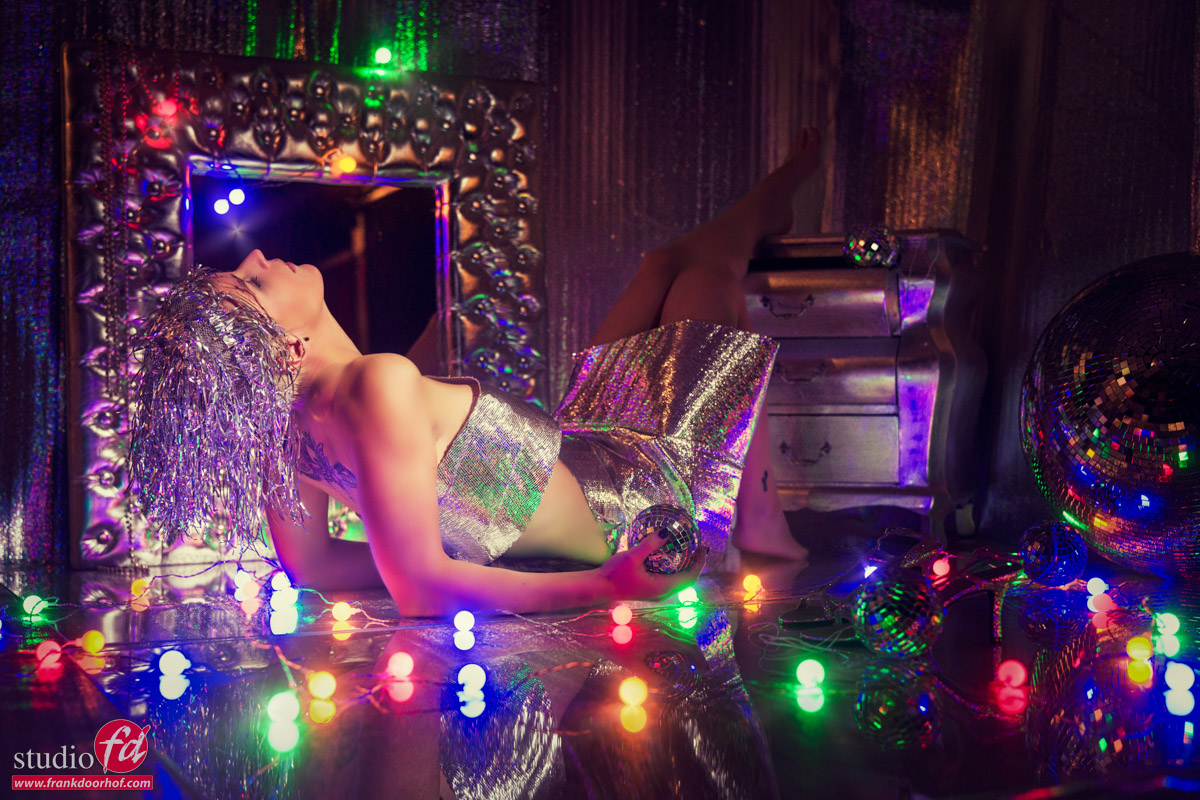
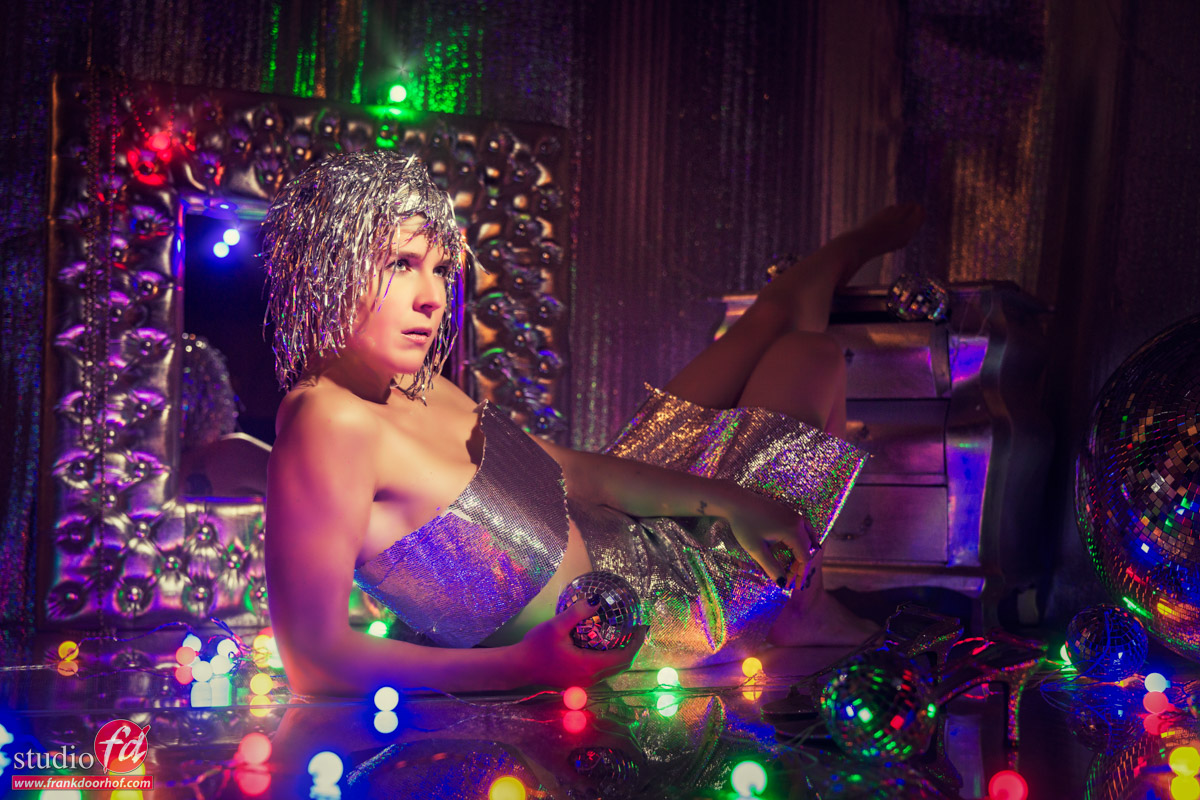
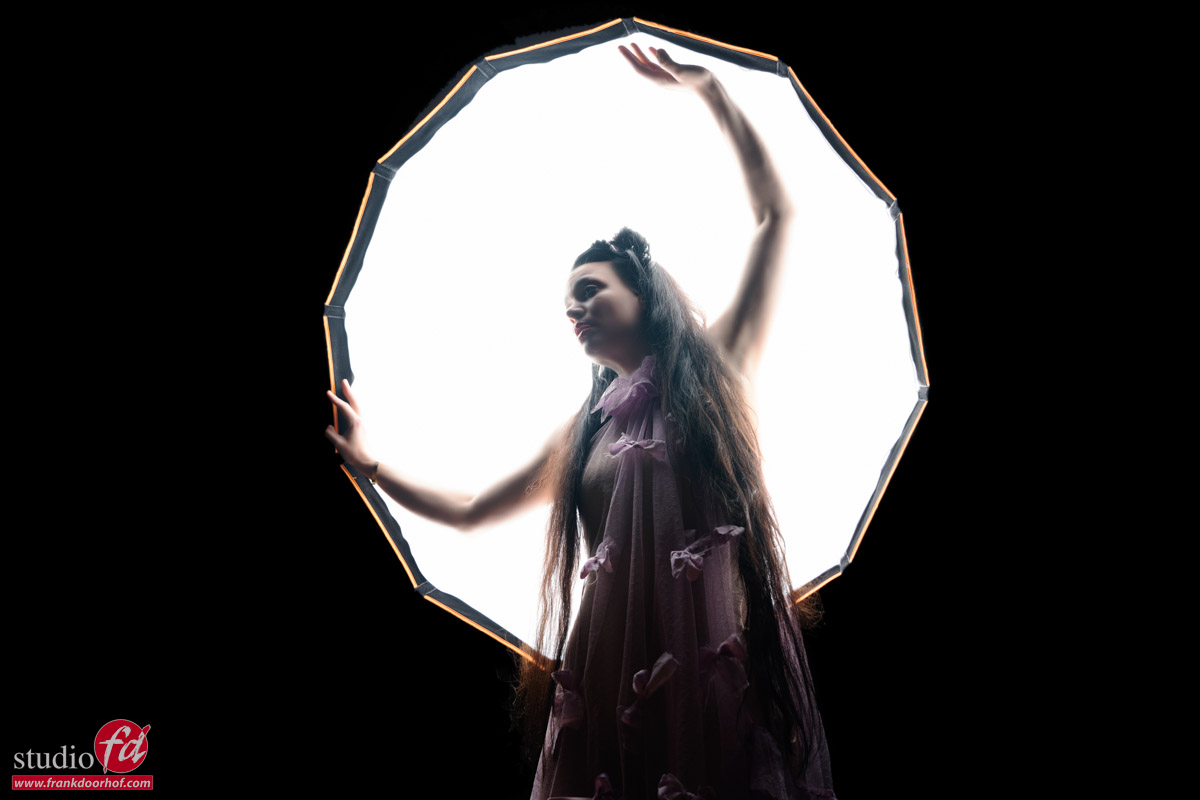
In the shot I’m still using a mainlight (Geekoto GT400 with the 26″ softbox) but the most of the effect of the shot is coming from the striplight in the back. For the extra flare I’m using a K&F Concept black diffusion filter on my lens.

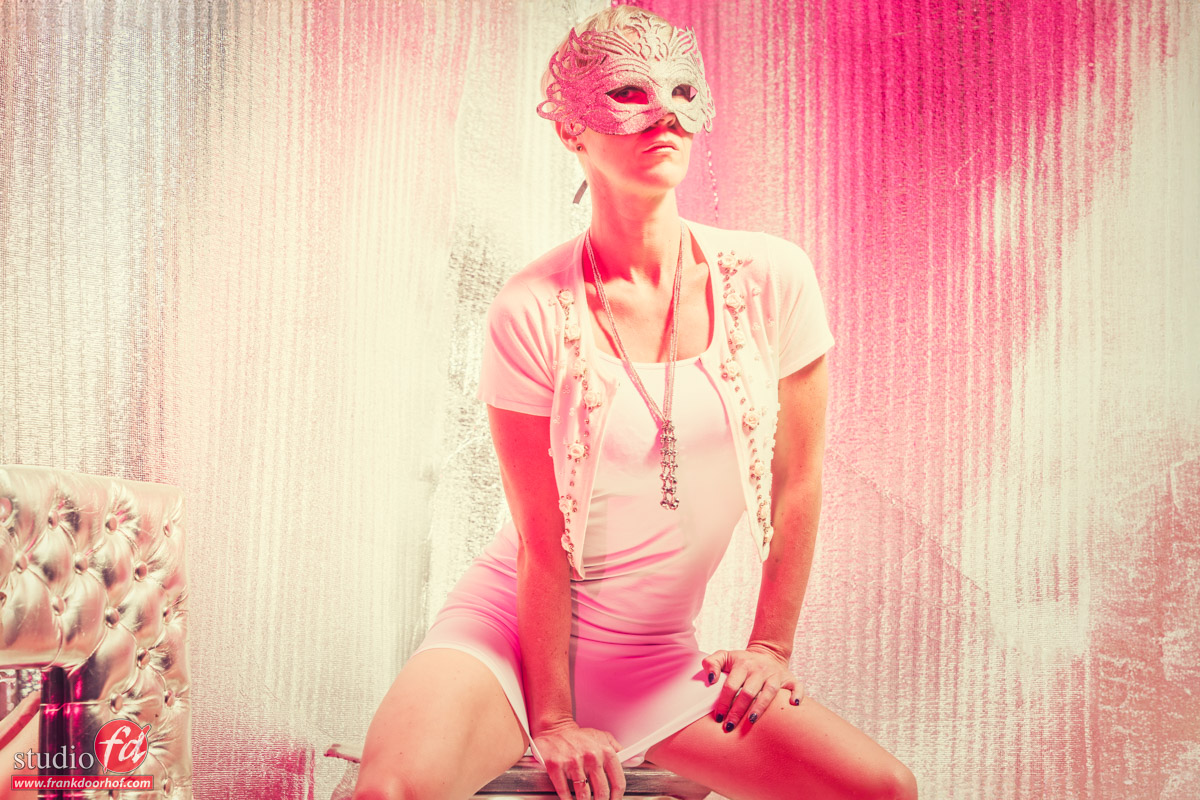
One big softbox
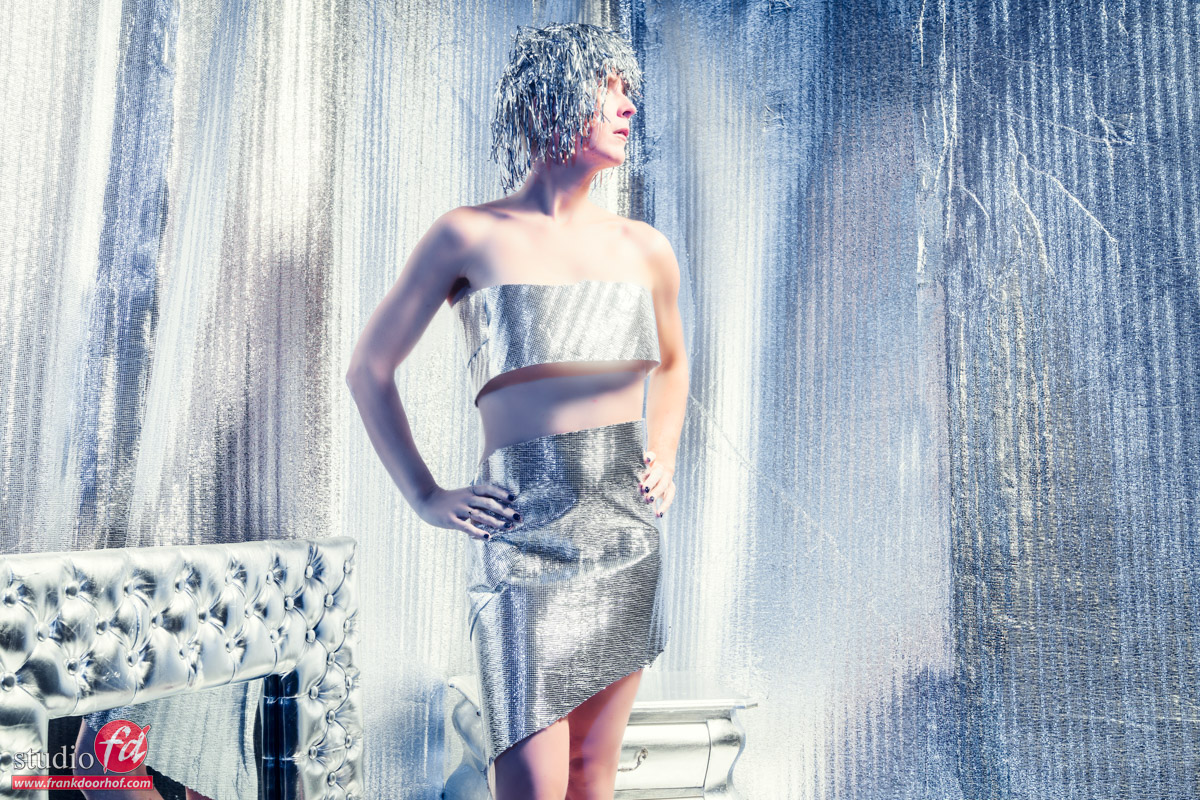
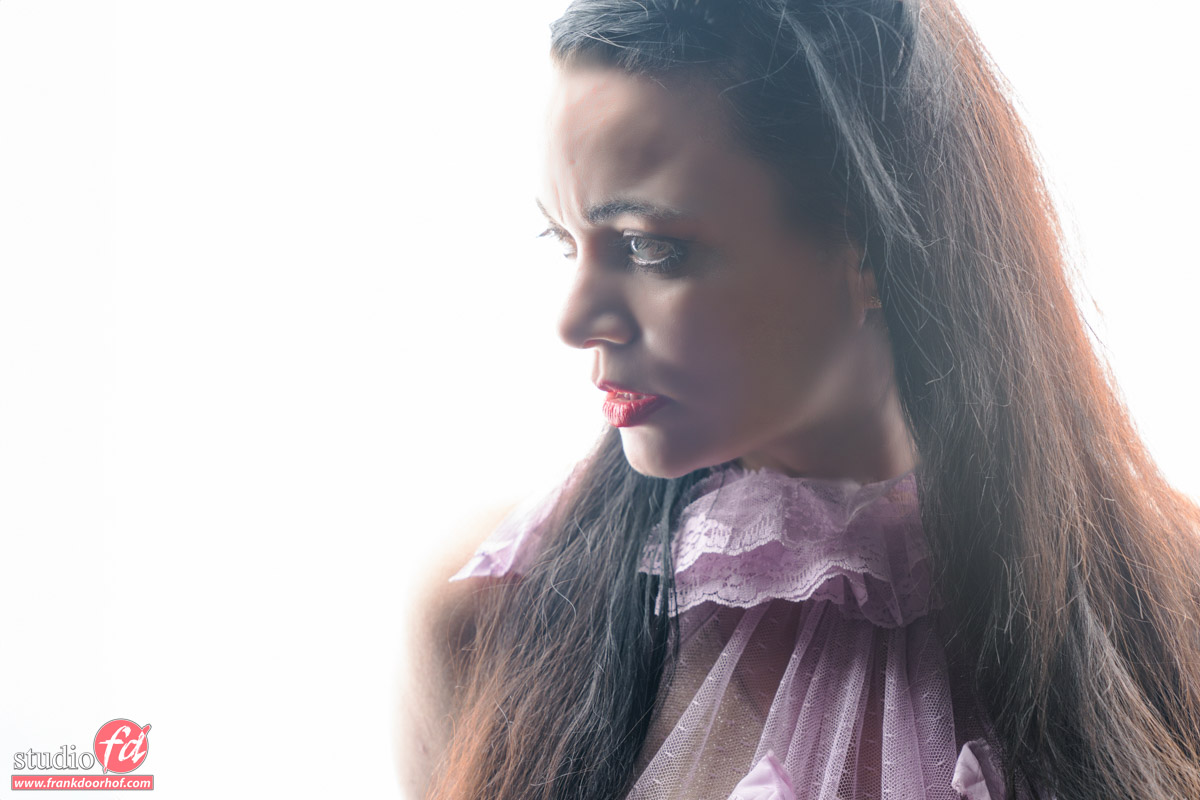
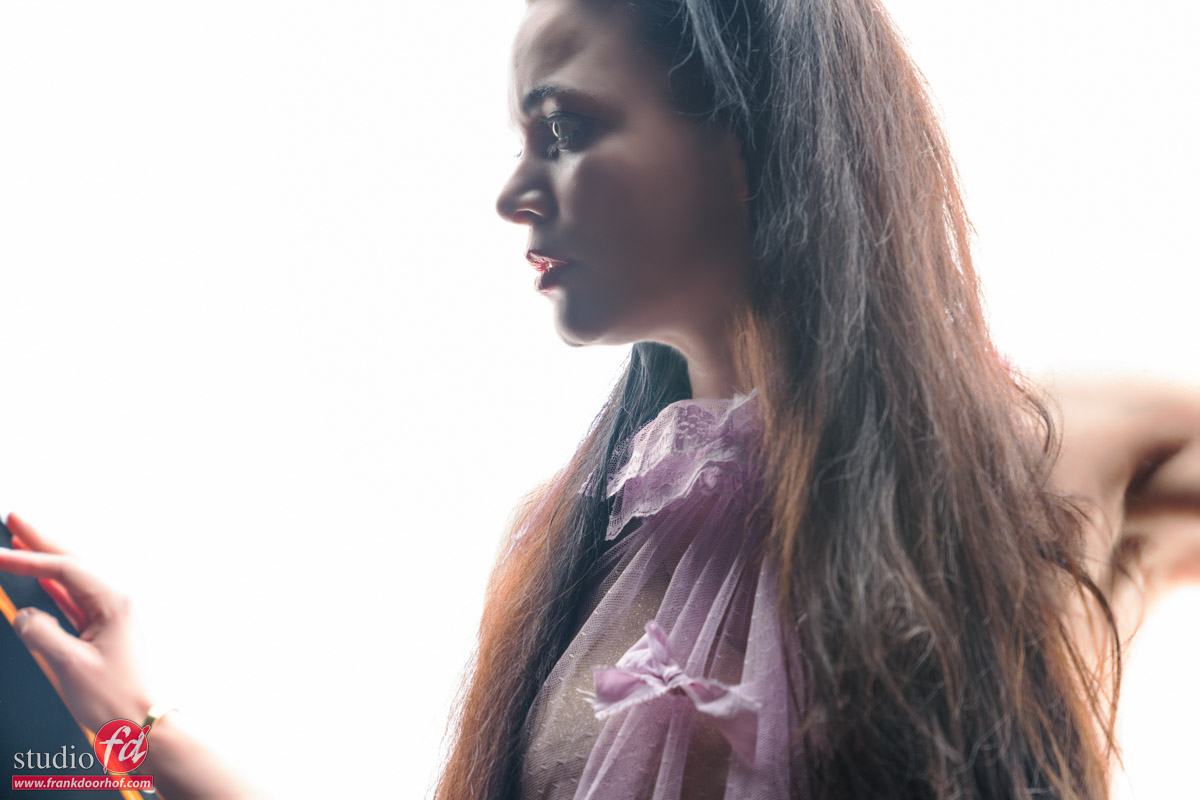
Now what if we replace the striplight with just a big softbox and don’t even add a mainlight source?
We get a very nice setup for some high-key portraits or just fun/different shoots.
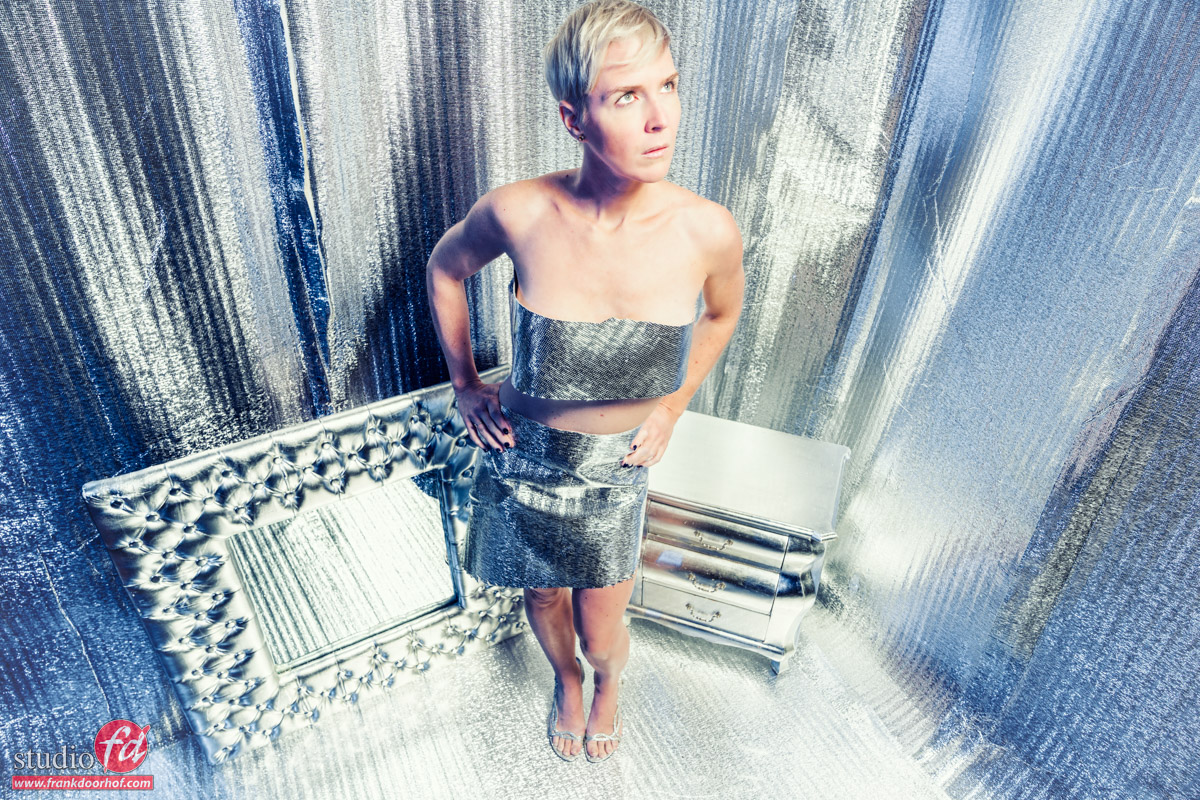
You do have to be careful which way the model looks, straight on will be very ugly in most cases, but looking to the side can work like a charm.
Do make sure to take of the diffusion filter 😀 that will be a “little” bit too much.
Model : Nadine
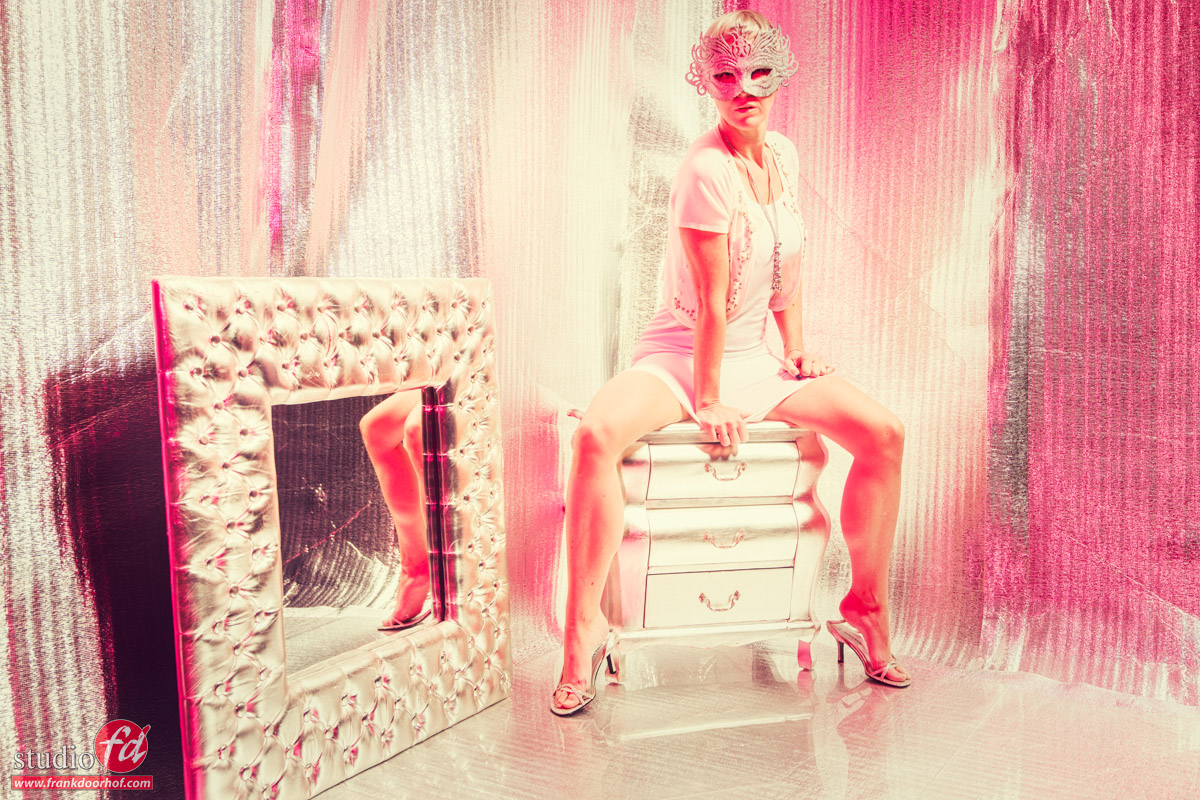
Conclusion
As you can see using your light in different locations can give you awesome results, but getting the lights in the frame and giving them a purpose within the shot can really spice up the results, add some special effects with filters and … well your own creativity is the limit.