Tag Archive for: coaching

Having fun with poses. This will get you more dynamic photos and much more fun during the shoot

We all want stunning images

We all want images that jump off the screen! But how do we get free of the “forced” poses? Today I talk about breaking the forced poses and getting more dynamic photos. Like most people when I started with photography I was using the so-called “posing” books. One thing I learned very quickly was that although some worked. It always ended up looking forced, or just plain awkward. And let’s be honest, every person is different so having a posing book in hindsight does sound a bit weird.

Finding the perfect lines in the body of your model

One thing that I learned after the posing books was finding the lines in a pose.
Sometimes it’s a nice flowing S-curve in a pose, and sometimes I love working with triangles.
Now in all honesty I didn’t really look for triangles. It just happened that all the shots I  liked had some triangles in the poses.

Letting go, go with the flow in your shoot

When I started shooting more and more models and also did assignments for brands it became very clear that posing a model wasn’t a thing I liked. Luckily at that moment, I worked with some models on a weekly (and sometimes several times a week) that were always in for experimentation. Also during that period, I watched several videos on the work of LaChapelle, Avedon, Newton, etc. and the thing that really caught my eye was that they most of the time didn’t really pose the model to perfection but also just let the model go.

The moment I let go was the moment my photography changed from “stiff poses” to much more free-looking and natural poses.

The trick is actually incredibly simple.
You pose the model for 50% of what you want, angle, leaning against something, etc.
And after that you…. well just let go and shoot.

So let’s take a look at what happens.

Some examples where I let go and just shoot

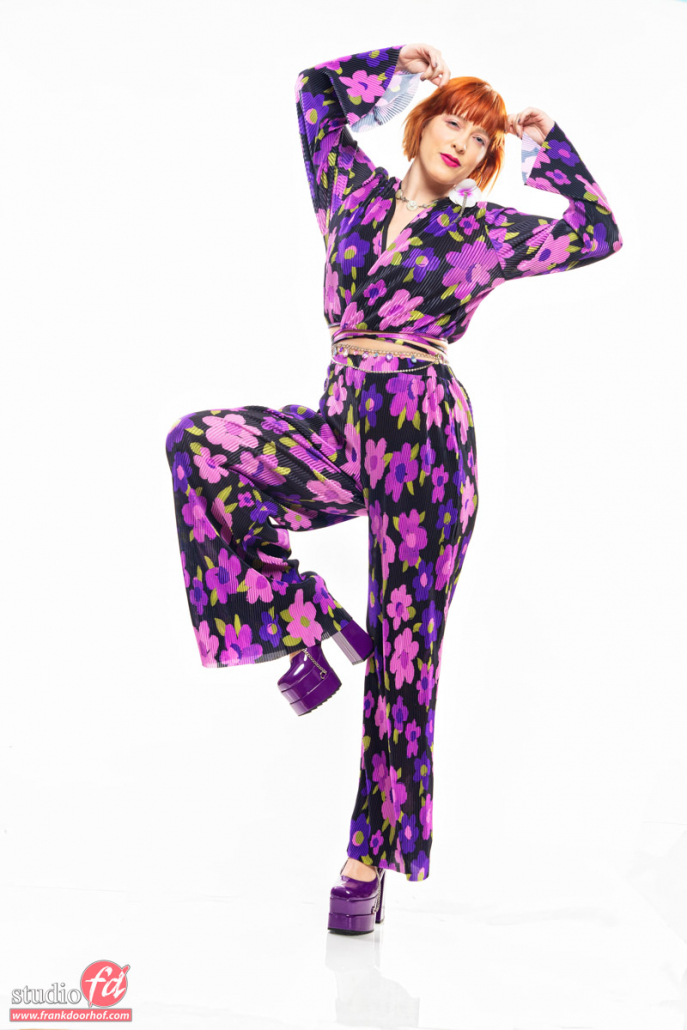
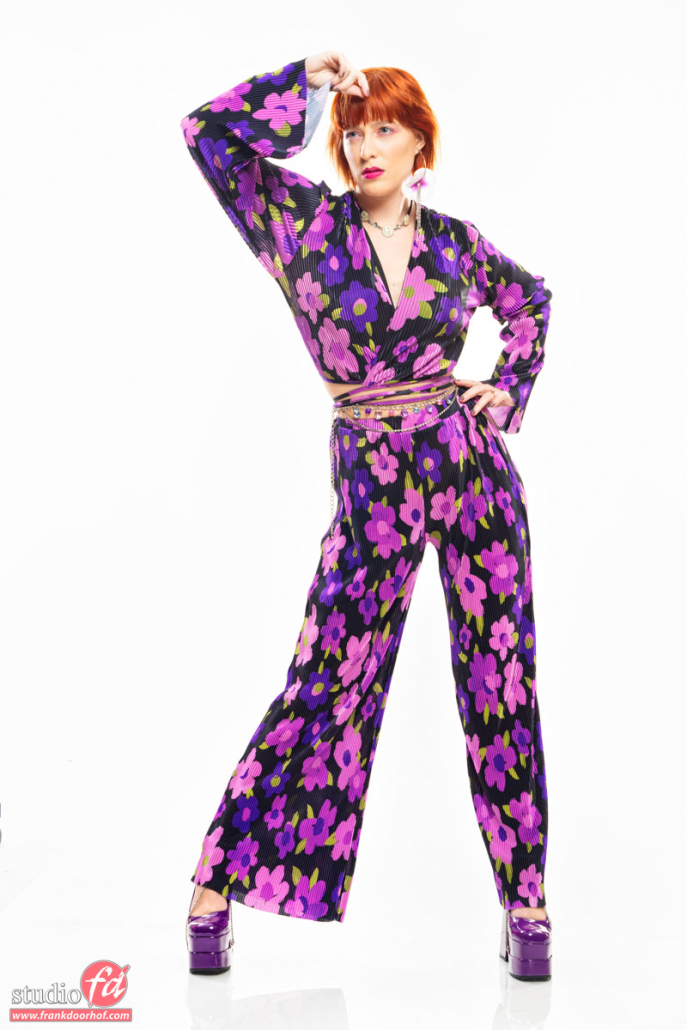
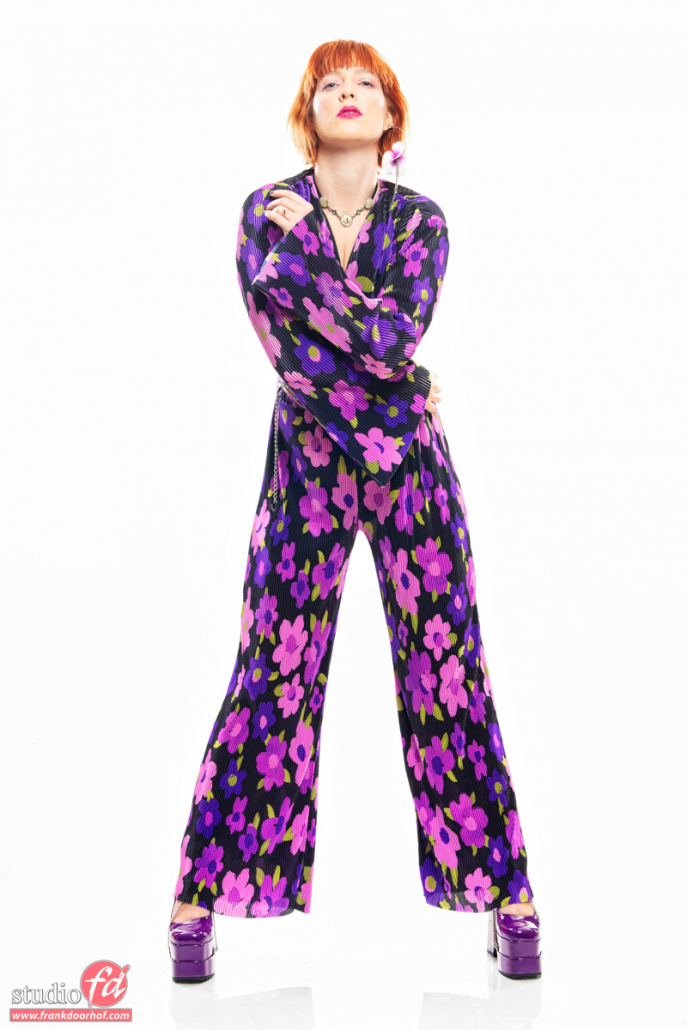
During a recent workshop with Claudia, we did exactly that.
I chose the most simple background setup and lighting so the model had to do all the work.
The nice thing about this approach is that you will always get fresh looks. Instead of always seeing the same poses. But it also really loosens up the model and the mood in the studio. Put on some music and just let the model literally flow through the poses and keep shooting.

So let’s take a look at some of the results from a few minutes.
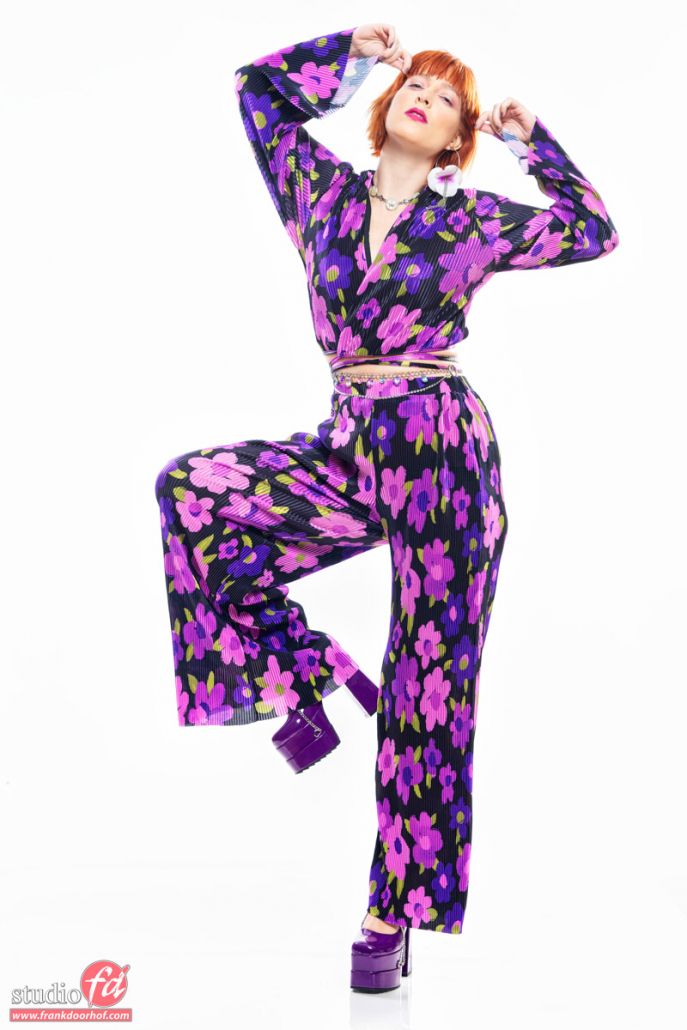
How do you get more dynamic photos? Go with the flow.  How do you get more dynamic photos? Shoot and find angles and curves in your model's body.

Now it might not immediately catch your eyes, but when you work this way you will find that not only the poses look much more natural and “flowing” but also the expressions of your model will be much more relaxed. and that is the start of more dynamic photos.

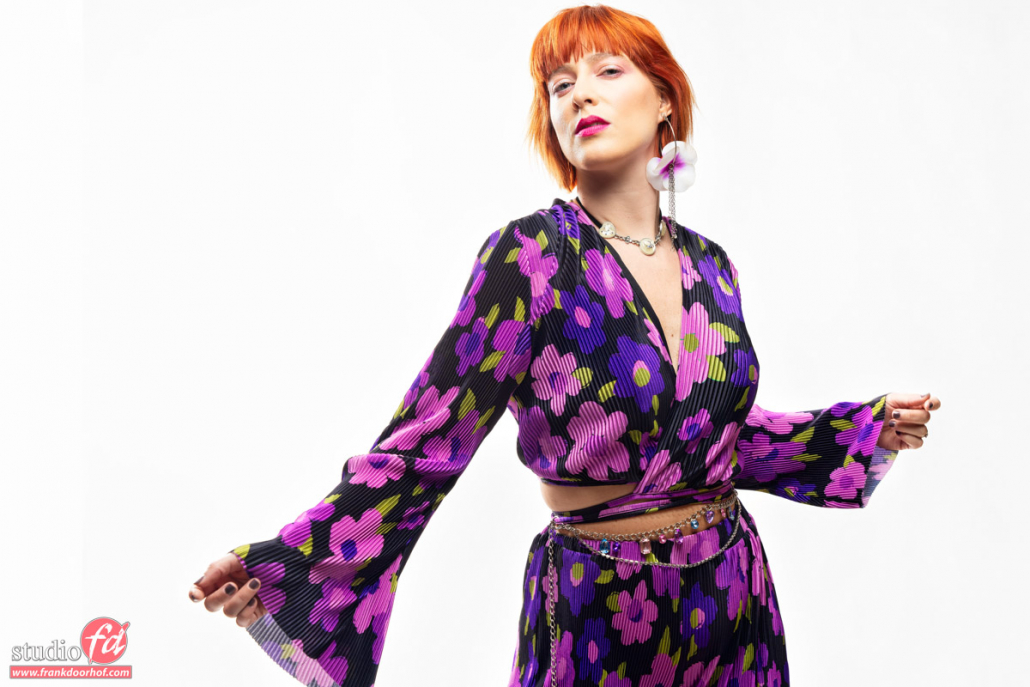
And of course, don’t forget some close-ups 😀
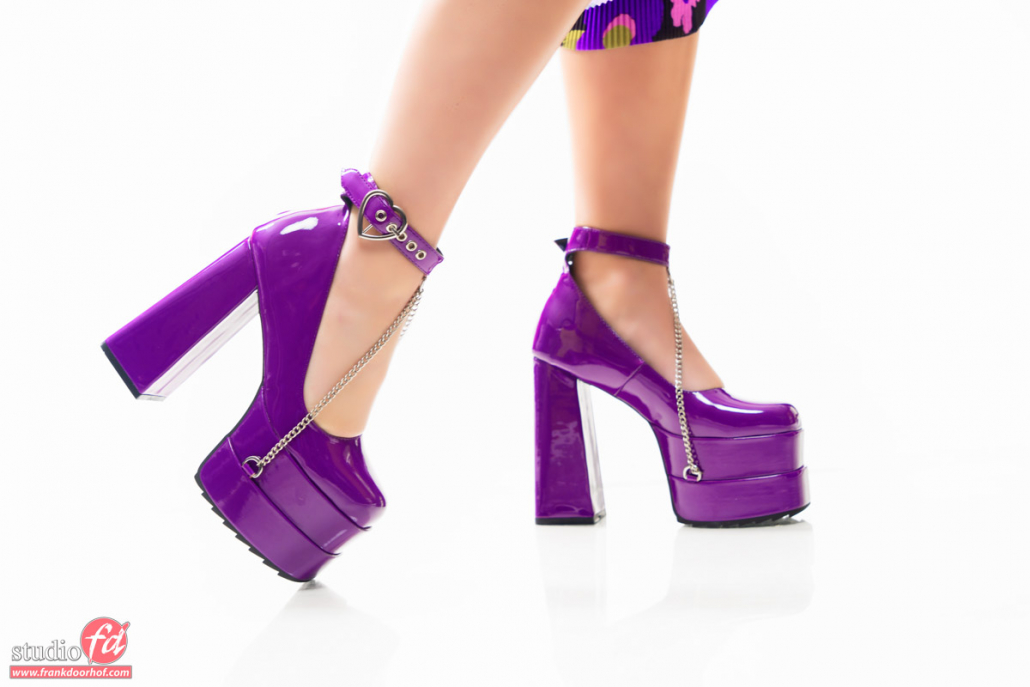
don't forget te close-ups How do you get more dynamic photos? Go with the flow. Let go. Shoot and find angles and curves in your model's body.

Conclusion on how to get more dynamic photos

Of course, photography is very personal, and what works for one won’t work for everyone.
However, over the years I’ve found out that getting the model at ease and relaxed really boosts your photoshoot and gives much better results than just pushing a model into a pose.

So what is your next move to get more dynamic photos?


Claudia is an amazing multivalent! check out the blog where I used seamless paper as a dress

Fashion shoot? use this is a great backdrop for more impact


Check out this video about using a reflector

A set built with isolation blankets for… zero

A set built with isolation blankets?
Why not?


Today in the blog some images we shot with our model Trista during a recent workshop.
We recently had the studio roof replaced and of course, that also meant that we have some stuff left, including some isolation blankets.
The moment we saw them we knew we had to do something with them.
We have already built sets with rescue blankets (gold/silver) but these were a lot larger. And in the end, in all honesty, it just didn’t work in this set. But I think they would be awesome as a background for portraits, so I think you will see them again in the future.

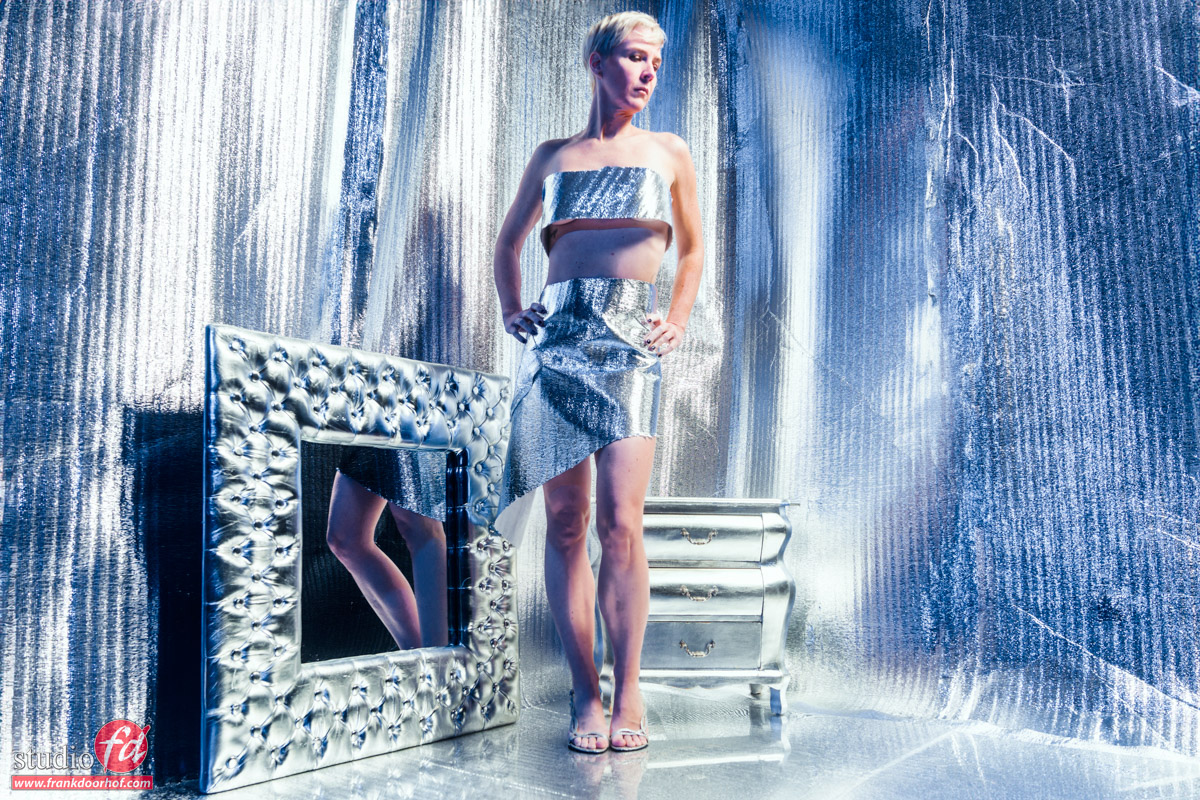
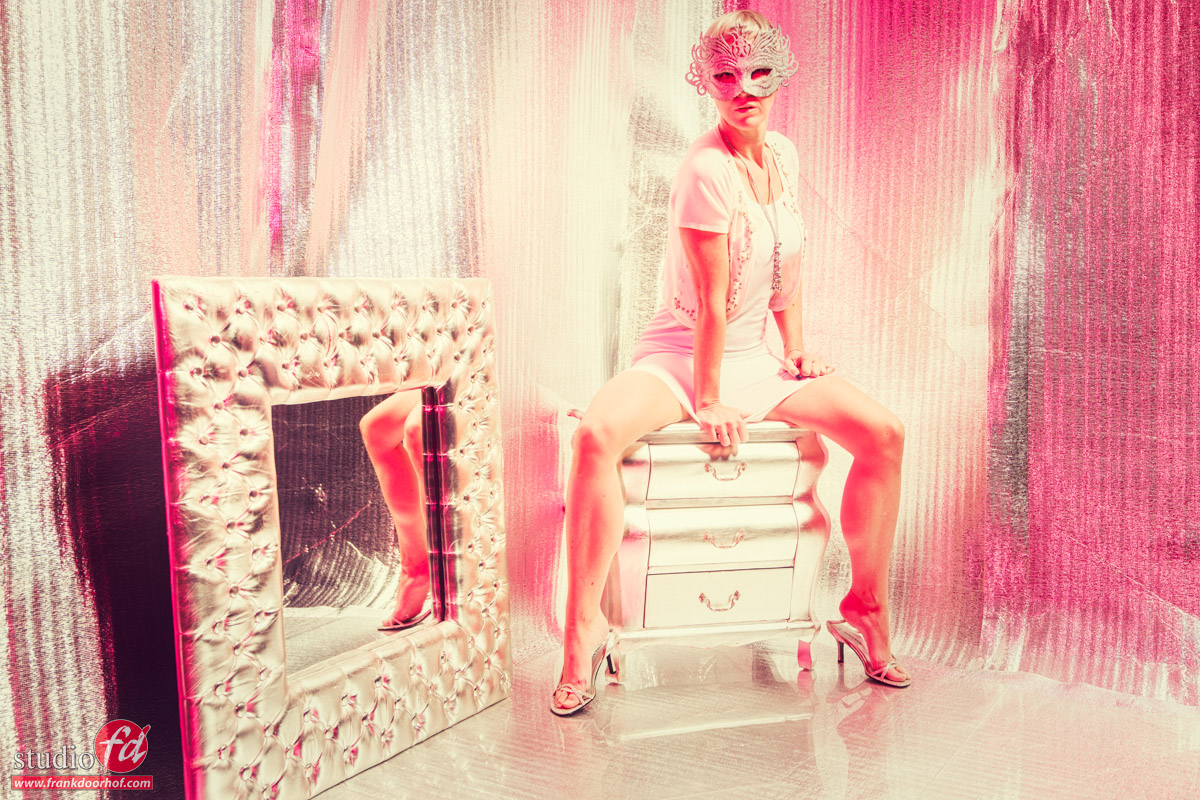
Let first, start with the initial setup. We used our movable walls and taped the isolation blankets to it.

a set built with isolation blankets, why not?

As you can see the set is far from perfect, but somehow it also works.
Here I’m using the mirror to mirror the legs and the accent lights, I talk a lot about walking around the model to get a different kind of contrast, here you can clearly see what the angle does on the legs, this is not photoshoped 😀

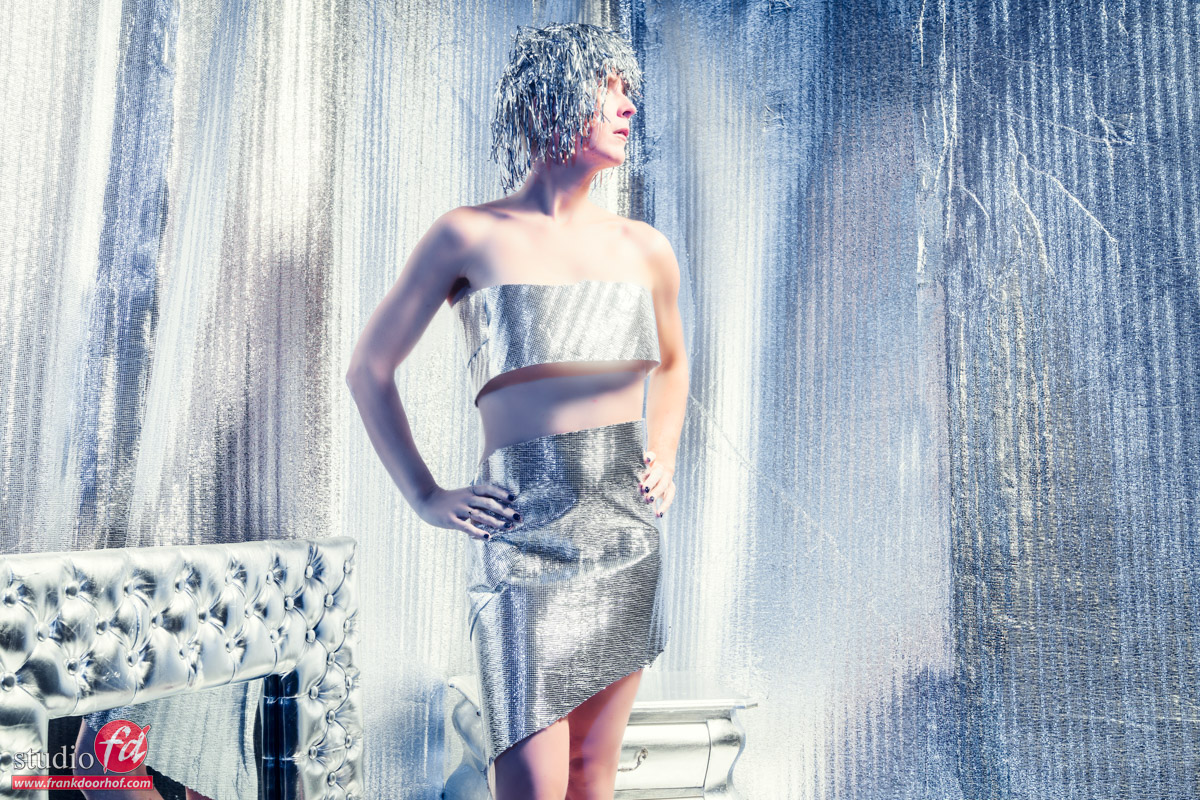
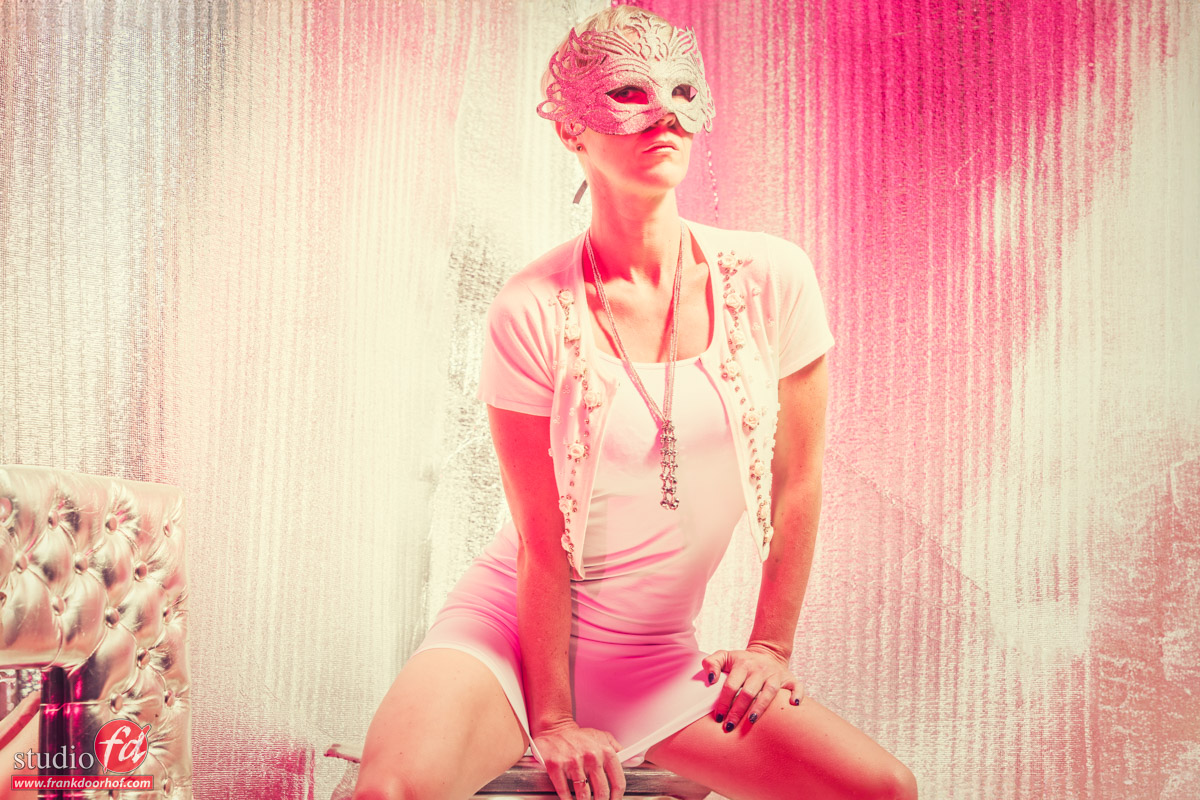
Of course after that I oped for more close ups, mainly because I didn’t like the set for full bodies.

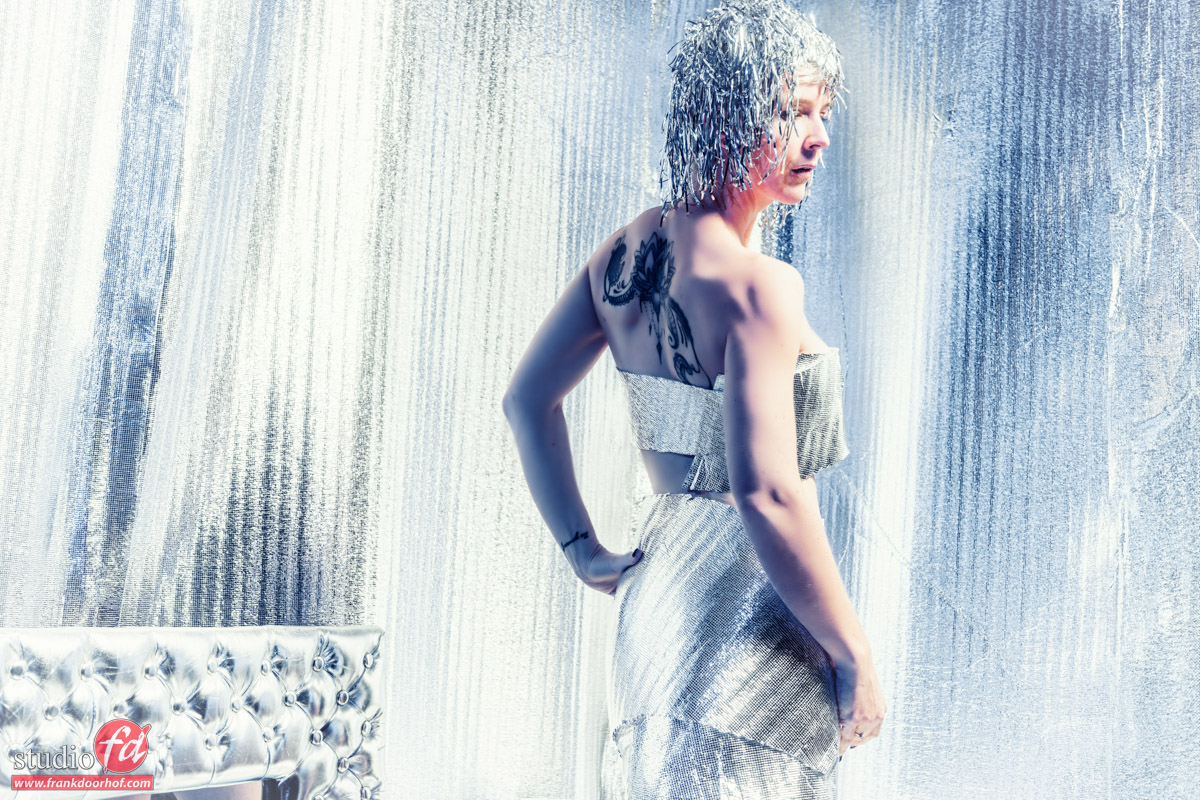
This I liked a bit better, but I also tried one from the back.
And to be honest I’m still in doubt between the two which one I like most.

move around your model in the set built with isolation blankets

Angles, angles and again angles….

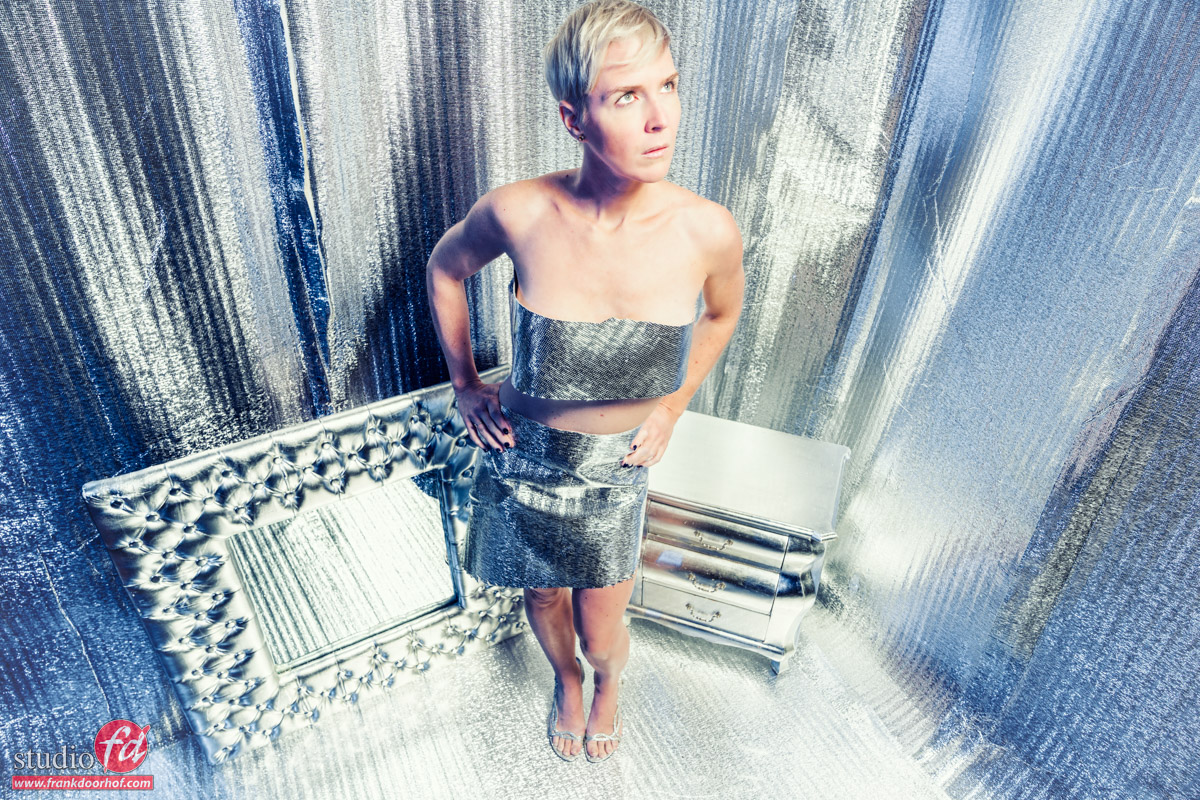
And as usual, always try different angles.
I can’t tell you guys enough how much impact the shooting angle can have, not only in lighting but also with the total way the image looks.
Lower angles will often give a “hero” feel, where higher angles sometimes give a really cool effect.

Adding some color….
Or a lot

After the “standard” setup I opted for a lot more red in the scene.

Now be warned, these images are far from the run of the mill images, but sometimes I just love to go to the extreme sides.
In this case I opened the aperture a lot (to the point of overexposing) just maintaining the highlights in the skin, I didn’t want the skin to overexpose, this often looks awful in color shots, the only thing you could do is convert it to black and white where we are often a bit more forgiving for overexposure. But best is to keep it just below overexpose on the skin, you can always go to black and white later if you want.

Im adding a Rogue omnidirectional dome here with a magenta gel, and although I’m still using the mainlight the red really overpowers everything giving it a totally different vibe.

adding red to a set built with isolation blankets

As you can see by just adding some color you can change the look of our set built with isolation blankets completely. Just make sure the model covers up for certain angles.

Feel free to reach out with questions.
A like and share on social media is highly appreciated.


Check out the short about the rescue blankets 


Subscribe to our newsletter 

Digital classroom with Kimberley

Digital classroom is without a doubt one of the most intense things I do online.
The idea actually started out as just having a camera on during a photoshoot, we did this a few years ago and people loved it, being able to see what we do during a photoshoot. At that time there was not much going on to be honest, it was mostly seeing the model being in makeup, some movement in the studio and of course the Photoshoot, but still people loved it.


Years later we wanted to pick this up again but with todays market you have to do something unique so we thought hard and decided we would let YOU the viewers interact with the shoot, but as soon as the cameras rolled and we were live things changed…. I love teaching and that was exactly what I started doing, explaining what we were going to do, showing the light setups, giving tips and even showing the complete retouch process….. this was a huge succes and now we can do these broadcasts every month thanks to companies like BenQ and Rogue/Expo imaging because without them this would never be possible.


Today I can show the digital classroom we did with Kimberley and watch this space on Monday for the results.
Enjoy… oh and if you REALLY want to do us a favor…. subscribe to our channel via this link…..


Now this is of course free, imaging what you get with one of our instructional videos you can order from our site, make sure to check them out and learn even more in depth techniques and tips.


Topics include :
Small flash, the light blaster, Rogue flash benders, how to meter light with a light meter, the new Sekonic 478, how to prevent reflections in walls, windows, glasses etc, how to coach the model, angles, gear, retouching in Photoshop and Capture one, tinting with Aliens Skin X and Capture One, some cool retouch tips and MUCH more…..

How to shoot a model that’s lying down

This must be one of the most asked questions during workshops and especially the glamour workshops.
“How to shoot a model that’s lying down on the floor?”


Now at first this might seem simple.
Just lay her on the floor (watch out where you walk) and shoot her.
But in reality it’s often not that easy, for example what to do with the light, what to do with the background, what to do with her legs, pose, eyes etc. there are actually many things that can go wrong (including tripping over her).


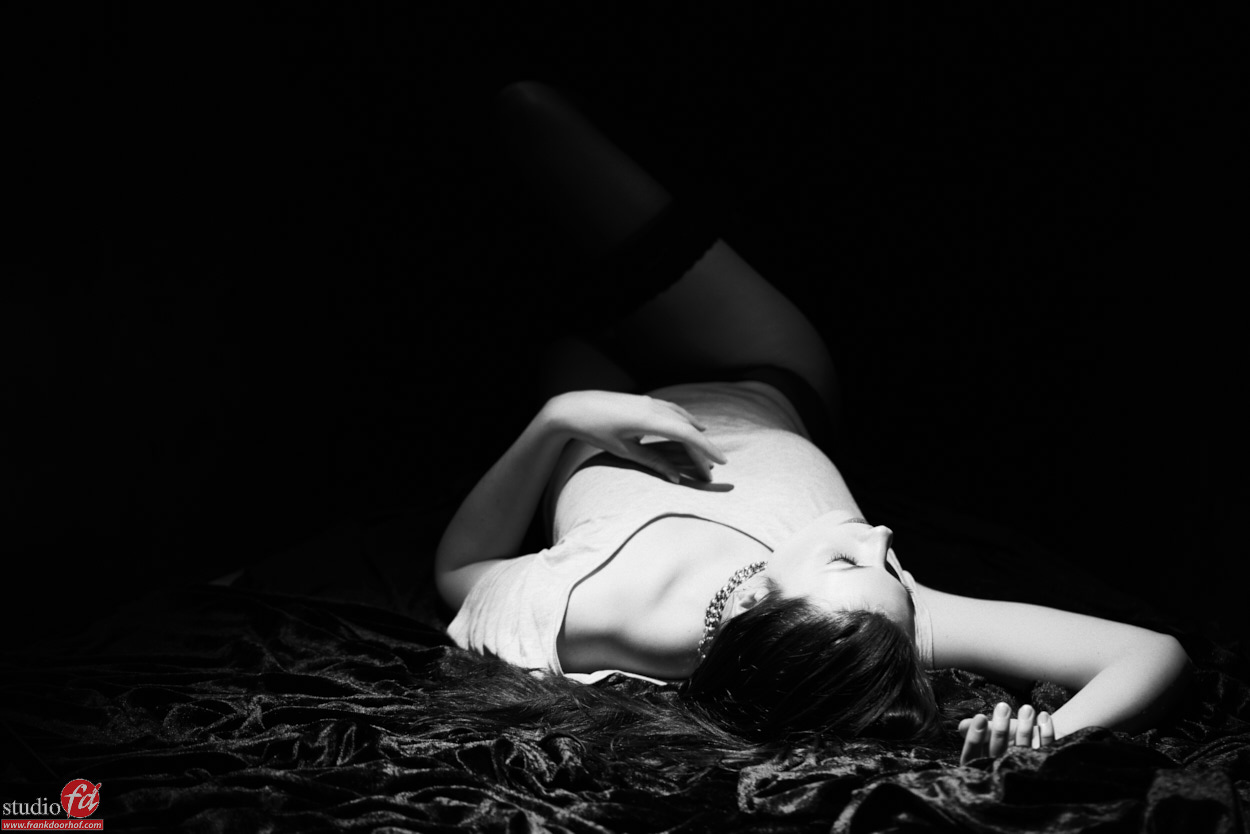
In this shot we used a speed light to light the model from above.
As a modifier I used the Rogue grid which is awesome to really pin point the light to our model Ingrid.
One of the things I love to do with these kind of shots is make the light fall off, this also immediately takes care of the background which in most cases in studio work is not that interesting. Make sure the background is dark (no shiny objects like stands in the back) and just change the grid (or the distance of the strobe) so that the light fall off is nice and covers her face and just a bit of her lower legs in the pose you like.


Remember that you narrow the beam of your light with :
The distance of the strobe relative to the model (further away will make the beam wider)
The thickness of the grid (the thicker the grid the narrower the beam)


Now the light fall off you can determine two ways.
1. the hard way and long way.
Just shoot, and look, change, shoot, and look, change etc.


2. the easy way and looks pretty darn professional (meaning it looks like you actually know what you’re doing).
Use a a light meter and make sure the difference in light between the face and the part you still want SOME details in is app 4 stops apart, meaning if the face meters f11 the fall off should meter app f2.8. However in most cases we shoot this kind of stuff on f2.8 to get a really nice shallow depth of field (later more on this) so to make metering a bit more easy you can cheat a bit by setting your light meter to meter on ISO1600 while you shoot on ISO100 this way the meter will not show you the dreaded EU reading (Extreme Underexposed… yeah I know it means something different).


So as soon as we have the light fall off correct it’s important to talk about lenses.
We want a shallow depth of field so this often means we are shooting this kind of shots with a LONG lens, anything about 100mm works fine, but a 200mm will give you a really narrow depth of field but makes focussing very tricky.
As soon as we have the lens sorted, it’s now about angle.
So where do we sit, stand or ……
In my opinion the best angle depends on the model, the pose and personal taste, but I love to shoot from an angle where I actually sit on the floor or on the lowest possible position of my studio stool (which is pretty low). But this REALLY depends on your taste and the pose you choose.


So now it’s about pose.
In my case I always like to see the legs a bit more up, model is lying on her back looking towards the light slightly (to get a nice nose shadow) or totally away from it (more mysterious) and I most of the time will start with one leg at a 45 degree angle and one just playing around it, not on the floor, not at 45 degree but just “puzzle” a bit, this is very personal and often the most difficult part. One final tip on this is to count down and make the model put tension on her body on the moment you click.


What about the eyes?
Good question…
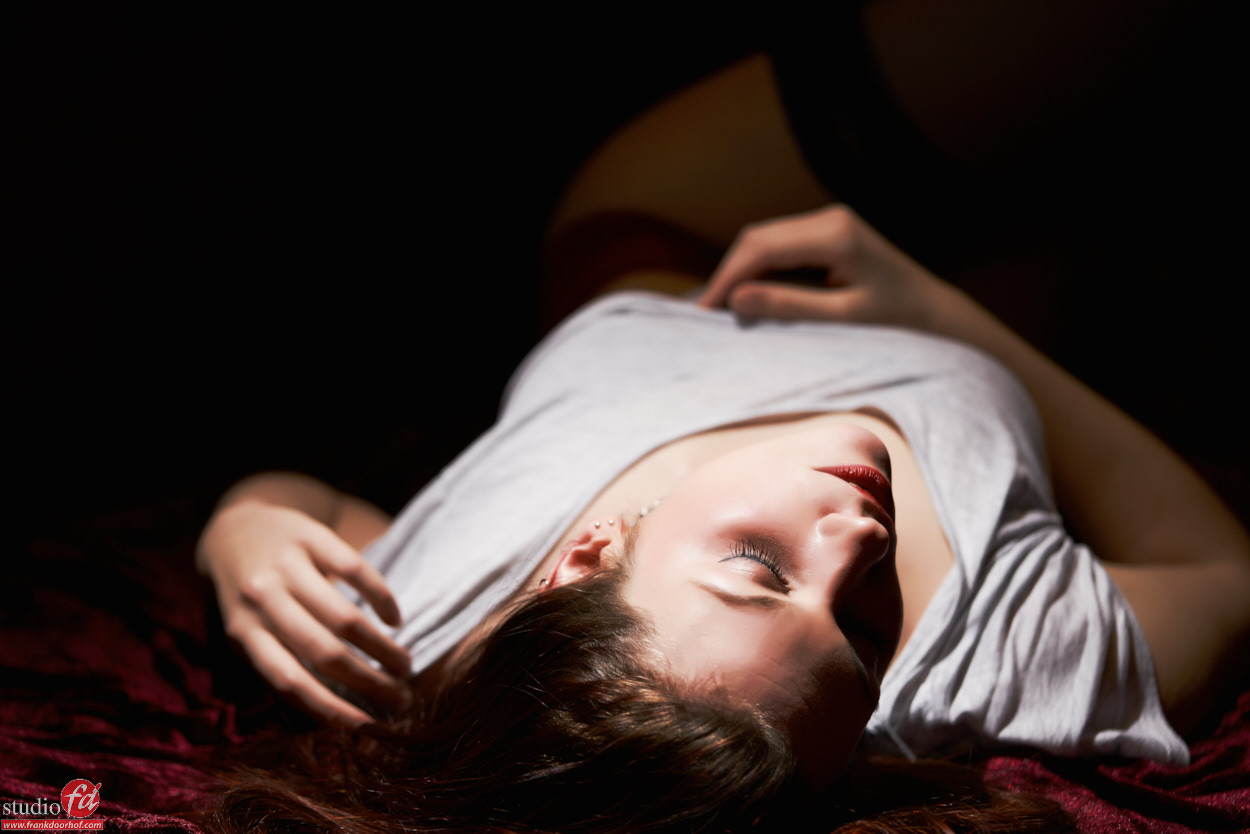
In some cases it can be downright CREEPY if she keeps her eyes open, so in that case close them… yep it’s as easy as that, it’s not rocket science. If you want a bit more “sexy” close the eyes and let her hands just slightly move around her neck area but beware that you don’t go to far with this because a nice and relative sexy shot can VERY quickly become a very erotic shot which might not be what you’re after. Also make sure you focus on the CLOSEST eye.


So the next time you shoot a model lying on the floor I hope these tips help out.
Make sure to show your results at our facebook group with the name “Mastering the model shoot” and check out my book with the same name for much more information on photographing model, or get one of our instructional videos from the site.


Ingrid January 7 2016 0021 BW

Ingrid January 7 2016 0059