Stephanie and that “wicked” T&S lens
You all know my moto is “why fake it when you can create it”
And although I really love plugins and for example OnOne has a great selective focus plugin that works much easier than a real T&S lens, I still prefer to shoot with the real lens. So today a bit of information and tips when working with the T&S lens.
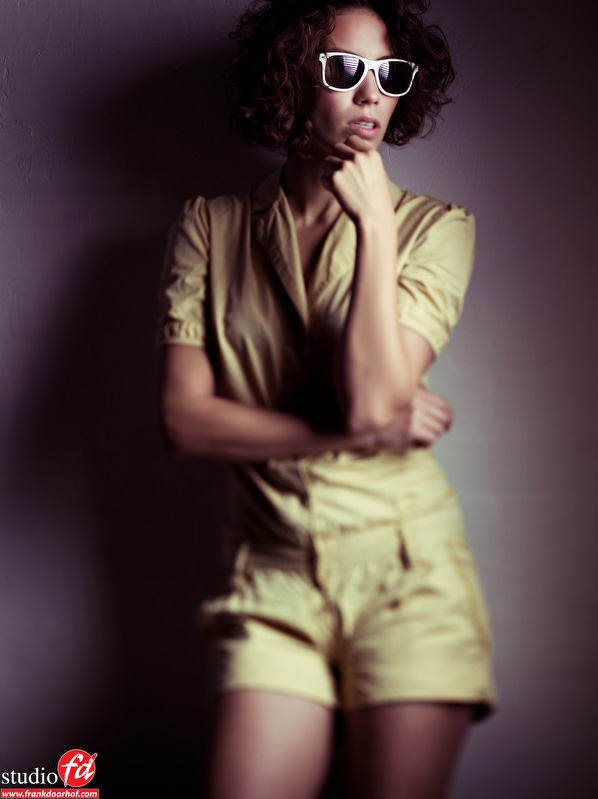 T&S
T&S
The T&S lens is a very specialistic lens. Often used in architectural photography to make sure that the lines from for example a building are straight and you don’t see the perspective distortion you normally would see when you for example shoot up and from an angle. However I’ve been using the T&S also in my fashion work for some time now, and although it was not designed for it I think it’s a great tool to create a “unique” look, but be warned… a lot of people will claim/think it’s done in Photoshop.
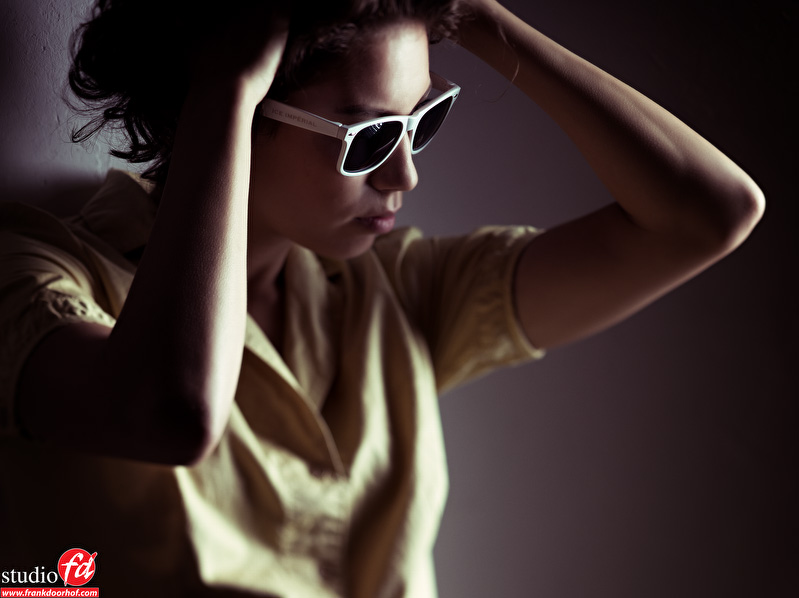
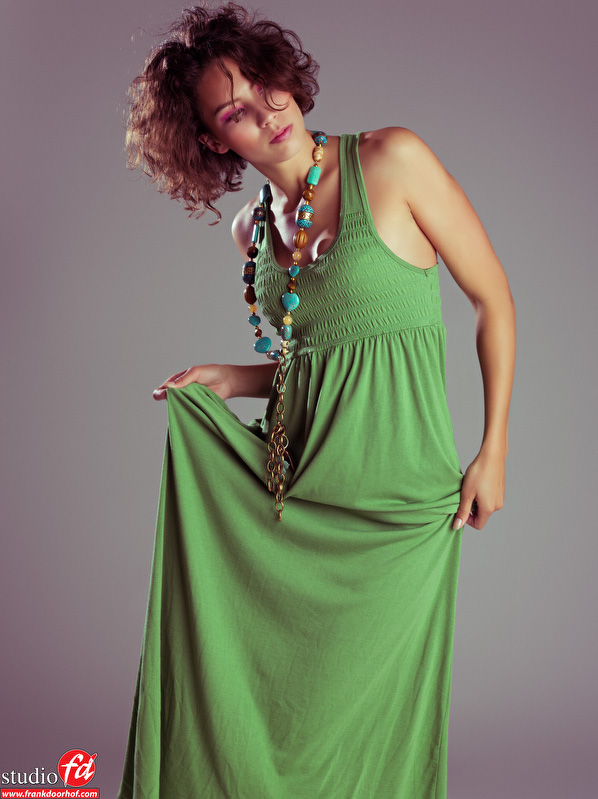
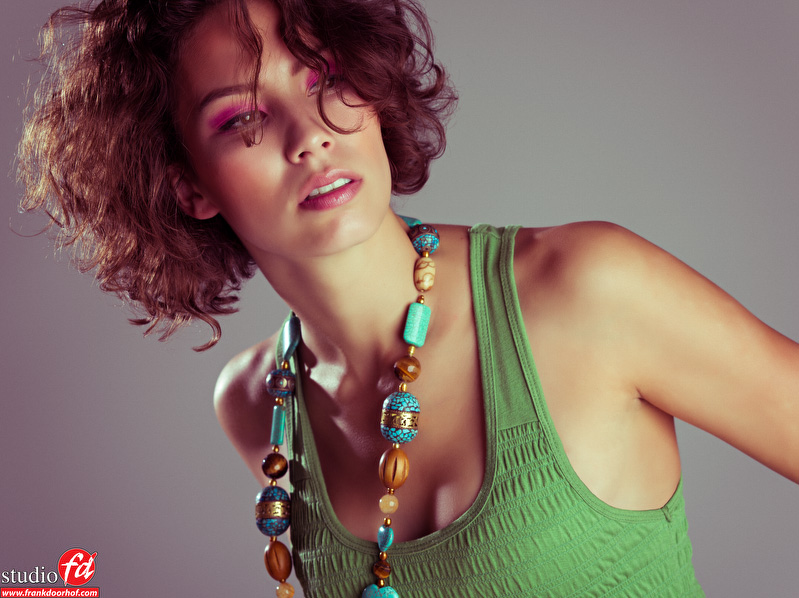
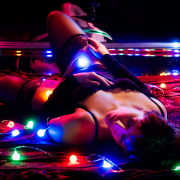
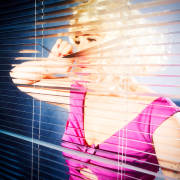
The T&S lens is a system were it’s possible the change the angle between the lens and the sensor (film), by doing this you are in fact changing the plane of focus and this means that you can control the area where the focus lies, but also the perspective of the image is “different”. In the examples in this blog post you see some of the effects I got with this lens during the workshop with Stephanie, in my upcoming book I will dedicate some more space to this lens….
When shooting with a T&S lens always shoot tethered if possible, getting the focus on the spot you want it is not an easy task, in fact it’s very hard. There is no autofocus functionality that works flawless so manual focus is the only/best option. In this case I’m using a Mamiya RZ67ProII with a 180mm short barrel lens on the RZ Tilt and Shift adaptor. When shooting with this setup getting the focus correct is like finding a needle in a haystack.. well ok that’s a bit too strong but when you really want a nice narrow DOF it can be very tricky, especially in studio lights. So let’s share a few tips:
1. Focus overlay.
If your software supports it make sure you enable the focus overlay, in Capture One this is a great tool to see what’s in and out of focus.
2. Full power modellinglights.
You need all the light you can get, so make sure the modelinglights on the strobes are on full power. On most “good” strobe systems you can set the modelinglights separate from the strobe output. If not, you can add some extra lights in the studio that don’t flash or “infect” the final image.
3. Relax
Take your time to get the shot
4. Make sure to also check shift.
Very important, because if you don’t take care of this you will end up with dark corners or dark areas on your image.
5. Great for portraits, but also full bodies.
It’s a great effect for portraits, but it also works great with full bodies and 3/4, however I always try to concentrate on a good pose when shooting more than portraits, the reason for this is that the out of focus area is really out of focus so make sure there is not too much going on there.
6. Backgrounds or seamless.
I like the seamless backgrounds because all the attention goes to the model, however make sure to also shoot with a more “busy” background, sometimes the effect gives you a very cool effect on the background.
Concluding for this blogpost (more in the upcoming book).
The T&S can be an awesome tool to get creative with focus, but it’s a tool that will take some time to master so prepare for a lot of disappointments when starting out, but hey… when it would work at once where’s the fun.
Alternatives ?
If you don’t have the budget for a T&S lens (they are expensive) you can always look at the Lensbaby series, I love those little lenses, at the moment I’m using a composer pro and although the effect is truly a lot different from a T&S lens (it’s a real selective focus lens) you can also get some nice effects with the lens babies, and they will give you a totally new way of “seeing”.
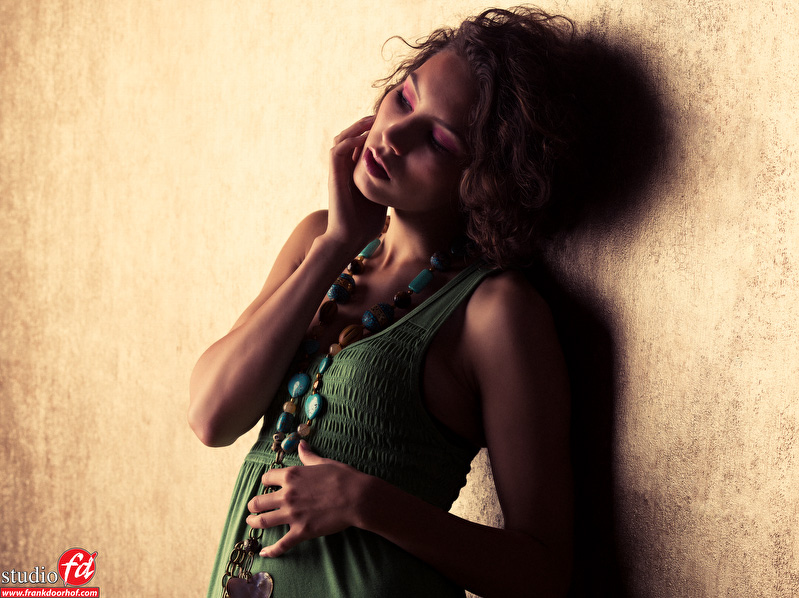
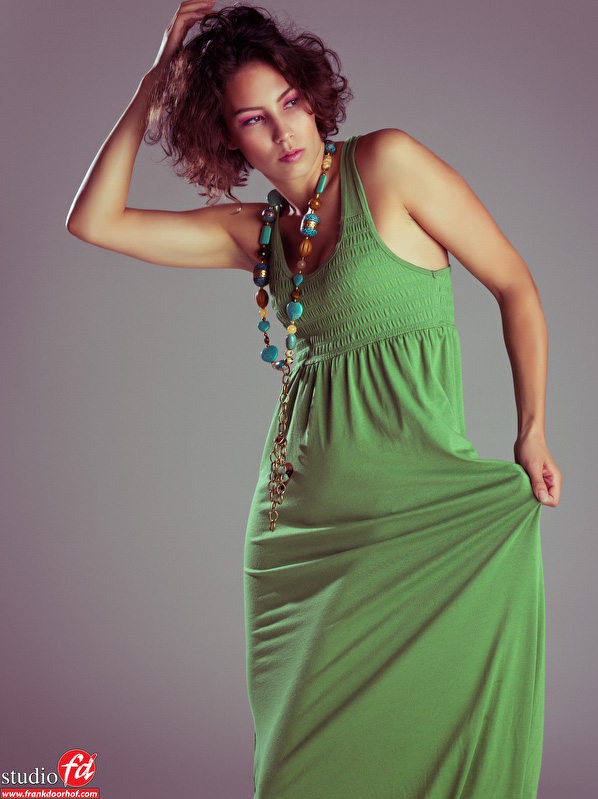
Some more images from the workshop.



Very very nice!!