Tag Archive for: tricks

How I approach a business shoot

Dentists “kruispunt”

Most of the work I post is from our workshops model photography or street/travel photography.
But we do a lot more of course, including business shoots.

Today I want to share some tips on how I approach our clients and why we score the shoots.

The first thing I always do is know my client.
When a client approaches us I always try to find out what kind of company they are, how do they work together, what is the team like and of course what do they want to have as an imago. One of the questions I try to avoid is “what do you look for?”

In most cases this is why you/we are hired, to create something where the client will recognise themselves in.

In our first conversation I often already have some ideas I bounce off to the client, and during that conversation you will find out that the client will open up a lot more and share much more information when you pay attention than you would ever get by just asking “what do you want?”. In this case it was immediately clear this is a very modern practice with people that love to work together and is a real team.

Before the “real shoot” I always try to visit the location to look around and see if we need extra lighting or other gear, and if somethings need to be moved or removed. This is a vital part of a successful business shoot because although your client might be comfortable in front of your camera, often the people working there have other opinions when a stranger just points a camera in their faces. So that first visit before the shoot is vital to get to know the people, joke around a bit and make yourself known, this will not only speed up the real shoot but also give you a huge headstart because now everyone knows what’s going to happen, and if you make it fun they will mirror this.

Standard, or not

This client was the kind  I love the most, they didn’t want to use any stock photography. Every shot had to be unique for their practice and the people that work there. But they also wanted unique images for their service/pages fitting the subject. So I started with shooting some close ups of the tools and rooms, and most shoots will probably stop there because that would be exactly what they needed. But if you really want your clients to come back you have to deliver much more. And in this case I knew they were very involved with patients that were afraid of the dentist.

“When we have a patient that is afraid, we always ask our receptionist to hold her/his hand, this really calms them down”

So I knew that one of the images for the page about fear, would have to show this.

But we also wanted some images that were a bit more tongue in cheek and different.
So for one image I decided to put away my fear and sit in the chair with a 12mm wide angle.

But we didn’t stop there.
They also work a lot with kids so we decided we needed some images that showed the dentist as a fun person and is nothing to be afraid off.
The actually used a puppet to show how to brush your teeth and of course this was the perfect prop. The only problem was that it’s a slightly older puppet and the teeth were all yellow, but although I’m not a dentist this was something I could easily fix in Photoshop.

By using the wide angle I got the effect I wanted.

And for the page prosthetics I could not resist to also make a funny looking shot.

Do remember that the images in this blog are the more funny, extreme ones.
For me during a business shoot I always try to shoot as much “stock like” images as possible from different angles and depth of field settings. You never know what works best in the design of a website, so also experiment with the angle and flow of your images. By giving your client different angles and directions in your images you never have to say to your client “sorry we did not shoot that”.

But besides these “stock” photos I always feel it’s important to capture the essence of the brand/company/client. And this is were you start to use the information you gathered about the company.

In this case I knew they were dynamic and modern and in for some fun. So this is why at the end of the session we did one more shot.
This one will probably not end up on the website but it can function as an awesome sociale media headshot 😀

During a business shoot I shoot a lot of images that are usable for websites and show tools and rooms, but to get the ones that really capture the essence of a business/client you have to know them. So always take your time and don’t do the shoot as a photographer but as a friend, it will hugely impact your business.

For business shoots and much more visit www.studiofd.nl

Adding something really special to a photoshoot with a gobo projector

I love my Westcott gobo projector

I love the old fashioned photography, think about photographers like George Hurrell or for example the world famous Harcourt studios.
In the 30’s and 40’s you often saw harsh light combined with hard shadows, this can be for example a plant, branches, chair, ladder or whatever you want to project on the background.

Quick tip.
If you want really hard shadows, make sure your lightsource is far away from the object that will cast the shadow, and the object is as close to the background as possible. The further you move the light away the harder the edge transfer (shadow)

But although those shadows are nice I love to go one step further, and this is where a gobo projector comes in.
As mentioned I’m using the Westcott Lindsay Adler version, but in essence they all work the same.
You mount the projector to your strobe and you can place different gobo’s (metal discs) between a lens (in my case a Canon mount lens) and the strobe, by focussing the lens you can create a sharper or softer pattern on your subject/set. It’s an awesome light modifier to create stunning images.

You can use the projector on your model to create very sharp areas of light or to light the whole set and use fill in lights for extra detail or mood.
During a recent workshop with Felisa I used the projector exactly for that.

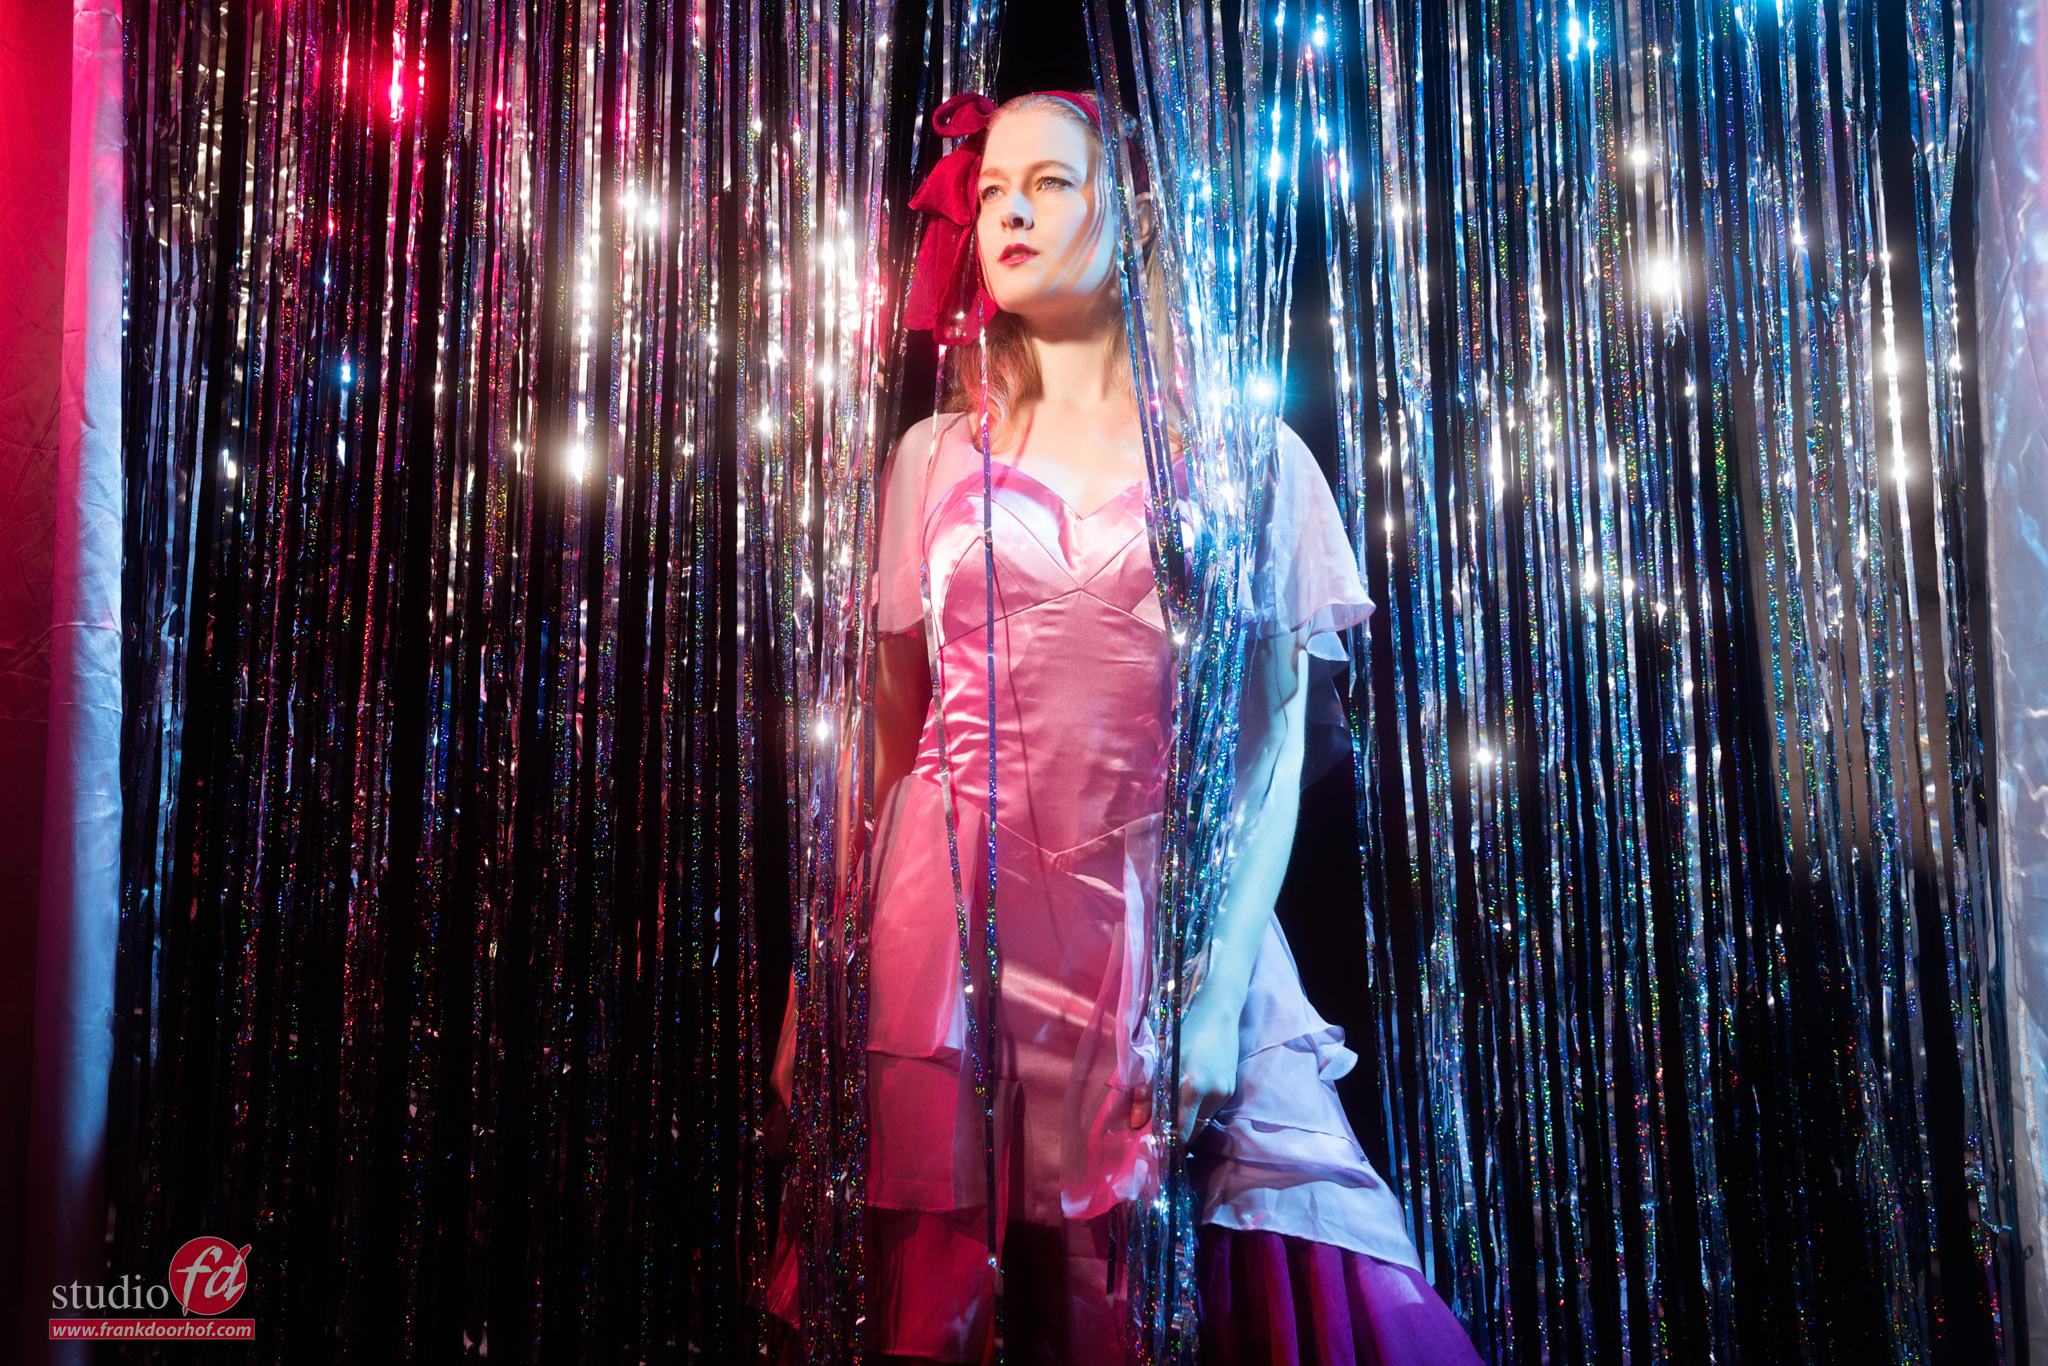
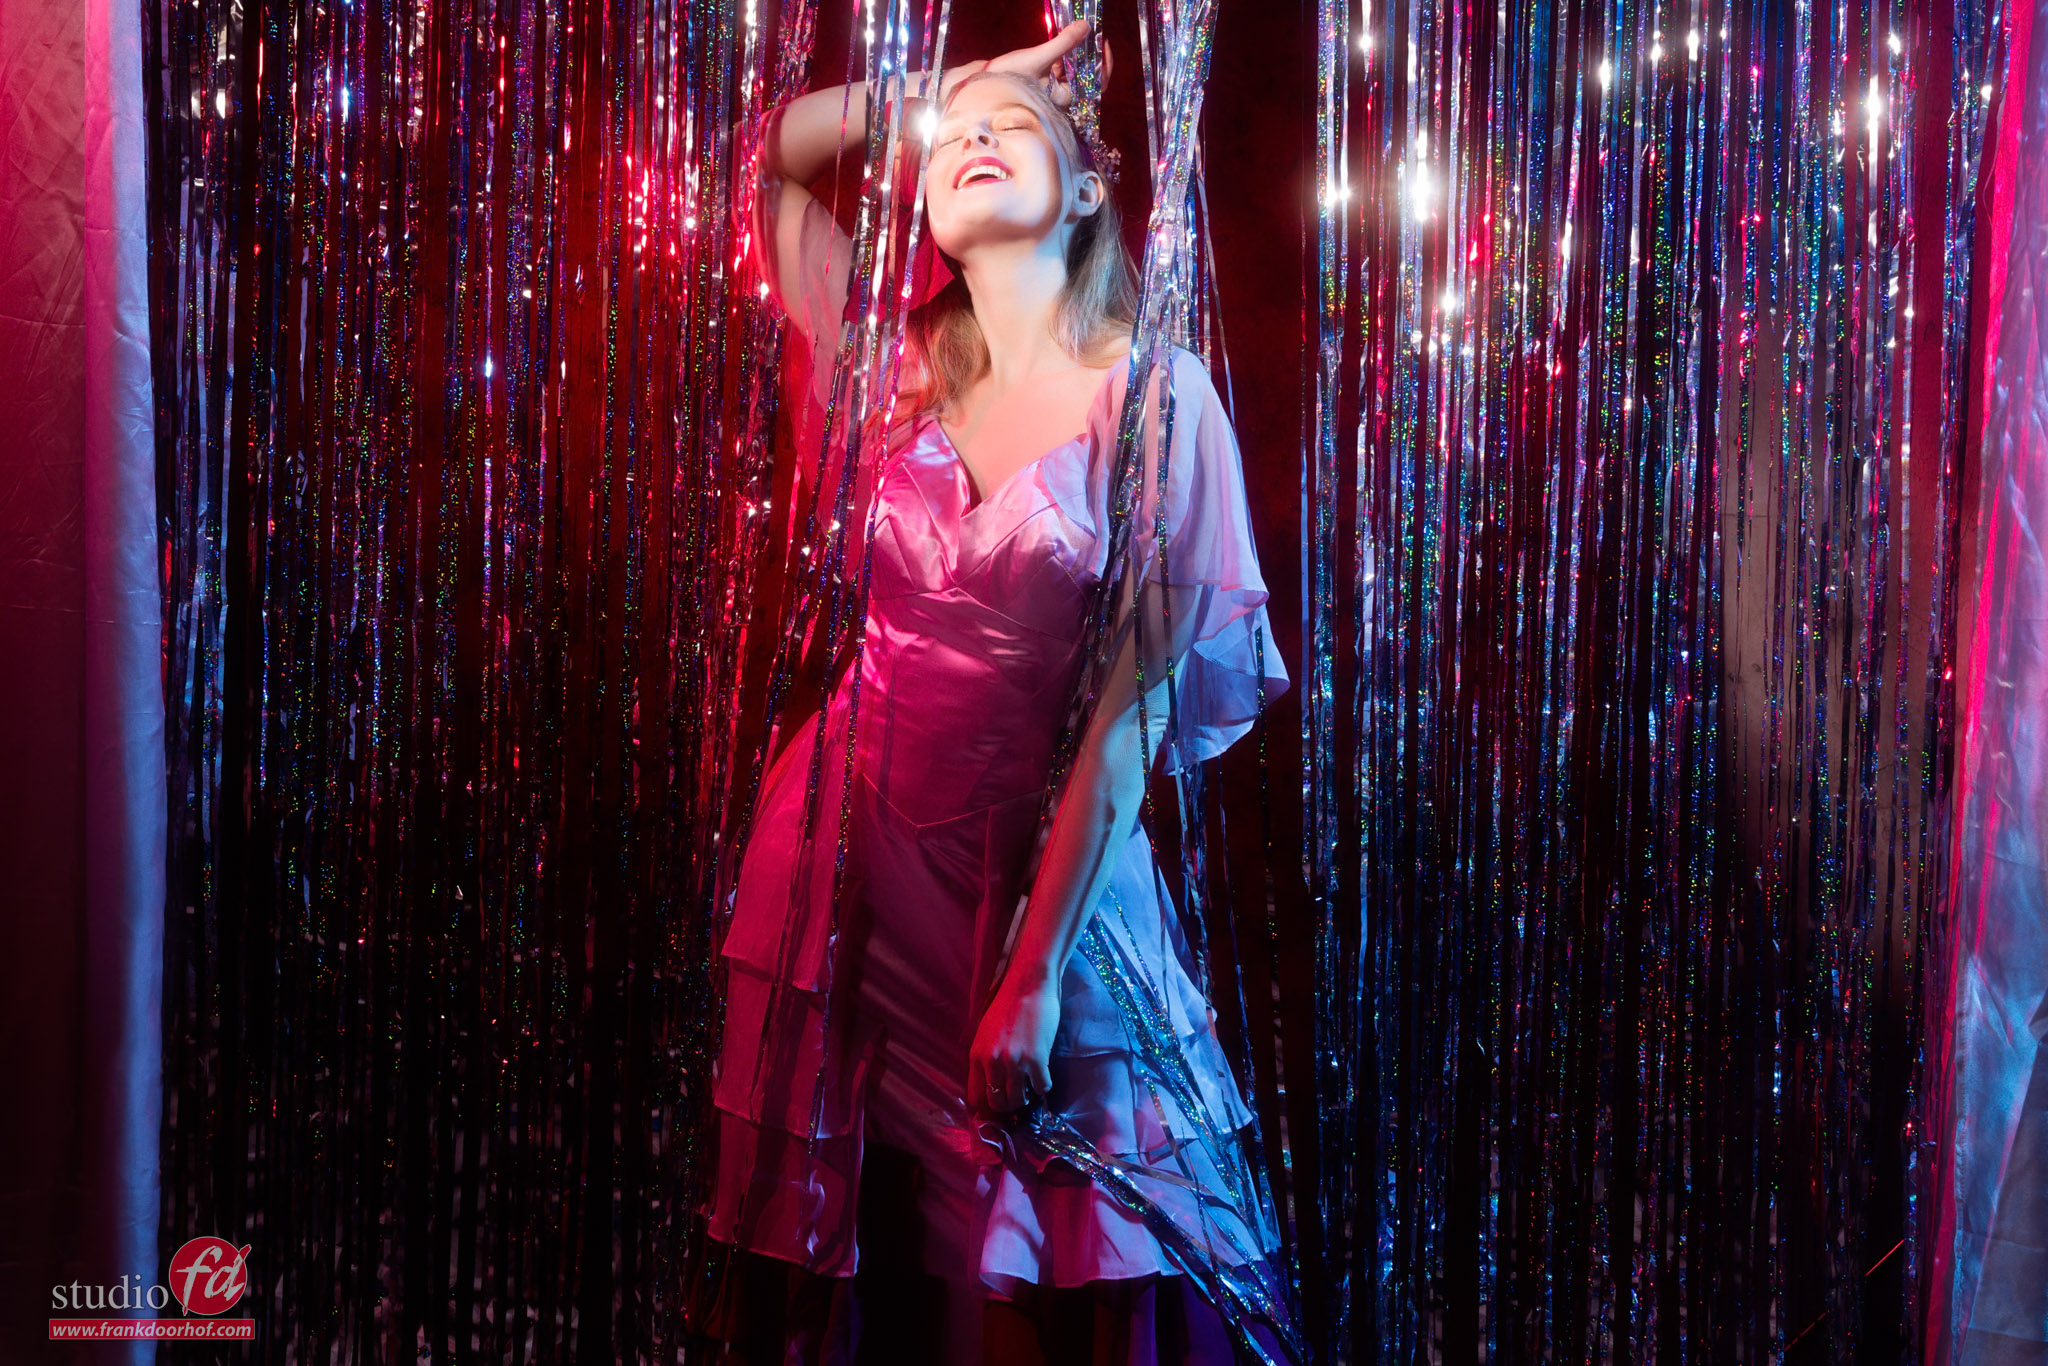
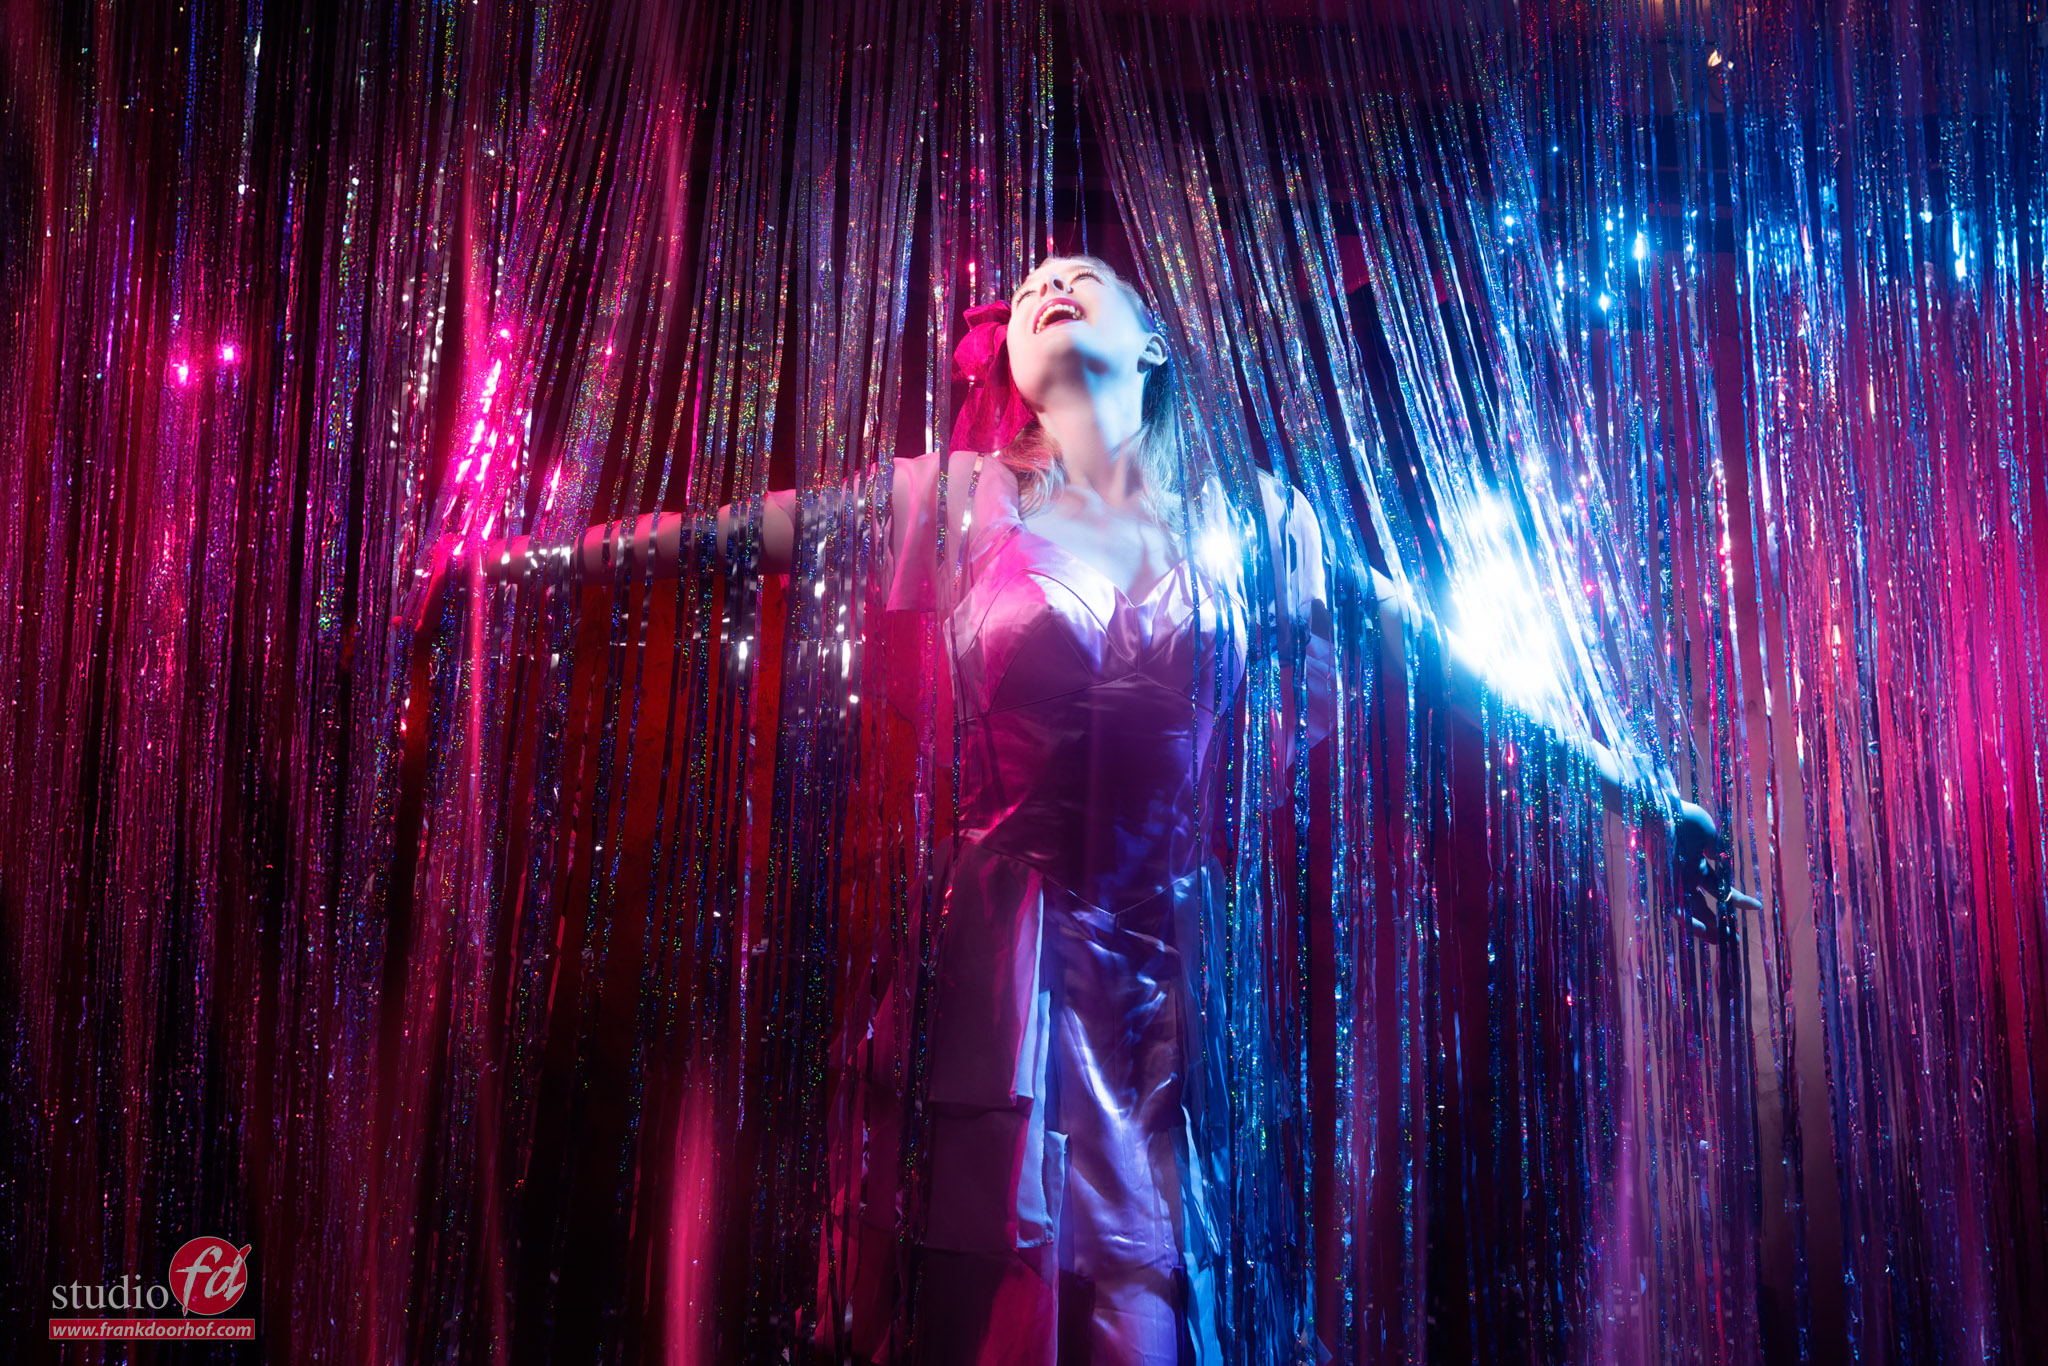
In these images I’m using the projector with a standard gobo with lines on our Geekoto GT400 aimed at Felissa, for the accent light I’m using one Geekoto GT250 with the Rogue Magnetic system and a blue gel. By adding a bit of smoke the blue nicely smeared out over the set.

We build a small set by using 2 of our Clickbackdrops backgrounds.
Of course the fur is fake.

A few tips for the Gobo projector

On the Westcott you can mount lenses with the Canon mount.
The lens that was delivered with my set was for me too long and made it impossible to throw the light over a complete set, it does work great for portraits.
So when you want to start using a gobo projector I would advise to get some extra lenses.
Now this is where you have to be careful.
The projector eats light, so make sure that when you get a lens you get the widest possible aperture you can afford, the nice thing is that you don’t need to get a super high quality lens, you could for example use old M42 lenses with a Canon convertor and make it possible to experiment with different lenses.

One of the things I love about the Westcott version is that you don’t need to use the gobos, but you can also use the blades to get some really striking patterns on your model.

And you can of course combine it with some colors for extra stunning effects.

Want to visit one of our workshops?
visit www.fotografie-workshops.nl for the new agenda.
The workshops are in Dutch, but if you let us know a few weeks in advance we can switch the to English.

On location photoshoots : how to kill the ambient light part I

Locations are awesome


But what if they are not? Well, it’s up to you to make them awesome.
Sounds difficult?
Well, it can be, but with the proper lighting and lighting techniques you can create stunning images in locations that are far from awesome. Killing the ambient light is one of those techniques.

Workshop “On location in Emmeloord”

During this workshop, we scout locations close to our studio that look uninteresting but have the potential to become awesome. This is a great workshop to get more secure when working for clients in locations that are a bit less inspiring (or in other words 50% of the time).

During the workshop, I explain the techniques but also tried to create something different in each location.
For this workshop the model was Nadine, and as you can probably see she’s is pregnant so that was a great option to also shoot some pregnancy shots of course.

Today one of the sets from this workshop.

I’m using our Geekoto strobes on HSS in this video.


And, the final results

killing the ambient light

We took this picture during a sunny day and killed the ambient light

killing the ambient light


Day2Night

Killing the ambient light is also called Day to Night (Day2Night). Pictures are taken during the daytime. But it looks like it was taken at night. A lot of my students are interested in this technique. And I always try to incorporate such a scene in the workshop outside.


In this video I went to Times Square in New York, and I’ll give you some tips to look like you took the pictures at night

Check out another video on location with Nadine ad styling of course 

We also did a workshop outside with a Tesla car and model Lois 


Directional light is so much cooler

With directional light, you can really make your model jump out

We recently filmed a brand new class for KelbyOne with our model Claudia.
The video is all about using one strobe and how, by changing light shapes and angles, you can still create totally different looks like using directional light.

Today I wanted to show one of the sets in which I show one of my favourite setups.
In this case, I’m using my main light under an angle from above aimed down.
Because Claudia is wearing glasses I don’t have any problems with shadows under the eyes, or the eyes not getting enough light so I can maximize the direction of light.

The cool thing about this kind of setup is that if you move around your subject the look changes dramatically.
For the mainlight you can use a small softbox like our Geekoto Quicky or for example the Frank Doorhof Rogue Flashbender in striplight configuration.

directional light

Although the whole class is about using one strobe. In this setup, I decided to break that rule and add one more strobe with a blue gel.
In this case, I’m using a blue gel from our Rogue magnetic system.
This is an awesome technique in which you first create a focused light pattern on for example the face of the model and make sure the rest is as dark as possible. Now use the second strobe with the gel on a lower setting than the main light and you can get the effect you see below.

Of course, you can experiment with the output and colors.

directional light

Want to see the whole class?

Of course you want 😀
visit www.kelbyone.com for all my classes.


Want to visit a workshop?

If you think “that’s for me, I would love to learn more”
Then visit photography-workshops.eu for the Dutch workshops.
But if you are not living in the Netherlands or don’t speak Dutch we also have other options.
If you let is know 2 weeks in advance I can teach the workshop you want to visit in English.
Or if you can’t travel to our studio we also now offer the option to get a full 1:1 experience with 5 different camera angles, lightroom/Photoshop view and a talkback channel, you also get all the raw files and retouched results from the workshop. Visit our online workshops page for more info.