Tag Archive for: tricks

A pure white background and floor, plus accents on your model with just three umbrellas

A white background, floor, and accent on your model with just 3 umbrellas?

Seems impossible… it’s not

Shooting with a white background and floor is far from my favorite setup, but sometimes you have to 😀
When I started with photography the white background was hot. And used all the time (I was always more of a light grey fan). So of course I had to learn how to shoot it.

The first problem I ran into was getting the background completely white.
This is easily solved by moving the model forward and just blasting the background. But when cameras became better and the headroom larger it became more and more problematic due the the enormous amount of light reflecting back from the background. So how to get that pure white background?

Special modifiers to get a white background

The first thing I tried was of course lighting the background with open reflectors, or softboxes. And although it worked ok it never was 100%.
So enter the special background reflectors.
The idea behind these is that they “focus” the light on the background and spread it out evenly.
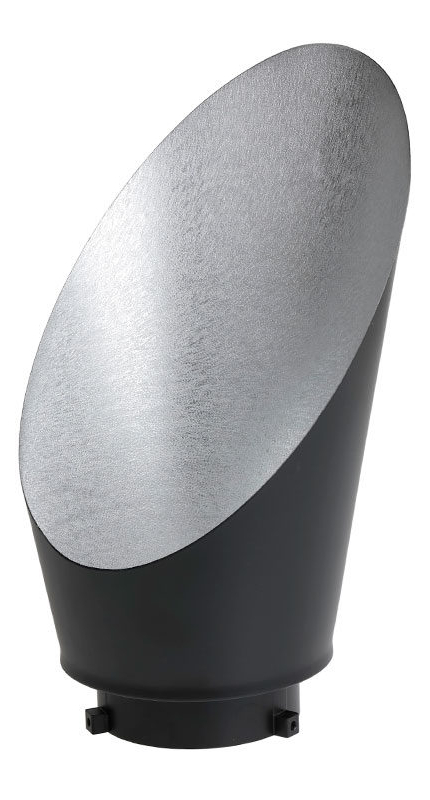
a modifier which makes it easier to get a white background.

By the way, it’s more easier if you have two of those.

And although it worked a lot better than a standard reflector it’s far from perfect.

The solution(s). How I made a white background and floor

Floor

So let’s not make the blog post too long and immediately jump to the solution.
Let’s start with the floor.

Without a doubt, this one was the most difficult to crack.
You can use extra strobes on the floor. But that also meant the light fall off on the model would look unnatural with loads of light on the feet.
You can use Photoshop of course. But that would mean the model just floats in the air, so you can start adding shadows again. Long story short this is not doable when you need to deliver 50 images to a client. You simply can’t edit every single image in detail unless you have a very large budget.

The solution is actually super simple and gives an awesome effect.
Just put some transparent plexiglass on the floor.
The plexiglass will reflect the light and give you an instant perfect white floor and as a bonus a great reflection.
The added bonus when using transparent plexiglass is that you can also use it on other color backgrounds and get some stunning reflection effects. But for today let’s keep it on white.

Now that we have the floor covered (pun intended) we have the background to light.

Background

For this, the solution is actually much simpler and cheaper than you might think.
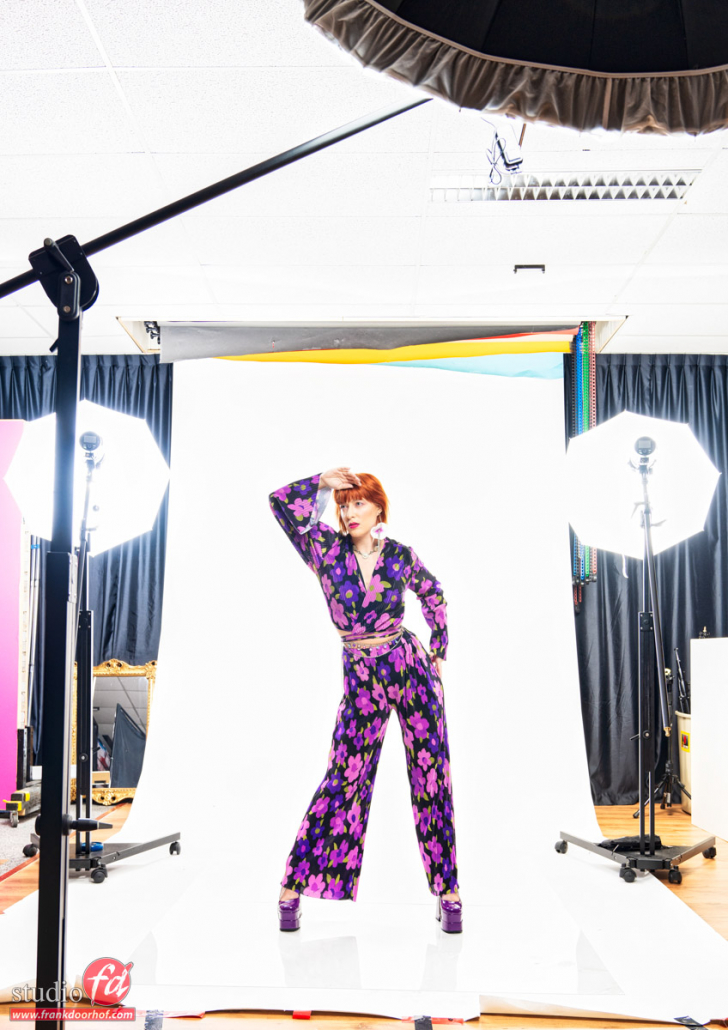
white background, white floor and accent on your model


Here you can see the setup we used for the shots with Claudia from the previous blog post.

Umbrellas for a white background and floor

As you can see I’m using two white Rogue umbrellas, on our Geekoto GT400 strobes, at the back. And these are more important than you might think at first sight.
The placement of those two is vital for the end result and also gives you a lot of flexibility.

The first task for the umbrellas in the back is of course lighting the background and floor. So they are placed behind the model aimed at the background with the shoot-through part. However, a white umbrella also reflects so we have a light source that’s pretty unique. It lights both what’s in front but also what’s in the back, and that’s actually the whole secret or trick in this setup.

By choosing the right angle of the back umbrellas it’s possible to light both the background and also give a very accent light on the model.
In loads of setups, you can see 2 strobes on the background and 2 strobes as accent plus your mainlight which means you need 5 strobes for one setup.
By using umbrellas you can bring this back to just 3 strobes, and also the costs are considerably lower than using background reflectors and for example striplights as accents.

For example, we sell the Rogue fiberglass umbrellas in a nice travel kit edition with a black umbrella plus sleeve (here used as main light) and one white umbrella in a travel kit for € 116,00 the extra white umbrella retails for € 23,00

Now if you don’t like the accent lights you can always place two large flags between your model and the umbrellas and take away the accent lights.

And how about just 2 lights?

You might wonder, can we also do this (getting a white background and floor) with 2 strobes and 2 umbrellas?
That’s the nice thing about umbrellas.
The disadvantage is that the light spreads around very easily. But that’s also the advantage if you know how to control it 😀

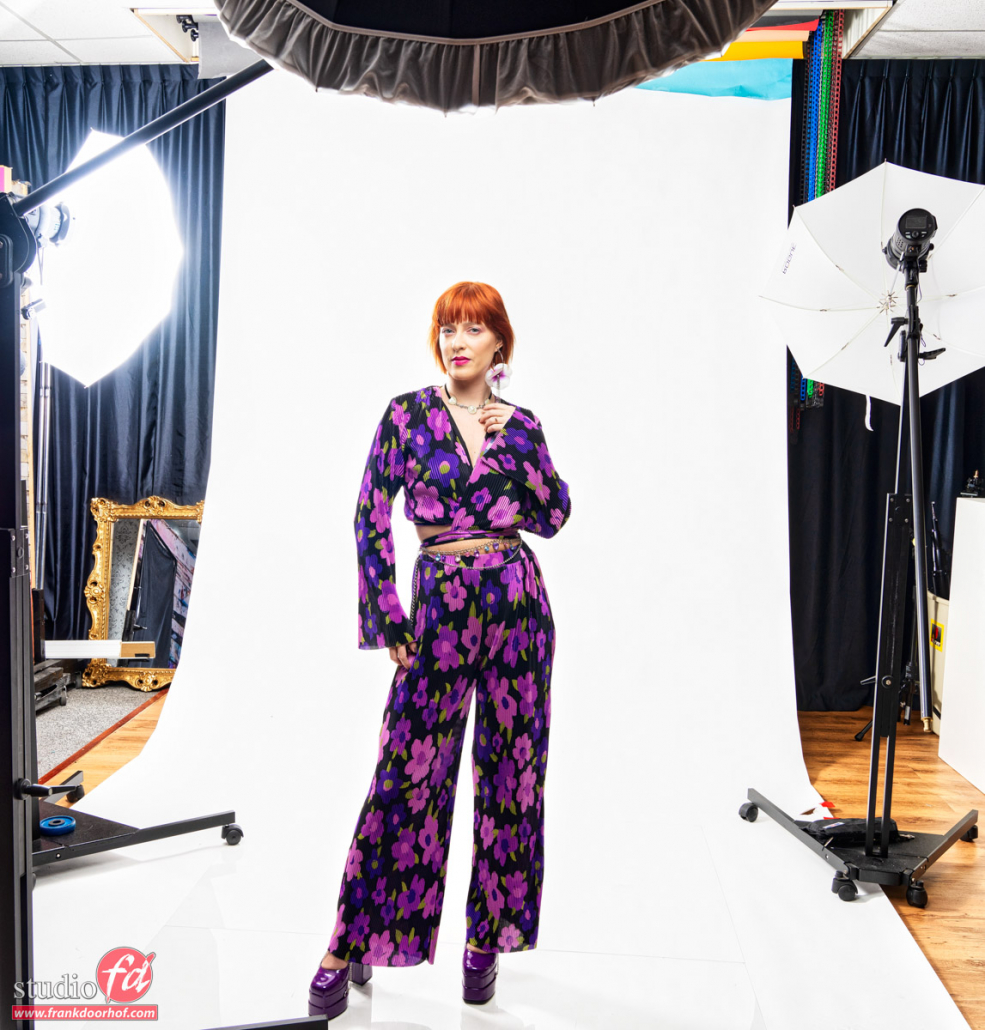
Now when you use one umbrella on the back the accent light will of course just be on one side. But when you look at the end result it’s absolutely a setup that you can use.
Conclusion of white backgrounds

White backgrounds can always be tricky due to the amount of light that spreads everywhere.
But by using the right light modifiers and placing them correctly in the scene a lot can be done for a very low budget.
And let’s be honest. These images are straight out of the camera with just a little boost in contrast, as you can see the background is almost pure white and the only thing you have to take out are the seams of the plexiglass, which in most cases can be done in seconds.

So the next time you need a pure white background, why choose the expensive and difficult route?
Just use three or two umbrellas and some plexiglass and deliver images almost straight out of the camera.

check out the video about the Rogue Umbrella’s


Or this short, also with model Claudia about the Umbrella 

Working creatively with seamless paper in a totally different way

Being creative with left-over seamless paper

What are seamless paper backdrops again?

Yes, most of the time we use our Click Backdrops. In practically all situations a Click Backdrop is better than seamless. Even white! this article is about working creatively with seamless Paper left-overs

But we started with Seamless paper backdrops so we have much of it. Seamless paper backdrops are large non-reflective rolls of paper that fit on a stand behind your subject. They can be plain or colored, and give a smooth, professional look to your photographs. Seamless paper is often used in portraits, headshots, or baby photography, as the colors can be changed to suit your subject. As you understand very boring and plain.

No, don’t throw it out… yet!

Annewiek must have heard this a million times… yes I have a problem throwing stuff out. Especially seamless (paper)
I somehow always feel you can still use it for something, and when that moment is there it’s better to have it… right?

I am not a huge fan of seamless paper. Over time it becomes unusable due to tears and dirt. And you have to throw it out and get a new roll. But for a nice and long backdrop, it’s still one of the most used backdrops. But what do you do when you can’t use the paper anymore but still have a lot left?

Well…. we can always use it in a shoot 😀

Working Creatively with Seamless Paper

Make a skirt out of seamless paper (or pretend it is a skirt)

working creatively with seamless

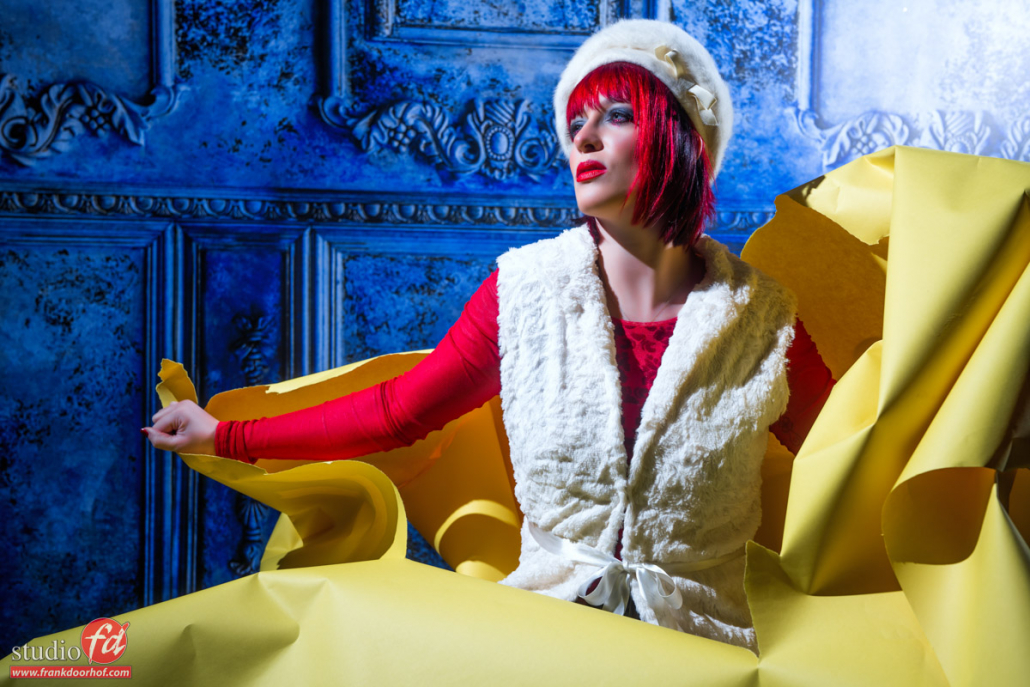
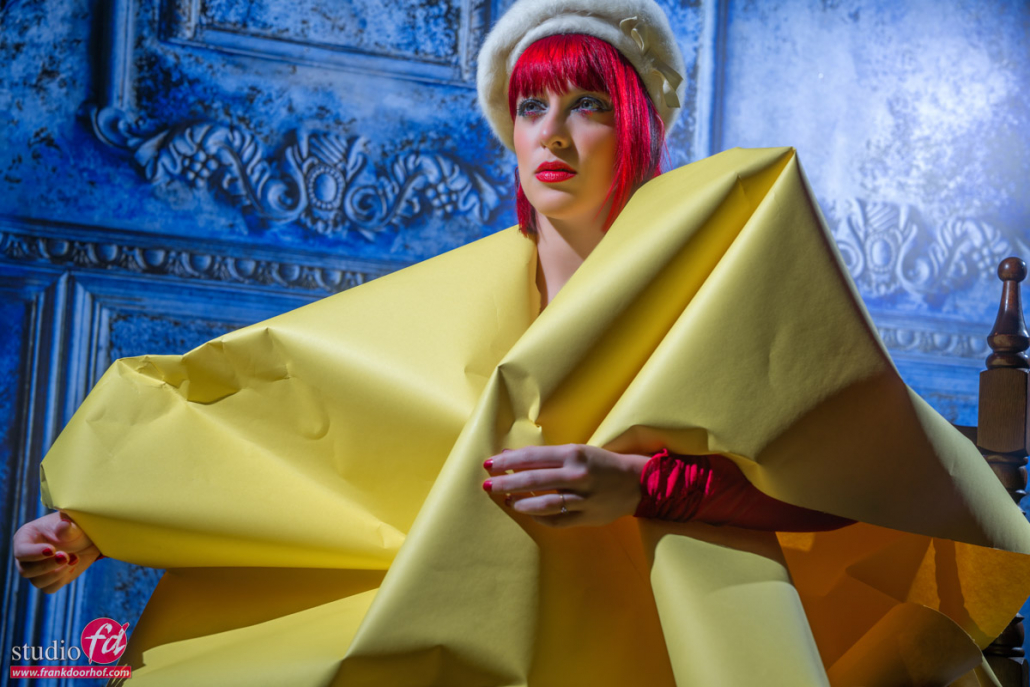
In this case, it was the idea of one of the attendees of the workshop. He had some yellow paper left and asked me if it would make a nice prop.
Claudia our model had bright red hair that week (yeah it varies) so that fitted perfectly in this setup.

The combination of yellow and red makes a great contrast which is balanced by the white clothing/hat and the blue background.

Of course, you can use the paper for many different things. We could have built a dress out of it. Used it as a backdrop with loads of wrinkles and tears. Or maybe on the floor with the model lying on or under it, in essence, the sky is the limit. So the next time….

Always reuse… and recycle your seamless paper

We all know recycling is important, but when you think you can use something for a photoshoot… maybe hang on to it just a little bit longer 😀

So what is your next idea about working creatively with seamless paper?


Behind the scenes during a Zebra photoshoot  and how to extend your Zebra backdrop with AI 


Using isolation blankets as a backdrop


A different background for a totally different look

A Different background for a totally different look

Of course, we all know that changing the backdrop can create a different feel or look. Different backdrop and same styling
But somehow it also always triggers my creativity. We used the same styling.
Model and styling: Nadine
Backdrops: ClickBackDrops
Strobes: Geekoto

Just a backdrop or more?

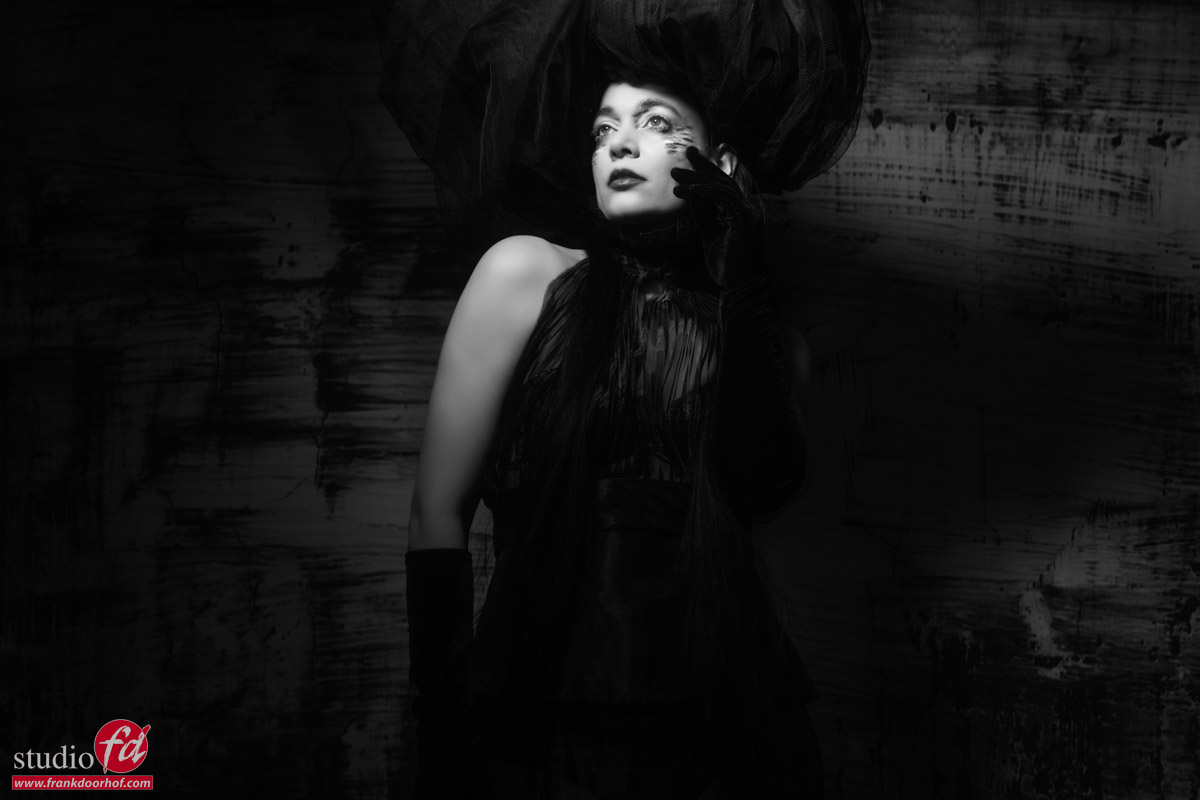
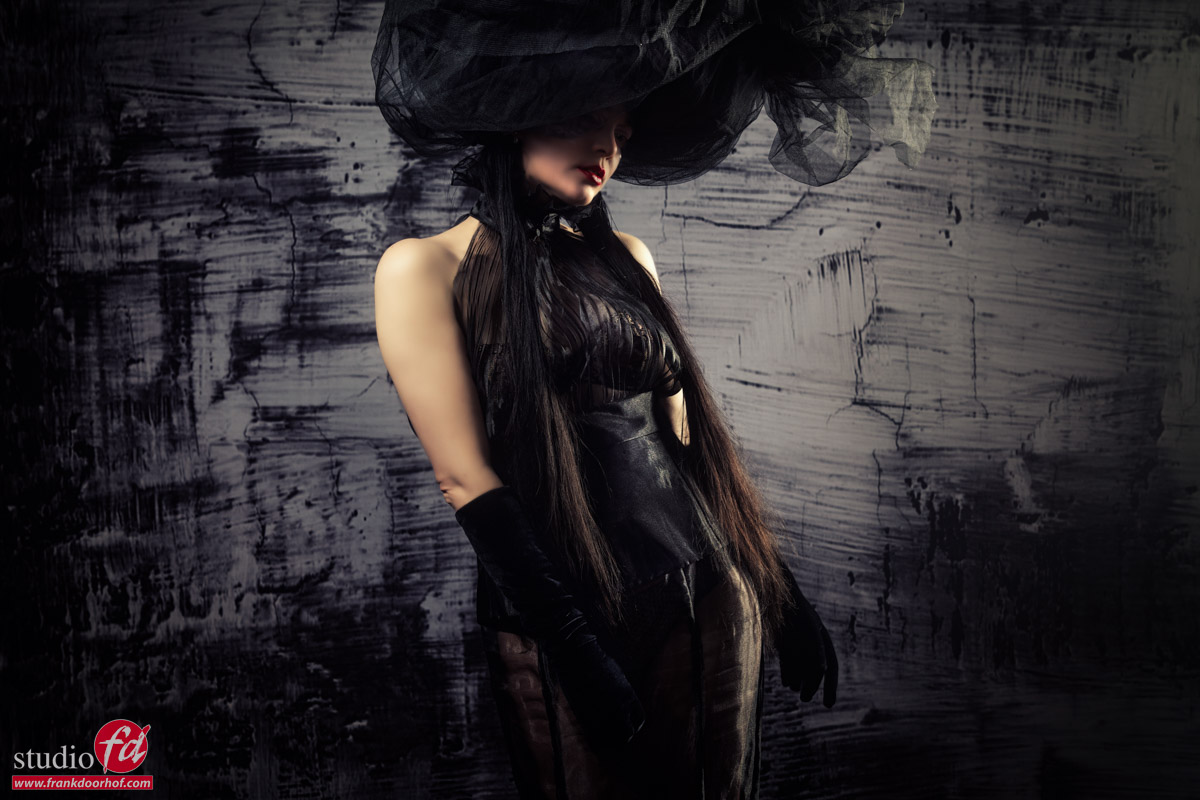
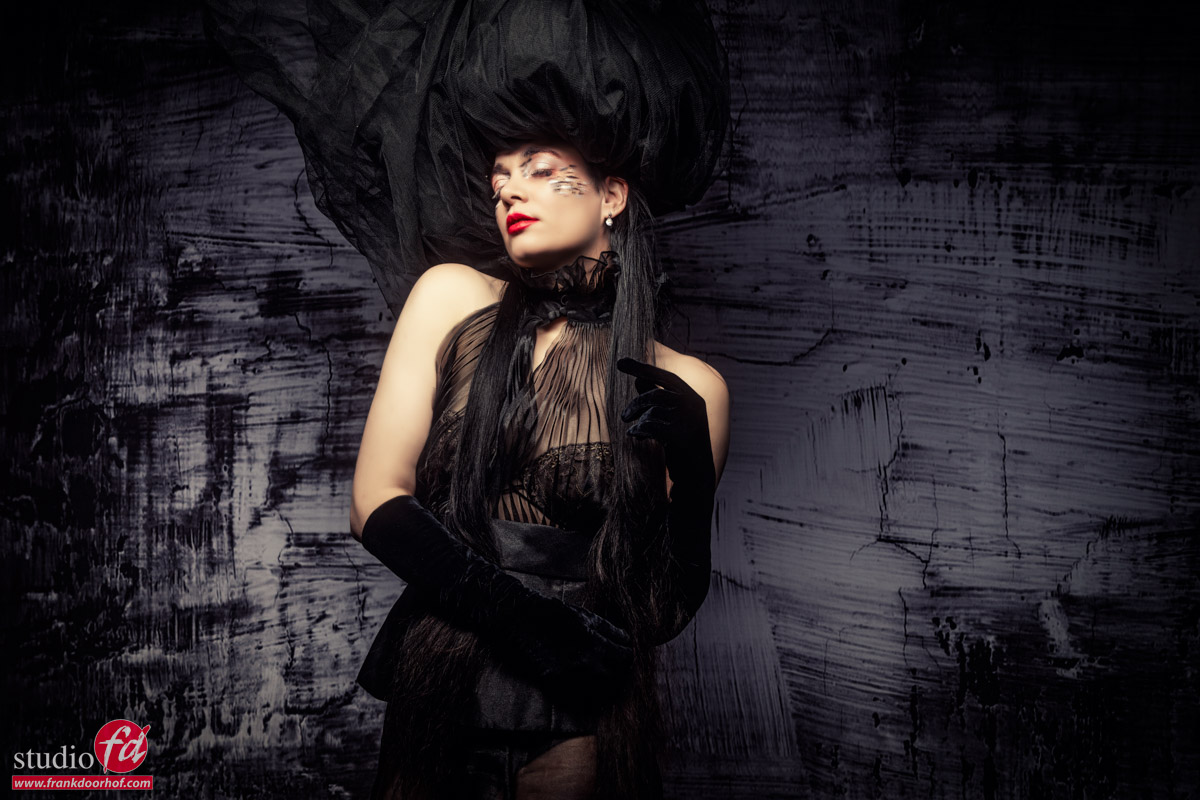
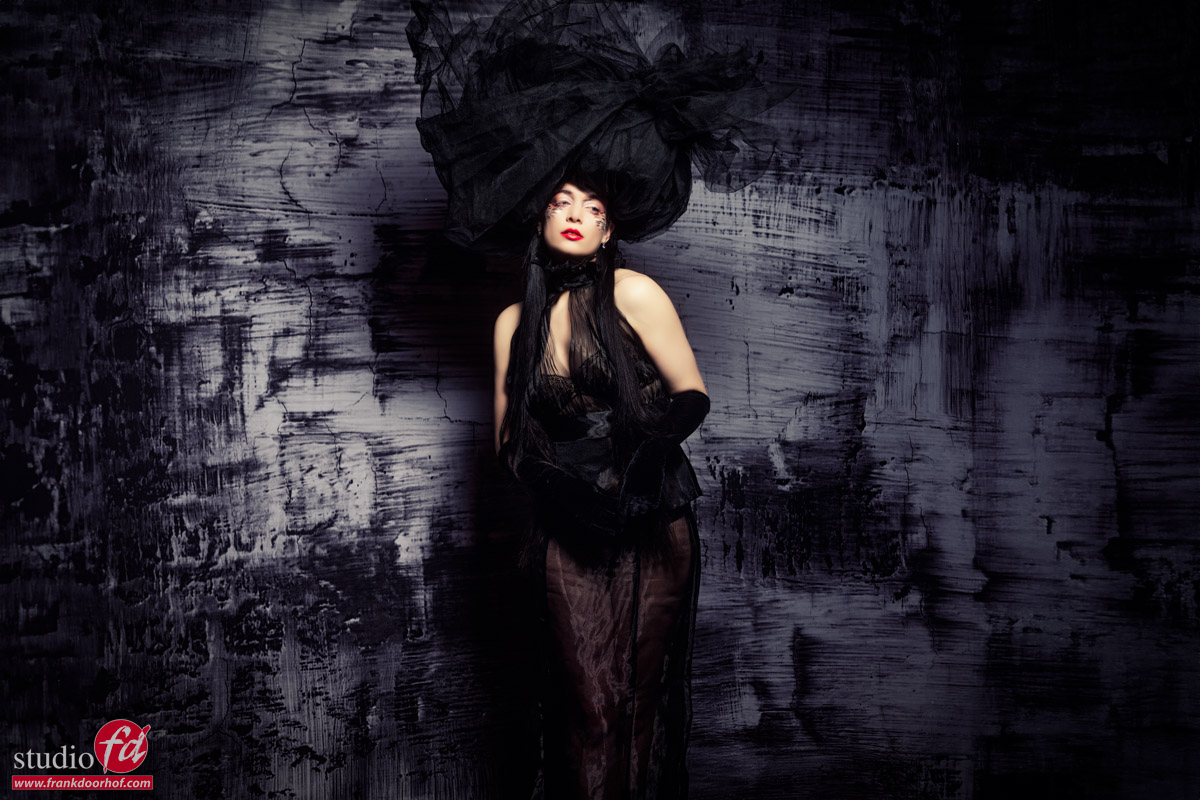
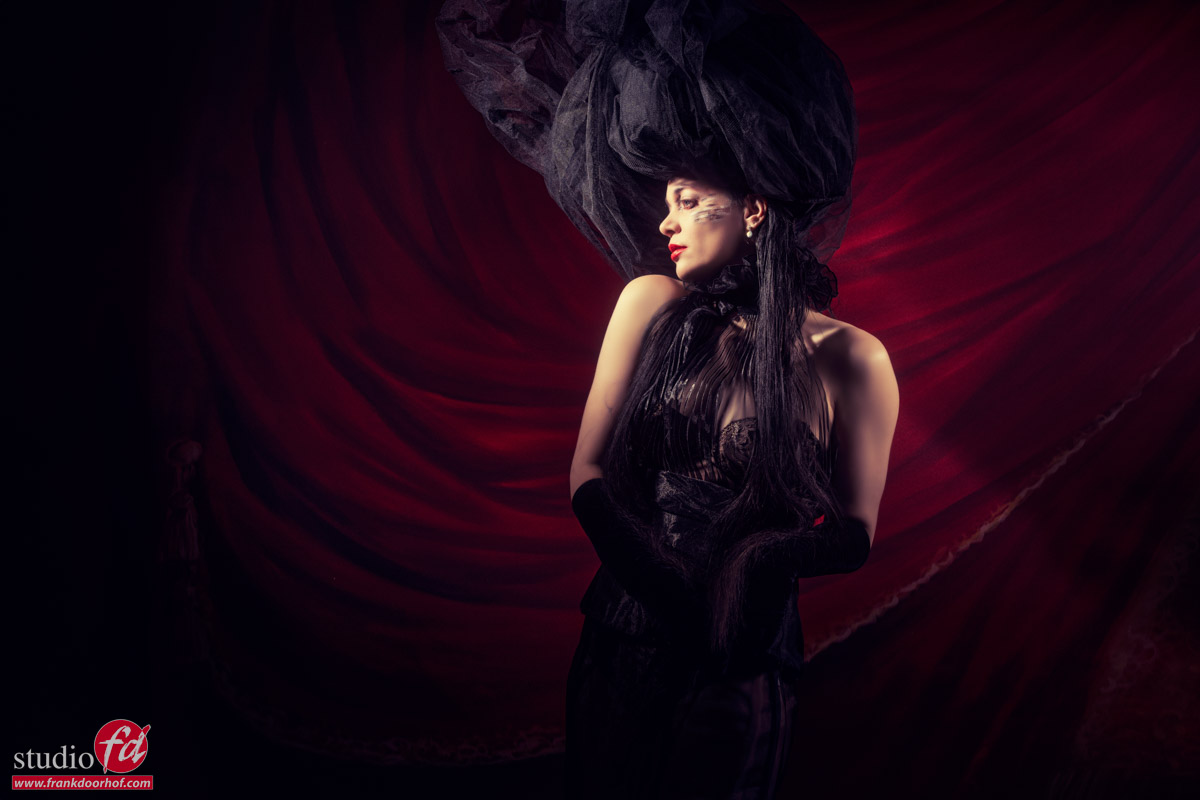
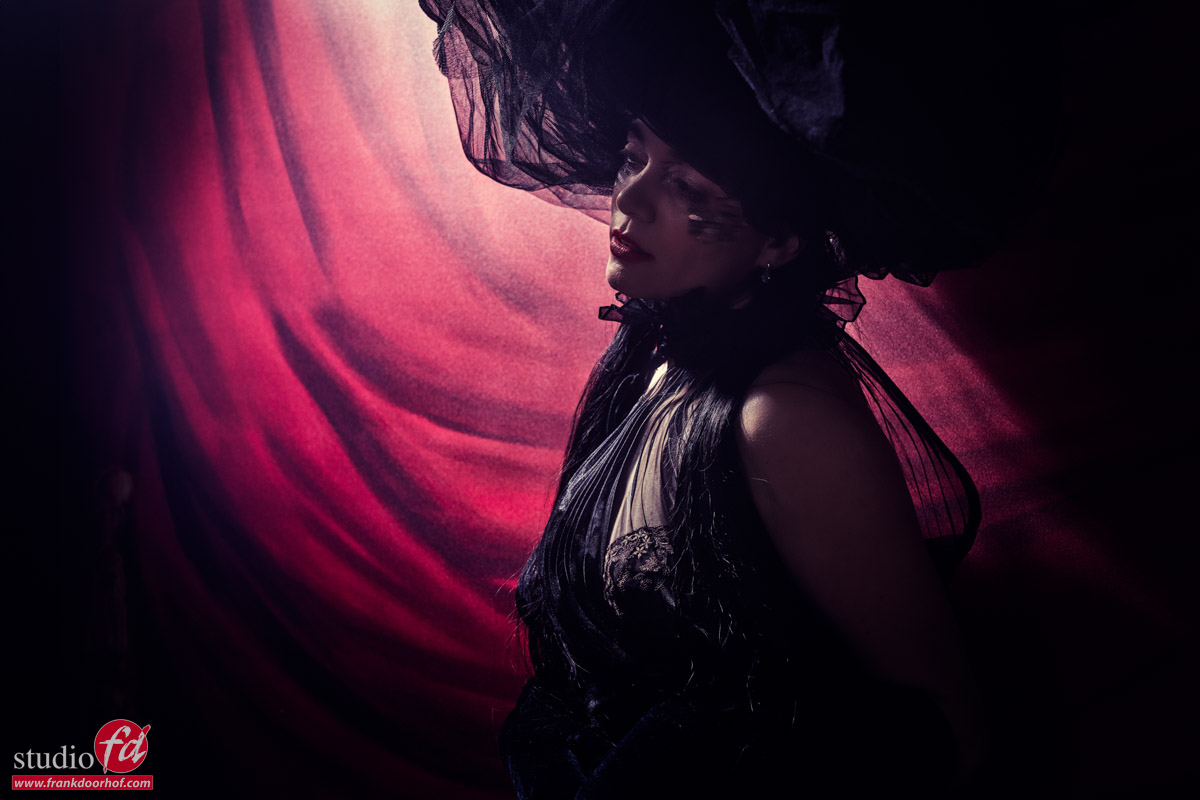
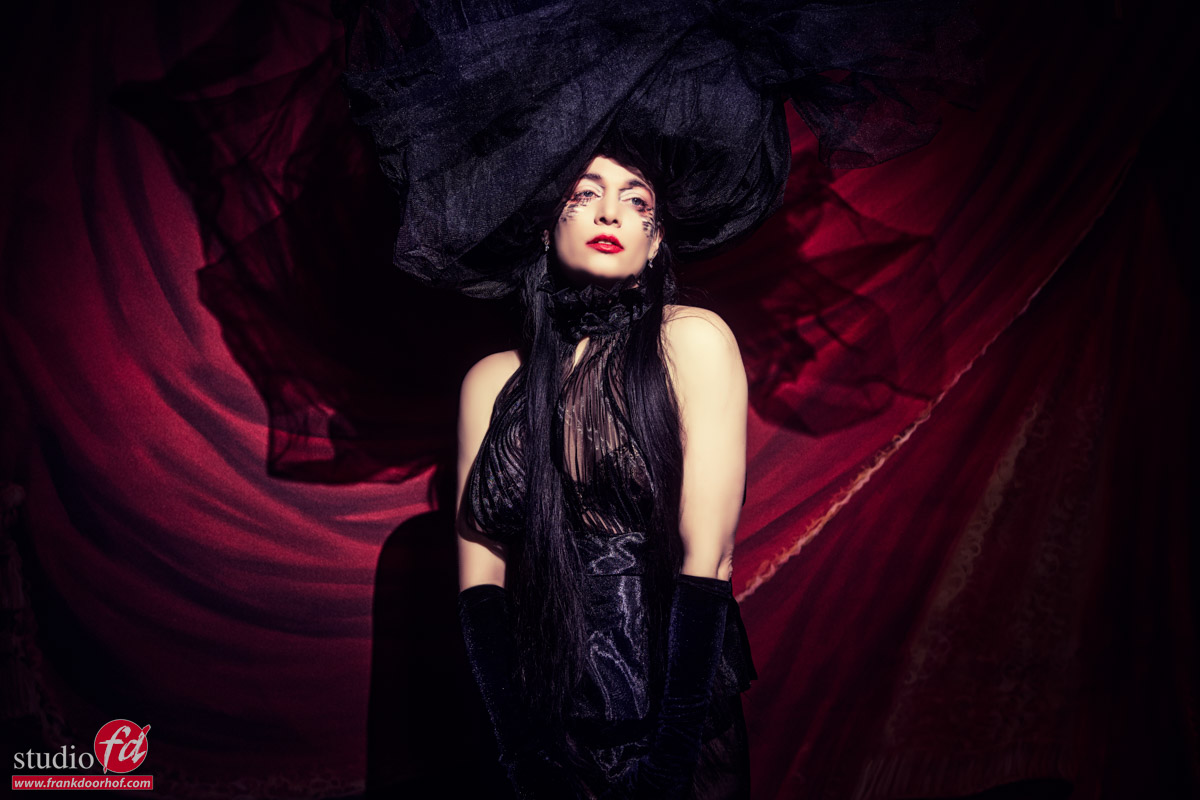
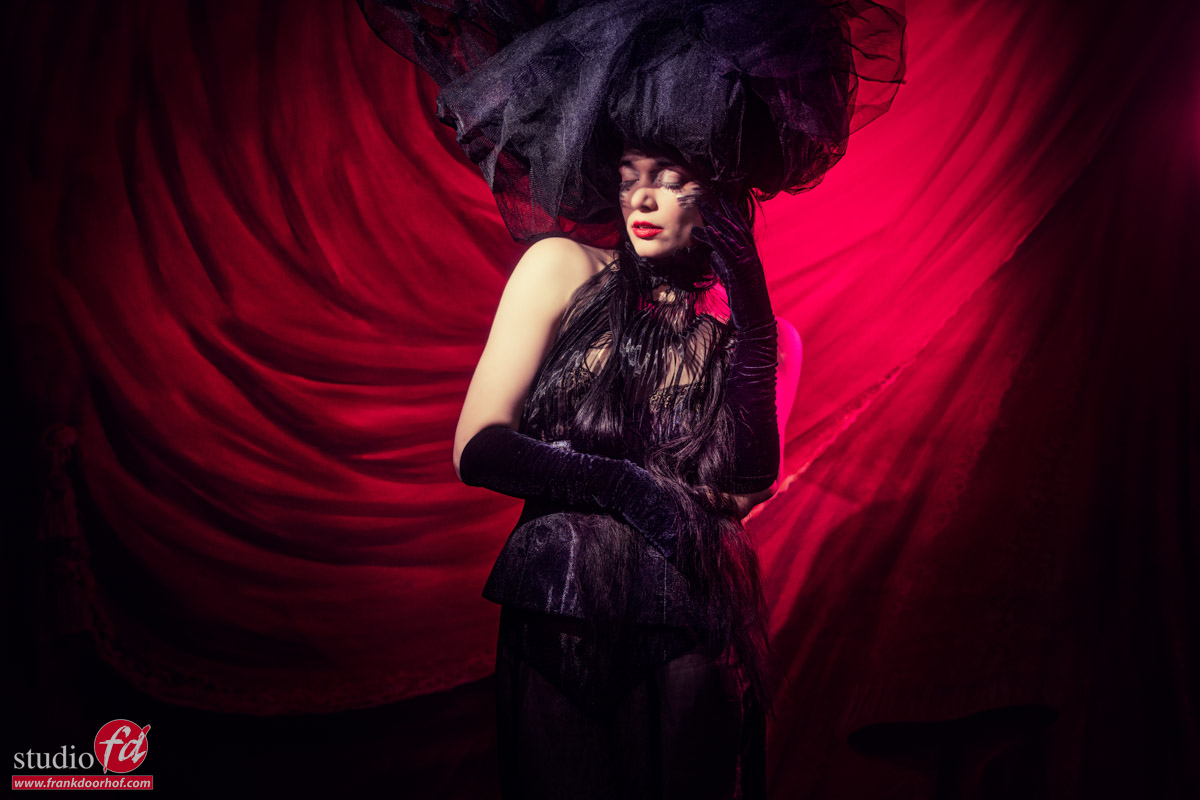
For me, a backdrop is not just a pattern or something to fill up the space behind the model. I always try to make the backdrop a vital part of the shot. When I want something edgy I’ll often go for a more distressed wall look, when I want something more classical…. mmm maybe something with old curtains?

Well luckily for you guys we did just that with our model Nadine.
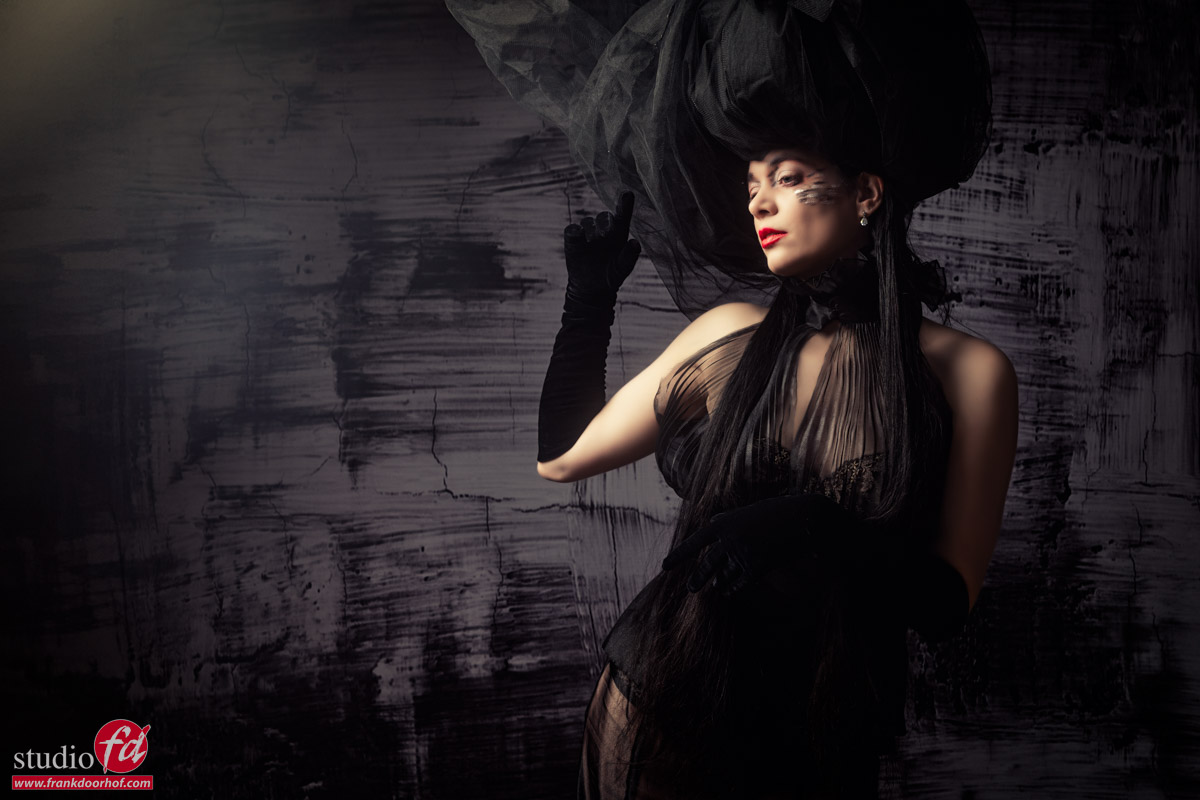
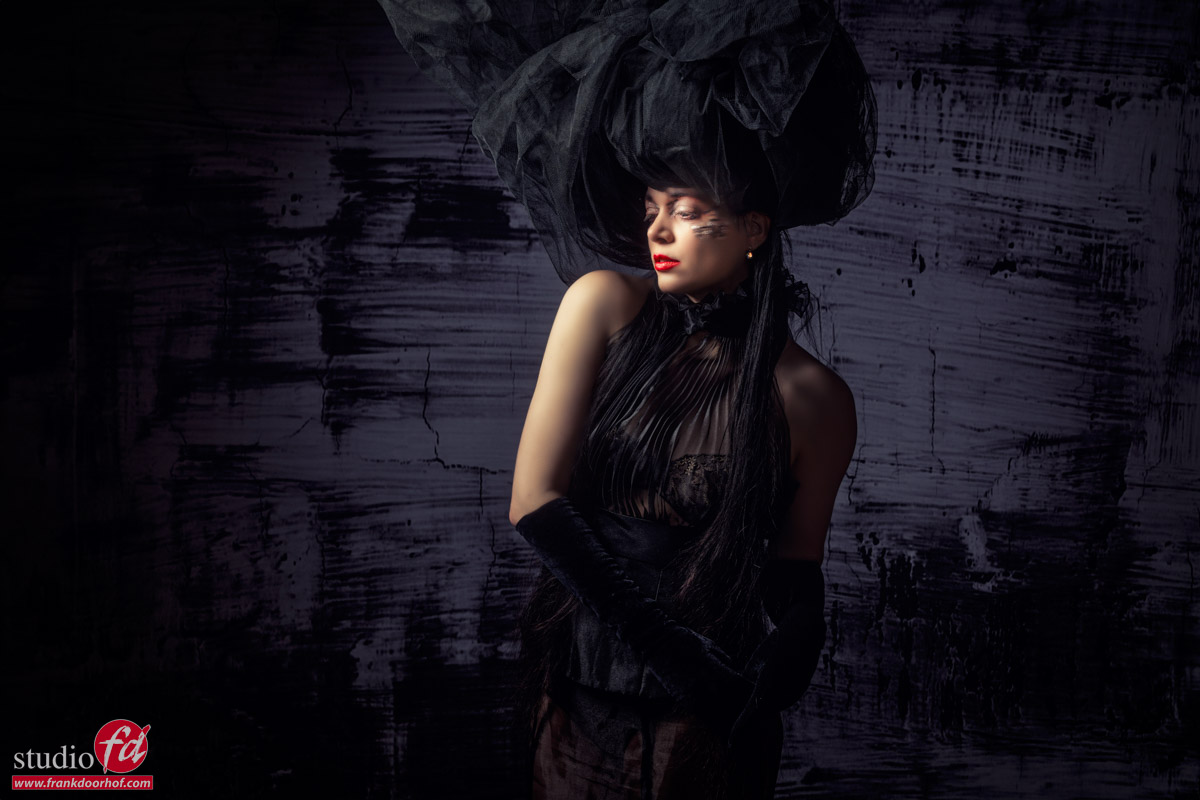
We decided to keep the styling and lighting idea roughly the same but change the backdrop.  As you can see even Nadine poses differently. My position is different and the end result is totally different.

Now this might seem logical. But often it’s forgotten that when you really blend background and model together ON SET you get a much more “organic” and “real” result. Not just because the shadow and light play on the backdrop. But also because both model and photographer are “inspired” by the results coming in.

People often ask me if I’m afraid that AI will replace all backdrops?

No, I’m not.
Yes it will replace it for some people, and the possibilities are limitless. But it cannot replace the shadow play, and inspiration the photographer/model experience during the shoot. The shadows could maybe be replicated but you would need a proper knowledge of lighting in the first place and an above-average knowledge of Photoshop to make it 100% convincible.

Let’s first take a look at the first set we did with Nadine.
Different backdrop and same styling. In this picture we use the Black Wash

Buy the ProFabric Black Wash Backdrop in our store (8,92’x8,92′ or 272x272cm)

I just love the way the backdrop seems to add a sensation of movement to the images.
This was shot the day we got the backdrops in so I didn’t use them before 😀

As you can see I played with different looks in tinting, posing, and color/BW.
But there is a certain feel to the images.

Now let’s change to an other backdrop. Same styling, but different look

Now this backdrop is officially unavailable in ProFabric, but I loved it so much they made a custom order on Pro-Fabric (which you can now also order). And as you can see the change is not just the backdrop 😀

Different backdrop and same styling Different backdrop and same styling Different backdrop and same styling, in this case the Theater Curtain on ProFabric

See the backdrops we have in stock. 


Check out the video of a styled photoshoot with Nadine, where I used AI on the backdrop

Read the blog about the backdrops with isolation blankets 

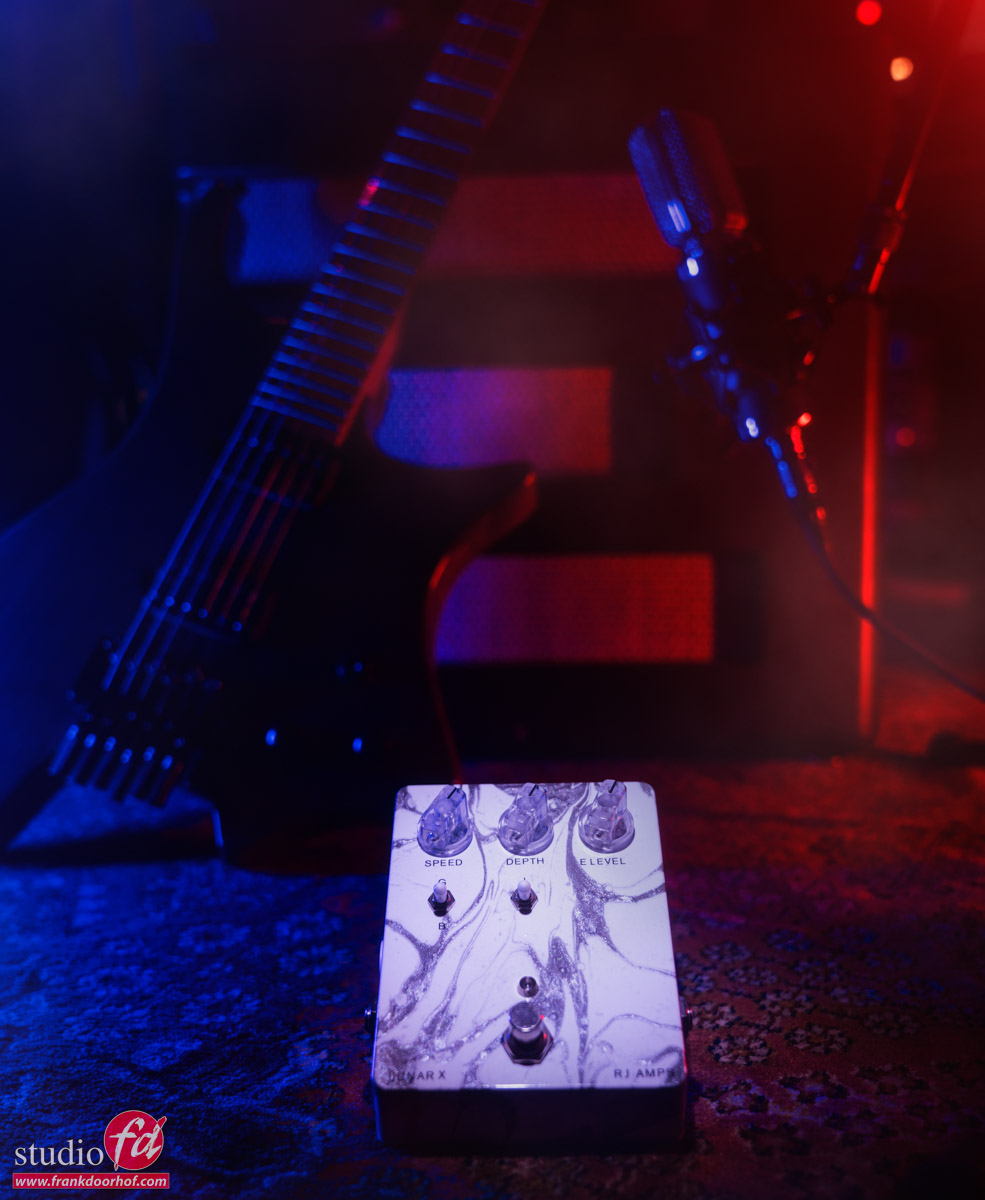
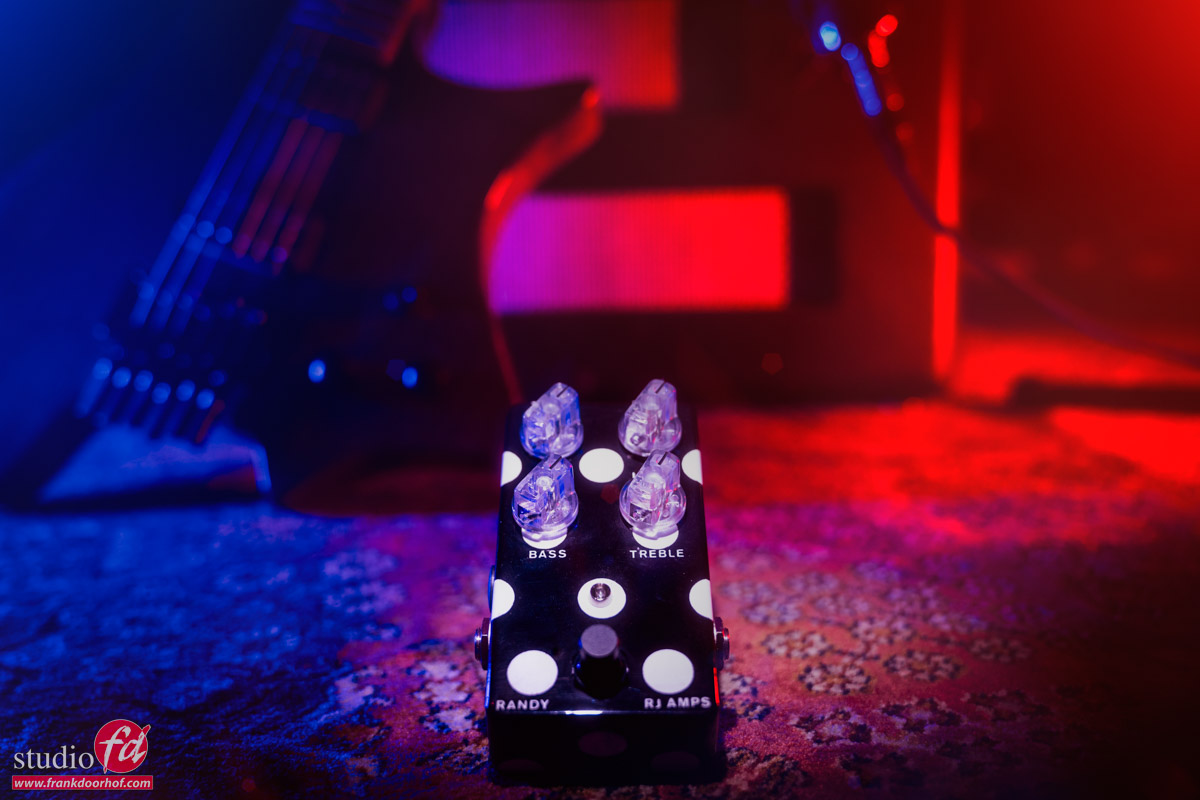
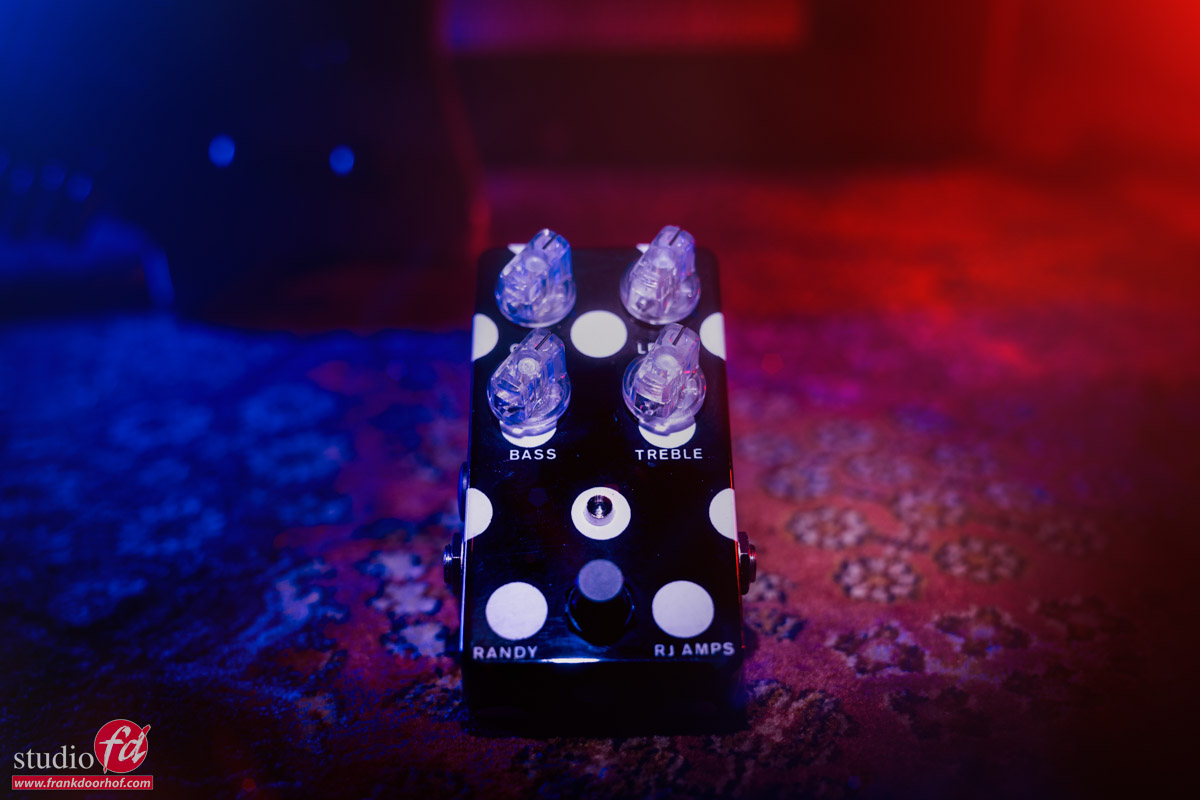
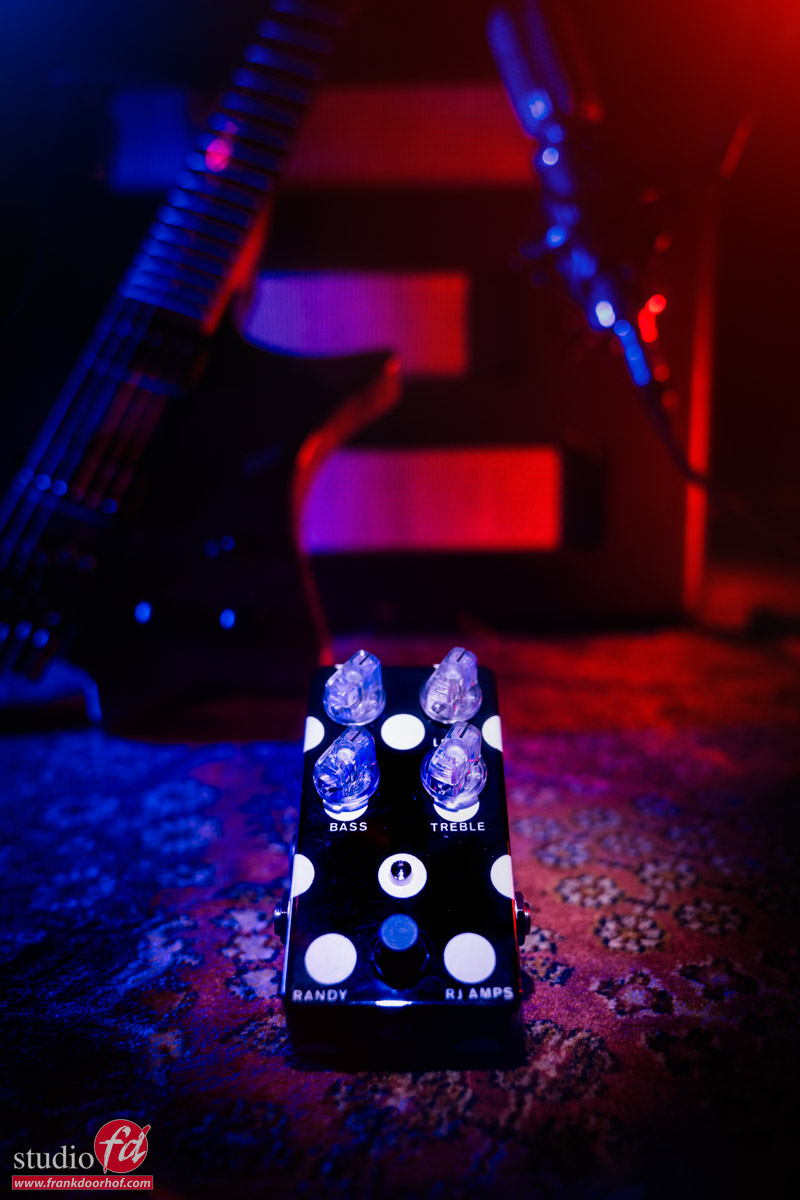
A kind of different product photography, shots from guitar pedals

A kind of different product photography, shots from guitar pedals

Most of the posts we do online are from model photography. But product photography is also one of the services we offer our clients. Most of the time, the model shots are however a lot more interesting to post. But sometimes we also show you some of the products we shoot, when it’s special.

Hobby vs business

I always say I’m a lucky guy, every day I can do what I love most, create images. But sometimes I’m double so lucky when I can combine two of my passions.

I’ve known RJ-amps for a few years now and he can do wonders with tube amps but also builds great guitar pedals. When I brought my amp in I got two brand new pedals to play with which will be released later this year. And of course…. and he knows that…. I couldn’t resist to take some images.

Now we also took some of the more boring white backgrounds but when we do product shoots I also always like to add some “special set” shots. With handbags for example. We build a small set fitting the brand and took some shots in there, with fancy lighting. In most cases, we do this for free (and fun) but clients often end up using those images also.

How I shot this product, the guitar pedals

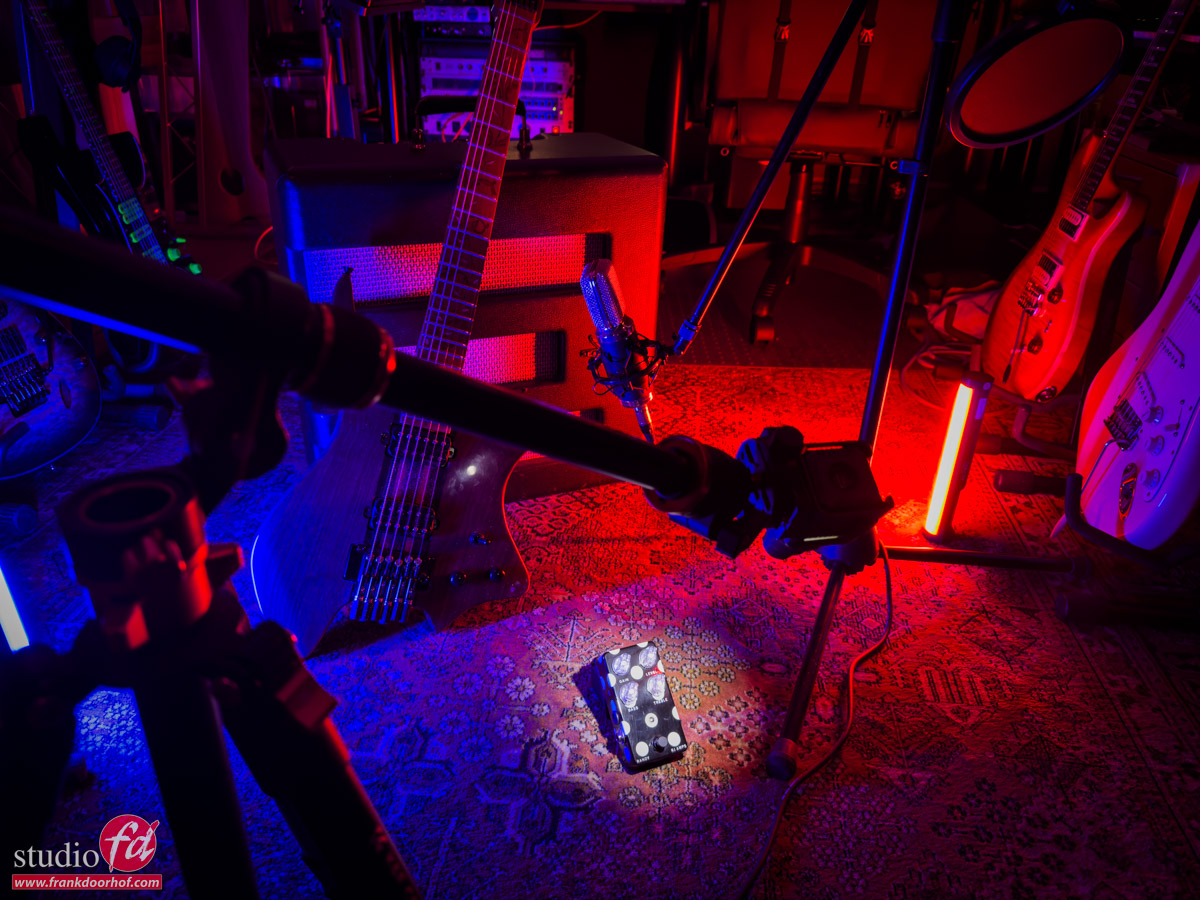
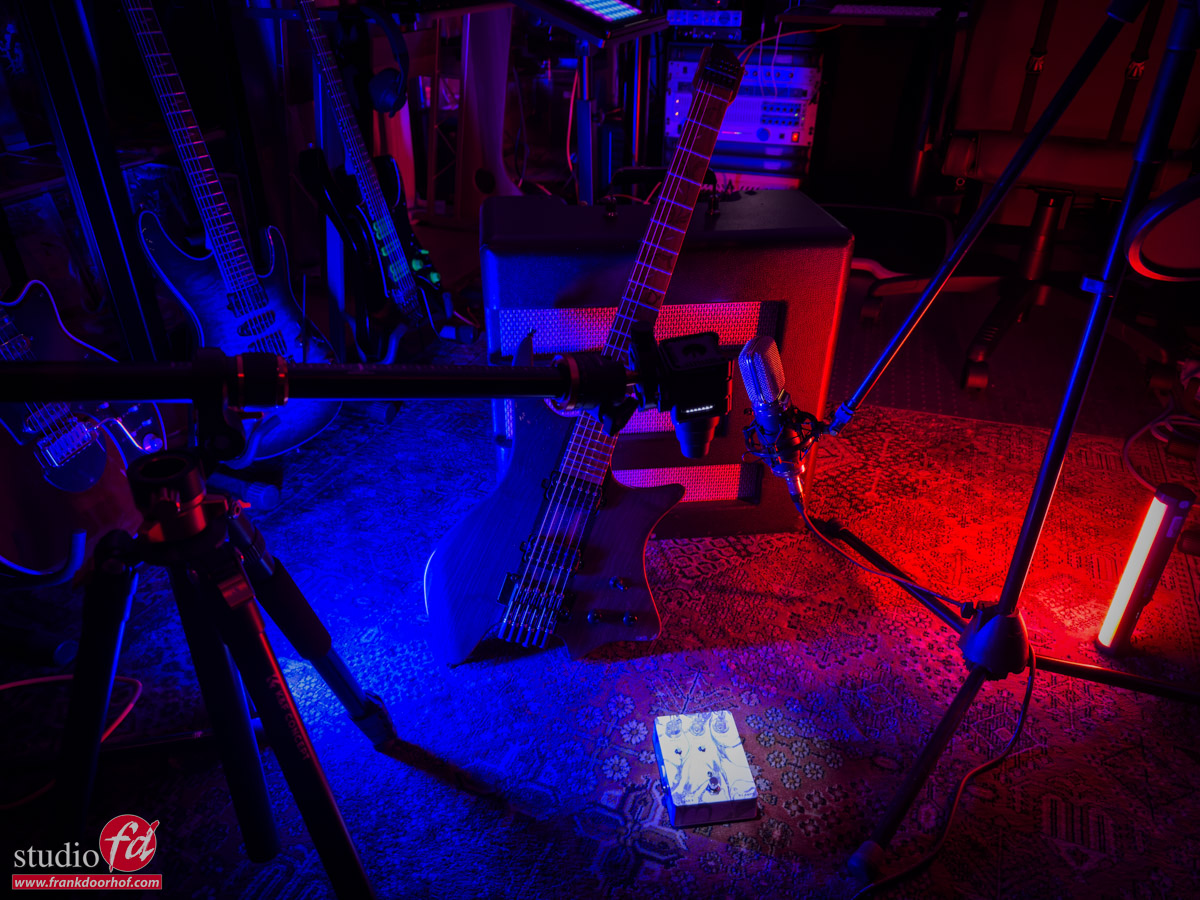
For this series I decided to shoot it at home with a combination of a Lumecube with a snoot and two Nanlite led tubes on the side.
The challenge was to get the Lumecube in exactly the right place, but luckily we could use the K&F concept tripod I’m using for my iPhone video setup. This is an awesome tripod because it can act as a boom arm, making it ideal for shoots like this or using phones in video setups.

Here is the behind-the-scenes setup for both pedals.

A kind of different product photography, shots from guitar pedals

A little bit of set styling

The reason I shot this at home was mainly because it was the best location 😀
This is the area where I create my music and also host live streams when I do seminars for clubs or Digital Classroom episodes without live shoots.

I love the carpet here (somehow most guitarists seem to love them) so I wanted to use that as my “base”
Because it’s a pedal I chose this vintage-looking amp because it’s pretty neutral-looking and stands close to the floor. So there is no problem fitting it in the frame.

Of course, you also need a guitar. Here I chose a custom-built guitar for the nice wood look which I think works great with the color of the amp and the carpet. Also, the finish has a very high gloss which makes it harder to light. But the effect when done right makes it possible to use just a little bit of light to see some details.

For some “fill,” I used my favorite-looking microphone, a nice Marantz Ribbon mic.

Lighting

As mentioned I’m using the Lumecube with a snoot and two Nanlites tubes on the left and right.
I love using accents with red and blue because both are on the same axis in the colorspace they blend together really nicely and both are also the so-called “emotion” colors so for me personally it’s a combination I use a lot.

Placing the lights is vital if you want details in the guitar without getting too much glare. However, around the edges, I did want just a little bit of reflection making the guitar stand out. After finding the right spot you can fine-tune the spread by just turning the tube very slowly and keep looking through your camera.

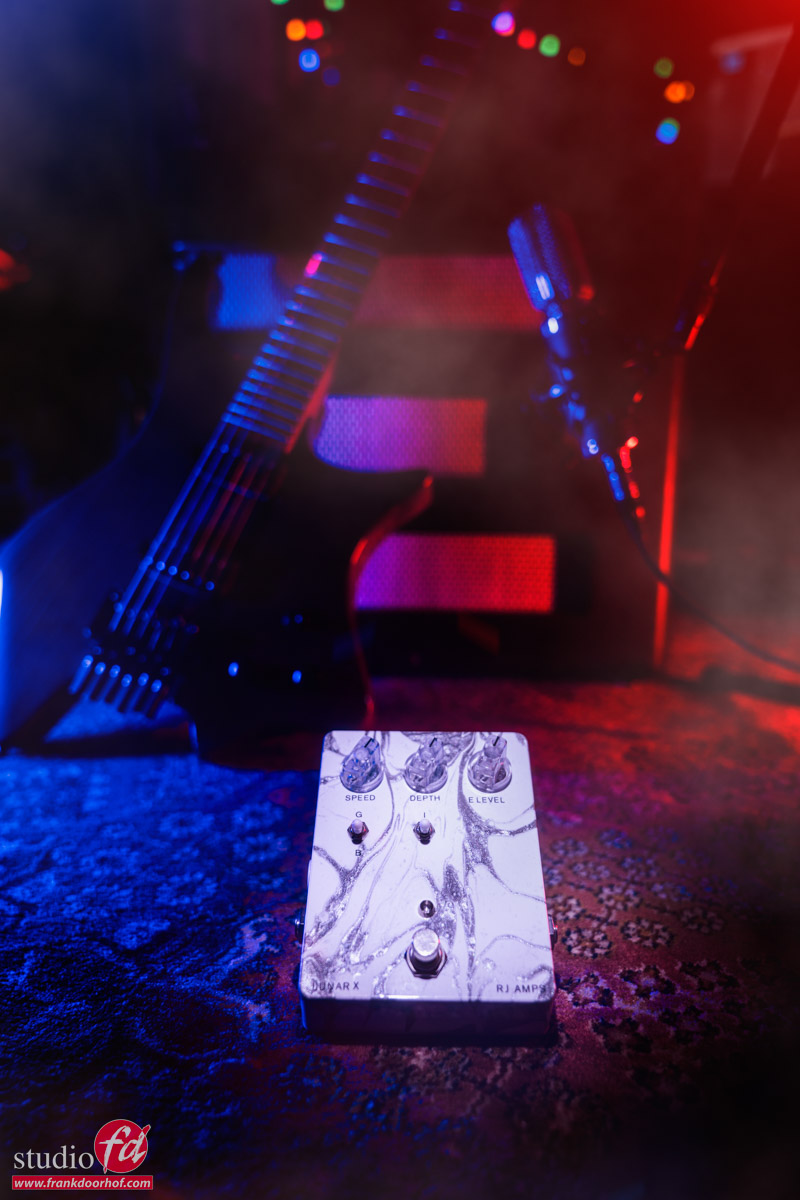
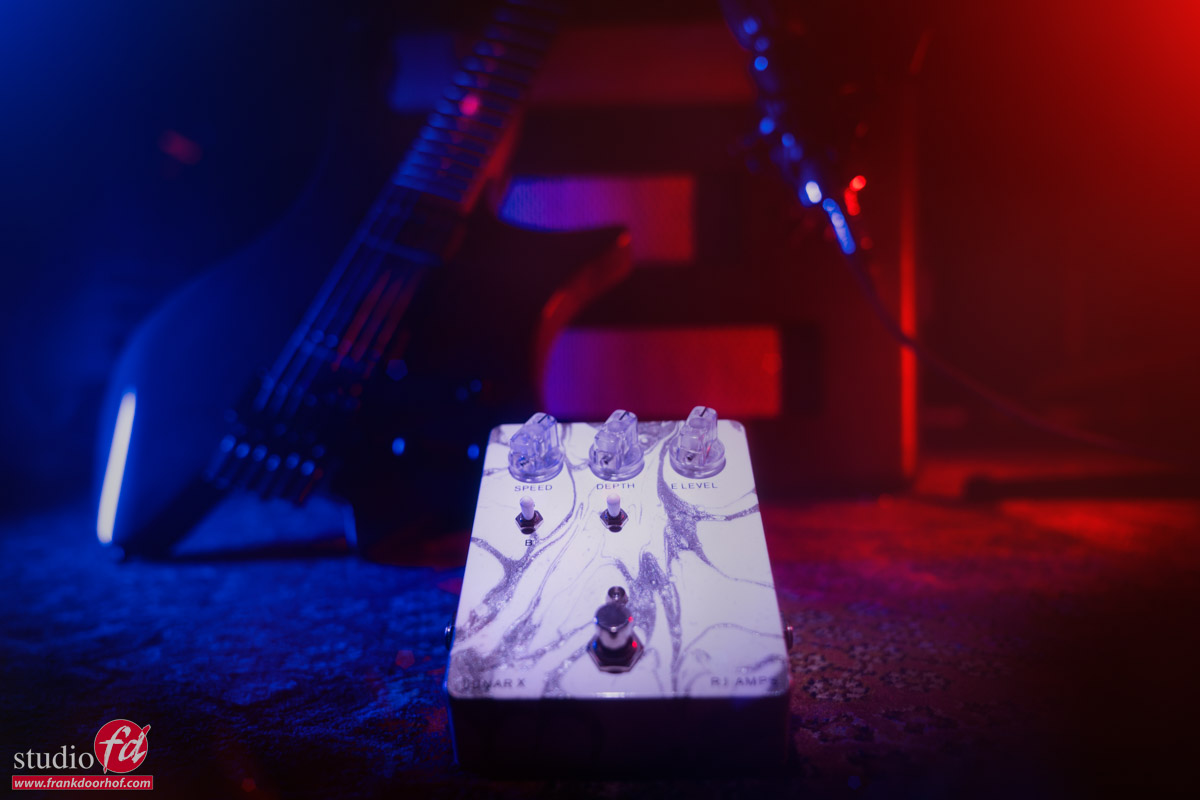
Ok… let’s show the results.
I did use just a little bit of BorisFX for special effects.
Get a 15% discount on BorisFX by using our link.

A kind of different product photography, guitar pedals A kind of different product photography, shots from guitar pedals


PS: if you like this blog about product photography (from guitar pedals), let me know! Find me on social media.