Tag Archive for: studio

Never give up

In essence you don’t want a reflective background

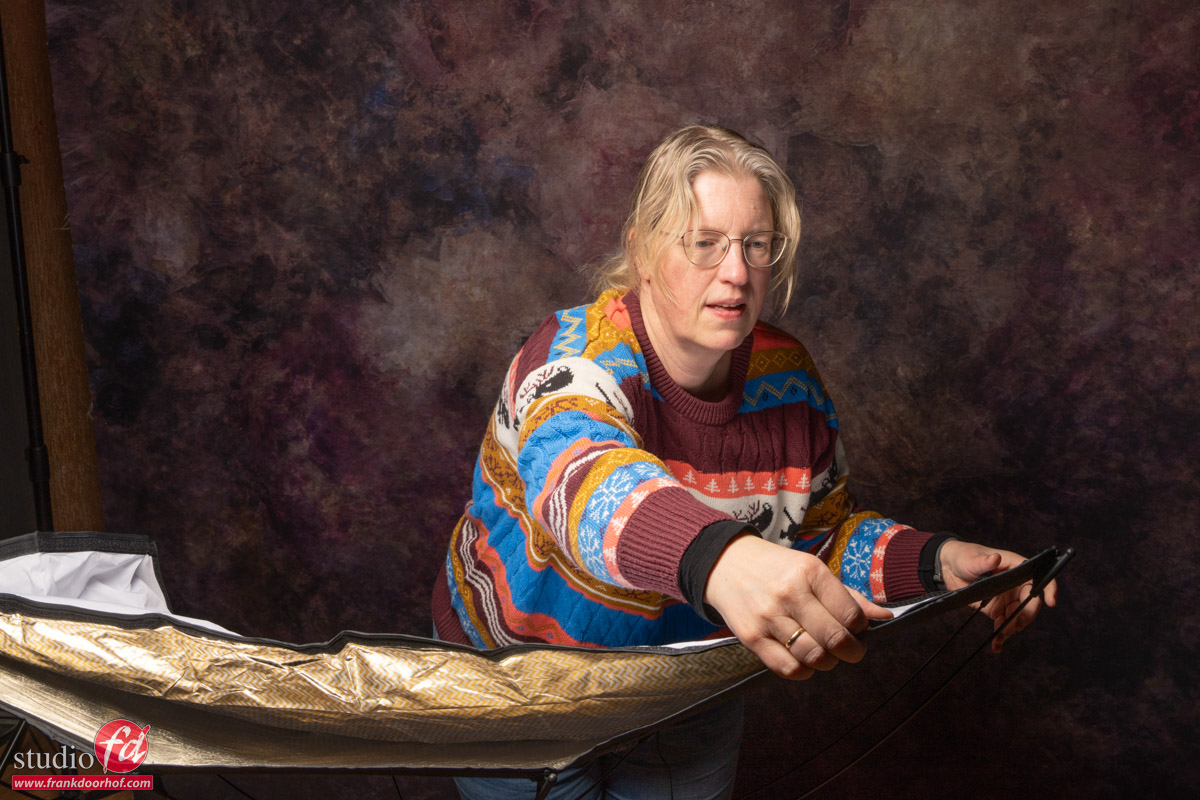
But sometimes things go wrong, like with our red background.
When we told the intern to paint it we clearly said, non reflective paint, and somehow this translated to High Gloss…. don’t ask.

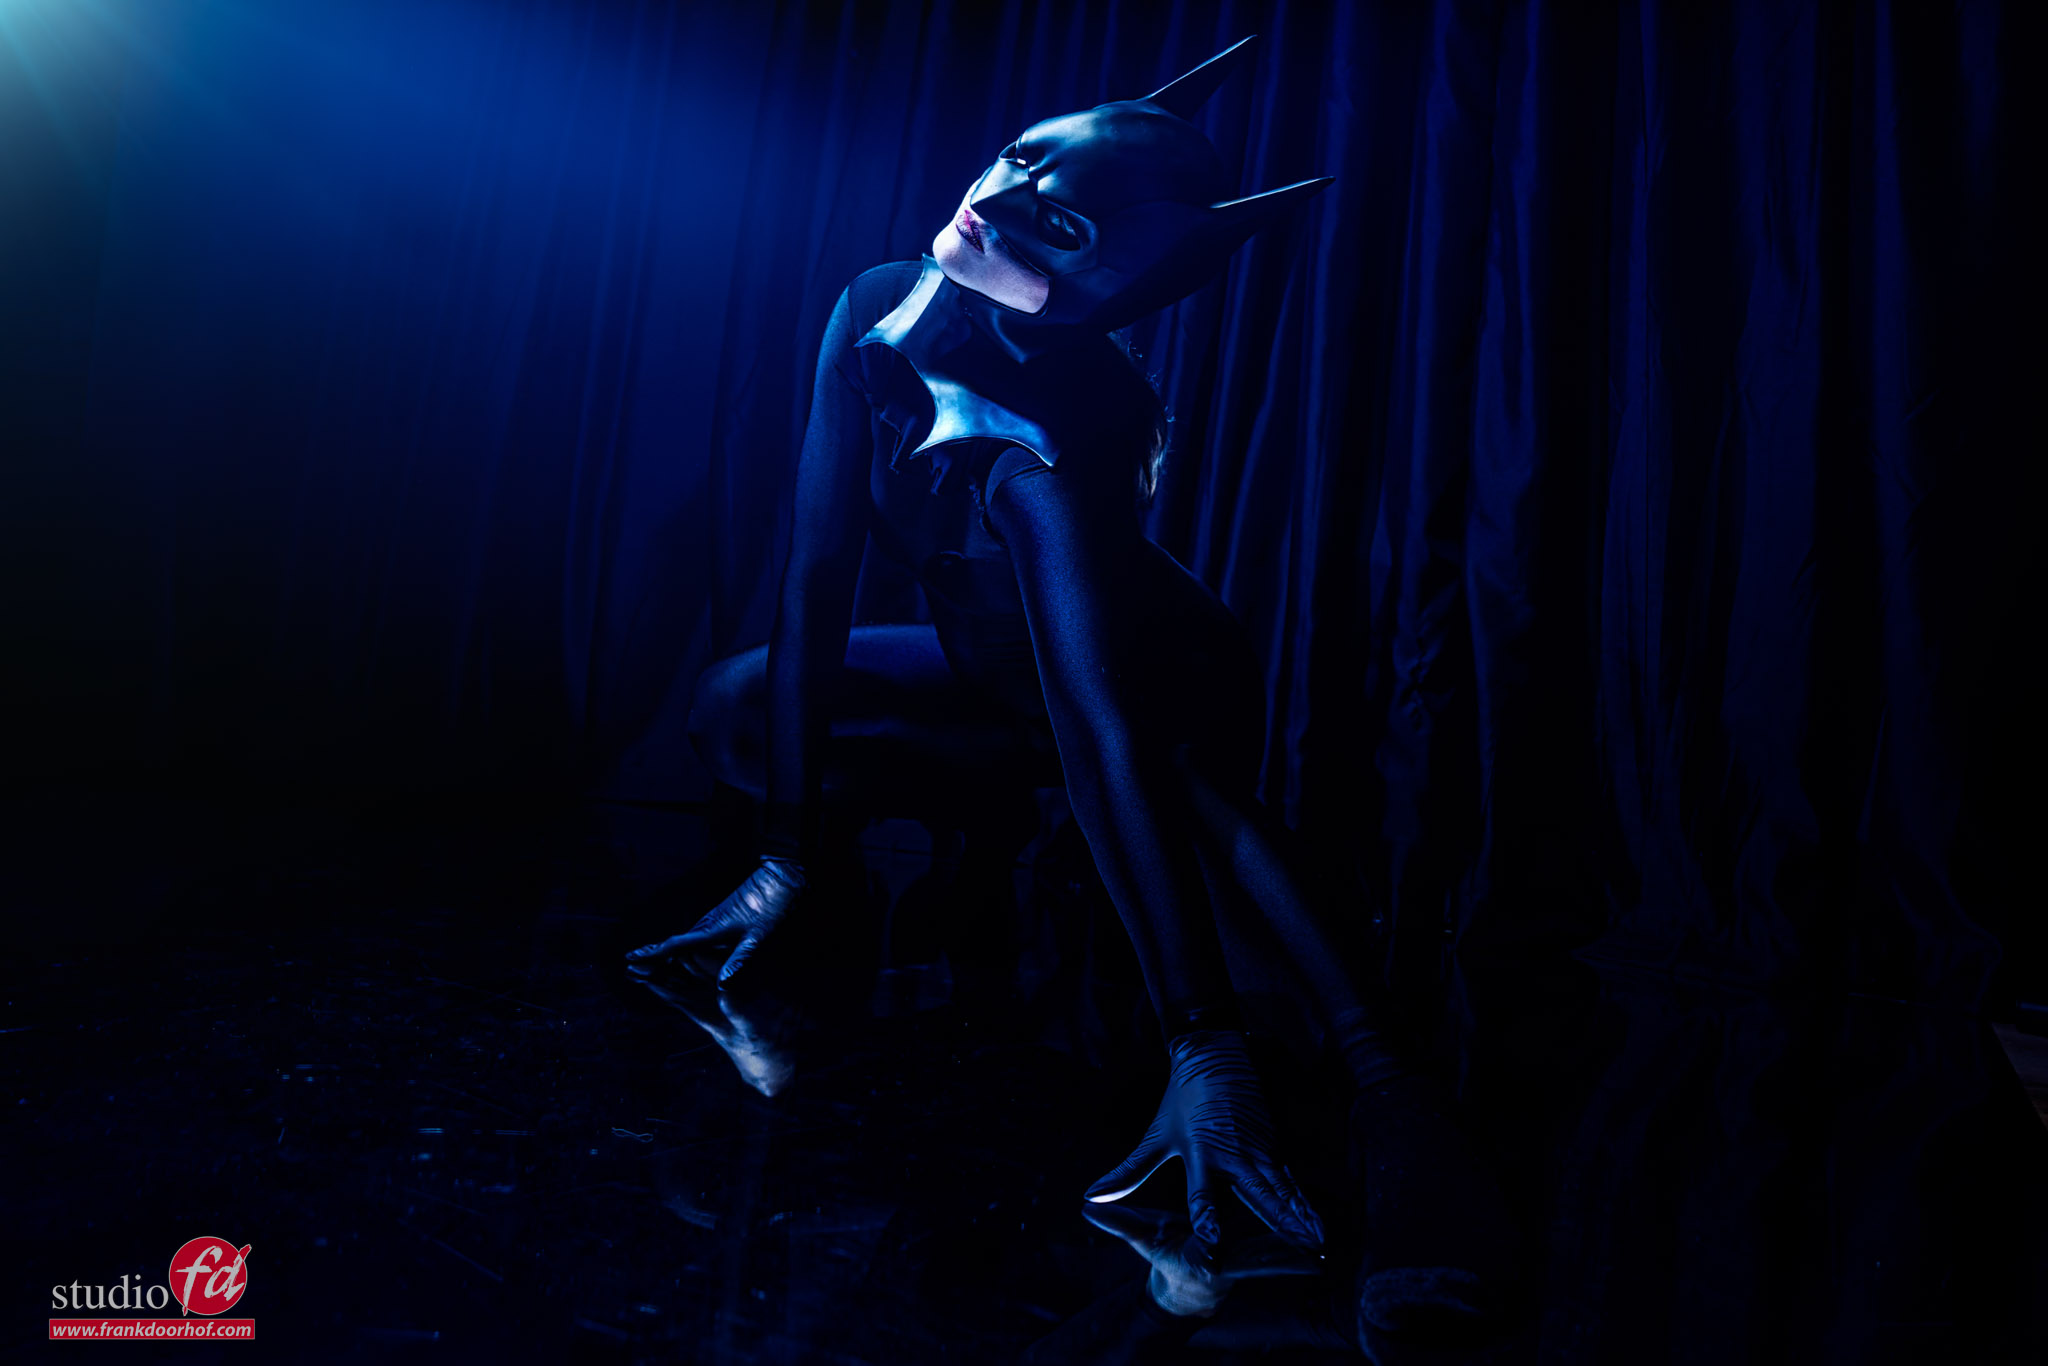
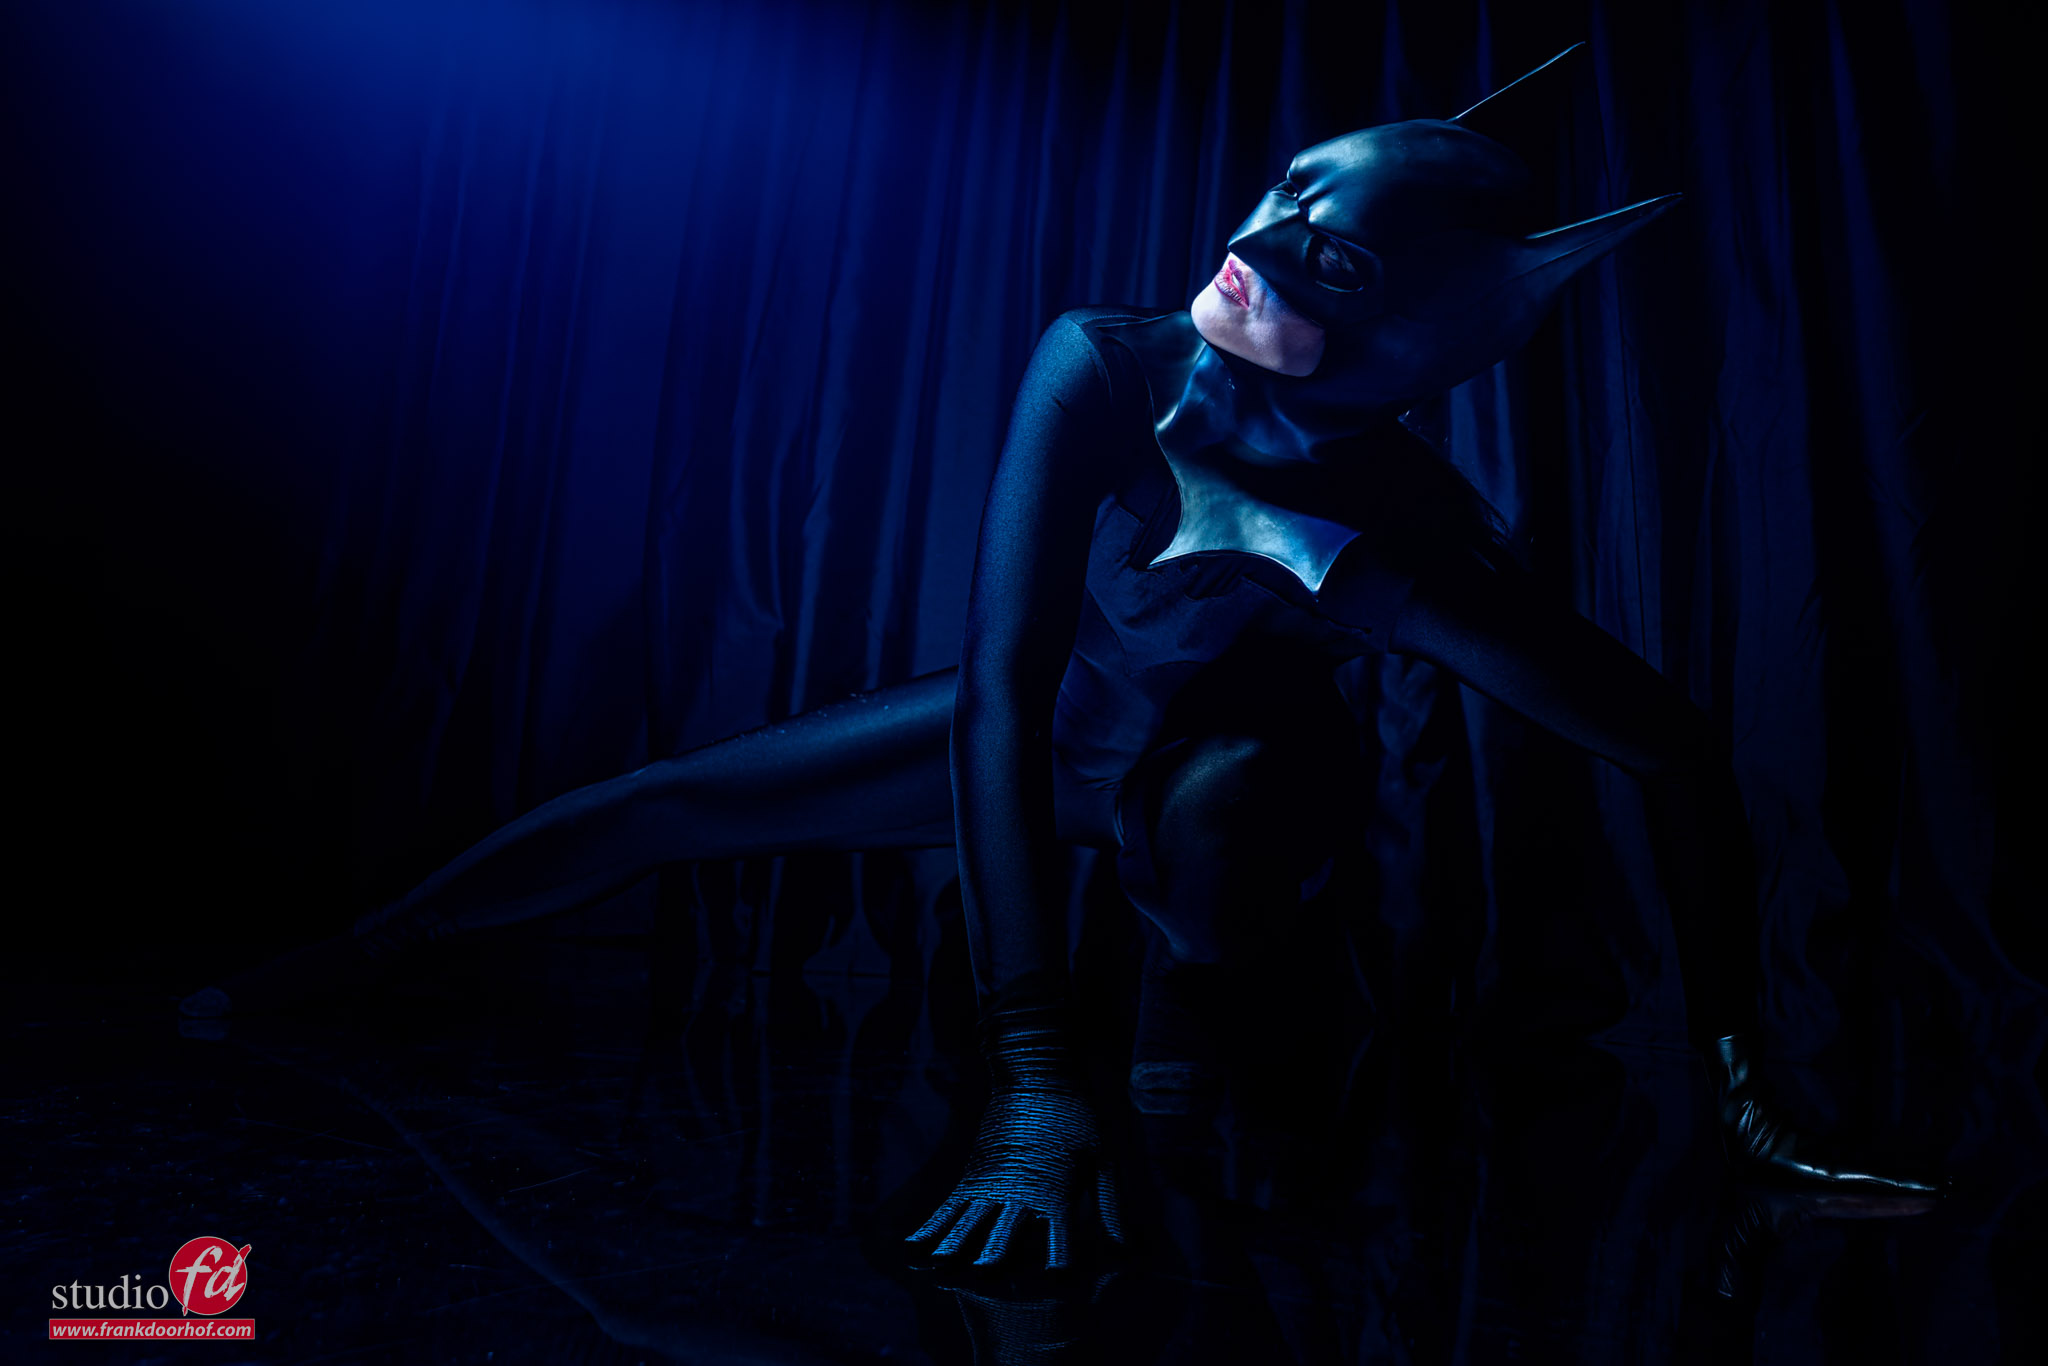
So we have one background that is now awesome to explain angle of incidence is angle of reflection, but als to use in a more creative way.

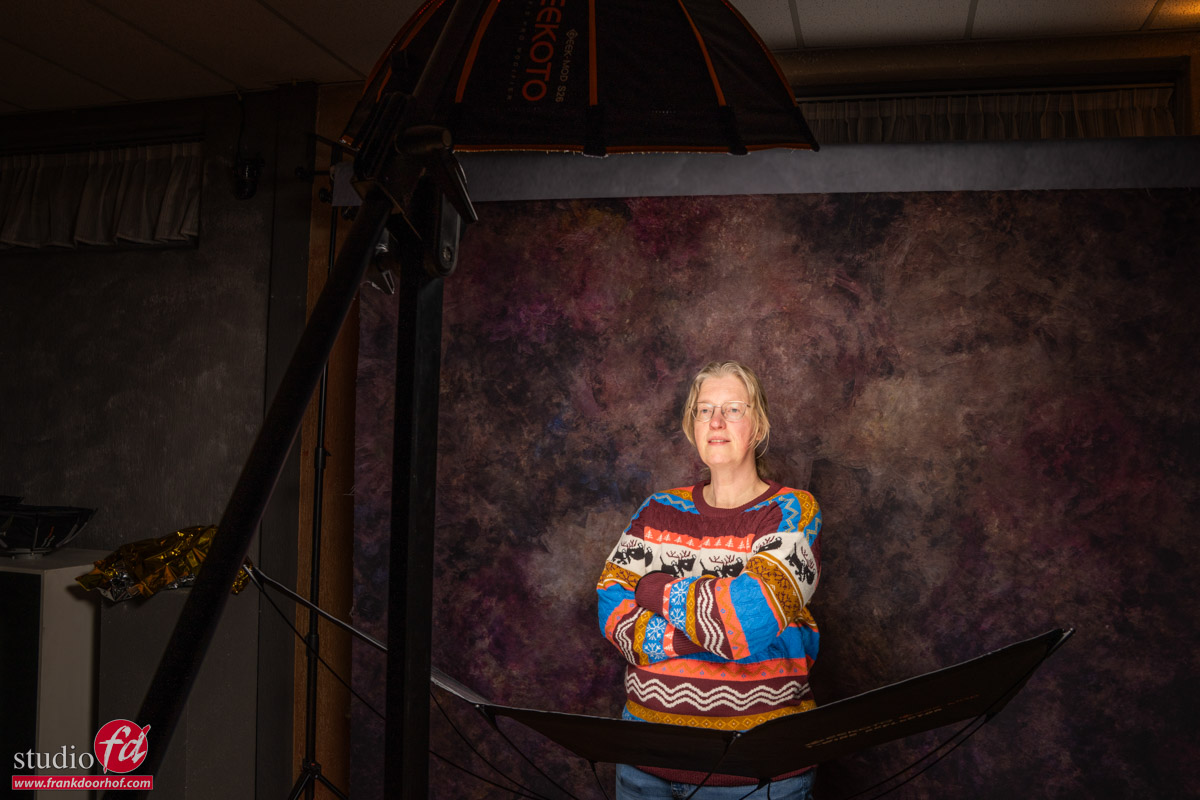
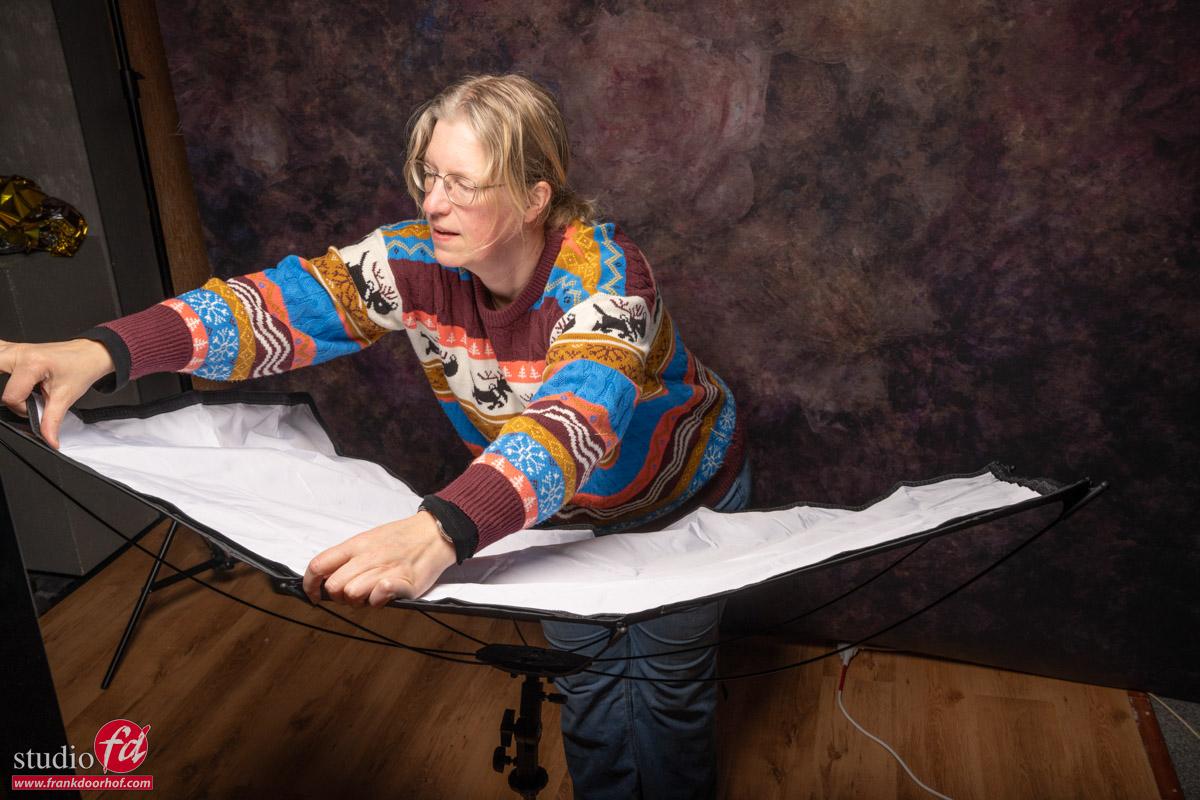
During the workshop “alternative light” I’m not using strobes, but mostly light sources that are not designed for photography. Think about chandeliers, light bulbs, Christmas lights etc.
For this setup however I’m using Nanlite led tubes.
You can control them from your phone to change the output and color, which makes using them creatively a lot of fun.
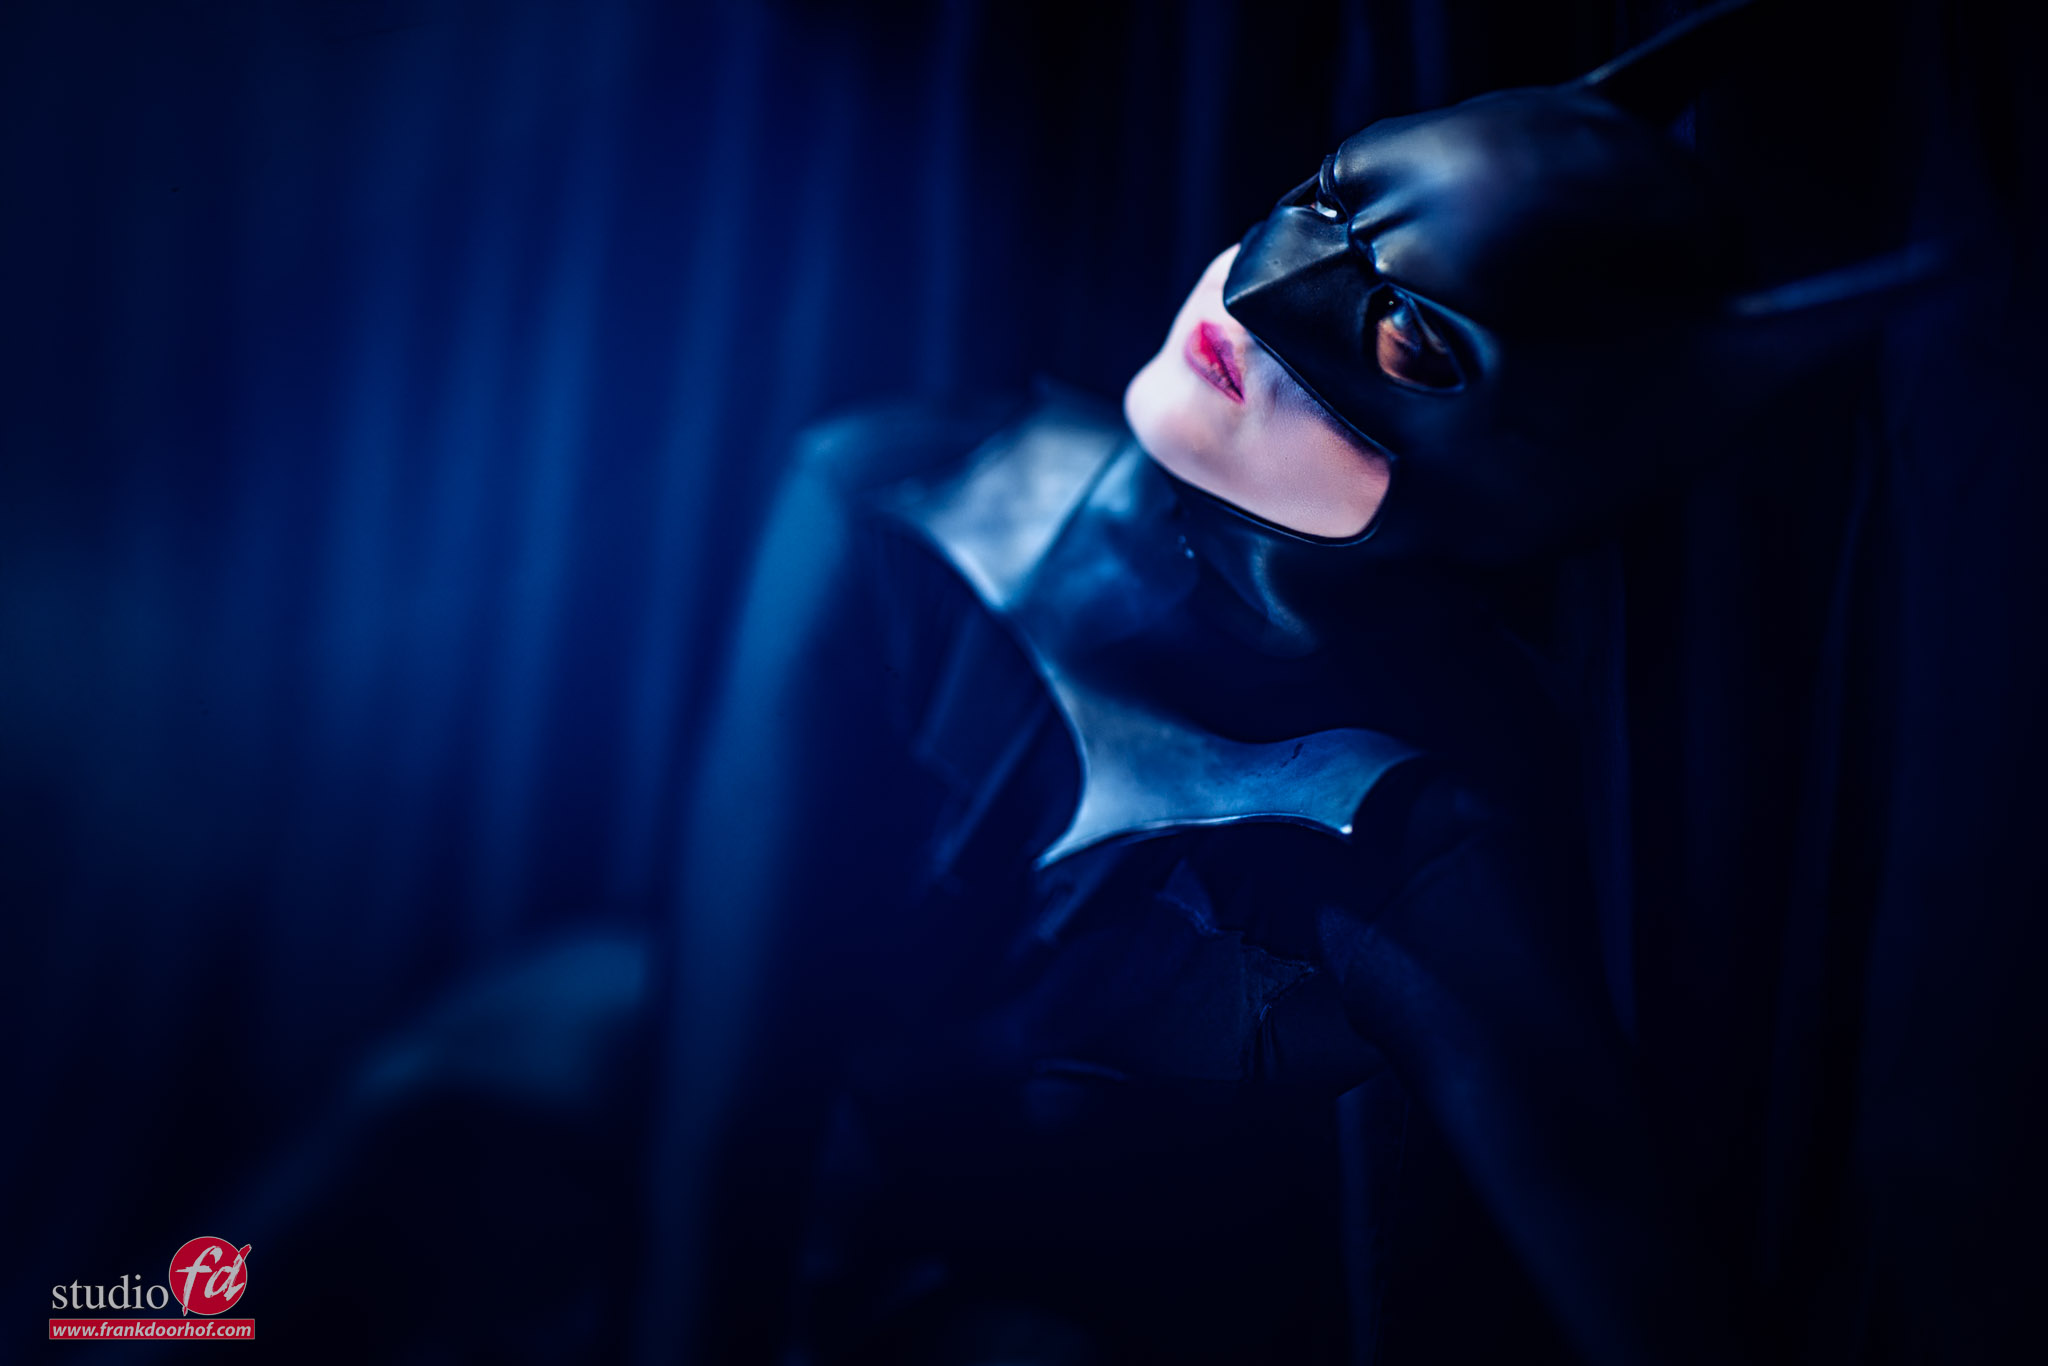
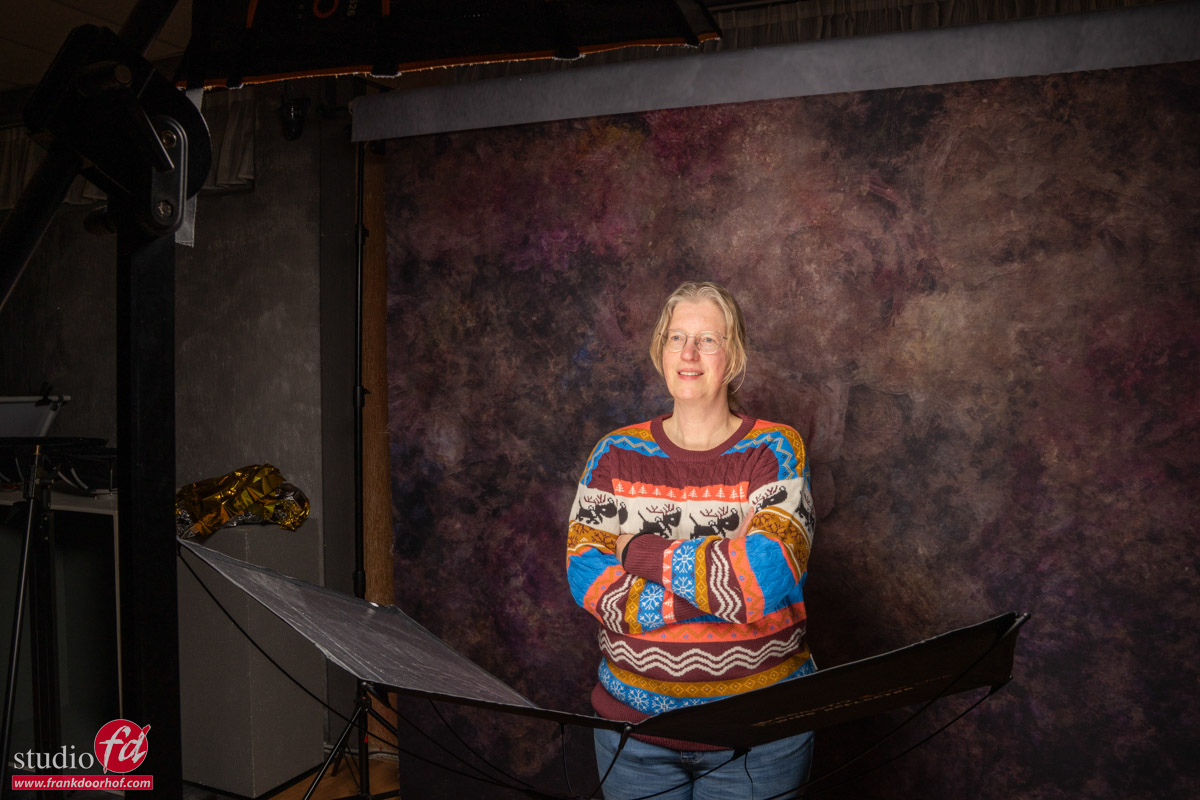
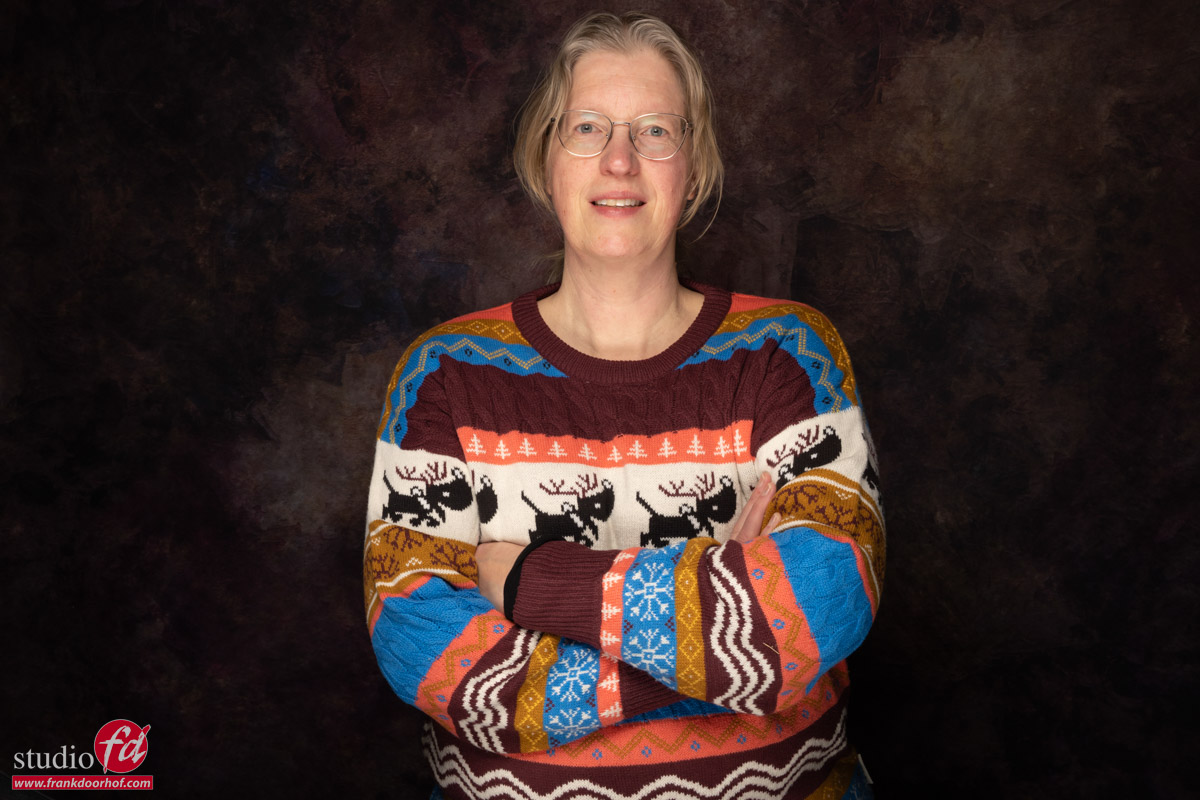
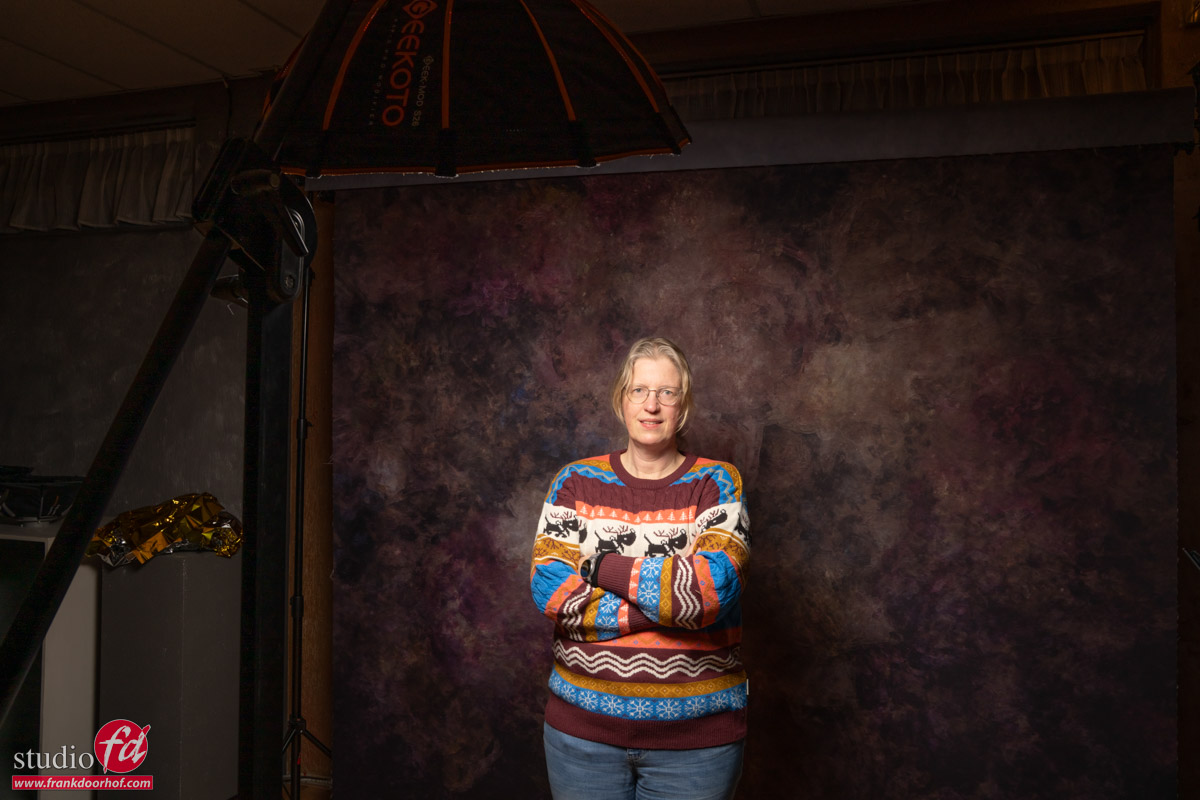
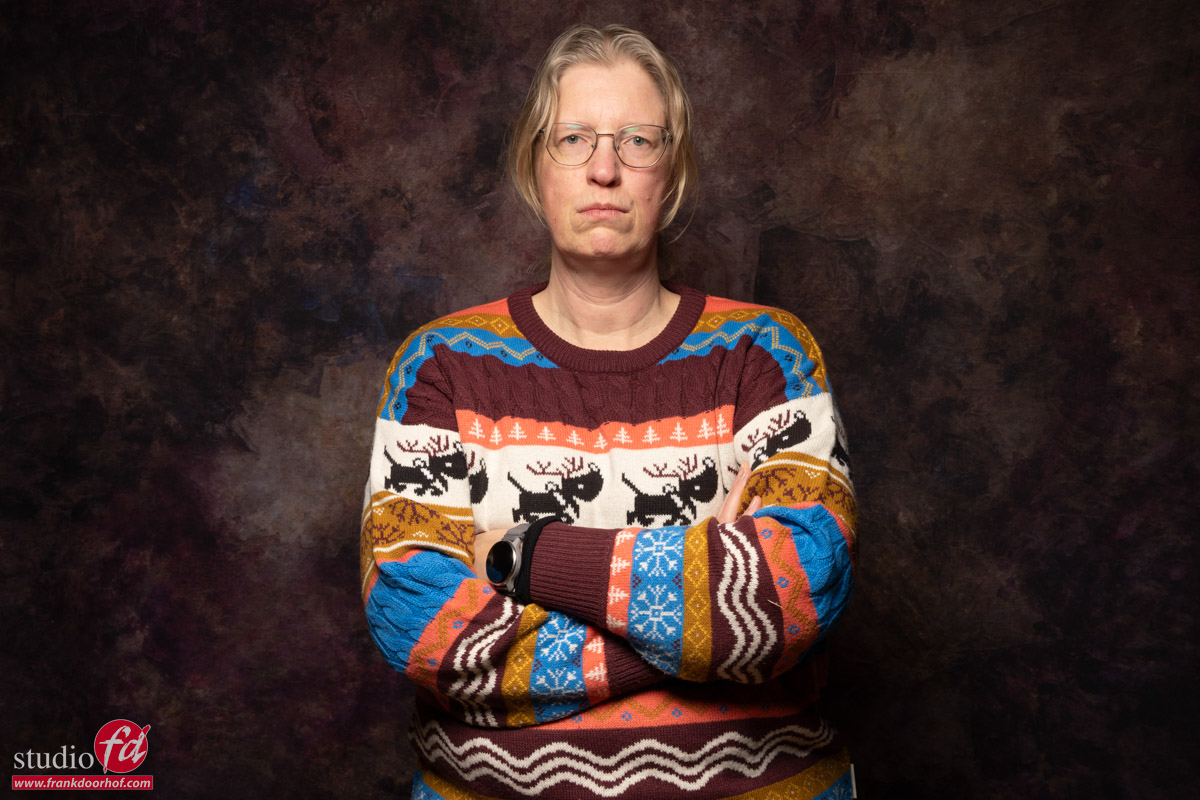
In this case the original idea was something else, and in all honesty I didn’t like the outcome. But as you know I always advise the attendees of the workshops to move around the model, and of the main reasons for this is of course to maximize the results. But in this case it actually gave me at least one image of this setup that I really liked. Otherwise I would have no photos to give my model. So always try different angles before giving up.

A lower angle and using the material in the front out of  focus to lead the viewer to the face of the model combined with the reflections and color scheme somehow worked out for me.

So todays tip

Even when you are about to give up, always try some different angles, switch from 70mm to 24mm, include the lights/reflections or take them out.
But I’m 100% confident that when you train yourself like this with proper setups, you can manage to pull something out of a disaster of a set 😀

Workshops

Want to learn everything about light control?
Want to visit a workshop where it’s not just shooting a model with a fixed lighting setup, but see how the setup is build and adjusted to the taste of the group?
And of course learn how to work with poses, backgrounds, small sets, styling, retouching and a lot more…..

If this all sounds awesome, visit fotografie-workshops.nl and book your workshop.
If you don’t speak Dutch, no problem, let us know a few weeks in advance and we can switch the workshop to English.
Not possible to travel to The Netherlands?
We got you covered with our 1:1 online workshop.
We have a full streaming setup in our studio. 4 detail cameras and of course the retouching software so you can see every detail and of course ask questions during the day. Plus you get all the RAW files after the workshop.


Batman in a mirror

Playing with mirrors can be fun

Today a few images shot during a workshop with our model Linda.
In this setup I’m using a plastic mirror against a black background.
One light source on the model with a grid to create just enough light to see all the details where we need them, and one small blue fill in light to open up the shadows.

You might wonder why you don’t see a real large reflection?

This might need a bit more explanation.
The idea of this setup was not to show the mirrored effect, but explaining the angle of incidence is the angle of reflection.
By using two light sources and a small mirror this will give a few challenges.

First of all make sure you don’t see the light sources. Or maybe show them in the frame for a different effect.
And of course to make sure you don’t see the ceiling in the mirror.
The idea of this setup was to get the mirror as black as possible with just a small reflection of the hands.

And there is another tip

When it comes to styling I’m always pretty thorough, but here I made a capital blunder.
When you look at the final results you will probably notice she is wearing different gloves.
In the original images, she was not wearing any gloves and this looked absolutely terrible, the white hands, were reflected in the mirror and drew all the attention away from the rest of the scene. So I did change the gloves in Photoshop…. 😀

Workshops

Want to learn everything about light control?
Want to visit a workshop where it’s not just shooting a model with a fixed lighting setup, but see how the setup is build and adjusted to the taste of the group?
And of course learn how to work with poses, backgrounds, small sets, styling, retouching and a lot more…..

If this all sounds awesome, visit fotografie-workshops.nl and book your workshop.
If you don’t speak Dutch, no problem, let us know a few weeks in advance and we can switch the workshop to English.
Not possible to travel to The Netherlands?
We got you covered with our 1:1 online workshop.
We have a full streaming setup in our studio. 4 detail cameras and of course the retouching software so you can see every detail and of course ask questions during the day. Plus you get all the RAW files after the workshop.


Video : It’s all about colors

All the colors of the rainbow

How did I shoot this one? If Nadine is our model, the styling is magnificent. But we also want extreme lighting. Color evokes emotion. Did you know we only see 3 colors? Red, green, and blue, Frank explains the color theory. Today, we are trying to create a set with a hint of K-pop. Frank will show you how to make 2 different images in one set. From bright colors to a more moody shot, by changing the balance of the strobes.

What other modifiers does Frank use? Find out in this video, including behind-the-scenes and the results.


Workshops

Want to learn everything about light control?
Want to visit a workshop where it’s not just shooting a model with a fixed lighting setup, but see how the setup is build and adjusted to the taste of the group?
And of course learn how to work with poses, backgrounds, small sets, styling, retouching and a lot more…..

If this all sounds awesome, visit fotografie-workshops.nl and book your workshop.
If you don’t speak Dutch, no problem, let us know a few weeks in advance and we can switch the workshop to English.
Not possible to travel to The Netherlands?
We got you covered with our 1:1 online workshop.
We have a full streaming setup in our studio. 4 detail cameras and of course the retouching software so you can see every detail and of course ask questions during the day. Plus you get all the RAW files after the workshop.


What a reflector does and our new Geekoto Y-Wing

The Geekoto Y-Wing Reflector

This blog is about reflectors, and especially about positioning them. The Geekoto Y-Wing Reflector gives you great wraparound light control.

A reflector can be a vital tool for portraits

When we look at portraits, there are many different ways to shoot them.
You can opt for a high-contrast setup with deep shadows, or perhaps you prefer a ring flash that eliminates shadows altogether.
The funny thing is that they are all perfectly acceptable.

There is, however, always one problem.
The shadow under the chin.
When photographing someone with glasses, it’s important to remember the “angle of incidence is the angle of reflection” rule. Which means you will often place your light slightly higher and angled down. And that means that reflections in the glasses are gone. But there is a large chance of deep shadows under the chin. Some people really like this dynamic (I’m one of them), but not everyone wants this. And most commercial clients actually want perhaps a very slight shadow, but preferably nothing. By the way, never take out all shadows; this will look very unnatural.

The problem with a lot of reflectors

Most 5:1 reflectors are great for outside work if you work with the sun, but in the studio, they are often not perfect.
Rogue has a great rectangular reflector, which I love to use with portraits, but it needs to be pretty close to the subject. For a portrait, that is not a problem, but if you want to shoot 3/4, it can be a bit limiting.
So we need something that doesn’t just reflect light, but also focuses the light.
Now, of course, I’m not going to tell you that Geekoto invented something brand new, but it’s a proven solution that works great. So why not build from there?

The Geekoto Y-Wing

With a softbox named the Quicky,” it’s no surprise that one of the main benefits of the Geekoto system is “speed”.
The Geekoto soft boxes are insanely easy and fast to set up, and you can transport them with the grid and diffusers in place.
I’ve been working with Geekoto for a few years now and really love the fact that it doesn’t matter which softbox I grab for location work, I never have to think about the speed of setup. It’s all fast.

The Y-wing reflector is also very quick to set up. And of course, you can place it on your favorite light stand, and the reflector can be adjusted in almost any position you need. Including next to your model (who said you need it below the model).
But how does it look?

The 3 looks from the Geekoto Y-Wing Reflector

One of the more difficult things when using reflectors is shooting 3/4 shots. So we made a setup where I’m using the Y-wing from a pretty low position. Because we are pretty much snowed in, we decided to let Annewiek be our model for this demo.

Let’s start with the silver side.

This side gives you the most power back on your subject.
Shadows can be a bit harsh if placed too close, but overall this is a great material for high-contrast images with nice shadow fill when you place the reflector, for example, further away.
The Y shape and size make it a very powerful reflector.

I’m using a Geekoto GT400 with the S26 softbox for these images. Distance to the reflector, etc., all the same.
Do remember that if you place the reflector closer to the face, the output will be a LOT more.
My test was to see how well it would perform when we place it a lot lower than I would normally use a standard reflector.

the setup with the Geekoto Y-Wing Reflector silver

The Geekoto Y-Wing Reflector 3/4 portrait with the Geekoto Y-Wing Reflector

As you can see, there is hardly any shadow left.

So, let’s change the material to white.

It’s super easy to do, as you can see in the picture below.
By the way, the Geekoto Y-Wing Reflector is delivered with Silver, White, and Gold surfaces. It is delivered in a nice bag and includes the stand holder. It’s extremely portable and doesn’t take up much space.
The Gold is mostly used to raise the color temperature when shooting in the shade, where the color temperature is much lower than in the sunlight. This gives a weird color effect and can be solved by bouncing with a gold surface on your subject in the shade.

So, for the studio shots, I tested the white and silver.

Annewiek putting the white side on the Geekoto Y-Wing Reflector The white is gold on the back and easily detached with velcro to the Y-Wing Reflector

And here we have the effects with white.

And of course, you also want to see how it looks without the Y-wing reflector.
As you can see, Annewiek doesn’t like it 😀

Let’s compare

None, white, silver

Should you buy the Geekoto Y-Wing Reflector?

The Geekoto Y-wing is a very affordable but powerful reflector.
If you are shooting portraits in the studio or on location and want something super fast to set up, fits your stands, can be adjusted in loads of angles, collapses into a small package, and has 3 surfaces to choose from. The Geekoto Y-wing Reflector is the perfect fit.

I have kept one for myself and will be using it in the coming workshops.

Shop the Geekoto Y-Wing reflector in our webshop 

Read this blog about a different softbox of Geekoto: the Lantern


Living in the US? Buy through our link, and support our work.