Tag Archive for: photoshoot

Some fun images with Nadine and crazy styling

Today just some images I shot during a workshop with Gabe and Nadine.
With sets like this it’s always fun to experiment with different angles and expressions.
So walk around your model and sit down, or stand on a ladder, make it fun and creative.
And don’t be afraid to use your wide angle for some nice leading lines.

Oh… and even during lunch keep shooting 😀

Gold it almost hurt your eyes so much Gold

A background really makes the shot for me.
I recently had a whole discusion with someone about how AI would replace backgrounds and no-one would ever shoot against backdrops anymore. I don’t think I have to tell you guys I did not agree 😀

One of the reasons we sell our ClickPropsBackdrops is not just for the print on a backdrop, but also the material and how it interacts with lighting. Every backdrop I use will respond differently. For example our vinyl backdrops are more harsh and really pop when lit with hard light. Awesome for modern looking images where you really want some content that adds to the scene.

On the other side we have our Pro-Fabric which looks and shoots very like the old canvasses we all love but no-body really can afford. Plus they have huge disadvantages with tear and wear and wrinkles which means you can’t really do a spontaneous shoot unless you prepare your background.

During the workshops I could always shoot with the backdrops we have and never feel bored, but I also love to “freak out” with other materials and building (sometimes over the top) sets.

I always wanted something really eye-catching and we decided to build something with gold as main theme…. in all honesty it turned out WAY better than expected.

Lucky workshop
As soon as I took the first shots with my phone I already saw the quality of the background, this was going to be fun.
The idea was to let the light bounce around the set and just let it reflect where it “wanted” and see what happend. Normally I try to get the reflections out by using the angle of incidence is angle of reflection rule, but in this case I thought it would give a really nice look, and it was impossible to prevent because it’s not a straight wall but there were angles in the material all over the place, so keeping reflections out… impossible, and when something is impossible….. embrace it and make it part of the image, you will be surprised how often problems become awesome parts of a shot 😀

I started with just the fresnel on our model Claudia. And although I loved those shots, I also got a package in that morning with a special new guitar. My first headless guitar actually, and I just loved the look and thought it would look great in this set, so of course I could not resist (I always love shooting my guitars during workshops).

For the guitarists :
This is a Latitude low budget headless guitar.
But I can highly recommend it, it plays like it costs at least 700-800 euros, but is sold for under 300,00

Ok let’s take a look at the first shot.

As you can see the light scatters around very nicely on the set.
But this was a bit too dark for my taste, for this set I really wanted something that gave a lot of power.

So I added a Geekoto small softbox next to the Fresnel and used a yellow gel from the back hitting both the model and the walls which were setup in a 90 degree angle. The result was a lot better. Still attention to the model with the Fresnel, but a nice fill from the small softbox and the backlighting really added the glue to put everything together.

Sorry for the many photos but part of the workshop was also how to find poses with something like a guitar and I ended up liking way too many images.

Hope you guys enjoyed todays blog.
If there is anything you like to see in the blog just let me know.

See frankdoorhof.com/shop for the Fresnel, strobes and light shapers I use.

Adding loads of mood with light in light

Claudia against the “graffiti door” from #clickpropsbackdrops

I shot this with the new magnetic #rogue system on Nissin speedlights.
The system is designed for the popular round strobes, but it can also be used on most speedlights via a special adapter, which is available in both standard and small to fit 99% of the speedlights out there.

See www.rogueflash.nl for more information.

I quite like the harder shadows that a spot gives on the model, but this also means that the shadows can be quite dark/intense. By using a fill-in with, for example, a blue gel, you can give the scene just that little bit of extra spice and mood. The Rogue Dome is ideal for this because it spreads the light very nicely, vary the output of the fill in strobes to get the desired effect is the only thing you have to do.

And it doesn’t stop there, you can even place the dome behind the model and then point it at the camera for a cool lens flare effect.

If you work with round strobes or speedlights, the magnetic system from Rogue is definitely highly recommended.
In combination with the flashbender, I wouldn’t know what else you would be needing on location or in the studio, and it all fits easily in your camera bag, even if it is almost full.

If you have any questions, don’t hesitate to ask
Or check out our YouTube channel with loads of lighting examples.

What we did during the workshop with Lois

Today a few results of the workshop with Lois.
During the workshops there is always a theme, but within the workshops the rest is free on the base of what the group wants to learn, this way you always experience a workshop that is exactly tailored to your needs.

The theme of this workshop was “essential lighting techniques” based on the Tutorial with the same name (I highly recommend getting that one), I sometimes call this the “starters” workshop but actually that is not entirely true, this is the workshop where we work with more standard setups such as the butterfly and Rembrandt but this is often quickly supplemented with adjustments to make the image a bit more spectacular.

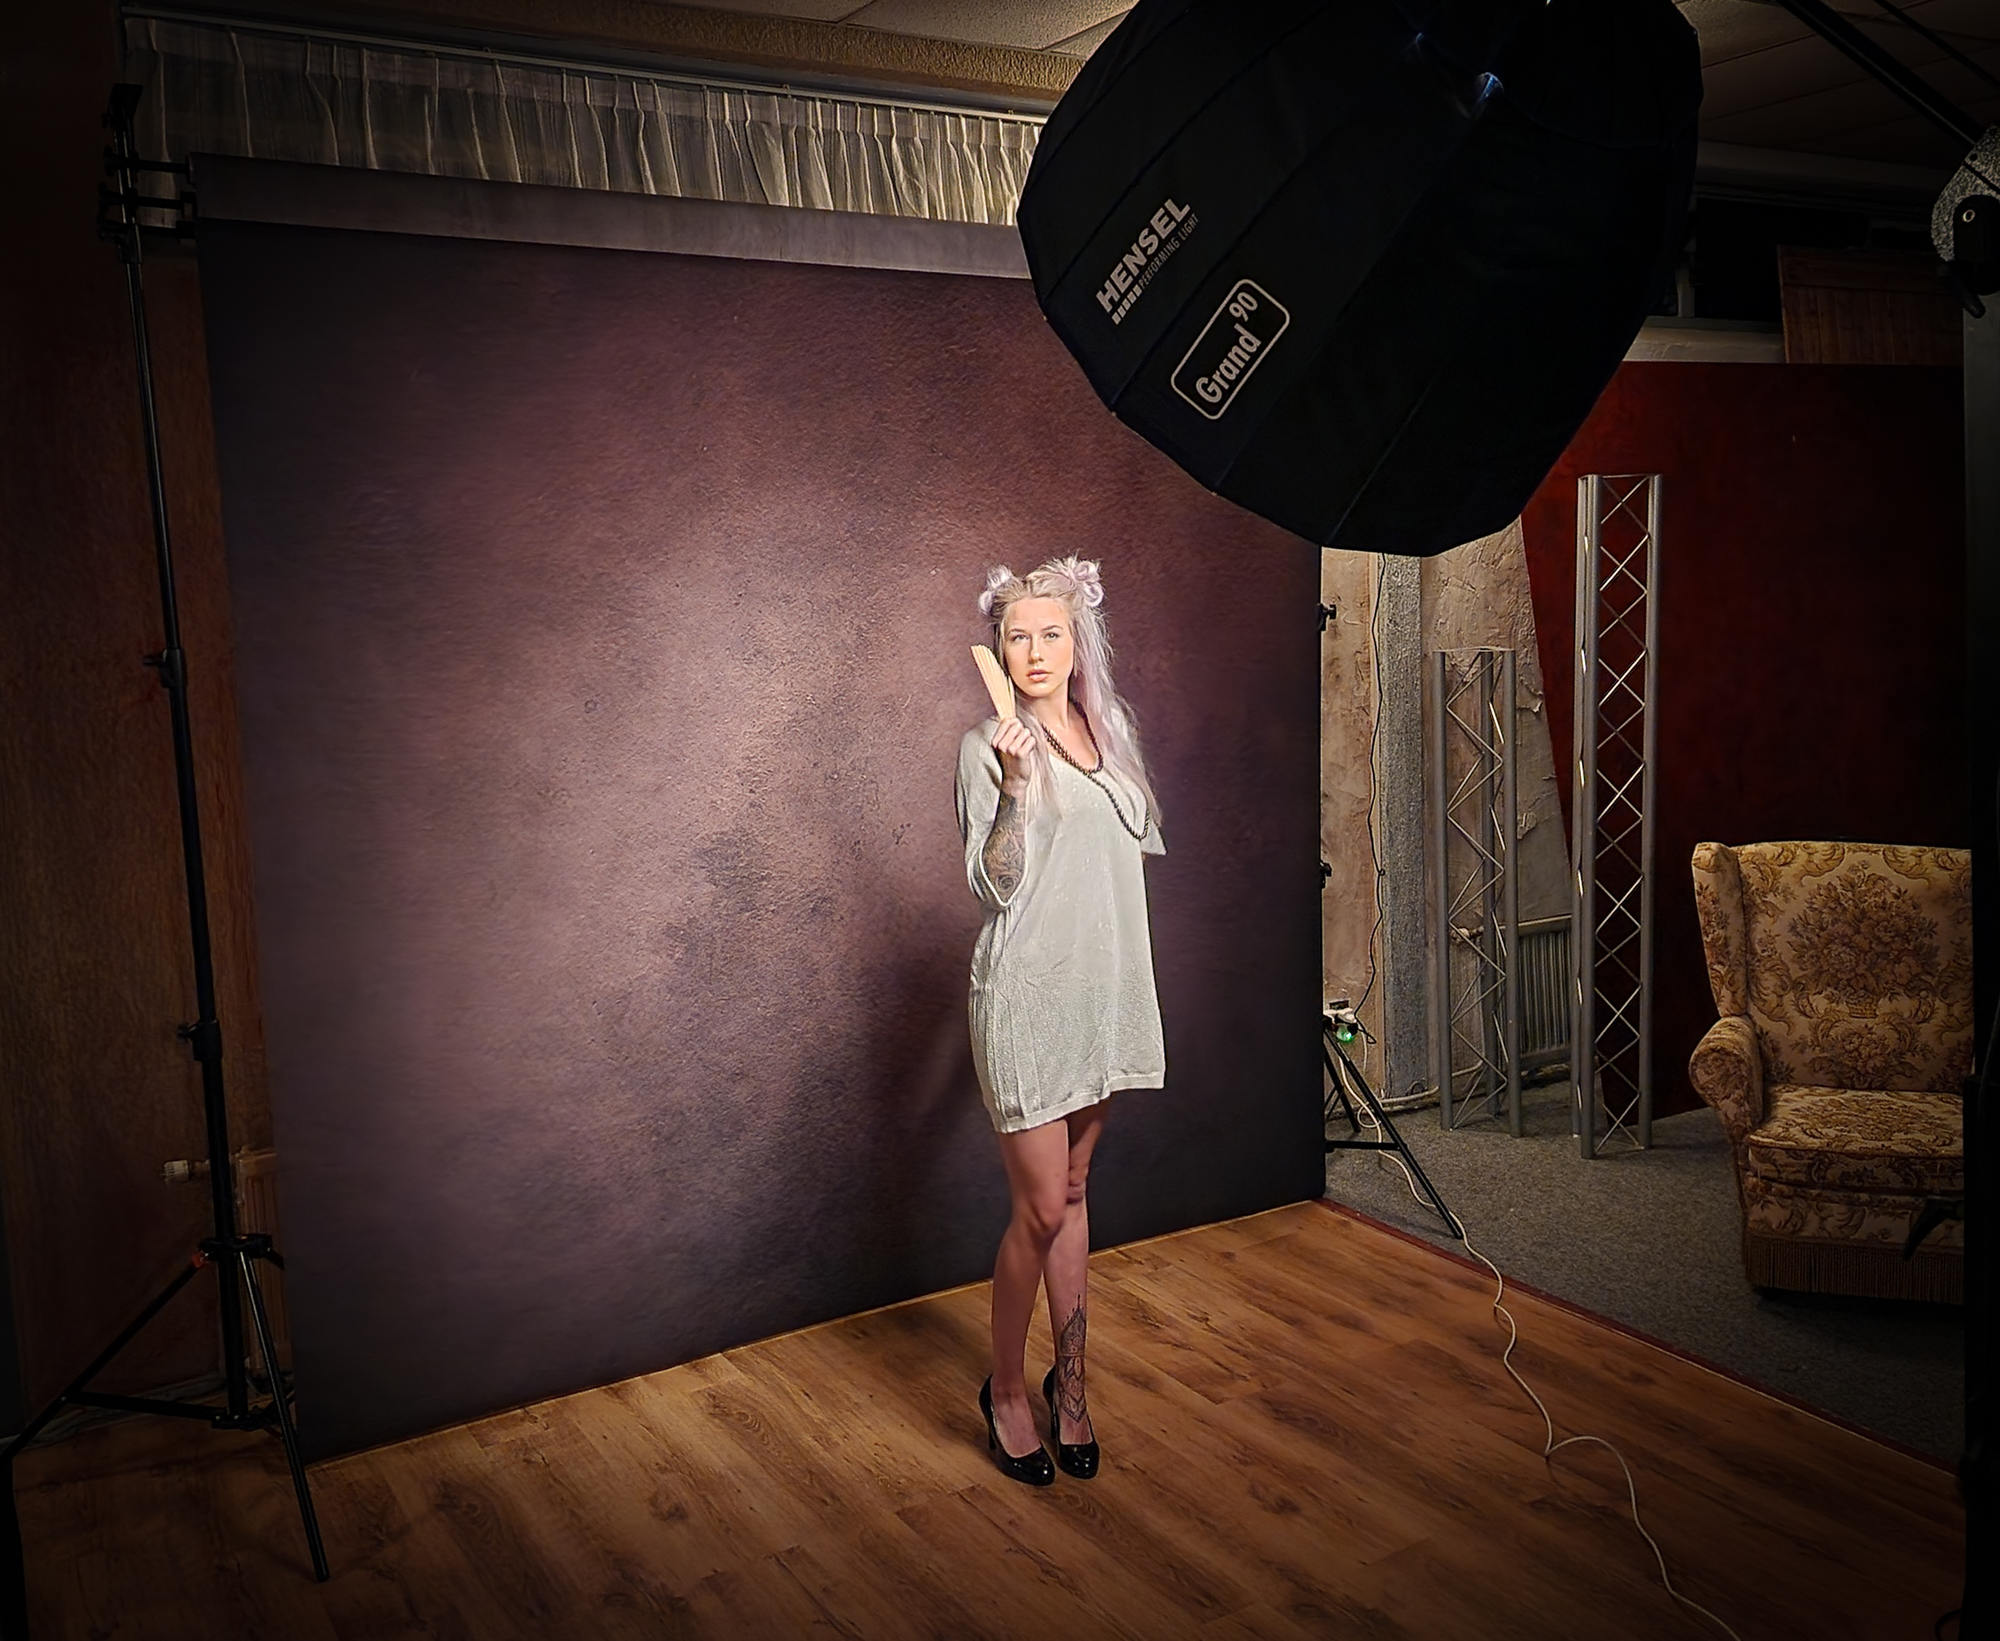
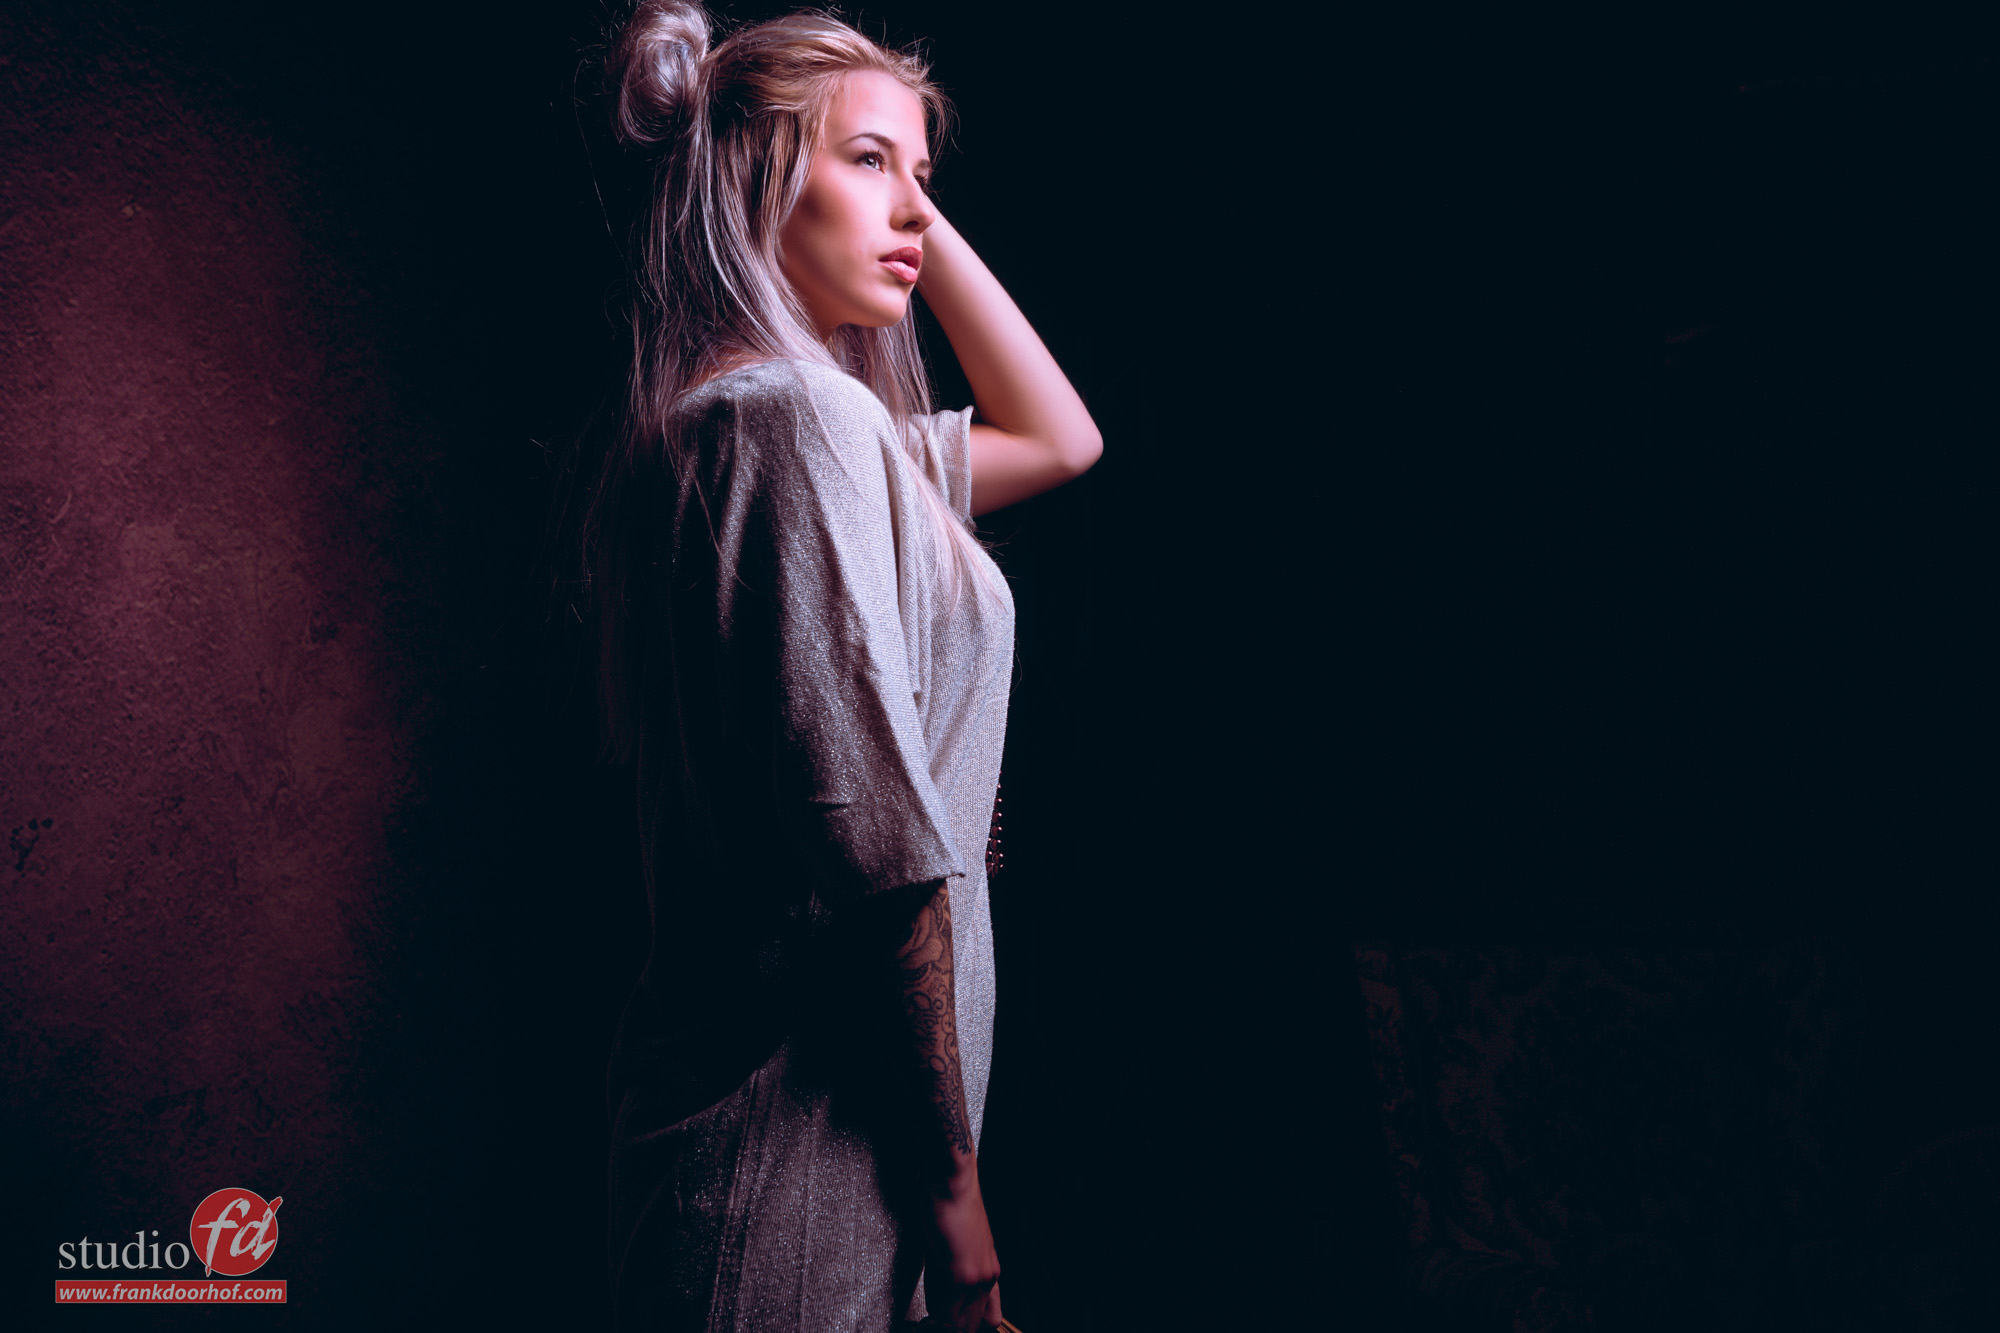
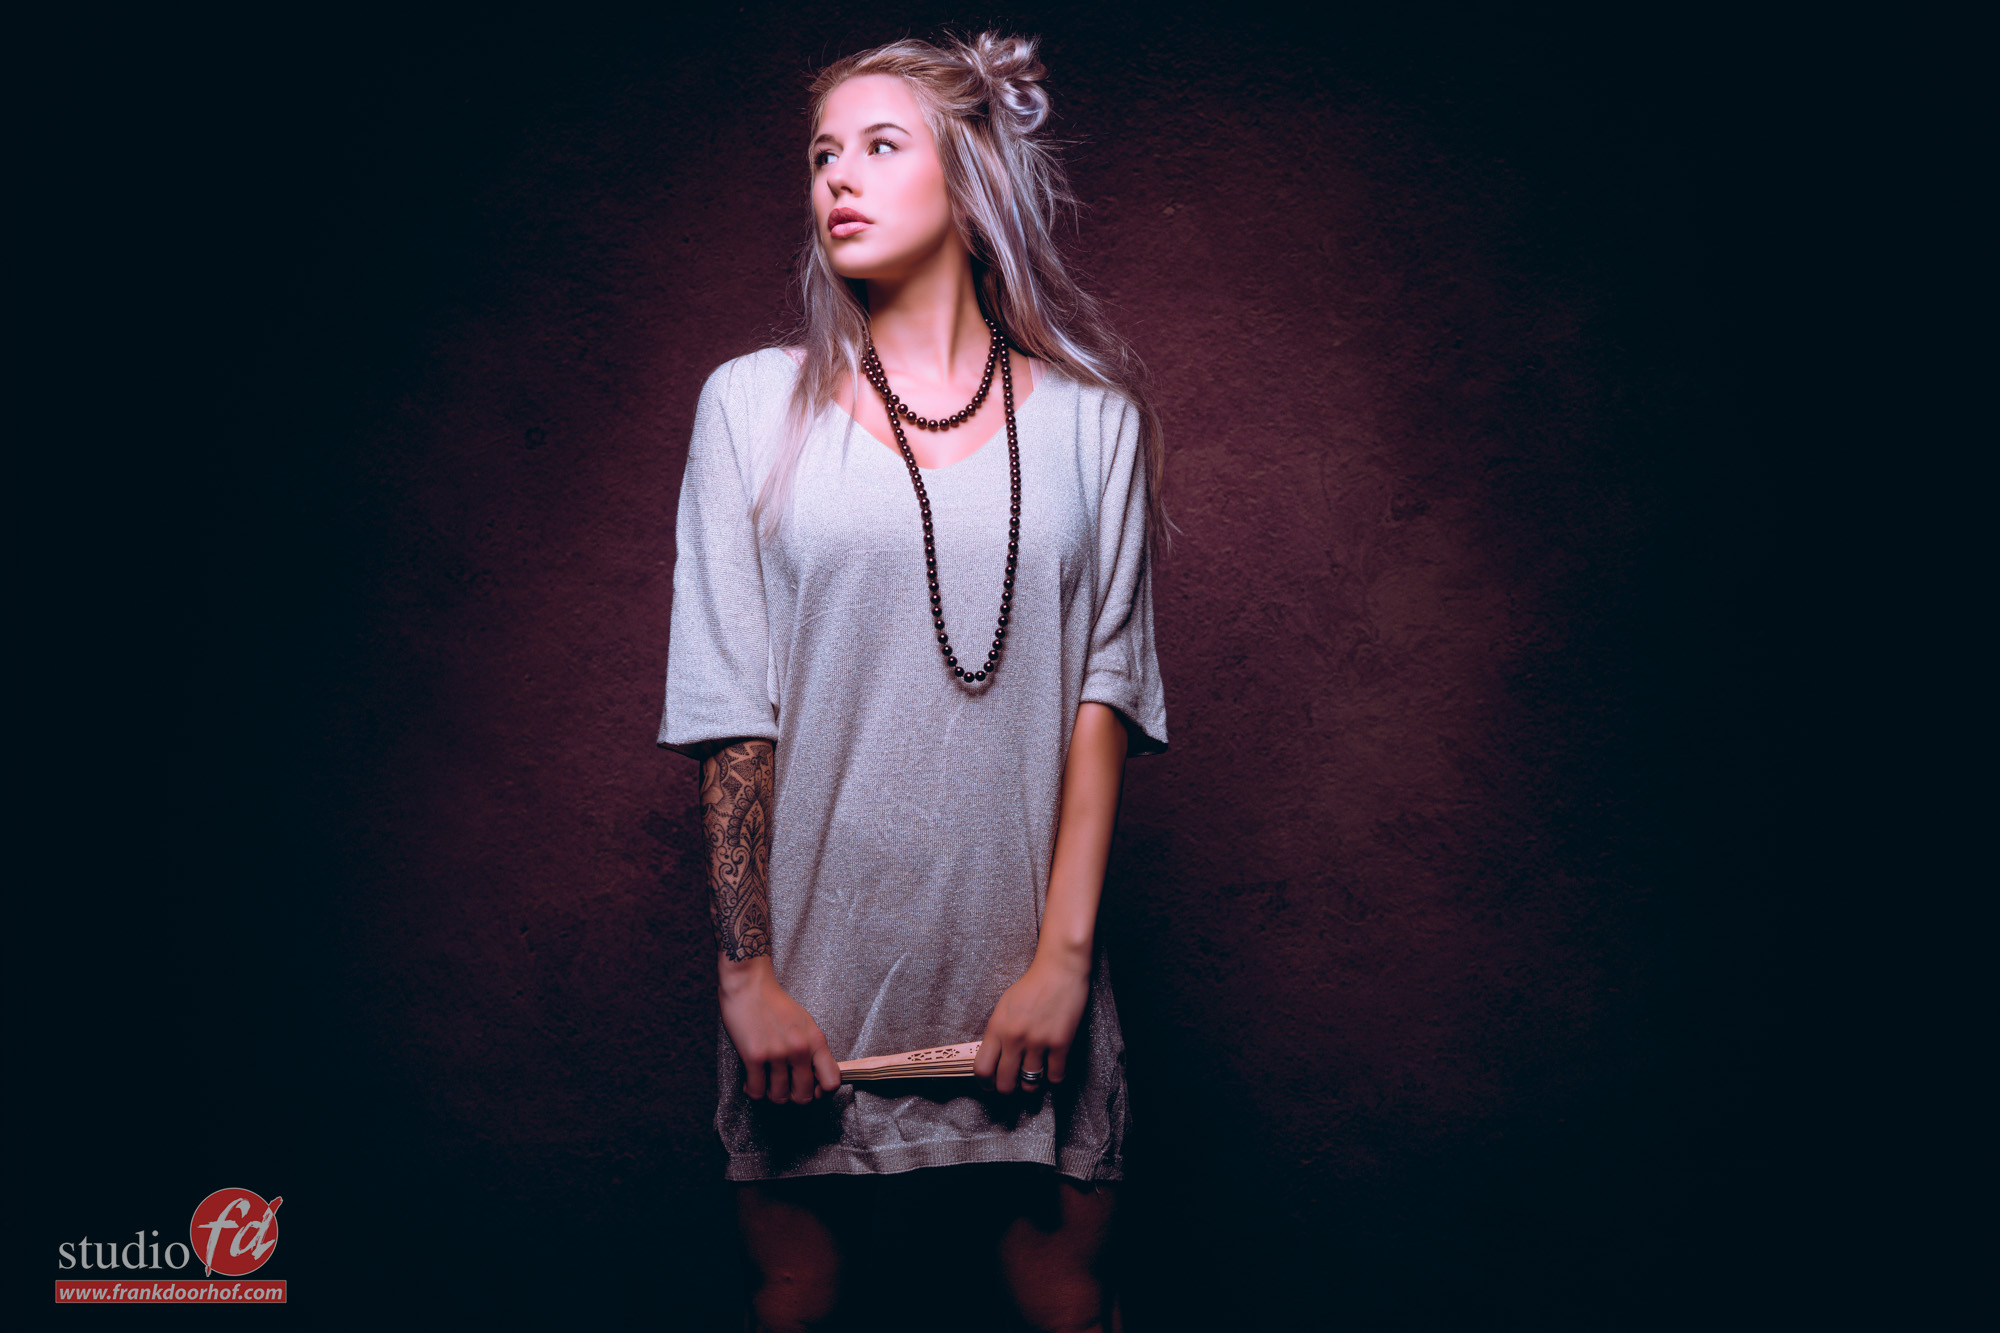
During the first set we use a Brown Punch background from Clickpropsbackdrops.
This is a very nice background which can be used in almost any situation.

In this set I only use a softbox from Hensel with grid focused on the model but in such a way that there is also some light in the background.

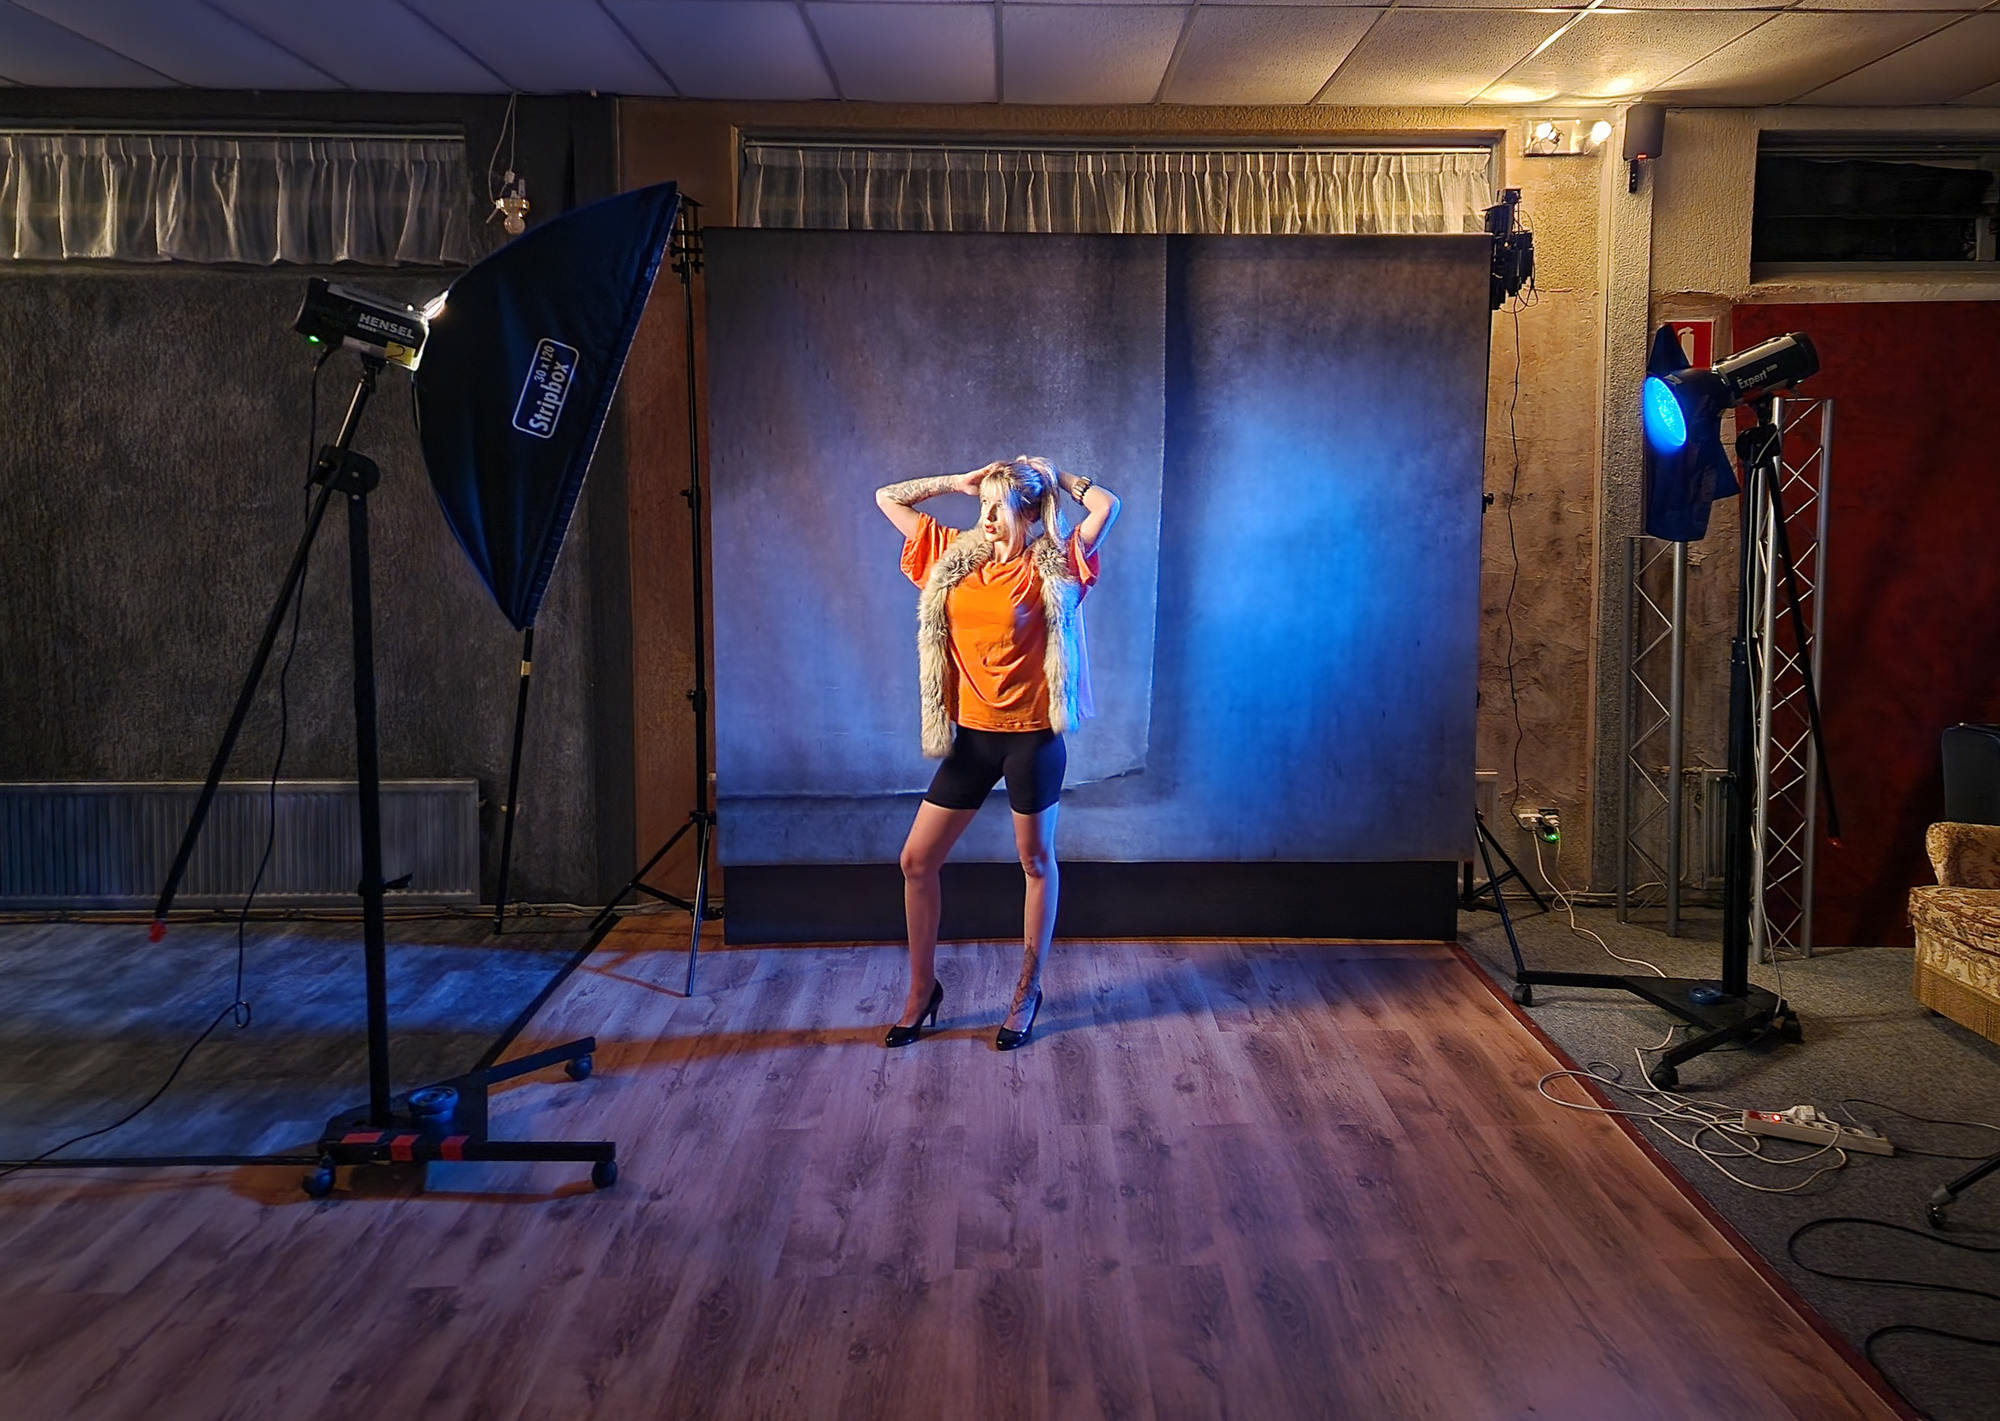
In the next set we use the Earth stacked master background.
This is a background with a fantastic 3D effect, this is of course fantastic to process in a light control workshop, or always pay attention to how the shadows fall and you can get fantastic results.
As an extra flash I end up using a blue gel here for some extra atmosphere and accent on our model.

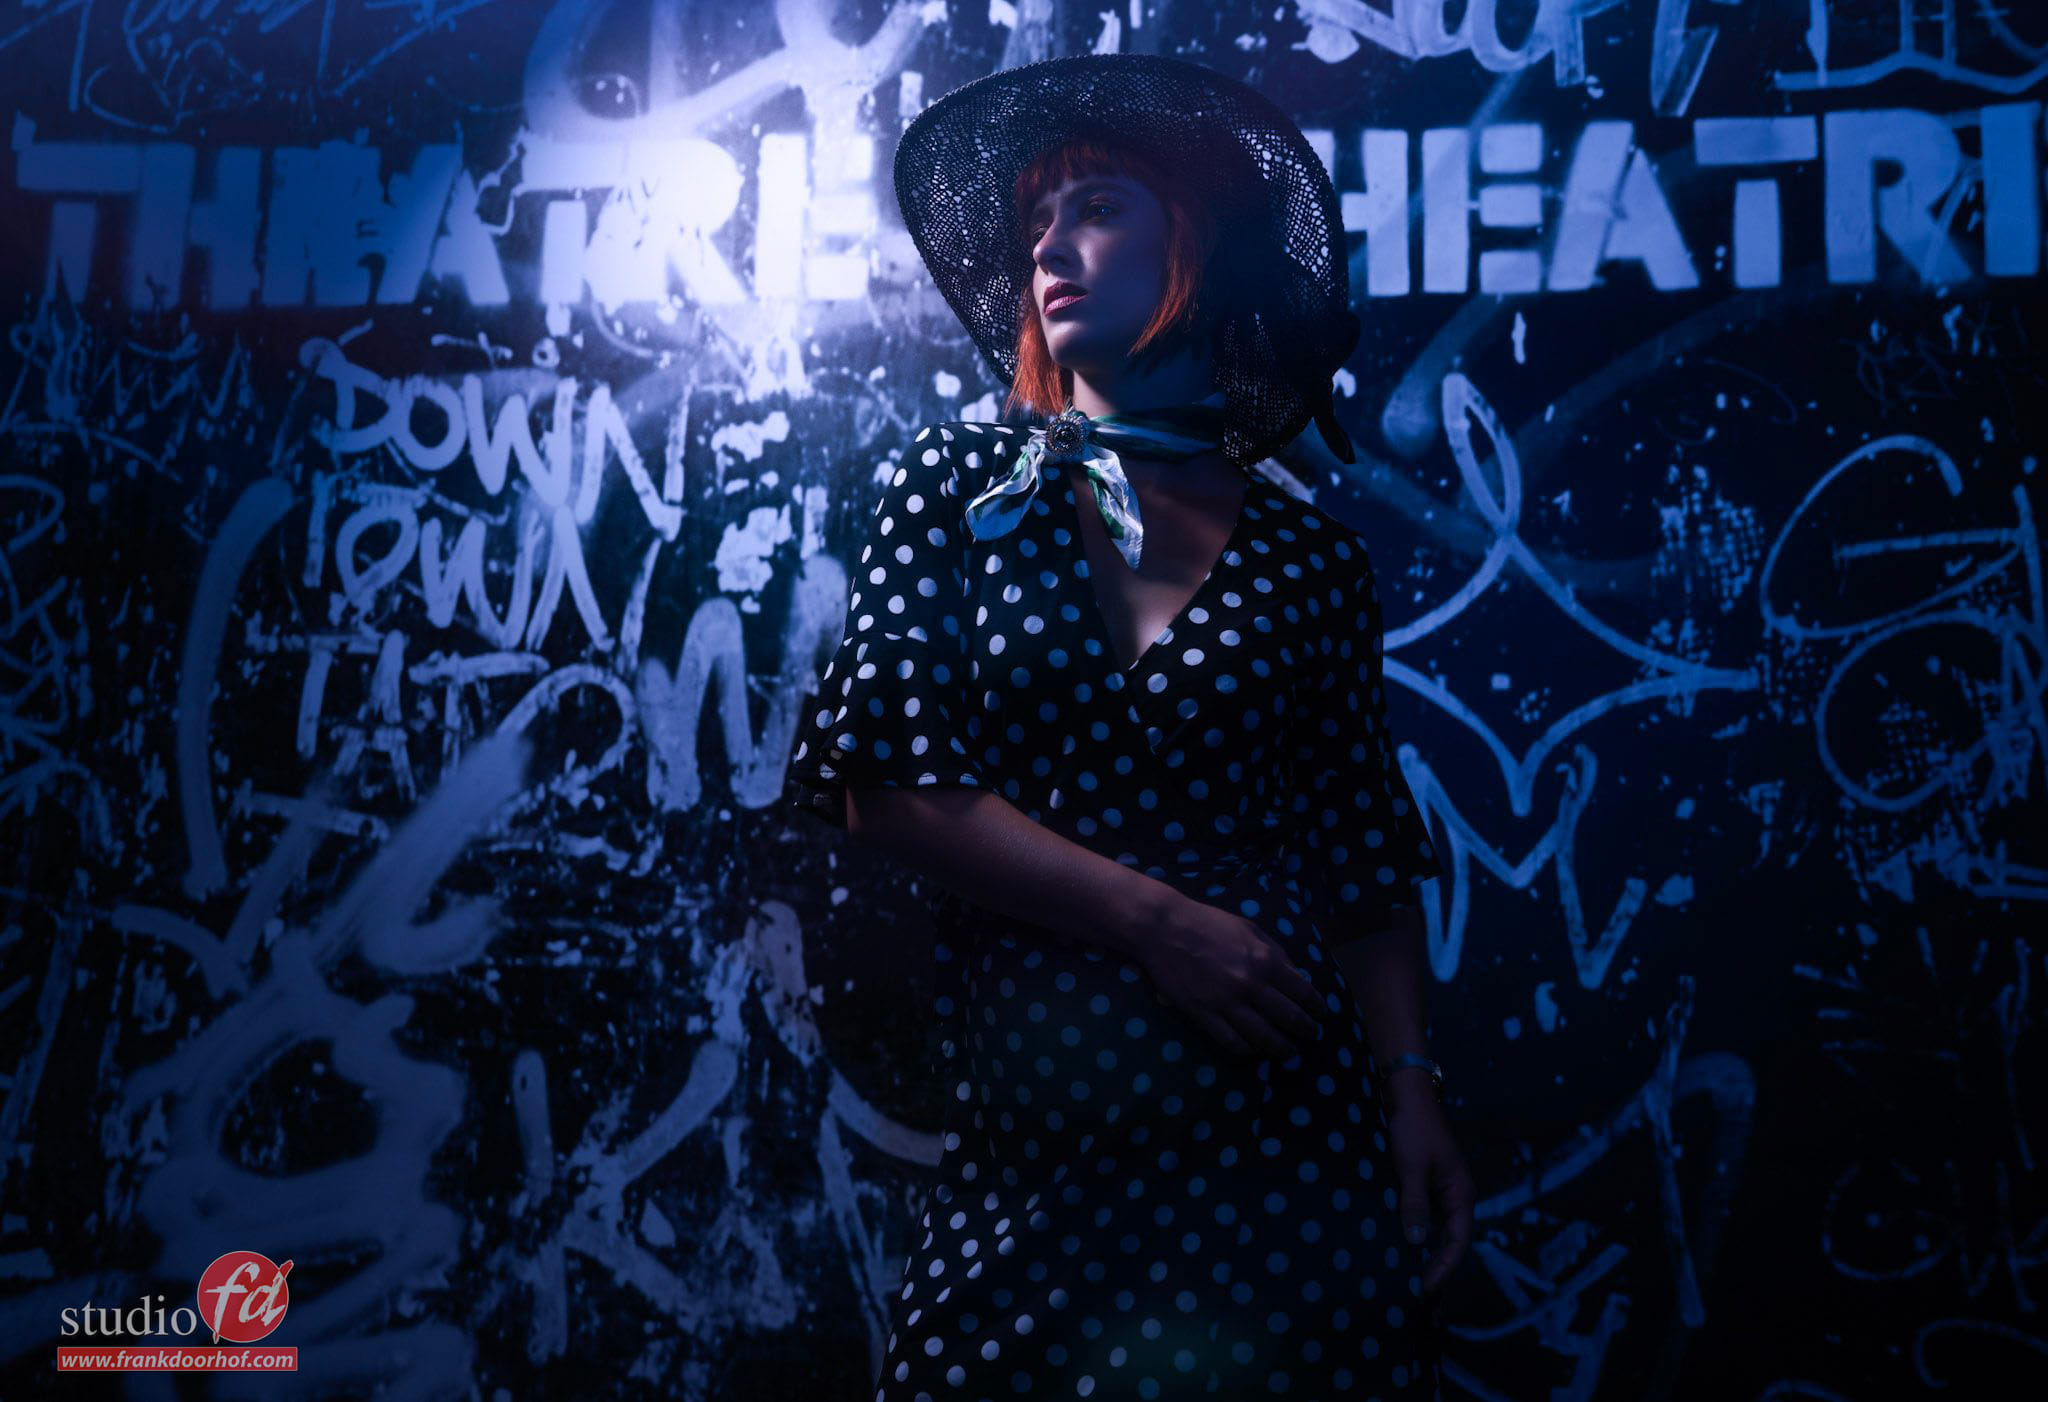
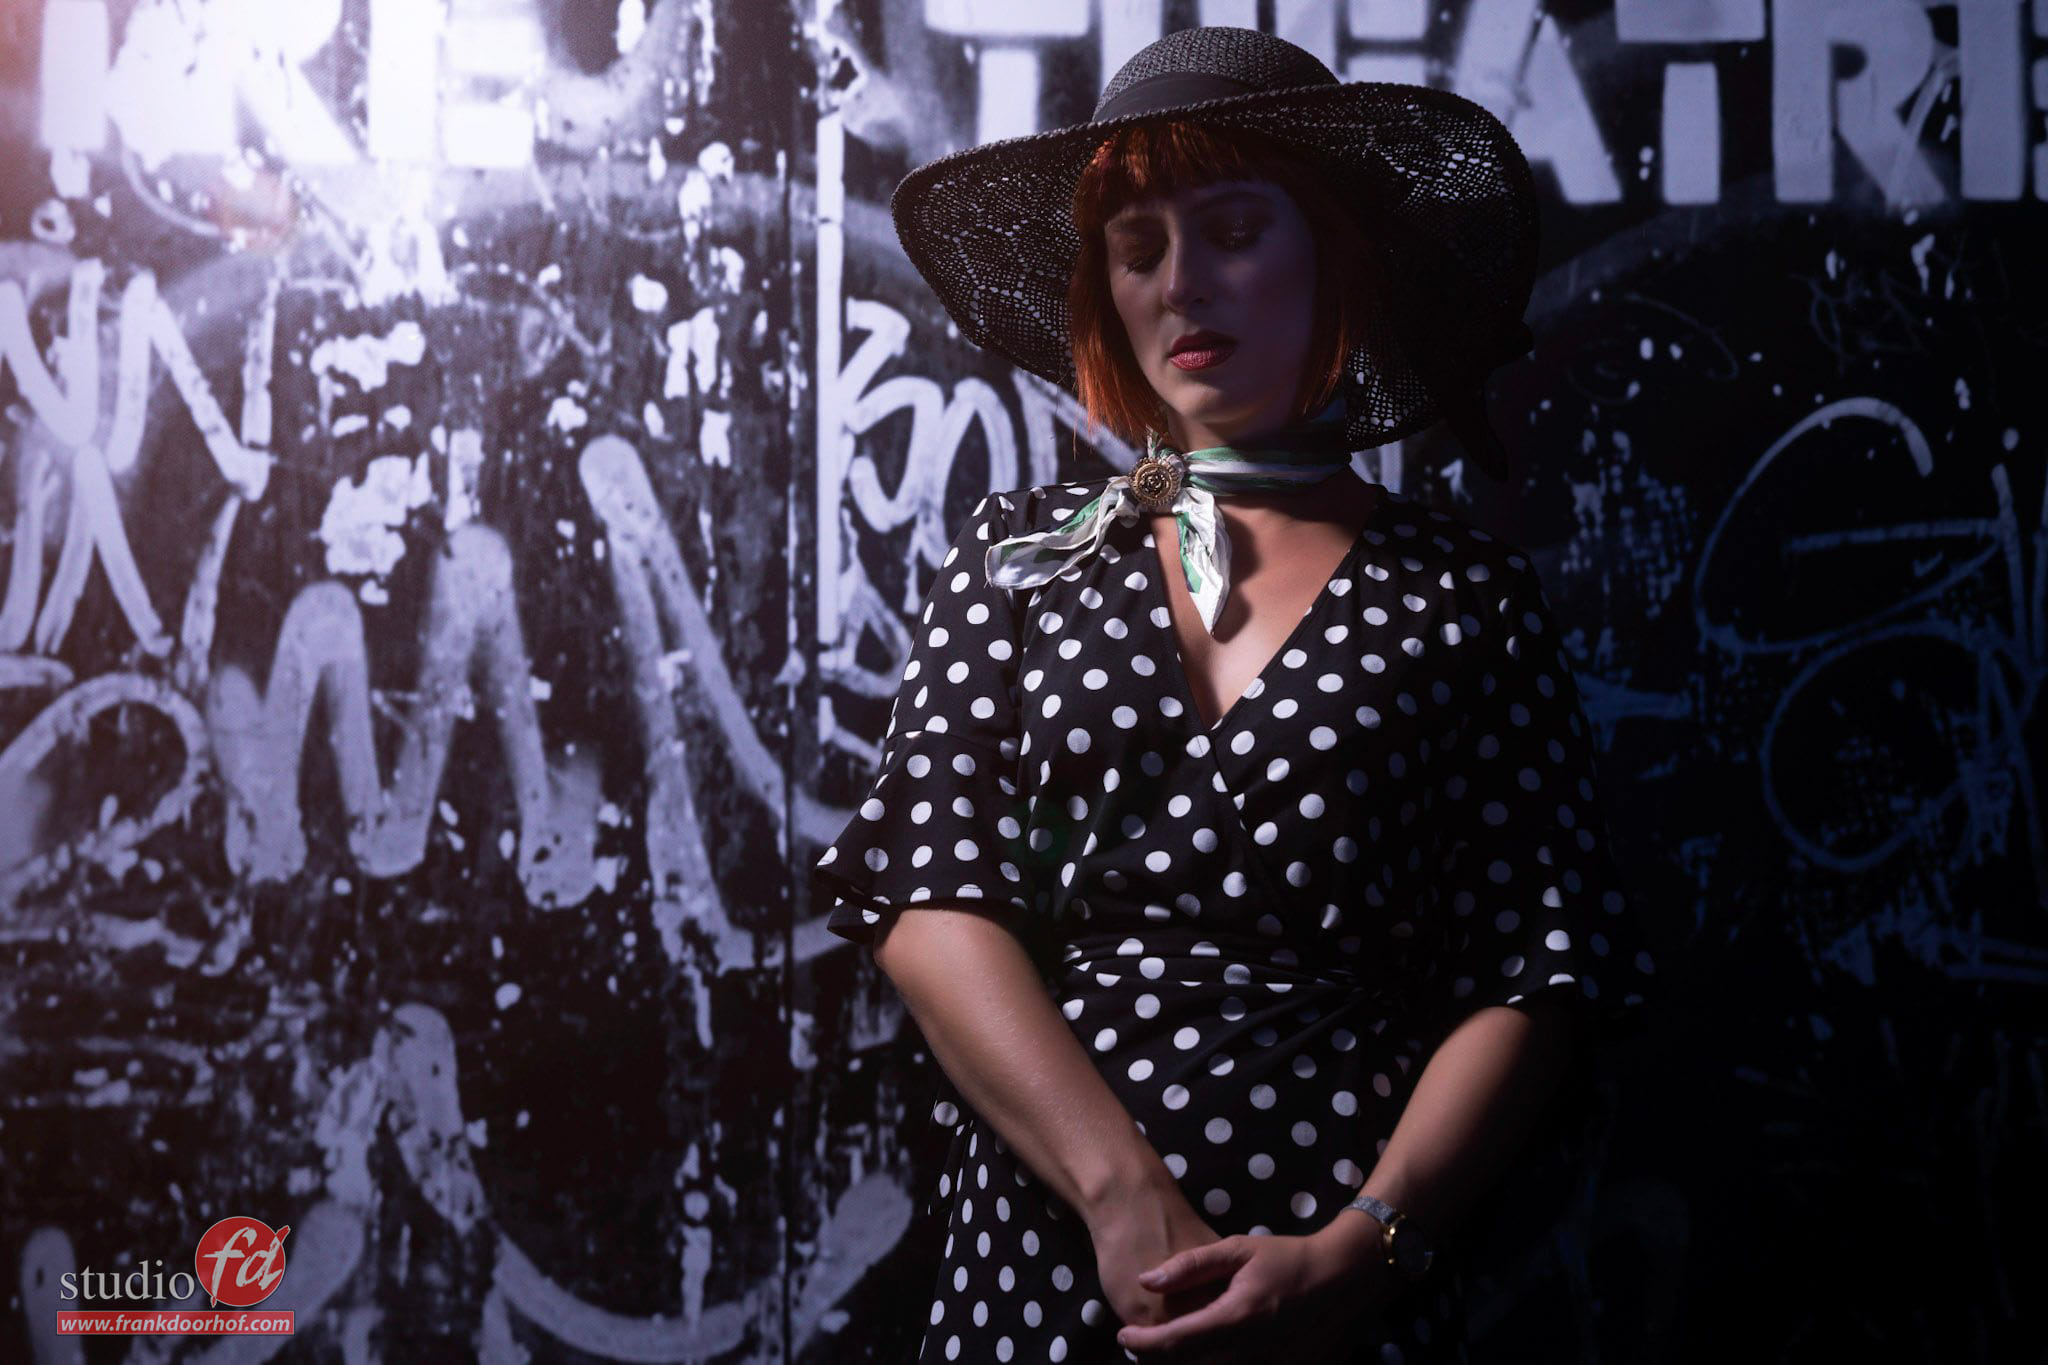
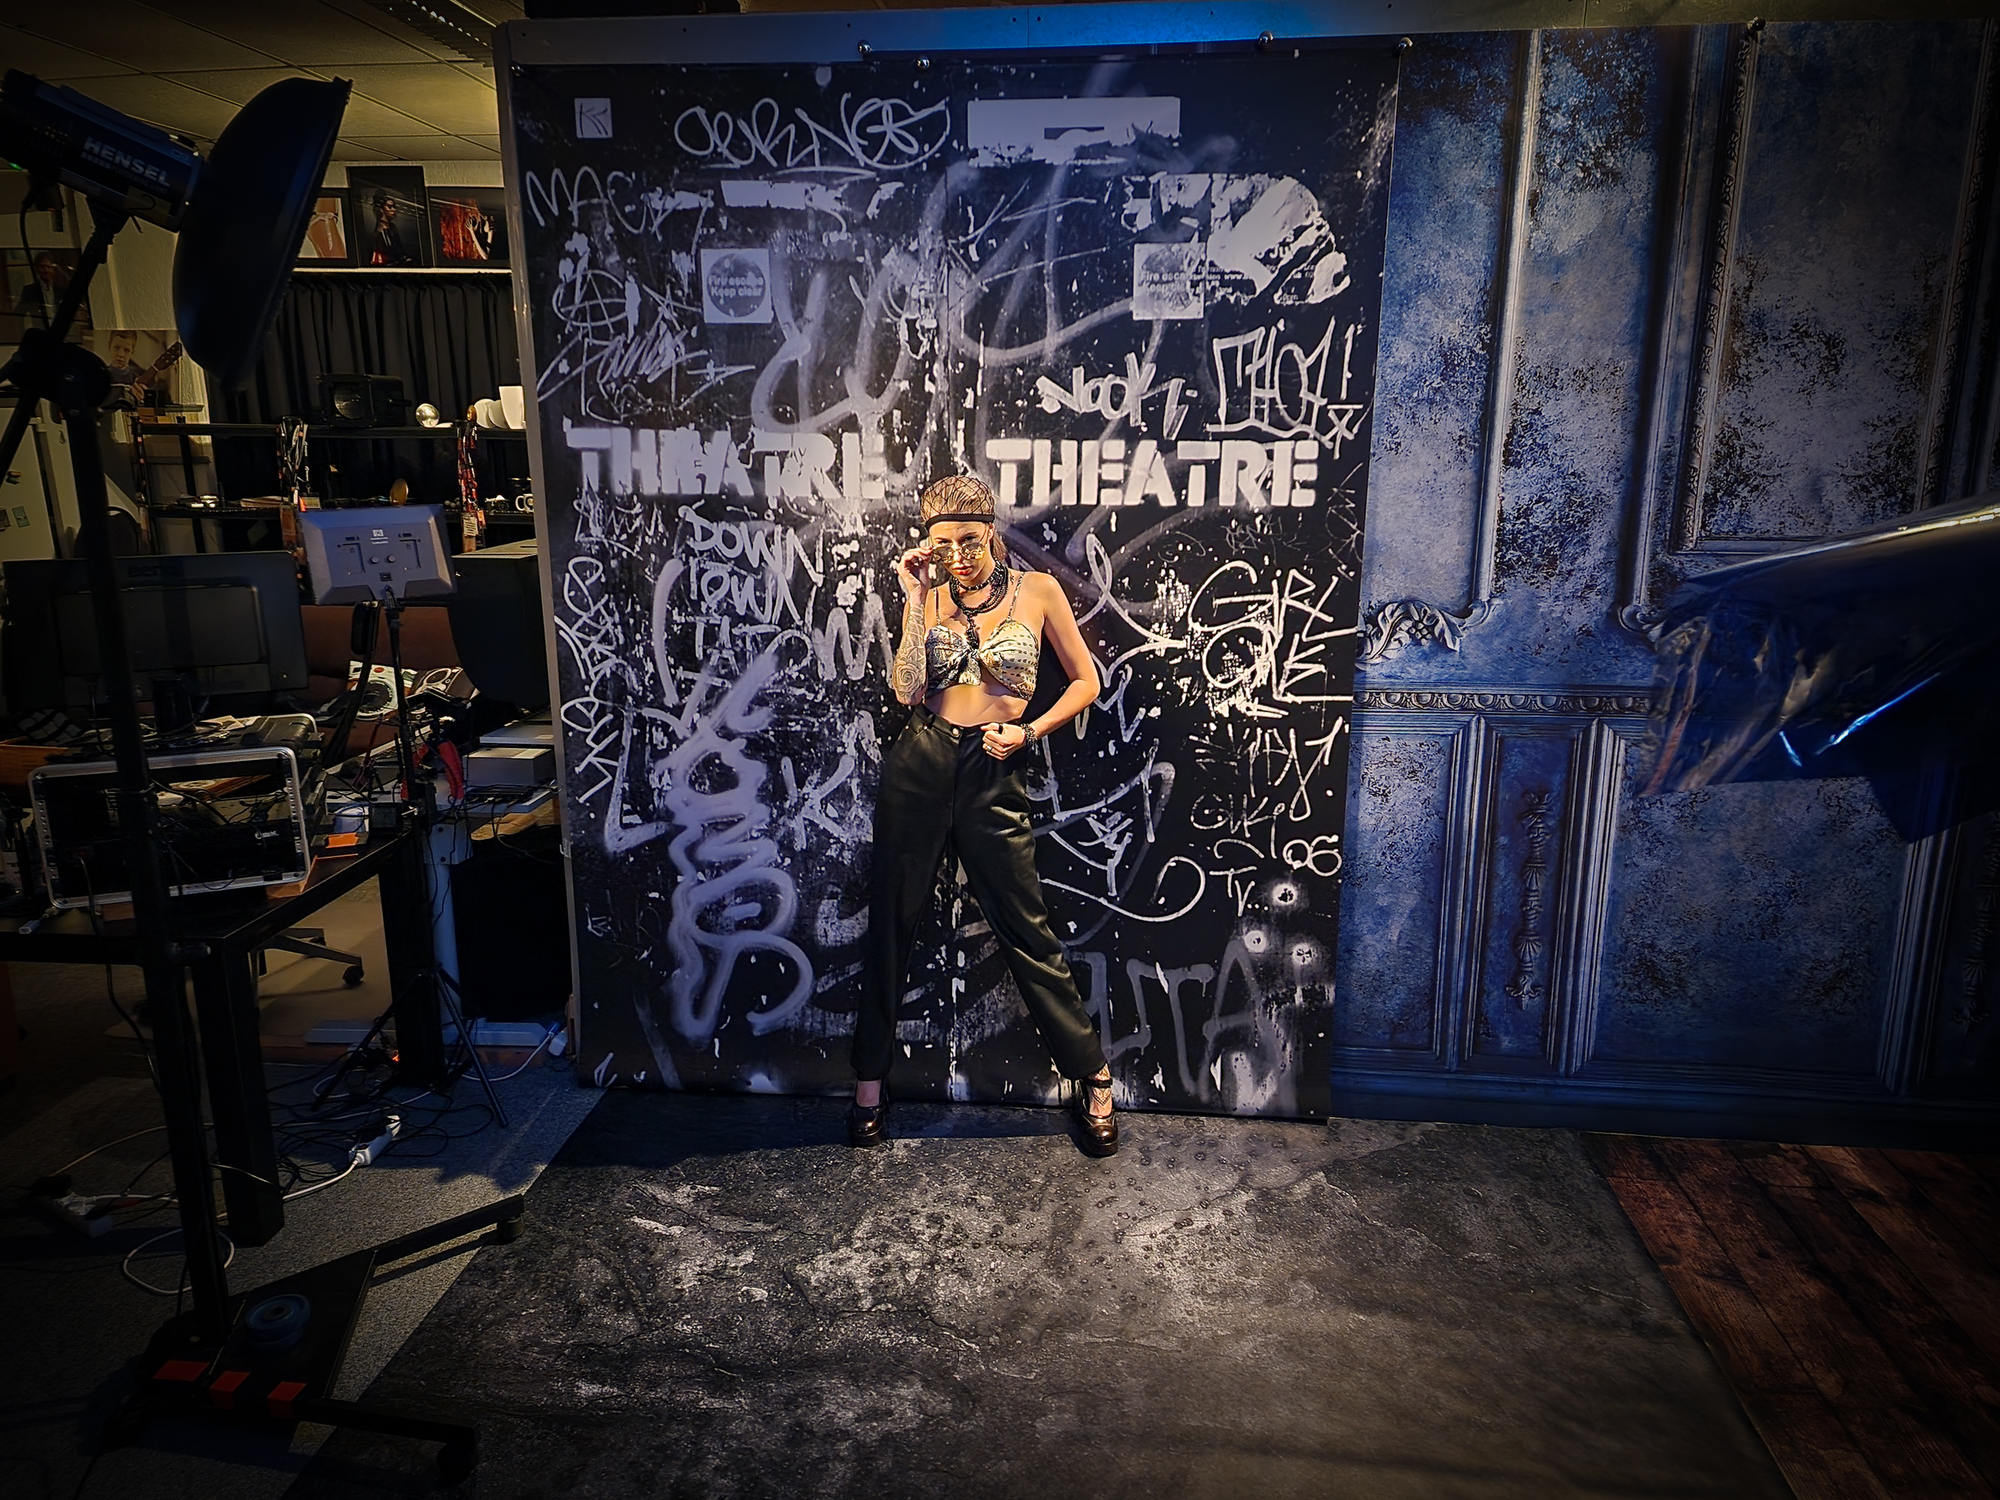
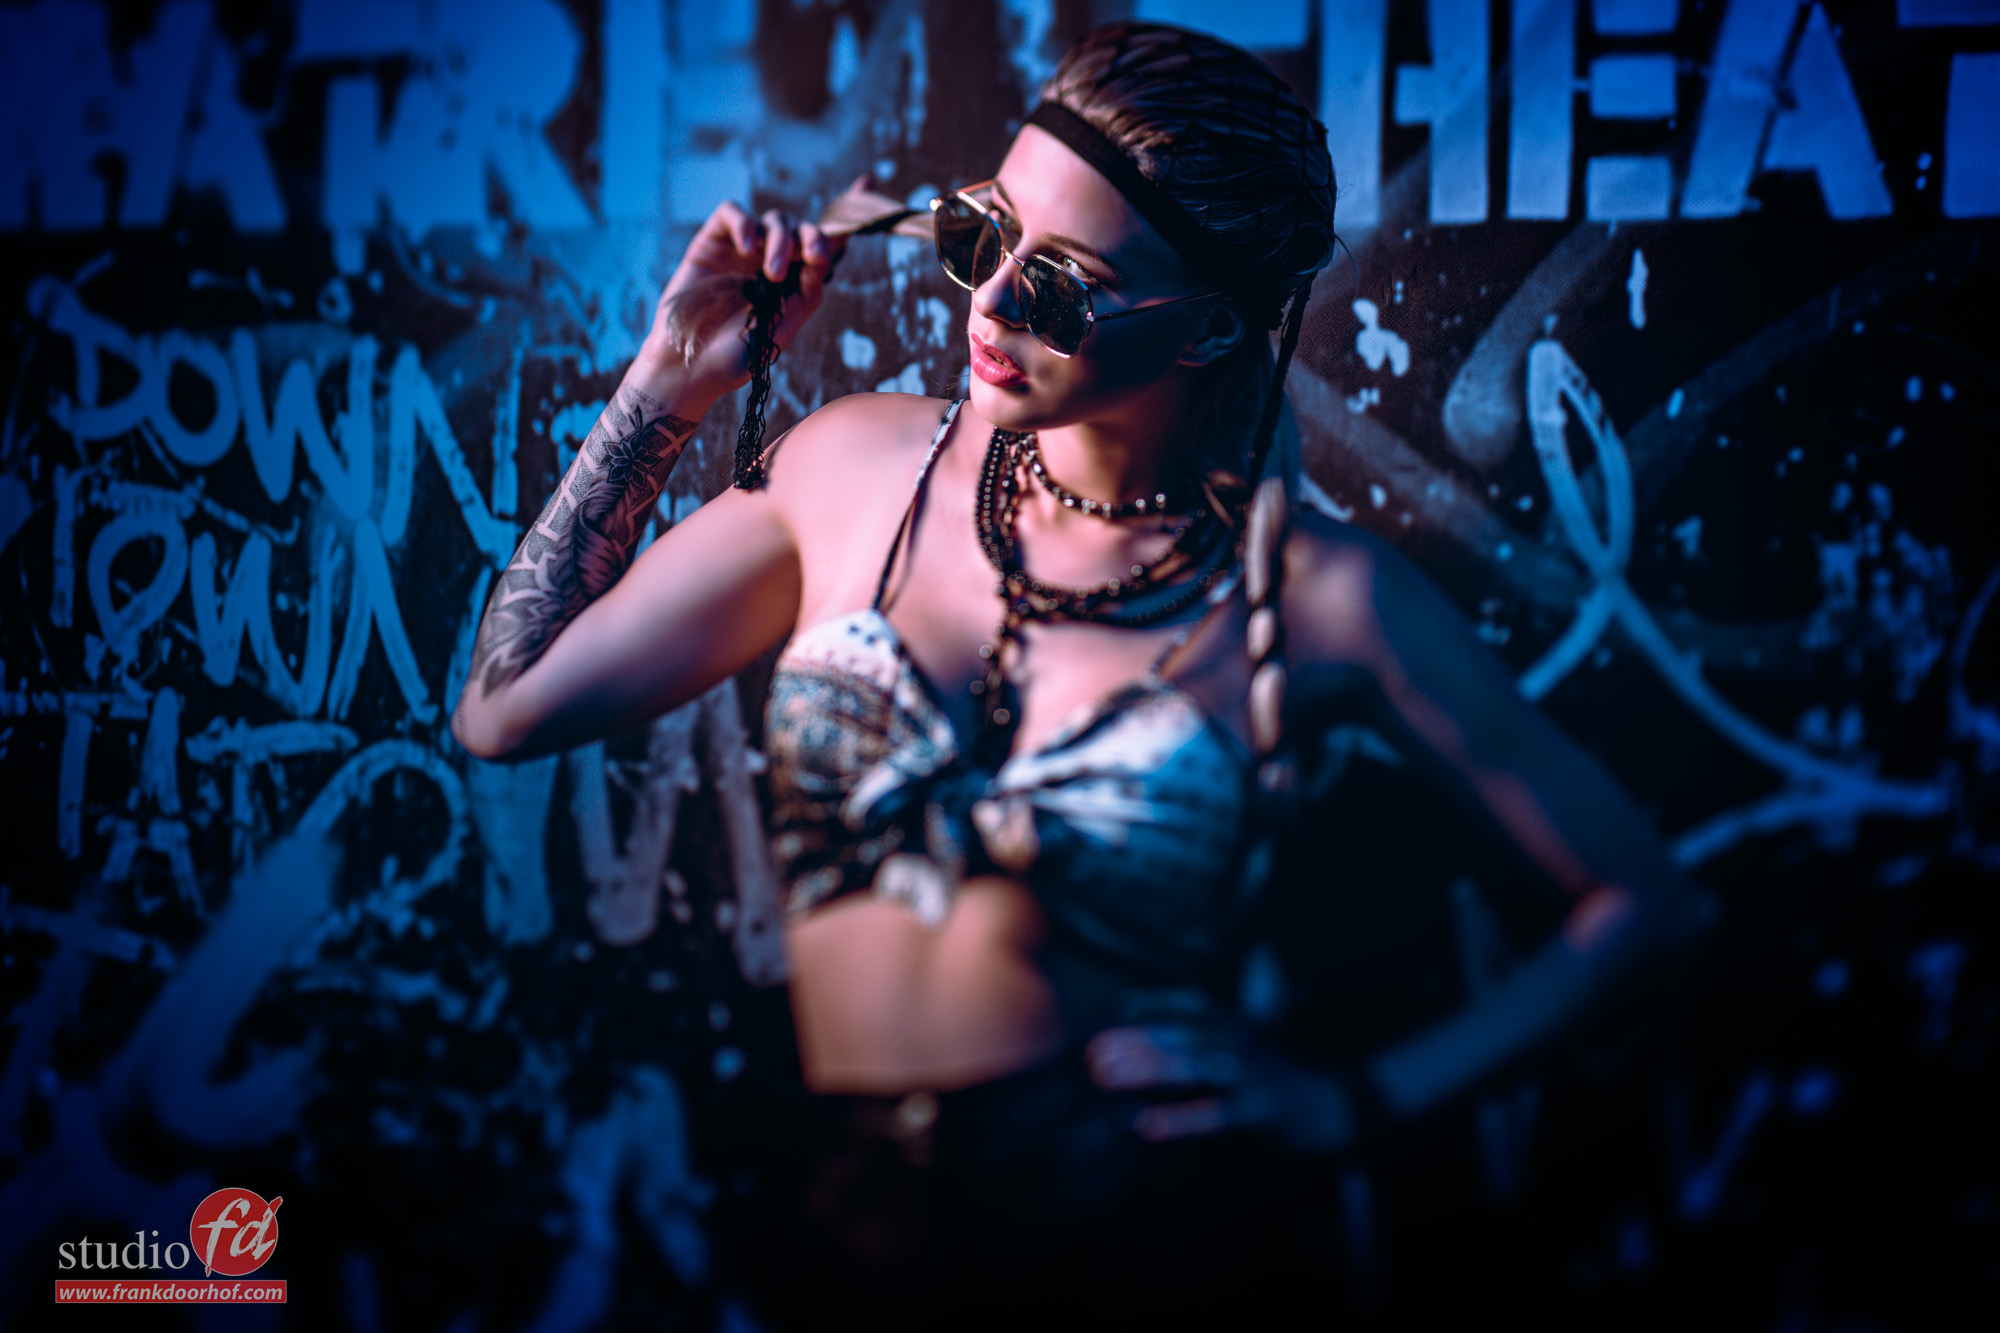
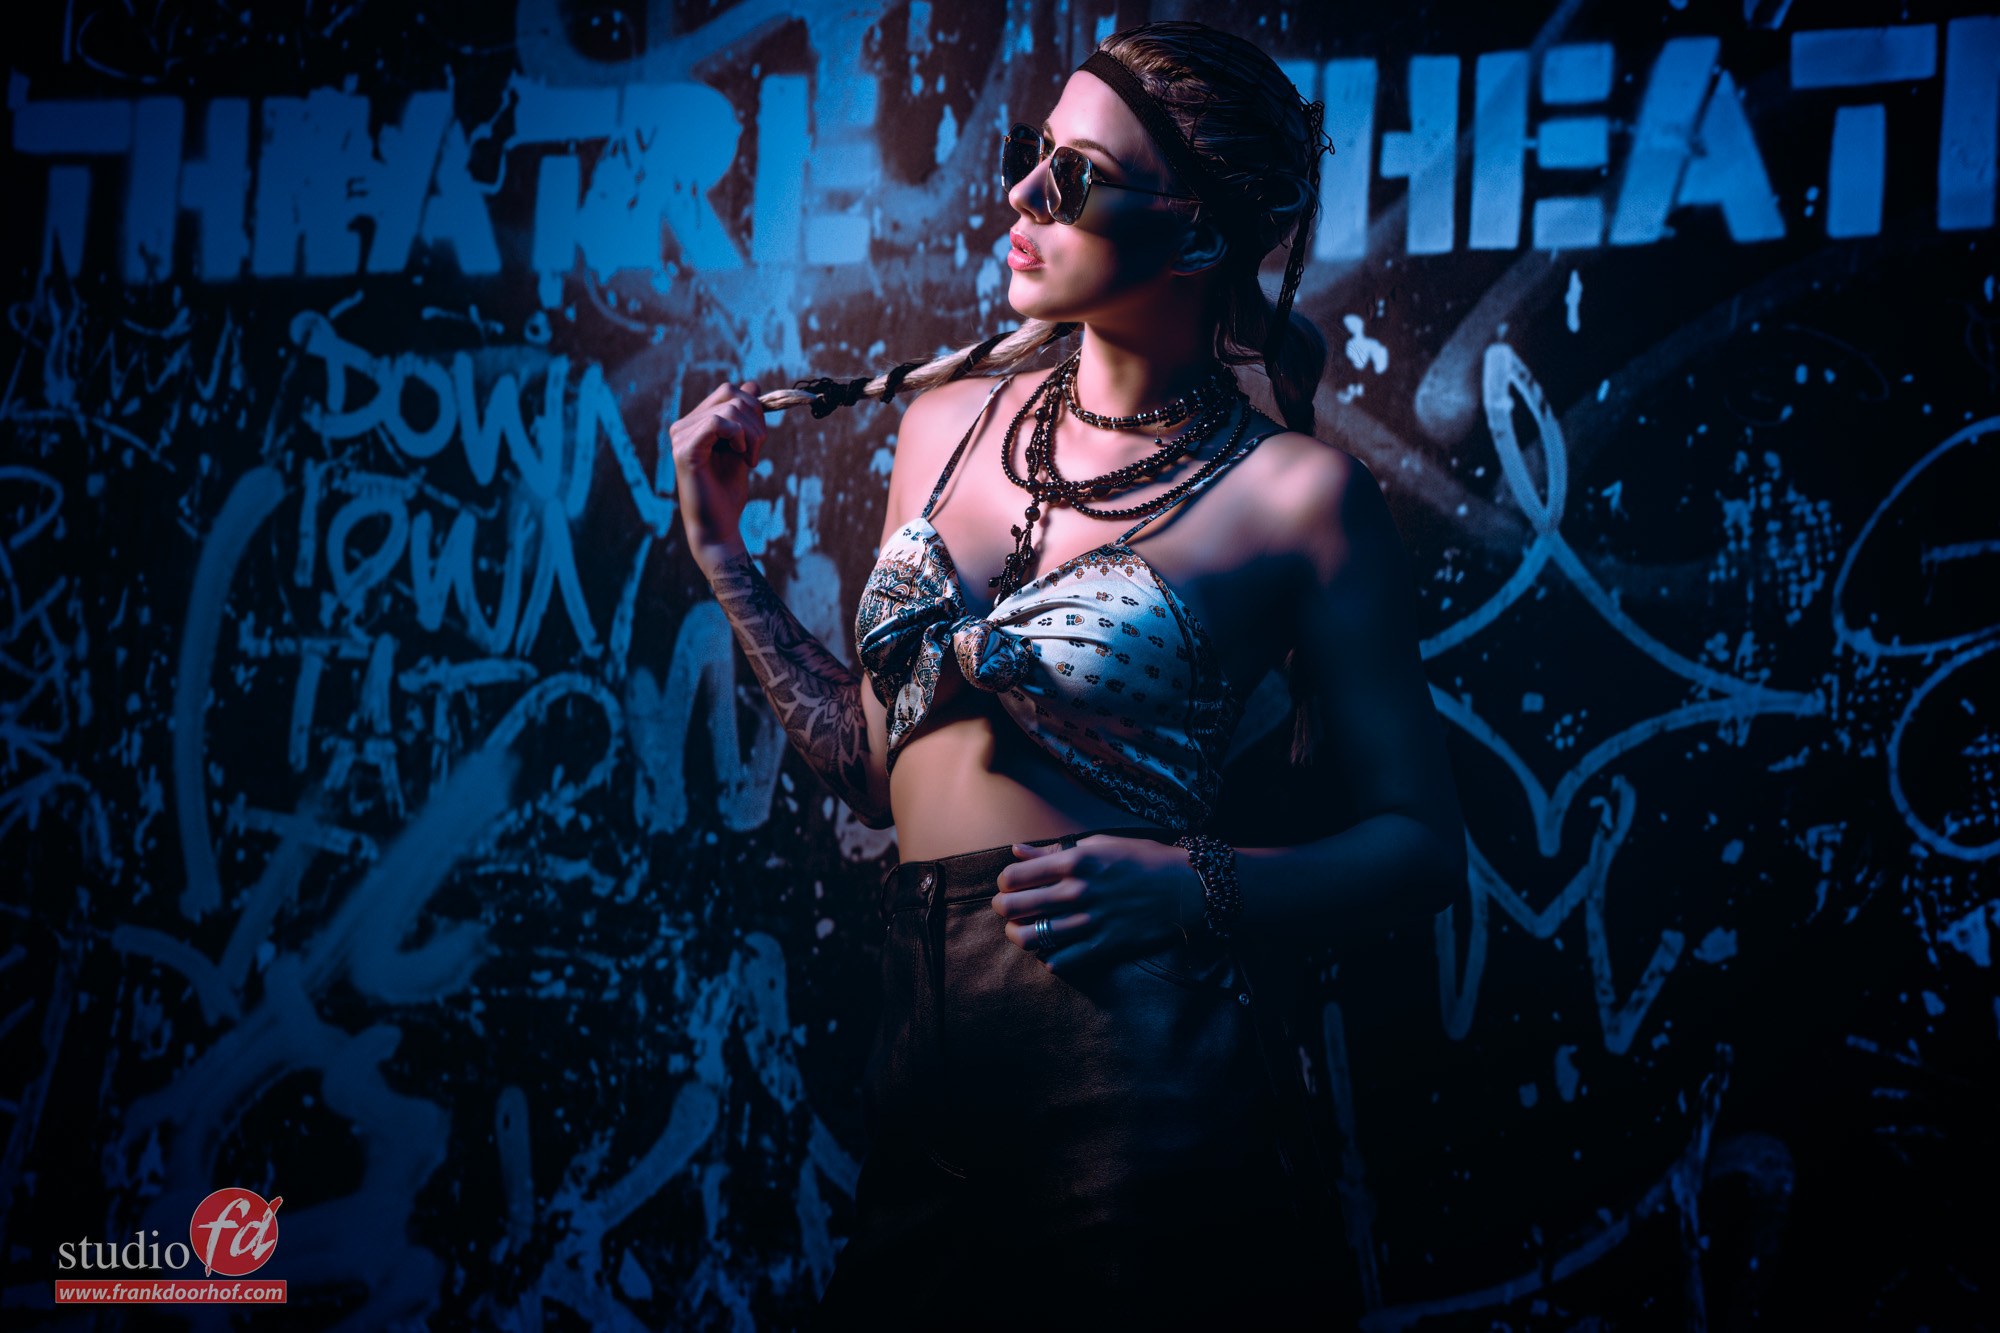
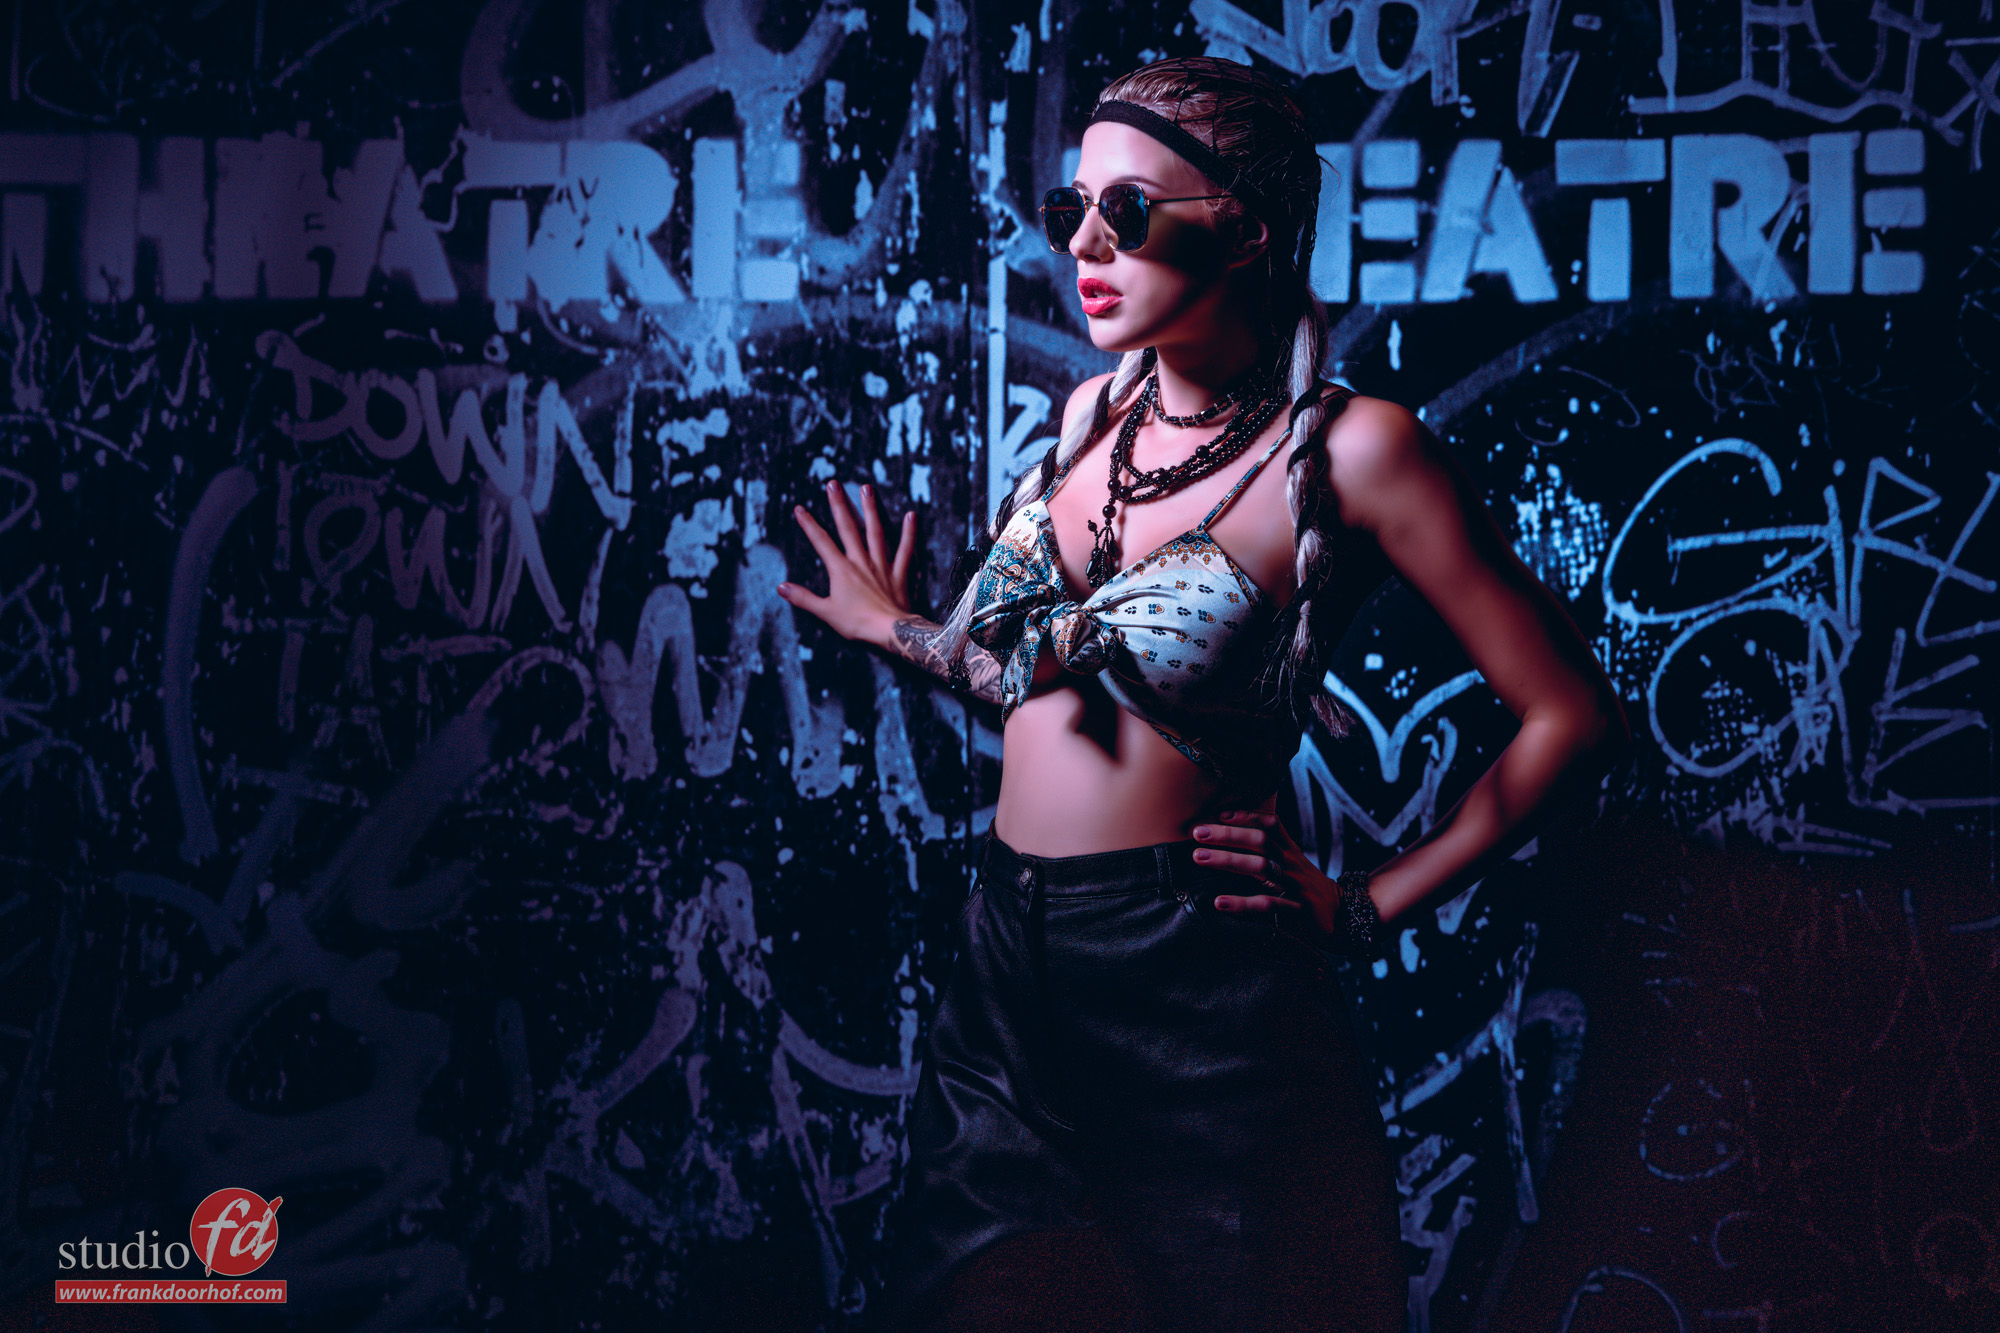
With this set it was not only important to make it look like we were really shooting on location, but I also used a technique here where I color the set via a fill in flash with gel. And as you can see from the focus effect, I have used the Lensbaby here. The graffity door 1 background is awesome for this kind of sets. You can really use if for story telling, and I absolutely love that in backgrounds.

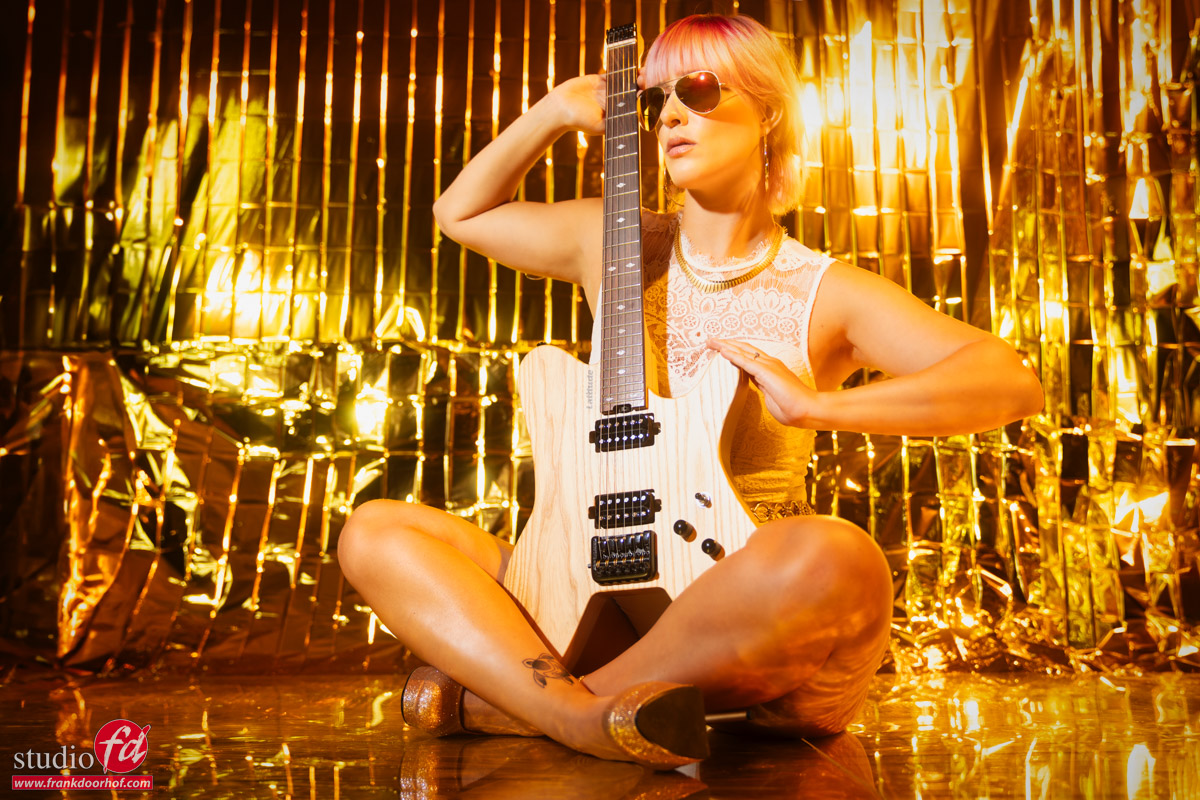
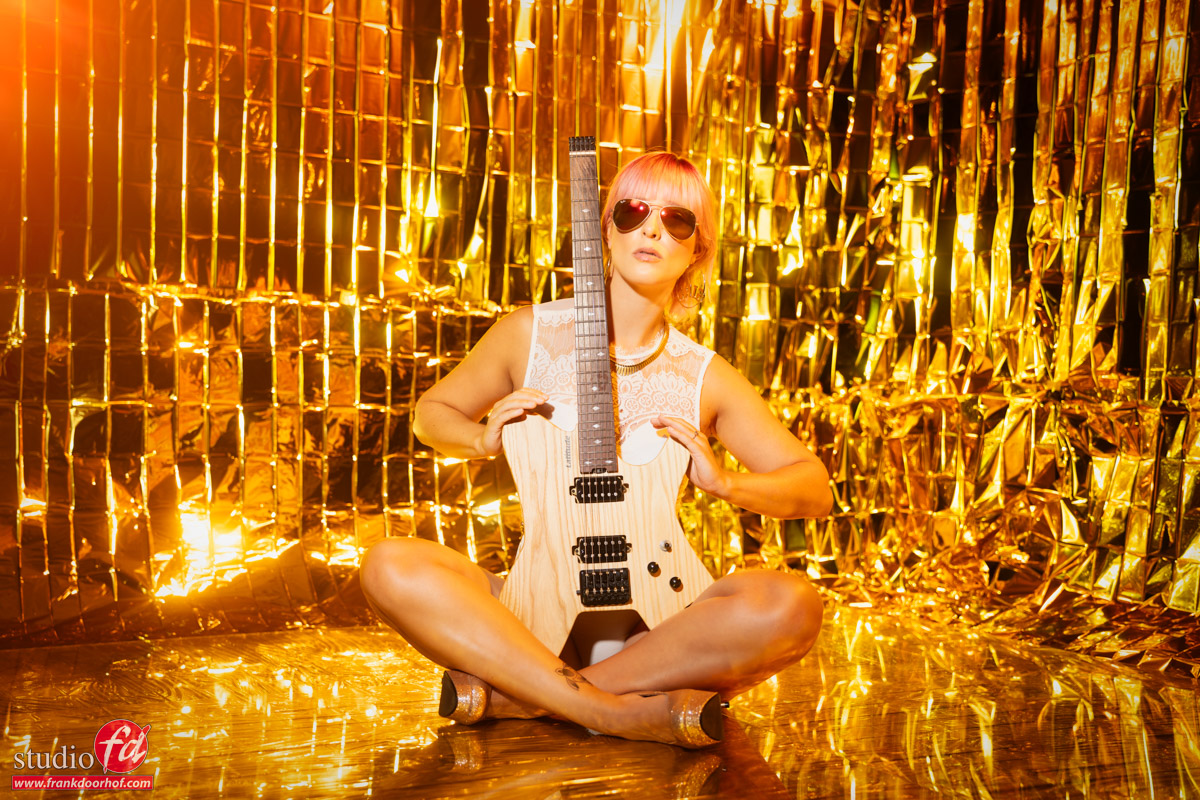
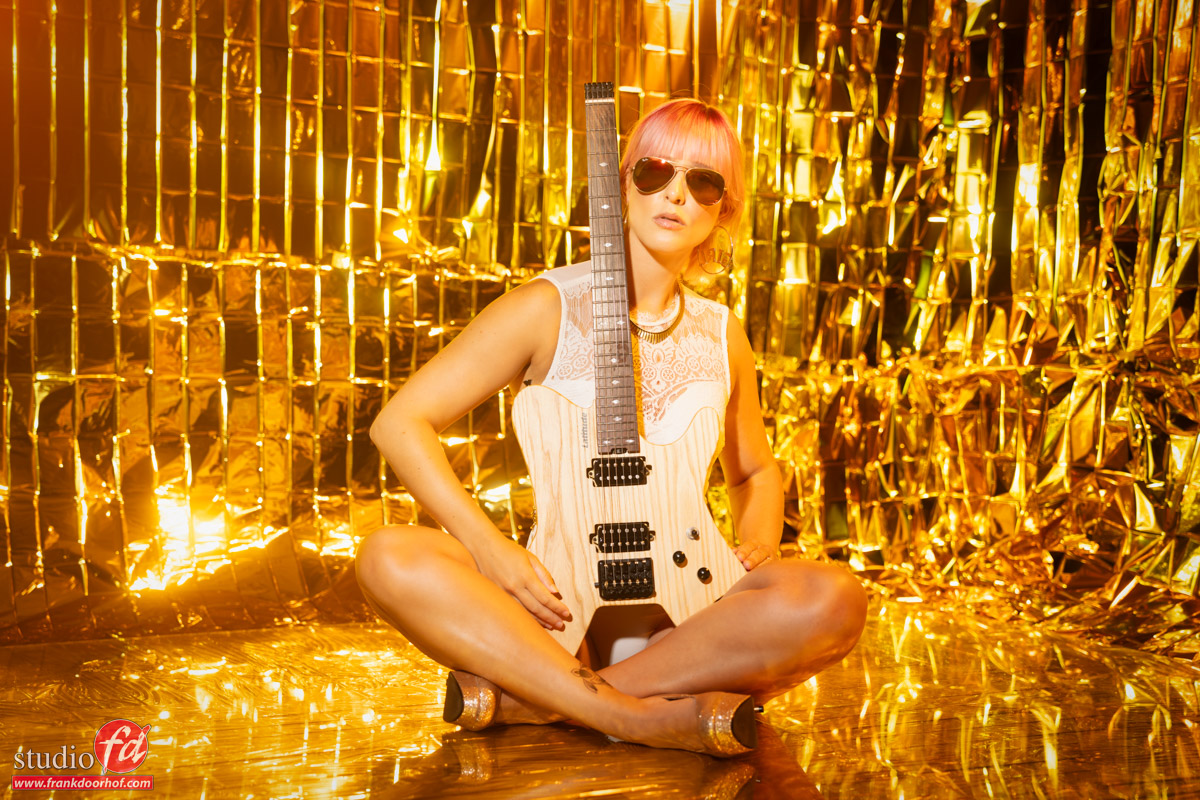
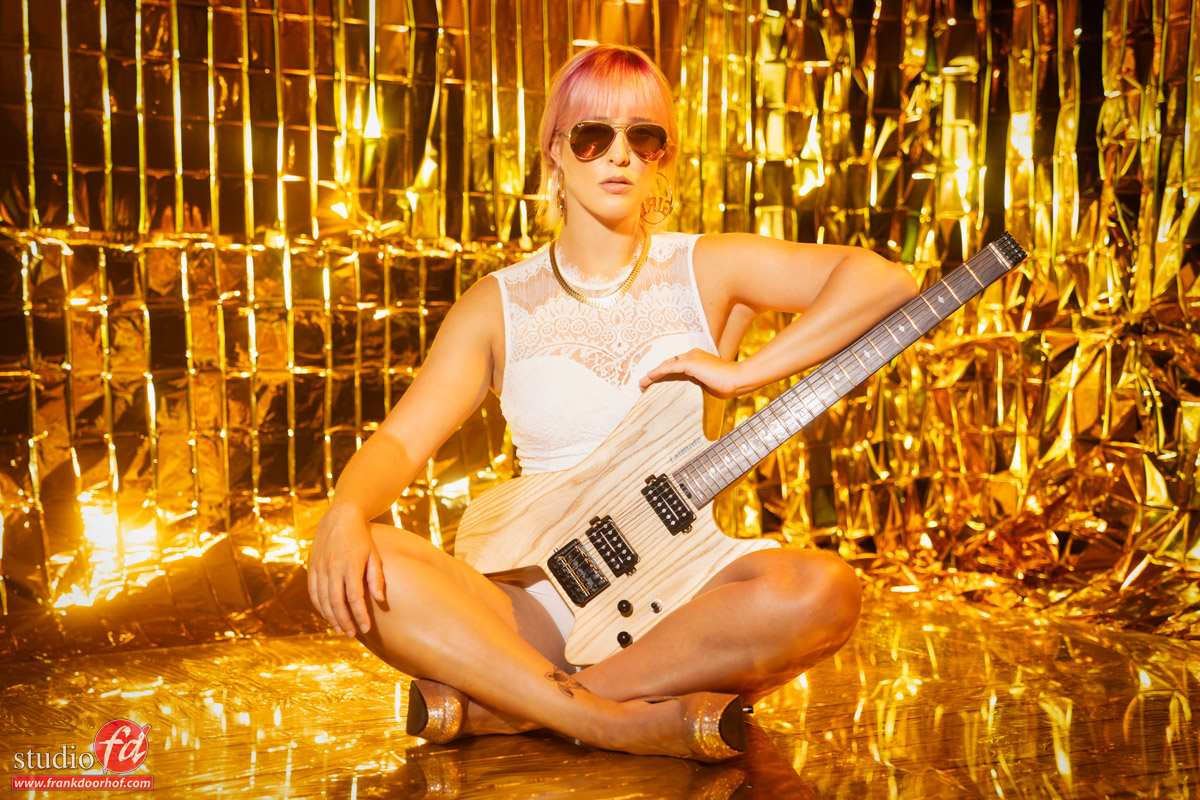
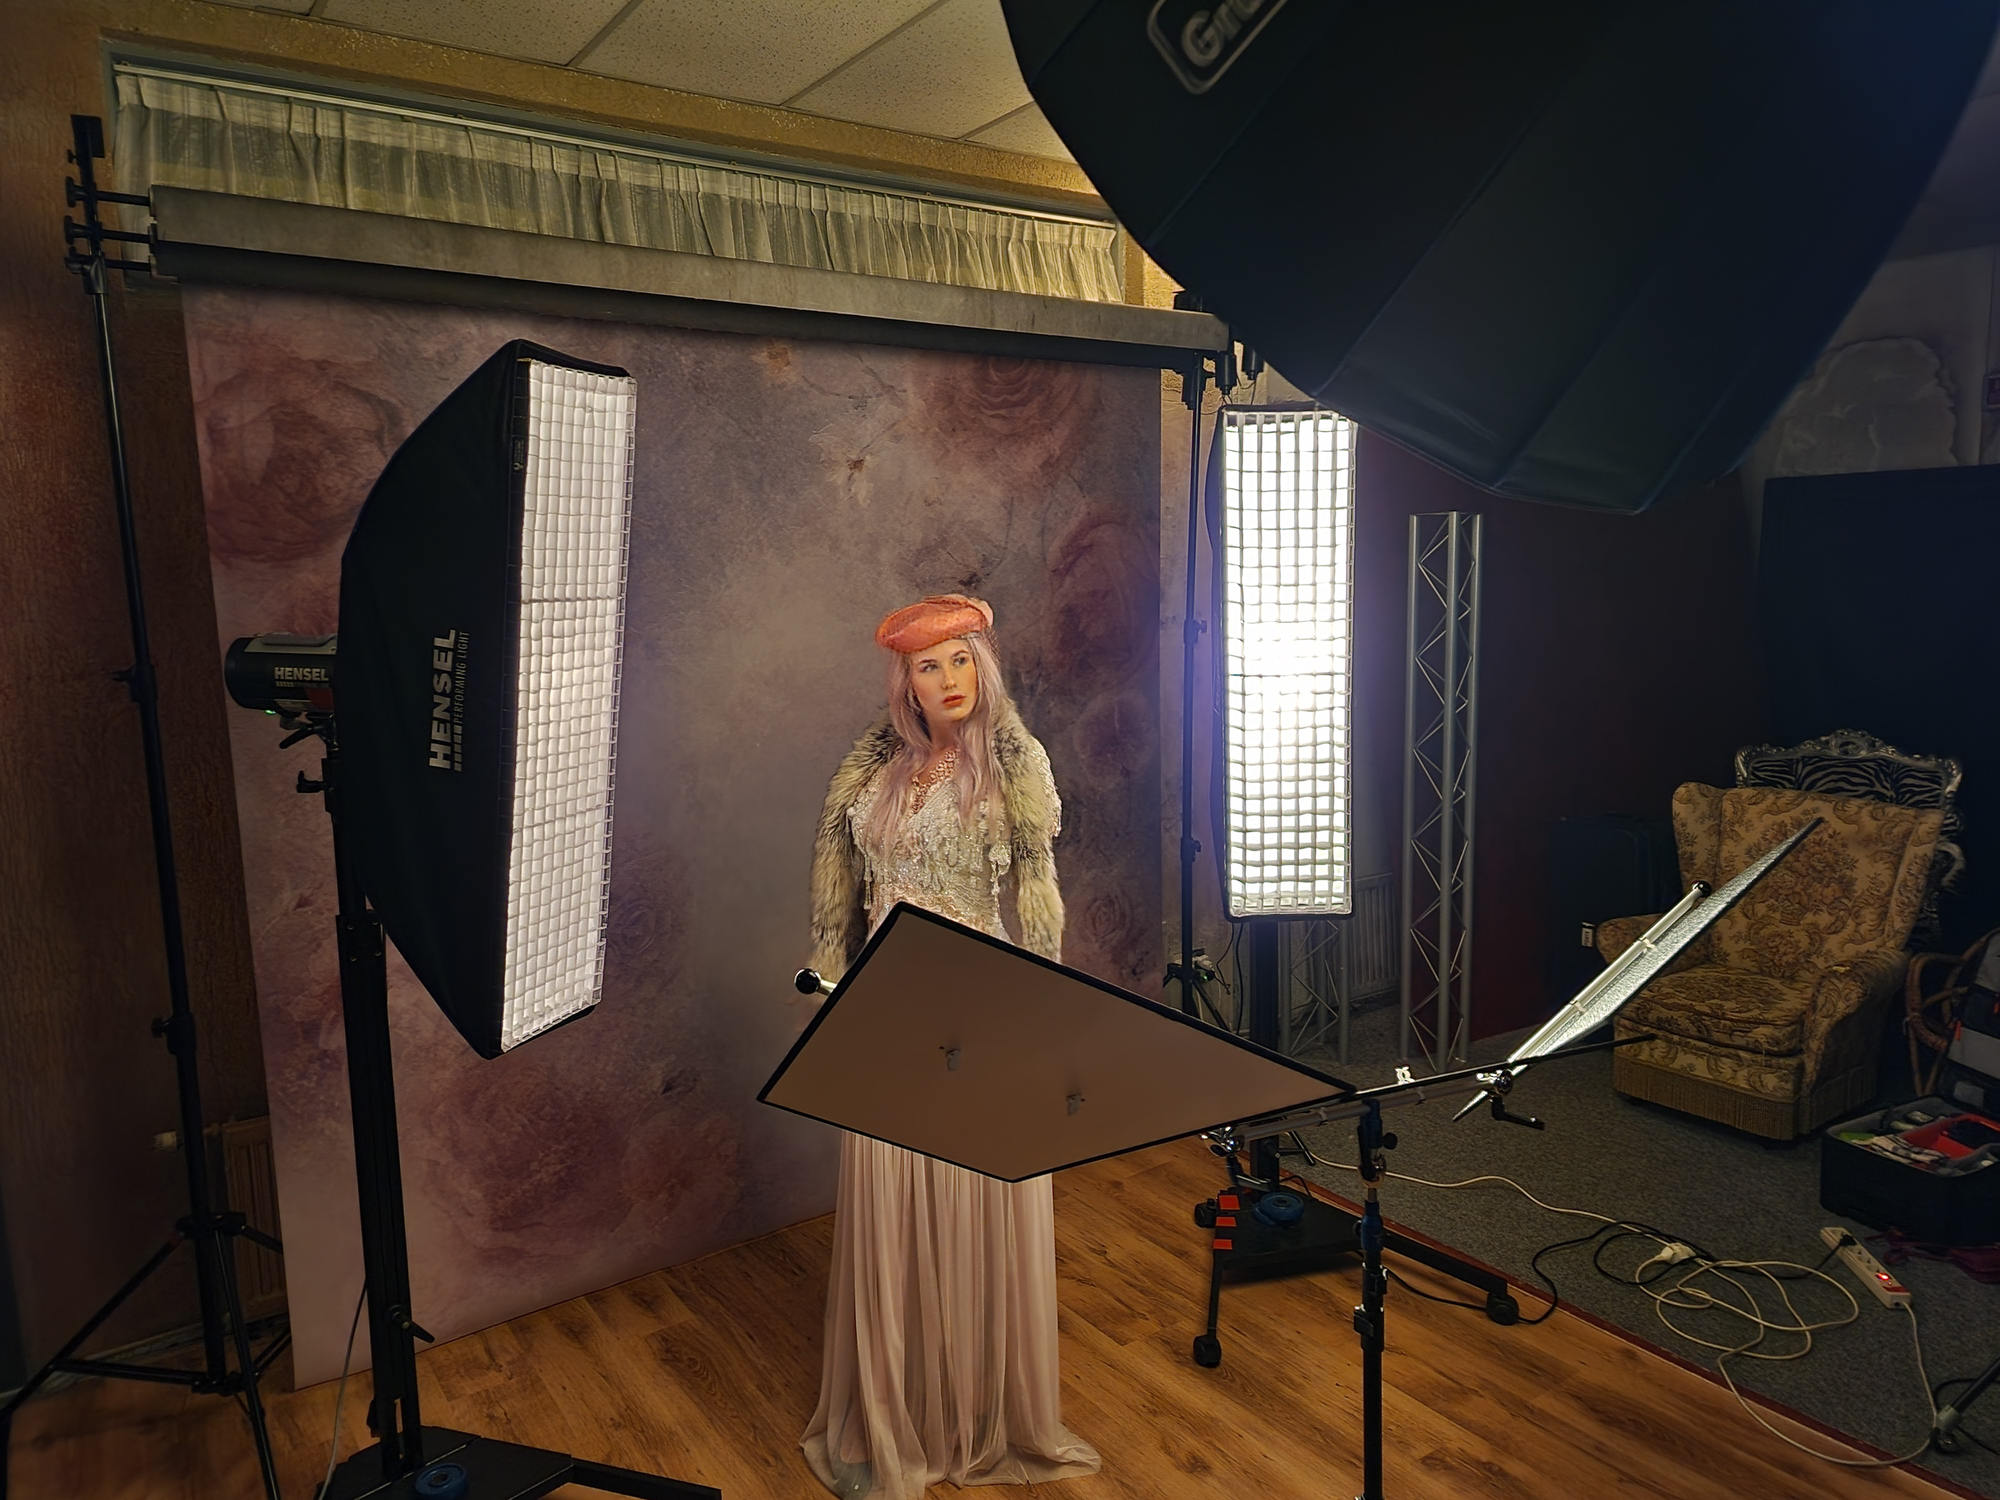
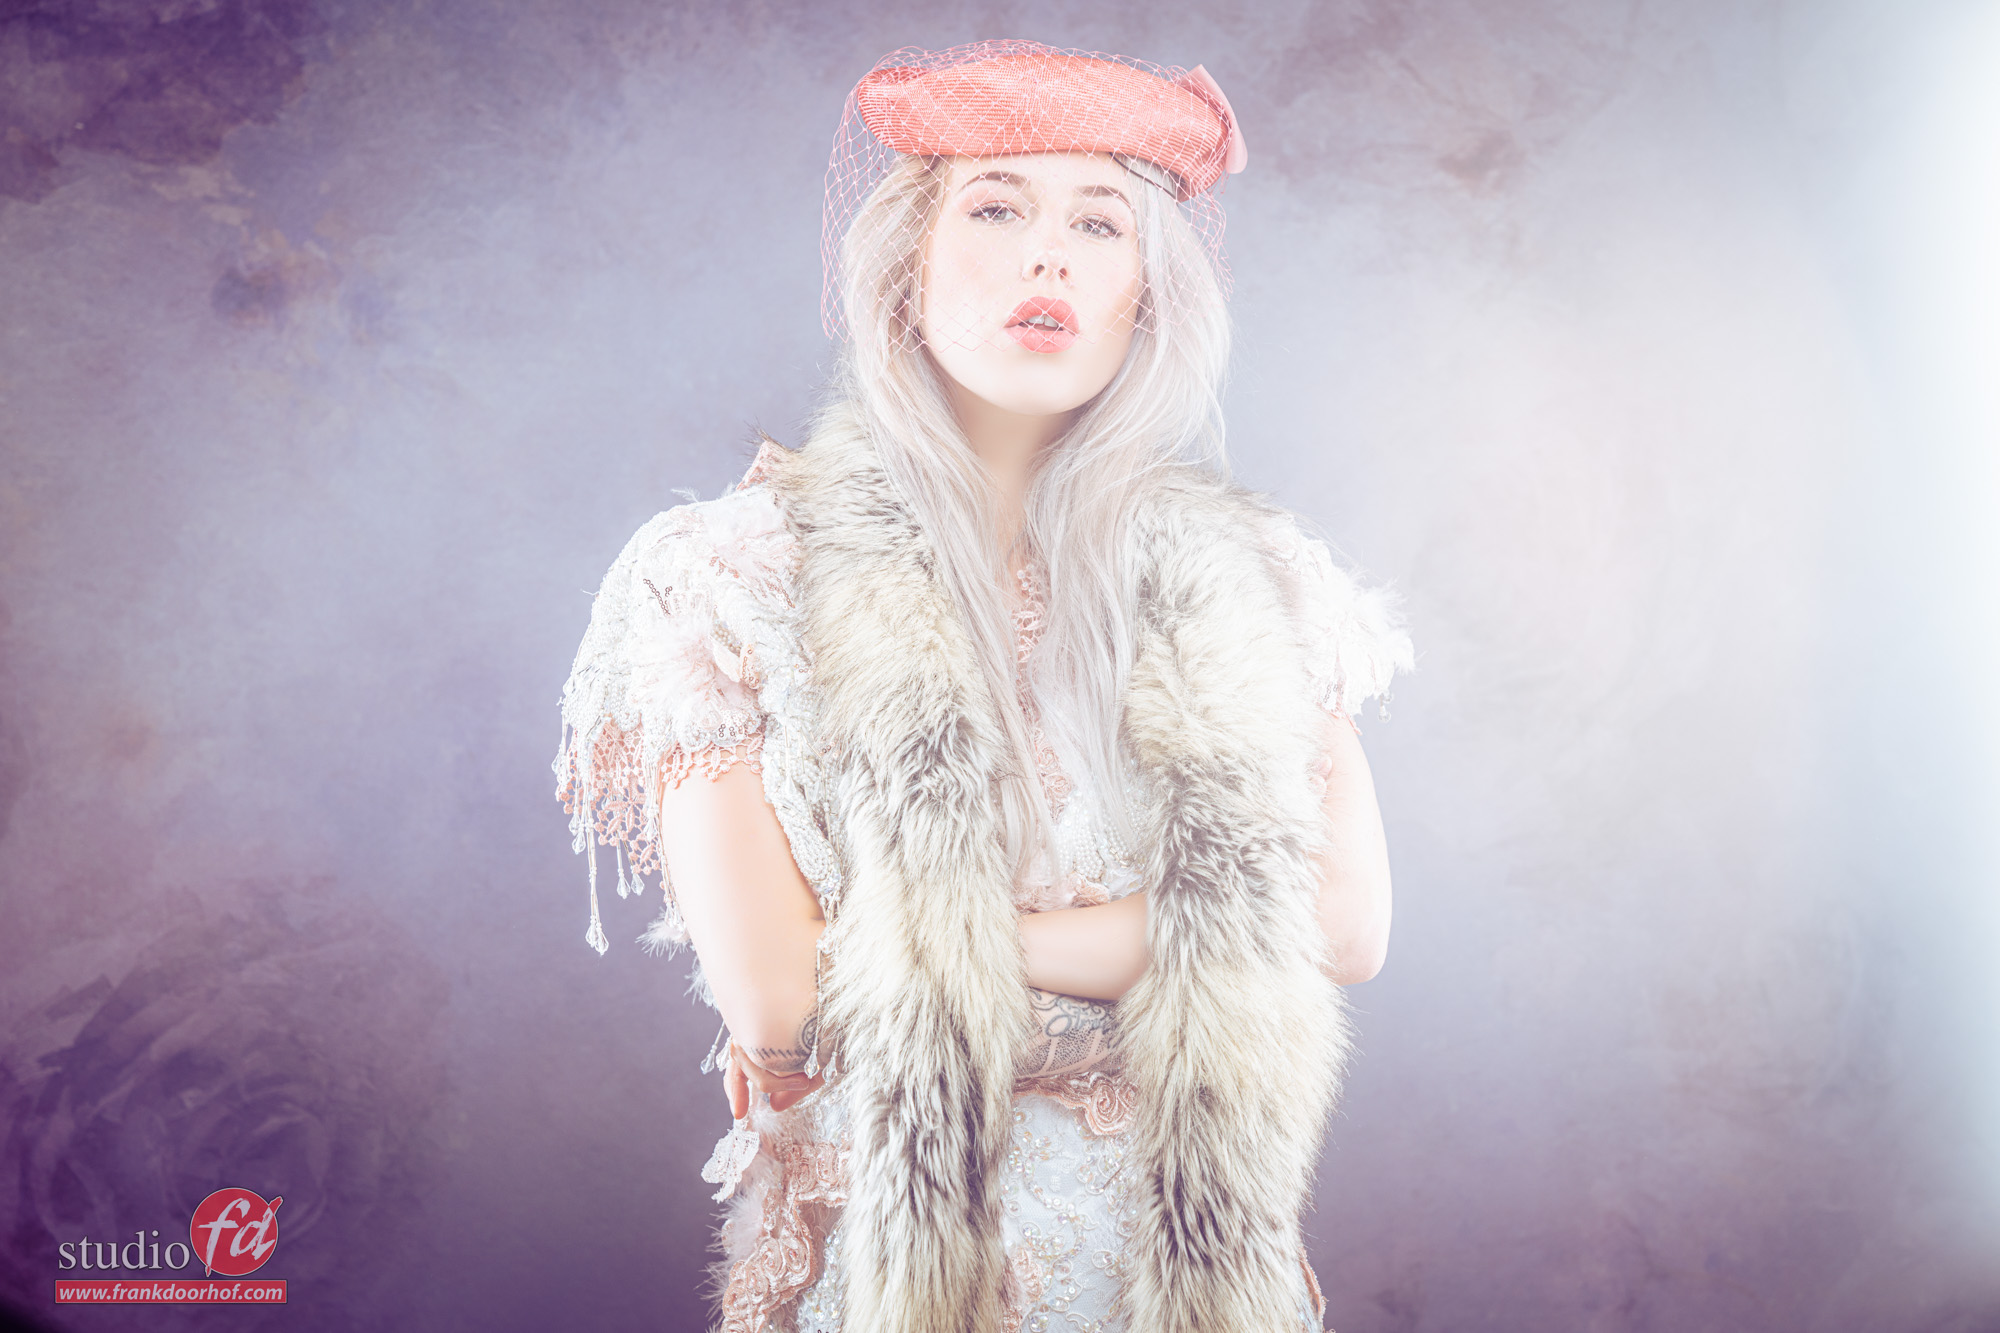
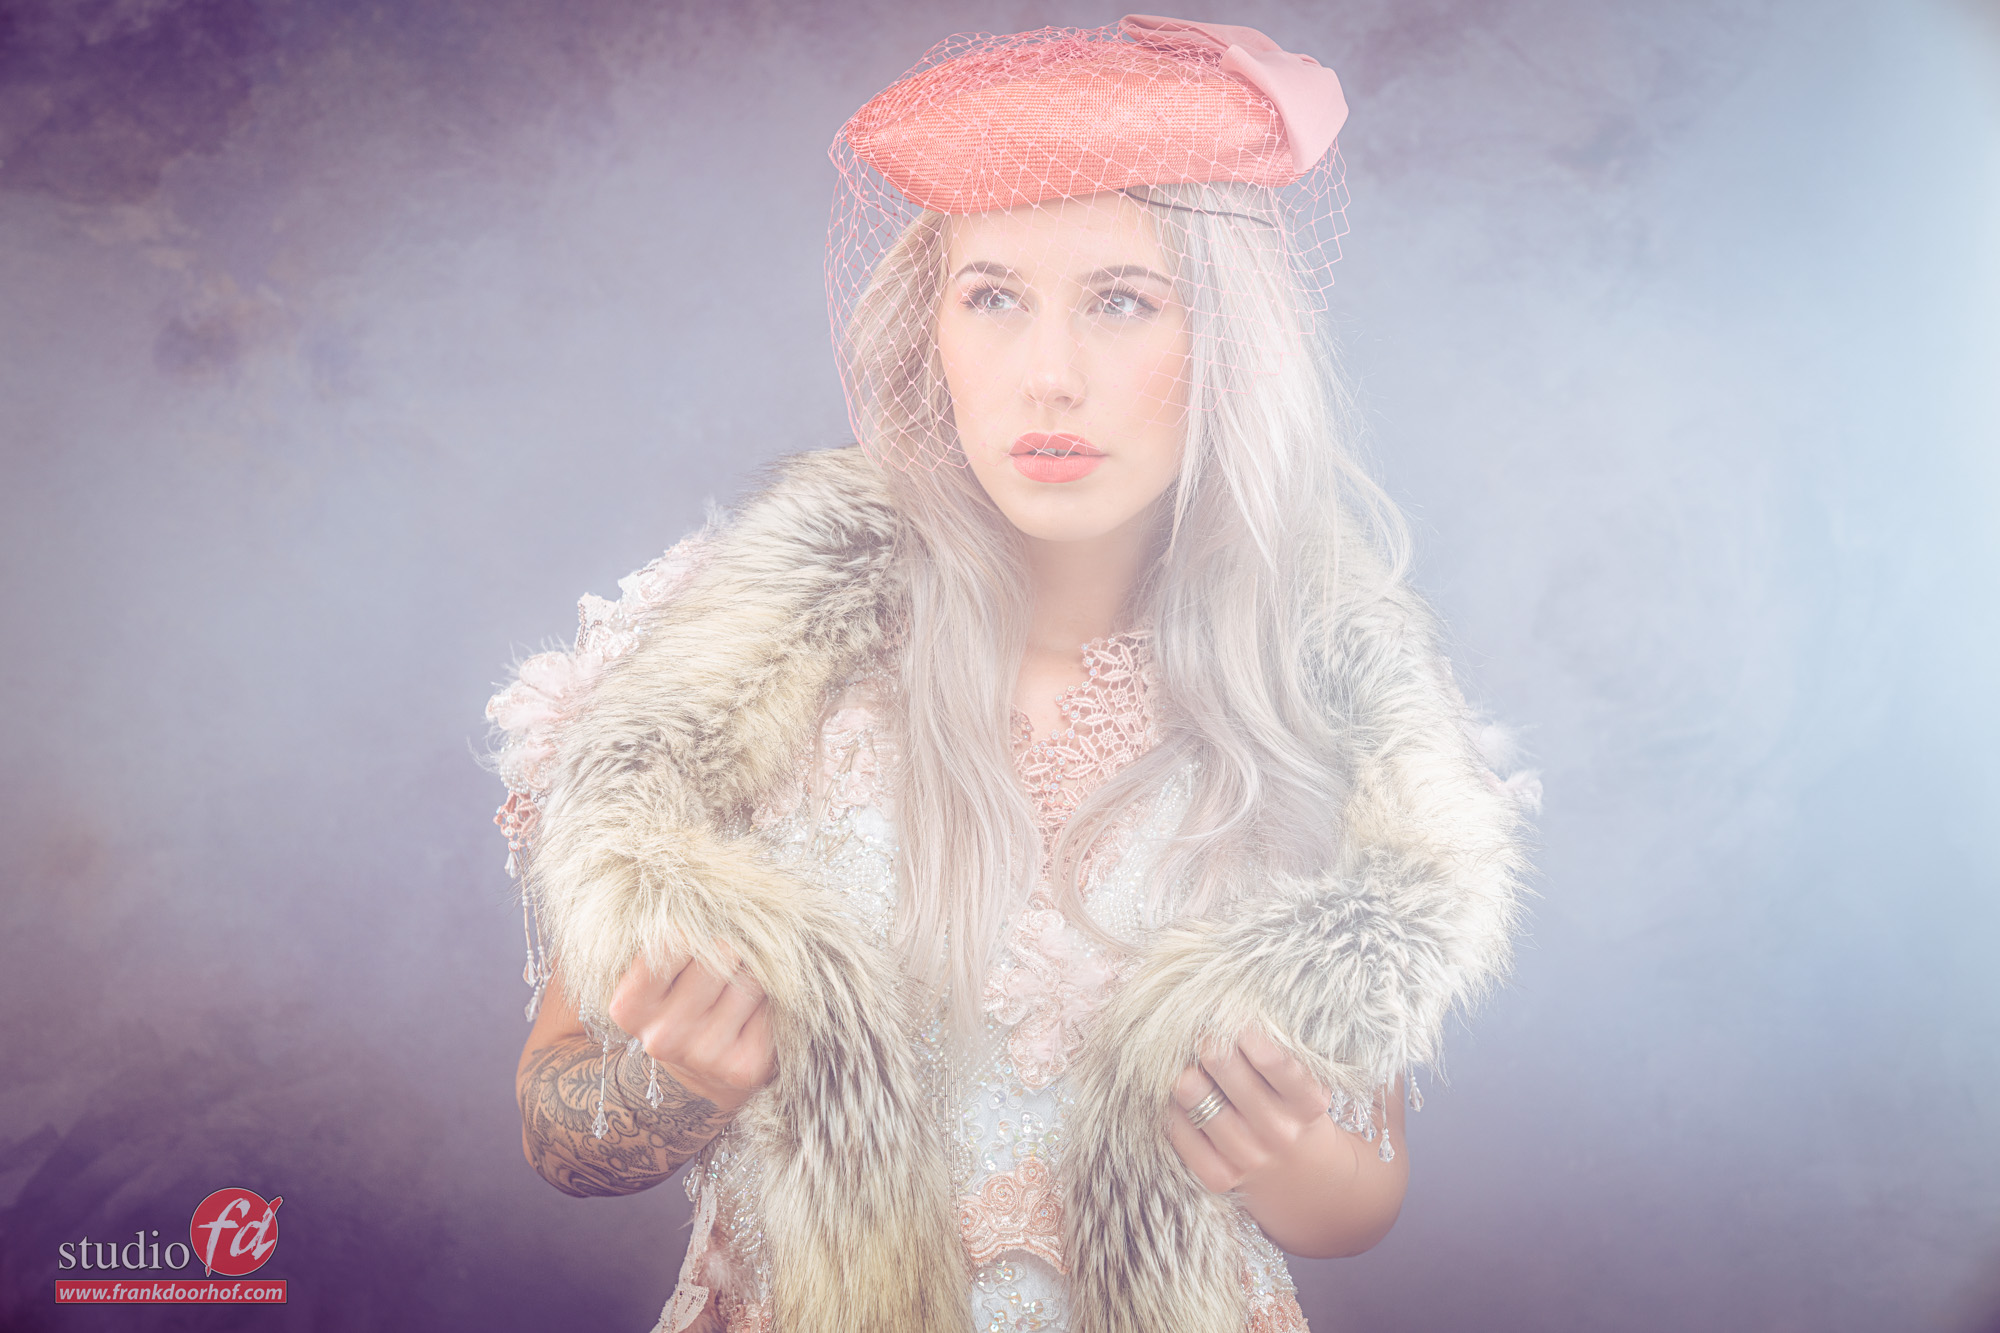
This remains one of my favorite setups for beauty portraits.
Of course, there is a bright background, and in this case I have chosen the Sweethearts.
I use a triflection system here to open the shadows, and the sides of the clothes. On both sides are strips with grids that provide a considerable output. By feathering this I get a lot of lens flare, this lens flare is turned on even more by the K&F Concept Black Mist filter. You can see an ascending effect here from no filter to 1/4 and 1/2.

Lets start with no filter.

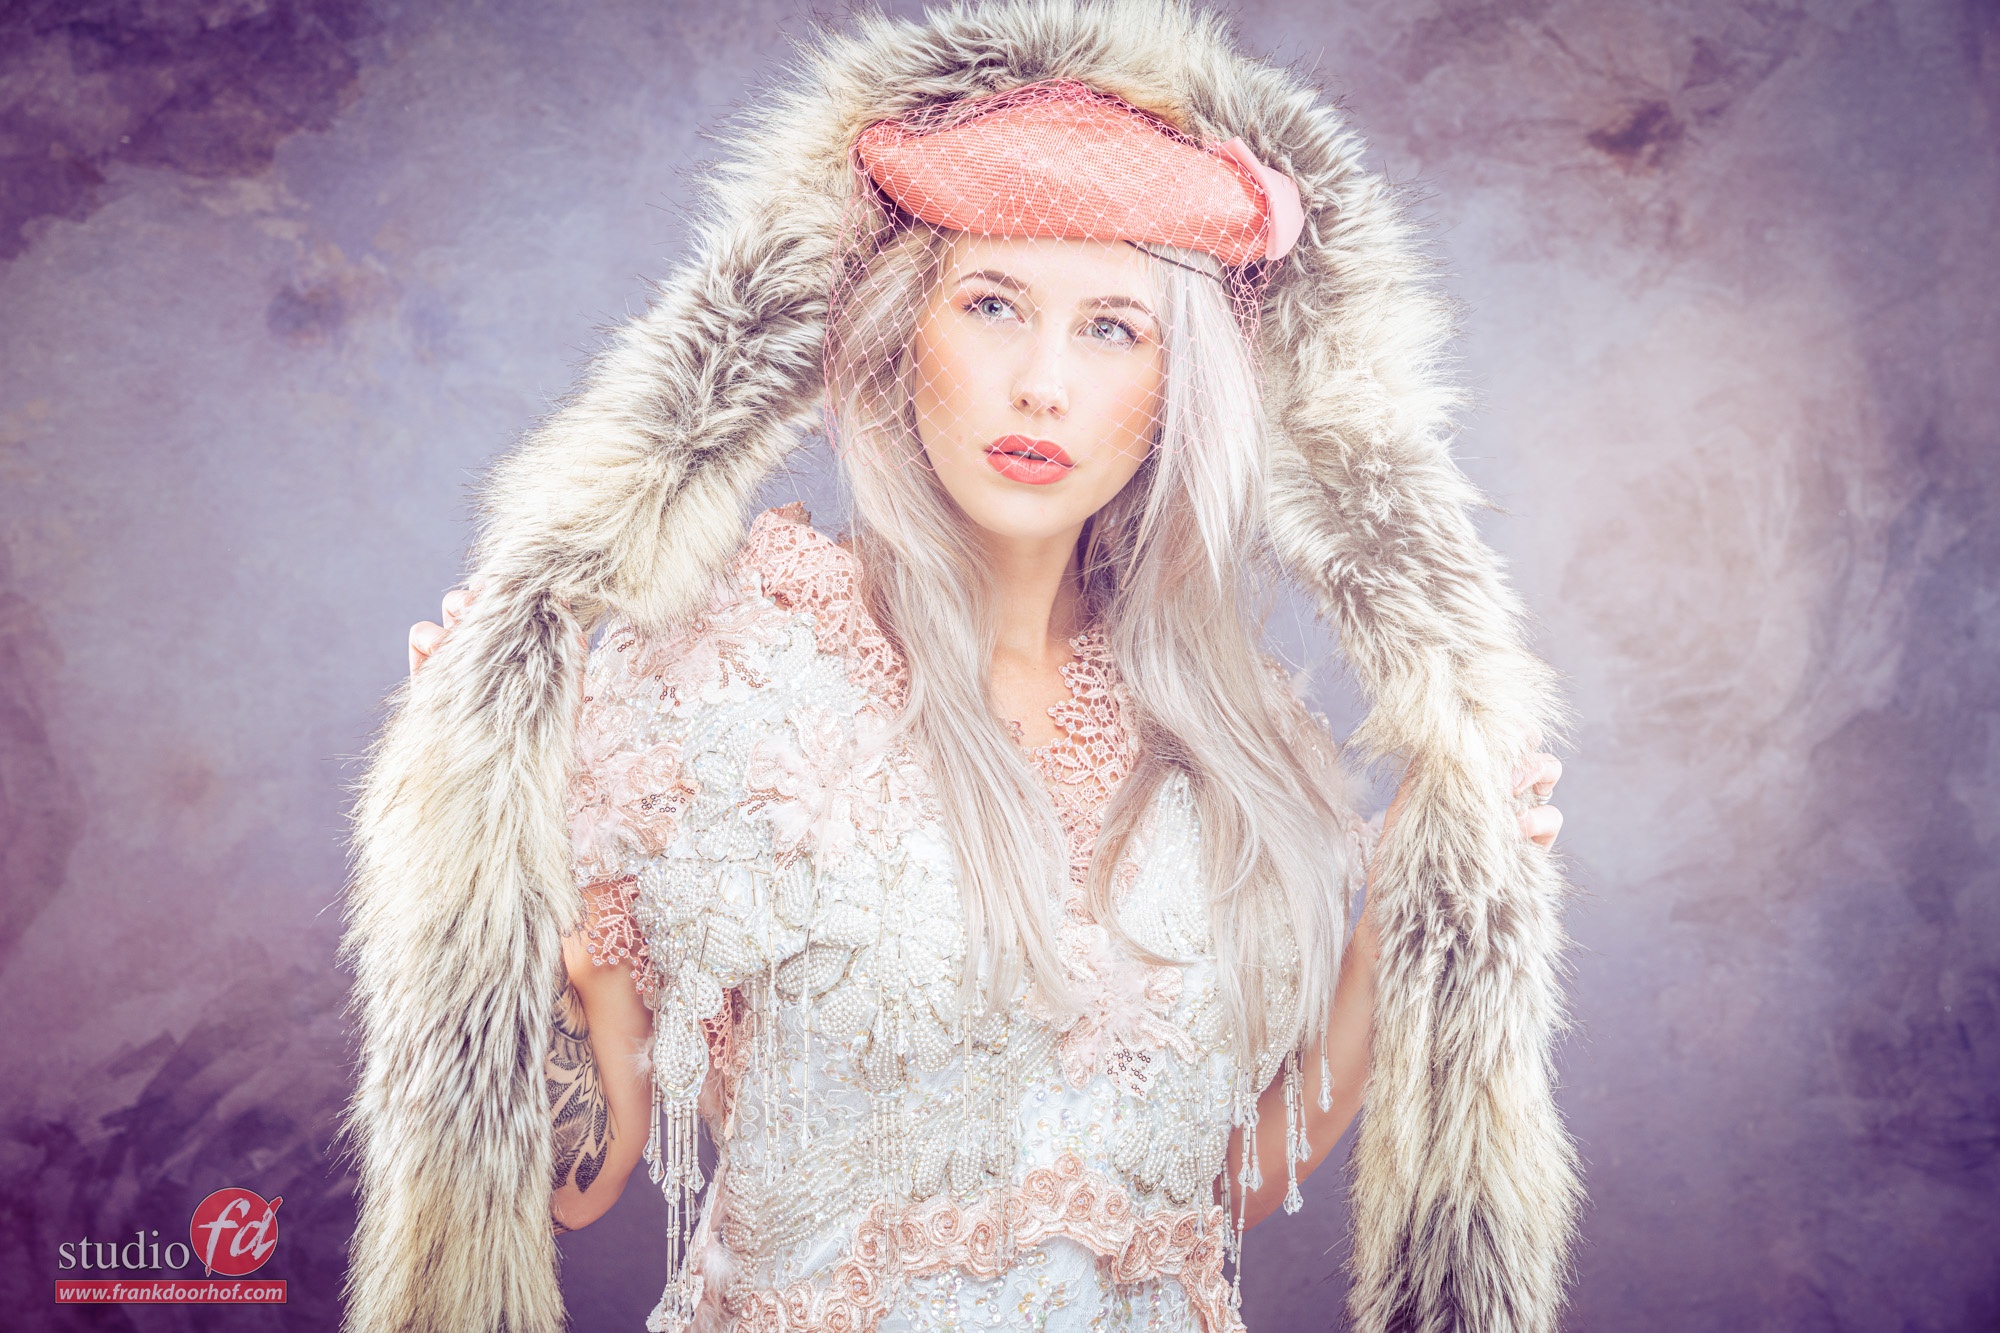
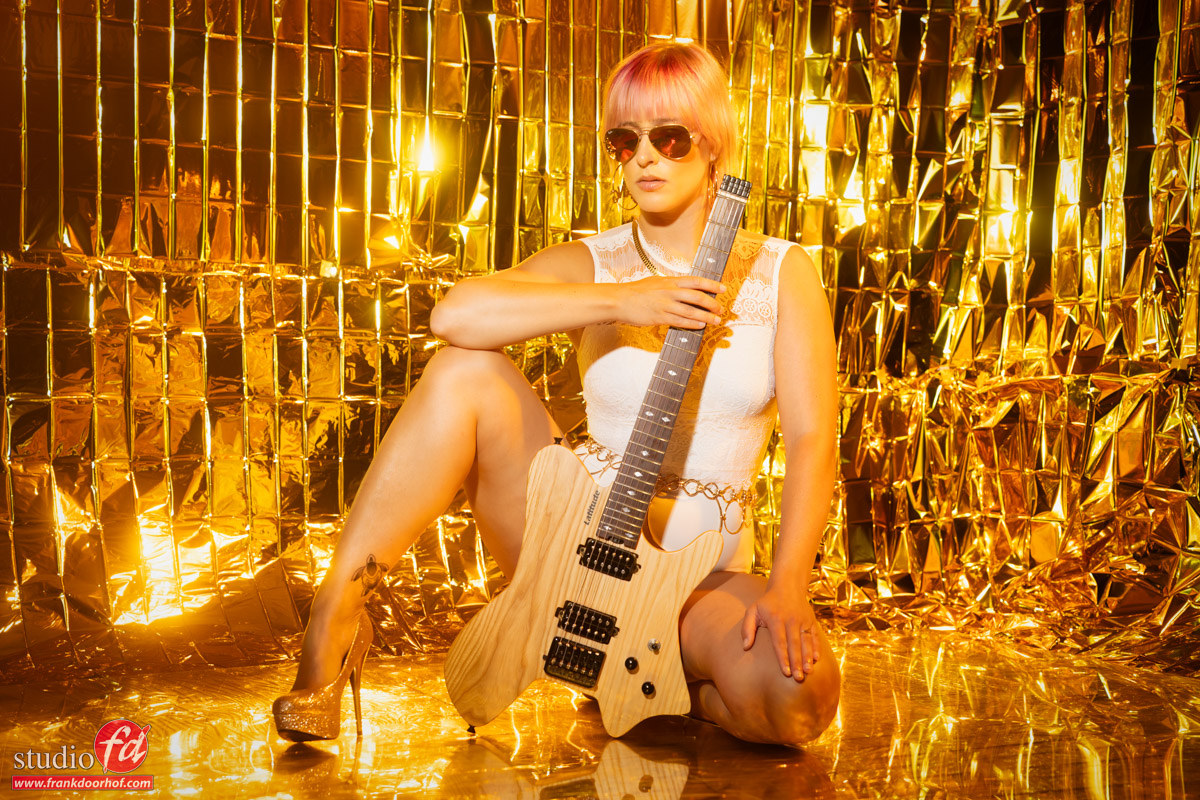
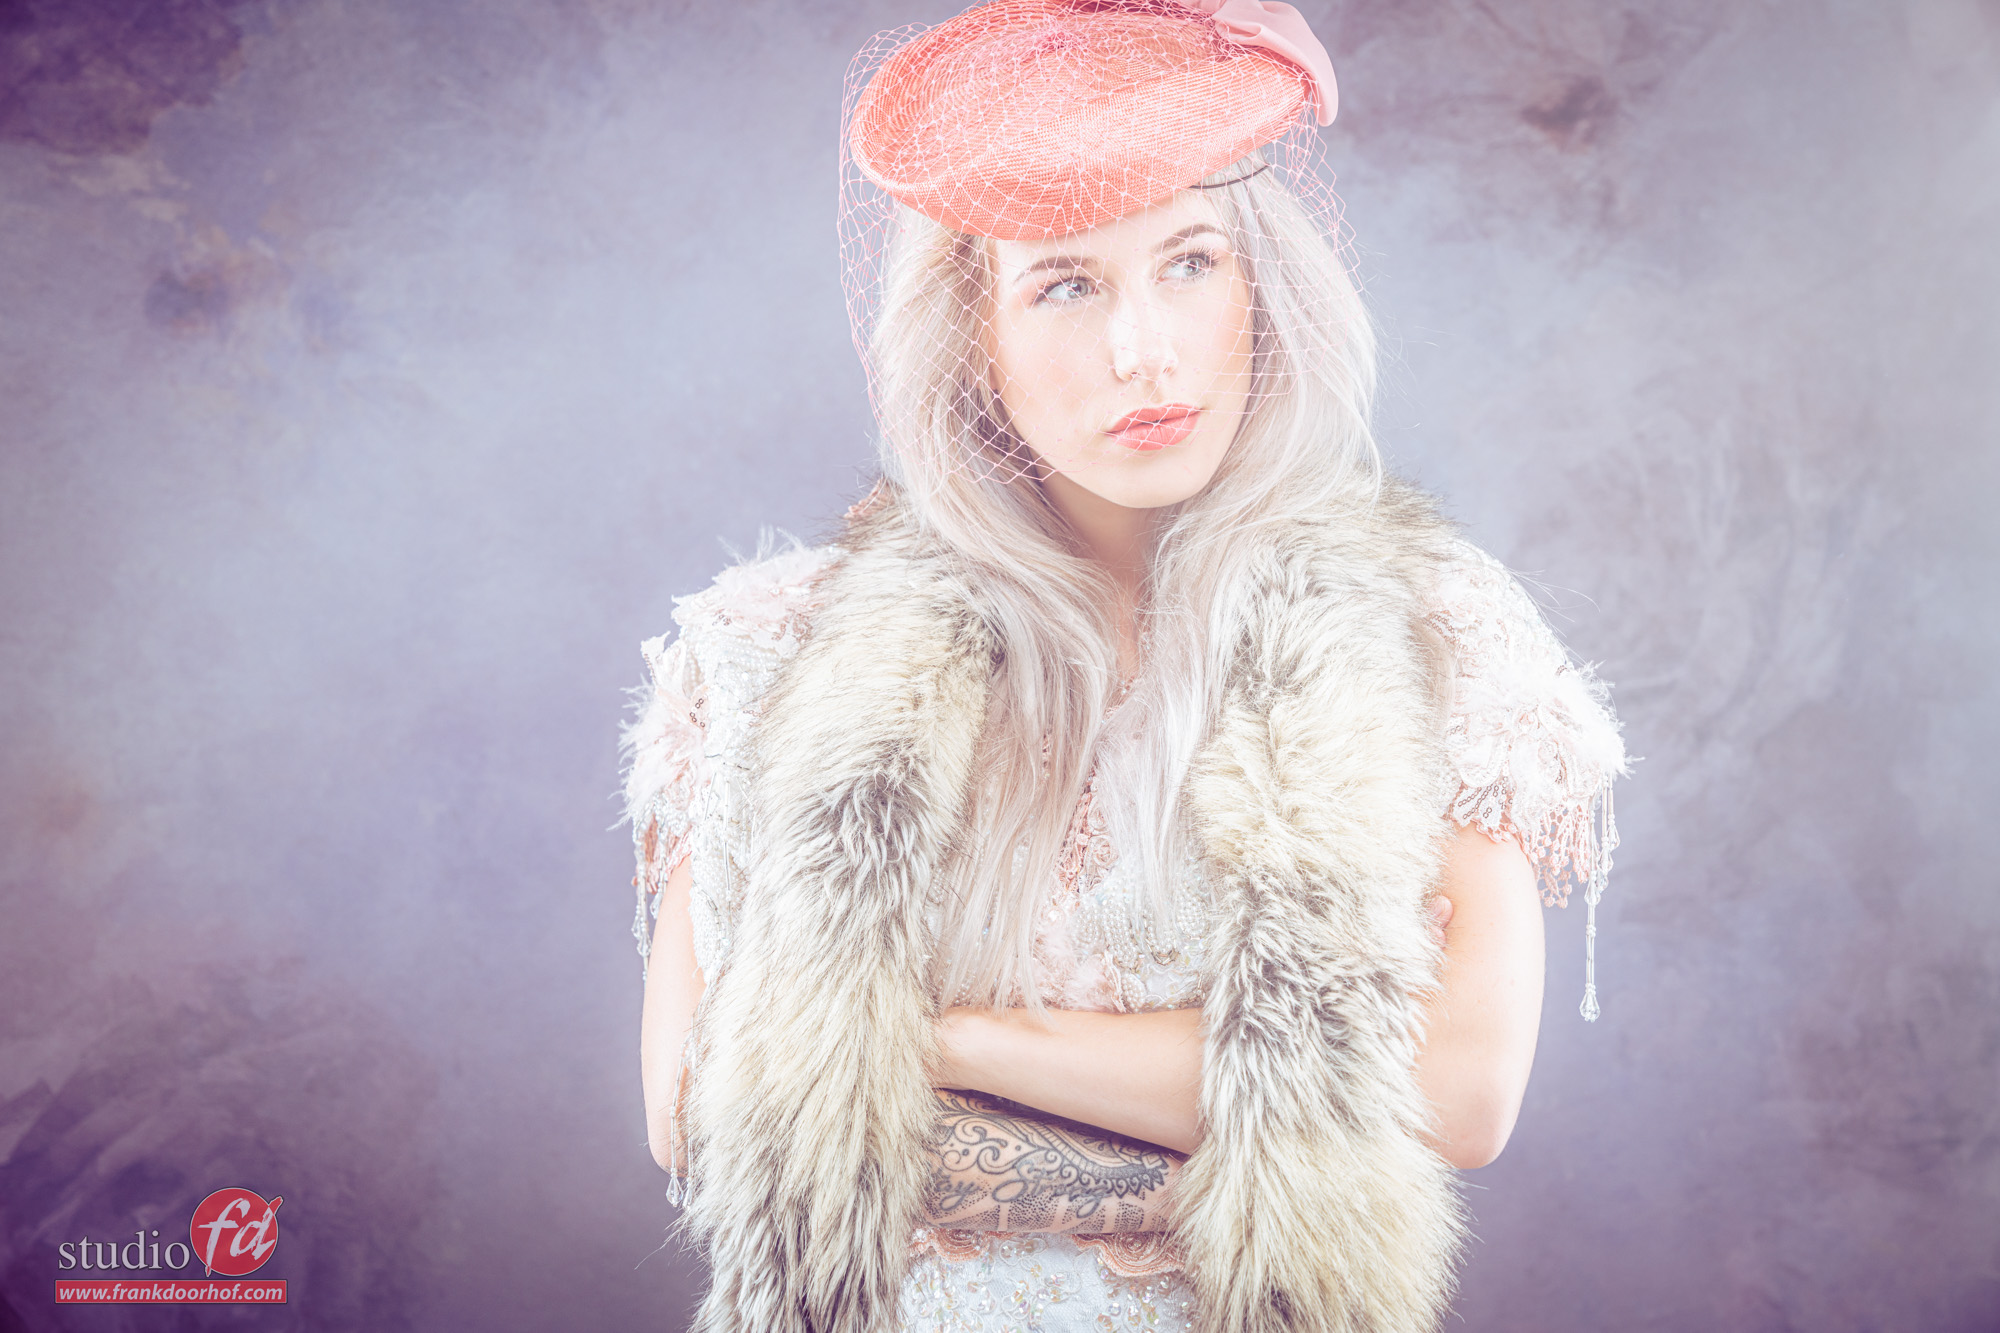
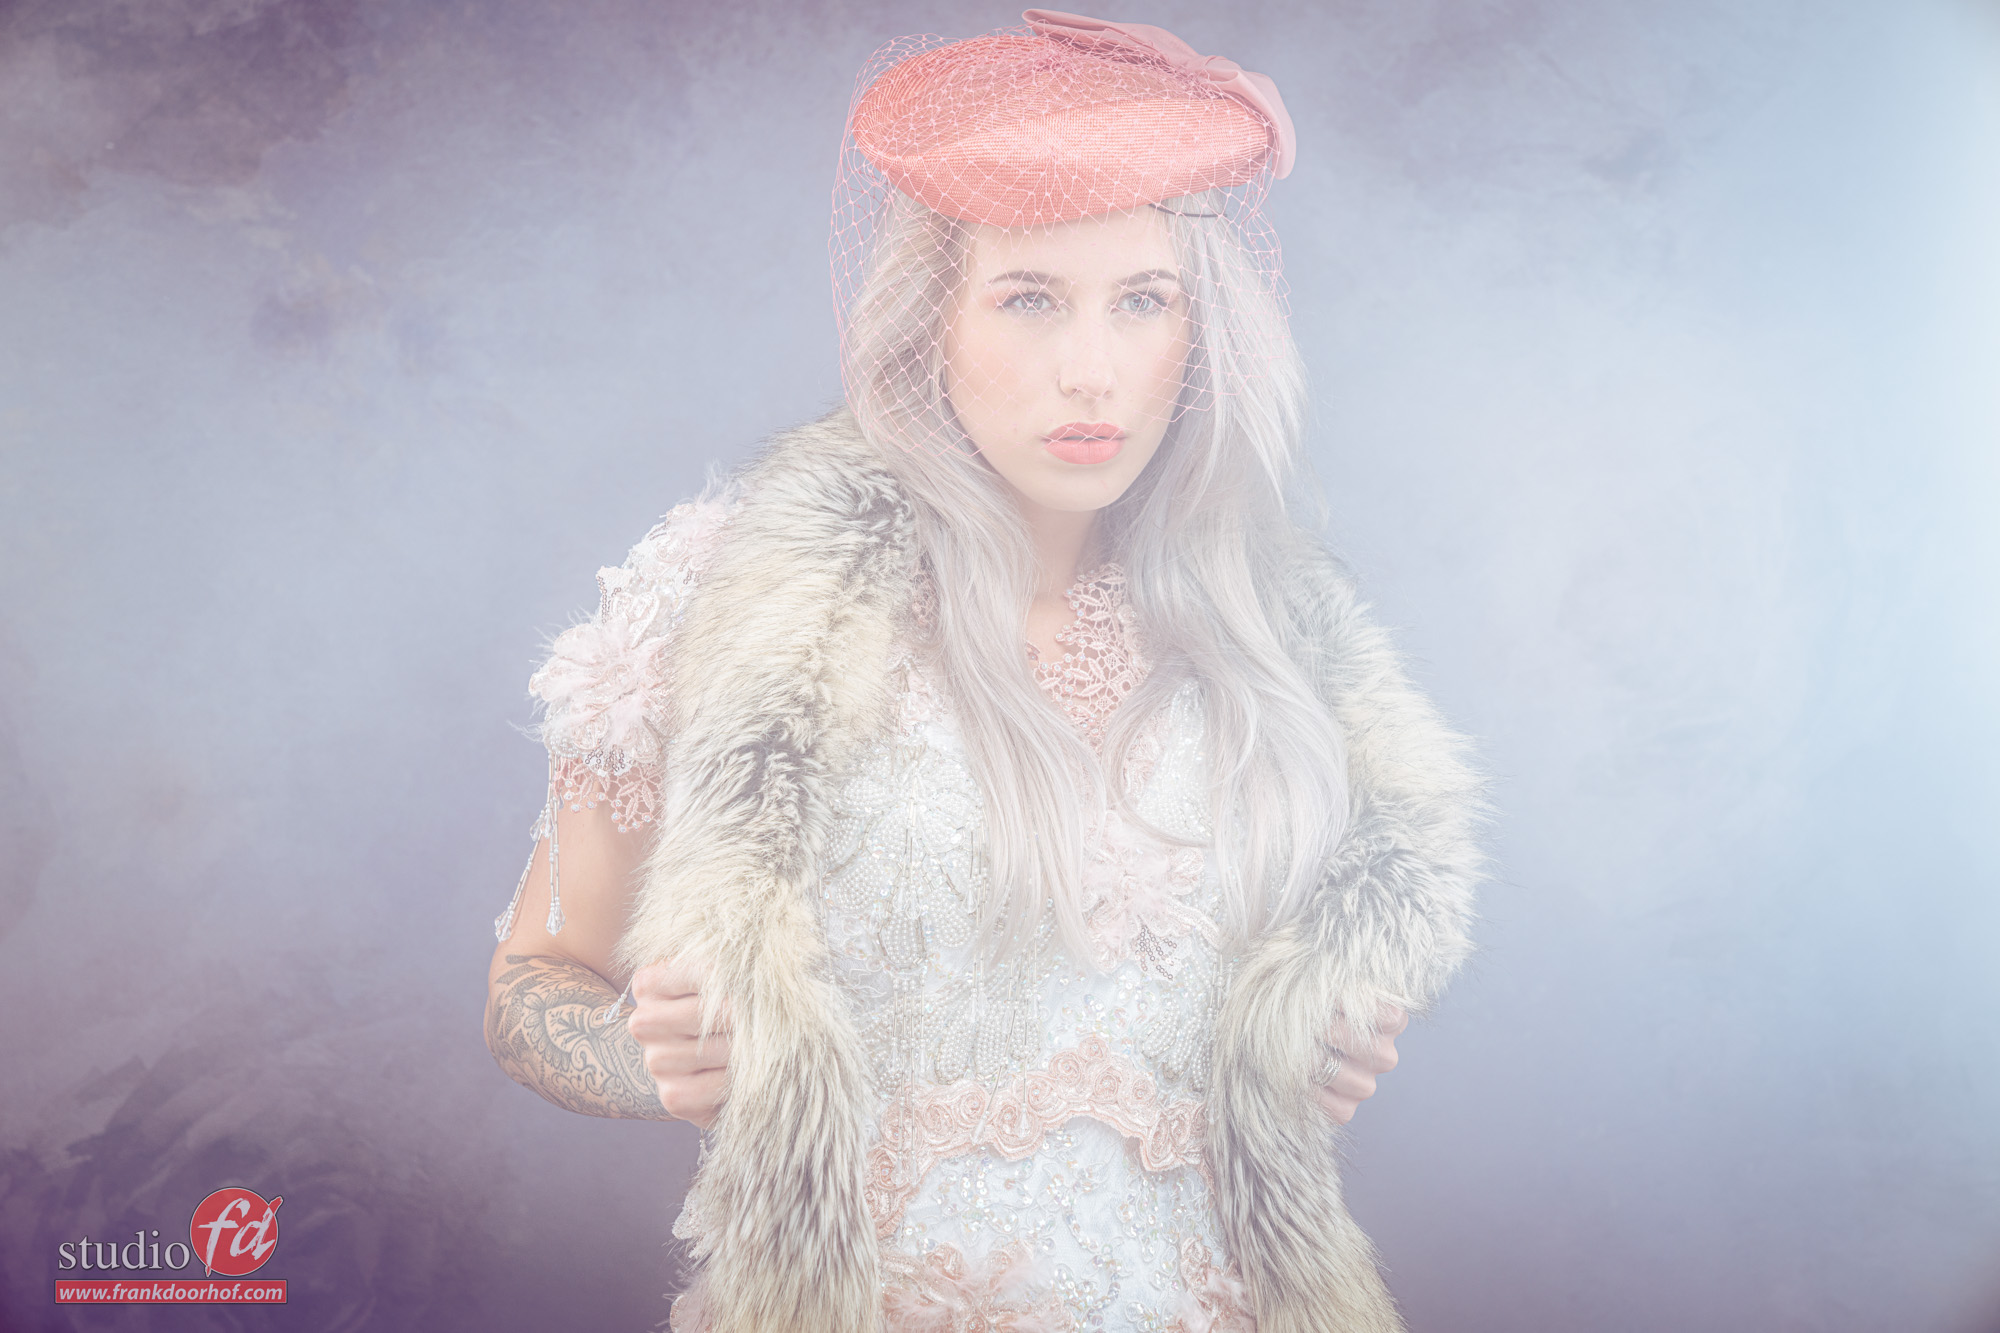
Now we move up to the 1/4 strength

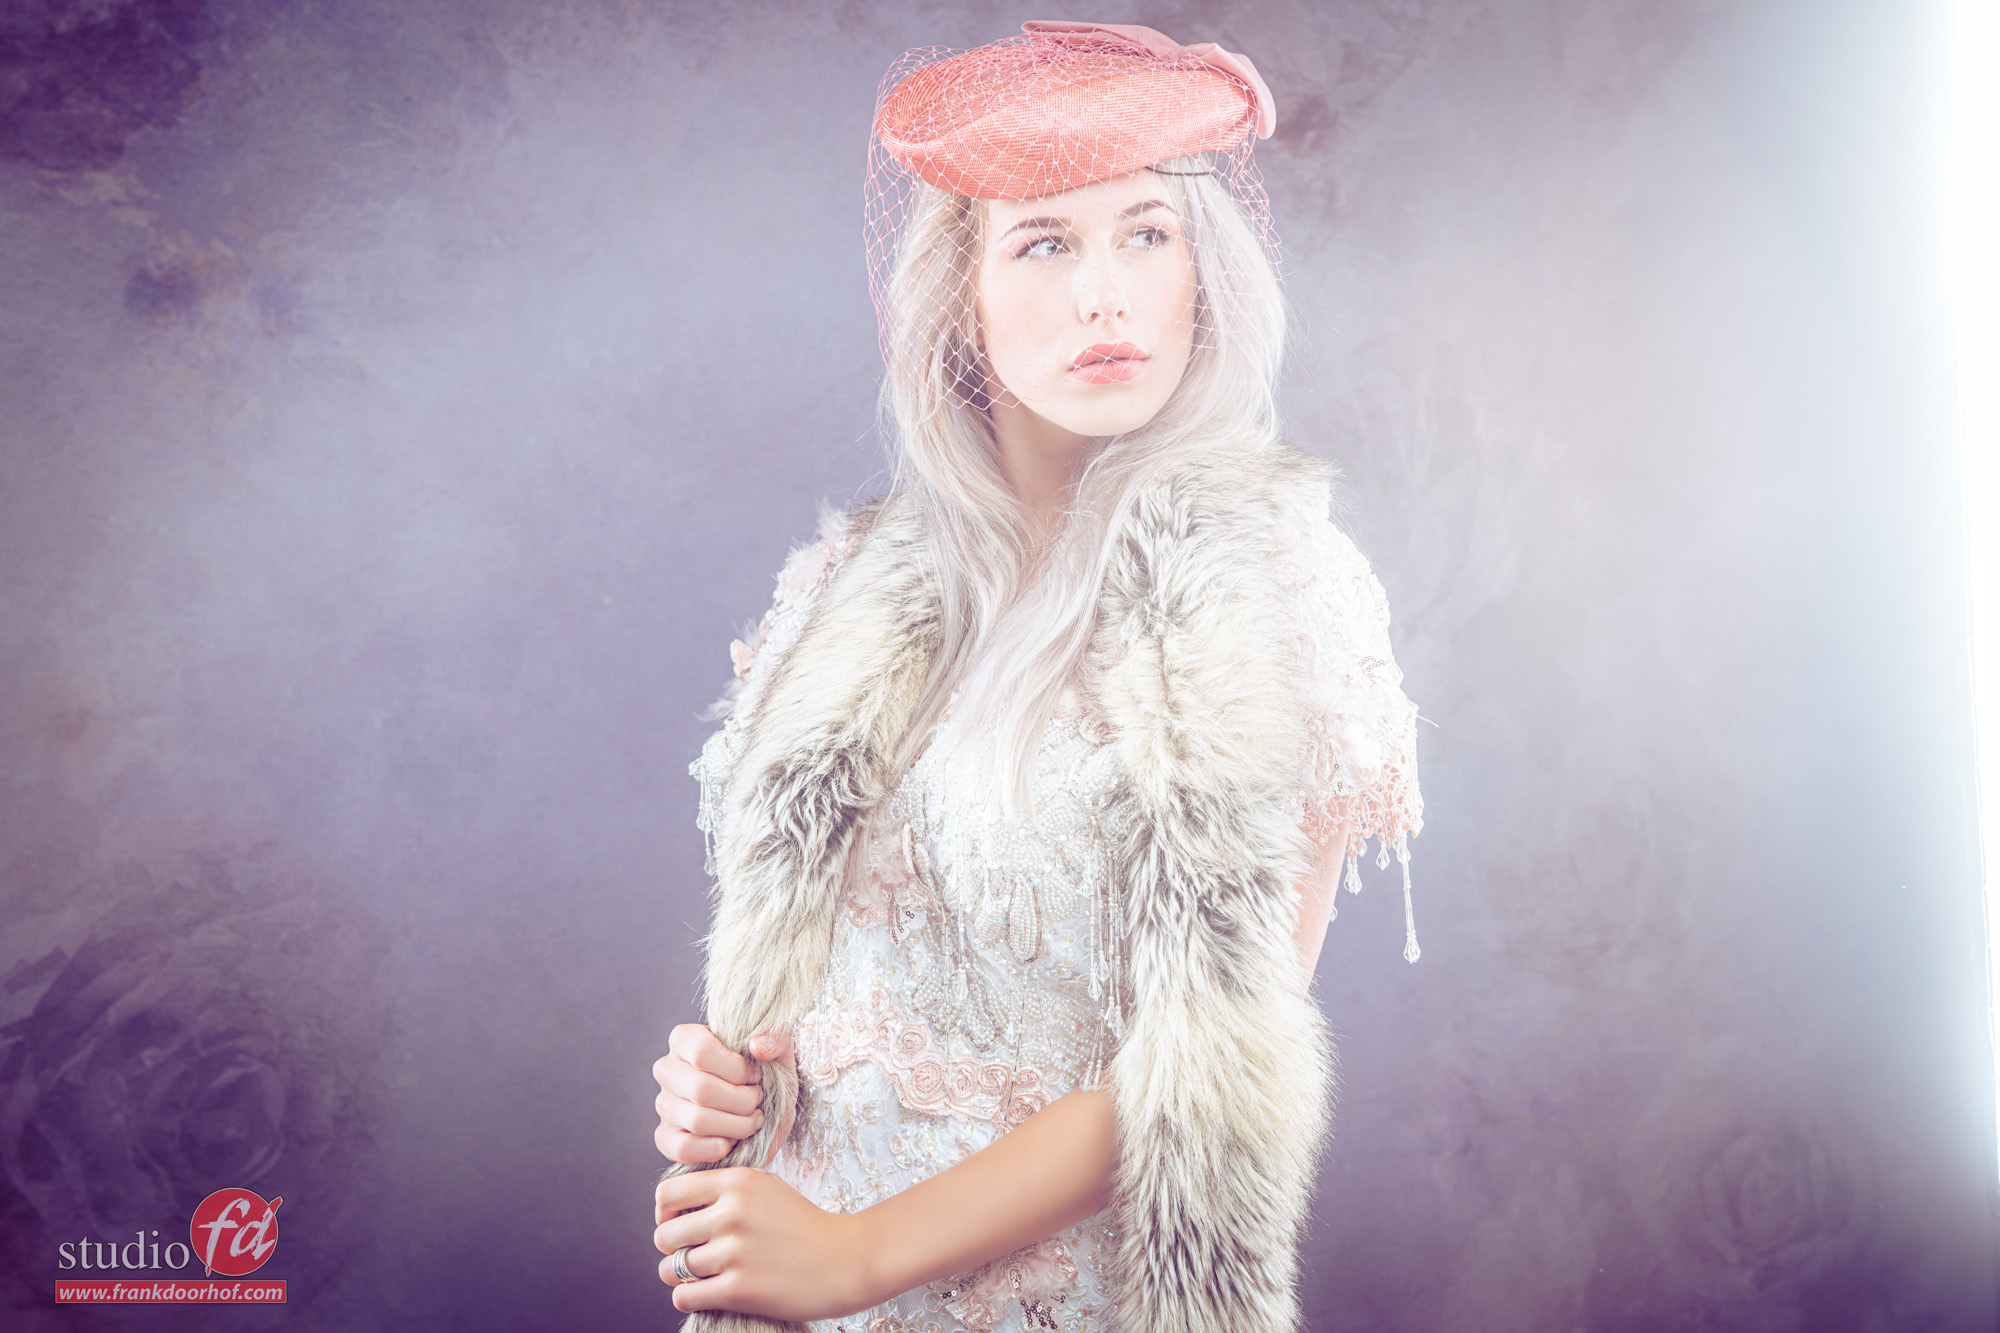
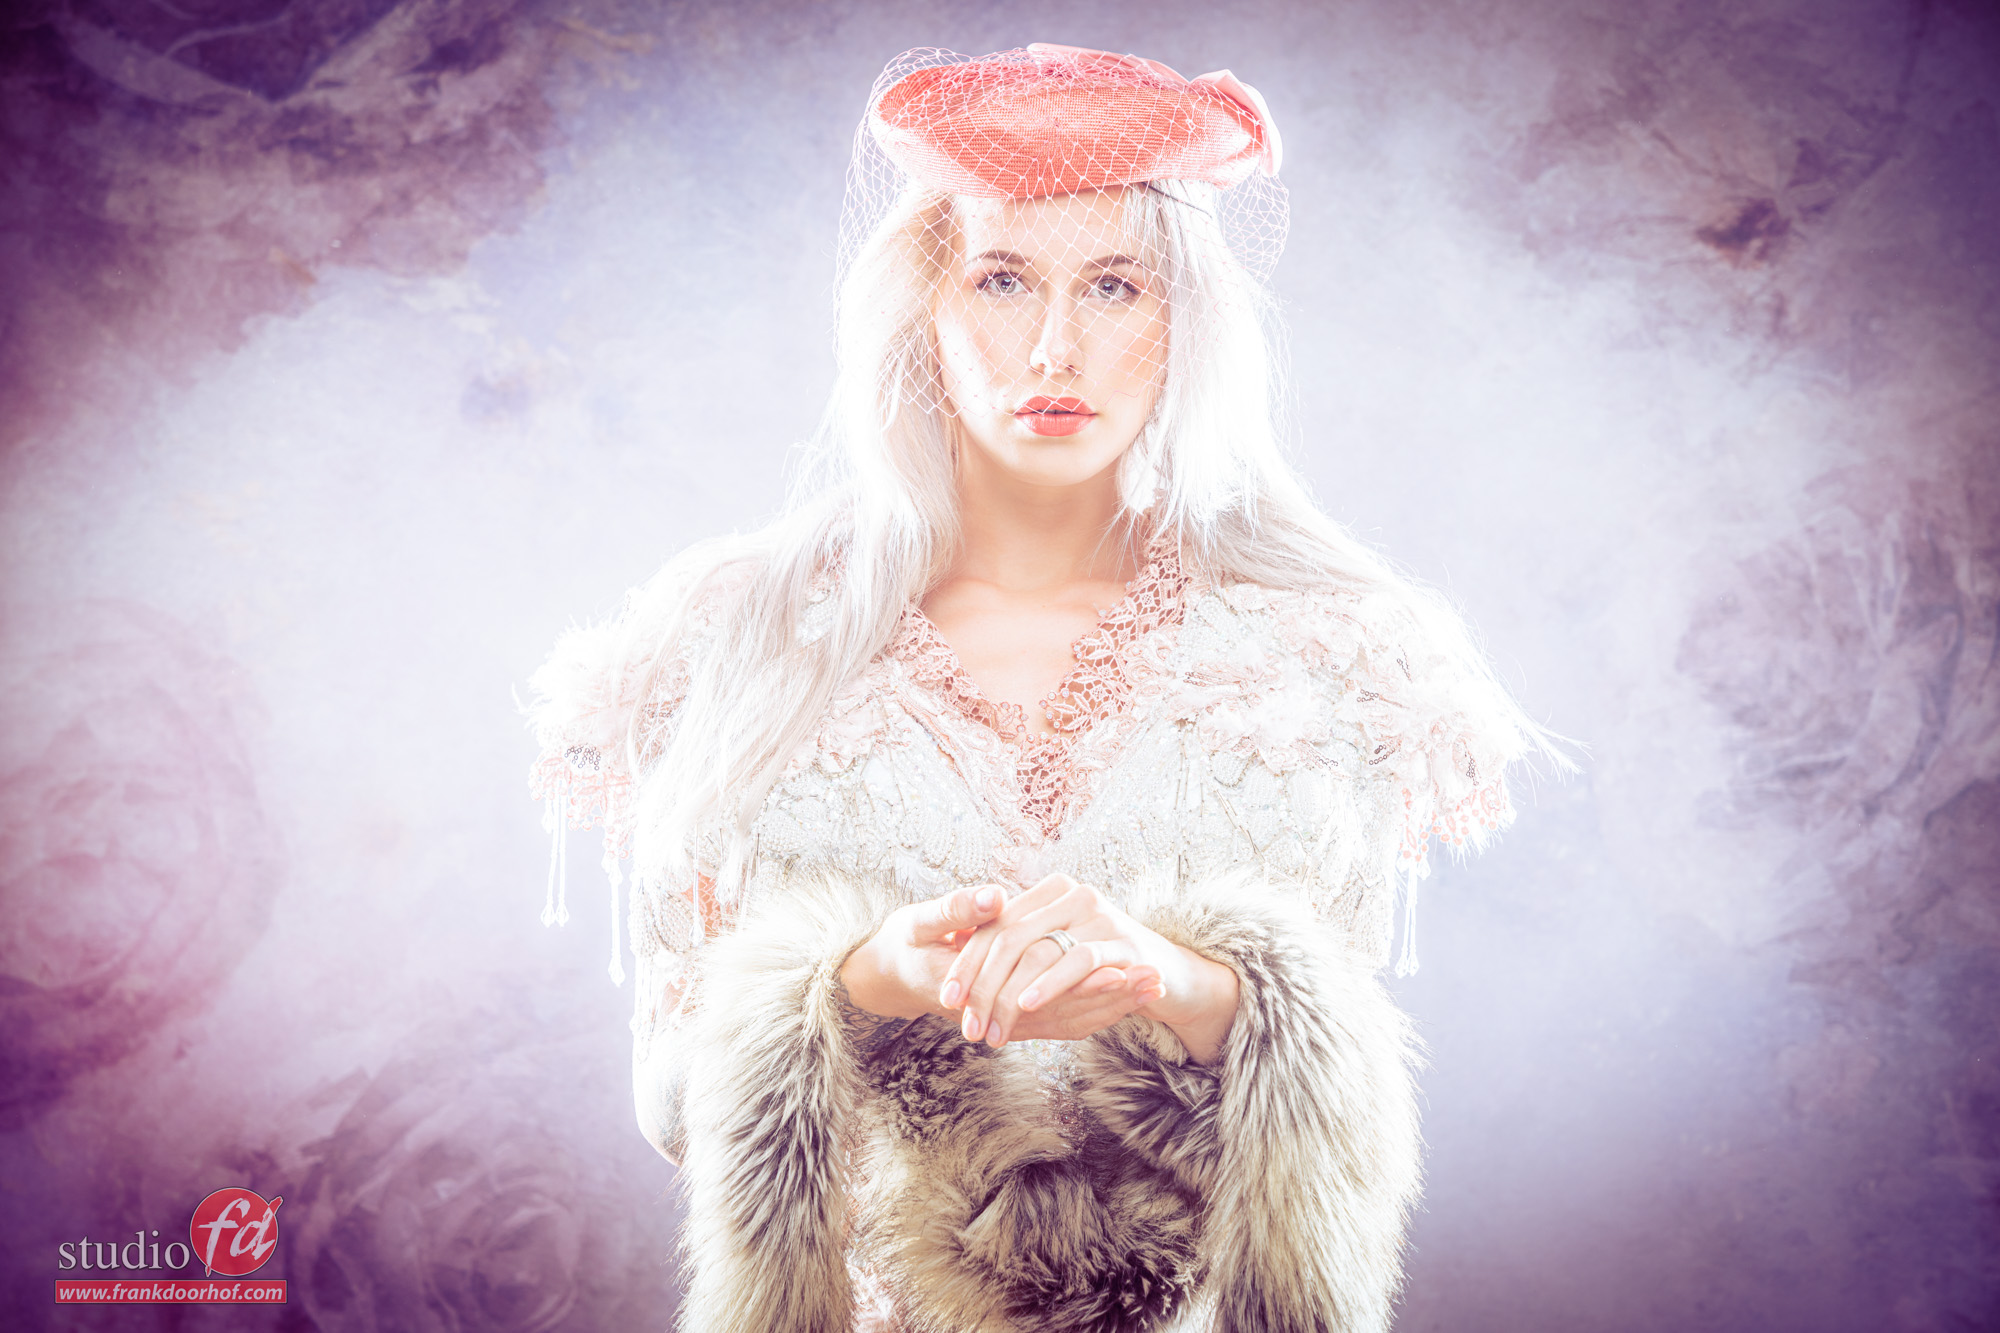
Ok now lets start to add a bit more lens flare by switching to 1/2 and playing a bit more with angles so we can also get the left strobe in better, due to the added strength both will now be easier to capture.

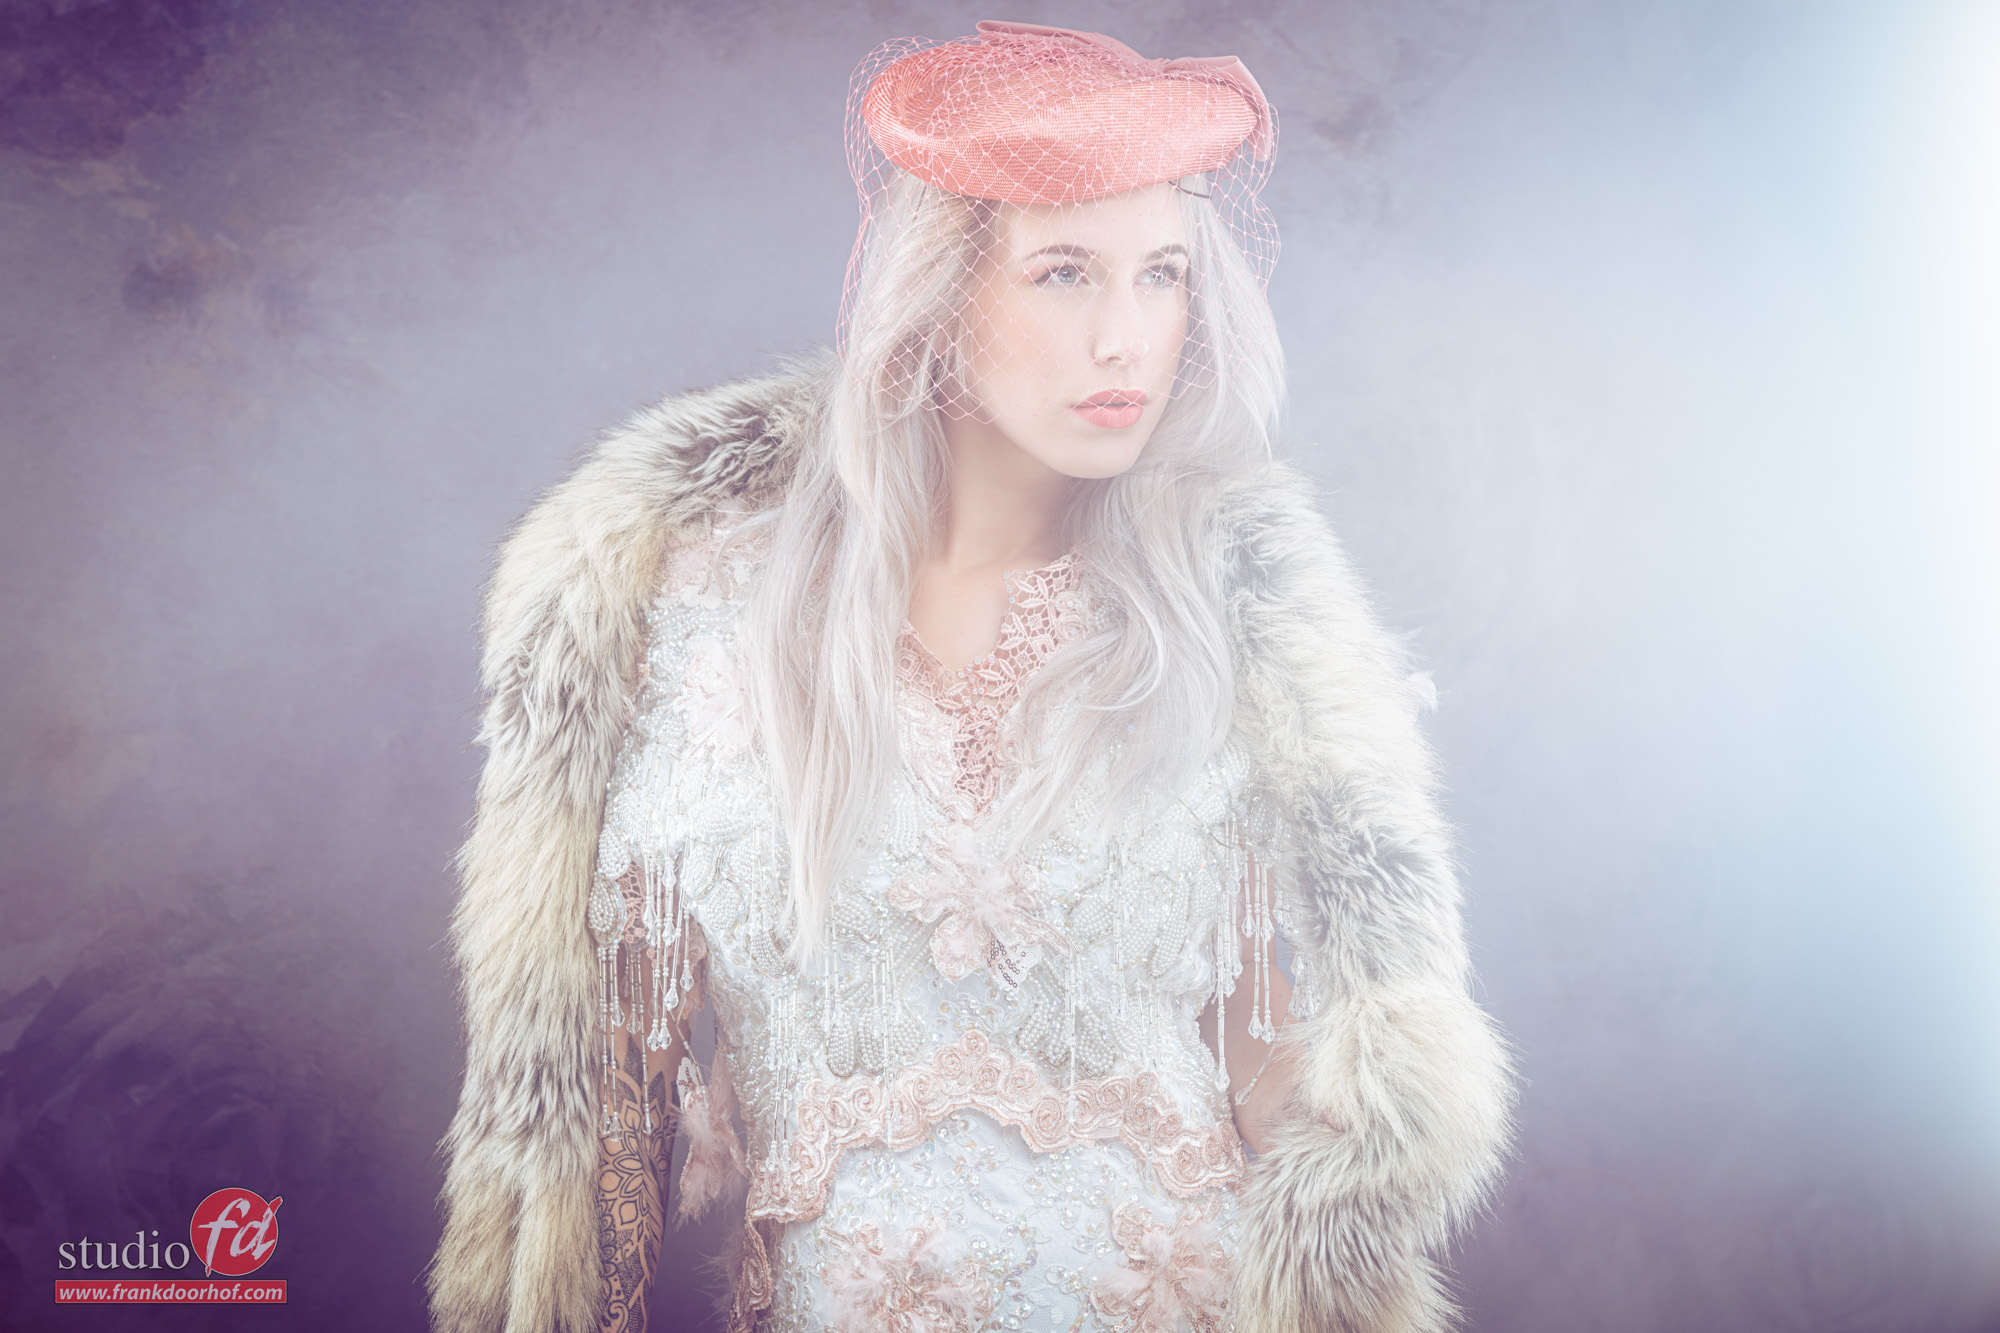
And the final result with an added vignette.

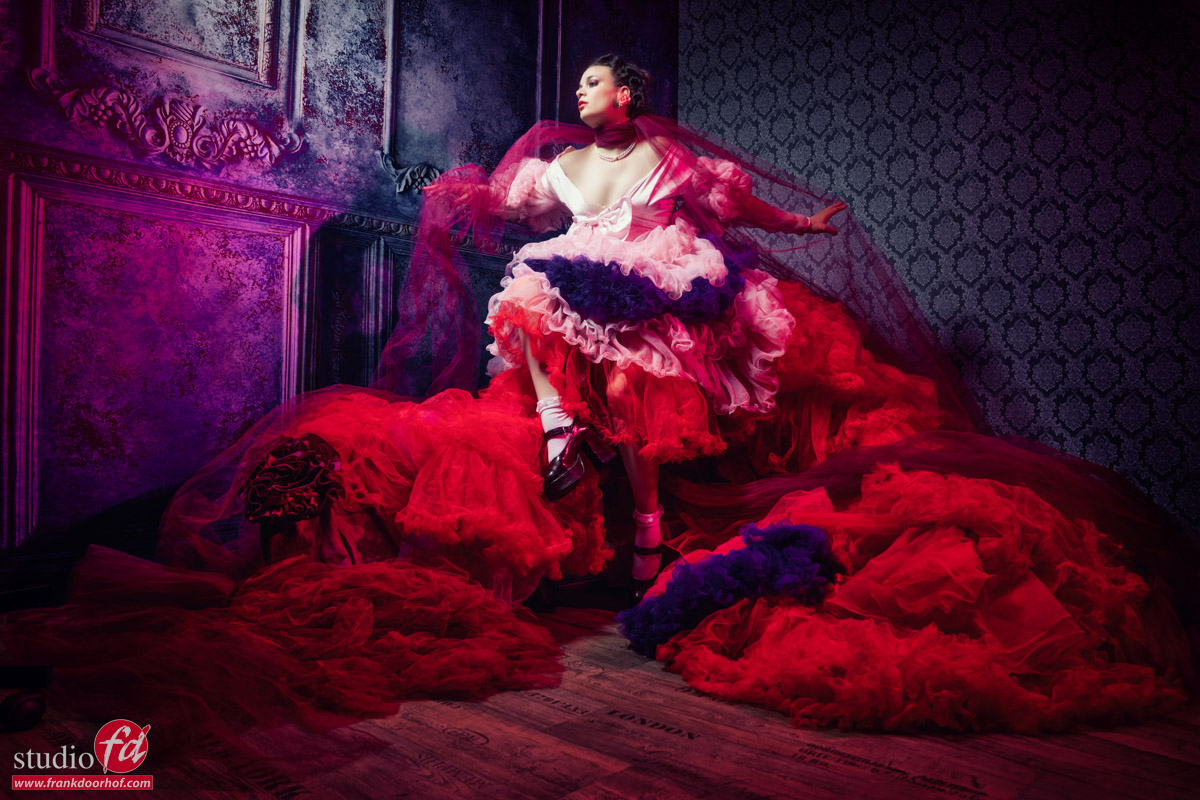
And finally it was time for the set.
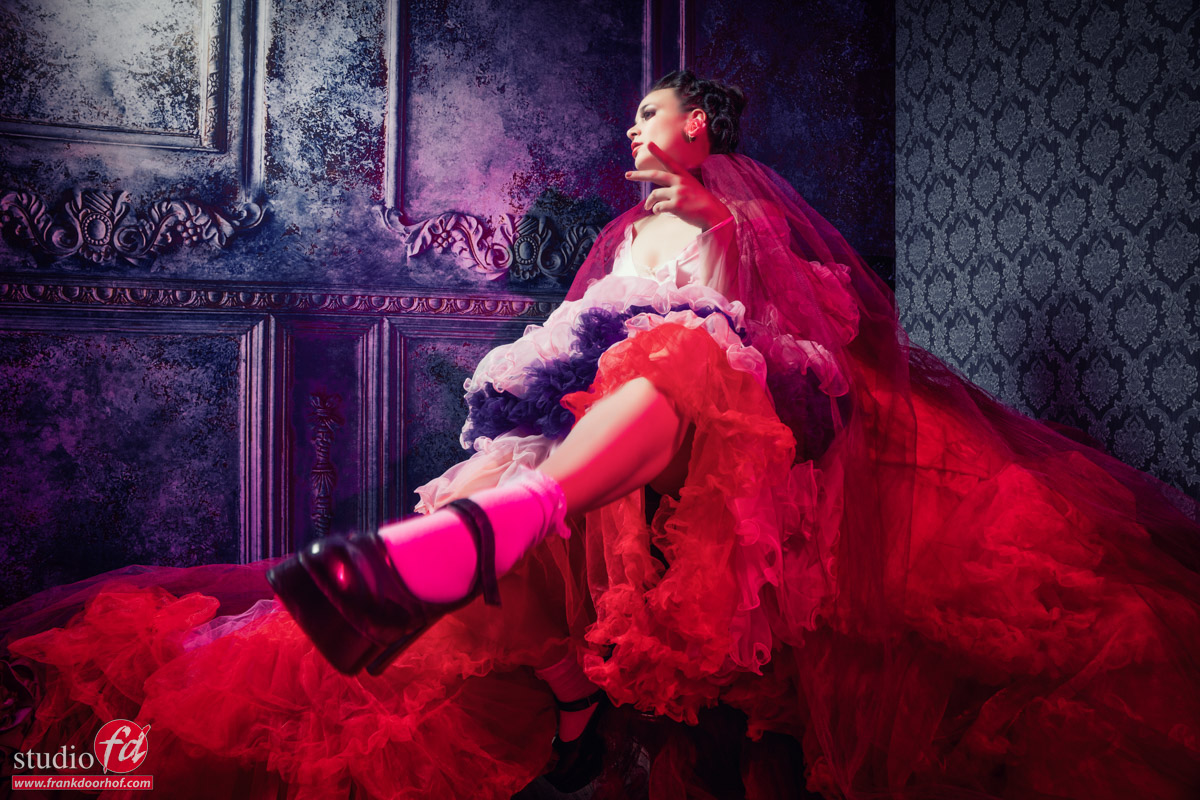
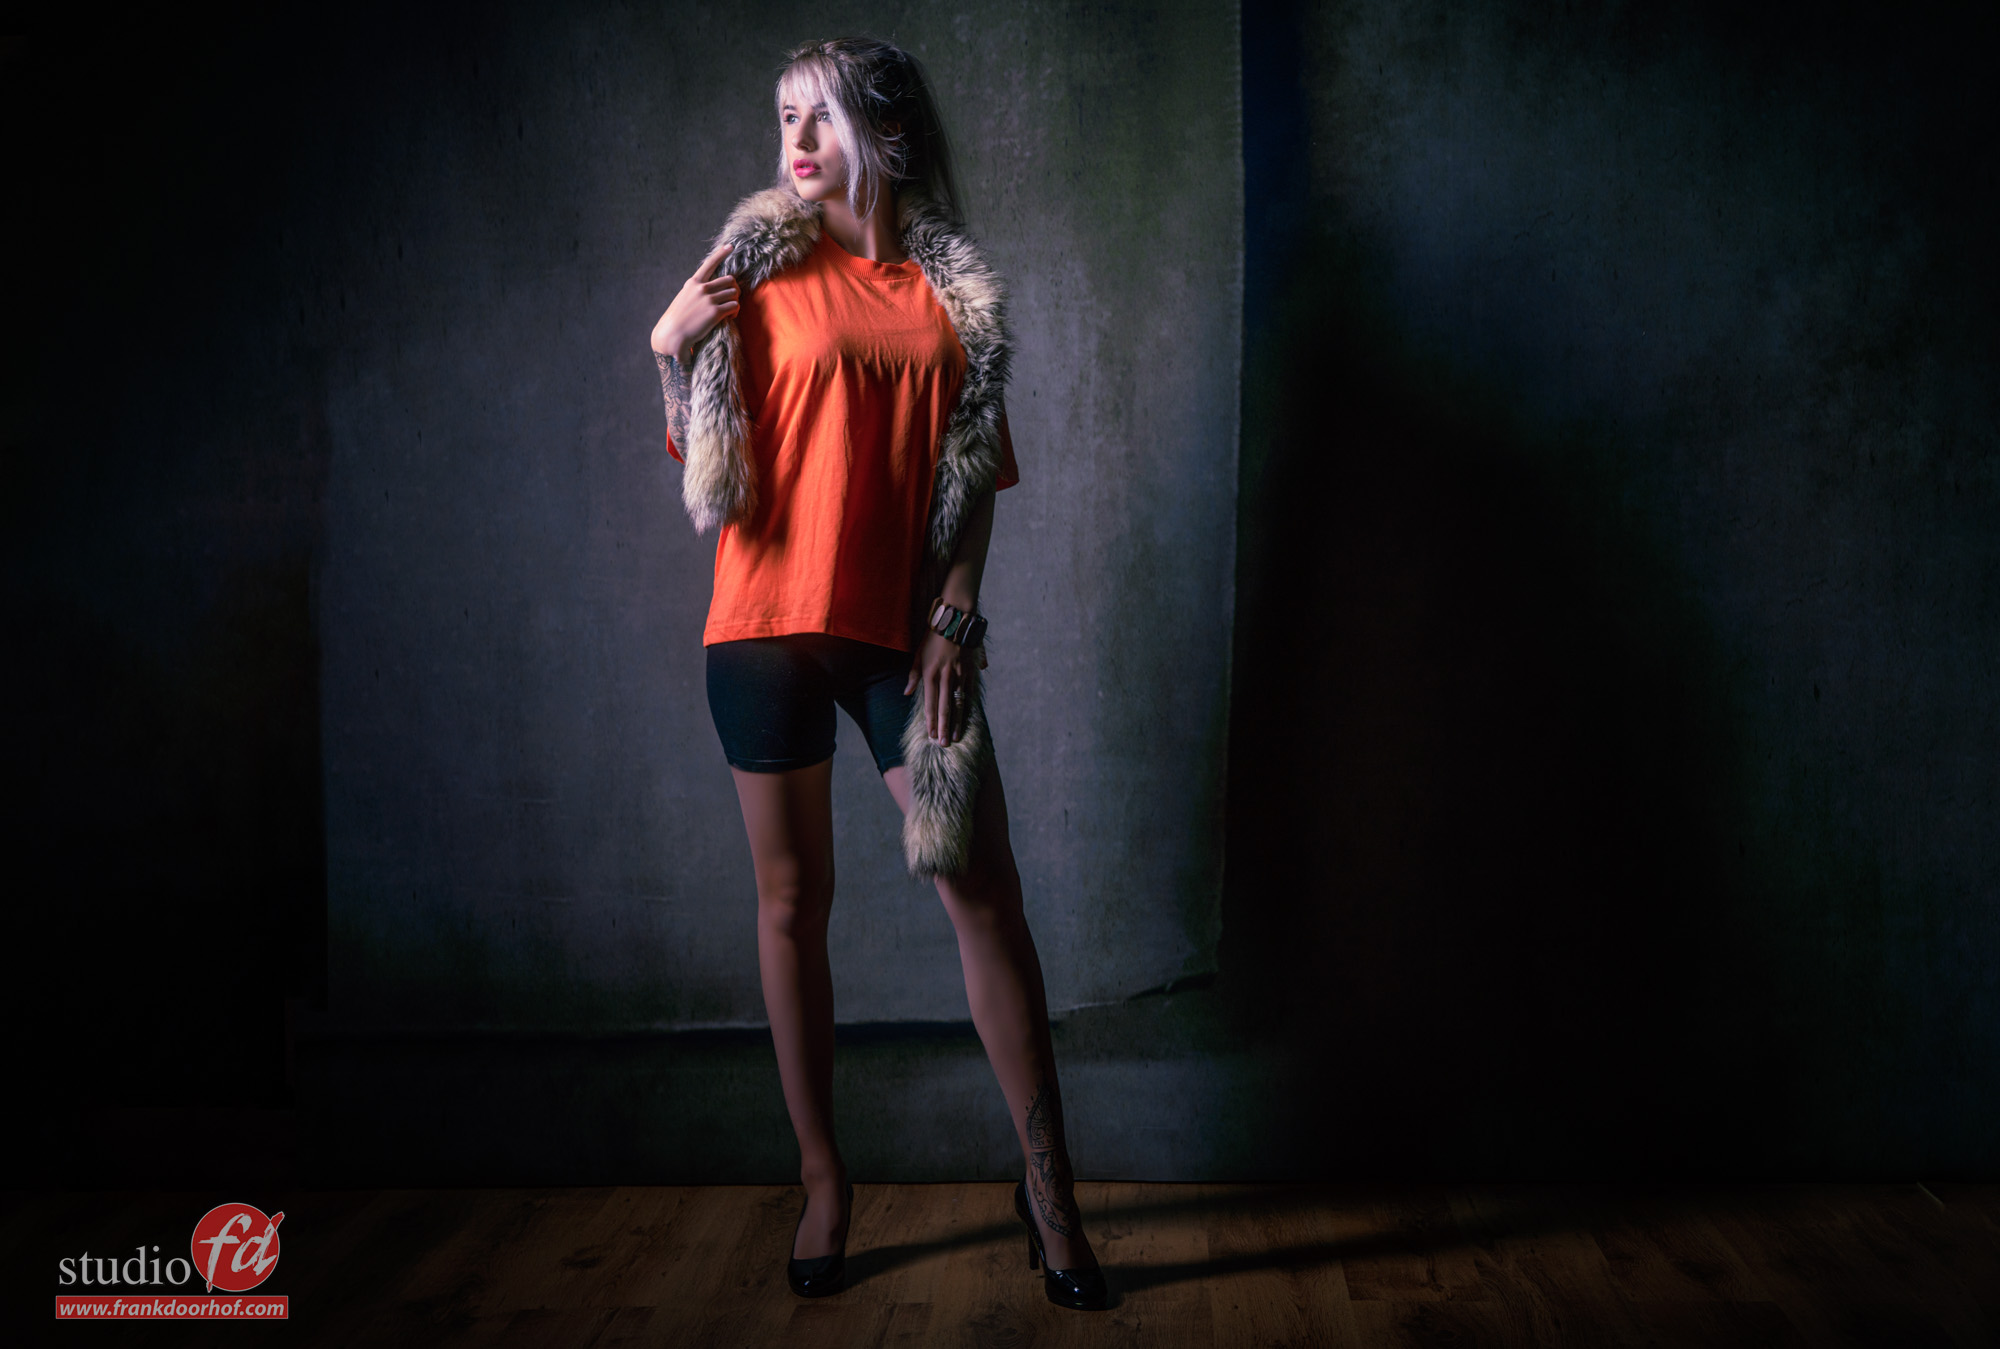
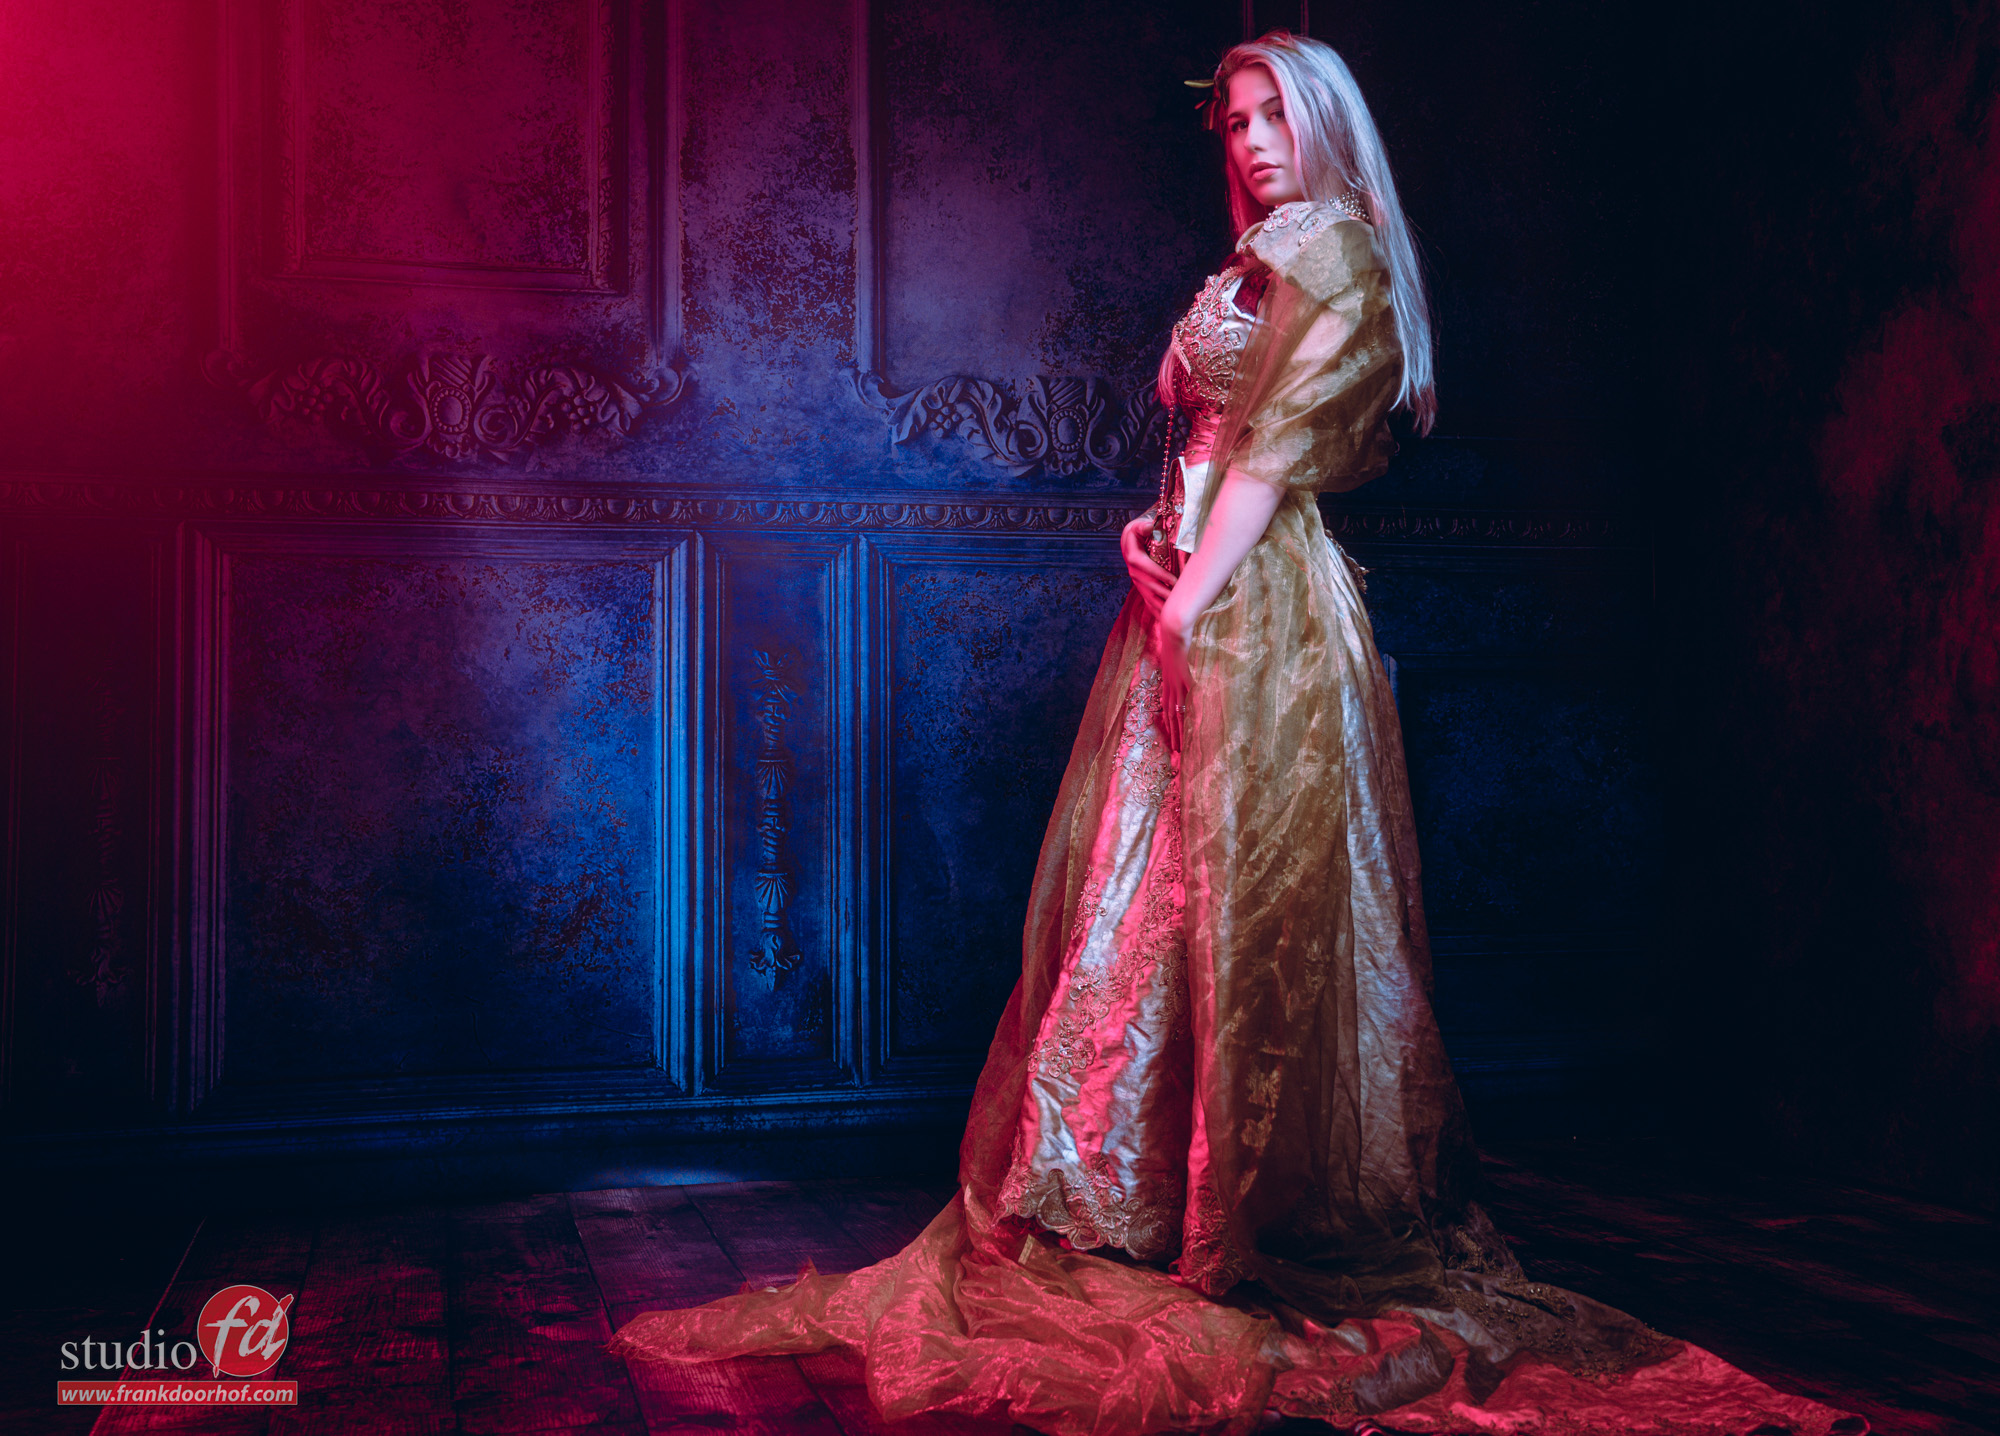
This is a really fantastic part of the studio to get creative. I use the Antique wall navy as “main background” and on the top to create a corner a ProFabric Chintz reclaimed, I chose this because it is quite dark and I can easily use it as a very dark background in the photo but still show some detail due to the print so that the photo / set looks a bit more “organic”. But the material also responds very well to color gels and can even be illuminated from behind, so it gives me a huge amount of possibilities. On the ground I use a floor part from ClickPropsbackdrops. A big advantage of loose floorboards is that you can change freely and thus build up a much larger variety than just the floor that is present in the studio.

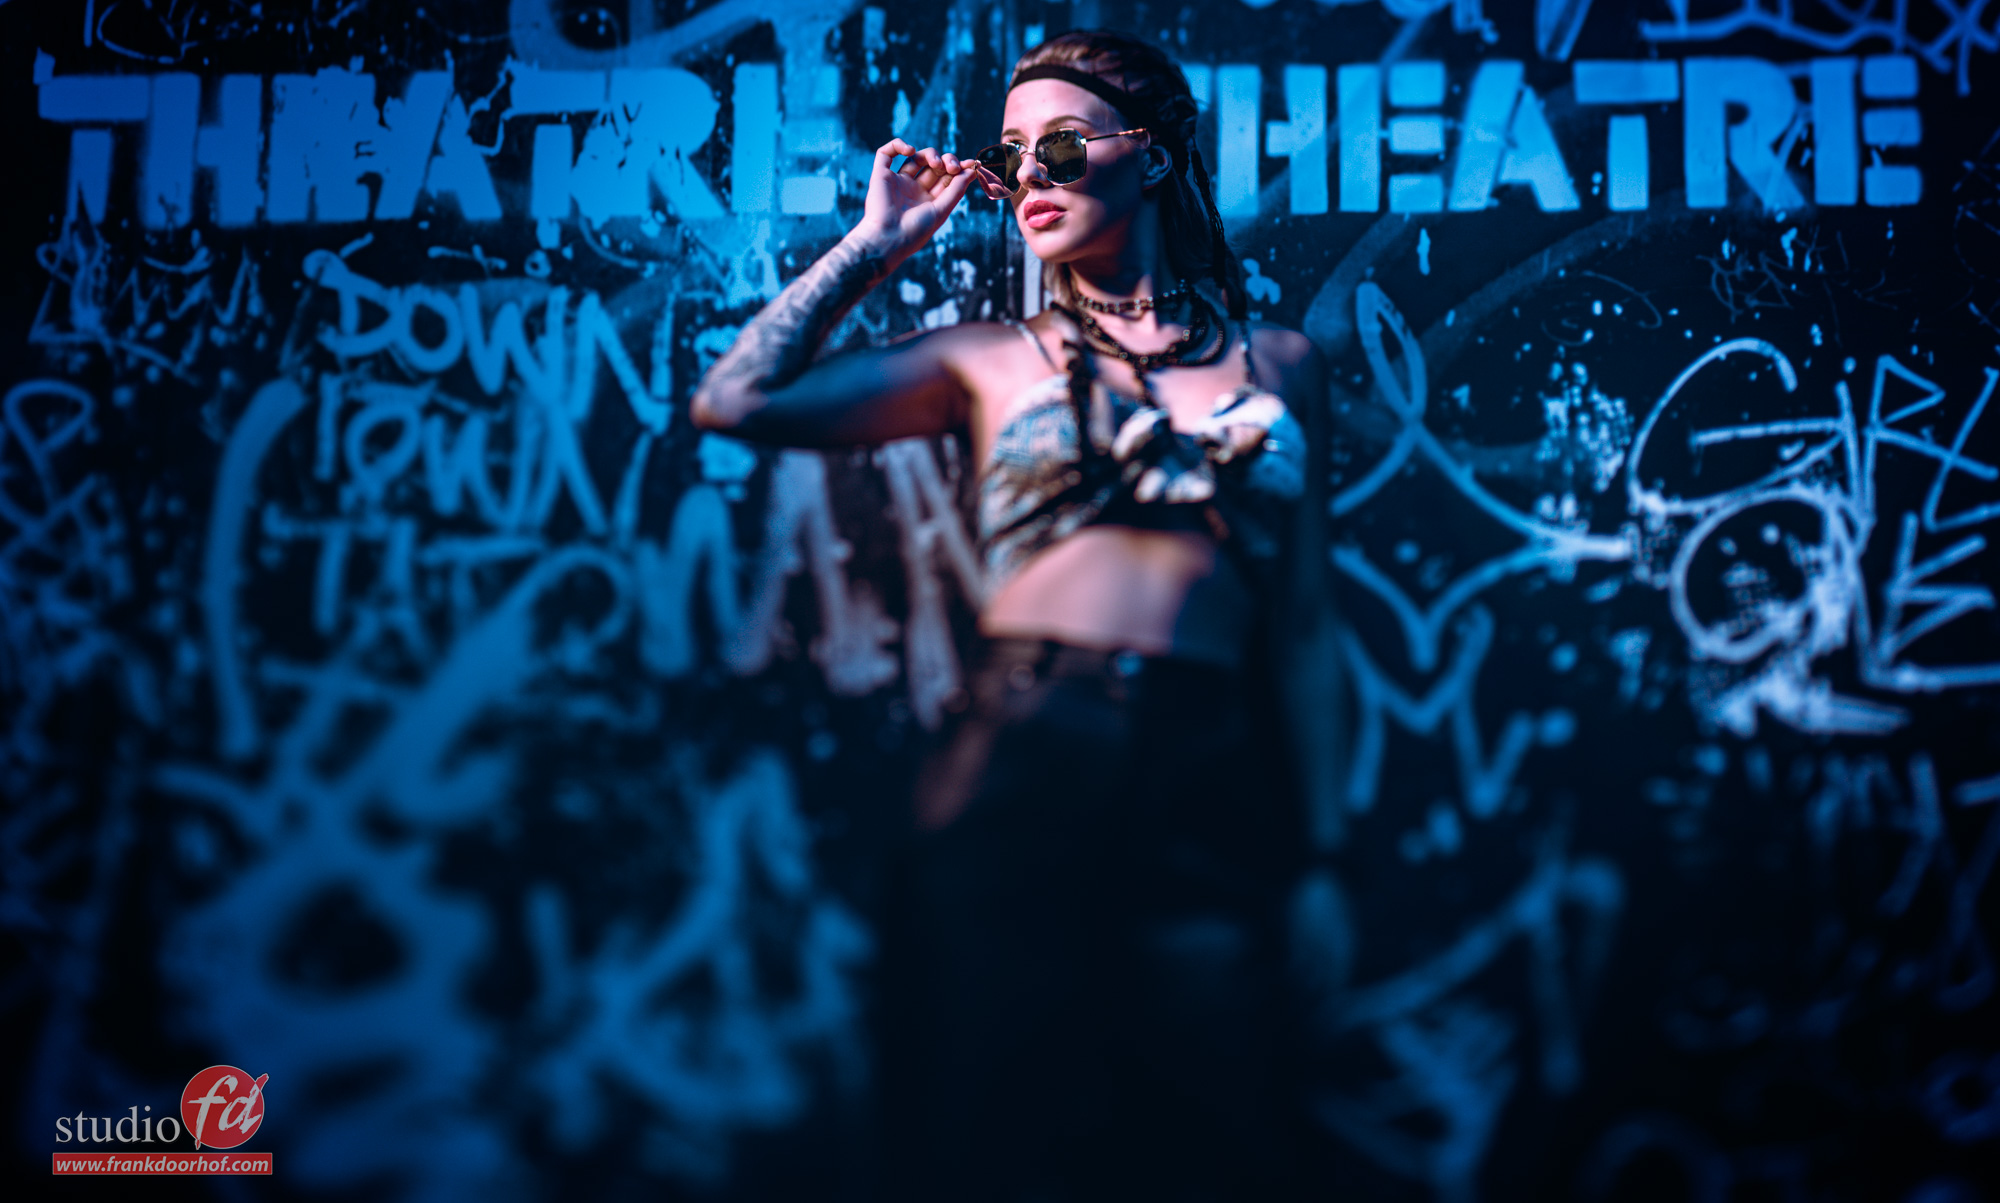
Besides the main light I’m using a red gel here, because the light is pretty far from the model the 1/2 strength KF concept filter really helps with the lens flare. When the lights are close to the model the 1/4 is a great allrounder but when you want a bit more room in the set the 1/2 is absolutely awesome.

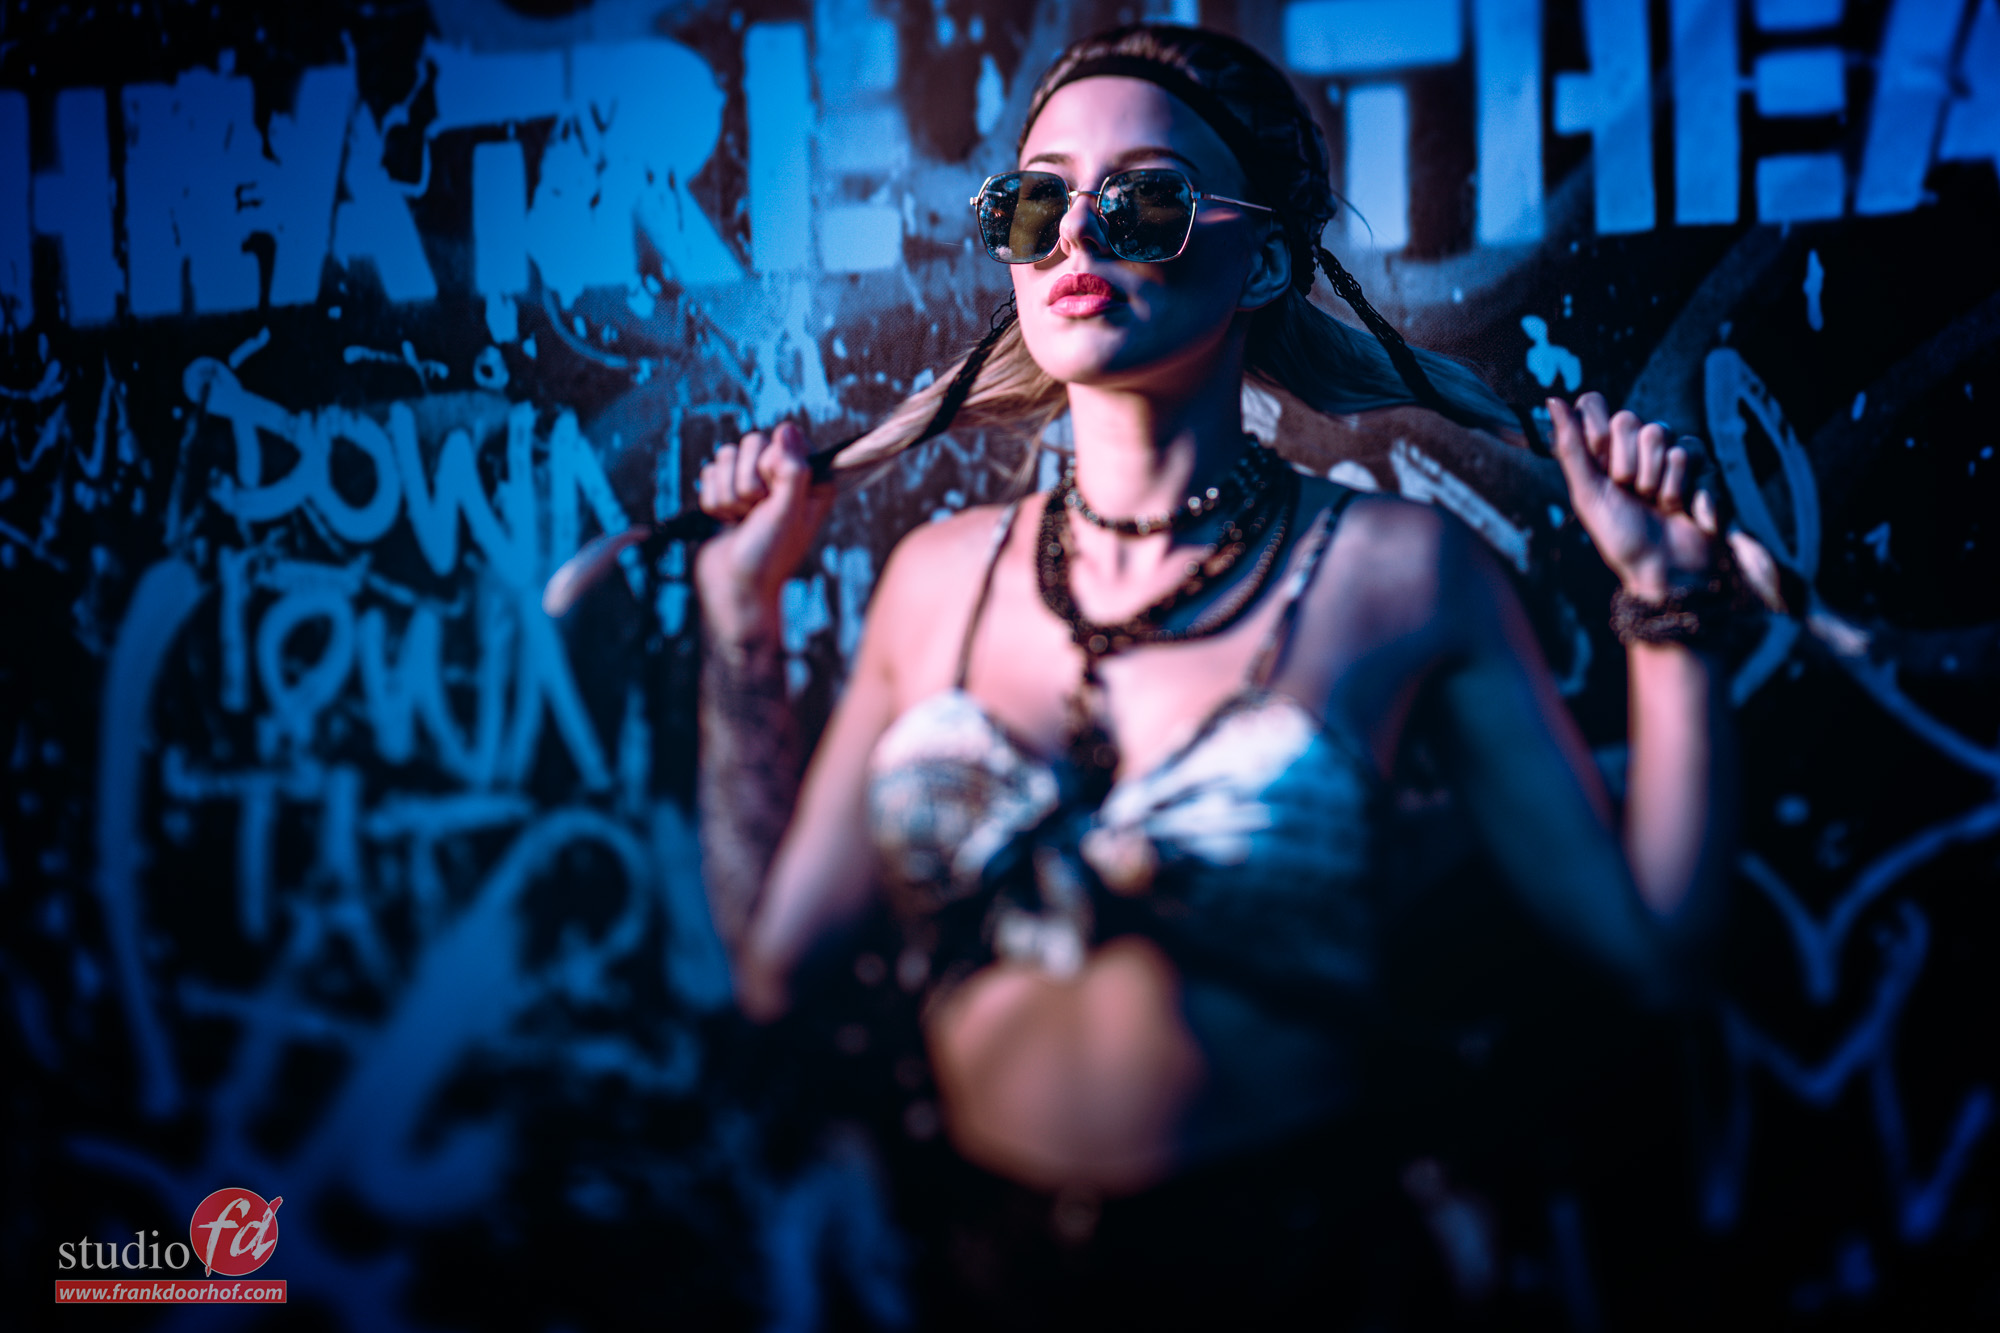
The first image is without the red gel, I already love the way the effect of a real location is created. The vinyl prints are really awesome on photos and add to the illusion of being somewhere else.

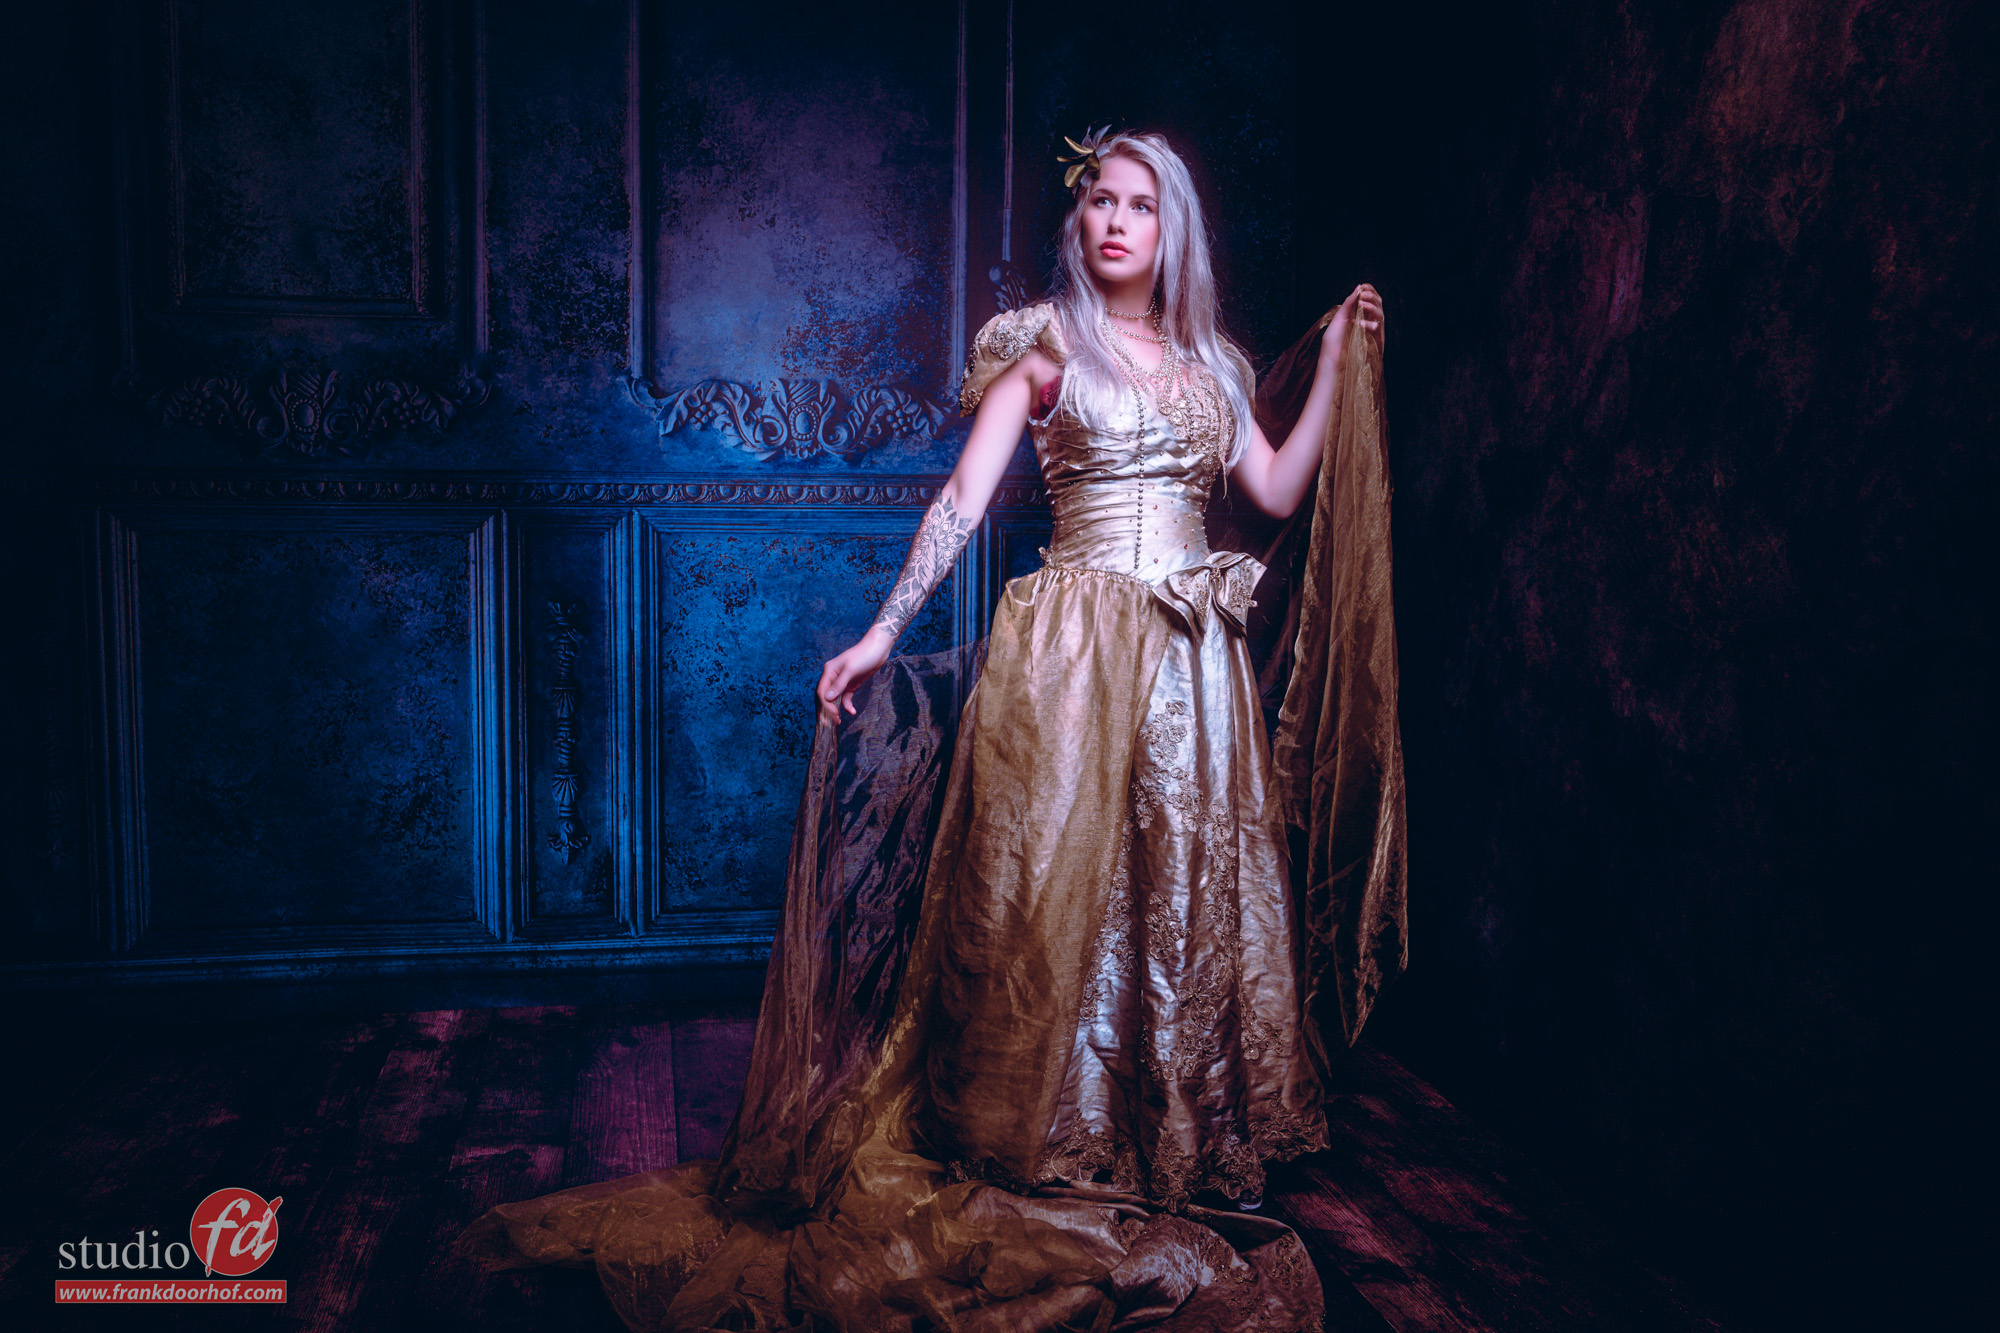
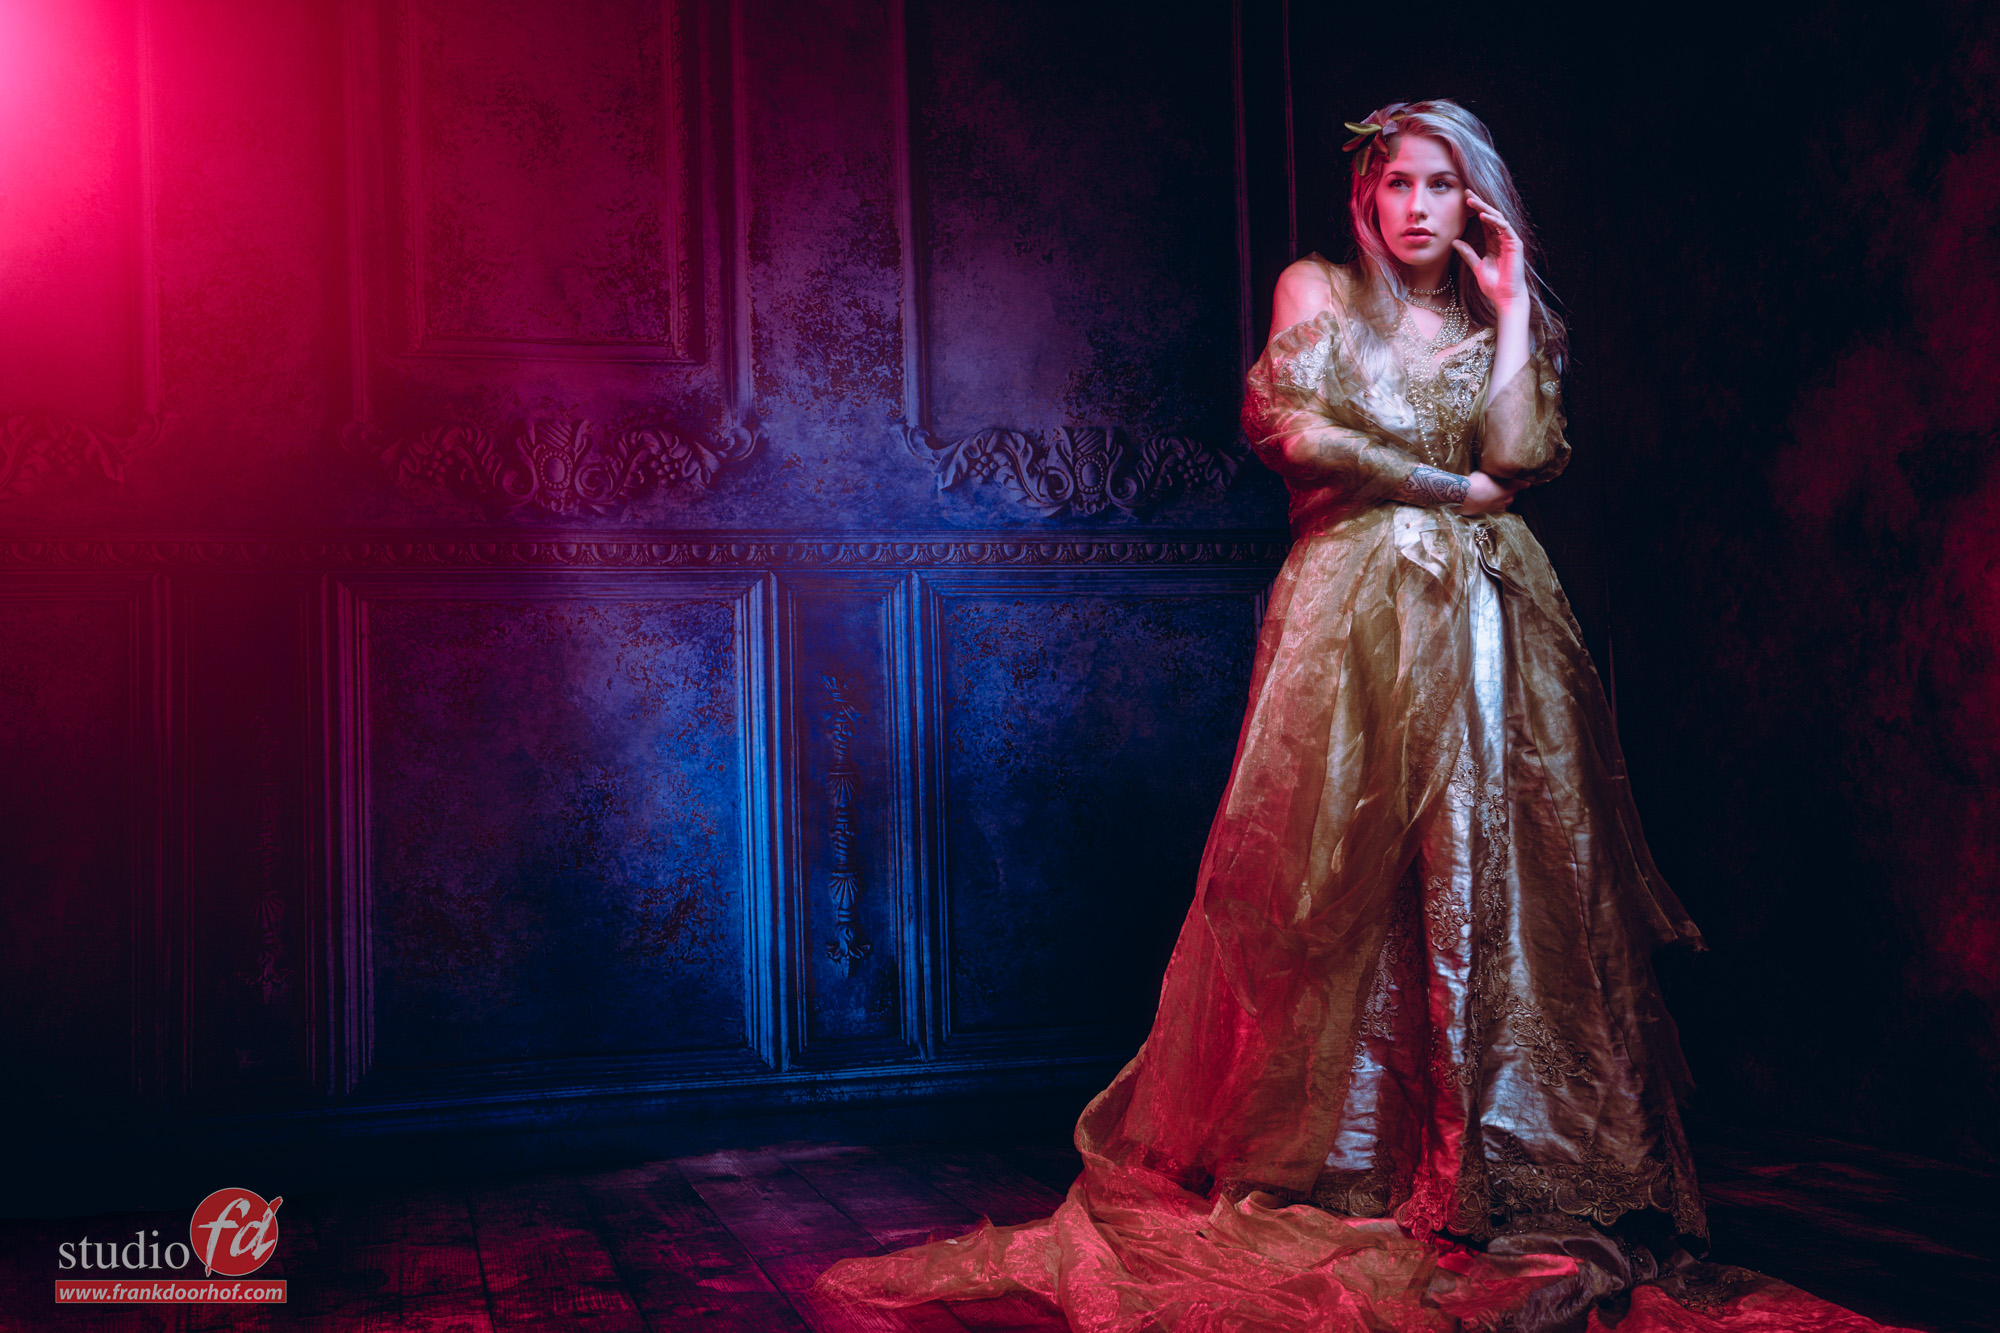
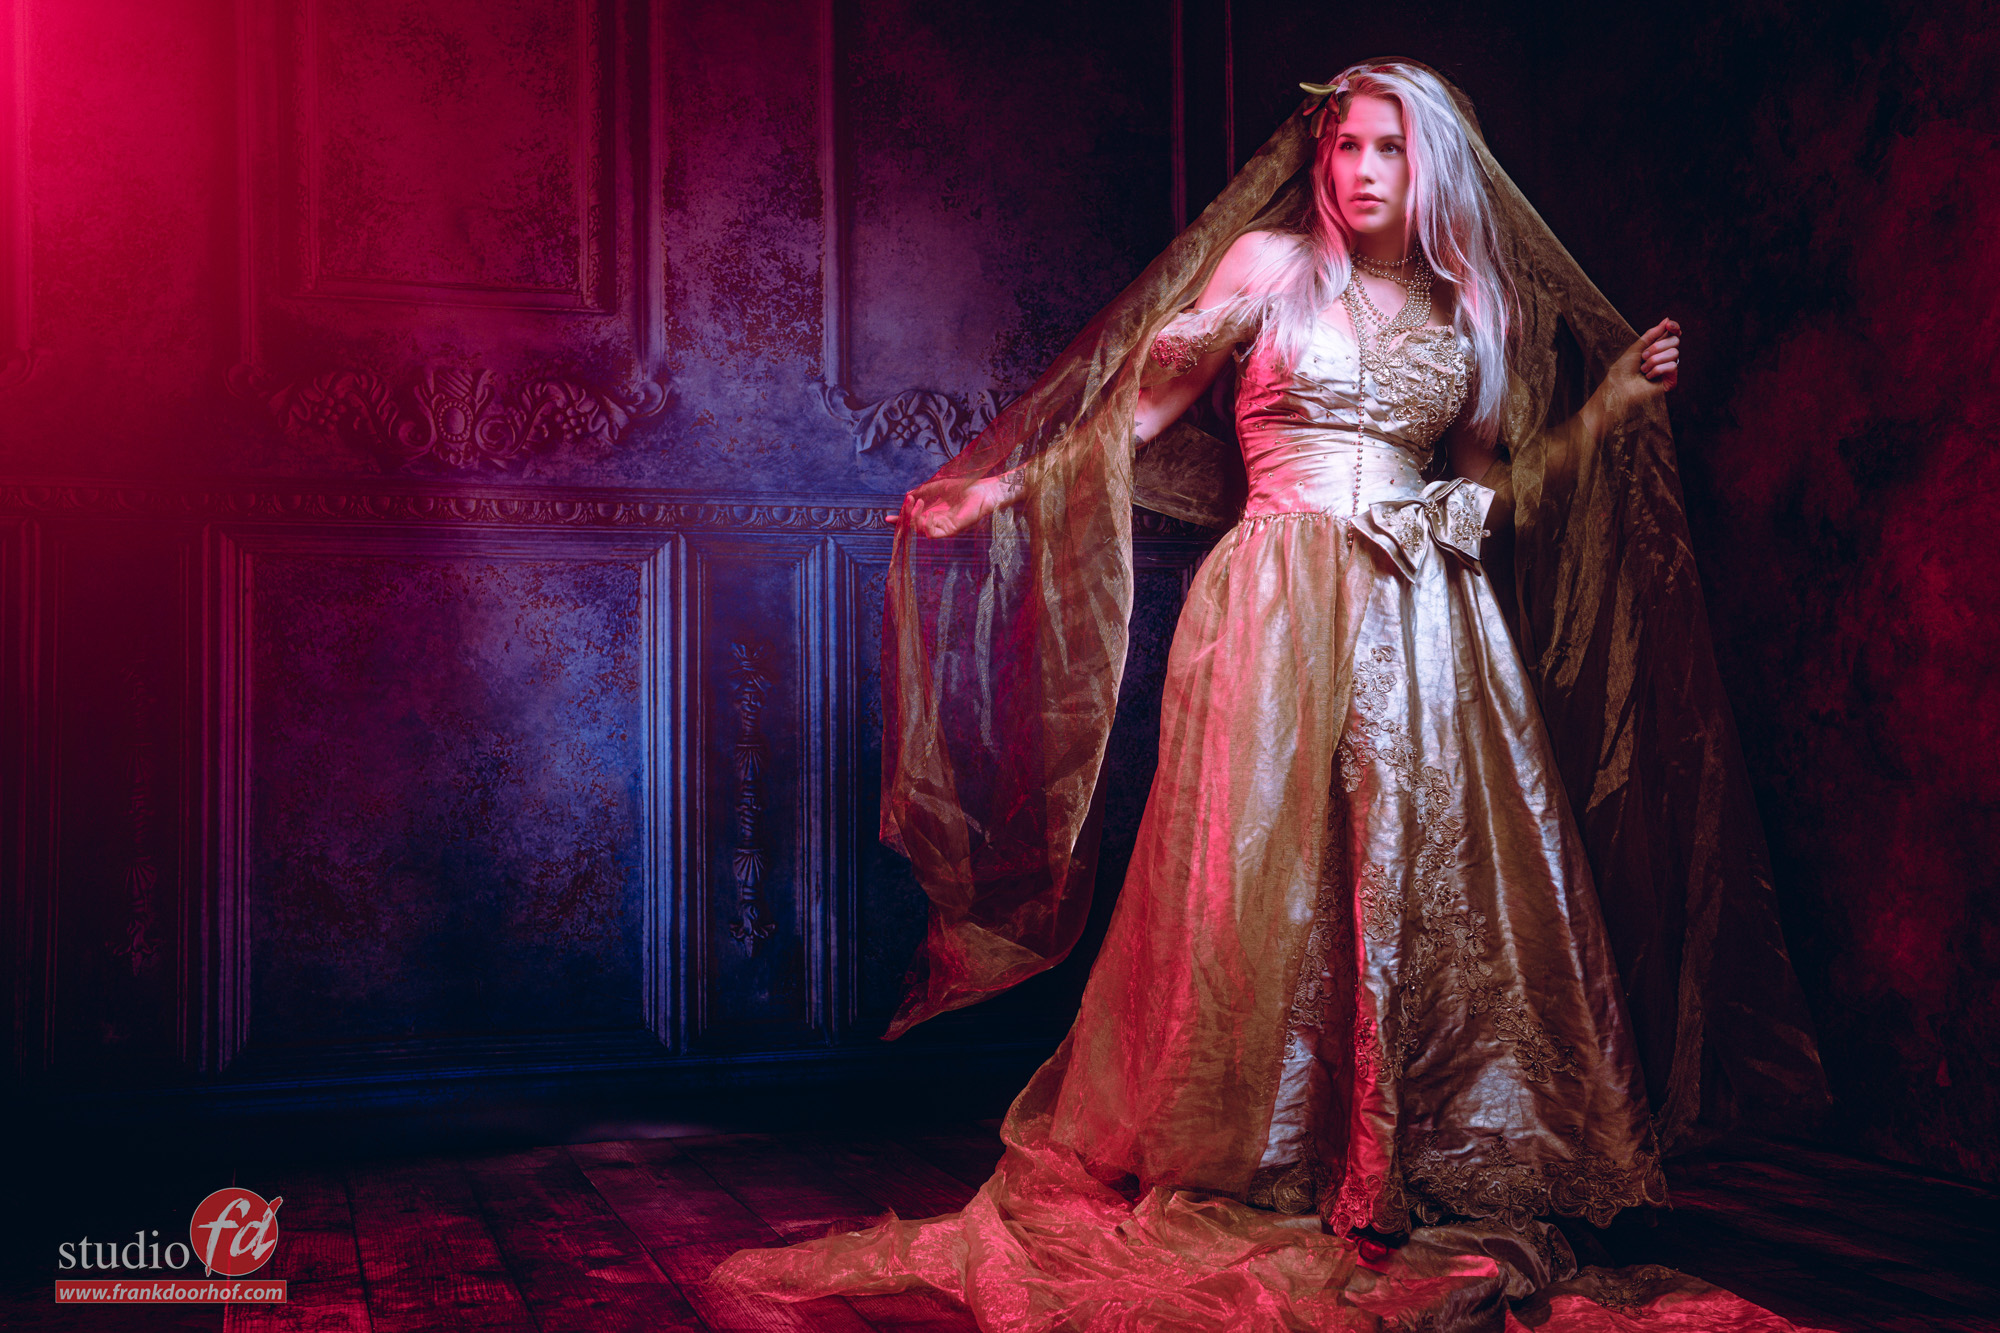
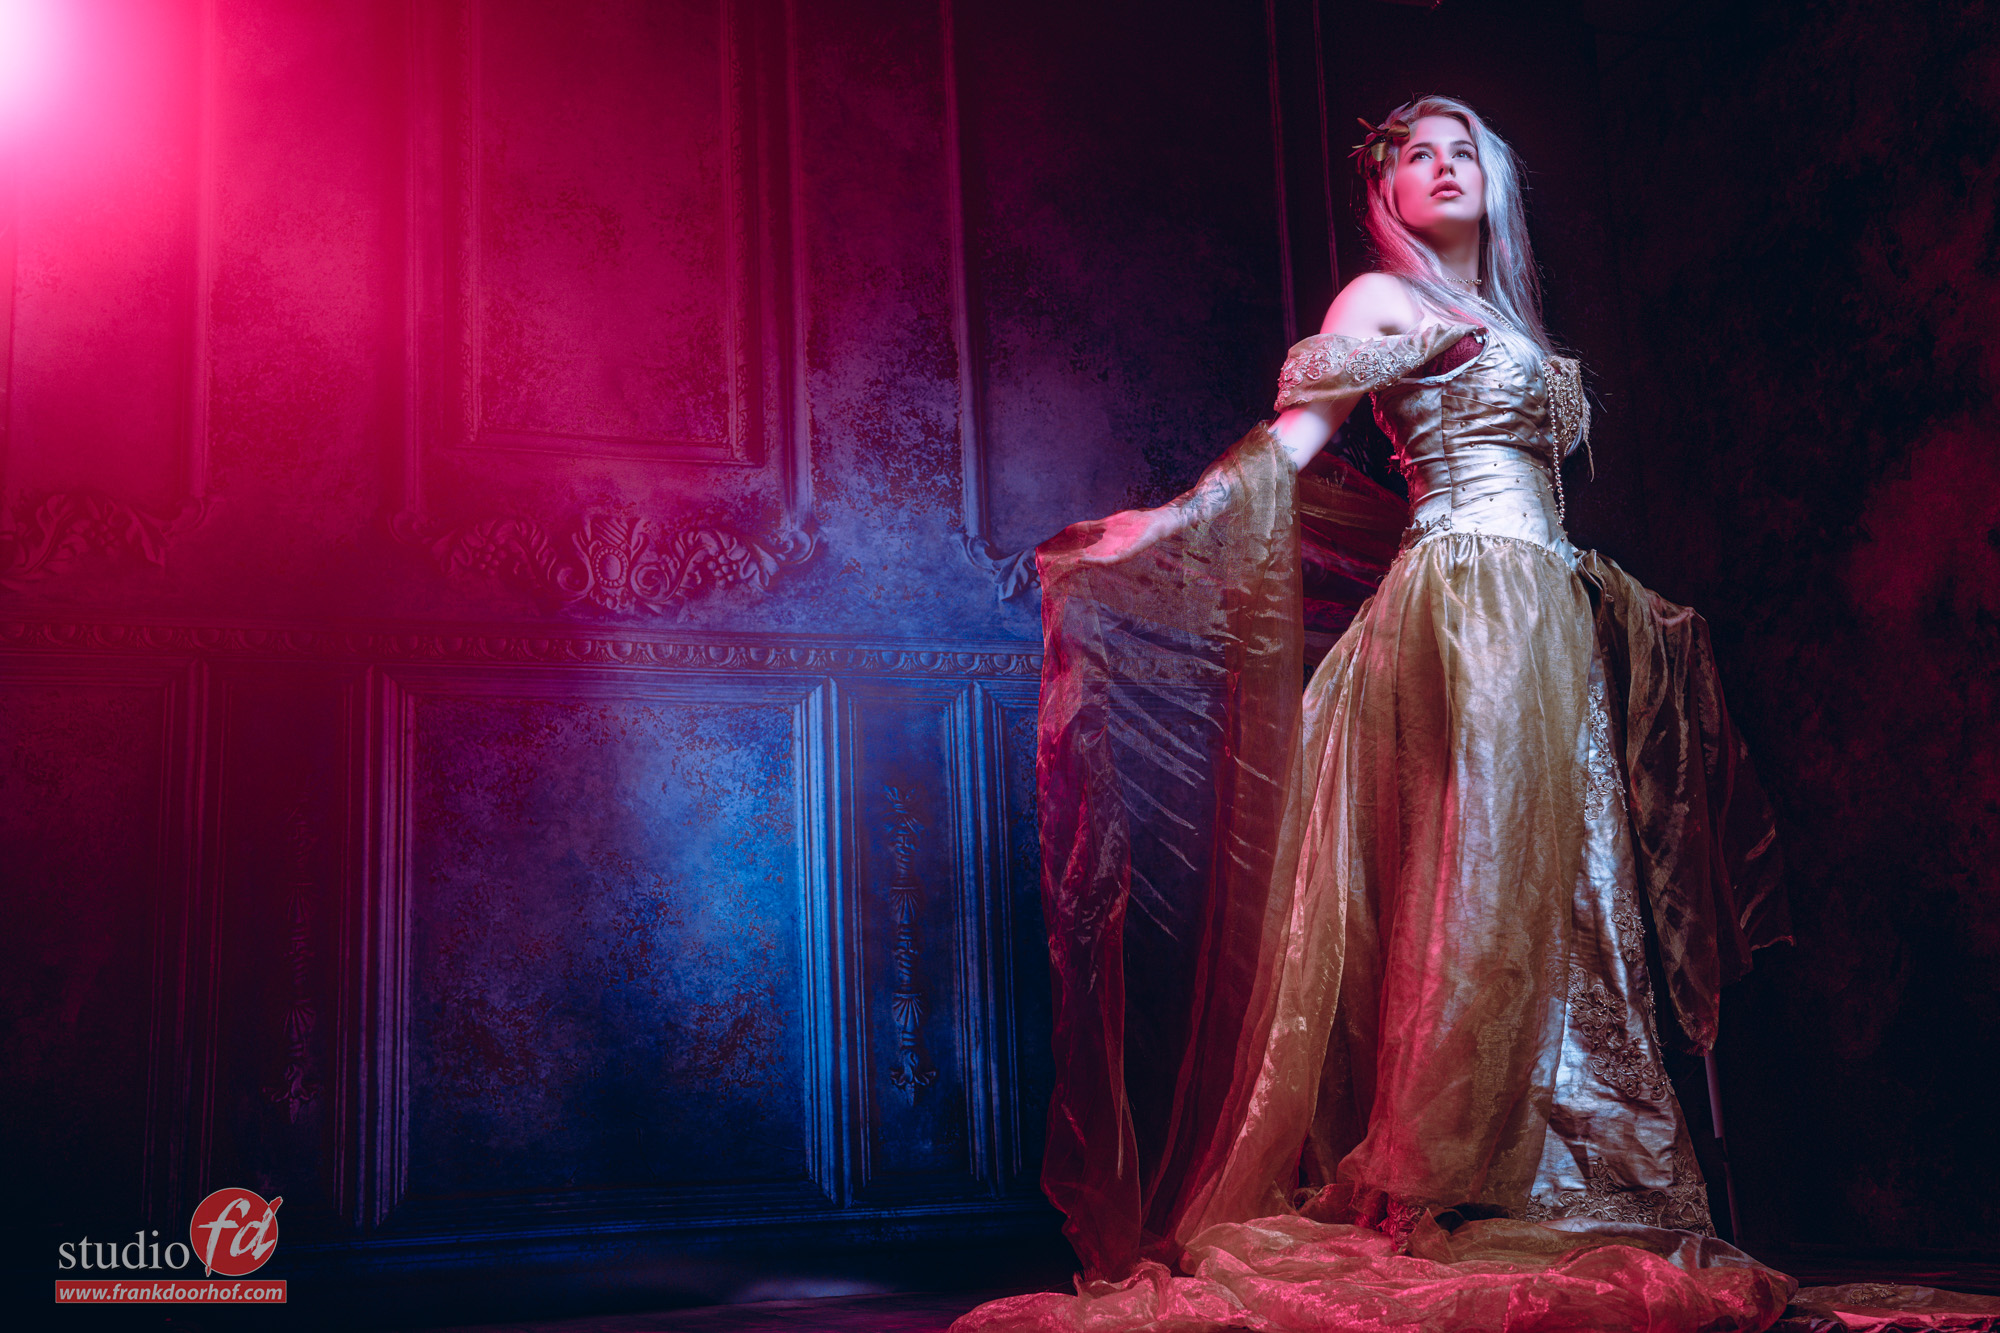
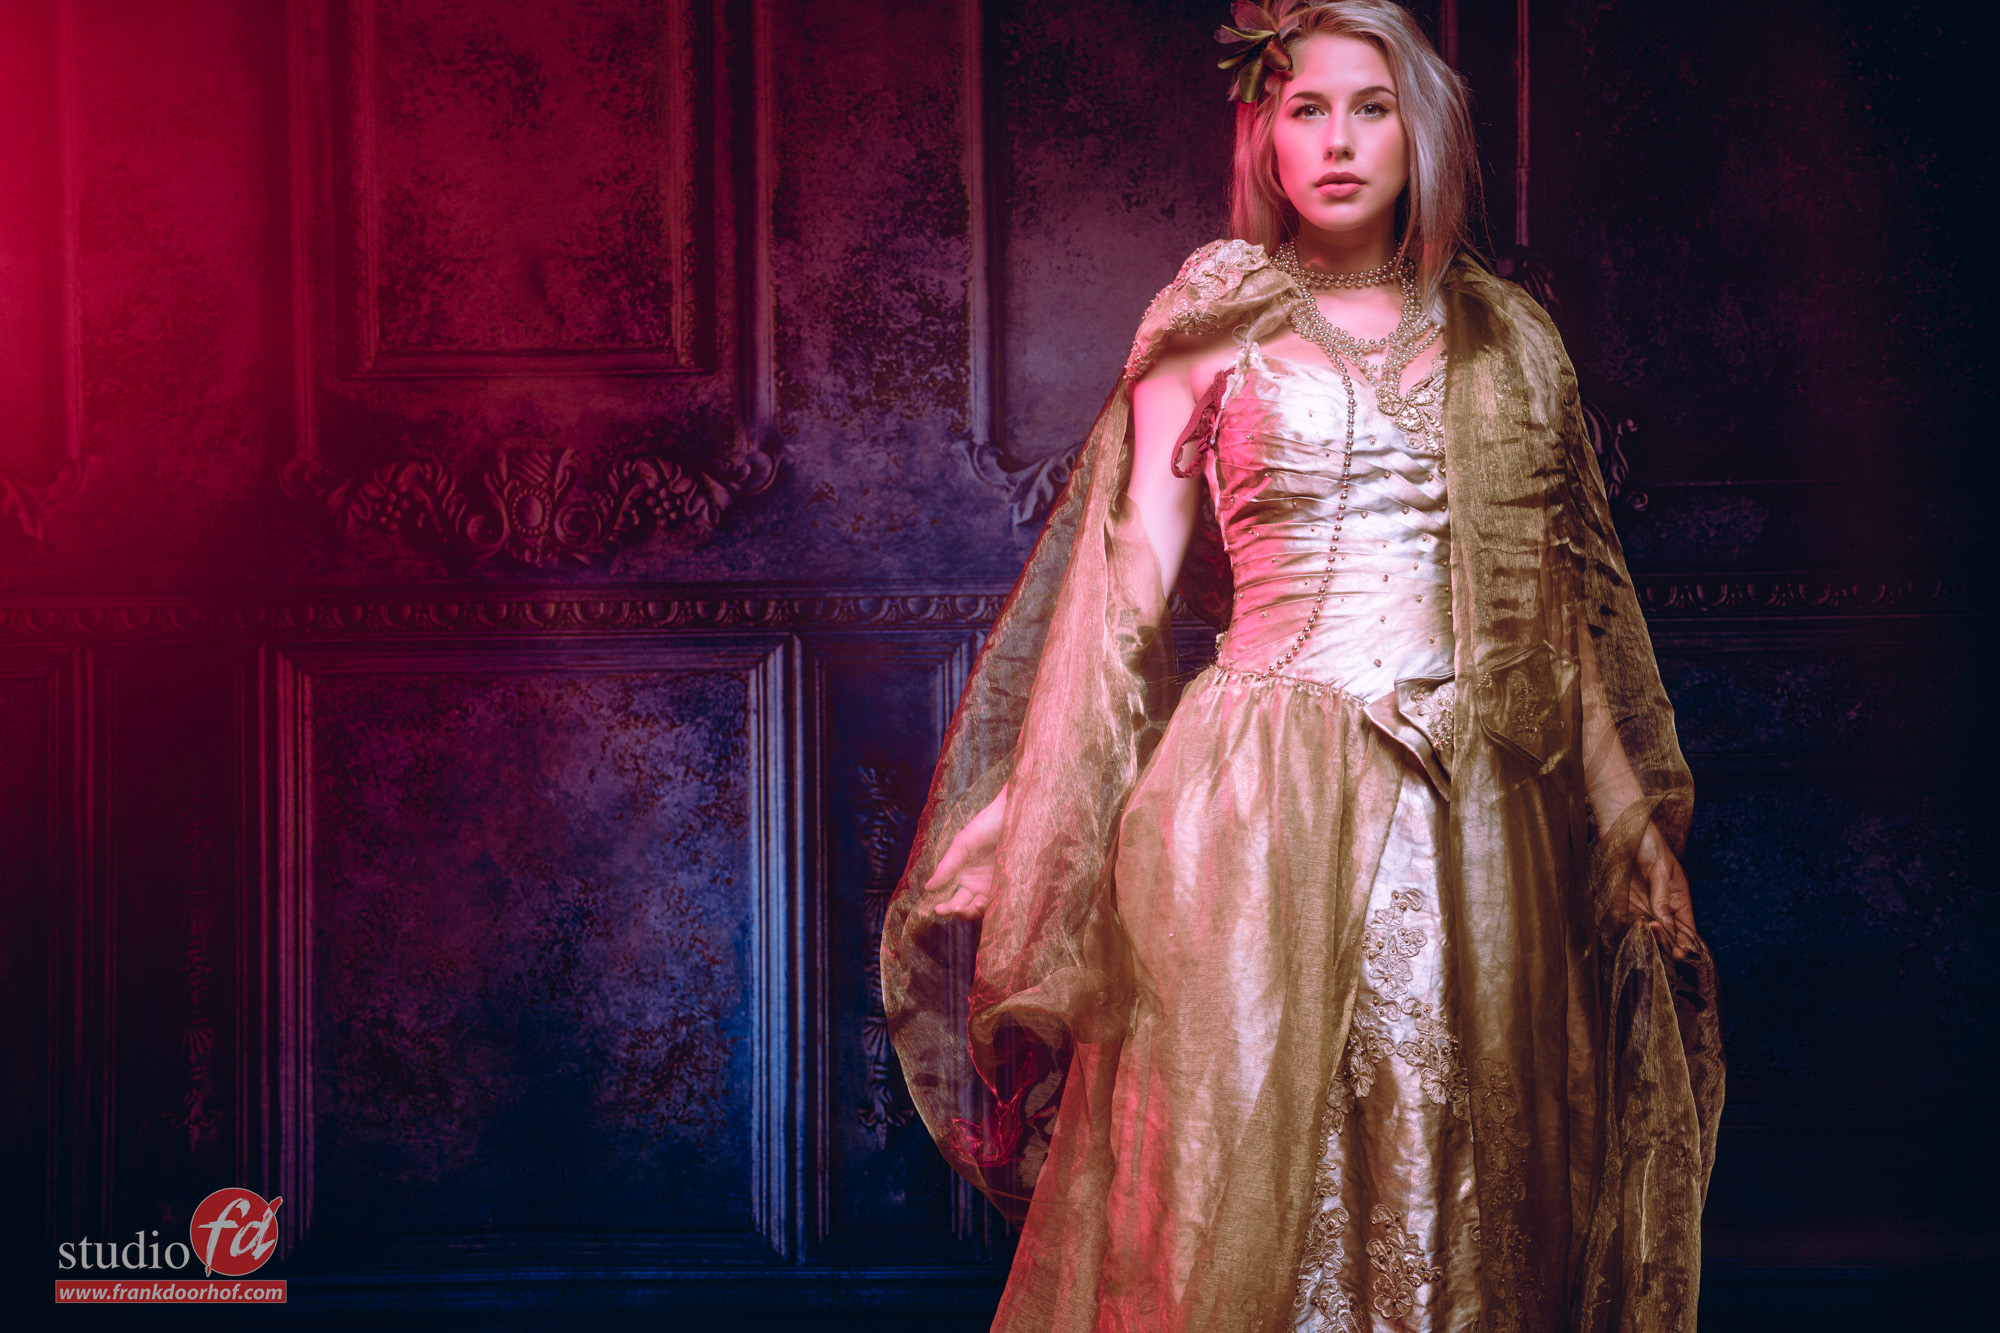
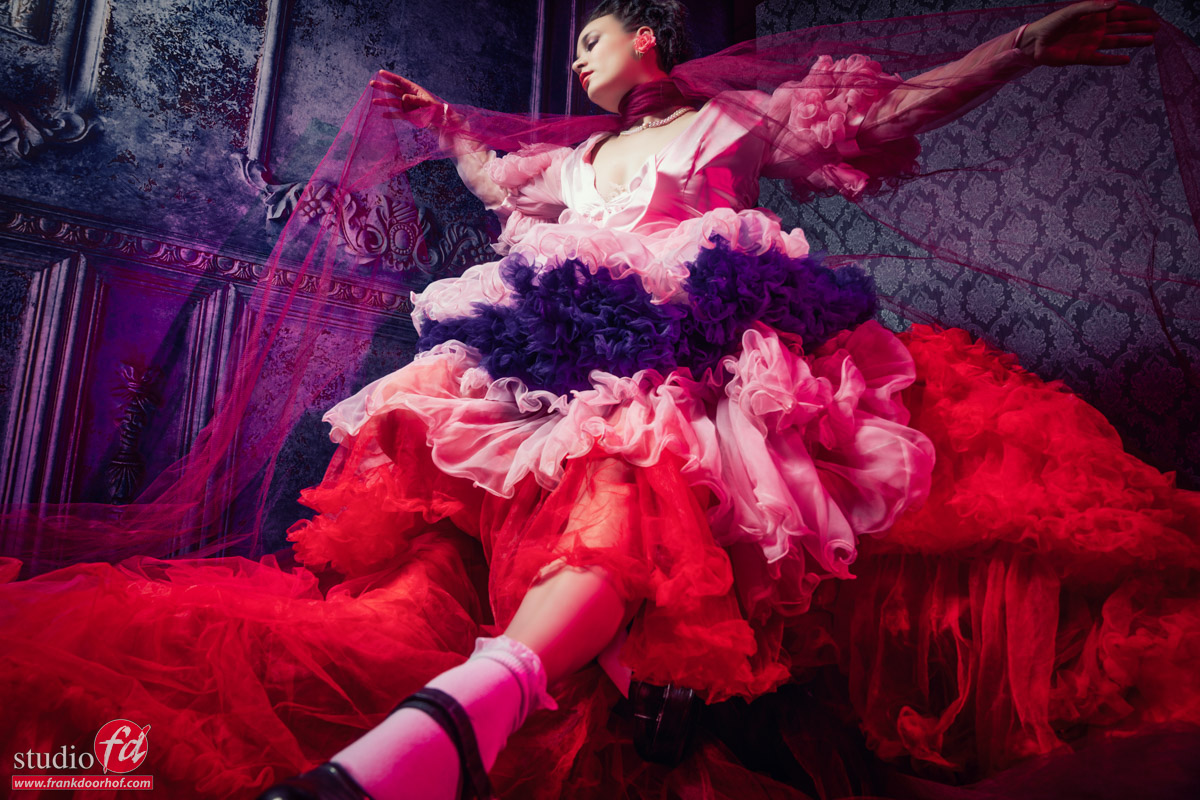
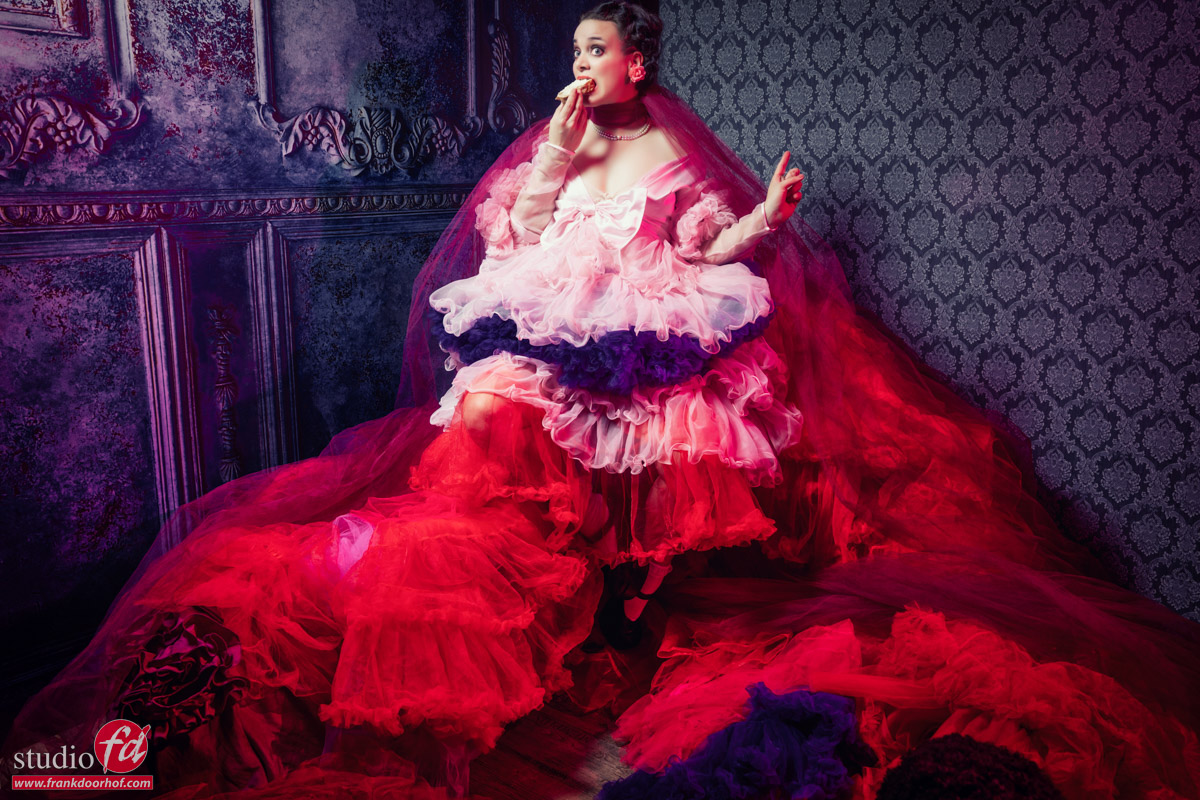
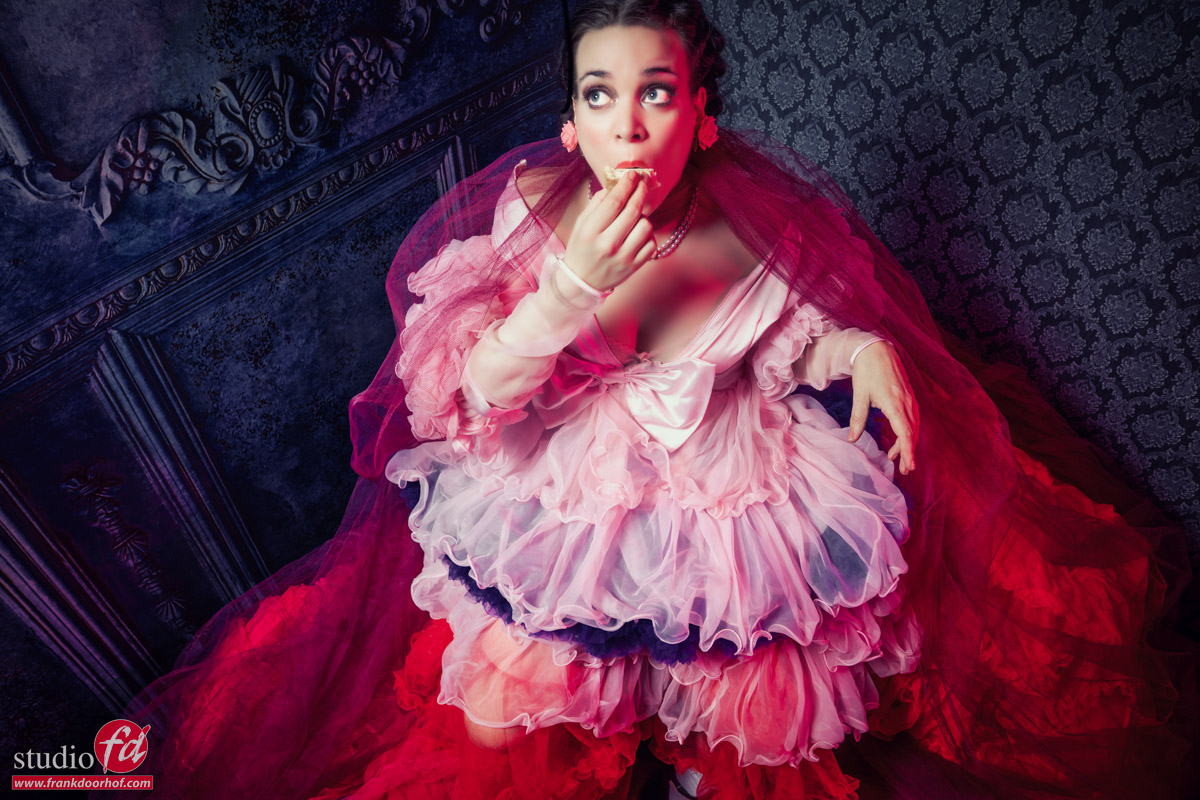
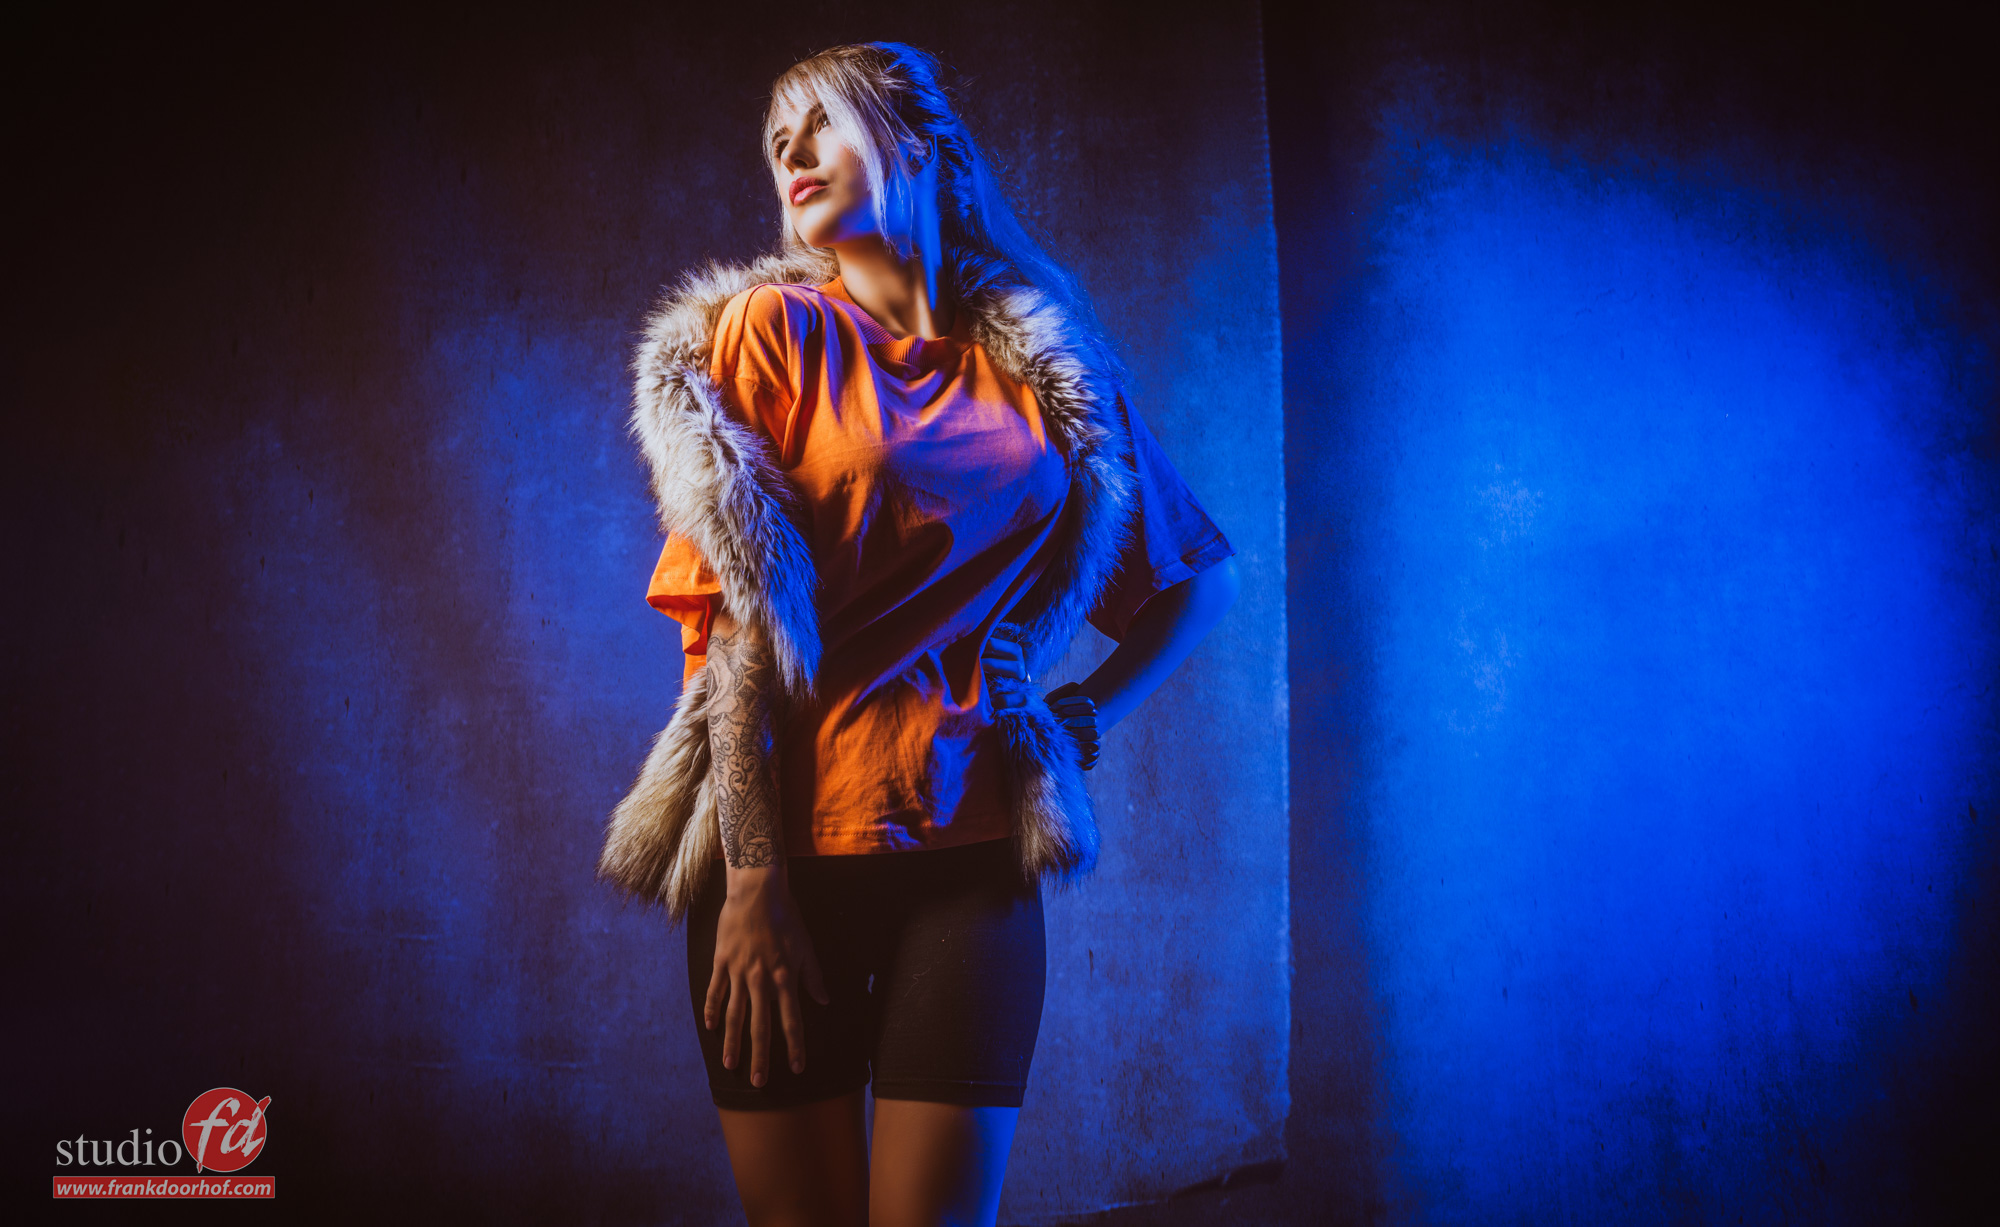
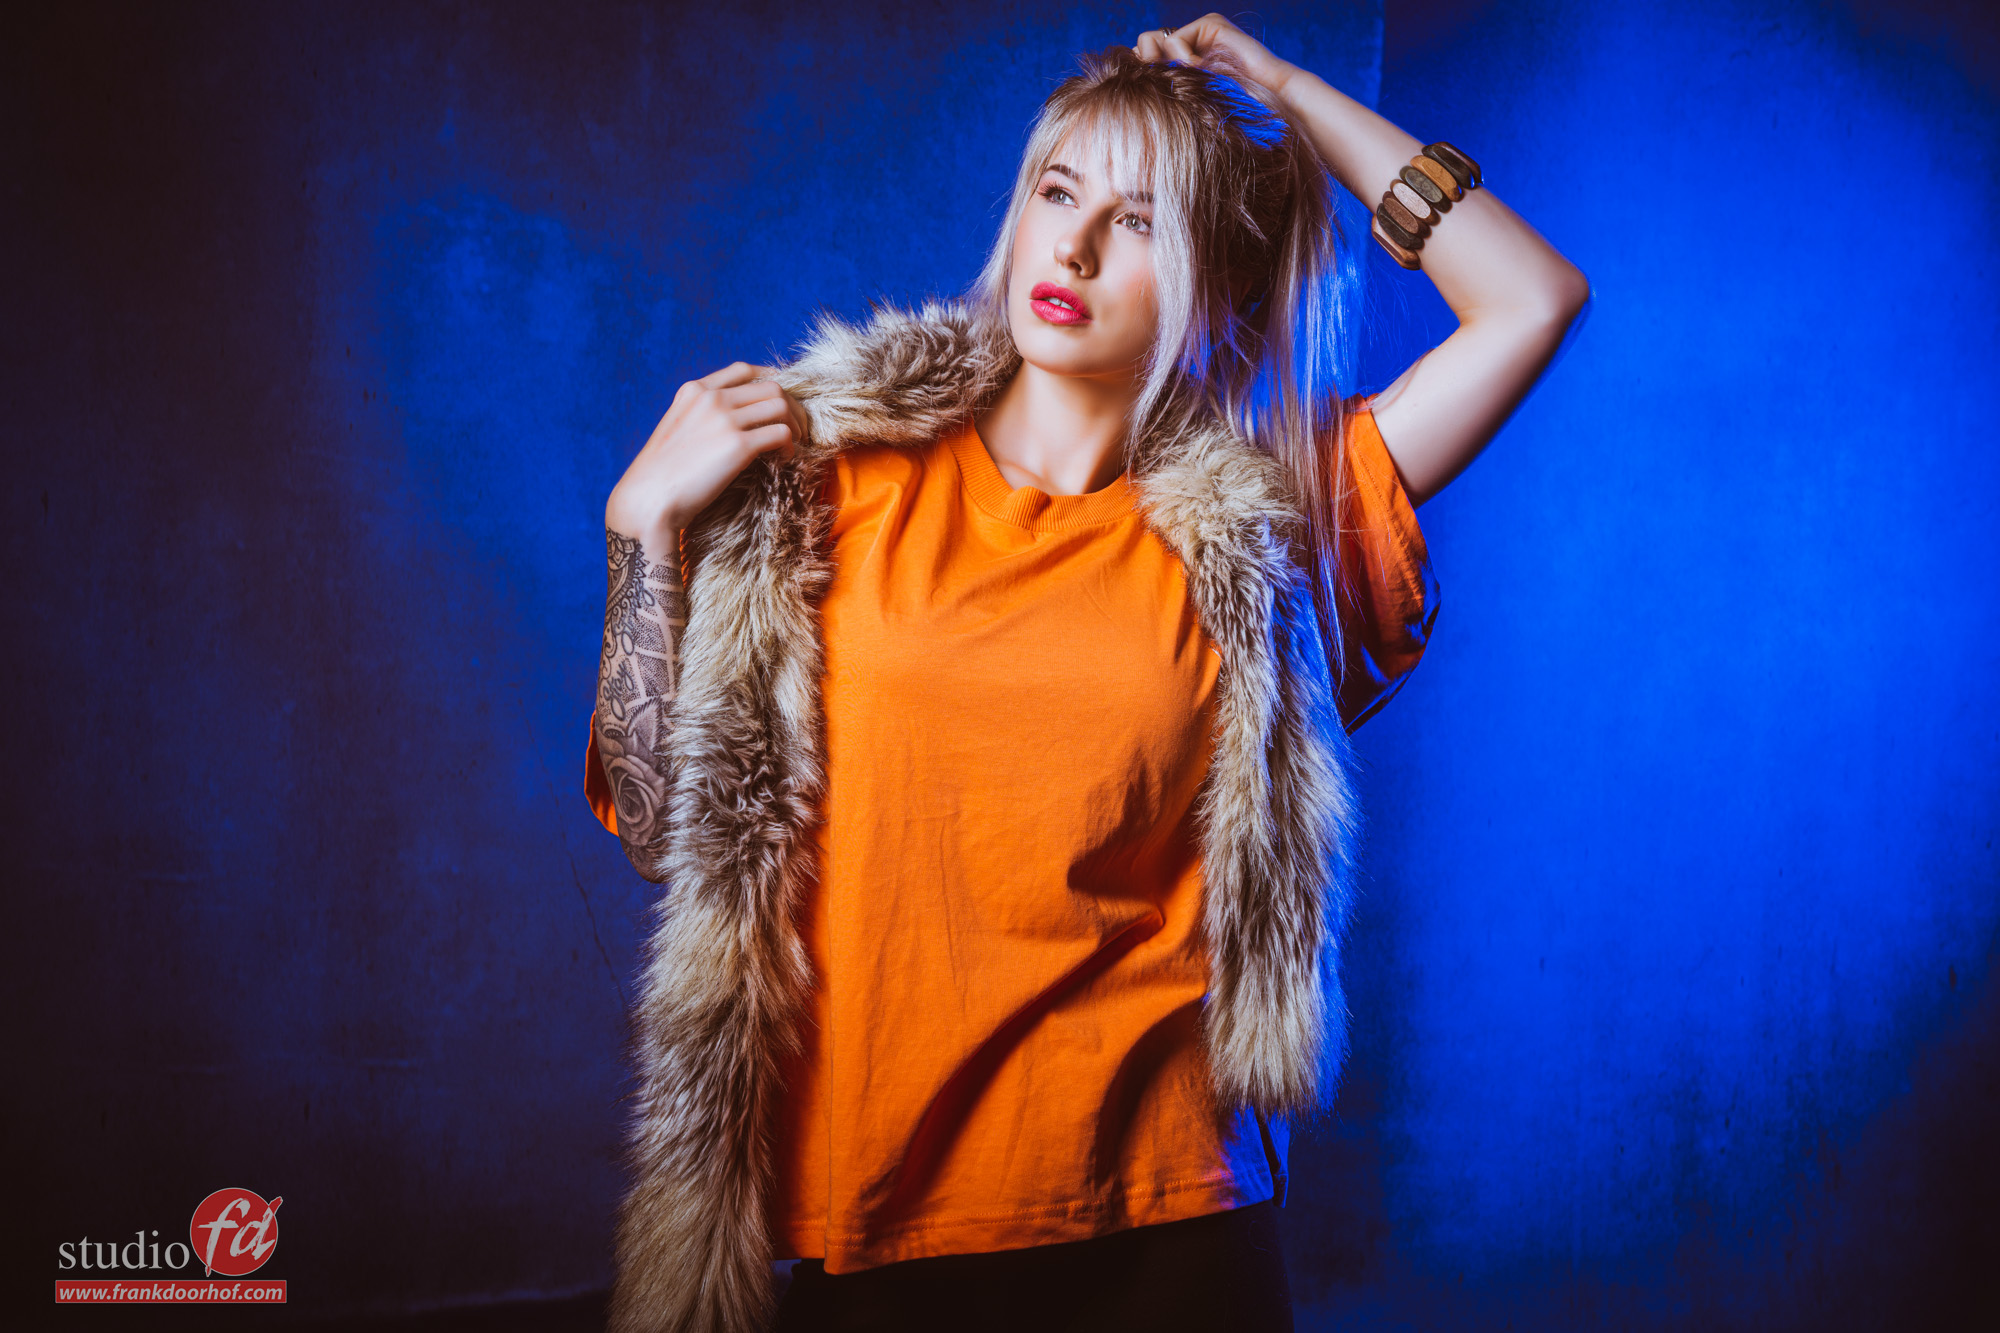
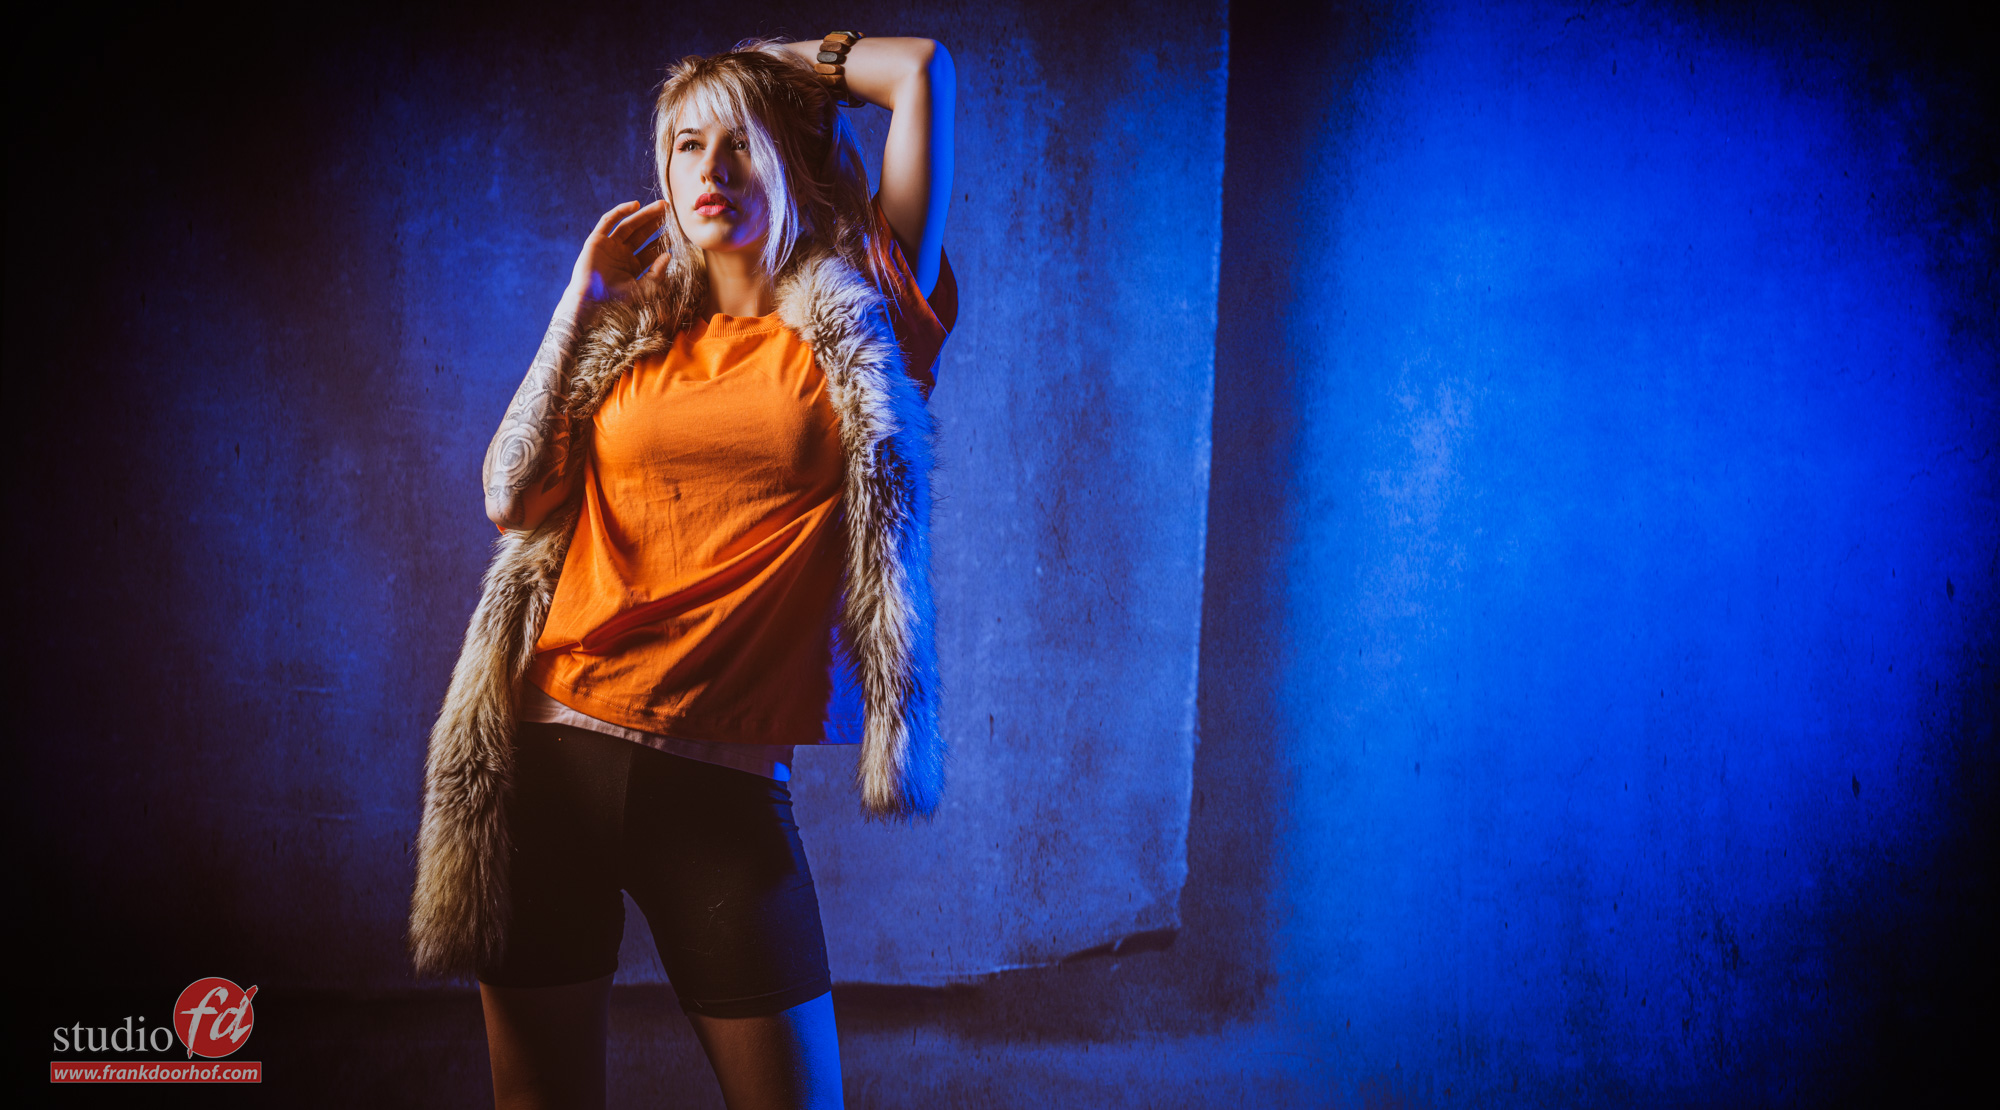
But let’s start by adding the red gel and see how the background material responds to the light. This is something that is often overlooked, but every material will respond differently on lighting. And I just love the way the Vinyl mixes the colors.

In the coming week we will release a video per set with an explanation of the lighting on our YouTube channel

You can get everything I use in our webshop via www.frankdoorhof.com/shop