Tag Archive for: photoshoot

A different background for a totally different look

A Different background for a totally different look

Of course, we all know that changing the backdrop can create a different feel or look. Different backdrop and same styling
But somehow it also always triggers my creativity. We used the same styling.
Model and styling: Nadine
Backdrops: ClickBackDrops
Strobes: Geekoto

Just a backdrop or more?

For me, a backdrop is not just a pattern or something to fill up the space behind the model. I always try to make the backdrop a vital part of the shot. When I want something edgy I’ll often go for a more distressed wall look, when I want something more classical…. mmm maybe something with old curtains?

Well luckily for you guys we did just that with our model Nadine.
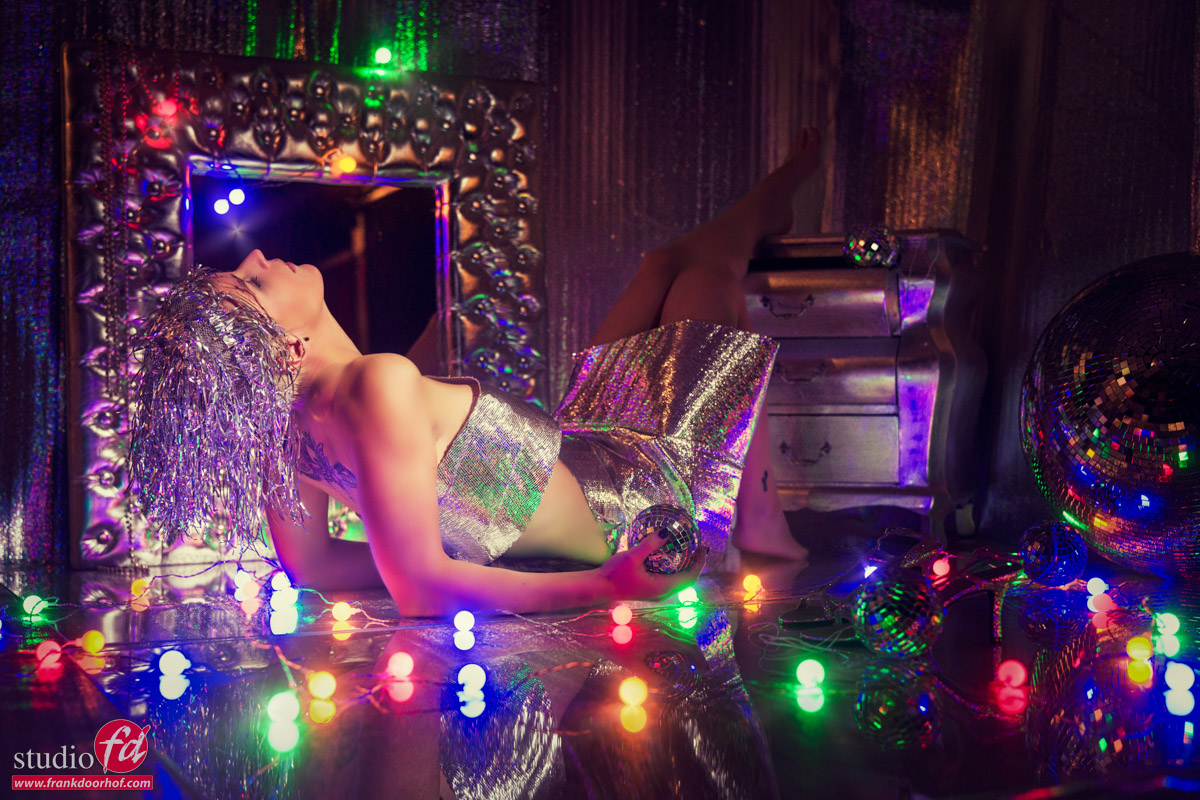
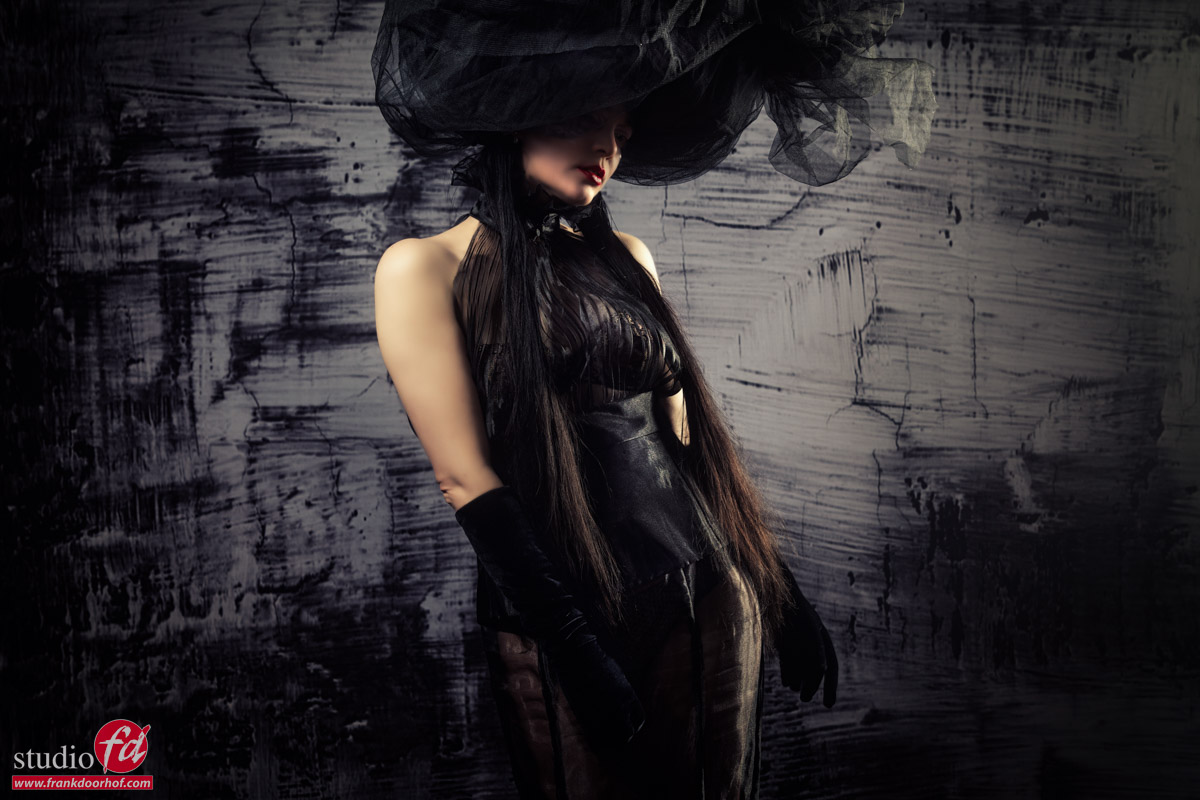
We decided to keep the styling and lighting idea roughly the same but change the backdrop.  As you can see even Nadine poses differently. My position is different and the end result is totally different.

Now this might seem logical. But often it’s forgotten that when you really blend background and model together ON SET you get a much more “organic” and “real” result. Not just because the shadow and light play on the backdrop. But also because both model and photographer are “inspired” by the results coming in.

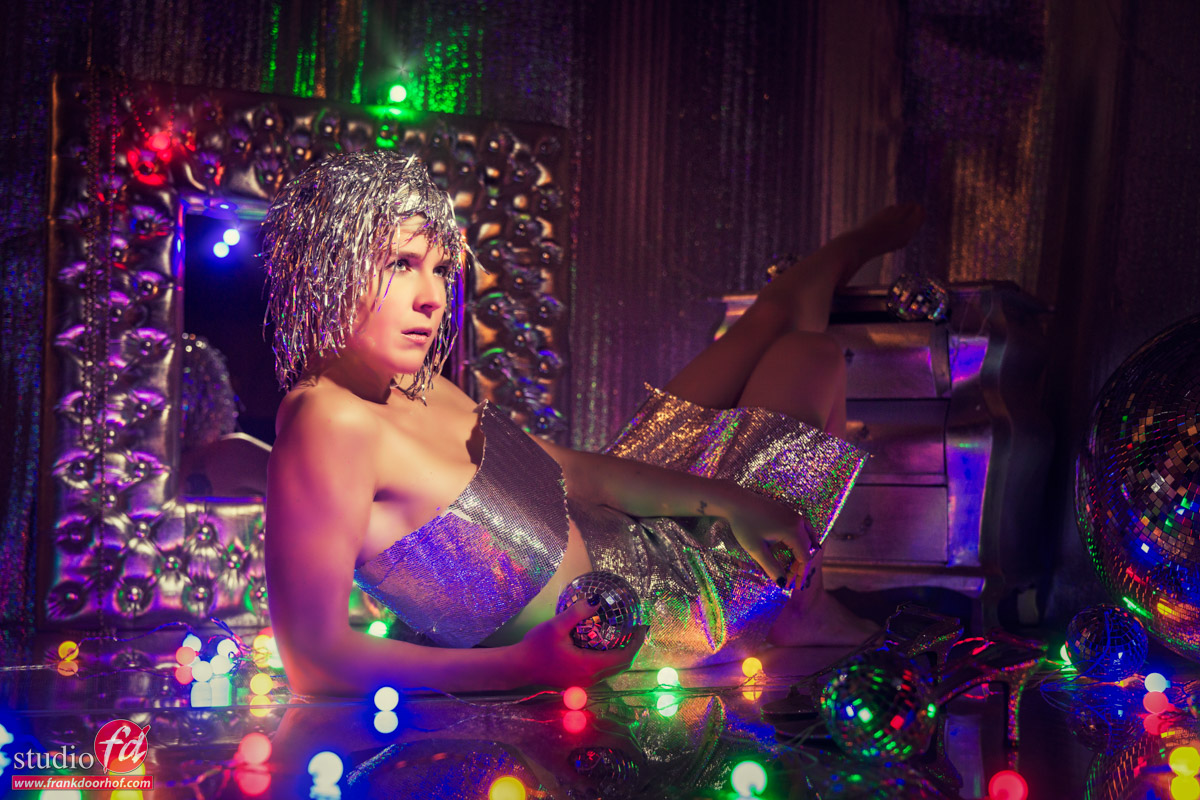
People often ask me if I’m afraid that AI will replace all backdrops?

No, I’m not.
Yes it will replace it for some people, and the possibilities are limitless. But it cannot replace the shadow play, and inspiration the photographer/model experience during the shoot. The shadows could maybe be replicated but you would need a proper knowledge of lighting in the first place and an above-average knowledge of Photoshop to make it 100% convincible.

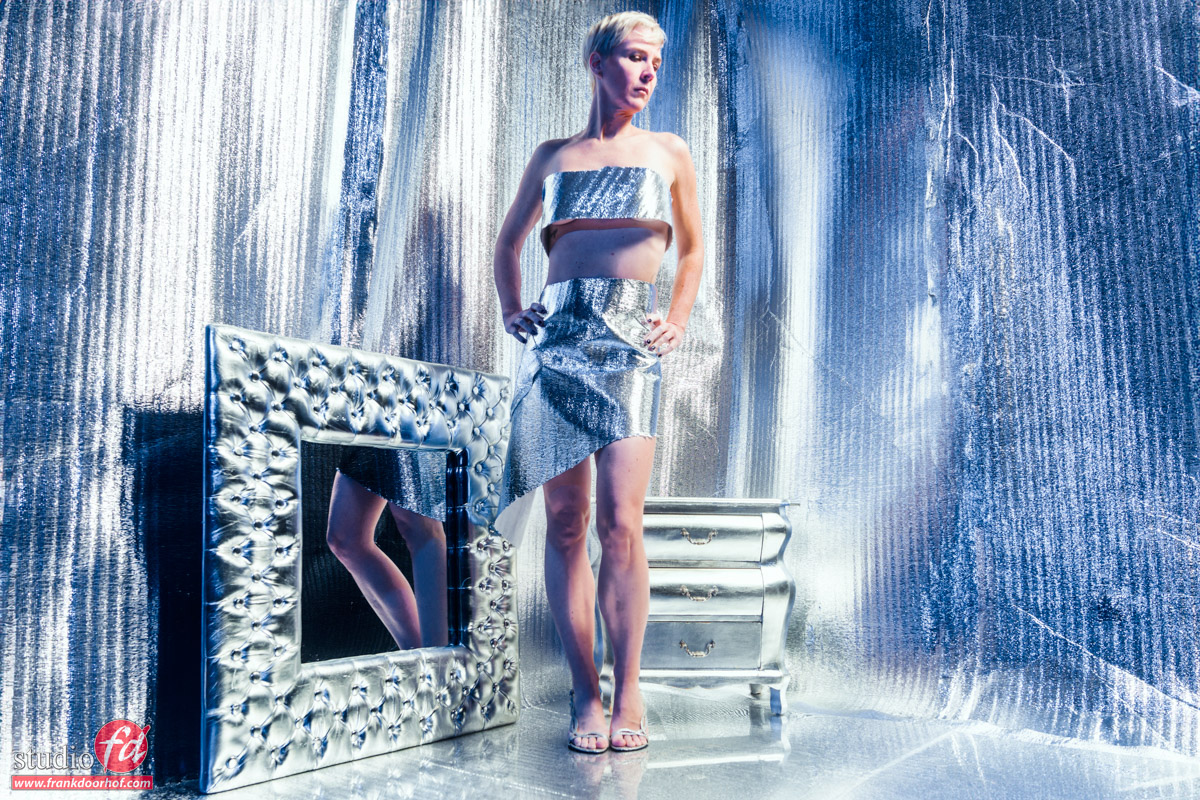
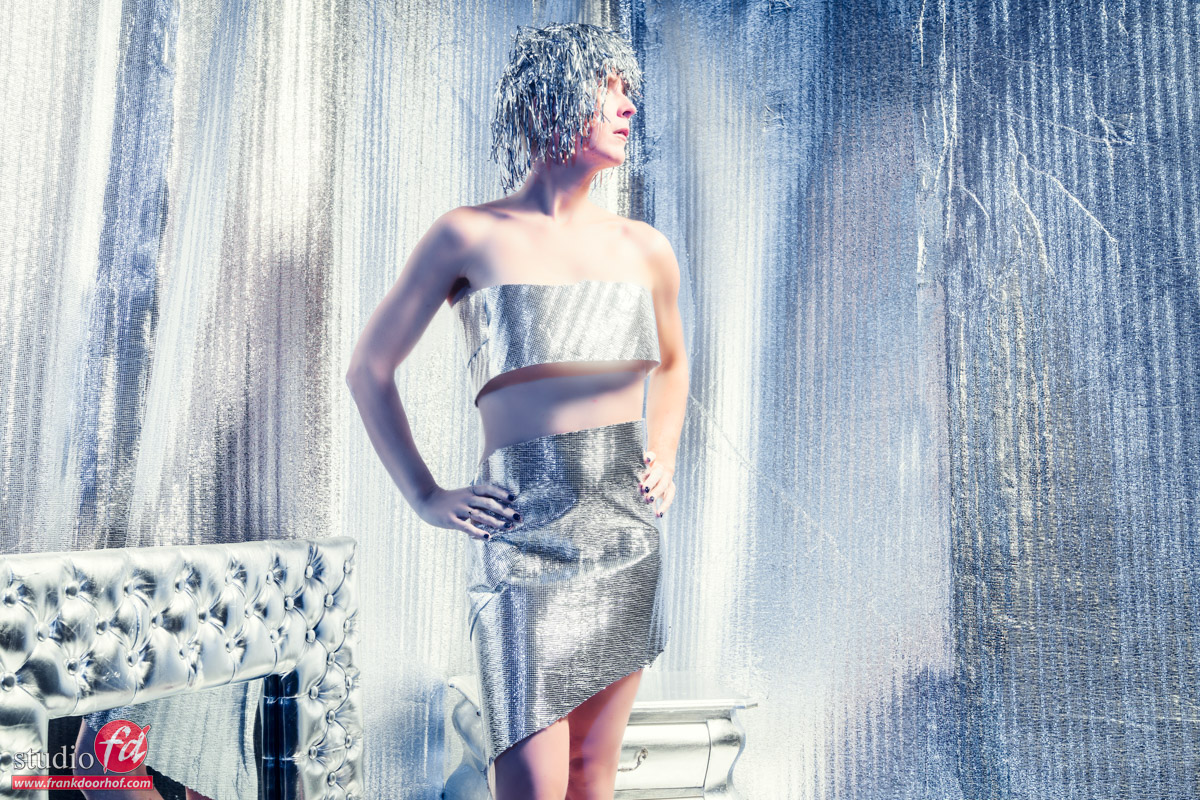
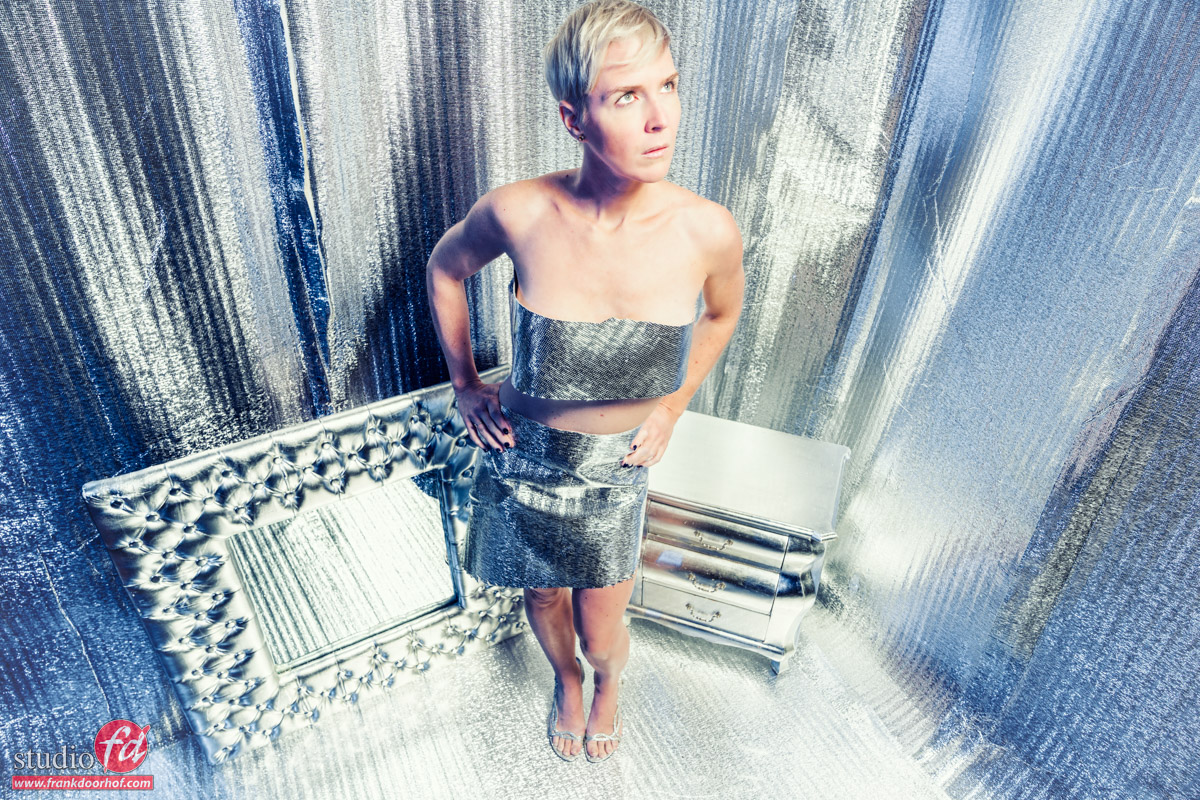
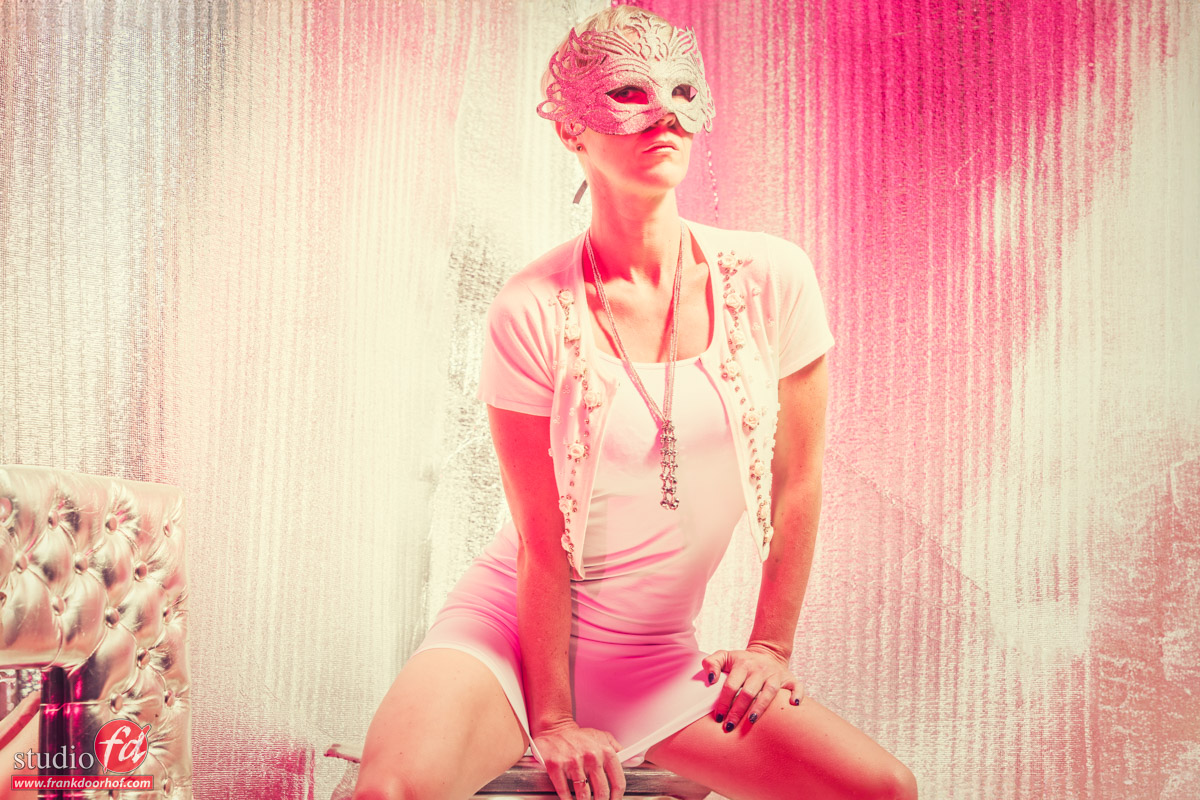
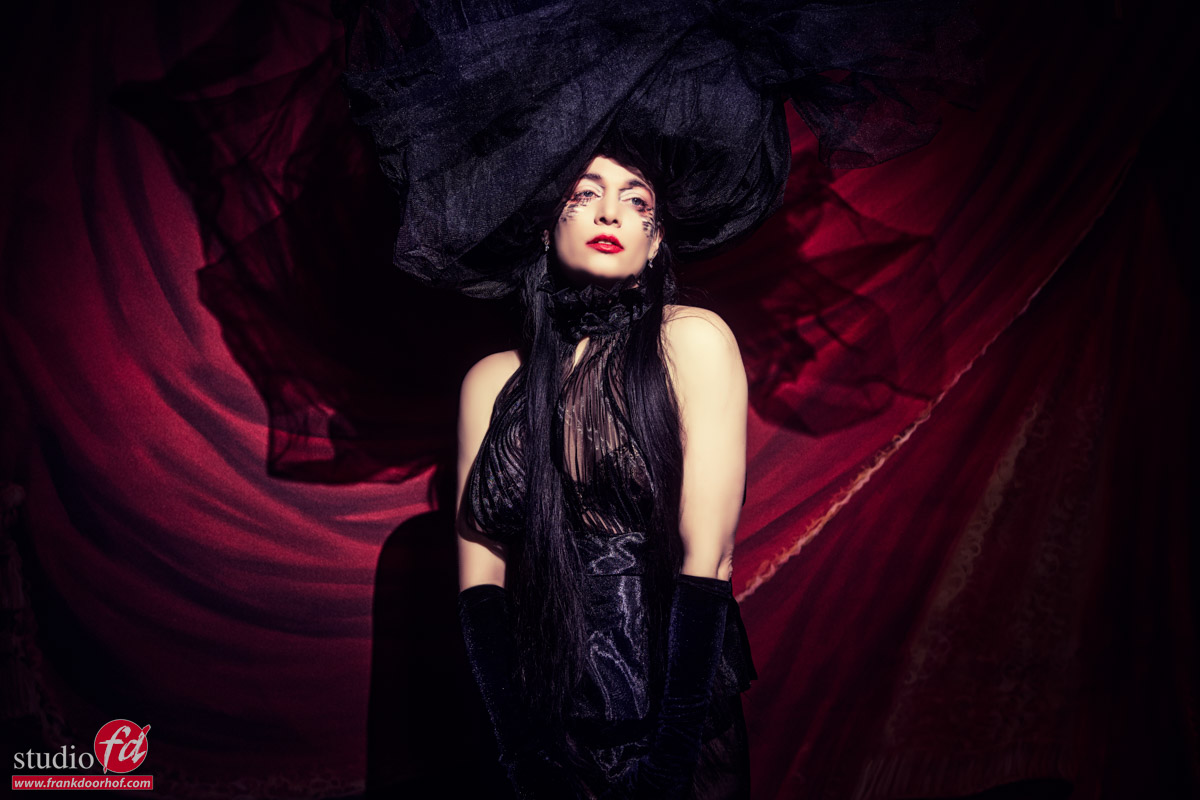
Let’s first take a look at the first set we did with Nadine.
Different backdrop and same styling. In this picture we use the Black Wash

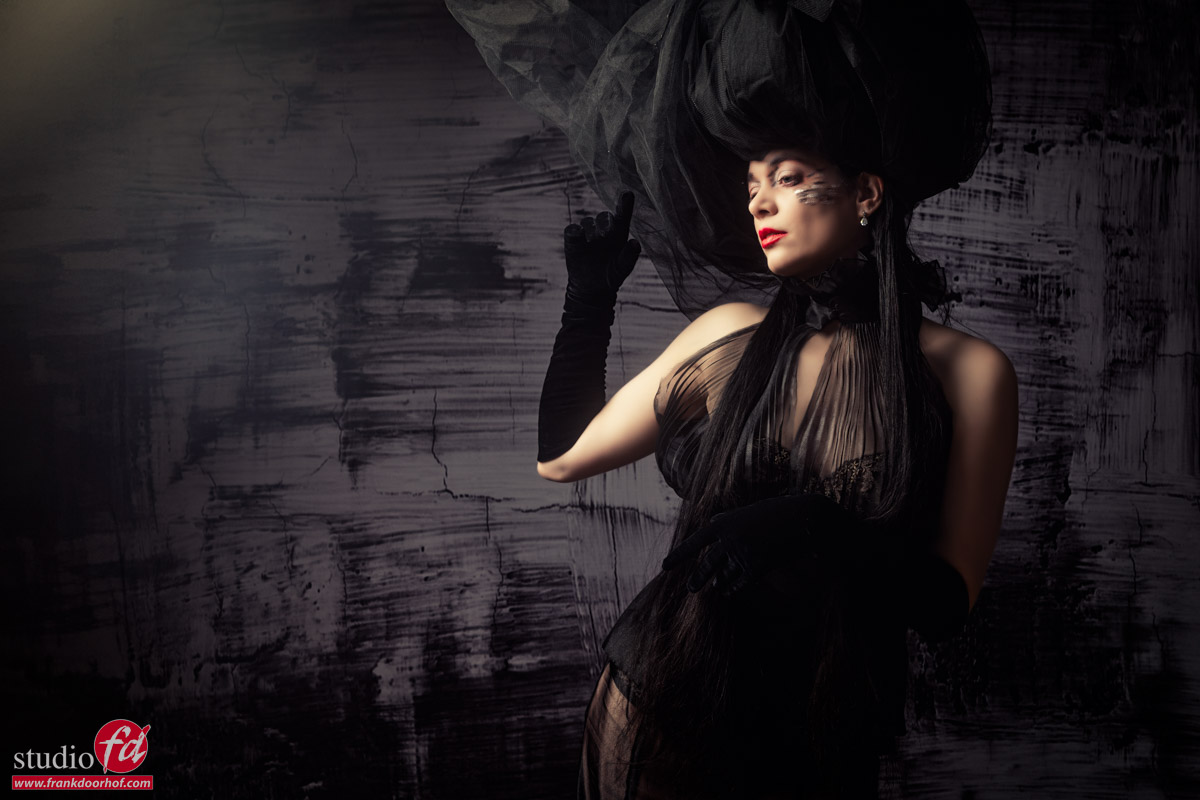
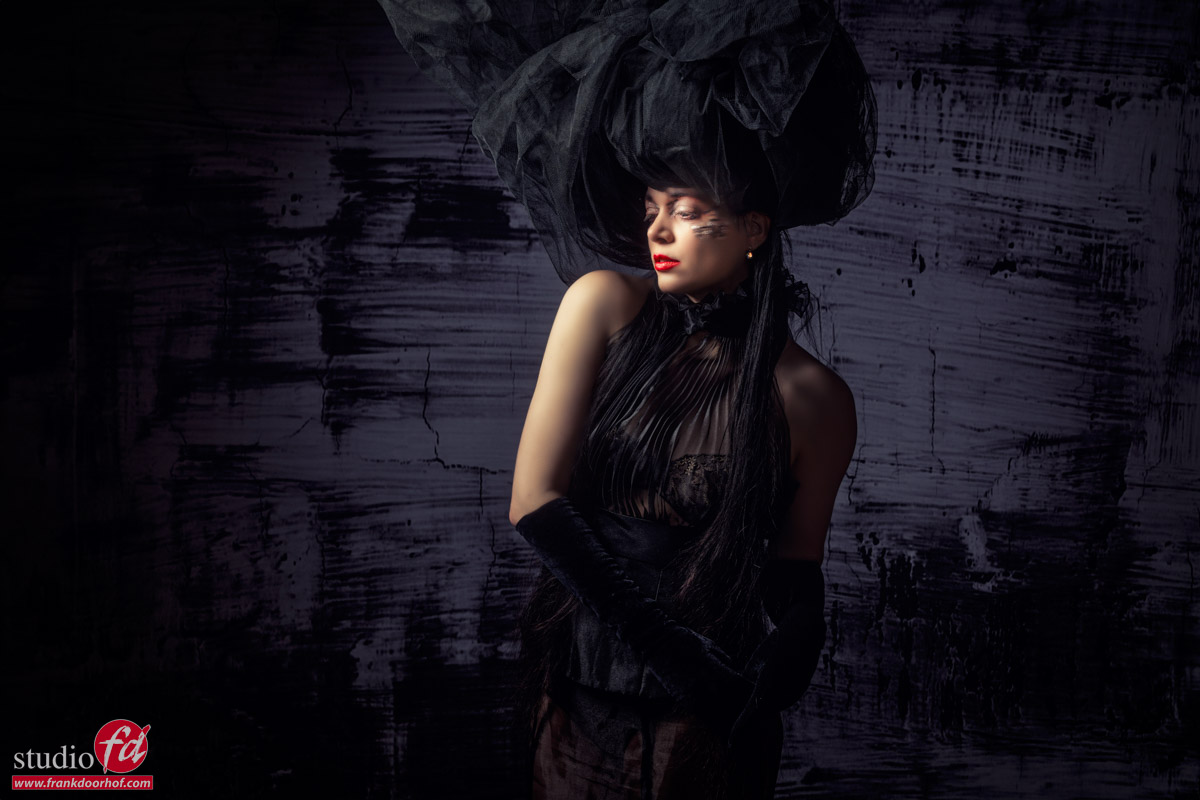
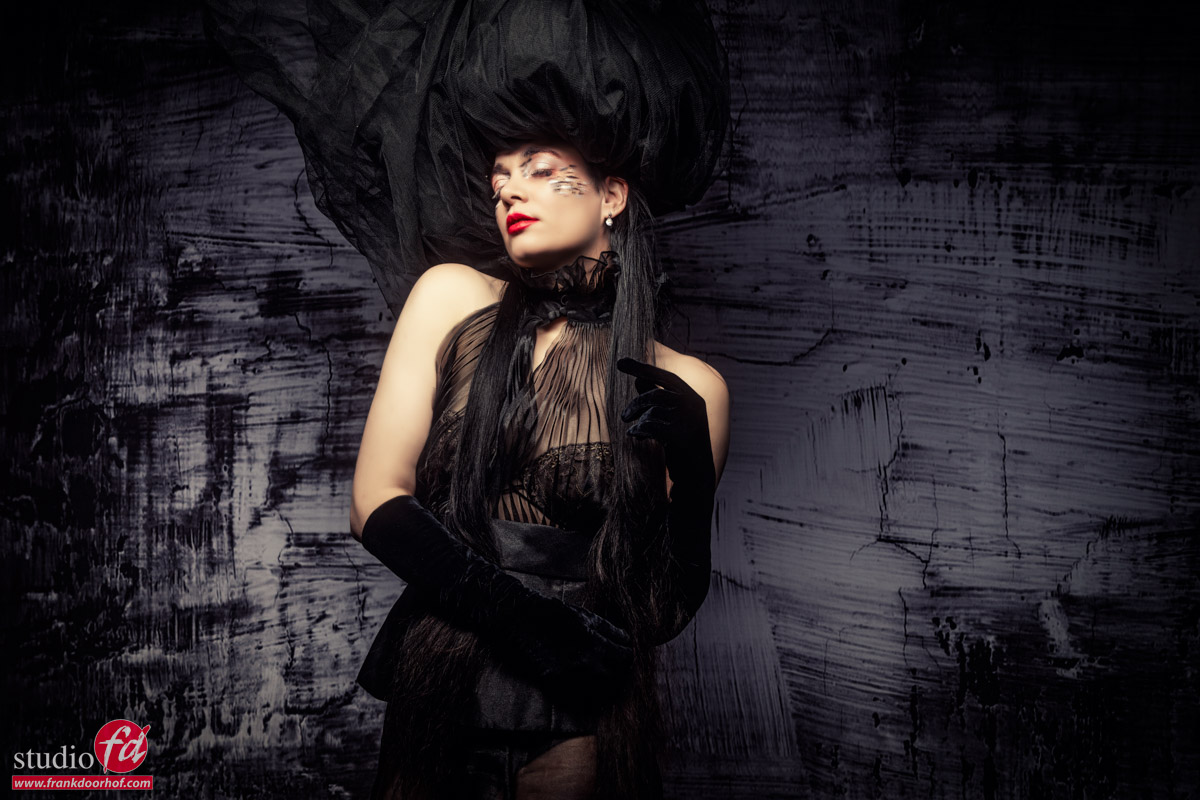
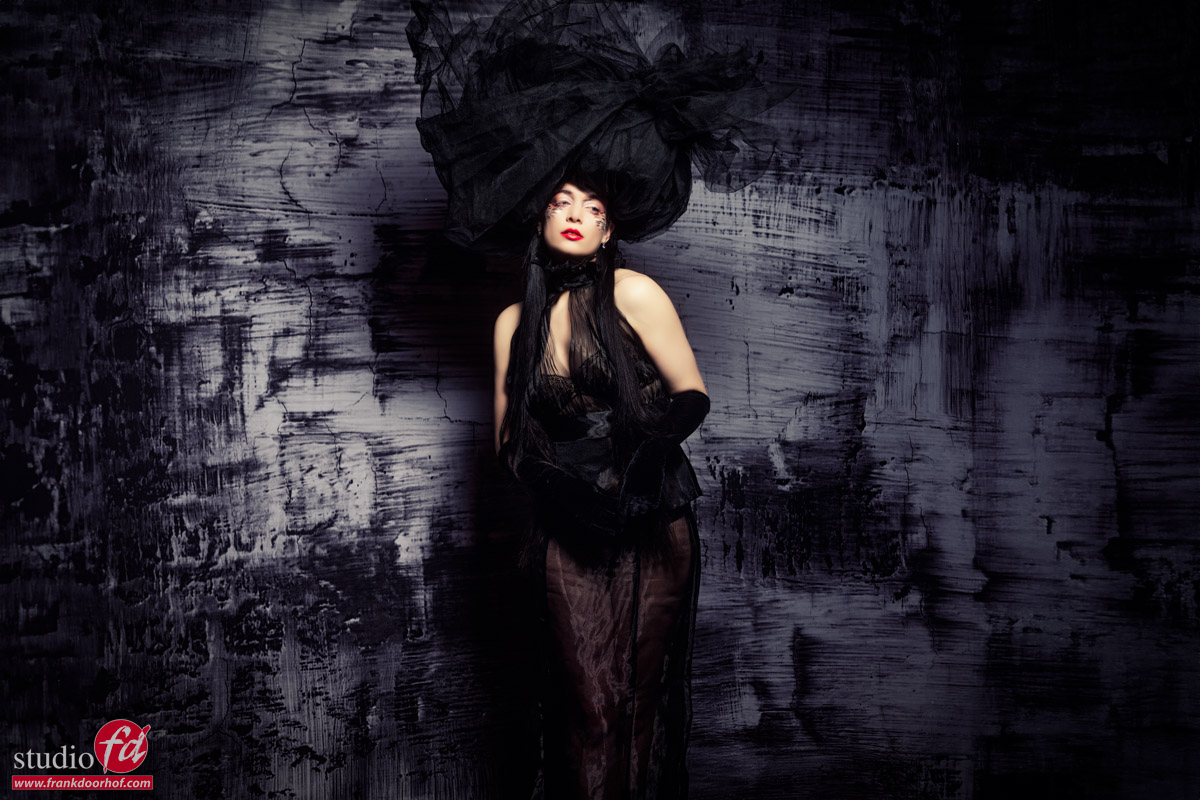
Buy the ProFabric Black Wash Backdrop in our store (8,92’x8,92′ or 272x272cm)

I just love the way the backdrop seems to add a sensation of movement to the images.
This was shot the day we got the backdrops in so I didn’t use them before 😀

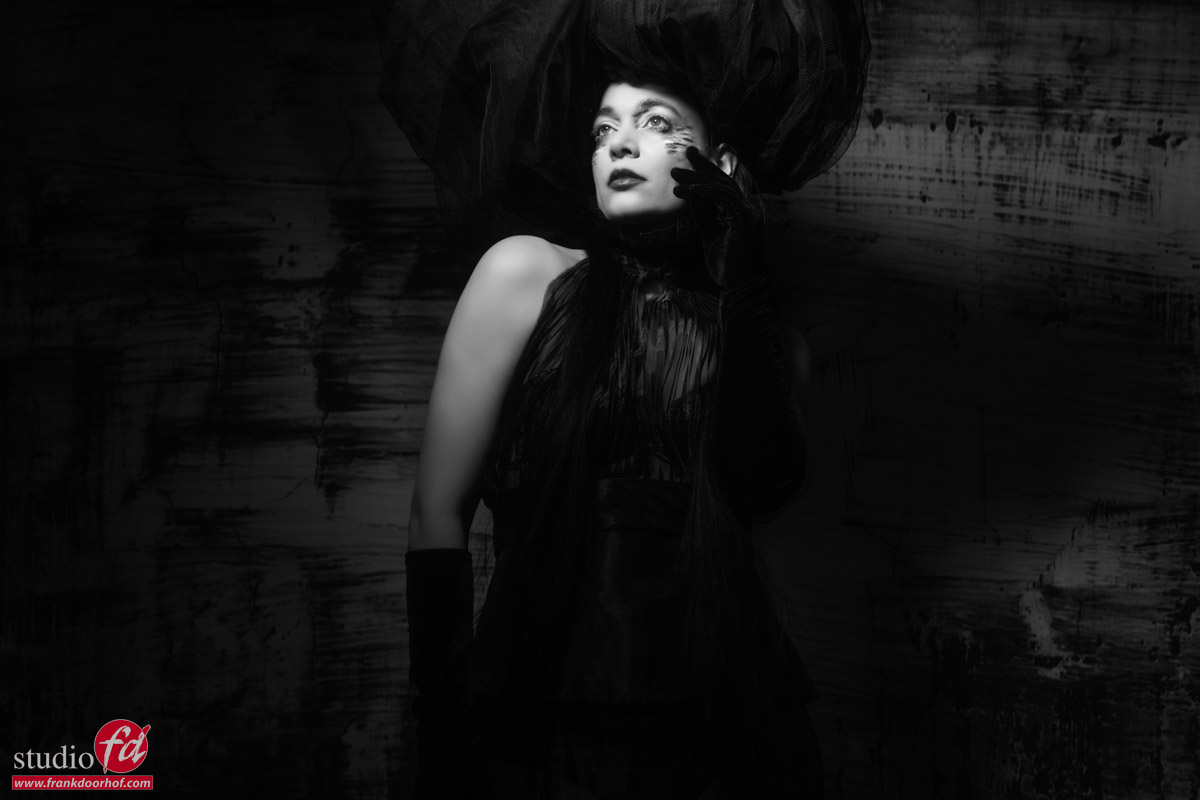
As you can see I played with different looks in tinting, posing, and color/BW.
But there is a certain feel to the images.

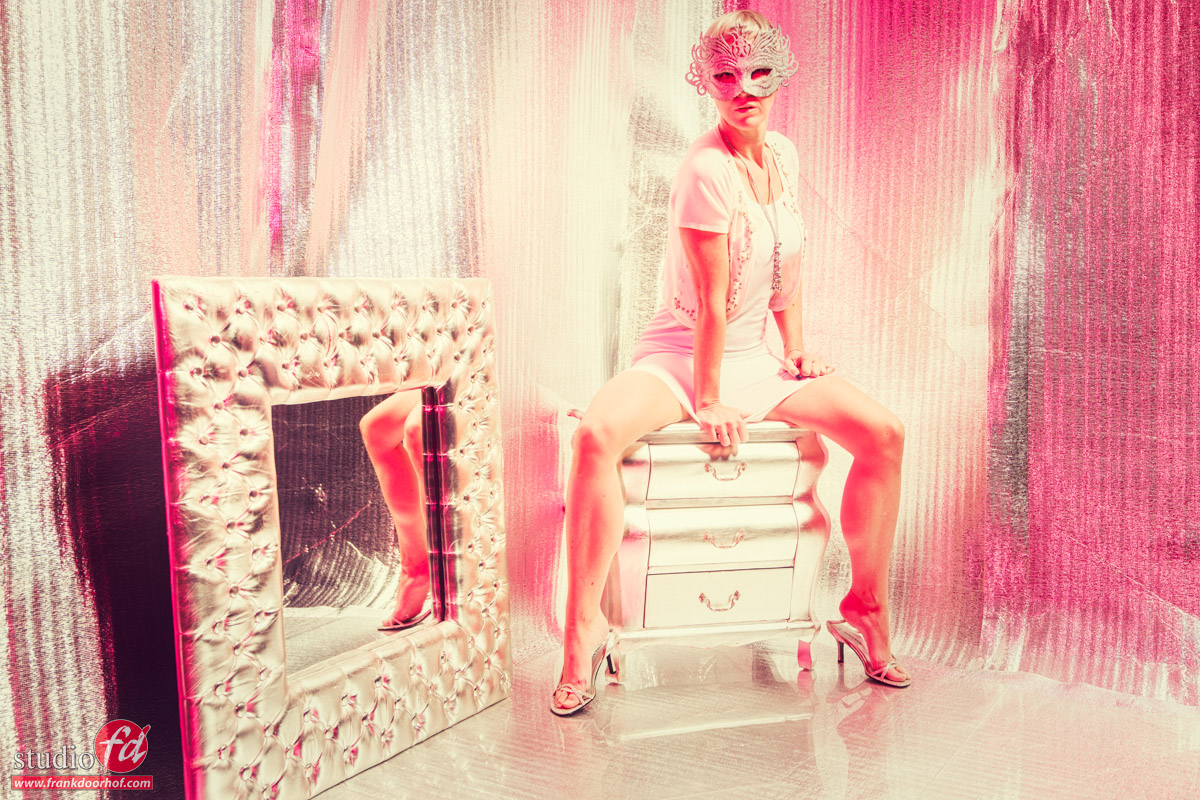
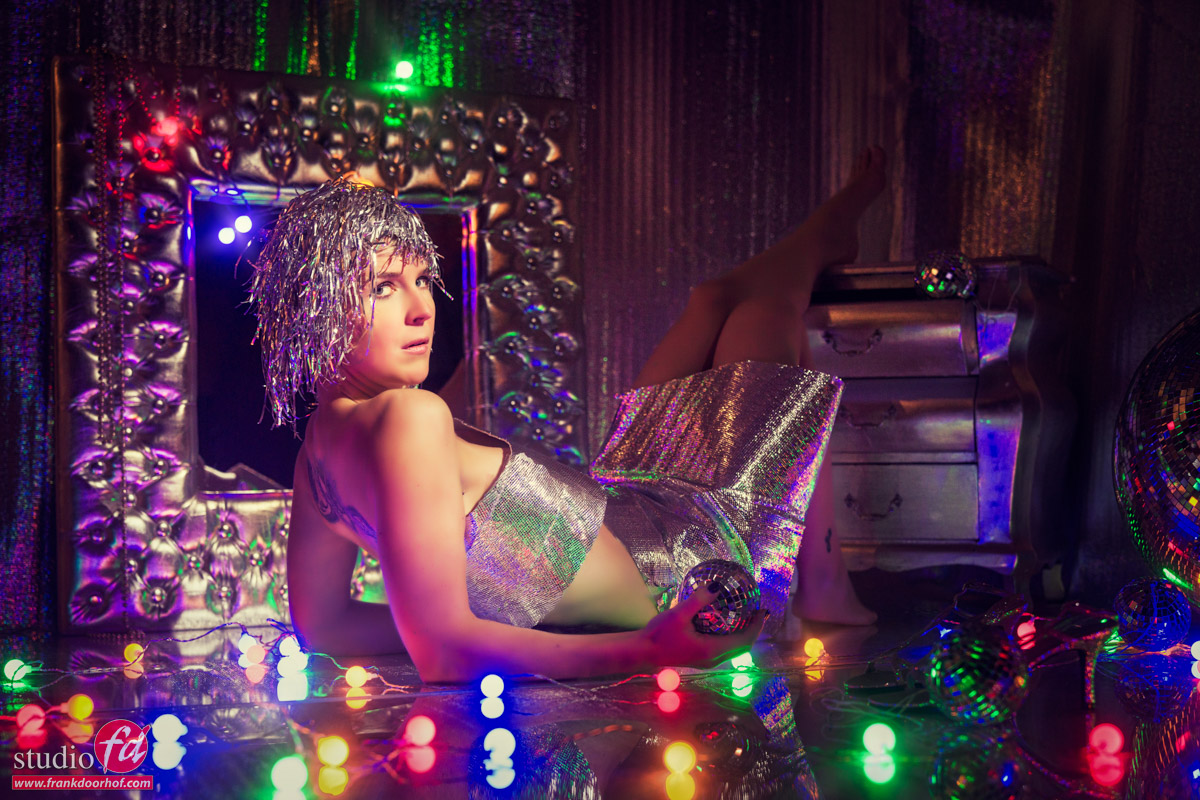
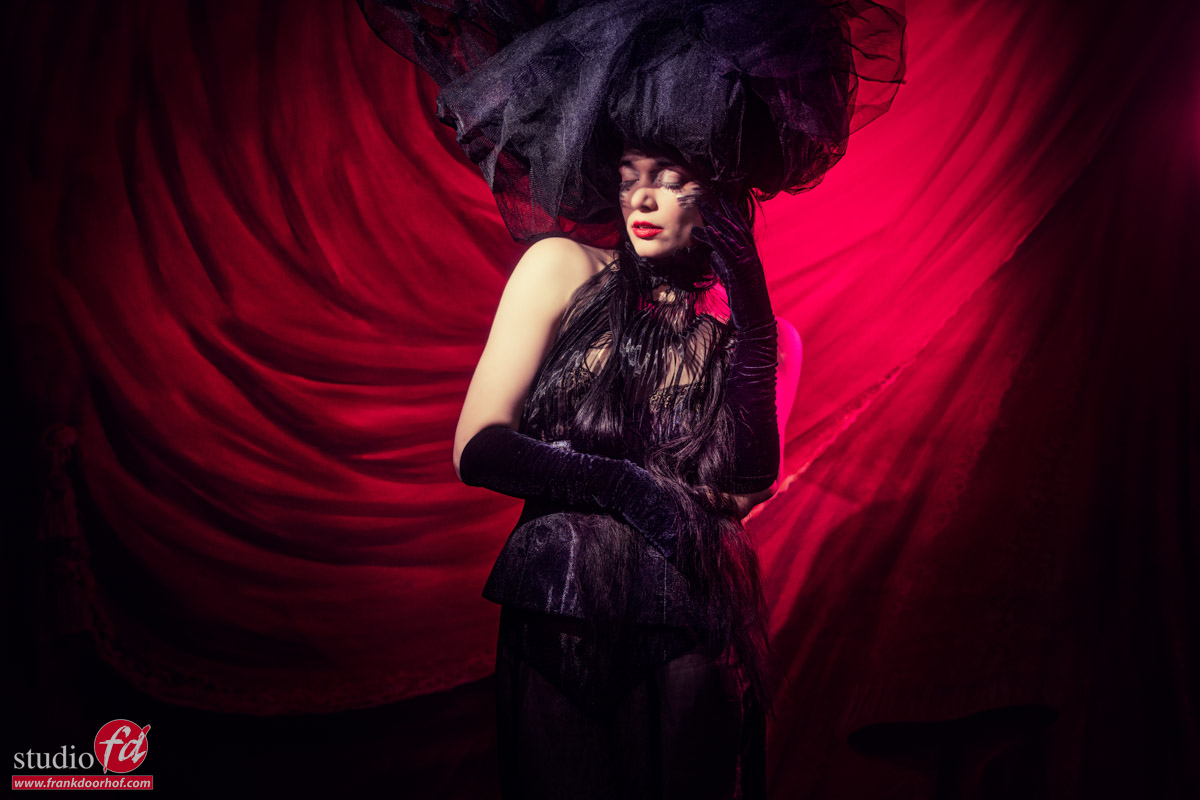
Now let’s change to an other backdrop. Same styling, but different look

Now this backdrop is officially unavailable in ProFabric, but I loved it so much they made a custom order on Pro-Fabric (which you can now also order). And as you can see the change is not just the backdrop 😀

Different backdrop and same styling Different backdrop and same styling Different backdrop and same styling, in this case the Theater Curtain on ProFabric

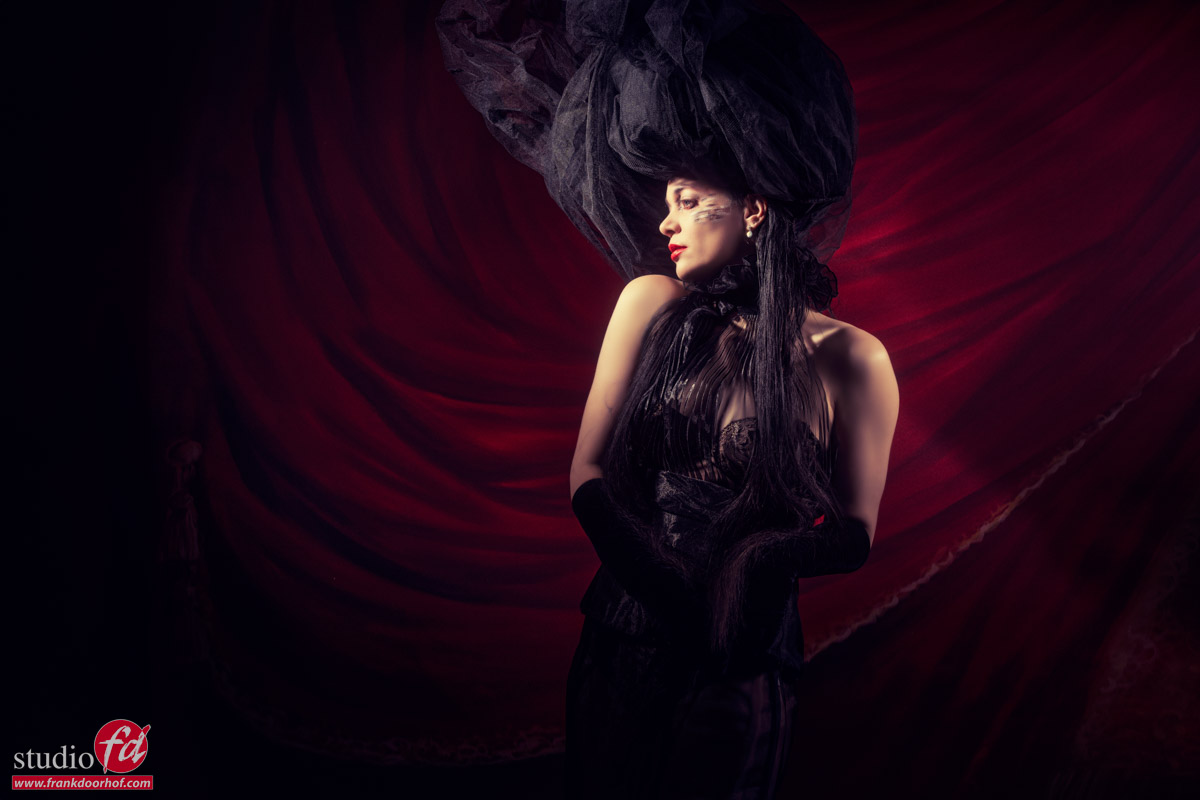
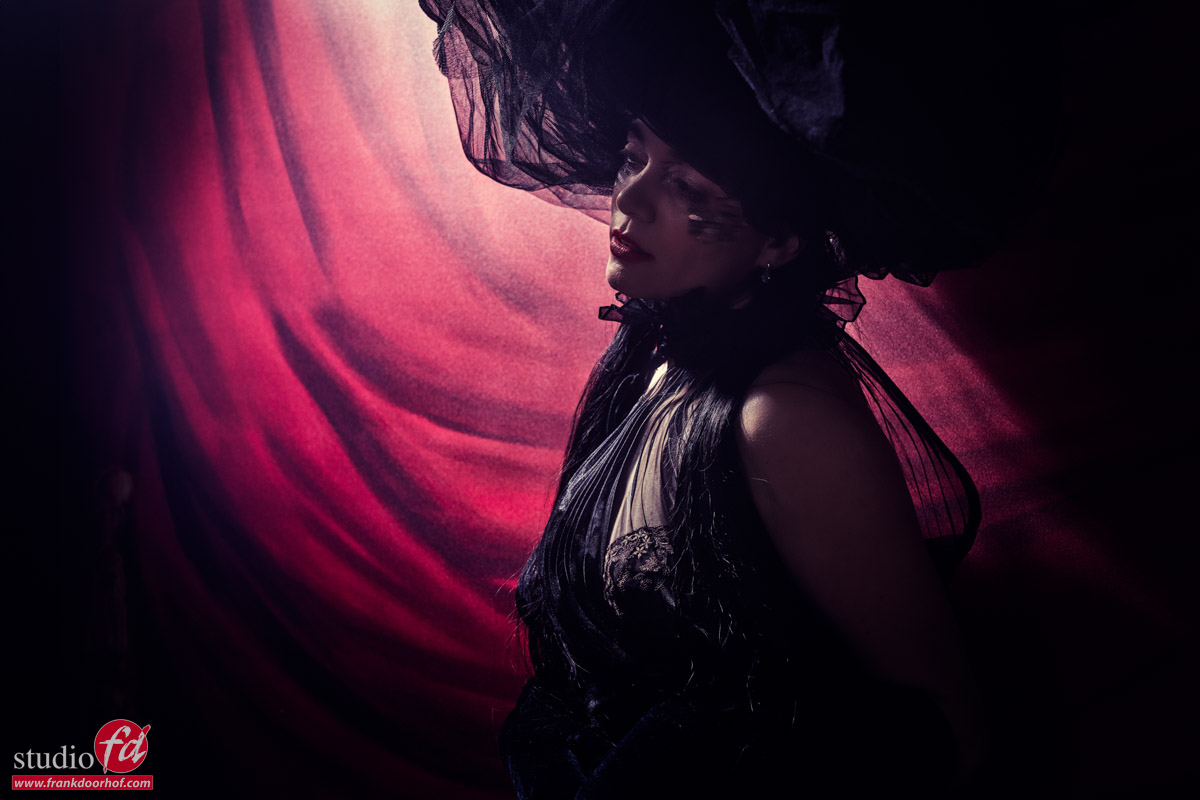
See the backdrops we have in stock. 


Check out the video of a styled photoshoot with Nadine, where I used AI on the backdrop

Read the blog about the backdrops with isolation blankets 

everything you always wanted to know about light shapers

I know it’s a bold claim 😀
But I think in this episode of digital classroom we are combing close, I’m discussing all my favourite light shapers and I even show you the different lighting they create.

Digital classroom is a monthly live stream on our YouTube channel (we really appreciate a subscribe and like). During the broadcast the audience can interact with us and ask questions which will be answered during the broadcast. It’s a lot of fun 😀

Lightshapers

To control your light you need light shapers.
Do you need harsh shadows, or do you want a very soft quality of light?
Do you need to light a small area, or a very broad area?

All of these topics will be discussed, but we also talk about lightshapers that can be used in the studio vs light shapers for location work, and how you can mix them all together.

During the broadcast you get to see the shoot with our model Nadine via 3 studio cameras plus you can see the images coming in via the iPad Pro running Cascable.

If you have any questions feel free to leave them under the video, we check our channel every day for comments.

A set built with isolation blankets for… zero

A set built with isolation blankets?
Why not?


Today in the blog some images we shot with our model Trista during a recent workshop.
We recently had the studio roof replaced and of course, that also meant that we have some stuff left, including some isolation blankets.
The moment we saw them we knew we had to do something with them.
We have already built sets with rescue blankets (gold/silver) but these were a lot larger. And in the end, in all honesty, it just didn’t work in this set. But I think they would be awesome as a background for portraits, so I think you will see them again in the future.

Let first, start with the initial setup. We used our movable walls and taped the isolation blankets to it.

a set built with isolation blankets, why not?

As you can see the set is far from perfect, but somehow it also works.
Here I’m using the mirror to mirror the legs and the accent lights, I talk a lot about walking around the model to get a different kind of contrast, here you can clearly see what the angle does on the legs, this is not photoshoped 😀

Of course after that I oped for more close ups, mainly because I didn’t like the set for full bodies.

This I liked a bit better, but I also tried one from the back.
And to be honest I’m still in doubt between the two which one I like most.

move around your model in the set built with isolation blankets

Angles, angles and again angles….

And as usual, always try different angles.
I can’t tell you guys enough how much impact the shooting angle can have, not only in lighting but also with the total way the image looks.
Lower angles will often give a “hero” feel, where higher angles sometimes give a really cool effect.

Adding some color….
Or a lot

After the “standard” setup I opted for a lot more red in the scene.

Now be warned, these images are far from the run of the mill images, but sometimes I just love to go to the extreme sides.
In this case I opened the aperture a lot (to the point of overexposing) just maintaining the highlights in the skin, I didn’t want the skin to overexpose, this often looks awful in color shots, the only thing you could do is convert it to black and white where we are often a bit more forgiving for overexposure. But best is to keep it just below overexpose on the skin, you can always go to black and white later if you want.

Im adding a Rogue omnidirectional dome here with a magenta gel, and although I’m still using the mainlight the red really overpowers everything giving it a totally different vibe.

adding red to a set built with isolation blankets

As you can see by just adding some color you can change the look of our set built with isolation blankets completely. Just make sure the model covers up for certain angles.

Feel free to reach out with questions.
A like and share on social media is highly appreciated.


Check out the short about the rescue blankets 


Subscribe to our newsletter 

Some colourful lights in the set

Adding continuous lighting is always fun

In todays blog post some images we shot during a workshop with out model Trista.
I’m using a mix of strobes and continuous lighting here.

Due to the reflective floor (plexiglas) and the mirror the angles under which you can shoot are slightly limited.
I loved this angle because it adds a bit to the story telling part of the shot.

Hope you like the results.
The set it build with isolation blankets we had left from our new roof instalment.
A good set doesn’t have to be expensive 😀

Over time you will collect things that you can always combine during photoshoot. Some people will decorate their whole house with little sets, in our case we just collect a lot of “junk” at flea markets, attics etc. we are always interested in things we can someday use. The only problem is room.

Always try to see possibilities, like in this set we used the isolation blankets. There were just laying around so why not use them.
I’m pretty sure you have a lot of stuff in your home that would make awesome set pieces.