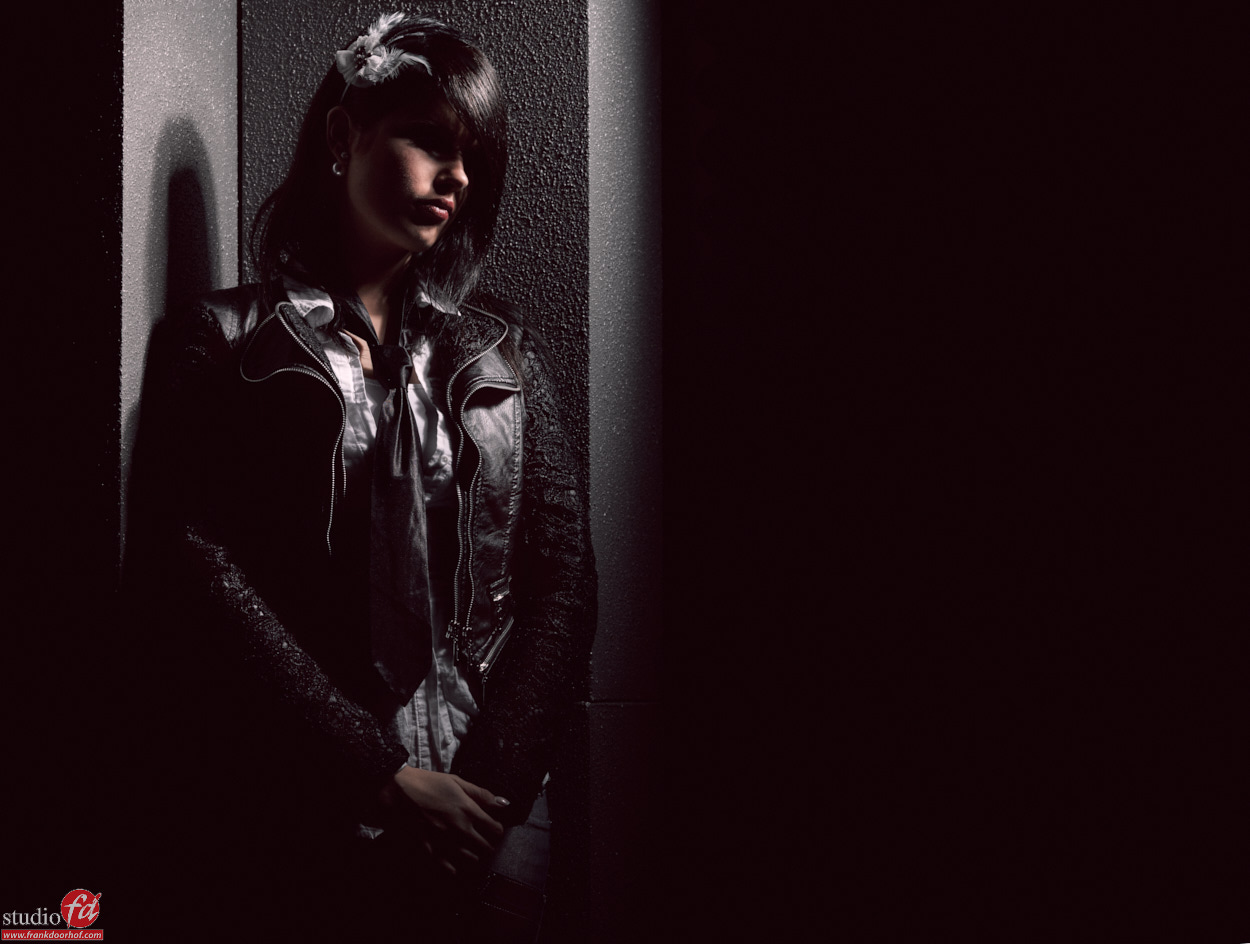
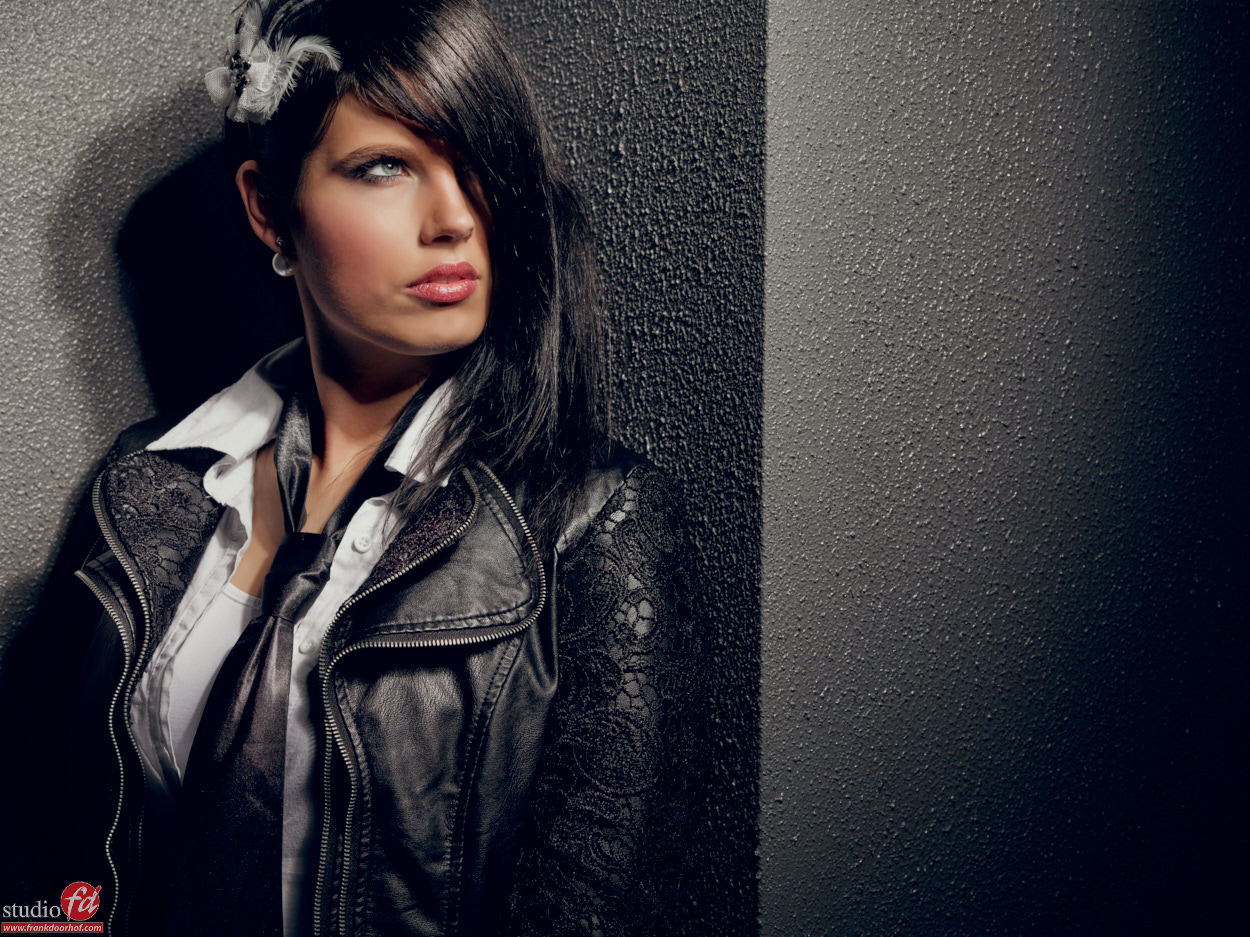
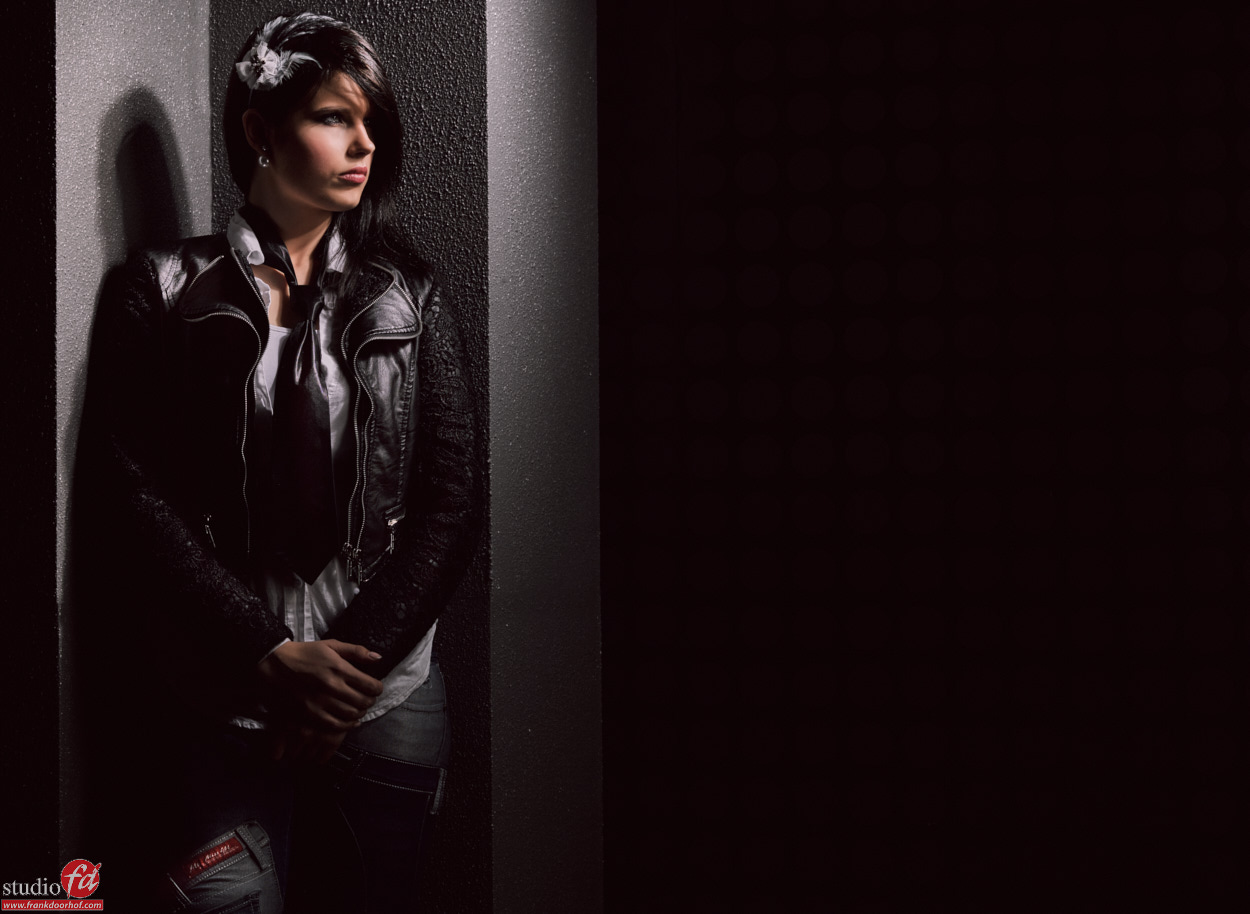
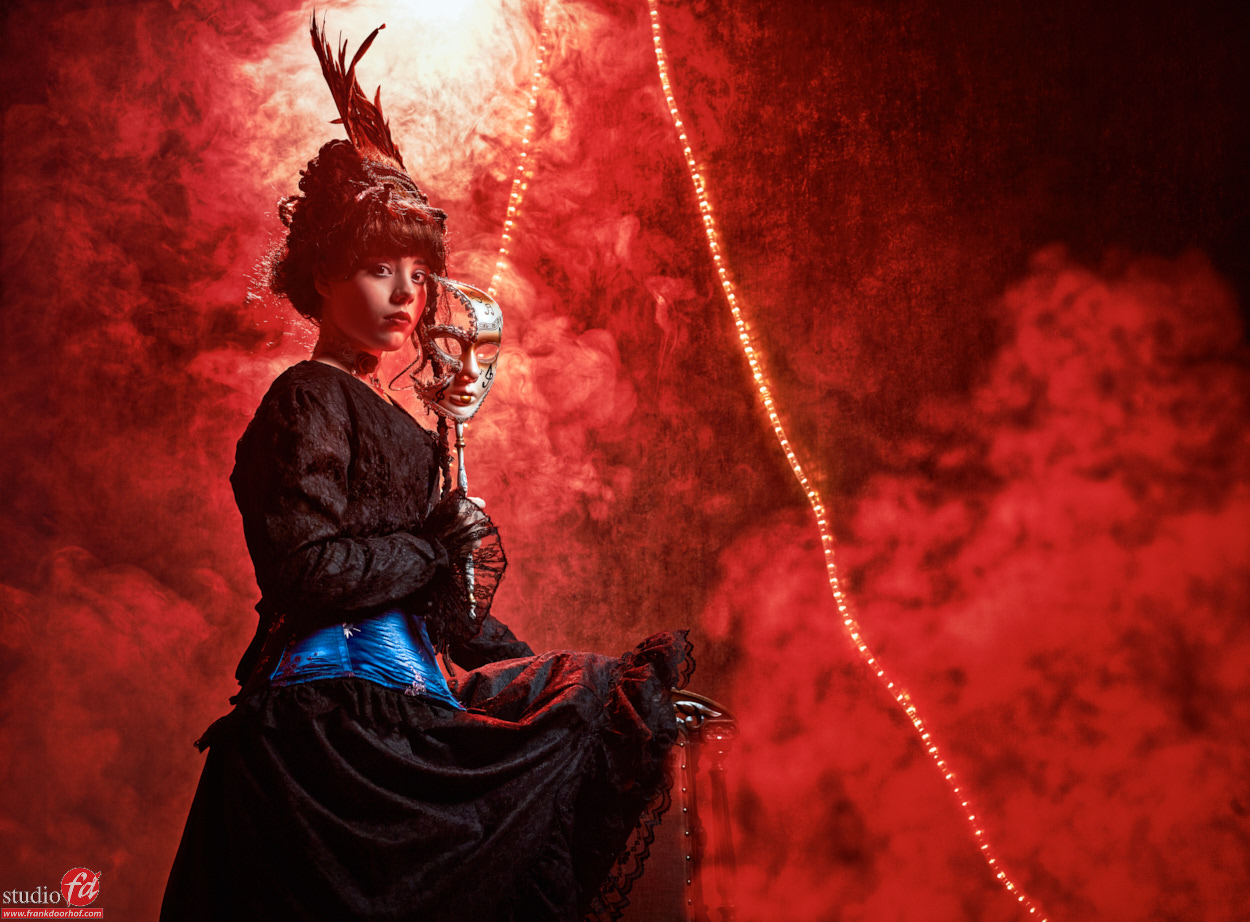
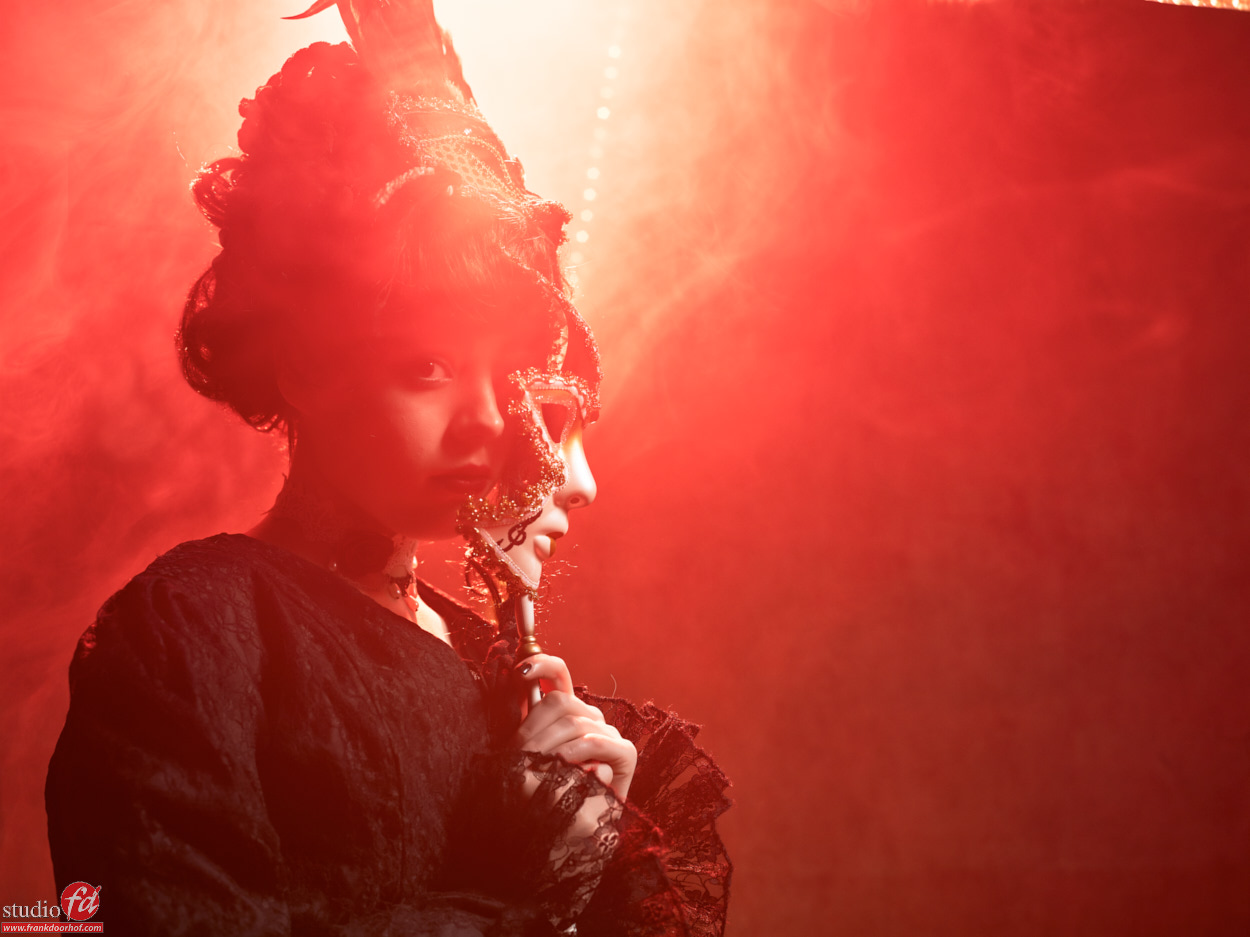
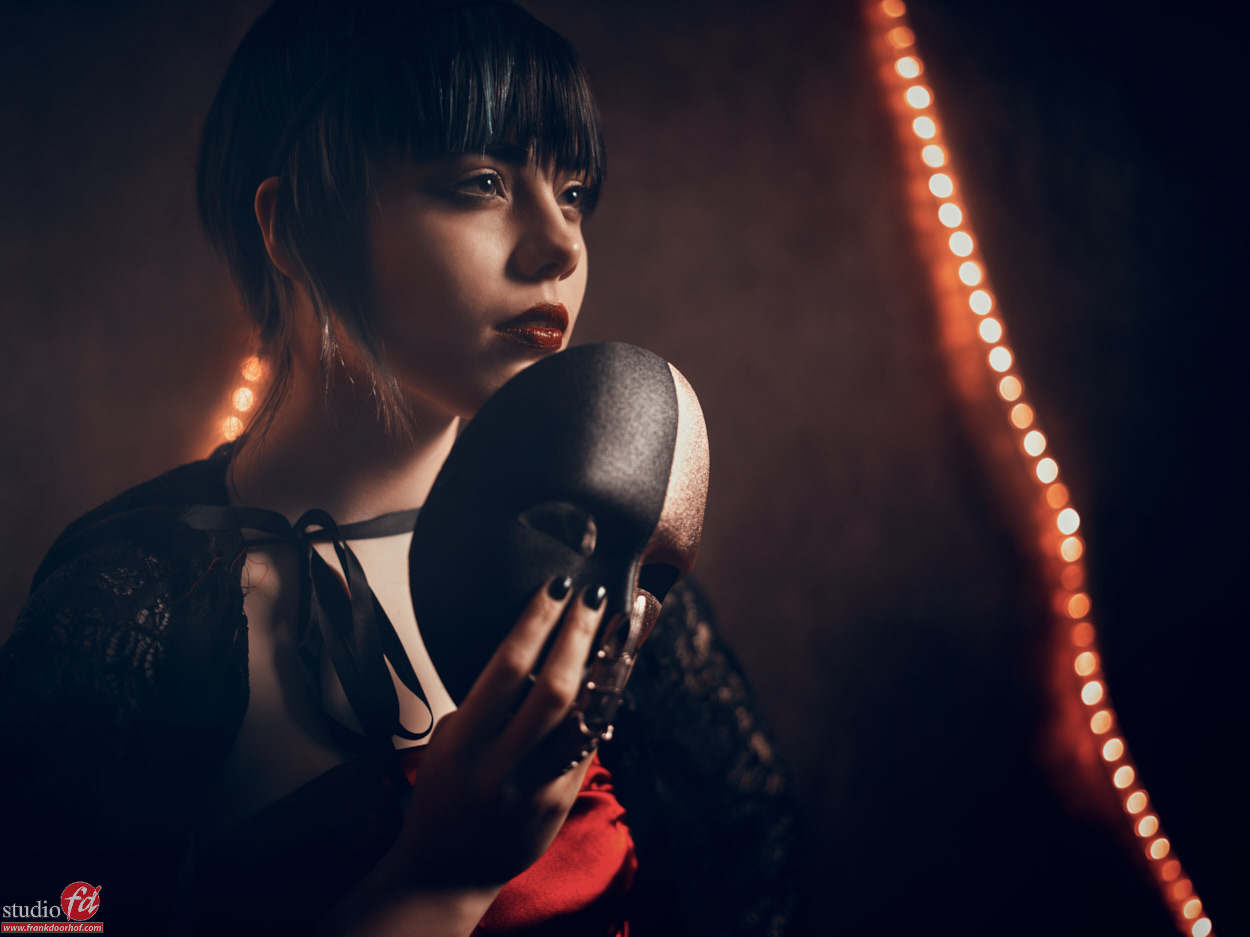
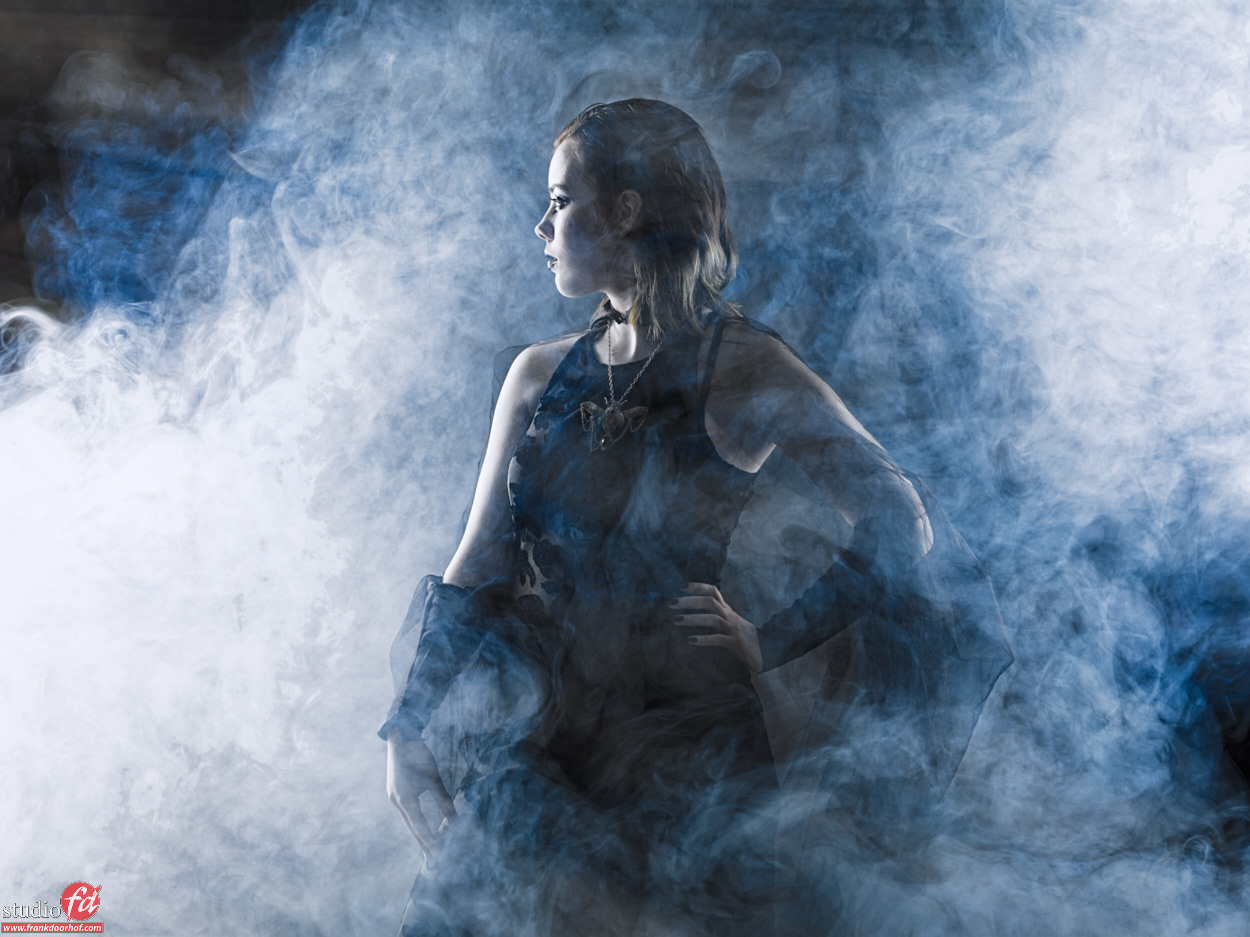
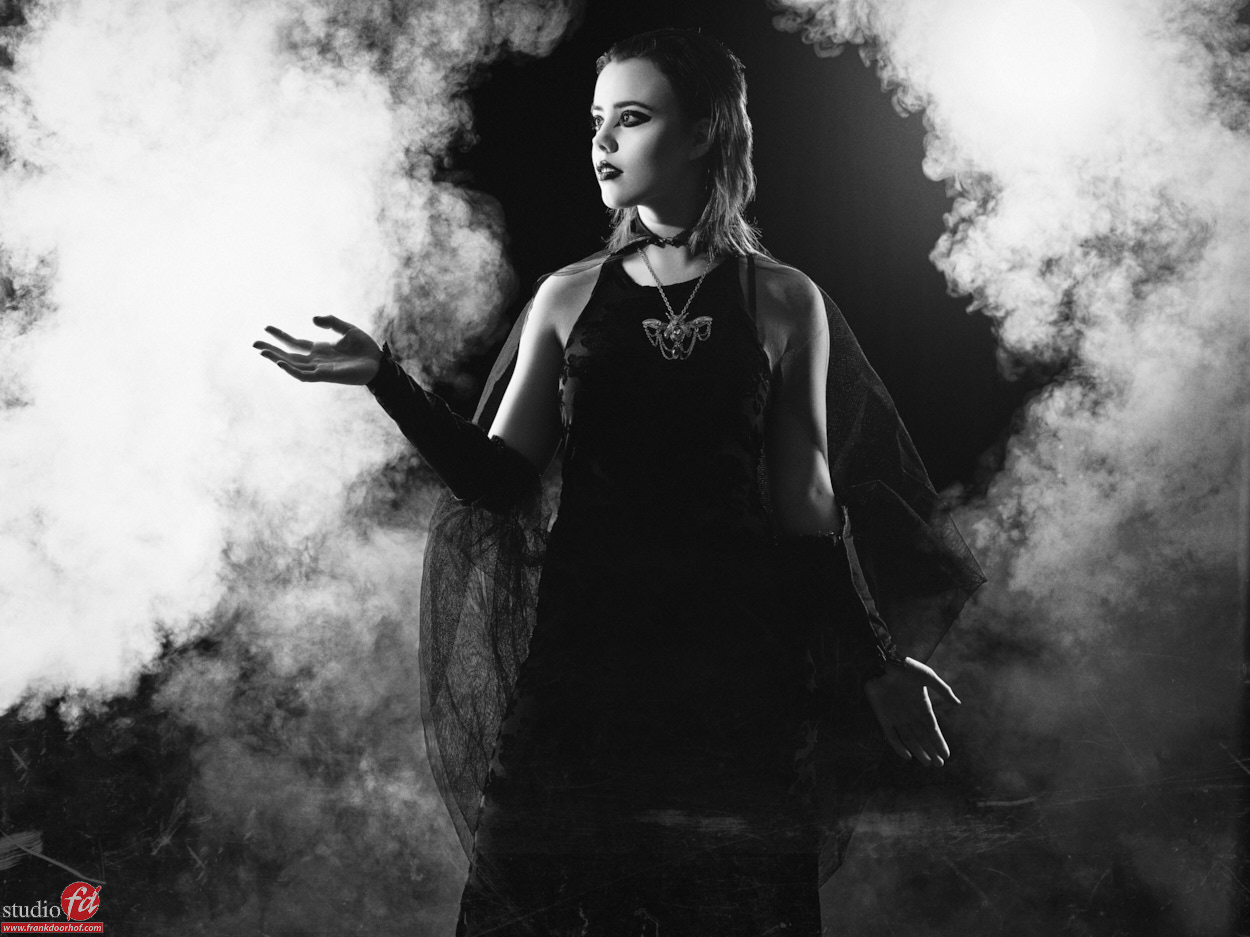
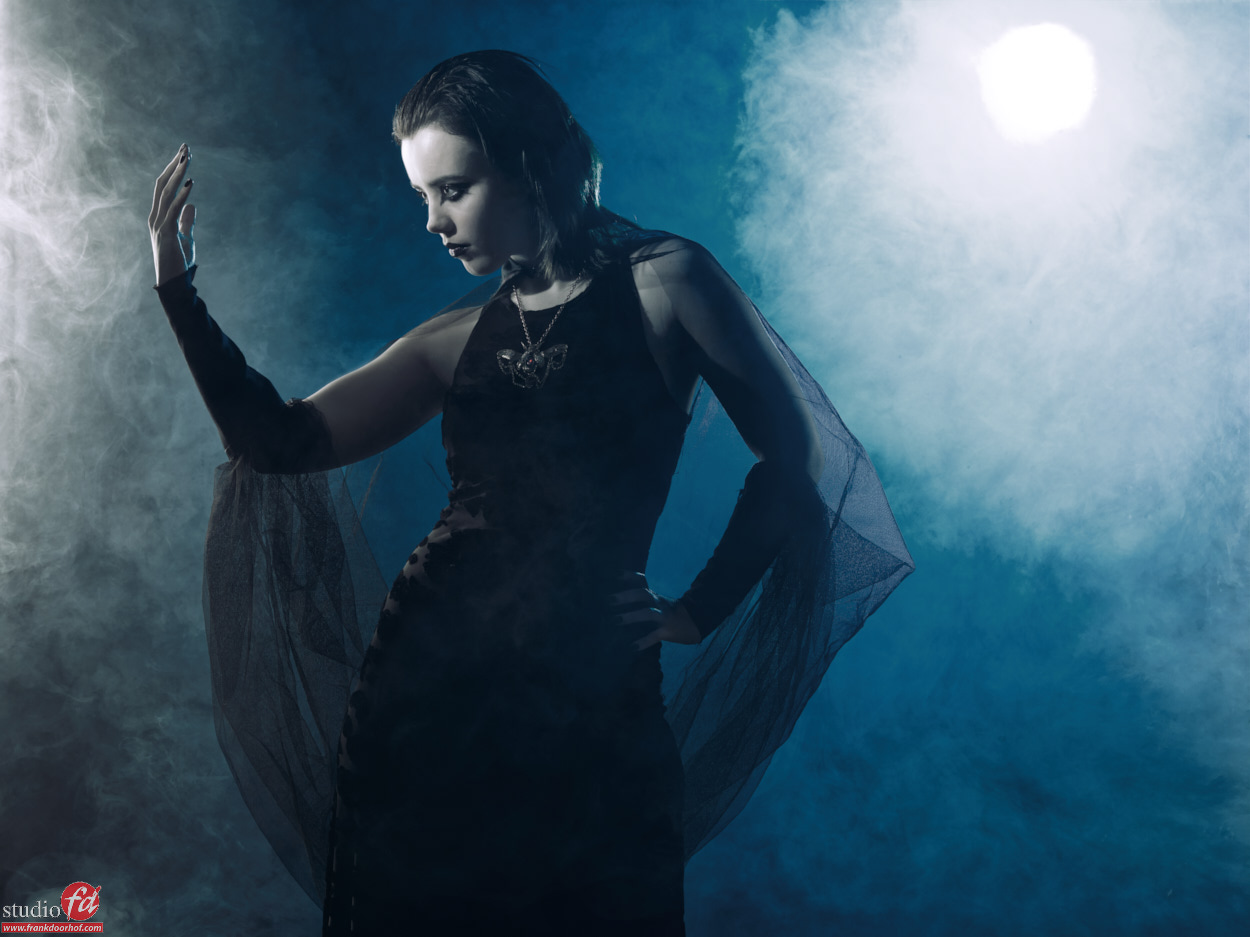
Sharon in a small space

One of the workshops I teach is actually called “Small spaces”
Loads of photographers “complain” about their studio being too small, and of course this is possible, but in my opinion there is always an interesting shot to get.


You might not be able to make a model jump (although that could be funny, and painful) but there is always a option. So this workshop is all about working in tight spaces and this means smaller modifiers (often just a beauty dish) with grids to make sure the light hits only the places you want it to, and of course we have to adjust the models poses a bit.
Remember also that tight/small spaces can actually be incredibly cool if you let your model pose with them, for example lean in between two walls, make her look “locked up” etc. when you come to think about it shooting in small spaces can be much more interesting than shooting in wide open spaces 😀


Today some images from this workshop with Sharon.

Sharon Januari 8 2016 30877

Sharon Januari 8 2016 30880

Sharon Januari 8 2016 30890

Sharon Januari 8 2016 30907

Sharon Januari 8 2016 30912

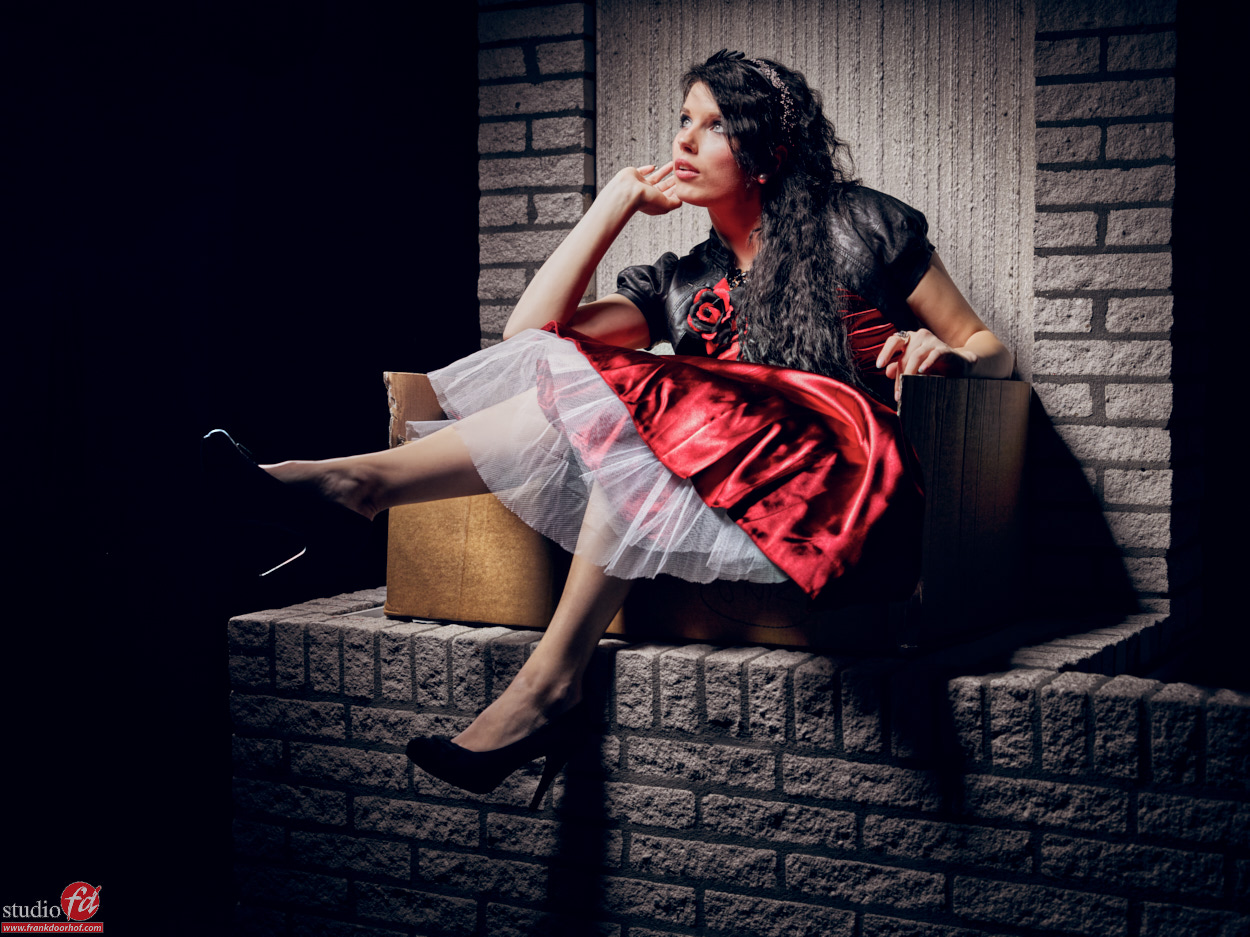
As you can see sometimes you have to think outside the box… but in the case of small spaces it can help to think inside the box 😀


If you like these kind of tips make sure to check out my book “Mastering the model shoot” or get one of the instructional videos from this website.

Ultimate weekend Emmeloord Feb 26/27th

It’s almost time for the new Ultimate weekend workshop again….
This is without a doubt the most intense workshop I teach, 2 jam packed day filled with information on model photography.. I literally teach you everything I know about working with models, lighting, retouching, workflow, social media, business etc. plus we have an amazing diner at night with the whole group in a local restaurant.


At the moment we have 3 seats left so if you want to learn everything you always wanted to know about model photography…. read this.


Ultimate weekend day 2 2401

“Put the magic in your lighting” 

This is without any doubt one of my most popular and most intense workshops…
The ultimate workshop weekend in our studio in Emmeloord
(the Netherlands)
Language for this workshop will be ENGLISH


Join us in our studio in Emmeloord for a very intense workshop weekend in which you will get all the answers you always wanted about model photography, business, retouching, workflow etc. In 2 full days (and evening) we go through every part of a successful photoshoot.
Styling will be in cooperation with Nadine Stephan and Sinister.


This whole weekend is 100% flexible in topics, styling, storytelling etc.
Each day we start with a Q&A which will be the base on which I build the rest of the day. This means that every attendee will learn exactly what he/she wants and there will be no questions left unanswered. This is a unique style of teaching that has proven to be incredibly successful for the attendees and a challenge for me as an instructor 😀


Day 1:
Full studio day from 10:00-21:00

Topics will cover at least :
Metering, workflow, color management, coaching the model, building a complete set and styling it, vintage portraiture, glamour photography, high-end fashion, styling ideas, working with clients, adding movement, using smoke, adding gels, going from ok to WOW and much much more.


Evening 1:
A nice diner and chats about everything (and photography)
Hang with our team during a nice diner and after this we continue in the studio with a retouching workshop.


Day 2:
The location day from 10:00-17:00
Working on location has a whole different range of challenges and we will discuss them during this day.
We start again with a Q&A after which we use different locations near our studio ranging from edgy to nature. We will be using flash, natural light, reflectors etc. In the studio we will mimic locations with constant lighting and alternative light sources will be used and discussed. 


Day 2 afternoon:
Retouching part
Learn how to control your workflow, retouch techniques for Photoshop, Lightroom, Capture One, DxO and the use of plugins.
Business tips


Register now for just 699.00 (euro)

This includes the diner, lunches etc.
No hotel and flights are covered, but we will offer a good location close to our studio and transport to and from the hotel to our studio.
Group size is very limited and the language of the workshop will be English.

This is the most complete workshop you will find anywhere.


Some samples from previous workshops, this is the kind of material you will be shooting too…..

Manon 46 - November 22 2014_DxO editSharon Jan 24 2015 27584Anna Matthea February 14 2015 0452Chantal November 21 2014 0168Manon 101 - November 22 2014_DxO-retouchManon 119 - November 22 2014-EditManon 134 - November 22 2014_DxO retouchSharon Mei 31 2014 (83 of 101)-EditLenaa Januari 25 2014 B (4 of 4)

Zoom in

There’s always this discussion about using zoom lenses vs primes.
LOADS of photographers will tell you that primes are much better… and well I agree they are.
But still I’m a zoom lens person.
I know primes are sharper and often a bit faster (or a lot faster, meaning wider aperture) but to be honest in the studio I always shoot between f4-f22 so most of my lenses are razor sharp in that area, but even if they would be slightly less sharp then my primes I still prefer the variety of looks I can get from my zooms.


Always remember that shooting an image on 50mm and walking towards your model or moving away will be different that shooting from the same location with a 24-70, with the zoom lens you are much faster and if you want a close up you actually compress the scene much more than when walking towards the model with a 50mm (for example).


In a photoshoot I would like to have to most options possible and I love to switch fast so for me a zoom is always a good thing. Combine this by walking around your model during the shoot and you can not only get different looks from your composition/compression but also by the light, because if you shoot under aimed lights (like in the studio) the difference can be incredible.

Do you remember the light snake images ?
Poeka Januari 9 2016 31017

Here we used the same set and I zoomed in a lot more to use the set in a completely different way, but also included some of the red strobe in the back for a completely different look.

Poeka Januari 9 2016 31052

Poeka Januari 9 2016 31055

And a few more with different styling and without the red spot.

Poeka Januari 9 2016 30967

Poeka Januari 9 2016 30986

If you like these kind of tips make sure to check out my book “Mastering the model shoot” or get one of the instructional videos from this website.

working with smoke

One of the most interesting workshops is without a doubt “working with smoke”
It all might seem very simple, just pump some smoke and you’re done… but in reality it’s almost a science, I could literally write pages about it (I might do that one day).
In essence you have to remember that smoke acts like a diffuser and reflector at the same time, so backlighting smoke can be awesome and front lighting a disaster, however if you set up your lights perfectly before you add smoke it could very well be that all falls down when you add the smoke due to the fact that smoke also acts as a diffuser, so it could be way to bright OR way too dark….


Now if you’re smart (and I know you guys are) you can use smoke also to light up your model in areas where normally it would a bit too dark, for example put two strips behind the model and you will end up with a very dark front, however add a bit of smoke in the front and the light will bounce of the smoke and actually light the dress…… easy right? well not that easy but in essence it is, now you have to start to learn how to add the smoke.


With smoke we always work with 2 smoke machines if we can, just layering in the smoke using patterns that will fit the scene, and this has to be very fast because smoke will always move around, so often I’ll ask my assistants to first blow smoke in the front of the model (in these kind of shots) and then behind them and move up very fast. This way you can create some pretty interesting effects.
To show total control over your smoke you can even create two walls of smoke 😀
To light up the face of the model a bit more I used a small snoot with grid.


Poeka Januari 9 2016 31128

Poeka Januari 9 2016 31133

Poeka Januari 9 2016 31161

If you like these kind of tips make sure to check out my book “Mastering the model shoot” or get one of the instructional videos from this website.