How to shoot a model that’s lying down

This must be one of the most asked questions during workshops and especially the glamour workshops.
“How to shoot a model that’s lying down on the floor?”


Now at first this might seem simple.
Just lay her on the floor (watch out where you walk) and shoot her.
But in reality it’s often not that easy, for example what to do with the light, what to do with the background, what to do with her legs, pose, eyes etc. there are actually many things that can go wrong (including tripping over her).


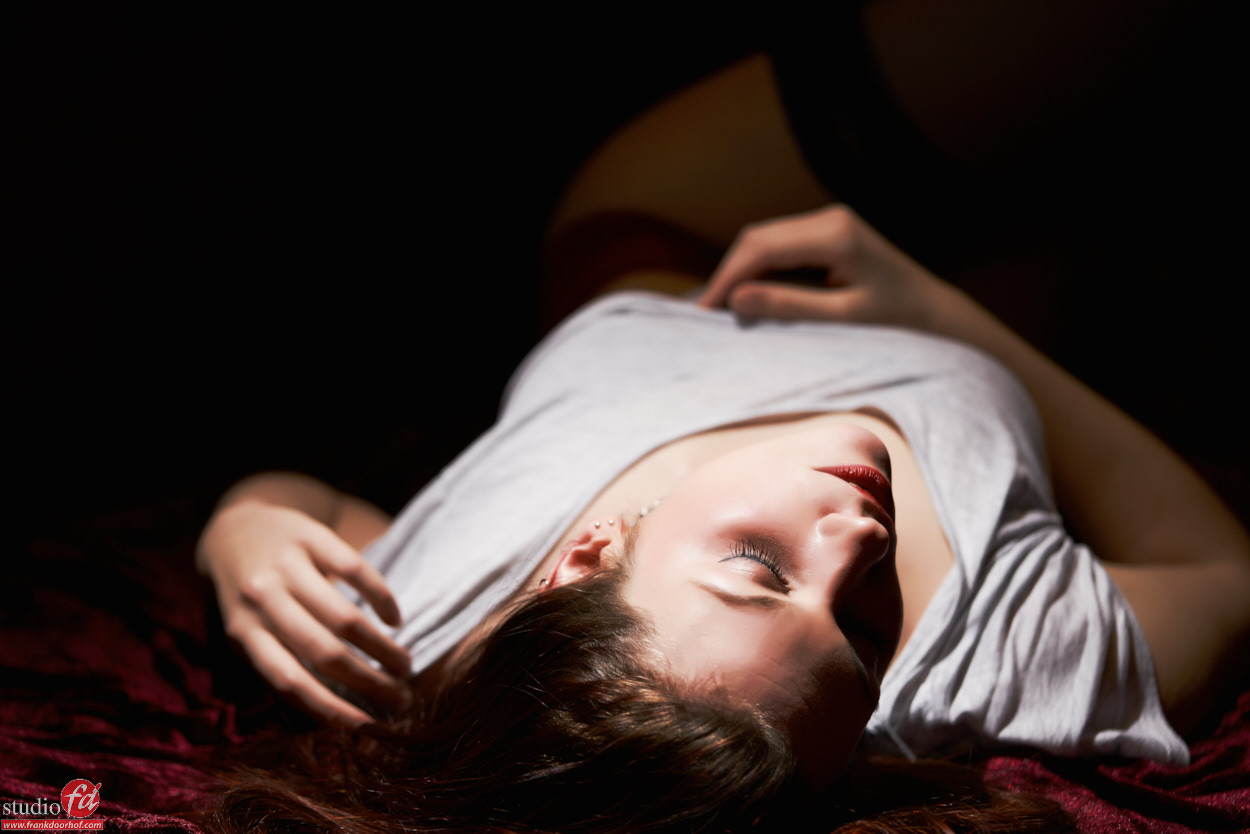
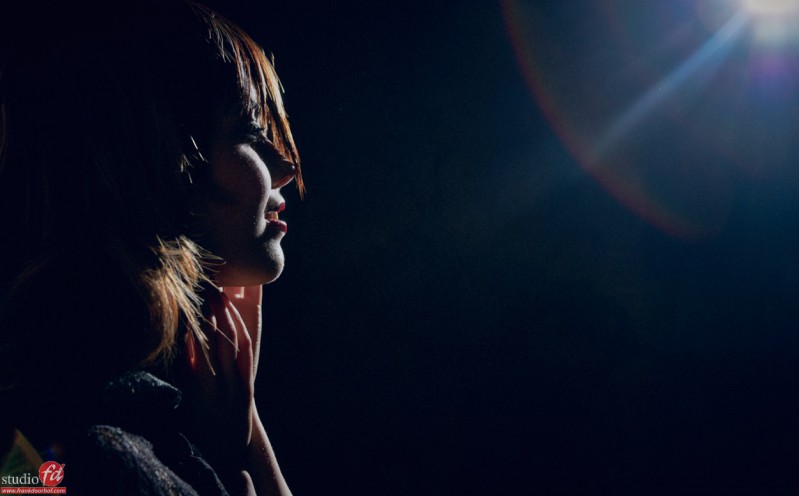
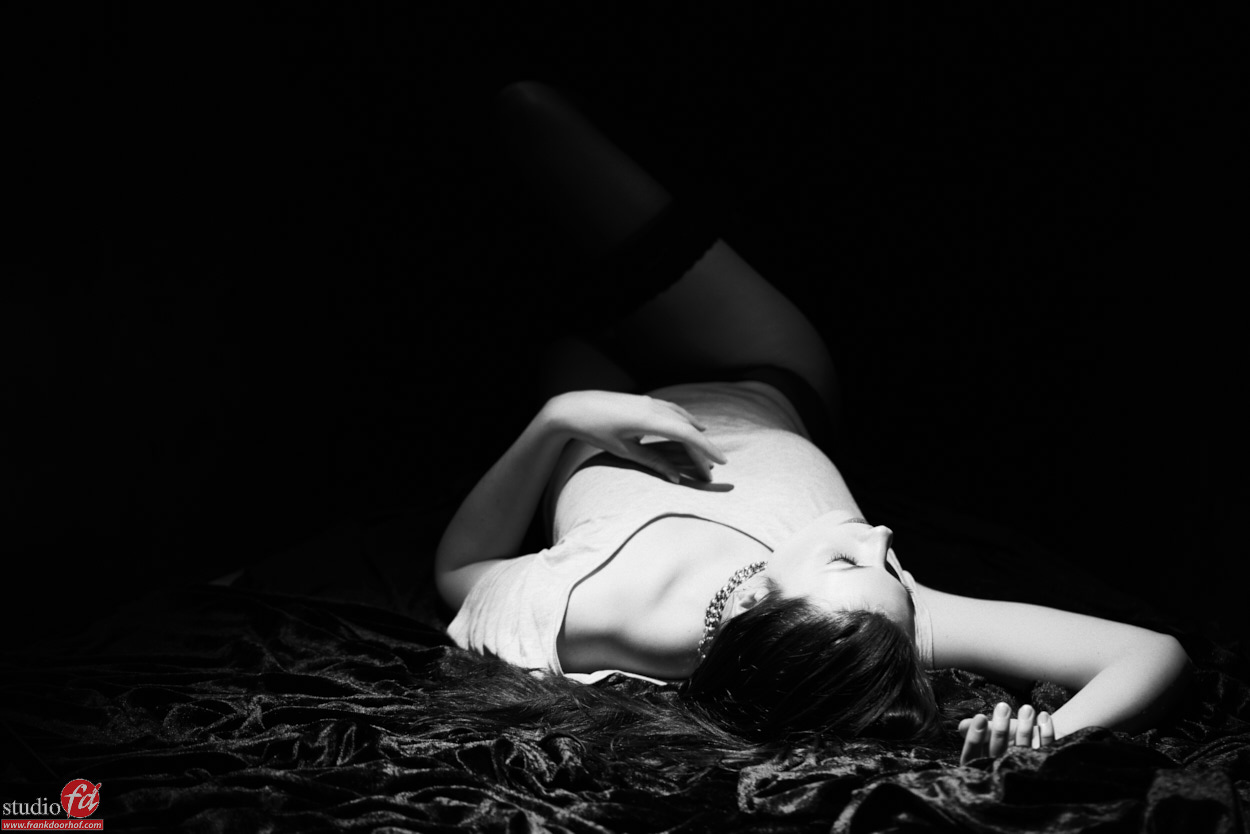
In this shot we used a speed light to light the model from above.
As a modifier I used the Rogue grid which is awesome to really pin point the light to our model Ingrid.
One of the things I love to do with these kind of shots is make the light fall off, this also immediately takes care of the background which in most cases in studio work is not that interesting. Make sure the background is dark (no shiny objects like stands in the back) and just change the grid (or the distance of the strobe) so that the light fall off is nice and covers her face and just a bit of her lower legs in the pose you like.


Remember that you narrow the beam of your light with :
The distance of the strobe relative to the model (further away will make the beam wider)
The thickness of the grid (the thicker the grid the narrower the beam)


Now the light fall off you can determine two ways.
1. the hard way and long way.
Just shoot, and look, change, shoot, and look, change etc.


2. the easy way and looks pretty darn professional (meaning it looks like you actually know what you’re doing).
Use a a light meter and make sure the difference in light between the face and the part you still want SOME details in is app 4 stops apart, meaning if the face meters f11 the fall off should meter app f2.8. However in most cases we shoot this kind of stuff on f2.8 to get a really nice shallow depth of field (later more on this) so to make metering a bit more easy you can cheat a bit by setting your light meter to meter on ISO1600 while you shoot on ISO100 this way the meter will not show you the dreaded EU reading (Extreme Underexposed… yeah I know it means something different).


So as soon as we have the light fall off correct it’s important to talk about lenses.
We want a shallow depth of field so this often means we are shooting this kind of shots with a LONG lens, anything about 100mm works fine, but a 200mm will give you a really narrow depth of field but makes focussing very tricky.
As soon as we have the lens sorted, it’s now about angle.
So where do we sit, stand or ……
In my opinion the best angle depends on the model, the pose and personal taste, but I love to shoot from an angle where I actually sit on the floor or on the lowest possible position of my studio stool (which is pretty low). But this REALLY depends on your taste and the pose you choose.


So now it’s about pose.
In my case I always like to see the legs a bit more up, model is lying on her back looking towards the light slightly (to get a nice nose shadow) or totally away from it (more mysterious) and I most of the time will start with one leg at a 45 degree angle and one just playing around it, not on the floor, not at 45 degree but just “puzzle” a bit, this is very personal and often the most difficult part. One final tip on this is to count down and make the model put tension on her body on the moment you click.


What about the eyes?
Good question…
In some cases it can be downright CREEPY if she keeps her eyes open, so in that case close them… yep it’s as easy as that, it’s not rocket science. If you want a bit more “sexy” close the eyes and let her hands just slightly move around her neck area but beware that you don’t go to far with this because a nice and relative sexy shot can VERY quickly become a very erotic shot which might not be what you’re after. Also make sure you focus on the CLOSEST eye.


So the next time you shoot a model lying on the floor I hope these tips help out.
Make sure to show your results at our facebook group with the name “Mastering the model shoot” and check out my book with the same name for much more information on photographing model, or get one of our instructional videos from the site.

 

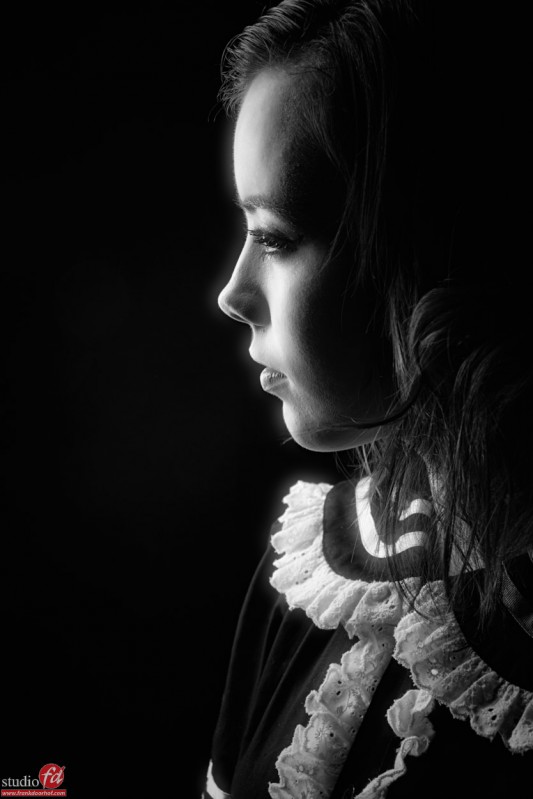
Ingrid January 7 2016 0021 BW

Ingrid January 7 2016 0059

Poeka at FotoKlein

Recently I taught 2 small workshops at FotoKlein, a large photography store in Barendrecht (NL).
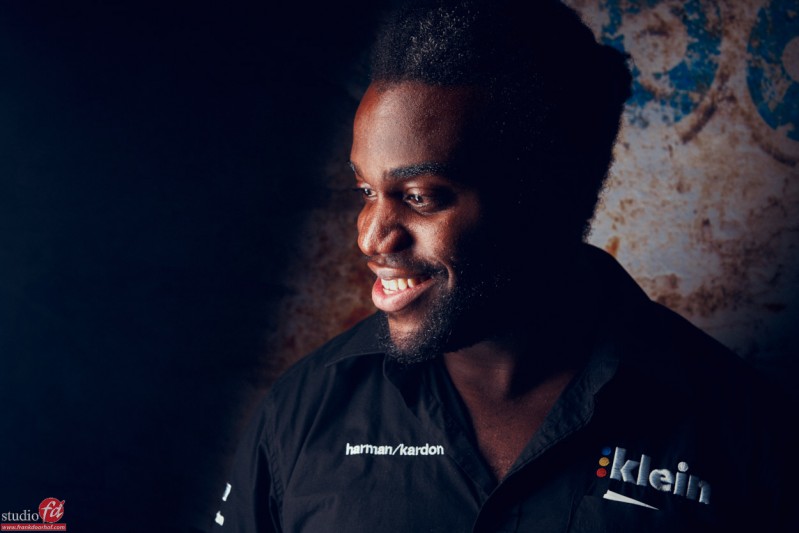
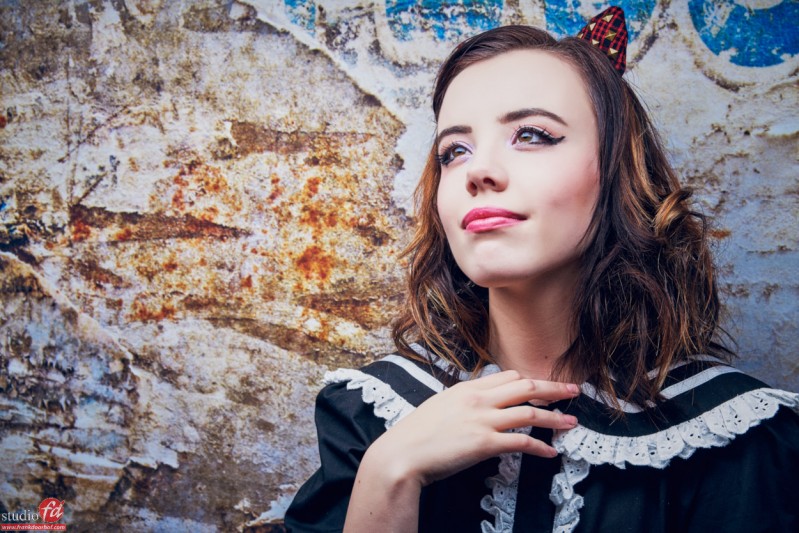
Our model of the day was Poeka.

We did have some technical issues with the gear but this actually triggered me to work even harder and luckily thanks to the kind people at FotoKlein they solved everything (including a strobe that went disco on me, yeah baby).


So today some of the shots from those demos with Poeka.

Poeka bij FotoKlein December 19 2015 0002

Poeka bij FotoKlein December 19 2015 0005

Poeka bij FotoKlein December 19 2015 0008

Poeka bij FotoKlein December 19 2015 0010

Poeka bij FotoKlein December 19 2015 0014

Poeka bij FotoKlein December 19 2015 0026

Poeka bij FotoKlein December 19 2015 0031

Poeka bij FotoKlein December 19 2015 0036

Poeka bij FotoKlein December 19 2015 0039

Poeka bij FotoKlein December 19 2015 0042

Poeka bij FotoKlein December 19 2015 0045


Behind the workshop video

As you know we also teach one on one workshops. For example when a photographer doesn’t speak Dutch, or wants to learn something particular.
Last summer we received a request of a wedding photographer to teach him how to improve his couple photo’s in a location he often used: Burg Bentheim, an enormous castle close to the Netherlands, but just in Germany (so a great way to also check out the speedlimit on our car… believe it or not there is no max speed in Germany).


When we do a workshop like this one of my first choices is of course Nadine, her amazing styling and great posing always makes working with her a blast and for this day (because it was a wedding like photoshoot) she brought her “husband for one day” Kevin. Assistant and camerawoman Annewiek (yep my wife) filmed all day backstage.  Today we share the result.


You see me coaching the models, and the light setups. The first 3 setups are just with one Elincrhom Quadra and the Octa 70cm which I love for these kind of setups. With the last setup we used the Quadra with Beautydish and grid and a bare Quadra in the back. We were very lucky with the weather in December, it was cold but not too cold (well at least you don’t see me in shorts this time).


We also experimented with a new workflow which would save us a lot of time during travels. The video was edited in iMovie on the Ipad Air 2, on the iPad iMovie is very easy to use but most of all it’s a really fast way to edit. iMovie enters effects between every scene (if you want it) and cutting is easily done. There is not much choice in effects or texts, but enough to make a nice video, and if we need more we can always export the project and finish it in FCPx on the Mac. Annewiek used the iShowFast USB to Lightning stick to transfer the files from the macbook to the iPad and back. Adding music was a whole other story (you cannot download music from YouTube audio library on iPad), but thanks to some instruction via YouTube movies we actually got a cool workflow for this too, it’s not as easy as drag and drop but it’s very workable 😀


Enjoy and don’t forget to subscribe, you not only show your appreciation for what we do but you also won’t miss out on content that is streamed live, something we are going to be doing more and more in 2016.

MTM goes New York

On February 13th I’ll be teaching a full day (small group) workshop in New York… the city that never sleeps.
And trust me… after this workshop you won’t sleep for a week…. it’s jam-packed with information on shooting models, understanding light, mixing light sources, shooting with advanced light setups and the bare basics (just natural light) and much more. The unique approach of the workshops is always that we start with a Q&A in which the participants can ask whatever they want and part of the questions will be answered right away and the other part will be incorporated into the workshop it self, this way the attendees always learn exactly what they want.


For this workshop we have some amazing dresses from our friend Lindsay Adler (they are stunning) plus the workshop itself is taught in a great studio with both day light and studio options so it’s possible to cover literally every aspect you can encounter, meaning you will get a very complete overview of techniques for both natural light and strobes (and mixing them of course).


During the workshop you will also get the chance to shoot with the brand new 100MP Phase One digital camera/back so you will be going home not only with stunning images… but also some very high resolution ones 😀


As an added bonus you will also see the whole retouch process from selection to finish with many tips in Photoshop and Capture One.
By the way… ALL participants will receive a free copy of Capture One 9 (valued at 299.00)


Topics will be :
Understanding/Manipulating/metering light
Using the light meter in incident and reflective mode
Mixing light sources
Coaching the model and working to a great shoot
Adding motion for that WOW effect
Advanced techniques for location shoots
Maximizing the location
The right gear
The complete workflow for model photography
Color managed workflows
Using Capture one during and after the shoot
Retouching and selecting images
And MUCH MUCH more…….

Retouching topics will be :
Skin retouching without spending hours behind the computer
Adding an unique look within seconds without plugins
Tinting your images 
Body shaping within Photoshop
Using BW convertors for stunning color enhancements
Adding skin detail back if necessary (this can save your shot)
Manipulating light
Adding atmospherical lighting to a shot
Enhancing the look of the scene
And MUCH MUCH more…..


Sounds good?
I think so, so head on over to https://frankdoorhof.com/web/tours/new-york-workshop-february-13th-2016/ and read more about this workshop and register.
CU in the big Apple 😀


facebook.4