Cover your eyes…..

Eyes are the mirror to the soul, we all have heard that one.
Sometimes however it can be very interesting to start playing with the concept “should I include the eyes in the shot YES/NO”


Today two images from the same session where I experiment with eyes covered and not.
For me personal I have no favorite but as you can see the mood from the 2 images is totally different, try to experiment in your own sessions with this concept and remember that, although we all love to see the eyes in a shot, it’s sometimes also very powerful to intentional hide them.

Roosmarijn Mei 22 2014  (20 of 155)-Edit

Roosmarijn Mei 22 2014  (35 of 155)-Edit

Macphun presets

This week I released my presets for the Macphun software Intensify Pro.
The last few weeks I’ve been using Intensify pro on 99% of my images, sometimes very subtle and painting the effect in in select areas of the shots, but also sometimes on full power for my street photography.


In the past I got into the hyperreal look with a software plugin called Lucis art, but they really dropped the ball by leaving out Mac 64bits support. After this the best alternative was NIK Tonal Contrast but it somehow was just a bit too rough for me, when I got Topaz Clarity I finally found something that at least could give me some of that hyper sharpness back without halo’s around the images and I still love Topaz clarity and highly recommend it.


However when you’re on the Mac make sure to check out Macphun’s Intensify (pro) it’s awesome, it gives you a lot to play with and the results are awesome.
I dedicated a Quite Frankly episode to the plugin version which you can find here

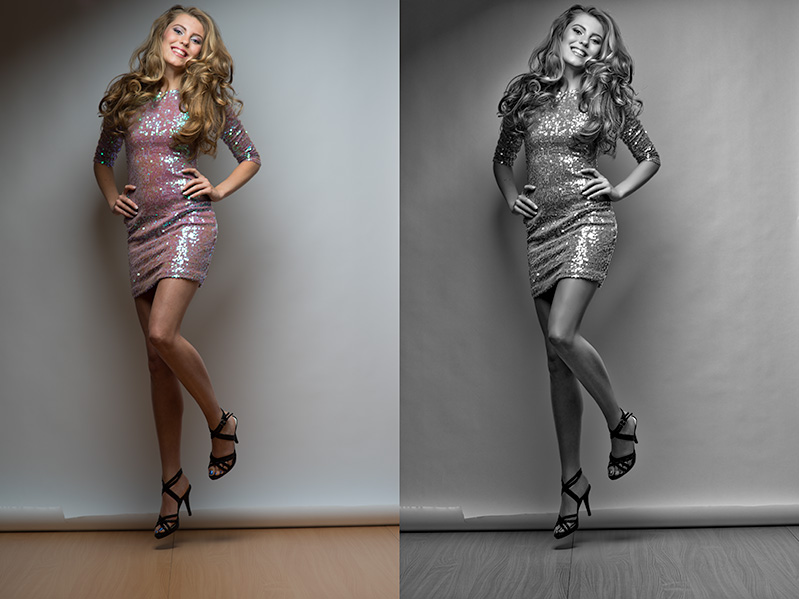
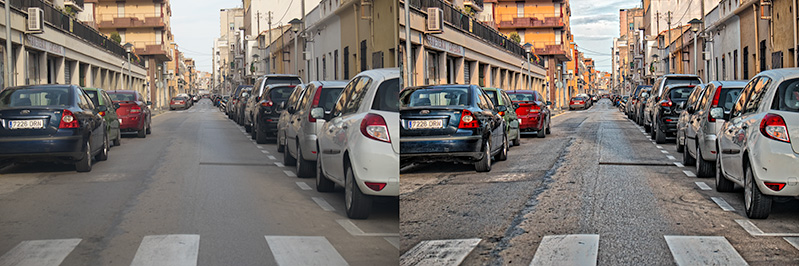
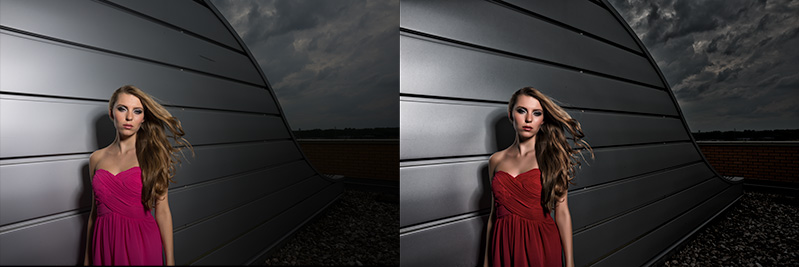
After this episode I got a lot of questions about my presets for Intensify so I decided to create a special preset package for you guys to use. These are the presets I use on a daily basis and are fine tuned for the work I do, so they are aimed at street/travel photography and model photography. I’ve included several BW conversions with loads of contrast and details and a very subtle (but very cool) skin pop preset that will really pop your beauty portraits, and I even included a Lastolite background pop preset and a Semi Lucis version.


You can download the presets from our online store they are priced at EU 7.50 and the package contains 23 presets.
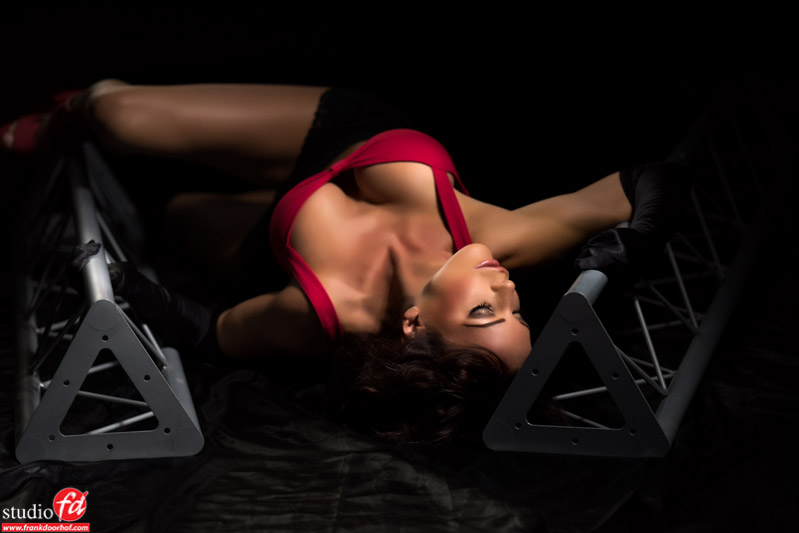
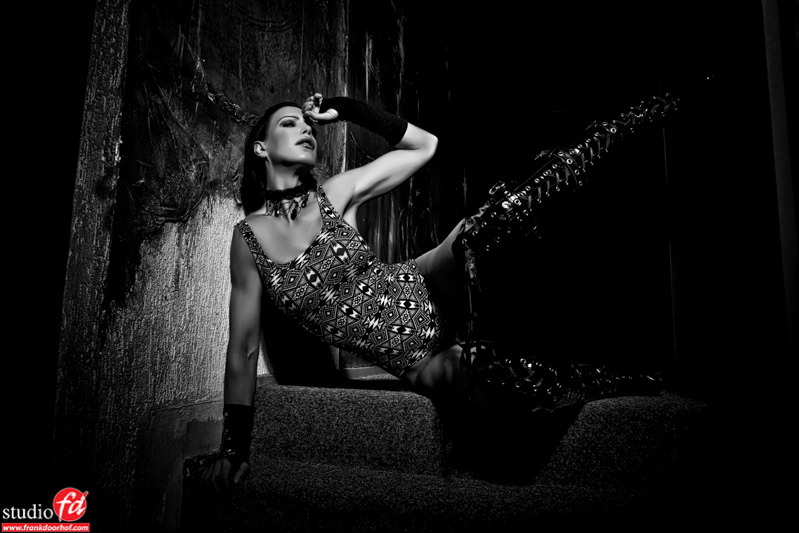
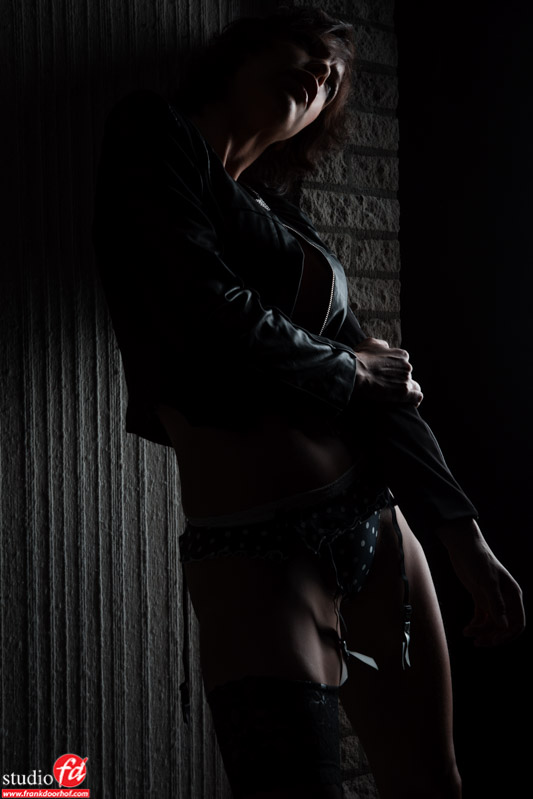
Here are some samples.

voorbeeld 2

voorbeeld 1

voorbeeld 3


Just between two walls

“My studio is not big enough”
“I can’t shoot full bodies because….”


Well we all heard the excuses, or maybe even used them ourselves.
In reality however it’s often much less dramatic than one might think, often it’s just a matter of being creative with the area you have available, don’t just think about shooting full bodies (or whatever) against seamless where you have to have the model 2-3 mtrs from the background (although close to the seamless can be very interesting as I will show in another blog post), but think about what you can do with small spaces, and trust me, often the smaller the space the more interesting it can get.


In these shots I shot the model in between two walls in our studio, it’s just a small area where we normally walk on the stage, it’s tight and not really an area where you would think you would shoot, but when we prepared the studio with walls I did let the painters paint the walls because I thought I saw the potential… 😀 in the end it indeed is one of my favorite spots.


Roosmarijn Mei 22 2014  (57 of 155)-Edit-Edit

Read more

Aimed light

One of the most difficult things to do is really aiming your light.
In a lot of workshops you will see big soft boxes aimed at the model from a moderate distance, this is of course very understandable for the simple reason that in fact you really can’t go wrong…. however the resulting image is often “a bit flat” and not that interesting lighting wise.


A next step is using smaller light sources like striplights or for example a beauty dish with grid.
For example in this shot I used a small striplight.

Roosmarijn Mei 22 2014  (73 of 155)-Edit

It can get way more interesting however when we start lighting our model from the back and creating a very dark front. Now normally one would let the model look upward to catch some light, but often that doesn’t really result in the image you want, a model looking towards the camera always has a little bit more….. connection, especially with glamour.


In the next shot I used a beauty dish from the back and lit the models face with a very small light source, in this case a snoot with grid.

Read more