Shooting in a zoo…
This Sunday we finally had some time to spend some time as a family and go somewhere, our son wanted to visit Artis (Amsterdam Zoo) so the decision was made very quickly. While walking through the Zoo I of course took some images, and to be honest it was never my intention to share them online in the blog, however I met some people struggling with taking images from the animals and of course I helped when possible and thought that it would be nice to maybe dedicate some space on the blog to the tips I find useful when shooting in the Zoo (or somewhere similar of course) and I think it will also nicely fit in line with the blog posts about composition and creativity.
Let’s make first clear that I’m not an animal shooter, I just love to photograph and not only models etc. So please don’t judge these images on quality etc. they are just here to show some of the tips I think would be beneficial for you readers.
Gear
Let’s first take a look at the hardware I use during a simple zoo trip.
Camera : Canon 5DMKII
Lens : Canon 24-105 F4 L IS
Lens : Canon 100-400L IS
You can of course also take a flash unit with you but in this case I decided to leave that one at home.
The waiting game
A lot of people just shoot and move on.
Although this is nice for the people that are with you I like to take some time and make sure that I get an image that is worth the memory space, and trust me I shoot a lot of images just for fun but I know that when I want something interesting I will have to wait. There will always happen something like a fight or gameplay between the animals and then we have movement and excitement which is always much better than an animal that is bored and just sitting there.
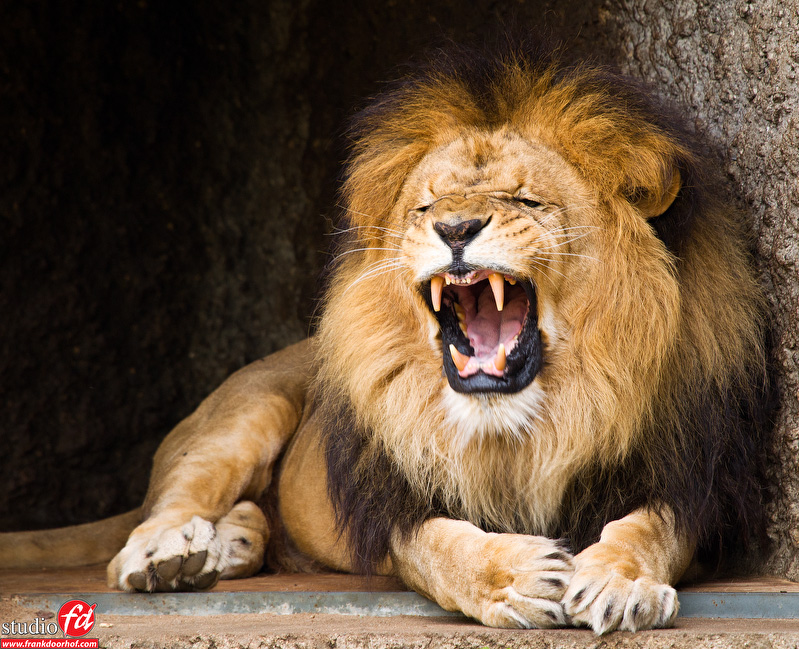
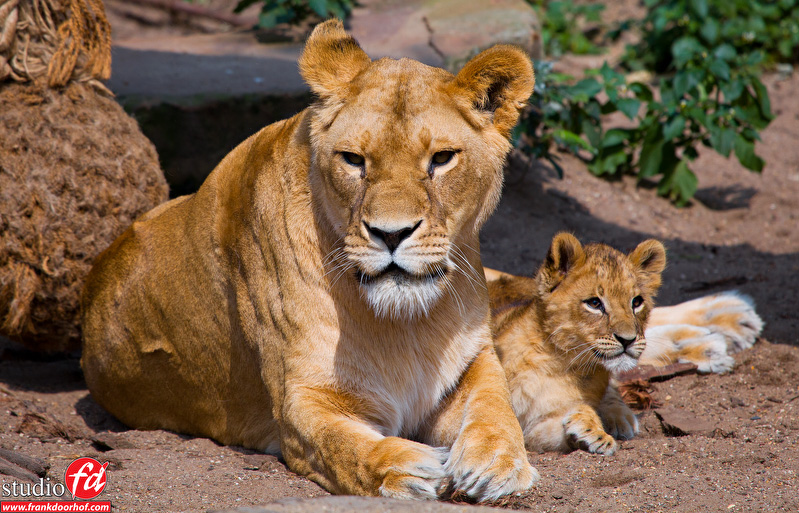
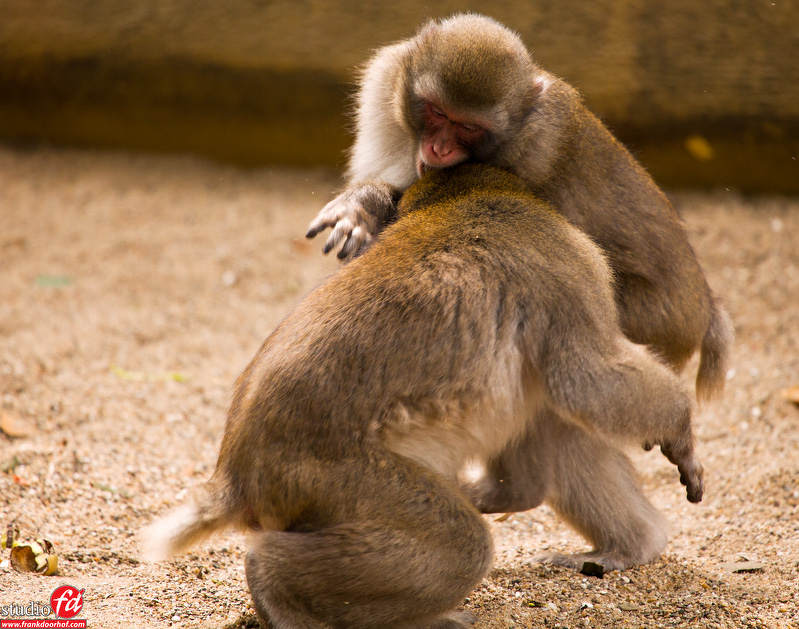 But you can also wait for a big yawn from the Lions, which in my opinion always makes a nice image.
Also don’t forget to shoot on continuous mode with autofocus following, this is one of a series of images.
Focus on the young ones
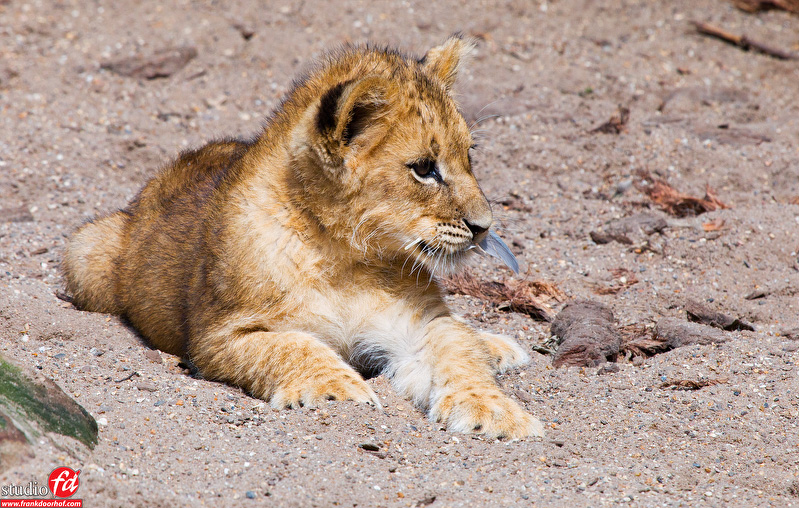
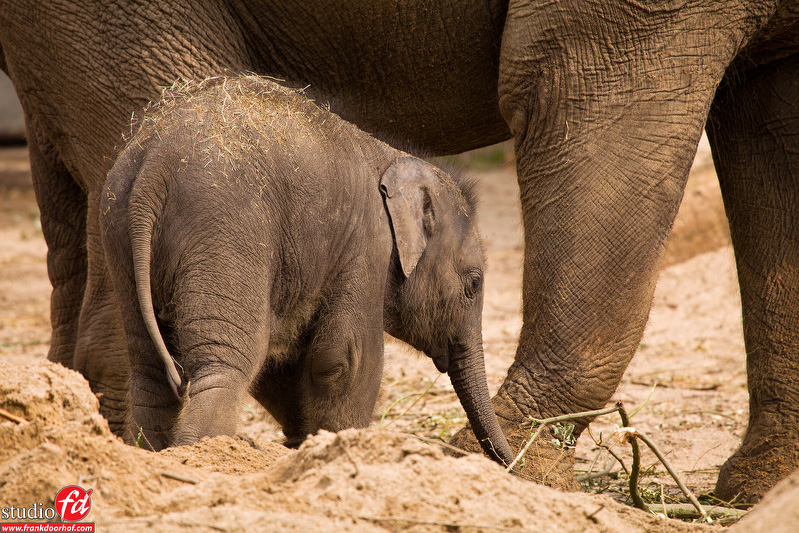
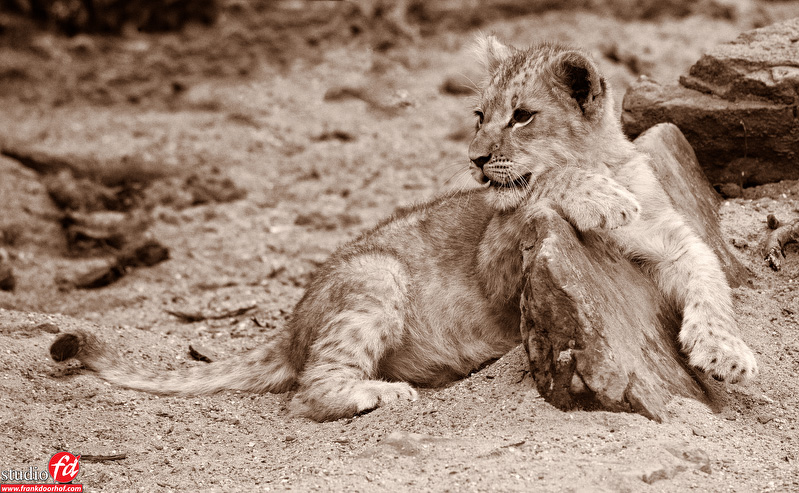
There will almost always be some young animals that have just been born, and even if they are a little bit older, those will always make an interesting topic and give you some “ah how sweet” comments. They will also be a bit more playful and easier to make something interesting.
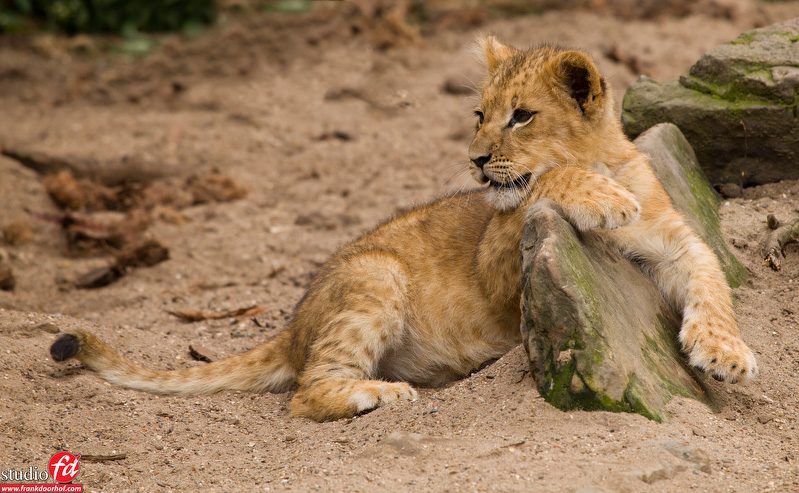 Including the parents full in the image or as a small detail can also make an interesting image.
Shooting through the fence
Maybe one of the most troubling situations for many people, but it can be solved rather easy.
First of all make sure you bring a long lens or shoot on the longest setting you have on your lens, also make sure you shoot wide open and disengage any strobe light. Now focus on the eyes of the animal you want to shoot and you will see that the fence is not visible in the image (or barely depending on the length of the lens and the aperture you can use). Also make sure the animal is as far away as possible from the fence, the further away the more the fence will be out of focus and disappear as snow for the sun.
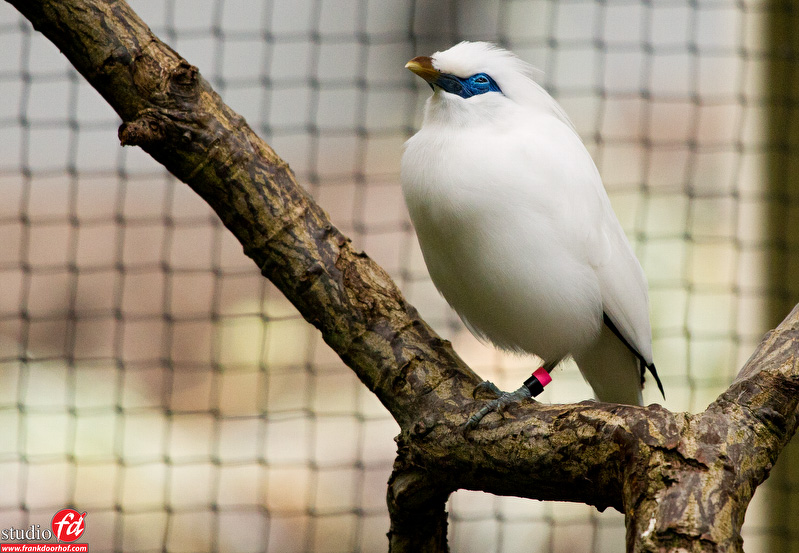 With some time in Photoshop you can easily remove the background and replace it with another one if you want the image to look as it was shot in the wild (don’t forget the rings if you do that). But you can also choose a different angle and make sure the fence is a little less obvious.
Glass
Also a problem for a lot of people.
In the case of glass the biggest problem is reflection, to fight this one could make sure there are no reflections by letting some family members/friends block the shadows, but the chance is that they don’t wear black so they will show up in the image. So best is to to use your sun hood close to the glass and shoot connected to the glass, this way you eliminate the reflections 100%.
Some more tips
Make sure that you choose your composition as you do usual.
Try to remove unnatural elements (zoo elements) from the composition.
Don’t use strobes in front of glass or fences.
Take long lenses with you but don’t be shy to use the wide angles.
Take your time, don’t just walk and shoot, choose your moment.
Choose your angles, it might seem as there is not much too choose from in some sets, but you will be surprised how much different a small change in position can make.
Don’t try to call the animals or make sounds, you will just sound funny/stupid and the animals won’t respond.
The winners
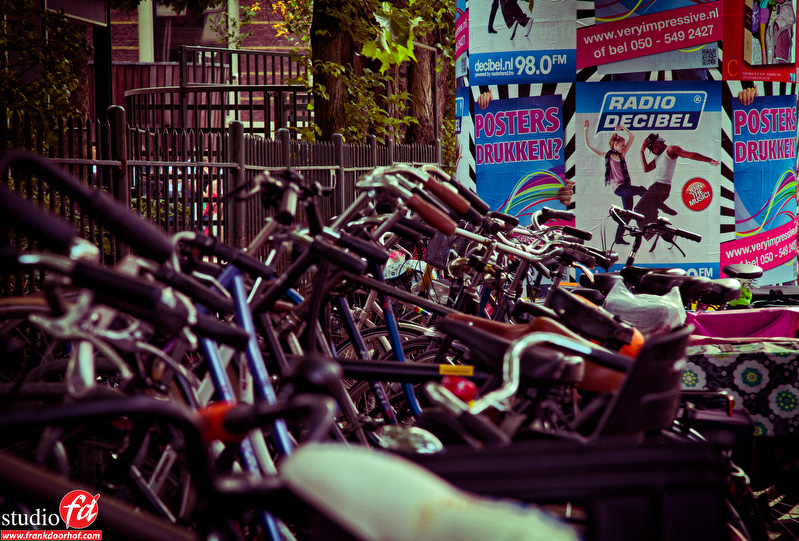
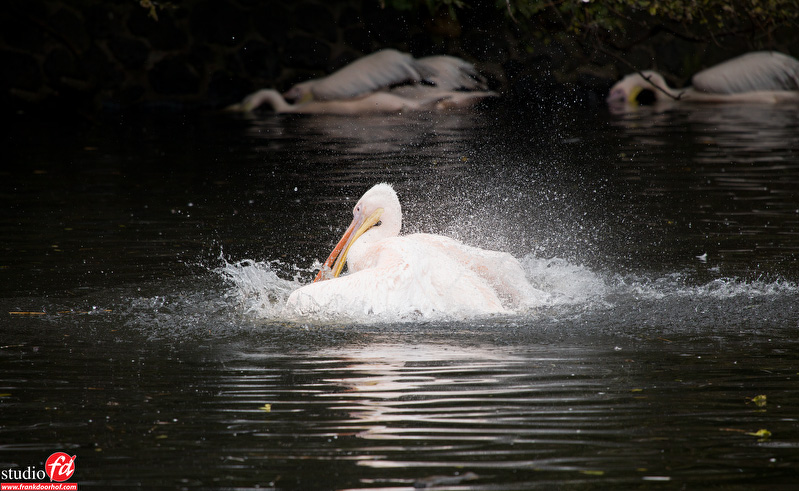
Don’t expect to come home with winners from a zoo trip, but sometimes you will shoot images that are great and are worth some extra work in Photoshop and a place on your wall or portfolio. As you can see the images before these are all straight out of the camera, however two images I loved a lot and I did some more work on those, for me these two are the winners of that day.
One more added thing, when you leave the zoo or arrive also try to find some nice images, when you’re there why not just shoot other things.
 If you have questions or tips you want to share, feel free to do so.
And please spread the links to other people you think might benefit from it.

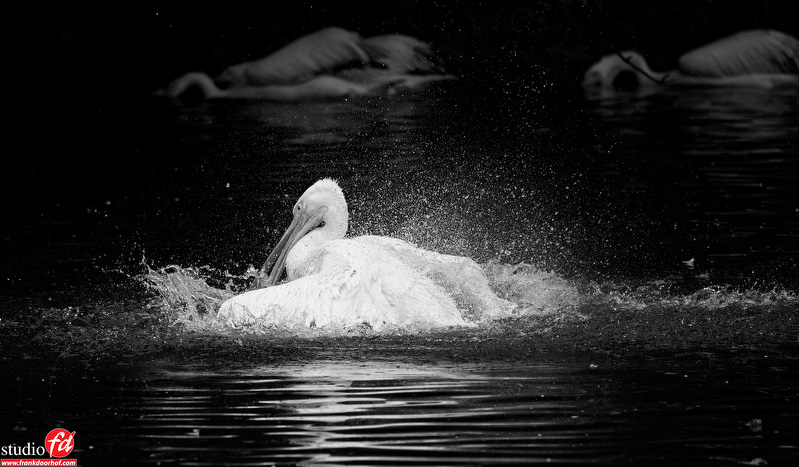
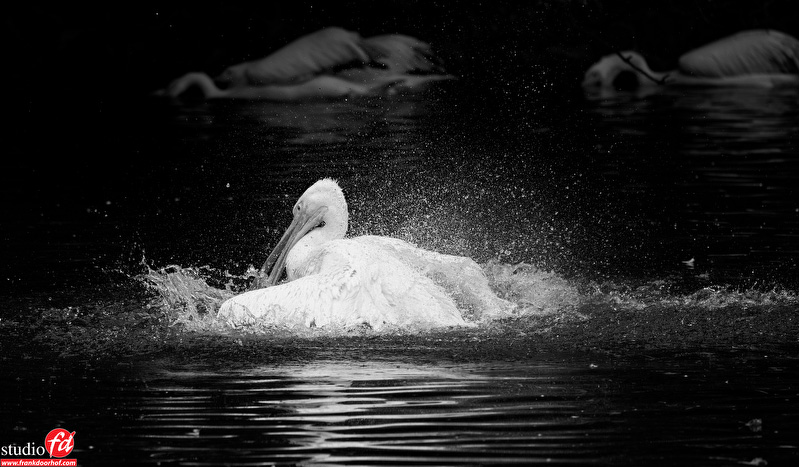

Thanks for the tips. Those images are … intimidating. The black and white bird one IS exceptional
That’s one I also love the most to be honest.
Funky to see pictures like this, coming from Frank 😉
I mean… funny…
I know 😀
Wow, great timing, i just commented last night that i fancied going back to Artis and taking some shots! (Last time i went was about 3 years ago when i’d just got my first SLR. Looking forward (hopefully!) to seeing how much i’ve improved). Thanks for the tips!
Hi Frank we are taking the kids to a small zoo next monday. I wasn’t that bothered about taking my camera for the animals but now I feel inspired to give it blast and see what I can come up with! Keep it up Ken.
Cool to hear, hope it helps, and show the images when it did 😀
Bedankt Frank, toevallig ga ik morgen naar de dierentuin in renen en ga je tips proberen te gebruiken
Veel succes, en deel je ervaringen natuurlijk.
Ik ga vrijdag weer een dagje naar Blijdorp, uiteraard met camera. Dank voor je tips!:-)
Ik ga vrijdag weer een dagje naar Blijdorp, uiteraard met camera. Dank voor je tips!:-)
Als je er wat aan hebt, laat de foto’s zien 😀
Mooie foto’s Frank 🙂
thanks 😀
hi Frank,
would really appreciate it if you would explain in shot, how you edited the black and White image to its current glory…
Especially the background birds must have same color range as that of focused subject…
Did you shift water color to black from its original range?
I used NIK filters for this one, nothing more. The bird was however luckily in the sun.