Two light sources
Two light sources
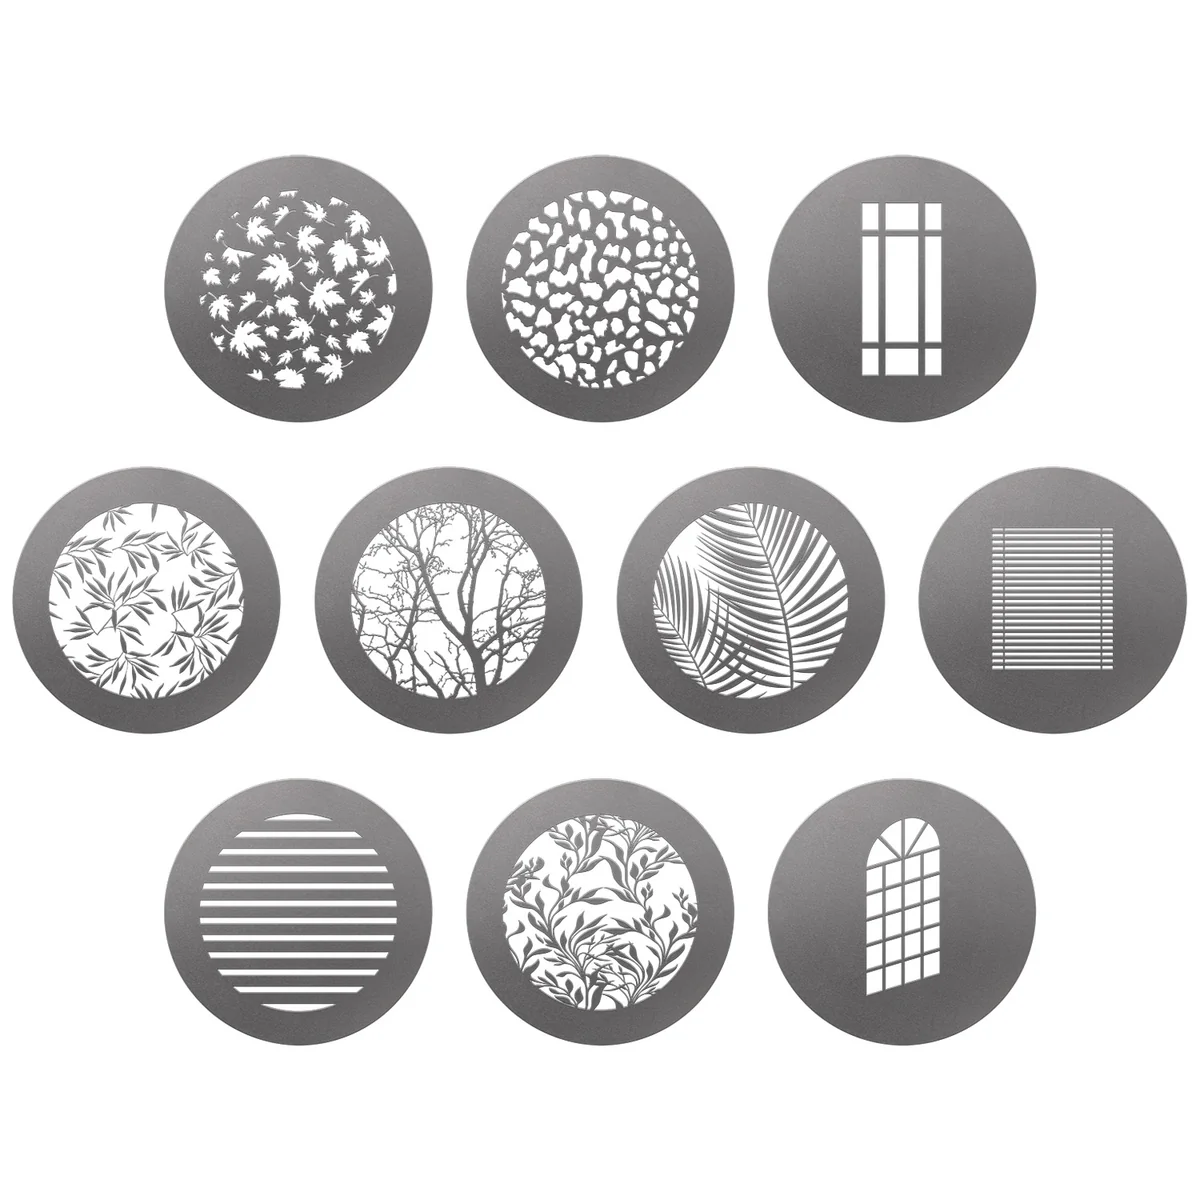
As you know the light shapers we use determine how the light behaves on our model, set, and background.
lass=”yoast-text-mark” />>When you look at a light shaper, it’s pretty easy to predict how the light will fall on your subject, just follow the lines of the ribs. Today it’s just about 2 light sources and one background.
Today, a quick tip about light shapers
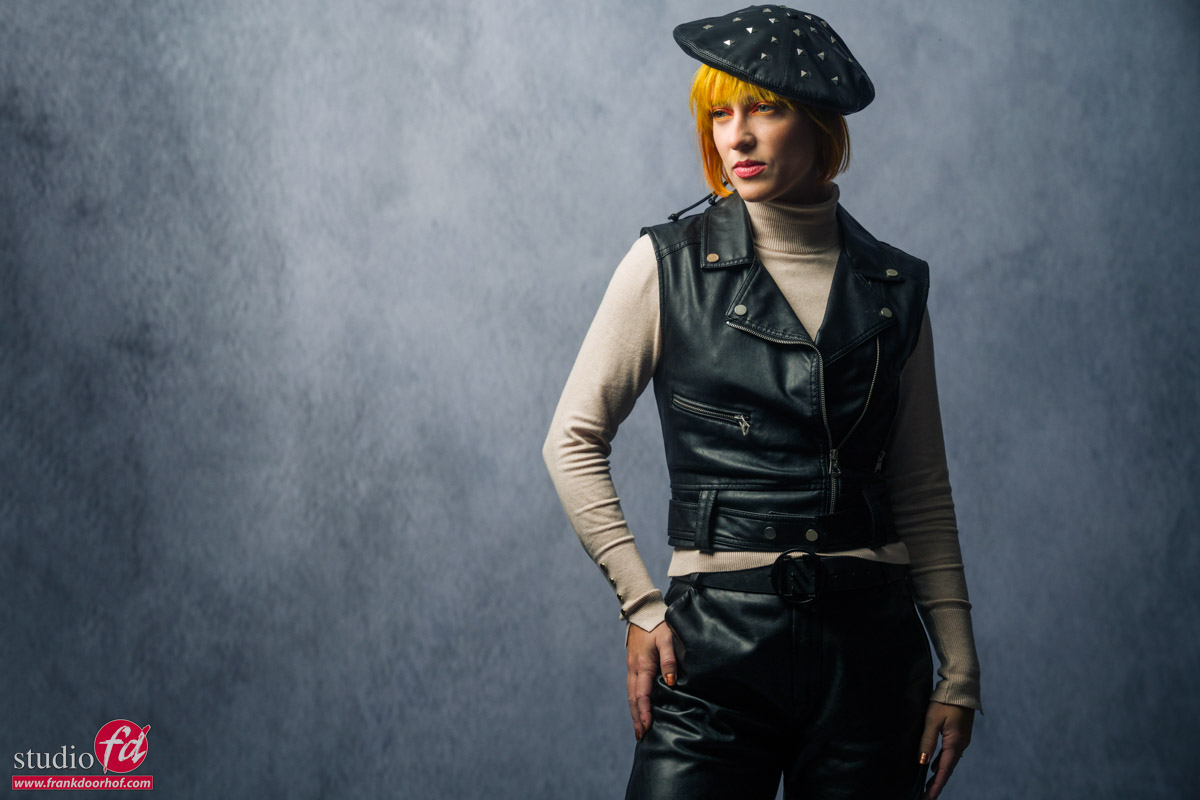
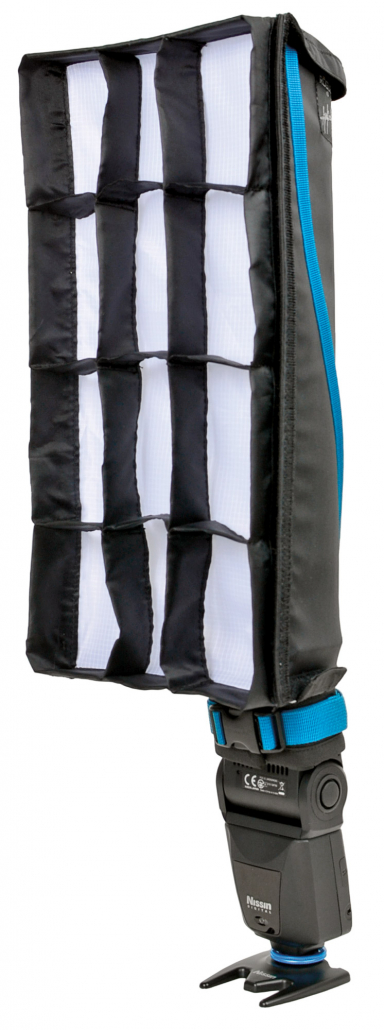
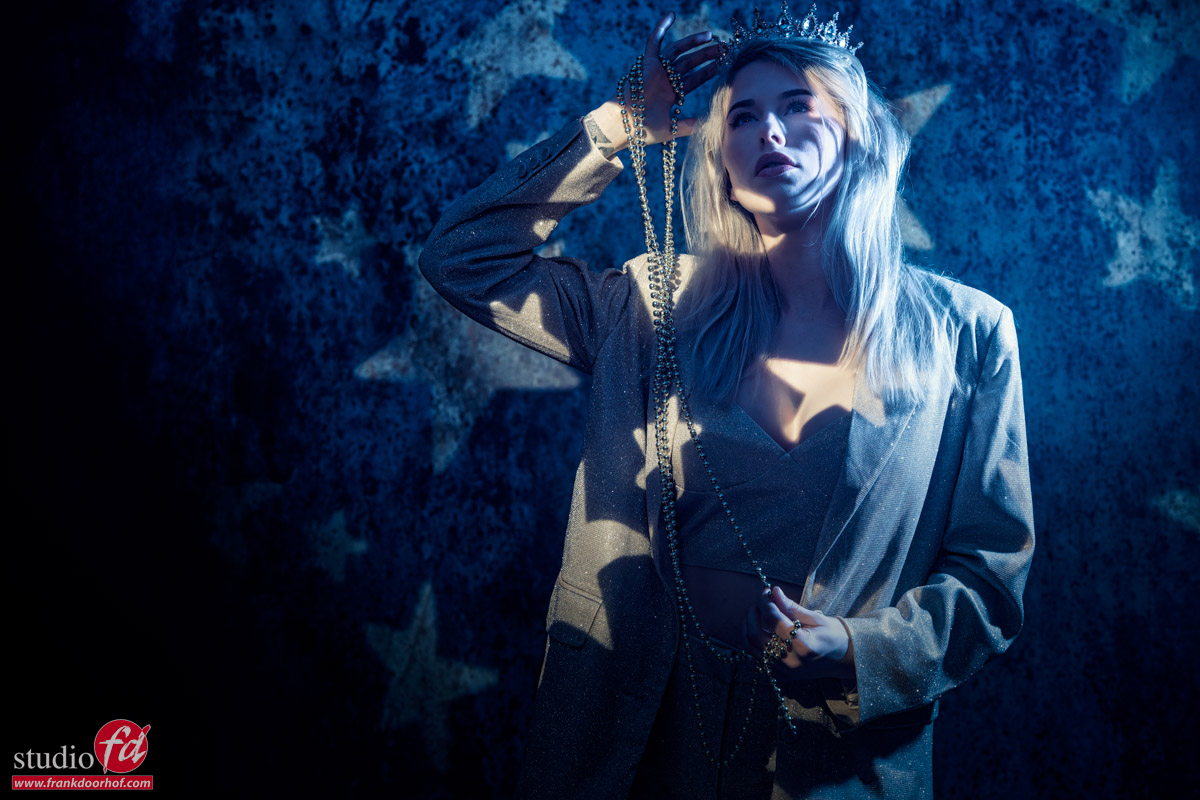
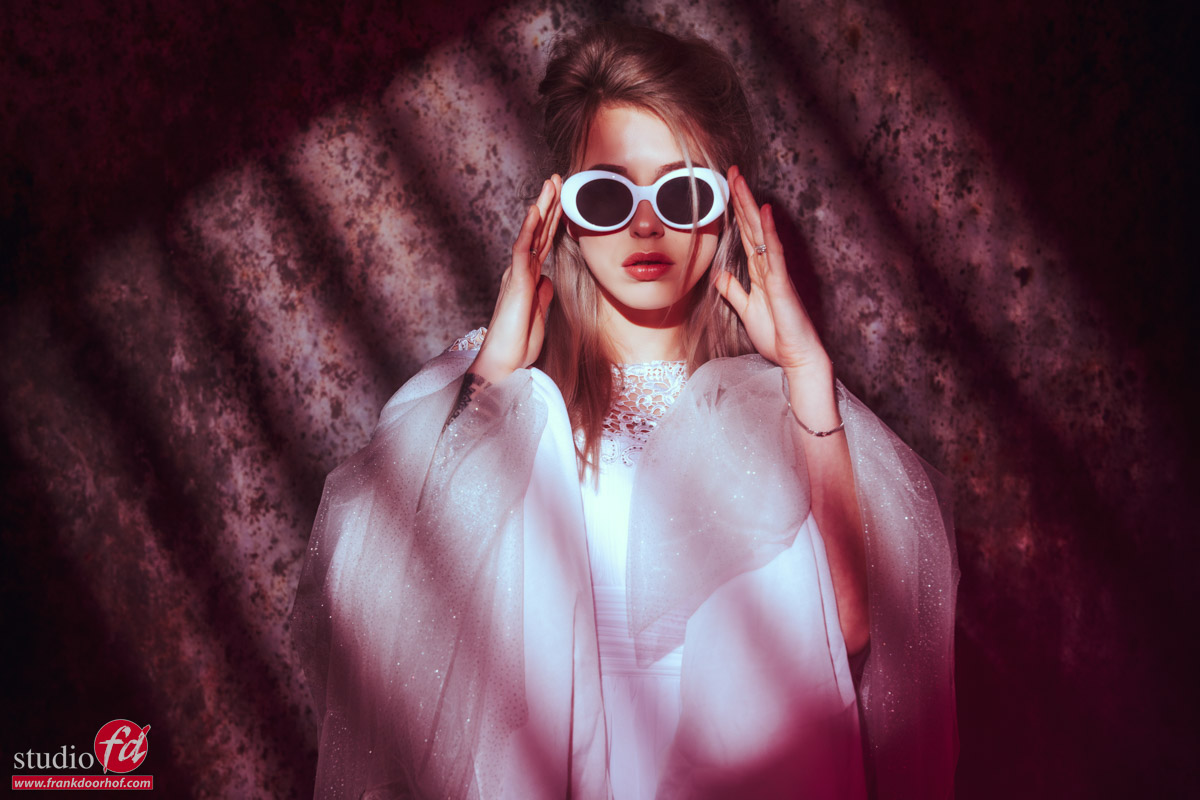
During the workshops, we always work with different light setups. And one of the setups in the essential lighting techniques is working with, for example, the Geekoto Lantern for a very broad light source, and, for example, the Rogue FlashBender XL in strip light setup
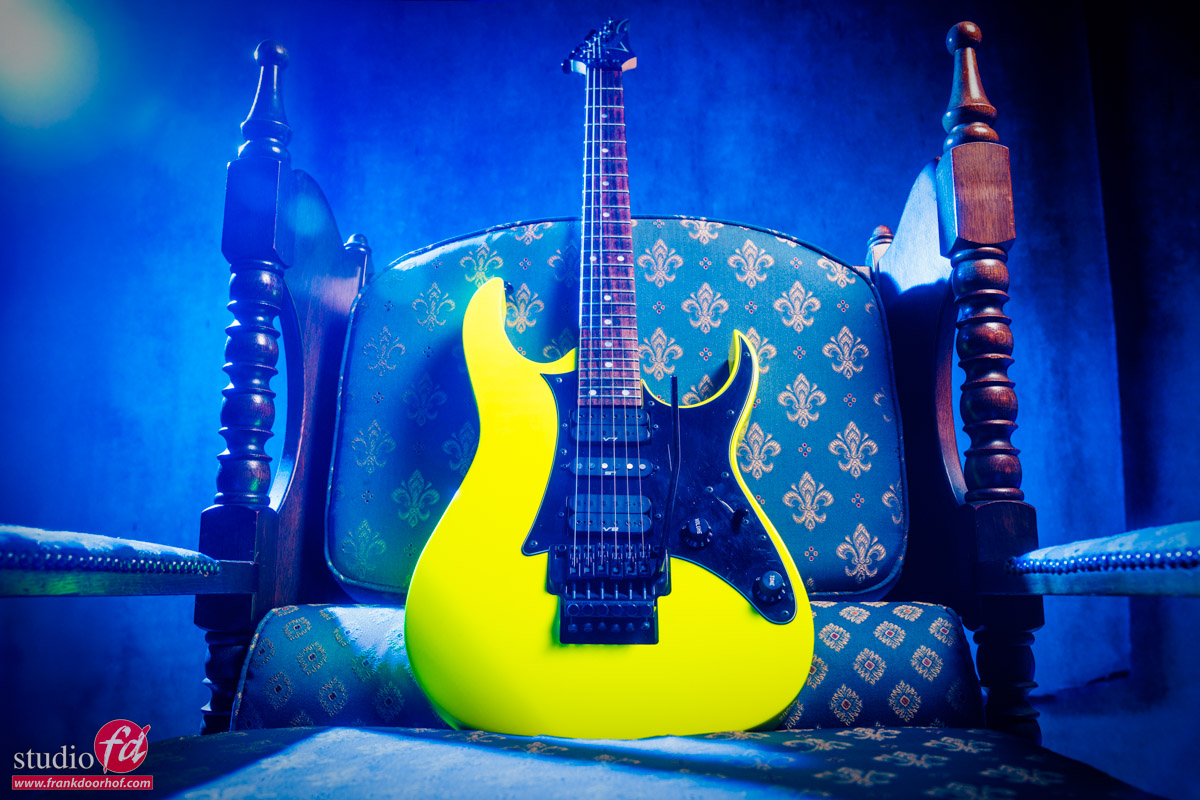
Now when you hear a broad light source, you might think it always means flat lighting. But that’s not necessarily the case.
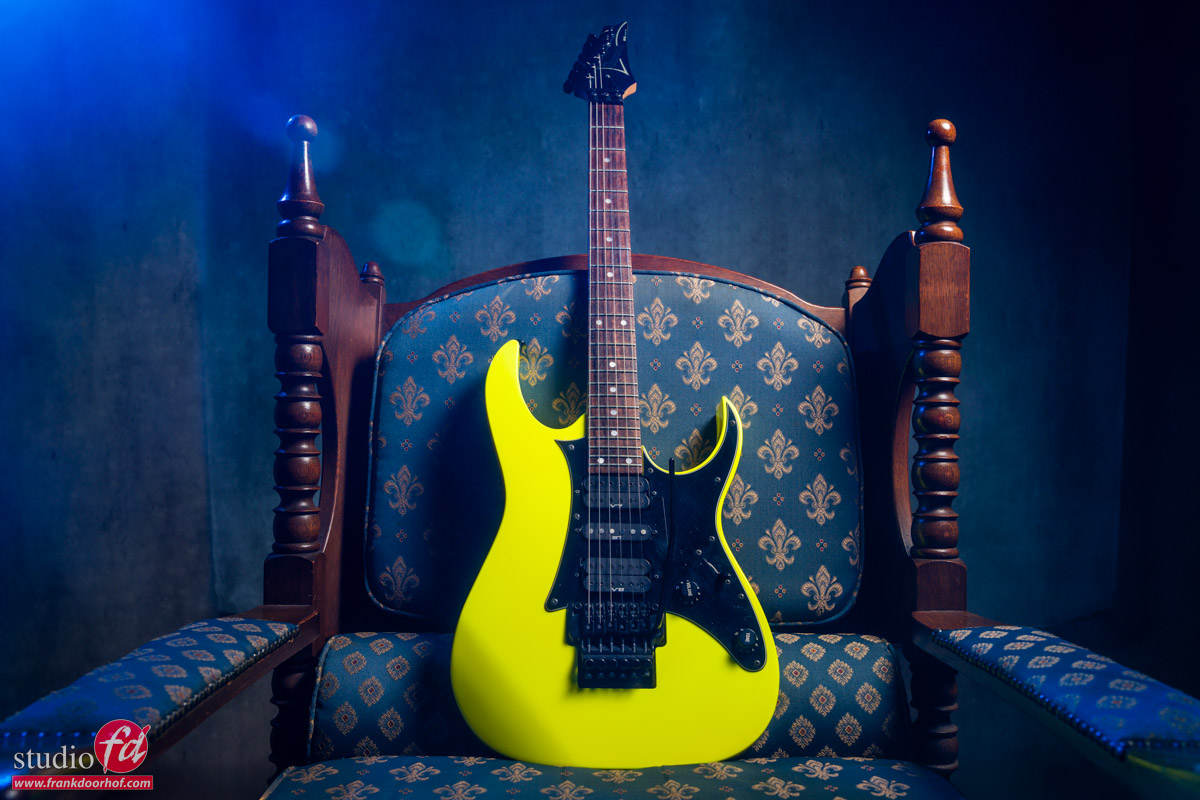
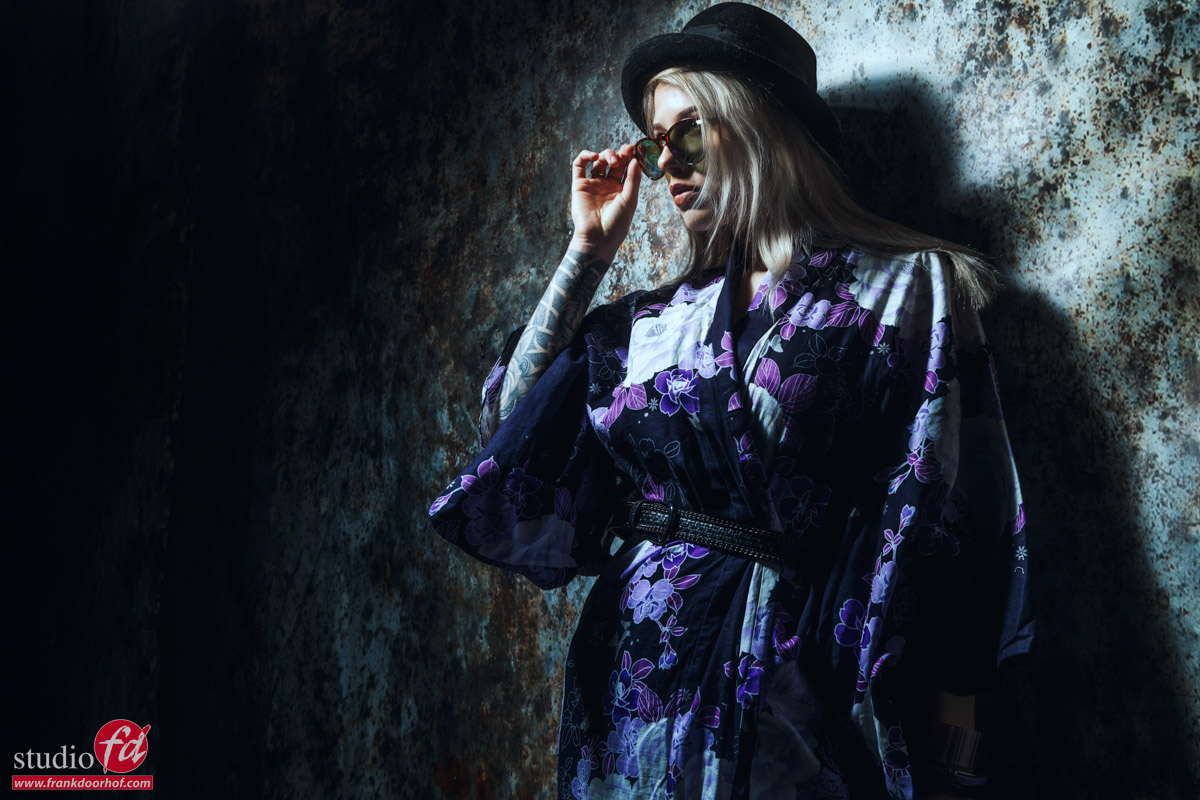
When you move the light source to the side of the set, you get a beautiful shadow site on the model. And because of the open sides of the lantern, it will also light the background. If you think the shadow side is a bit too dark, you can easily place a reflector on that side because the lantern is a very broad light source. So, it “always” reflects back on a reflector on the other side.
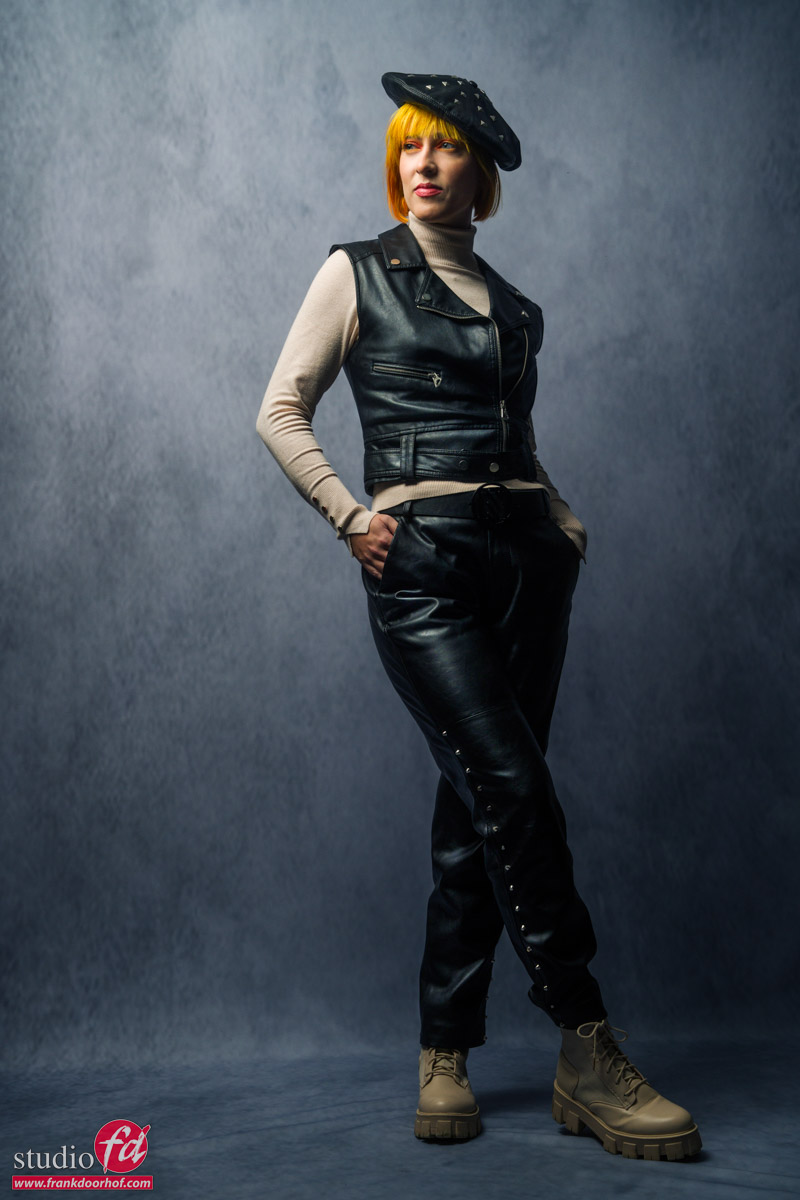
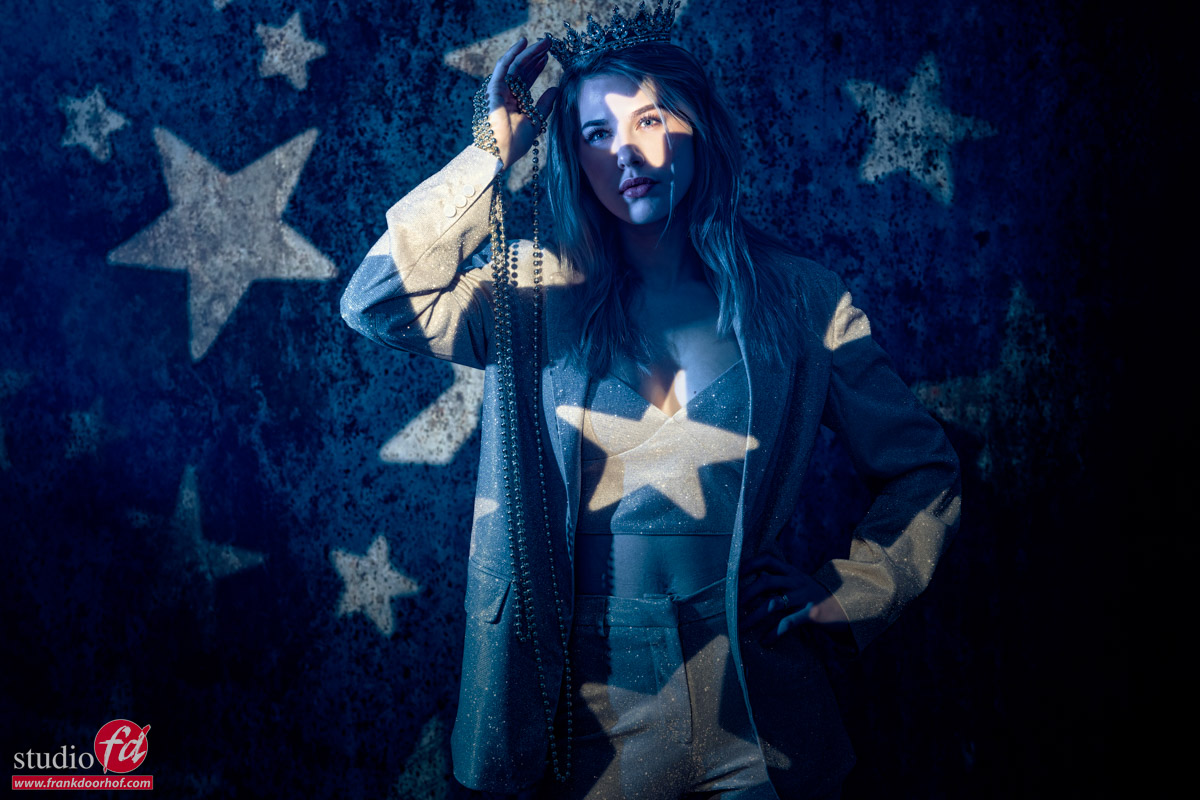
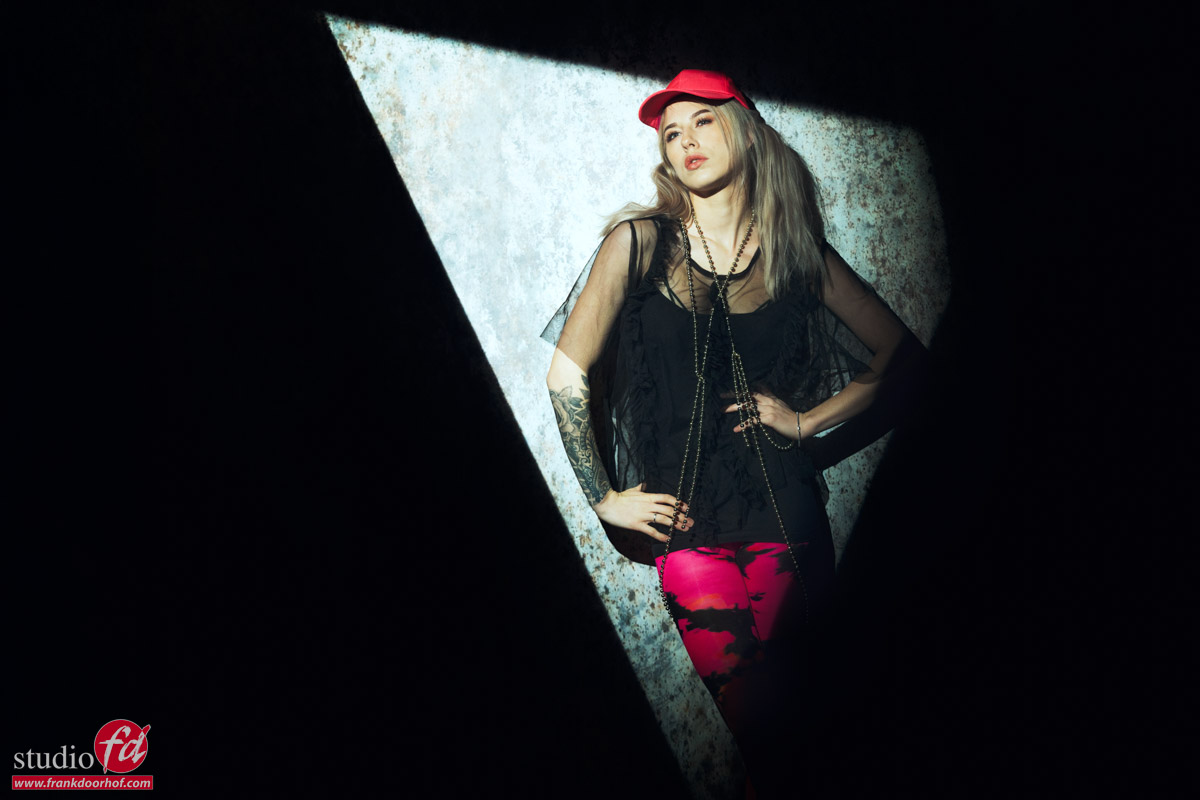
But of course when we use a background with a floor part, I always want to shoot a full body image.
With the same light setup.
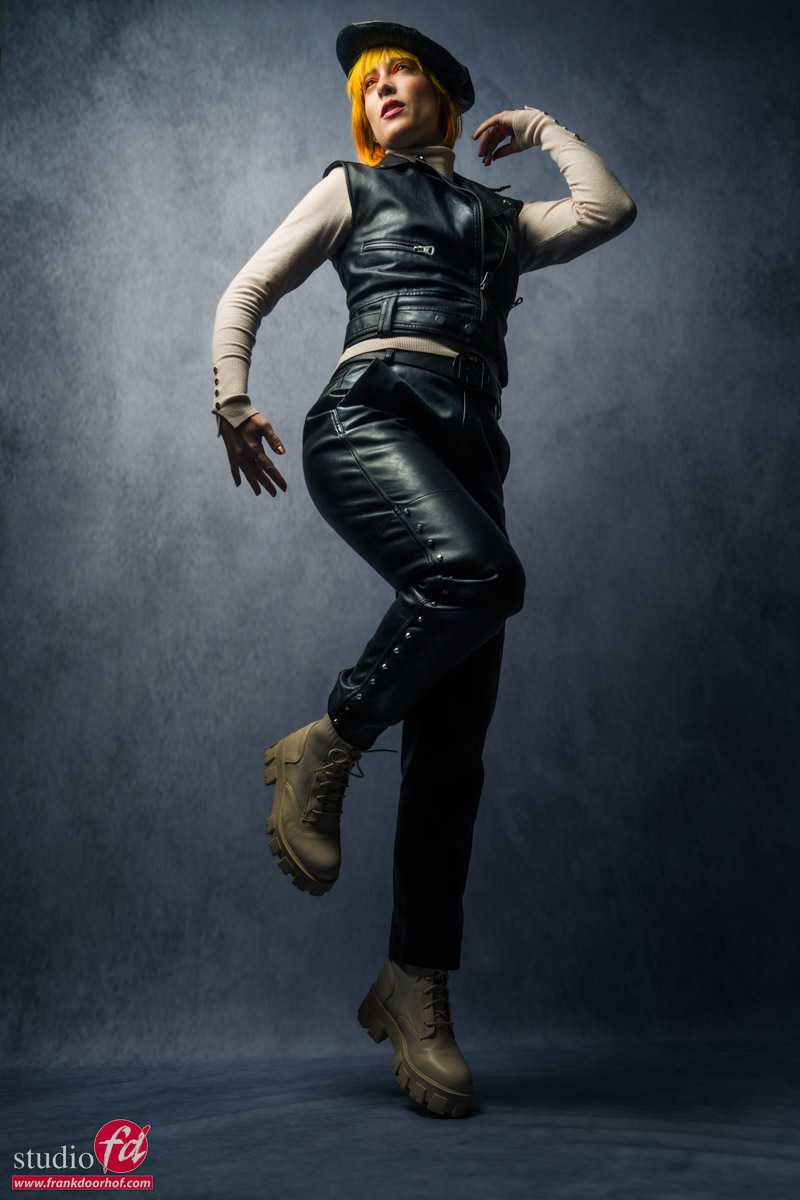
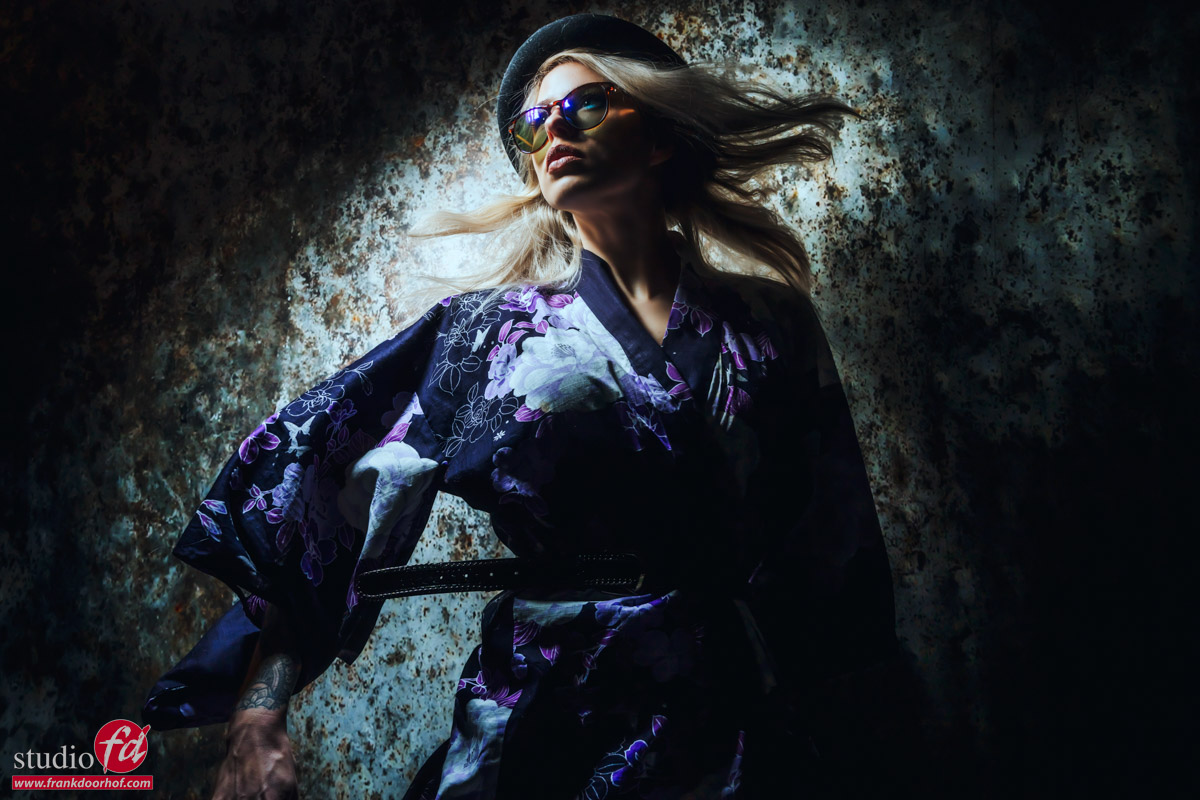
Well that’s ok, but what about adding some motion, and a lower angle.
It’s not perfect, but during the workshops I often take 3 shots and let the attendees shoot.
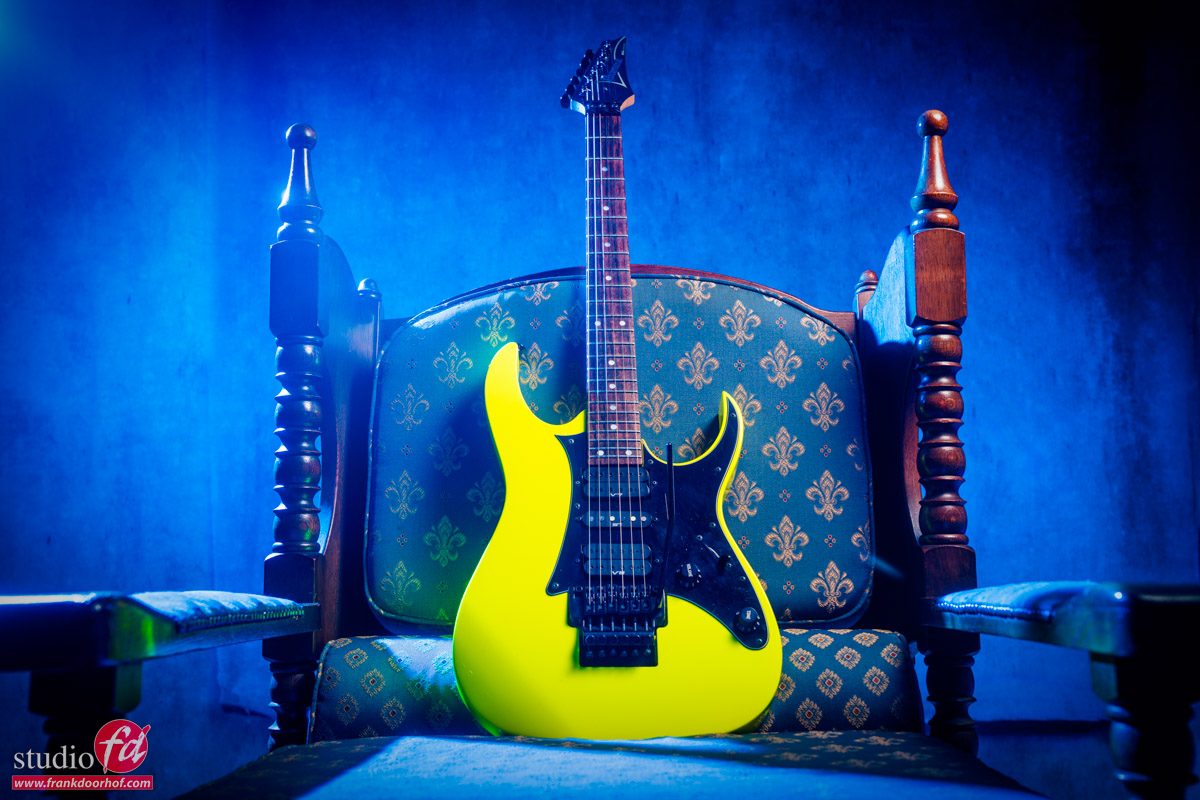
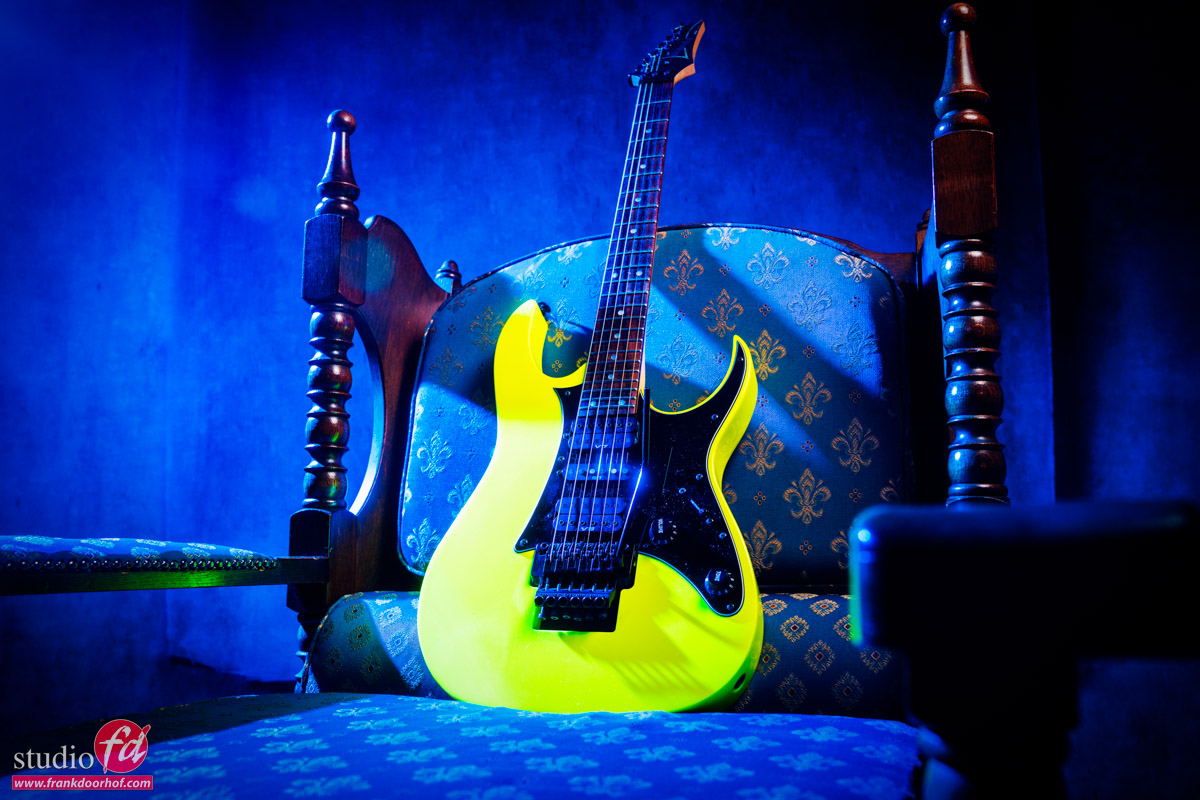
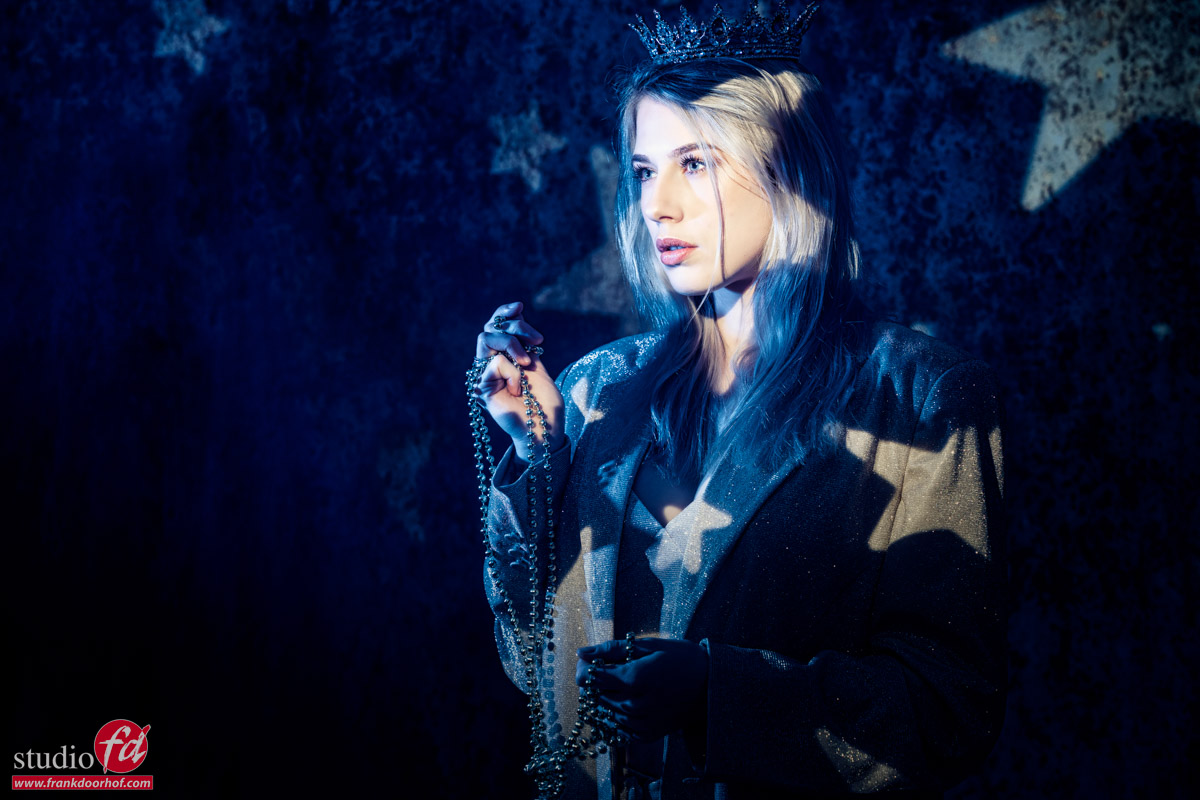
And even with a broad lightsource like the lantern you can still shoot very high contrast images, just use an extreme angle for some beautiful almost silhouette like shots.
Clients absolutely love these.
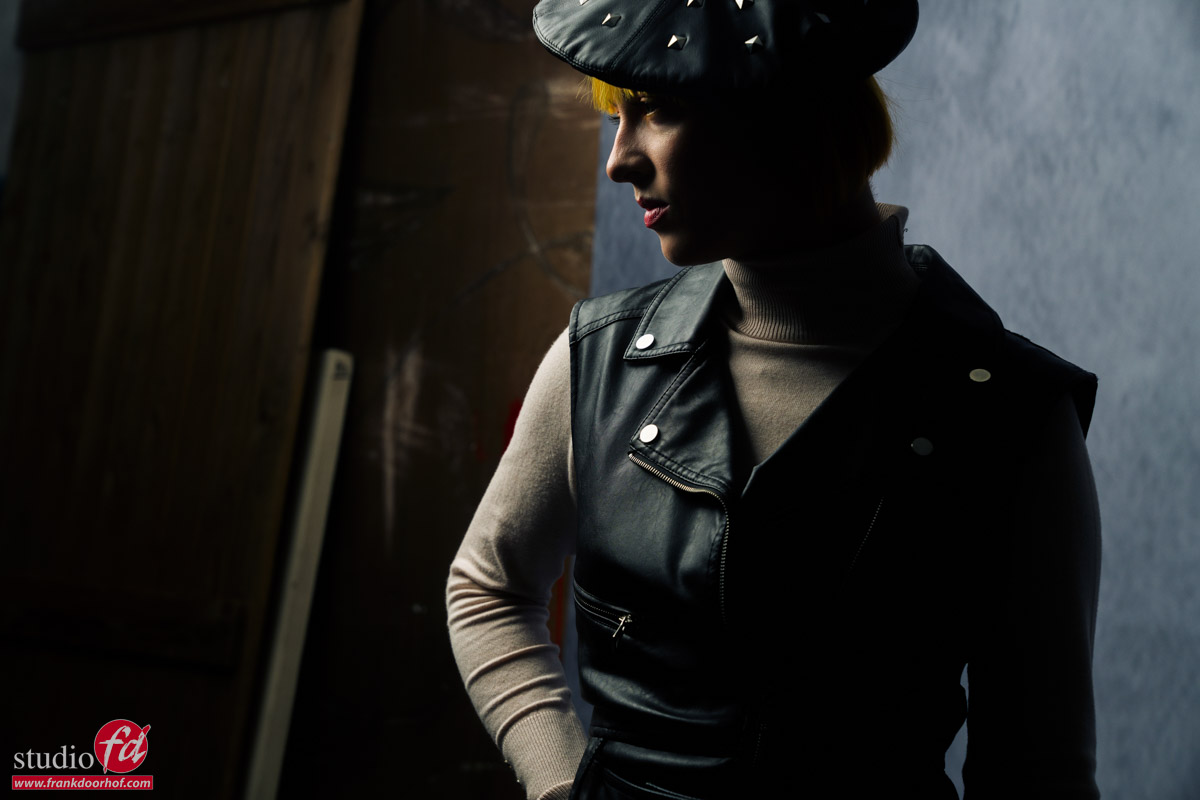
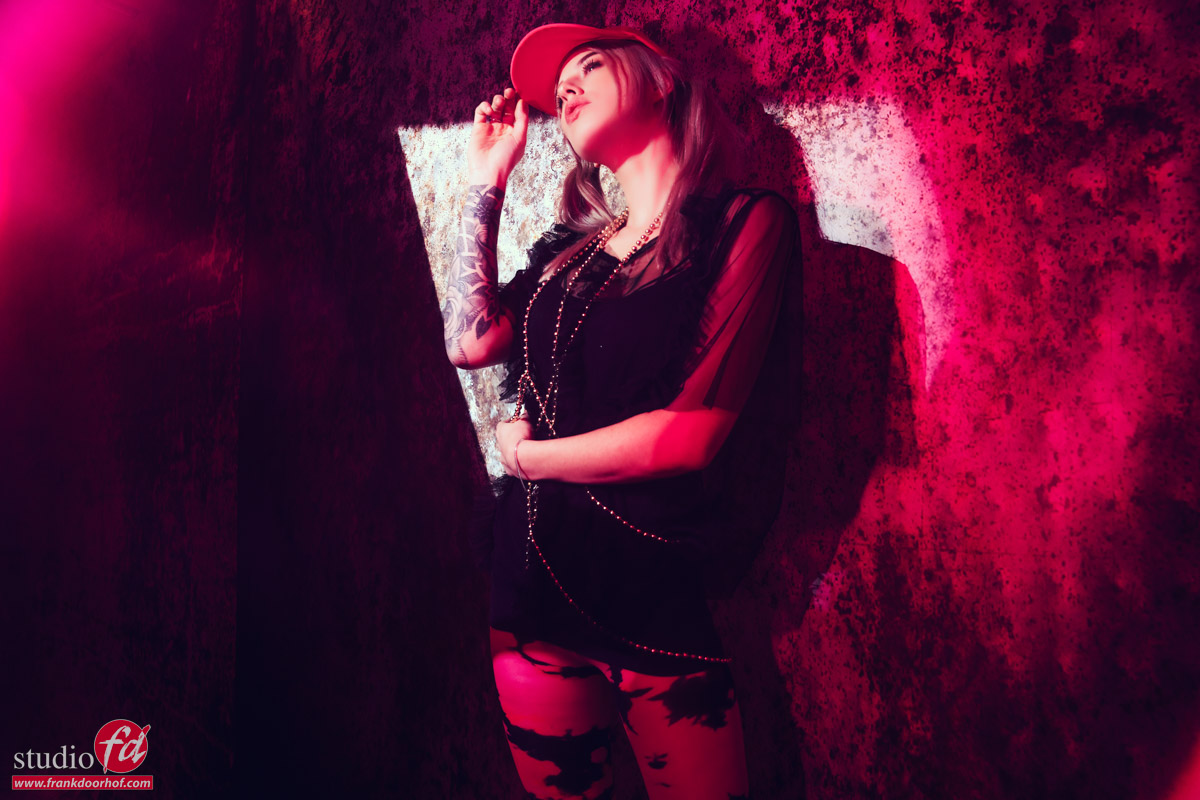
Now I was doubting about all the mess in the back, but… somehow it also really helps in the shot in this case.
The more I looked at it the more I thought “let’s just keep it in, it looks cool”.
So sometimes maybe leave the mess in the shot….
Let’s change the light
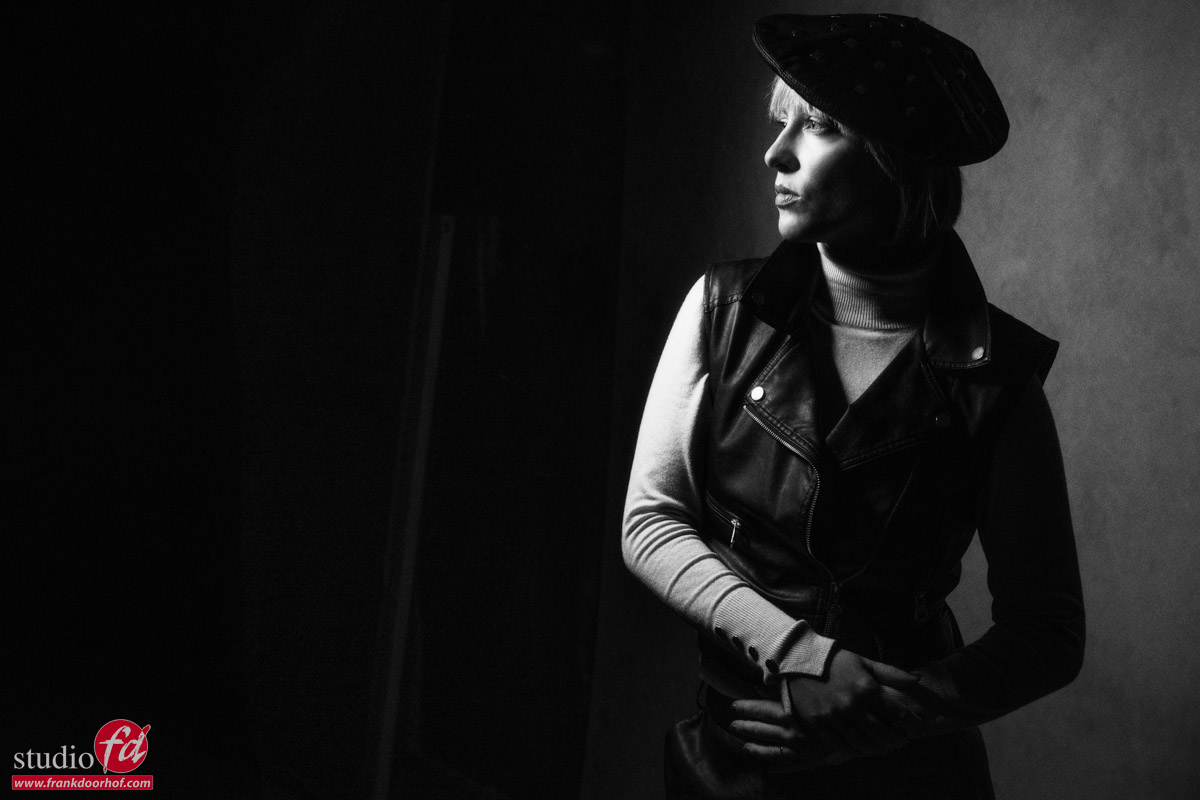
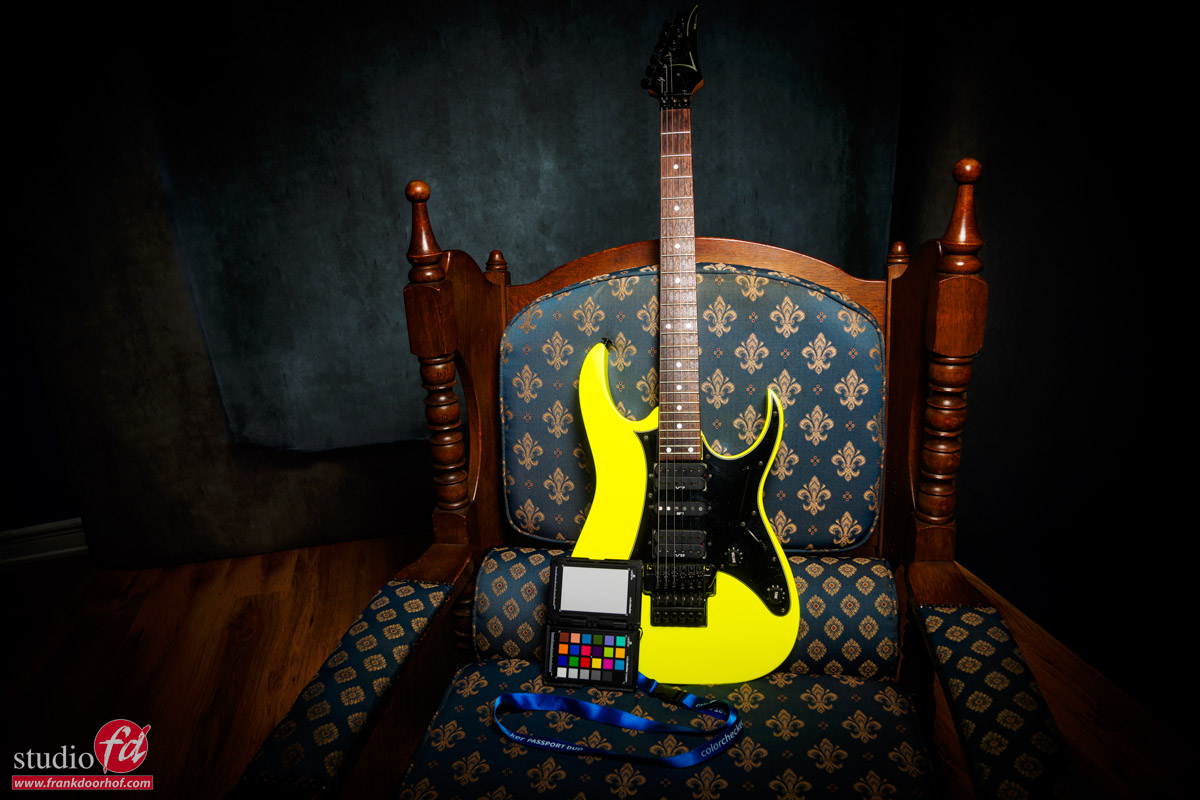
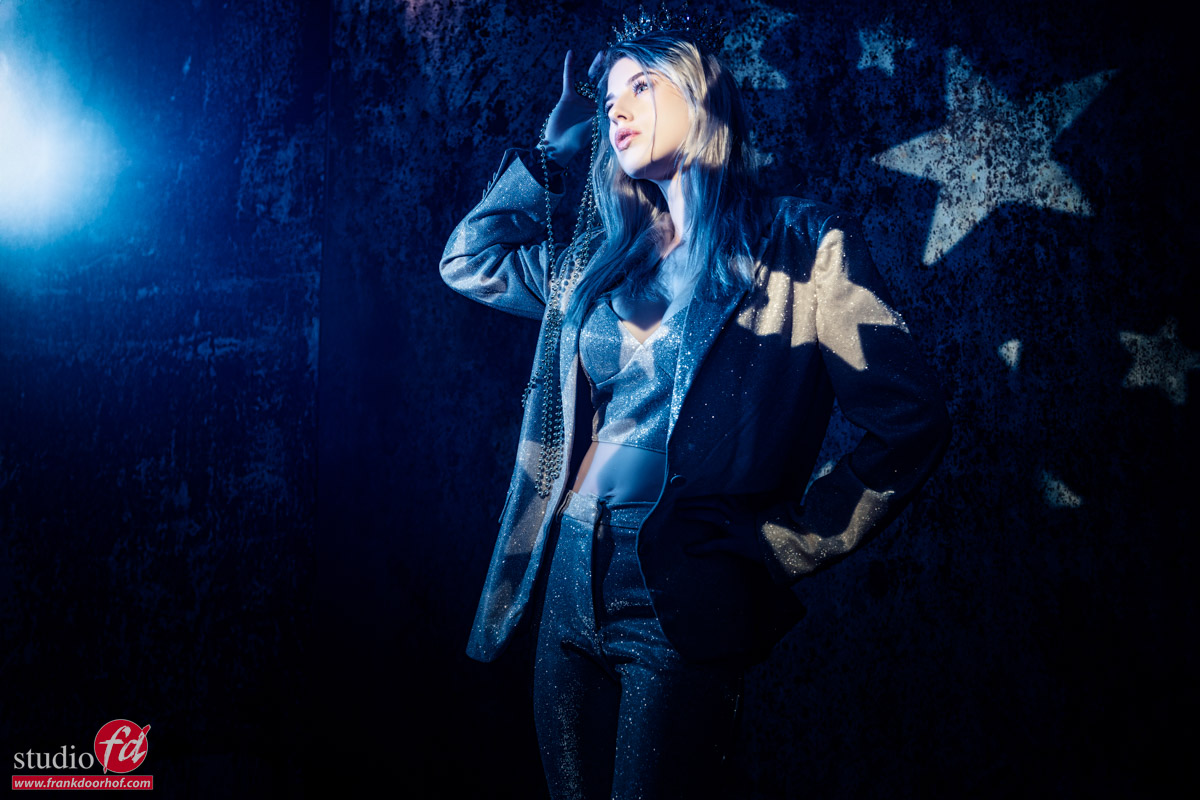
For the next setup I’m using the Rogue FlashBender XL from the side and slightly above the model.
We will upload a video in the blog soon to show it during the workshop

As you can see with the FlashBender the light is much more focussed on the model. You can’t see anything in the background. And even the brighter background doesn’t show up. But also due to the more focussed light beam you now get much deeper shadows. Using a reflector is now also becoming more complicated because you have to angle it very precisely.
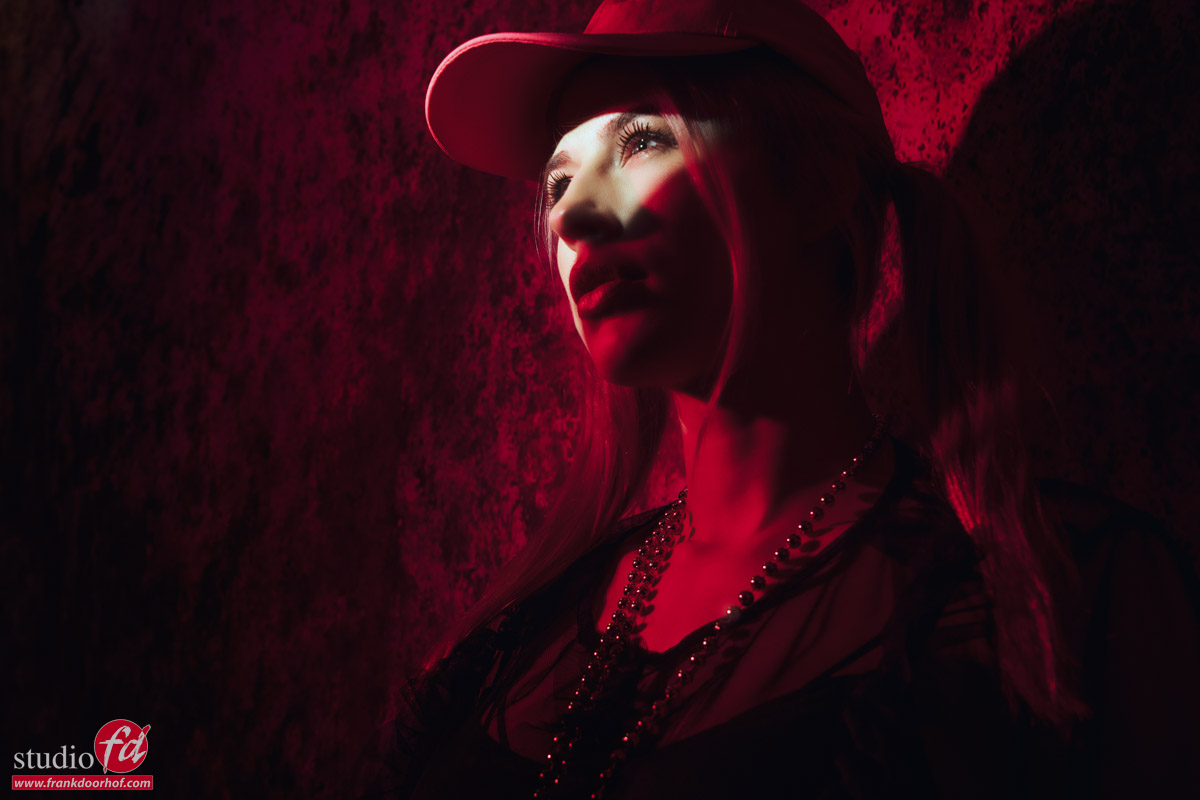
For high contrast images the FlashBender can be placed very close to the model. Due to the fact the strobe is aiming straight up in the striplight you always get indirect diffused light. In other words very nice and relatively soft for a very small light source. But if you like to light your complete model you can just move the FlashBender further away. Or take the strip light off and attach the softbox diffuser, also there the trick is: indirect diffuse light.
Also want to visit a workshop?
Visit www.fotografie-workshops.nl


You must be logged in to post a comment.