Angles can make or break a shot
We probably all experienced it one time for the first time.
You have this perfect set or location, and you look at your images and you think “What went wrong?”
Well, it can be many things, but one of them could very well be the angle. So this blog is about angles
Now, of course, the first thing we have to look at is composition. But that is something for another day. Today it’s about angles.
During the workshops, we always try to talk a lot about techniques and why some images work and some don’t.
But most of all, why you should always try to push further instead of just stopping when you think “got it”.
When you always stop when you think you’ve got it, the road to improvement will be a lot longer. So, always push yourself further.
Although at one moment you’ll have to stop, of course.
So let’s take a look at how I built a shot during the workshop.
Model: Lisa.
And this was actually her first workshop. She has been the model for an earlier Digital Classroom about photographing in small spaces
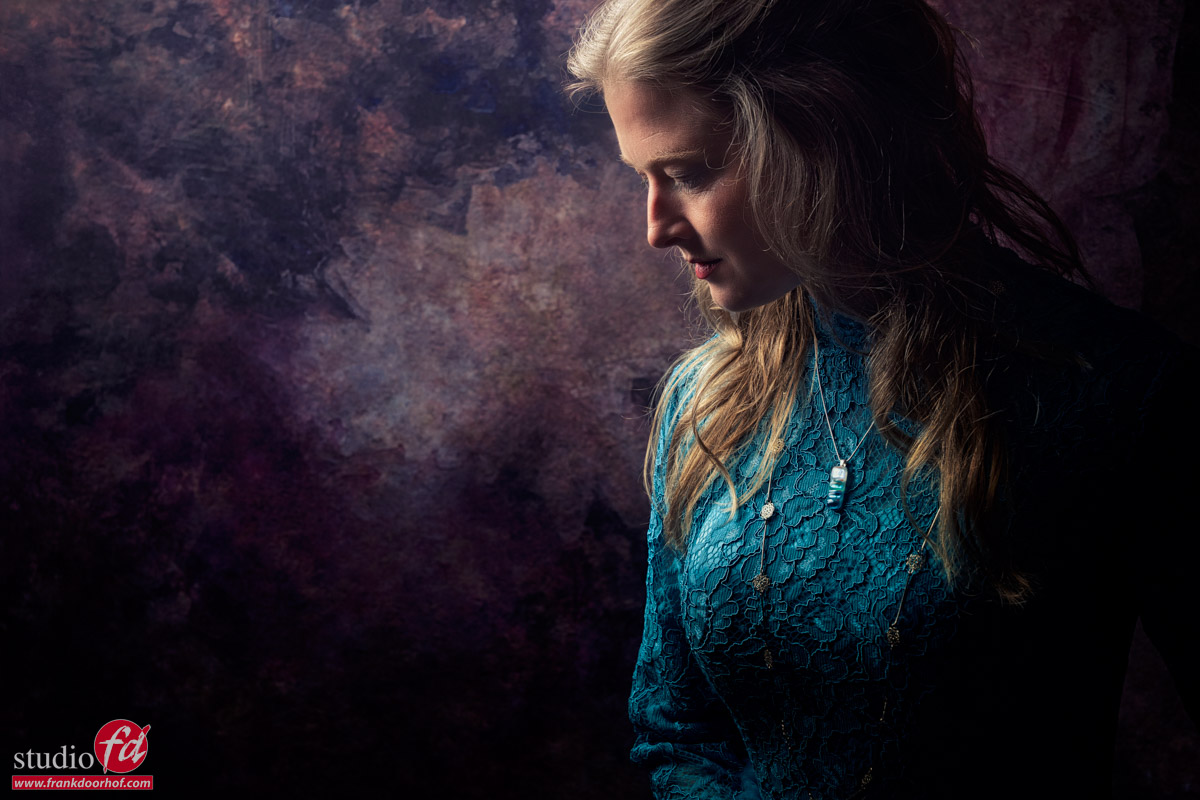
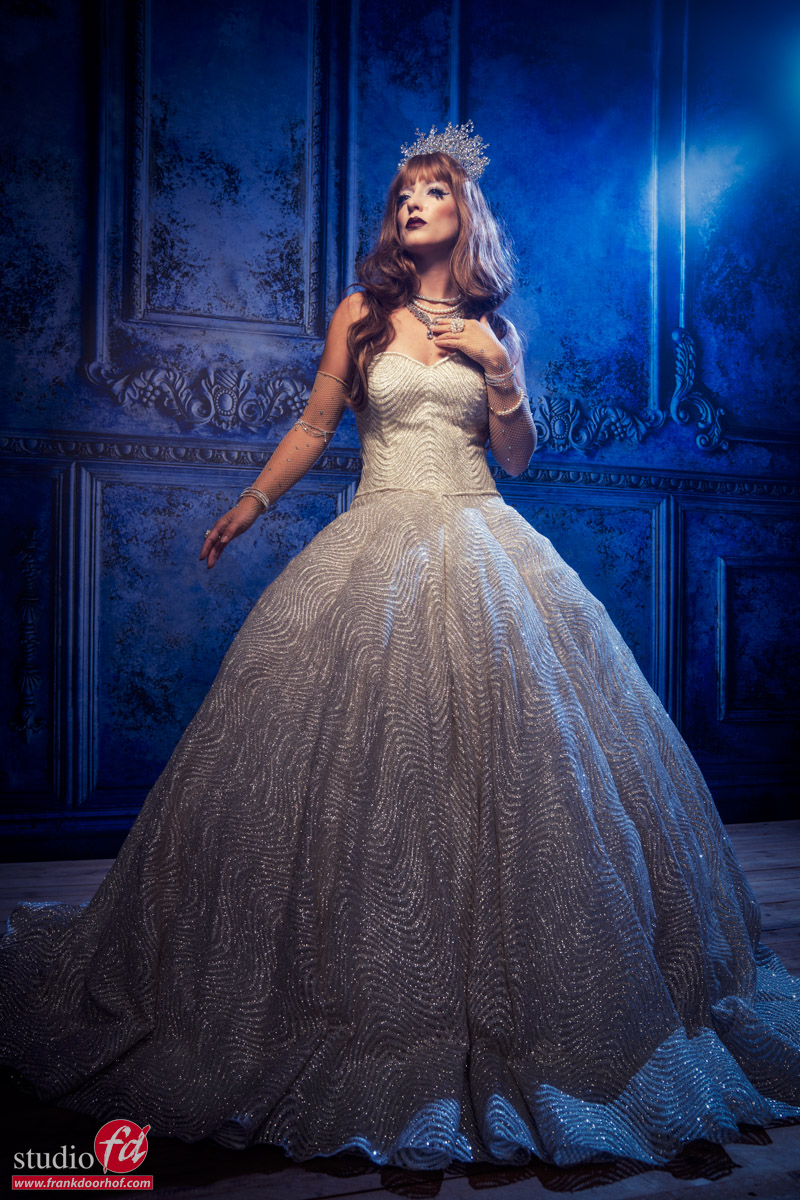
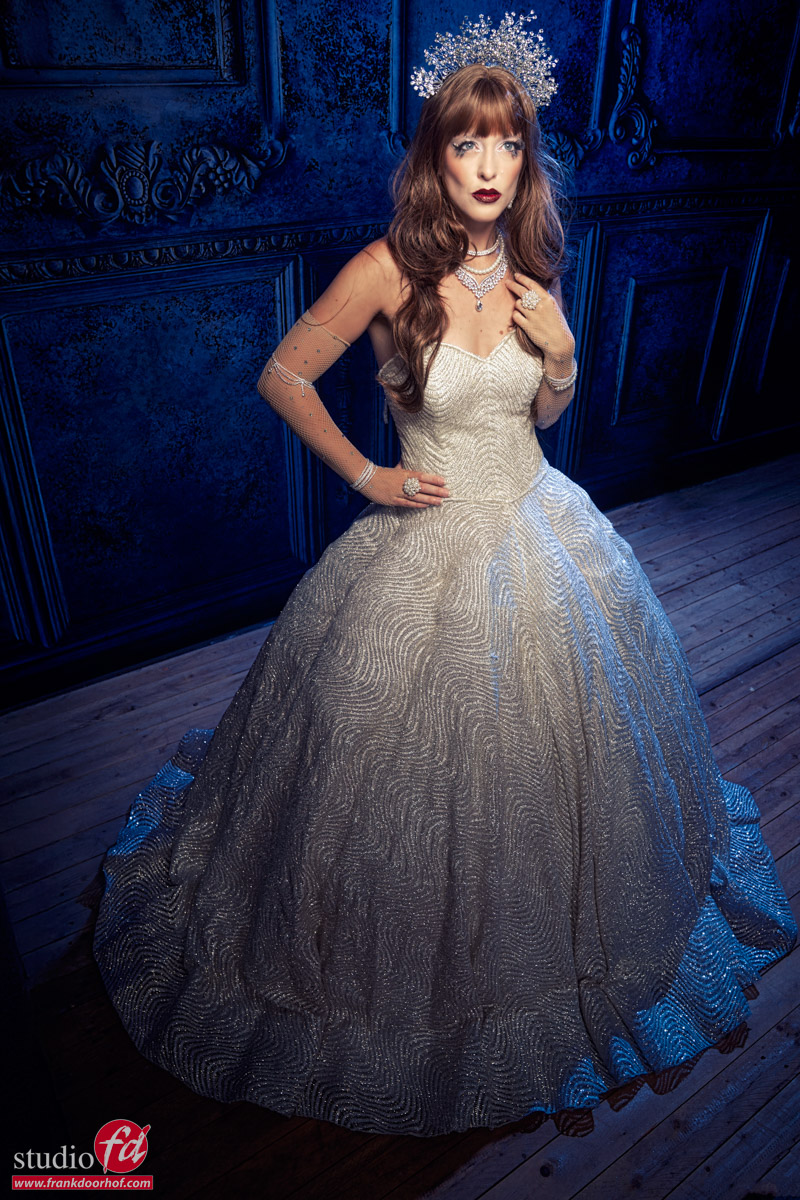
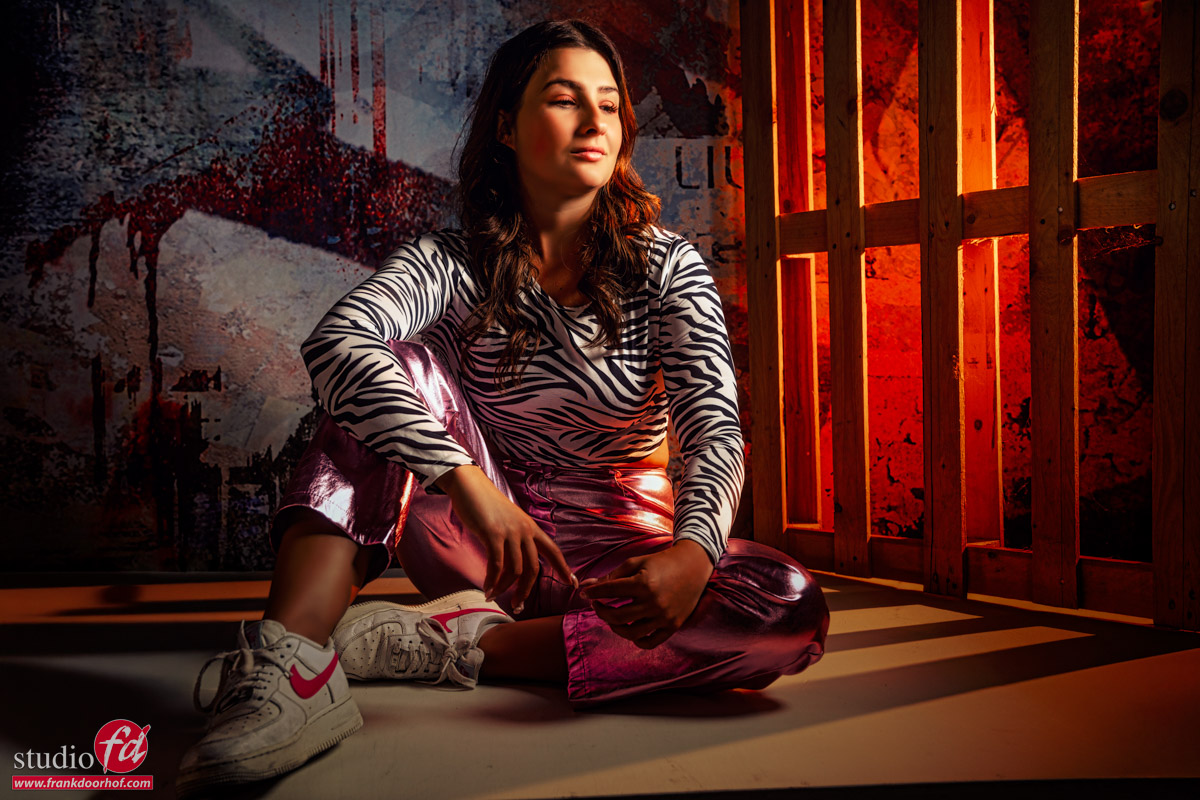
Photo 1
Nothing wrong with this shot.
We have one light with a colored gel shining through the pallet, and because it’s placed far away, we get the nice shadows.
On the other side, I’m using a large silver reflector from a distance for a very, very slight fill (hardly visible).
And from the right side of the image, I’m using an extra strobe for my main light.
The image is not wrong, and I think that when I started with model photography, I would have published it.
And that’s not wrong but it can be stronger. MUCH stronger.
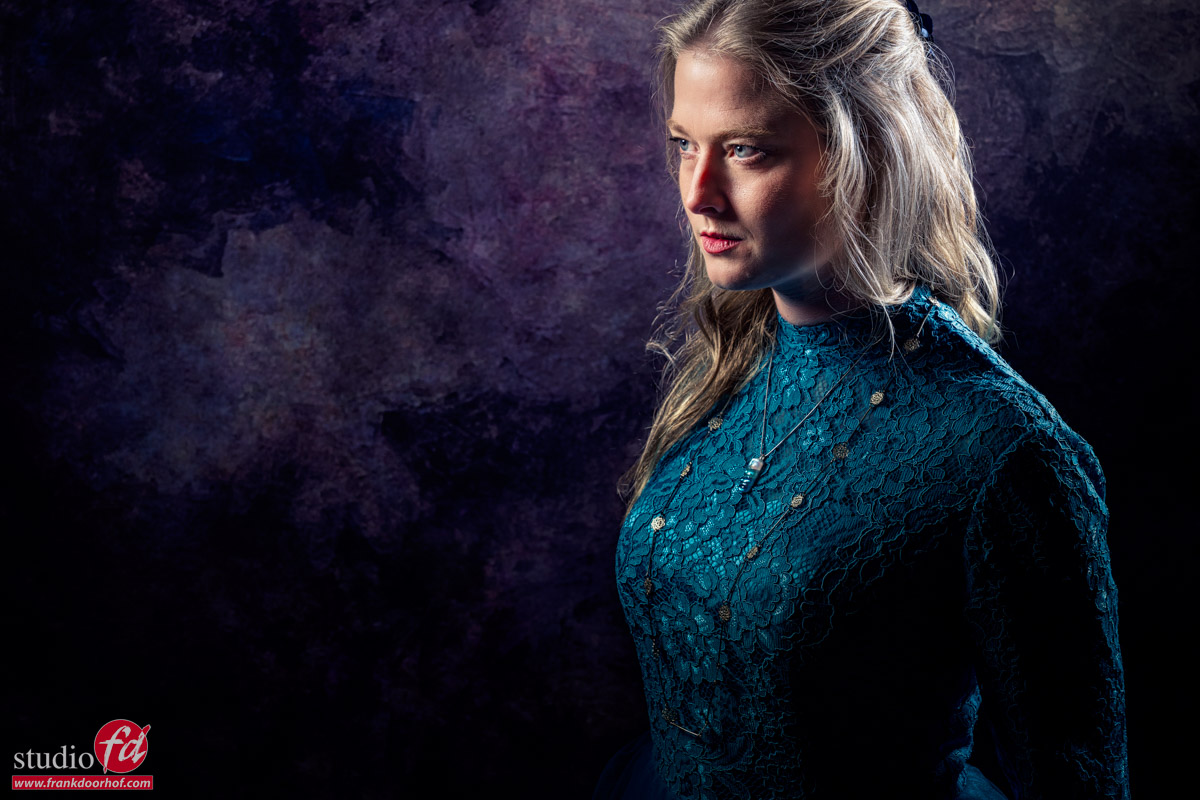
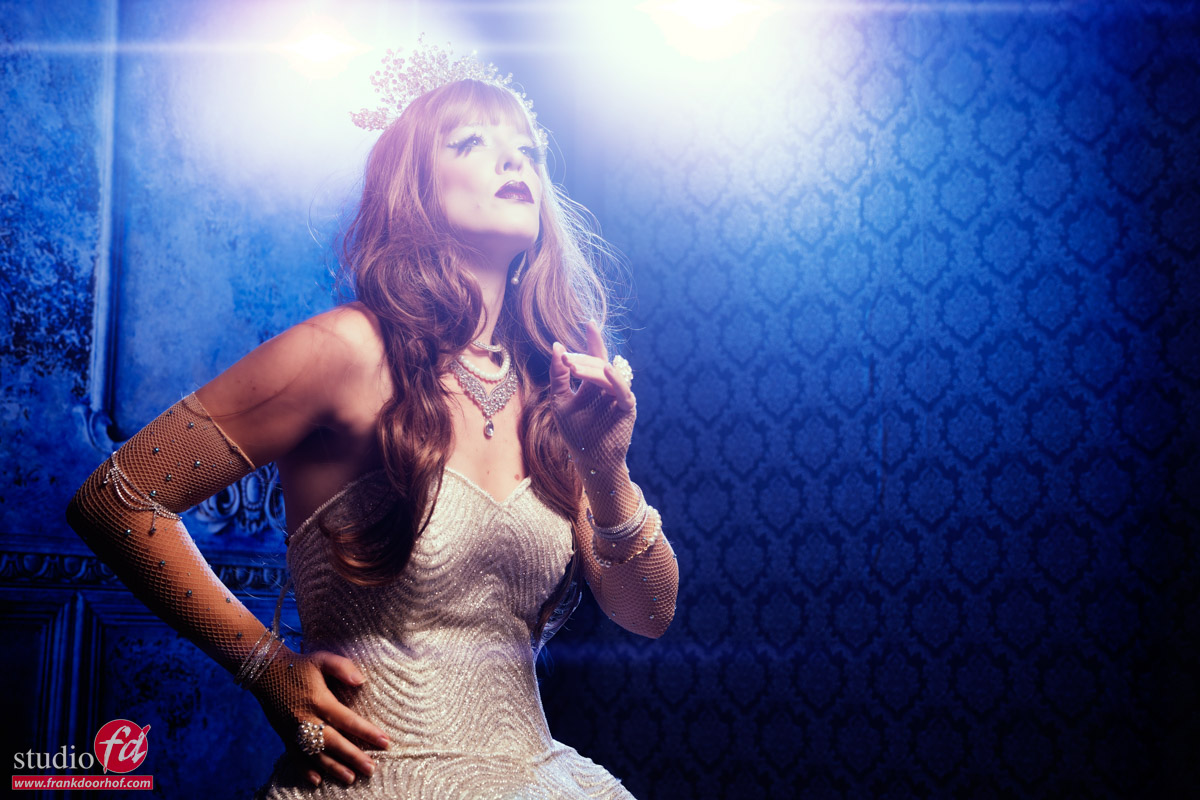
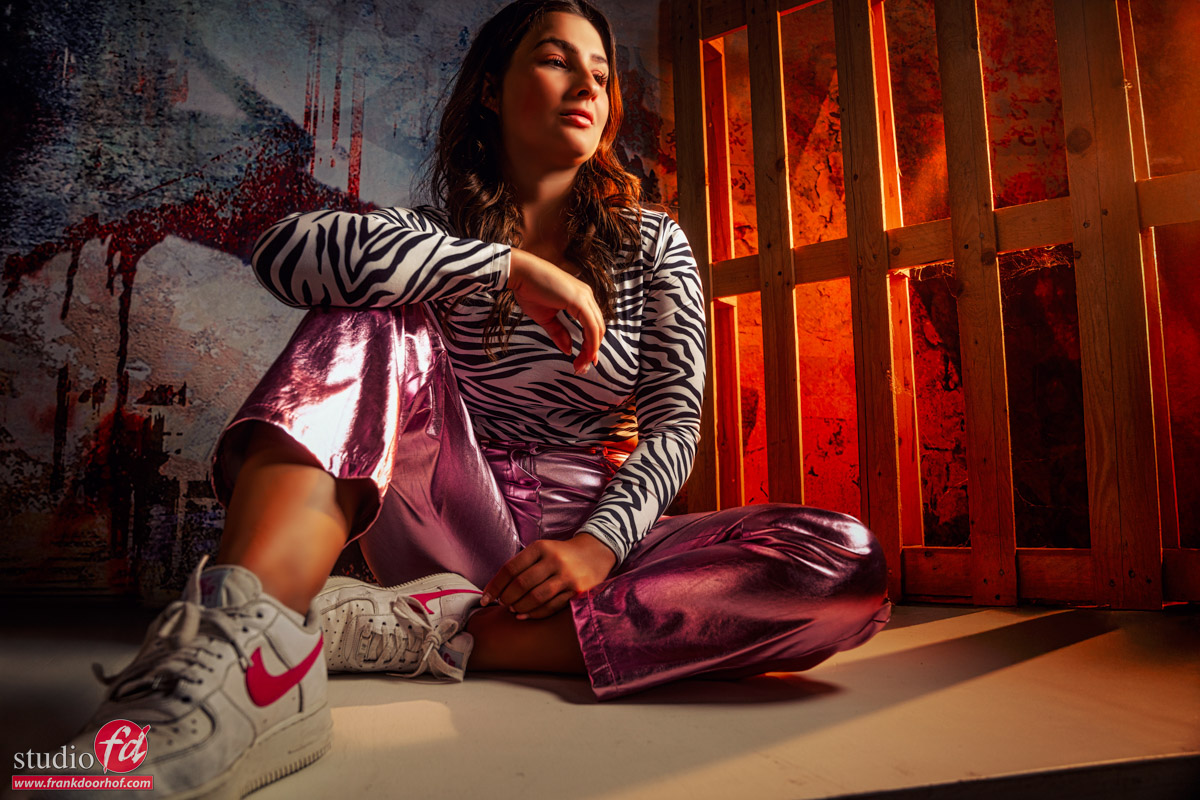
Photo 2
Going slightly closer to the model and zooming out already gives me a much nicer and more unique look.
This is also one of the reasons I’m always using a zoom lens as a preference above prime lenses.
With a 24-70, I have almost all the different “looks” lenses can give me, except extreme wide angle and compression, which, both for my work, are nice but not necessary.
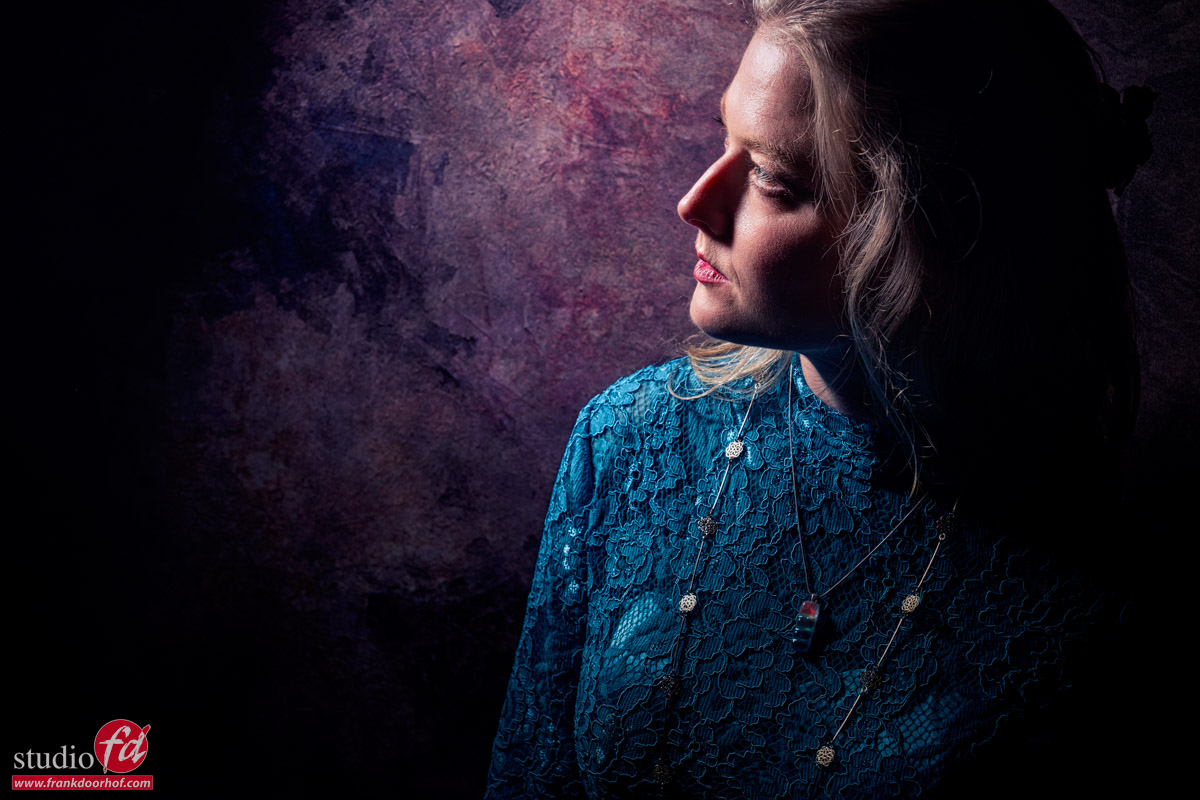
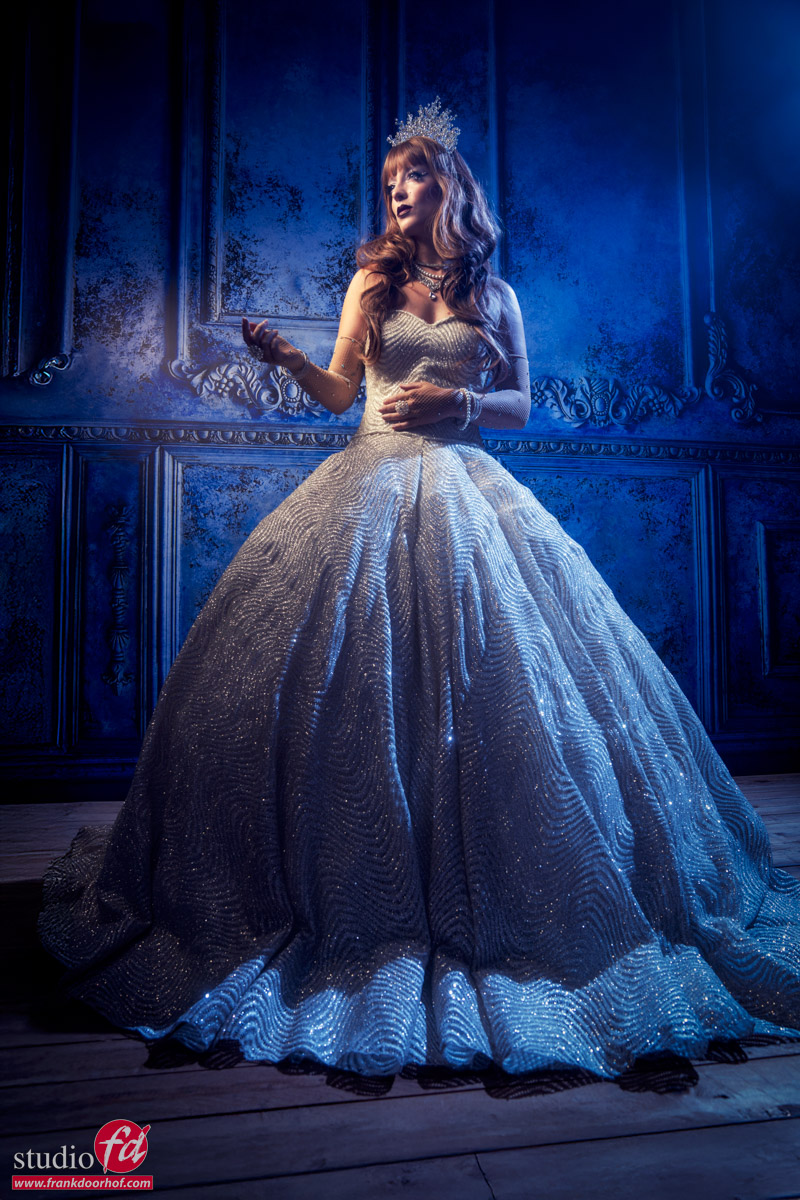
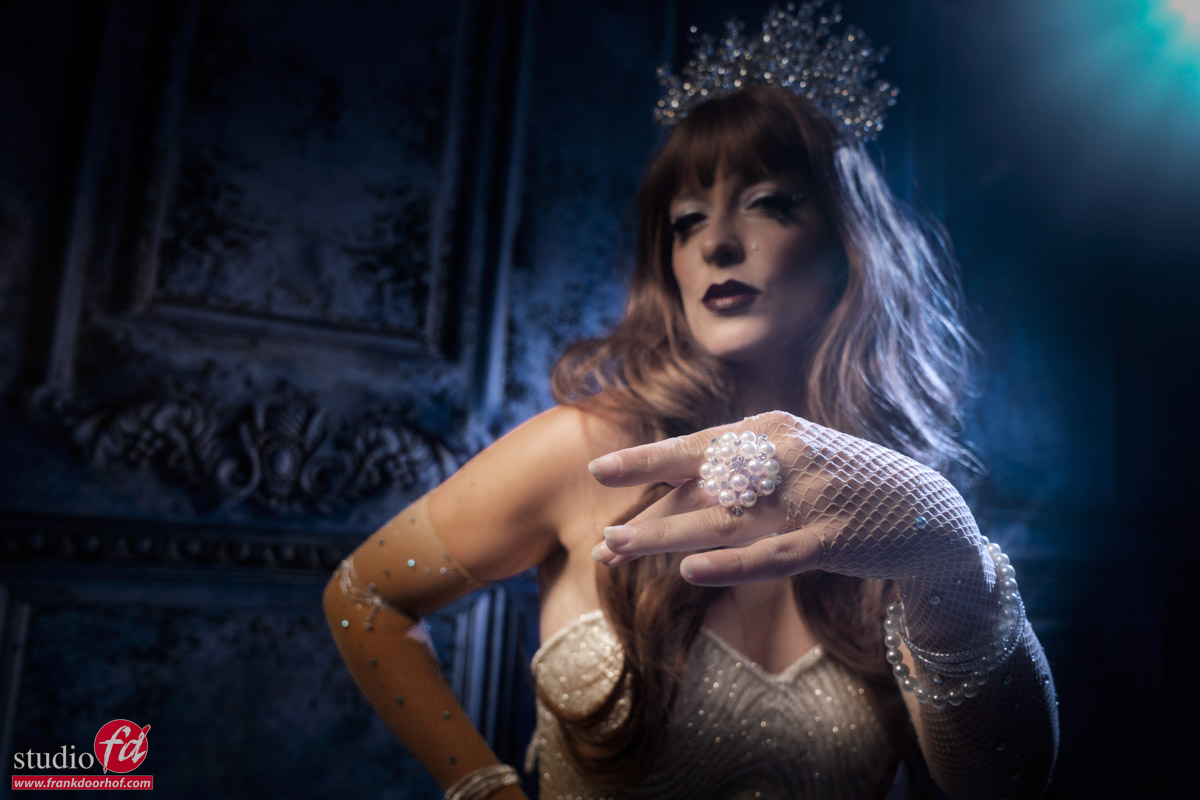
Photo 3
Now I’m getting somewhere.
Slightly lowering the angle makes the image a lot more interesting.
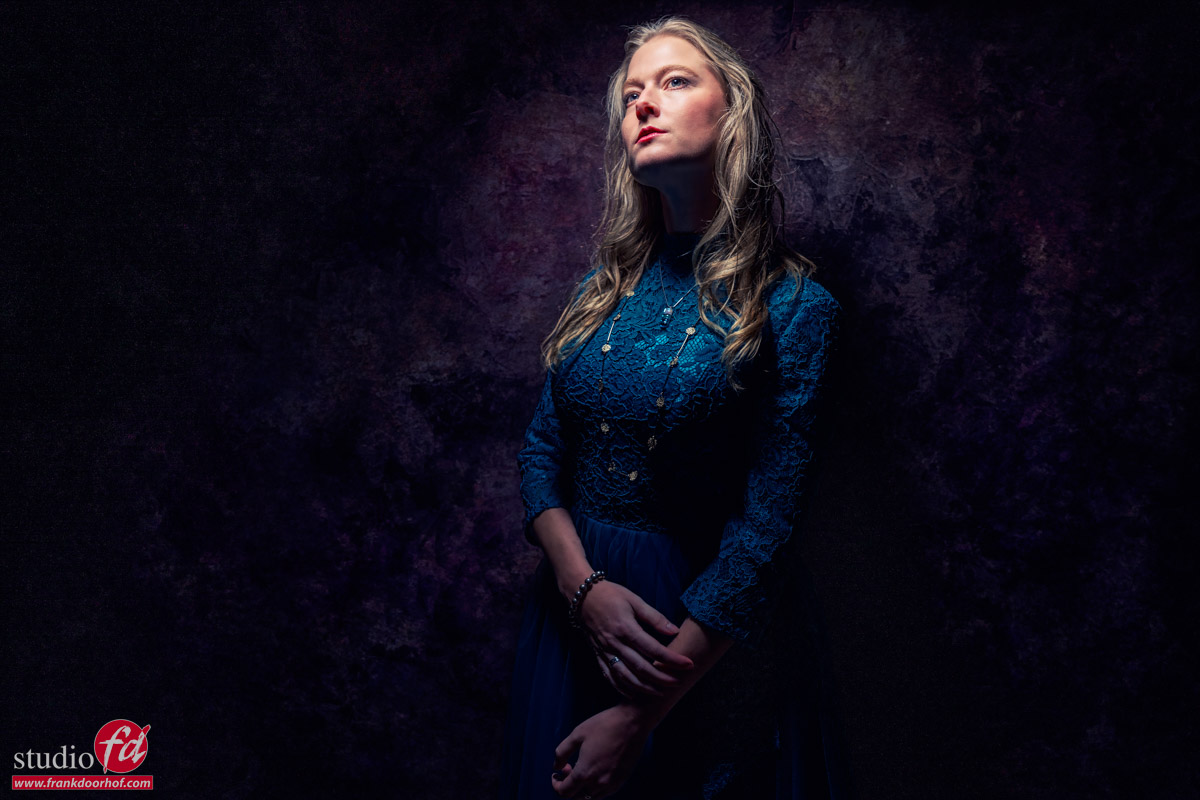
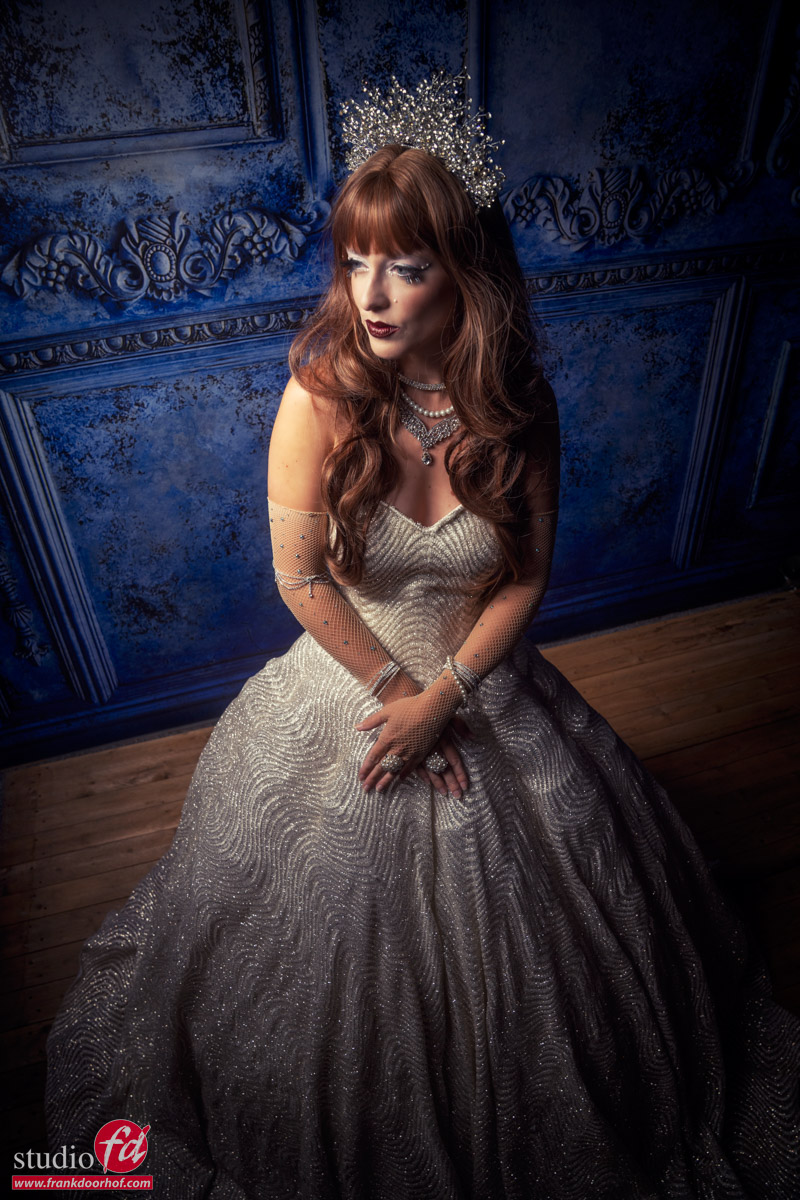
Photo 4
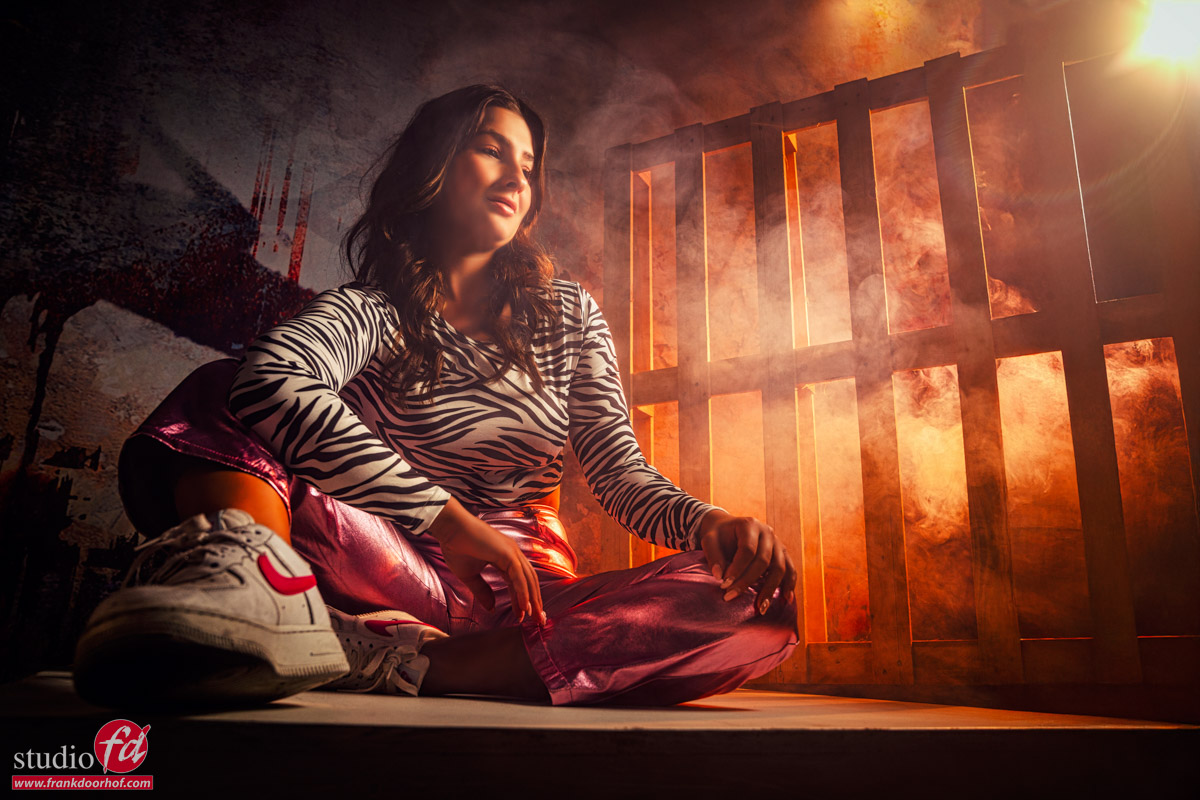
Slightly more distance and a slightly lower angle. It was now time to add some smoke (and use some Photoshop to extend the pallet)
Also, letting the light creep through is always fun.
We are almost there.
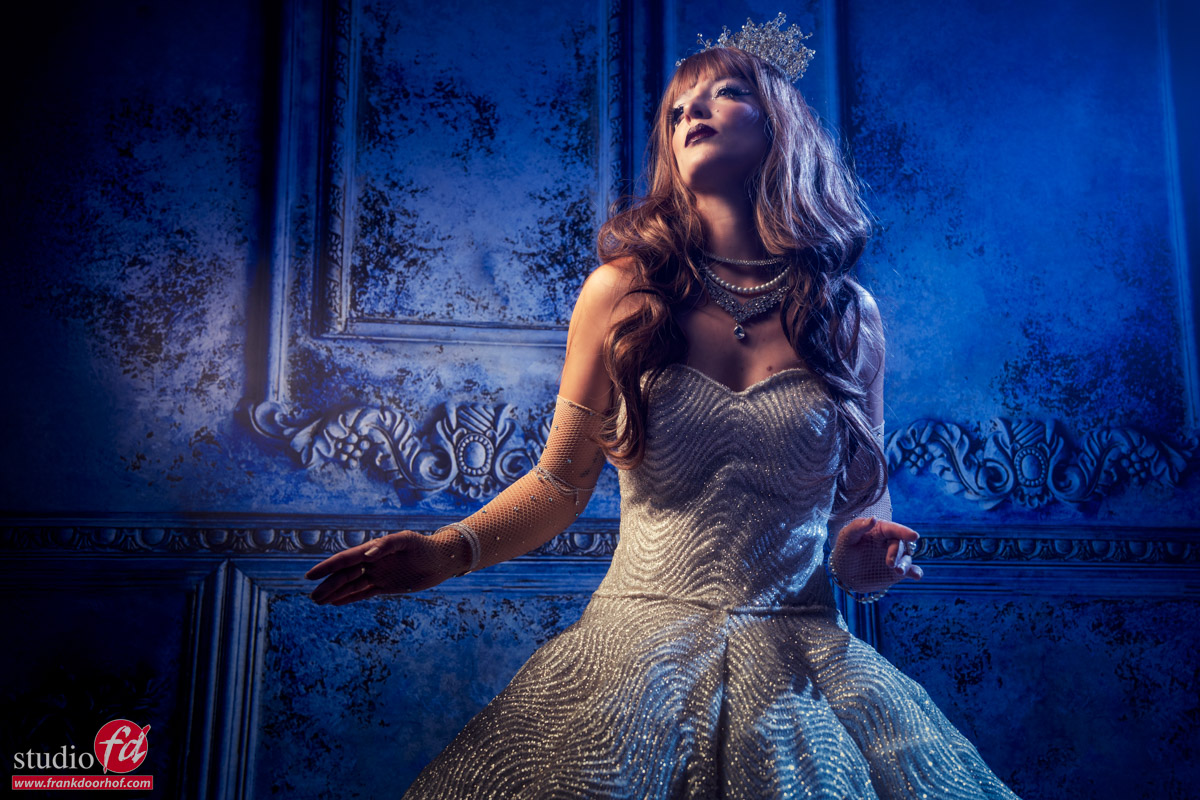
Photo 5
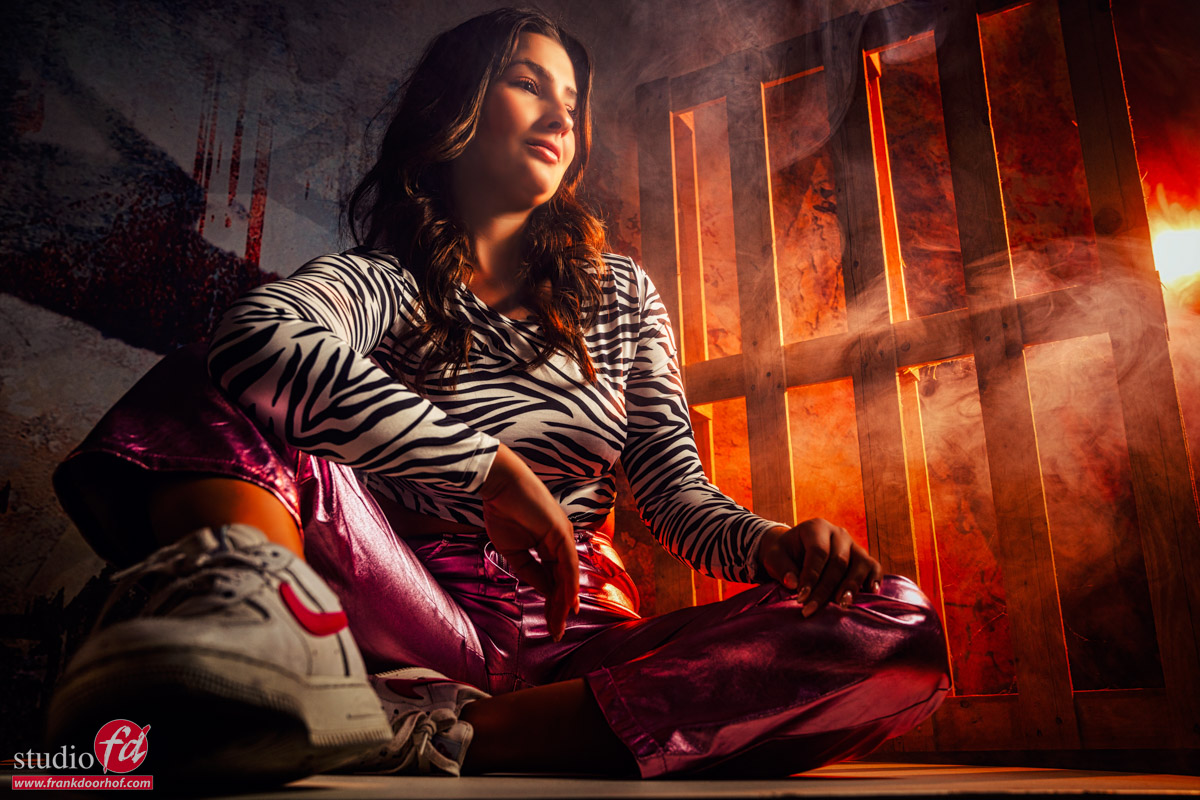
Very close and shoe very close to the lens for the “cool” effect.
Some smoke and more light are creeping through.
Between this photo and the previous one is not a lot of preference difference. I like them both, although the final one is a bit more intense due to the closeness of the model.
Conclusion about what you should know about angles
First of all, always think about composition.
But, always take into account the angle and the way you shoot it; this goes for everything from models to architecture and everything in between and outside. Choosing the “right” lens and angle can dramatically improve a shot.
Also want to visit a workshop (this is just one of the 4 sets we do during a day)?
Visit www.fotografie-workshops.nl