Tag Archive for: studio

No more problems with white backgrounds

How to easily make your white background really white

Sounds too good to be true…?

Creating a pure white background in model photography?
It’s easier than you think!

All you need are two see-through umbrellas for side lighting and a large softbox (or a black umbrella with a diffuser) in front.
The key?
Angle your umbrellas just right to evenly light the background.

Plexiglas

For the floor, which is always a problem, I’m using a clever trick: plexiglass!
It adds a beautiful reflection and helps make the ground appear clean and white.
To keep your model from “floating” in the frame, make sure you maintain some subtle shadows or reflections, and plexiglass is great for this.

To pose against

In this shot, I’m also including two simple white posing blocks—and they are very easy to build yourself
We can talk about it for hours, but a video always works better 😀

In this video, I walk you through the complete setup and share behind-the-scenes footage, and, of course,  the final results.
P.S. I gave the final images a subtle bluish tint in post-production.

The workshops have started again

The new season starts and it’s different

We all know the saying “when you don’t succeed, start teaching”
And in all honesty it seems to be true, but it also destroys the reputation of real workshops.
I’ve been teaching workshops for over 15 years and hear all the stories about what I call “shooting zoo’s”
“workshops” where a group of photographers “jump” on a model and starts shooting with a light setup.
Hardly any explanation, and hardly time for in depth questions.

In my opinion these “workshops” have a place but should not (and never) be called workshops.

What is a workshop

For me, a workshop should be an event where you not only learn about the subject you’re interested in, but also get hands-on and have all the time for questions you like to ask. This means that I always start my workshops with a Q&A.

“What do you want to learn today?”

All the workshops have a theme, but within the Q&A I’m actually starting to build the workshop.
For me it’s a great challenge, and also a great reward due to the fact I always end up with new kind of photos and techniques.
For the attendees it means you get a 100% tailor made workshop for that group, and your question will always be answered.

But the most important thing is

The techniques should be repeatable

For me it doesn’t make sense to teach a workshop with 10 10K strobes and 5K soft boxes and a “professional” model (which doesn’t mean our models are not professional) so I try to work with mostly starting models, or models we started with :D.
gear wise I’m using brands that are affordable and flexible.

In other words, if you follow a workshop, you can create similar images pretty quickly yourself.
And more importantly you understand the techniques behind them, so even if you don’t need an exact copy, you have the knowledge to solve problems or setup creative light setups fast and easy. Which will make you very popular with your clients and models.

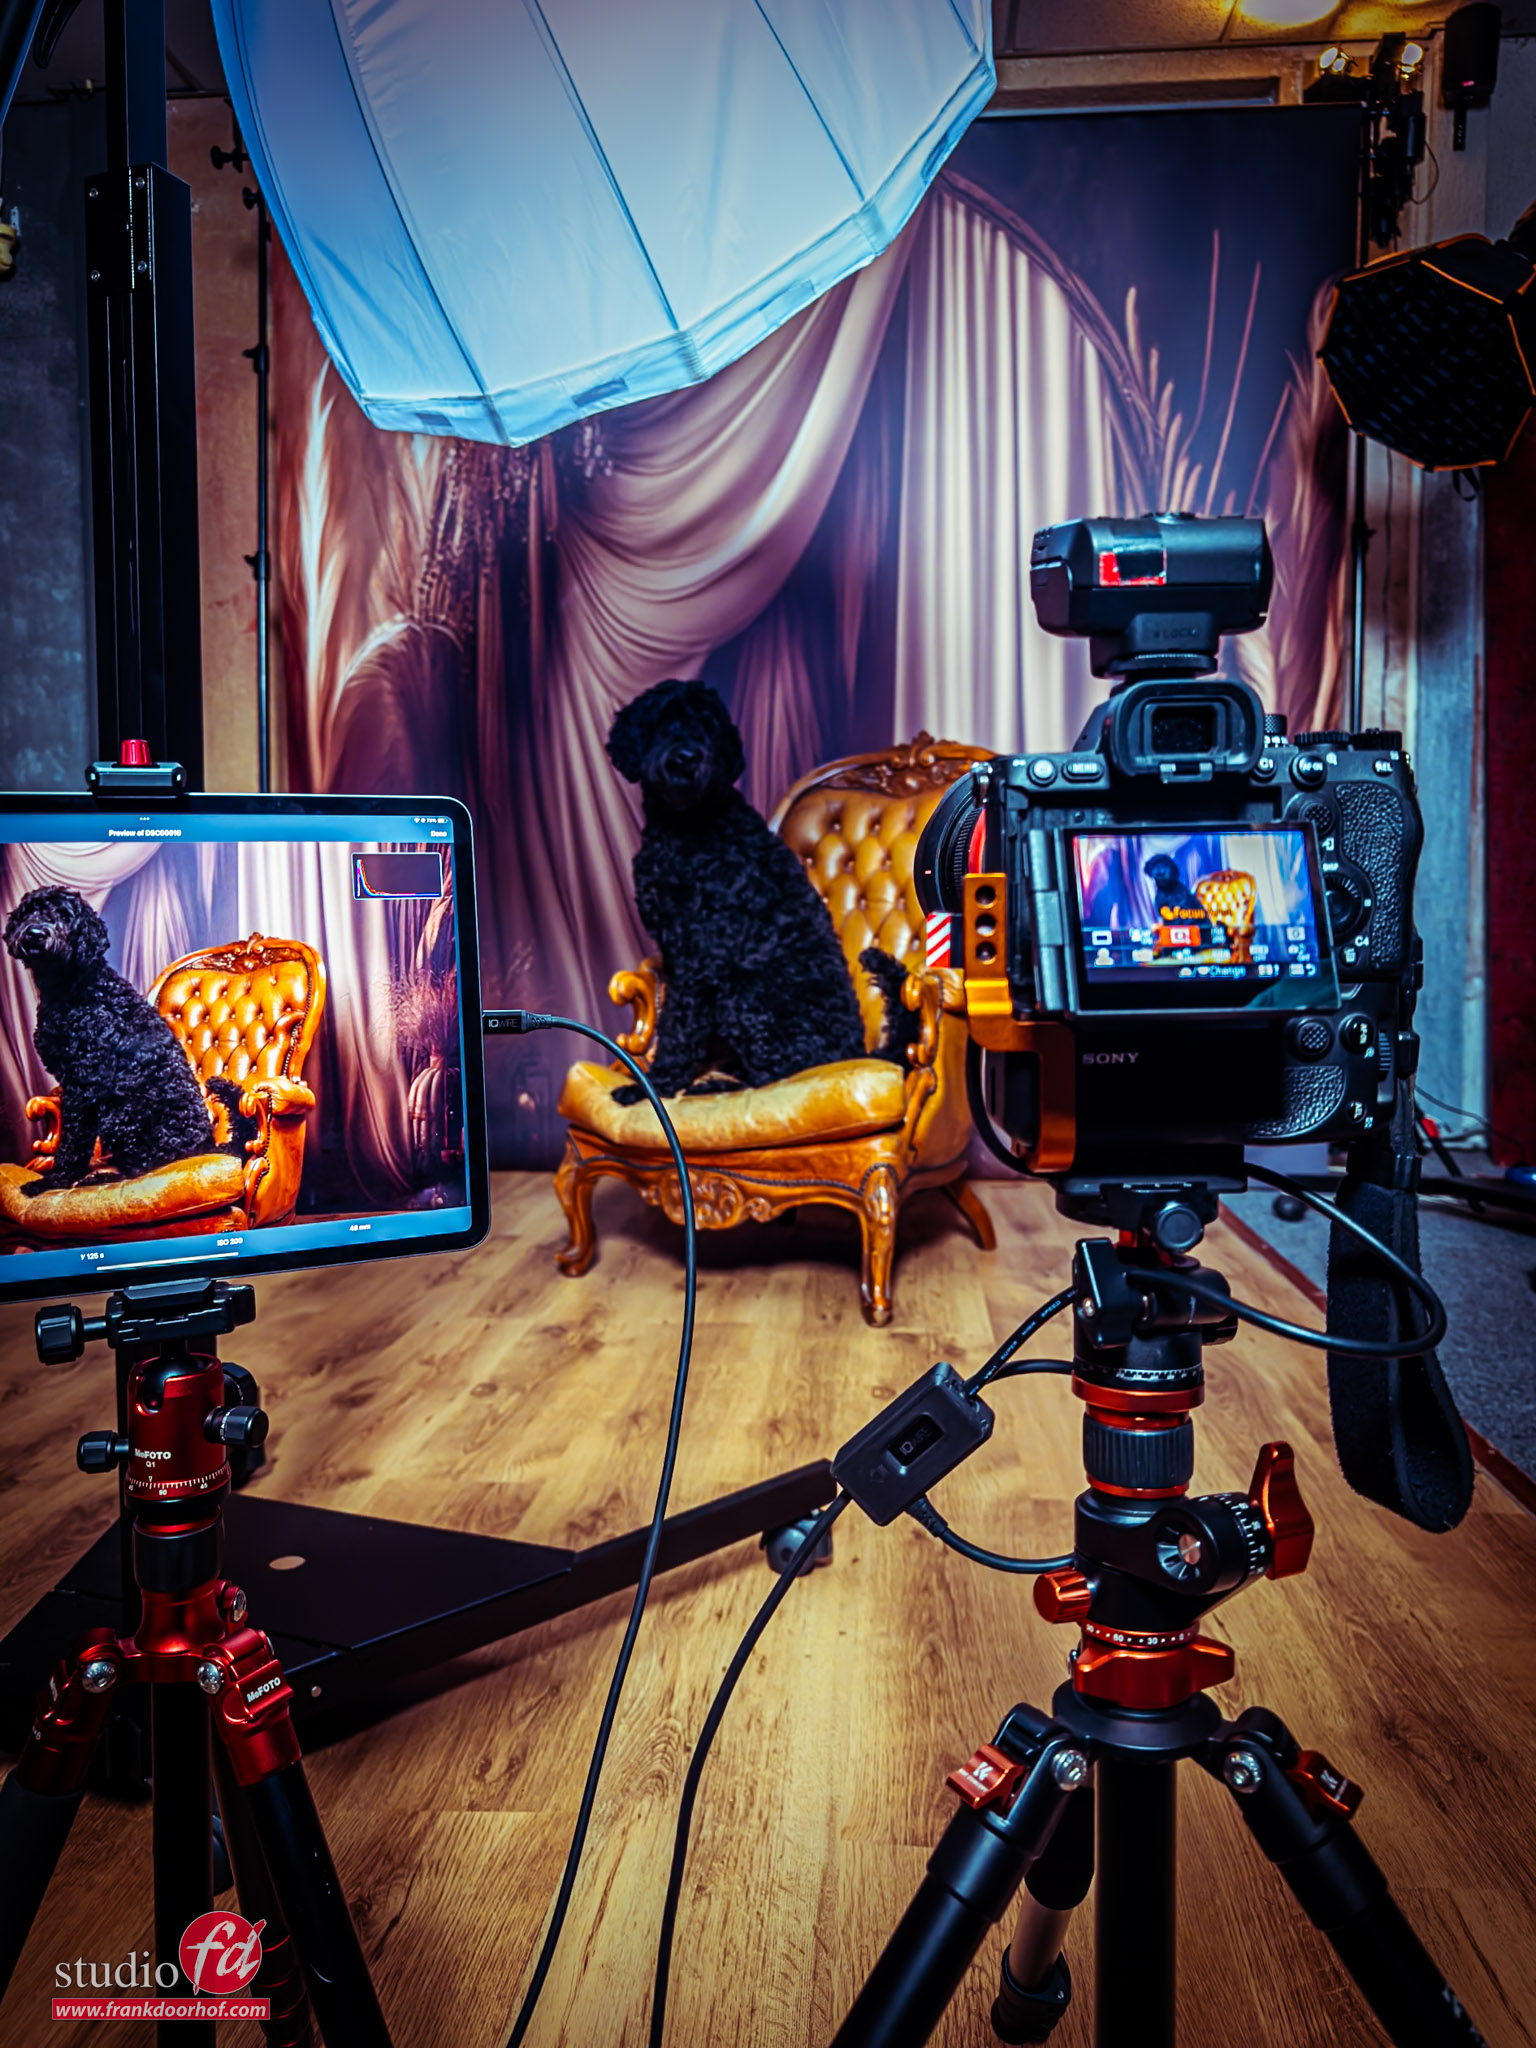
Let’s take a look at some of the images of the workshop with Lisa.
As mentioned all workshops are different, but here you get a slight idea of our “basis” workshop.

Set 1

Set 1 was all about angles, and reflections.
A reflective pants, and of course shadow play all make it a setup where we can discuss several topic.
I’ll write a different blogpost about some of these setups with a mode elaborate explanation, today it’s just to give you a quick idea of a workshop.

We started really simple with this shoot, and build it up to the final image.
You get all the information about angles, and why sometimes you might thing you got it, but it’s actually not even the start 😀

First image

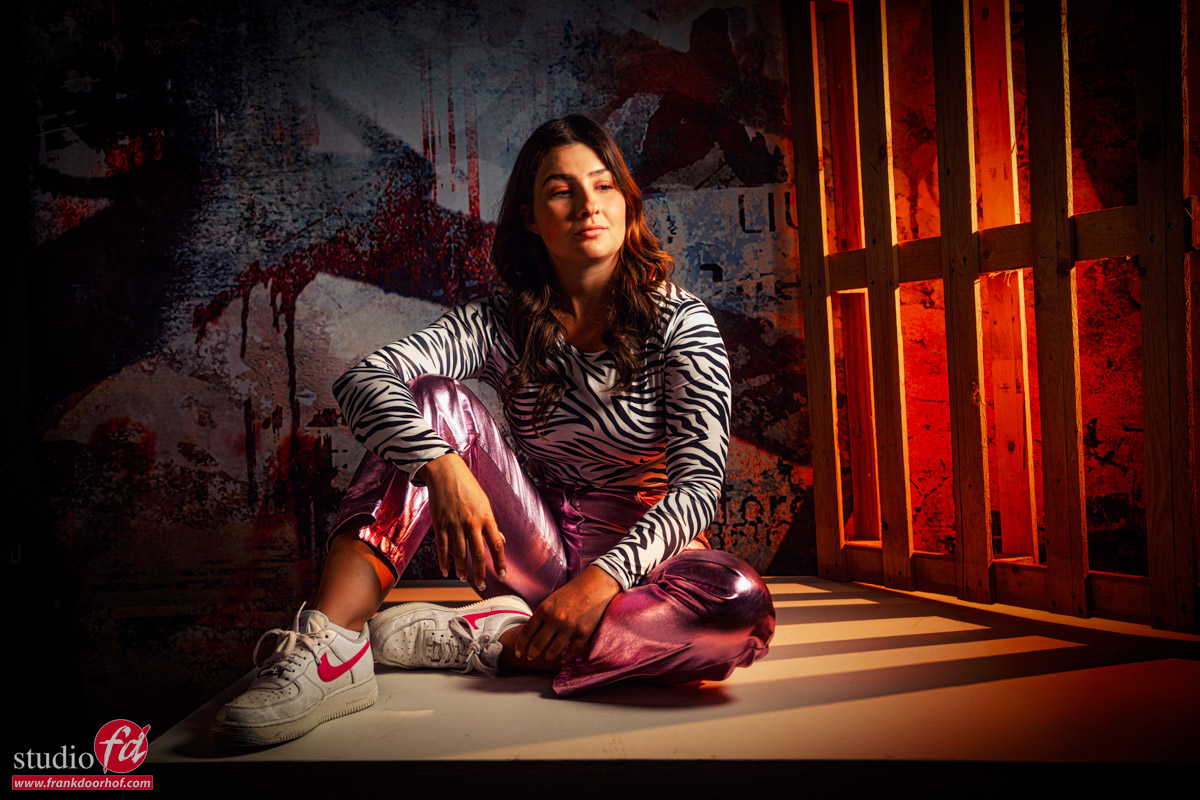
not bad, but after a few minutes we ended up with this one

Much more engaging, and interesting.
We added some smoke, different angle, wide angle lens, and of course some nice light creeping through.
Every change is explained in detail, and if in between one of the attendees has an idea, we as a group talk about it and try it out.
My initial idea was for example a blue gel, but we ended up with a Rogue Tangerine colored gel.
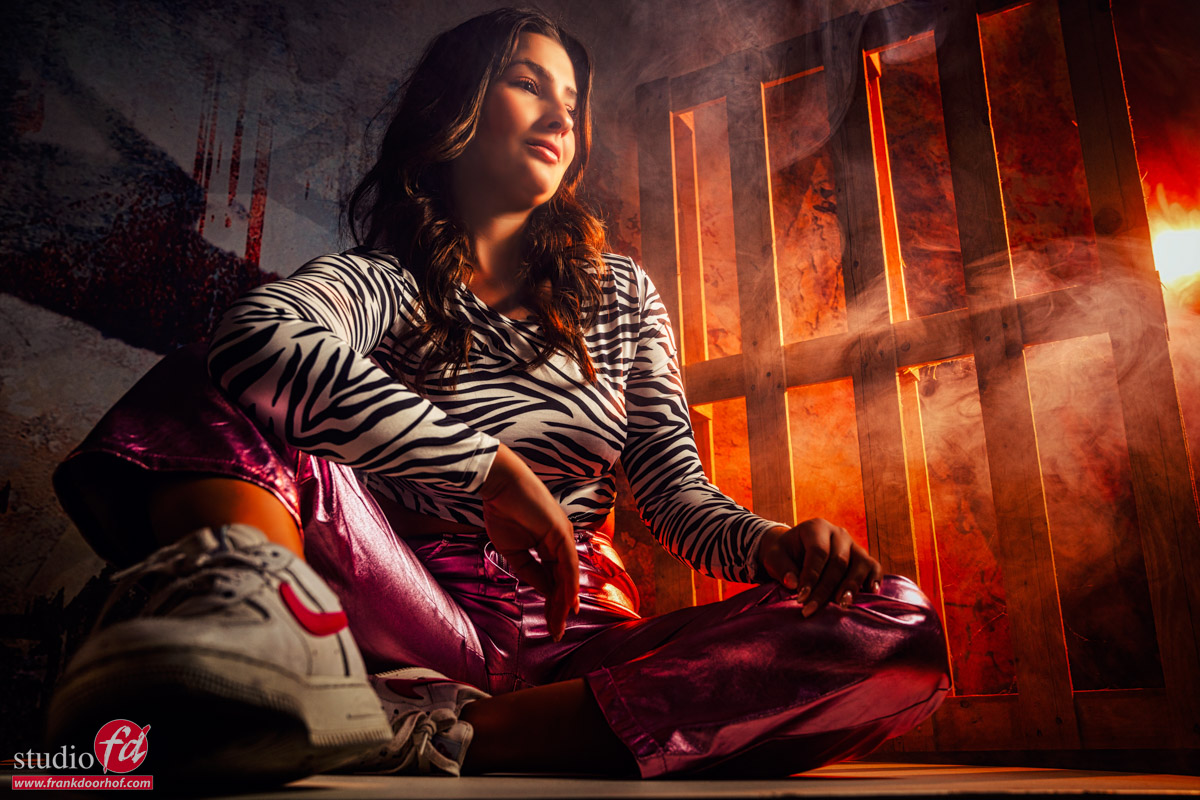
Set 2

Although it was Lisa’s first workshop, we did not held back.
For the second set I’m using Nanlite PavoTubes for the led lights.
And a Geekoto GT250 with 2 Rogue grids to aim the light.
The advantages of hybrid strobes is that you can lower the output a lot, meaning it’s a breeze to combine them with the leds.
We started with this image

Nothing wrong with it, but what if you start to move around the model and use the lights as accents, or just leave them out completely.
They still work of course but for a totally different vibe.

So we played around a bit and… added some smoke.

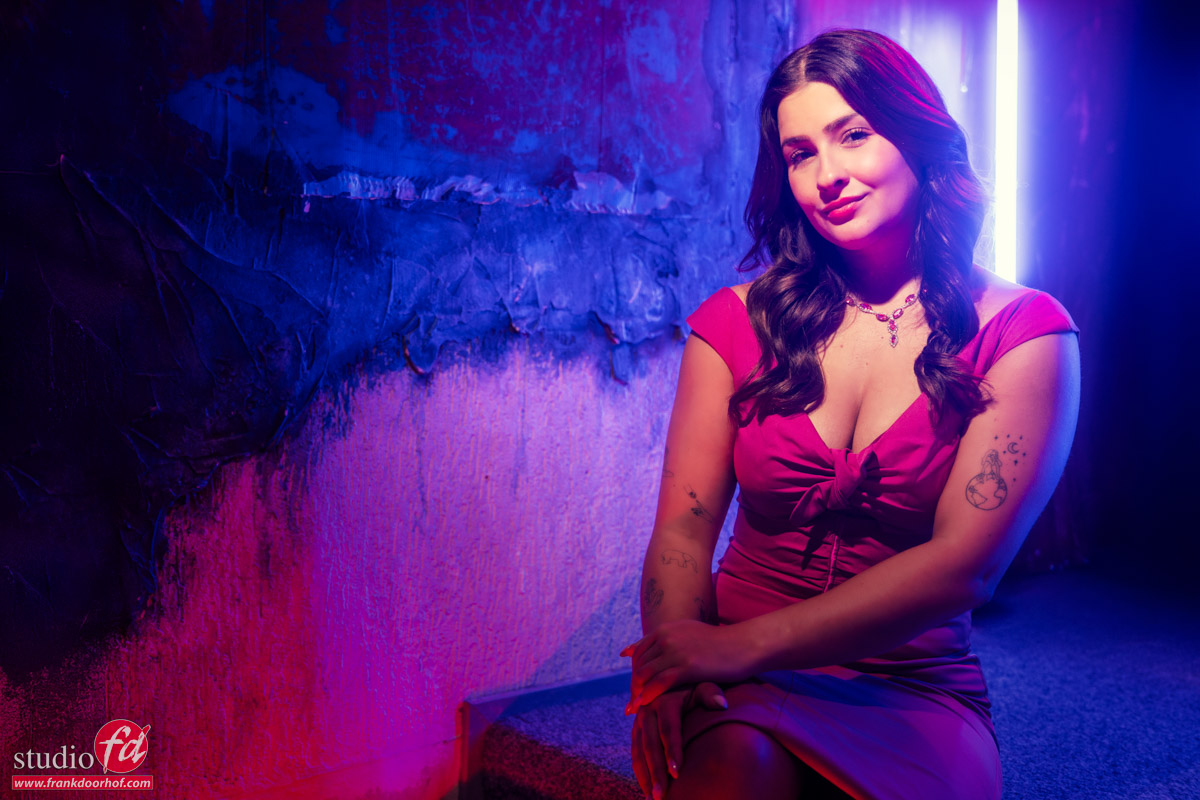
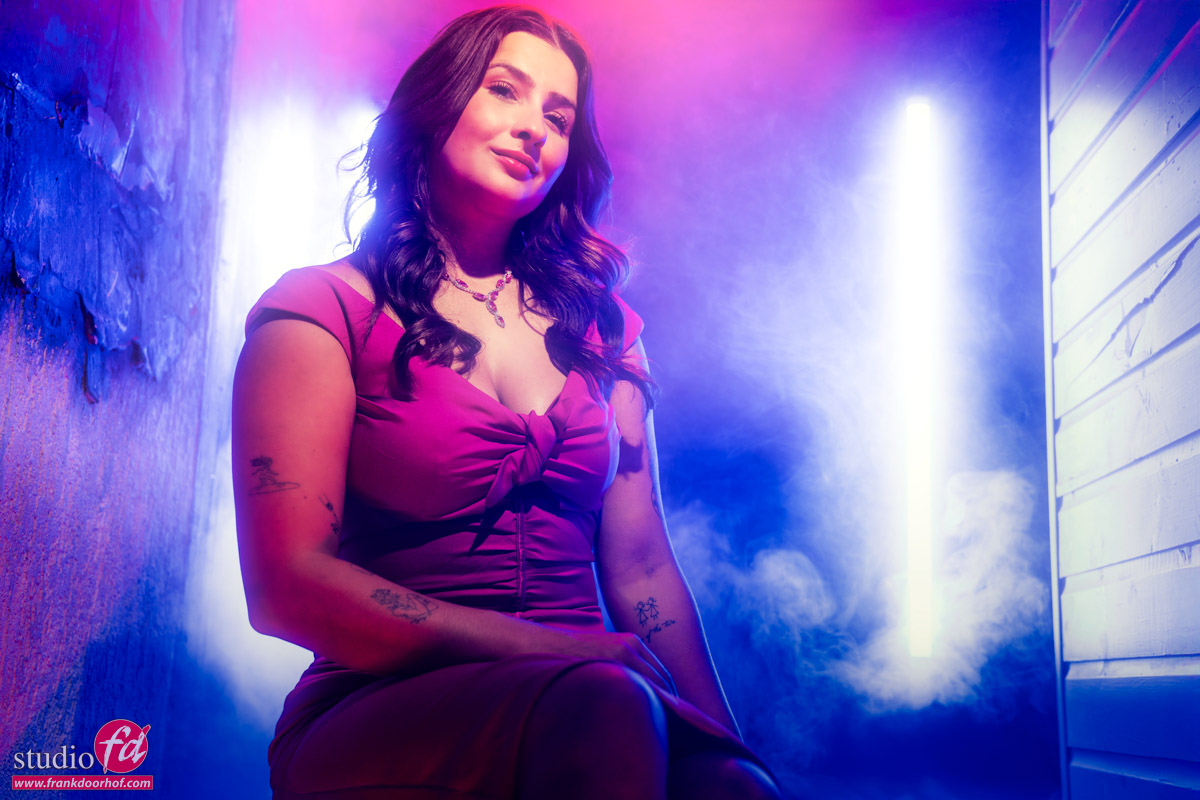
Of course also here all the techniques like dragging the shutter, mixing colors and playing with smoke and angles are discussed.
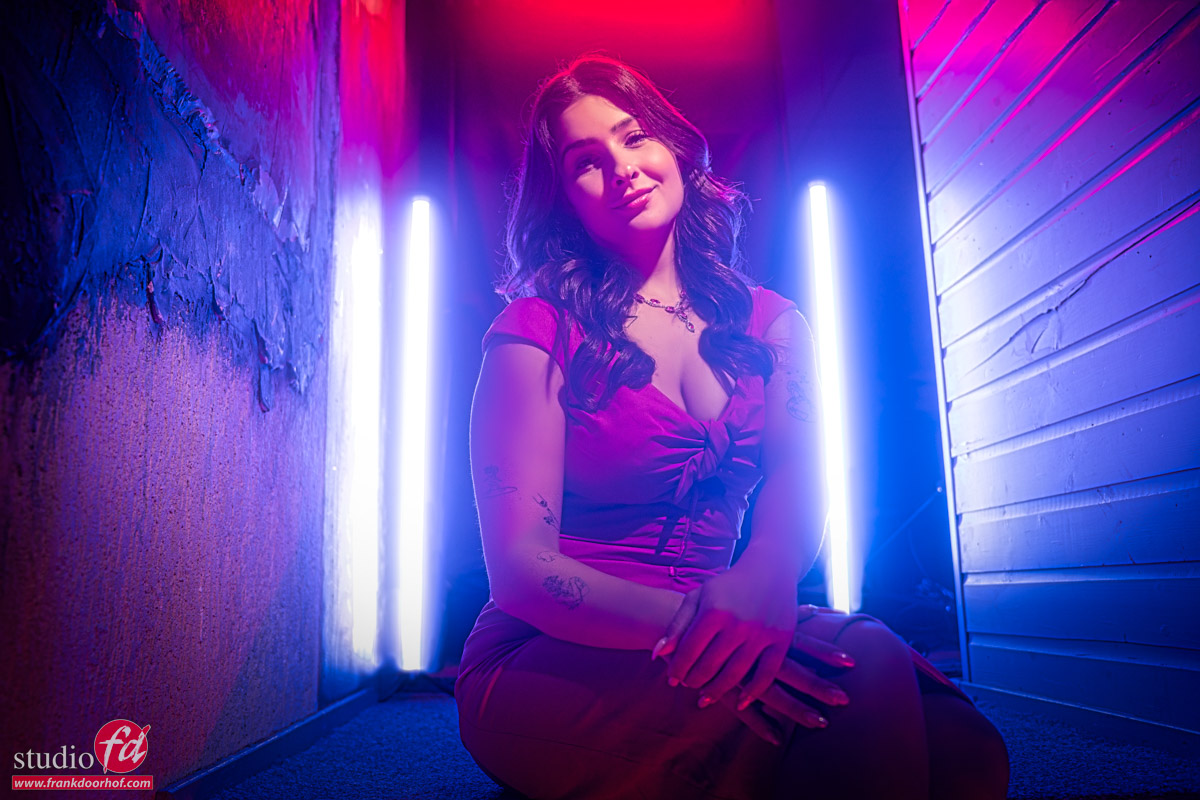
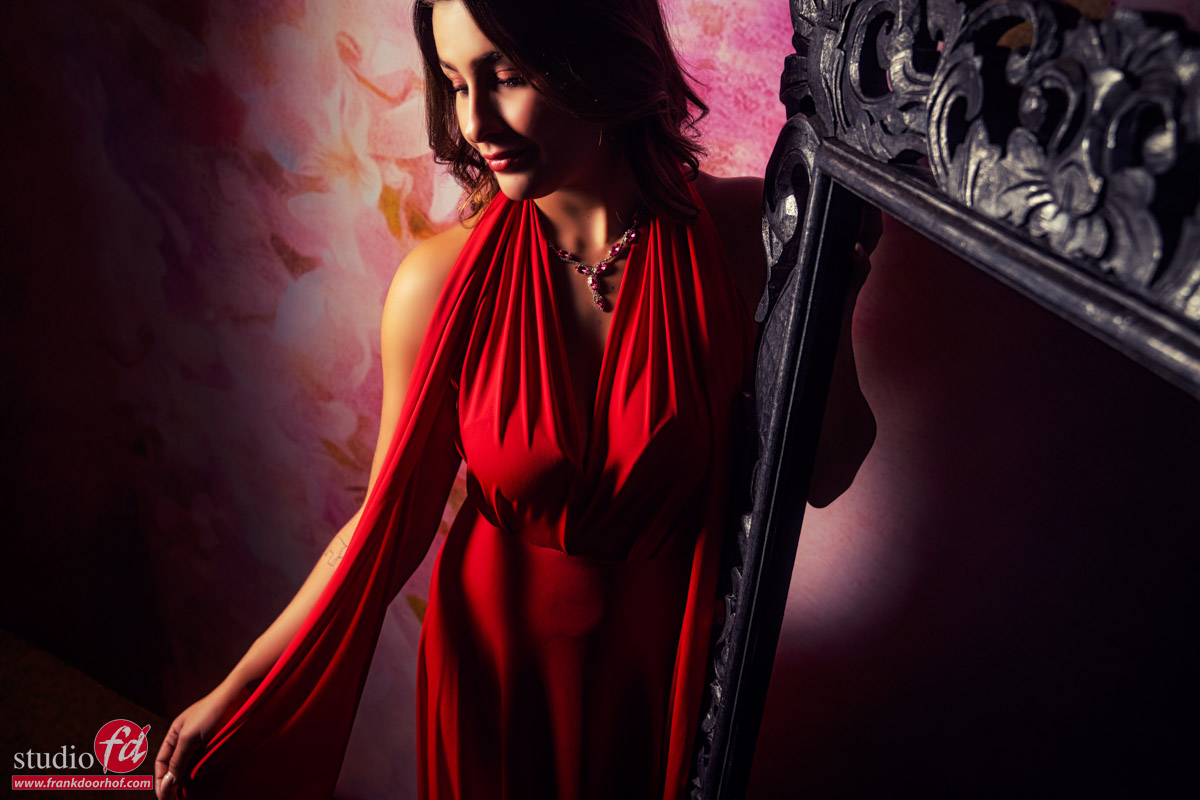
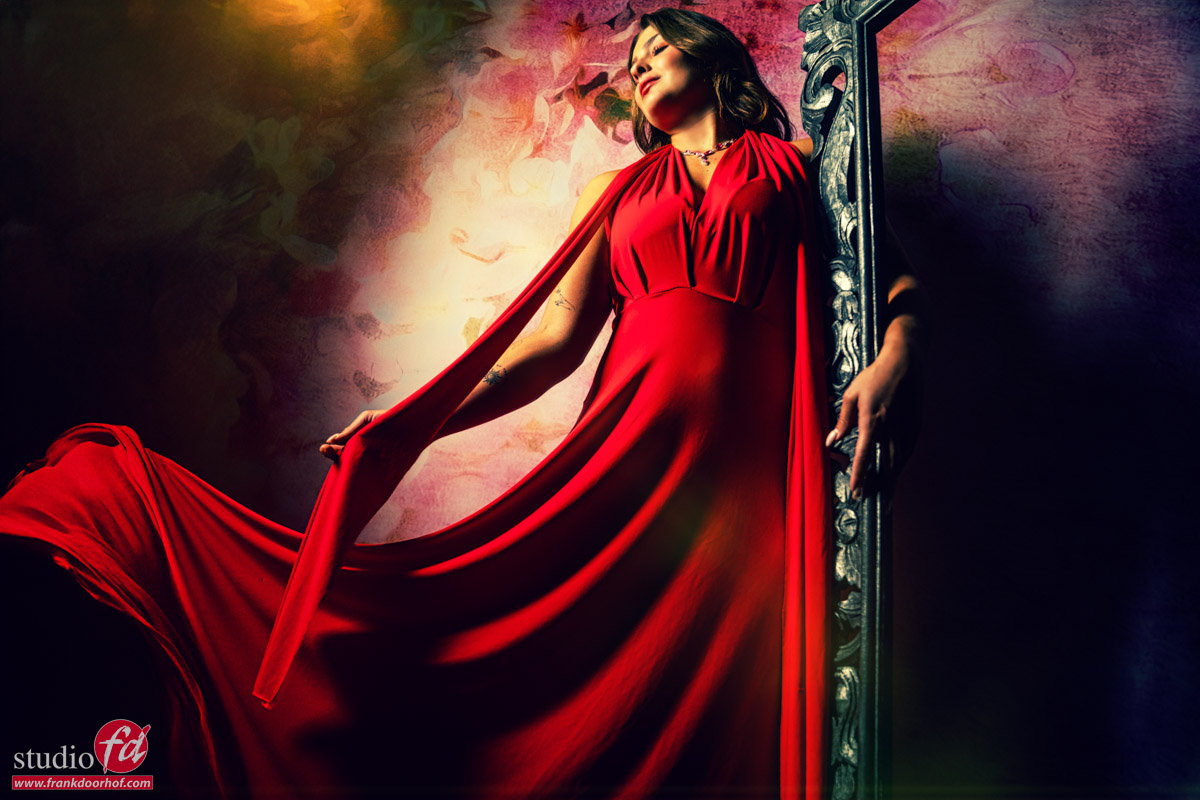
 Set 3

If you think that was it, wrong.
We do a lot more.

For set 3 we opted for a nice red dress and a mirror frame.
In this set it was all about angles, and distortion of the wide angle, but also about freezing motion and how to make sure motion does what you need.

But also about what angle you shoot from for which effect.
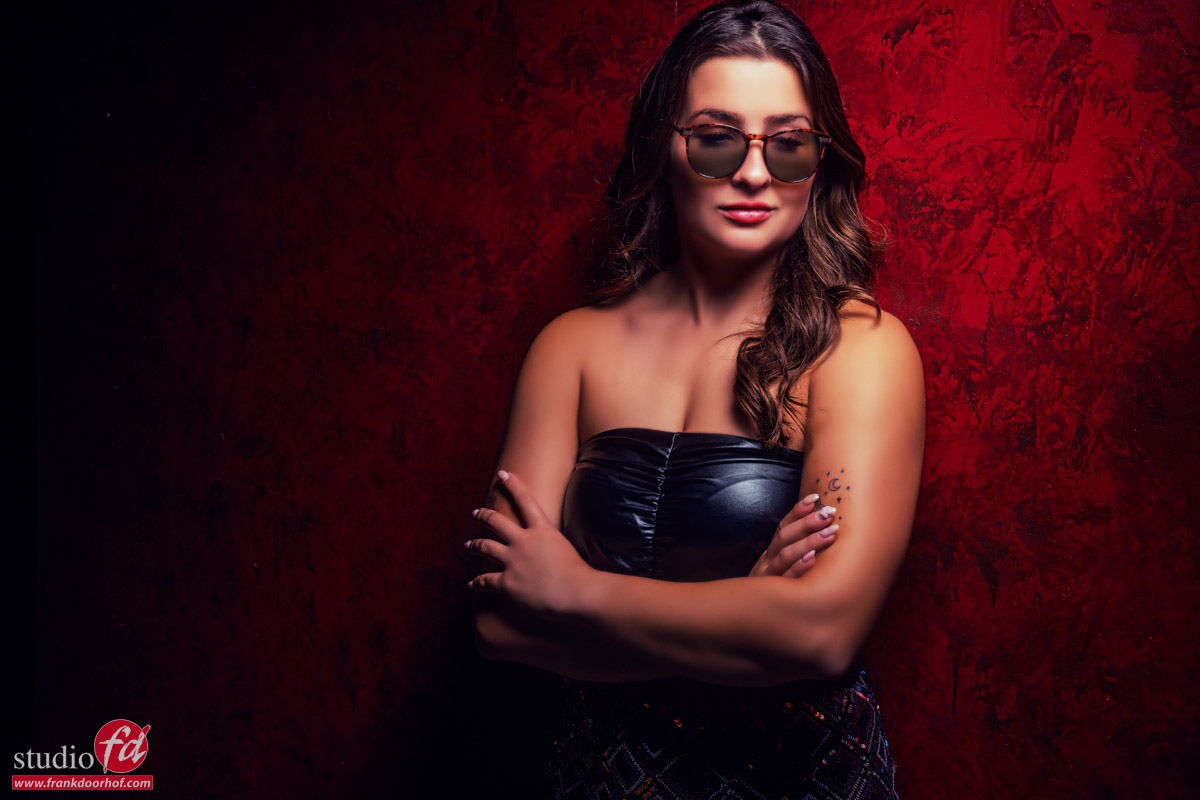
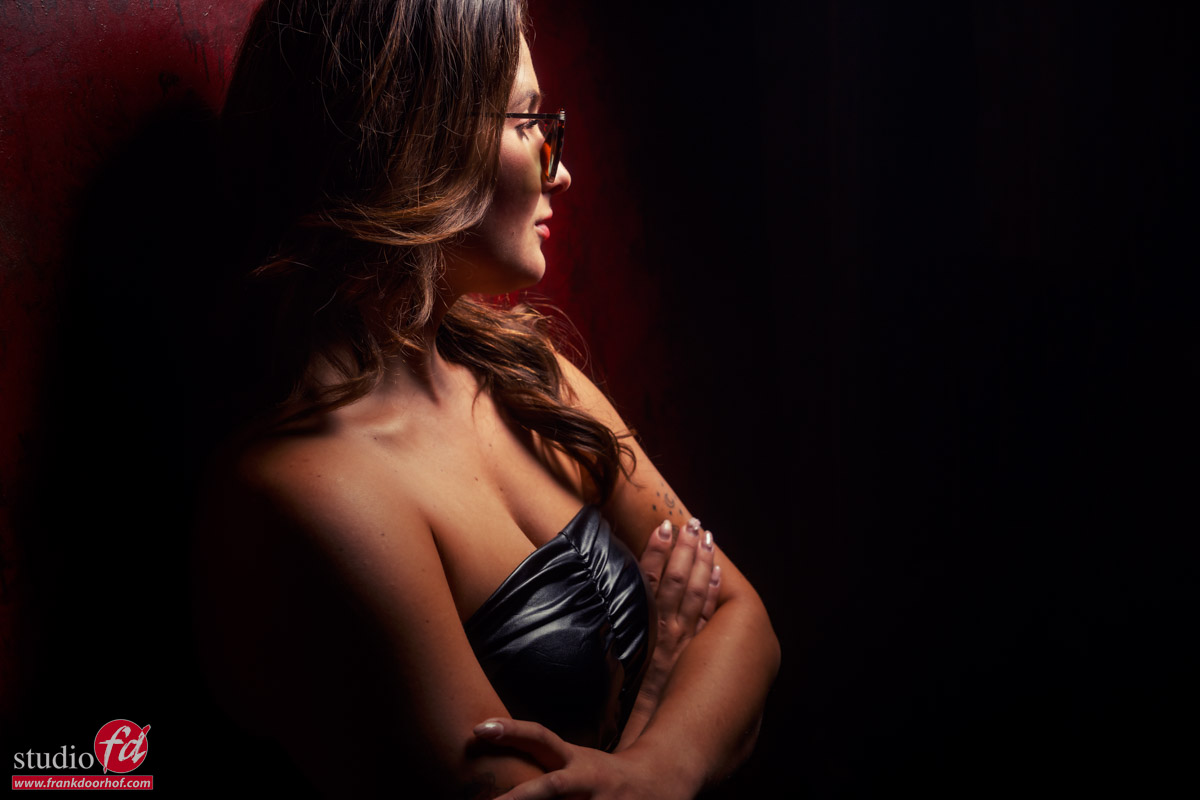
Set 4

In the final set we have two challenges.
One of the questions was about “reflective areas” like glasses.
For the final set I thought it would be an extra challenge to use our original red background (the same as the signature ClickBackDrops version).
The problem with this background is that they used the wrong paint, making it very reflective.
At first we wanted to repaint it, but it’s also a great challenge, so I kept it, and today I used it again 😀

The background reflects the strobes almost always, so choosing the right angle is essential, add to this some very reflective sunglasses where we wanted the light behind to light the eyes, but not give reflection, and you have a real challenge. (or is it)

I’m using a Geekoto GT400 here with our Quicky softbox with grid.
This way I’m steering my light and prevent spill light, and because of the size and design of the softbox I can create very nice lighting setups without too much effort.

Conclusion

Maybe I’m old fashioned but I strongly believe that if someone pays money for a workshop they should get a real workshop.
Hands-on experience, but also being able to ask anything they like.

So if you want to visit one of the workshops, check fotografie-workshops.nl for the new agenda
Although the workshops are in Dutch, if you let us know a few weeks in advance we can switch them to English.
And if the Netherlands is too far away, think about a 1:1 online workshop.
During the online workshops we work with 4 different camera angles and a direct view on my desktop so everything can be followed in detail, plus we have a direct connection for questions and chit-chat.

Do remember that every workshop is different depending on the group and the theme, but they are always filled with education about technique, creativity, working with models/clients and a lot more.

Hope you enjoyed this overview of a scratch of the surface of what we do during a workshop.


International Dog Day

Today it’s international Dog Day

So a special model for todays blogpost.
If you follow our YouTube channel  I’m pretty sure you have seen our model of the day a few times.
He loves to “help” with filming tutorials, and sometimes during workshops he just jumps into the scene posing like a real diva.

Today in the spotlight our black labradoodle Chewie.

And the behind the scenes setup.

I’m using the Geekoto Lantern as my main light. This is a very nice lightsource to place close to your subject for great detail in for example… a black dog, without getting a real spot effect on the backdrop, so one light to light both the subject and background, by angling the lantern you can control the amount of light hitting the backdrop. It’s super easy.

As accent you can use almost anything, as long as you take into account the light quality.
A smaller lightsource will give a harsher quality of light.
In this case I’m using a small softbox for example the Geekoto Quicky to give a “kick” of light from the side creating some extra depth and fill.By using a grid you prevent spill light on for example the background, and it can prevent lens flare.

I’m using the Sony A7RV straight into my iPad with the iQwire tethering system, both cable and defense system.
On the iPad I’m running the CasCable app and in the background Lightroom to sync with the desktop right into my catalogue.

I hope you spoil your dog just a little bit extra today.


A new product in our store Platypod

Platypod is one of those….

Products I talk about a lot during seminars.
There are products that are designed for the photography market, and there are products that are clearly designed for photographers by photographers.

I’ve been using the Platypod system I guess from version 1 and it’s always in my bag.
Especially when I don’t want to bring a tripod it’s a great solution, but also for my music it’s great to mount a microphone. And when we travel it’s used to mount our iPhones when filming. And when you think that’s all…. nope you can also use it in the studio or on location to mount your strobes in most creative locations where a studio stand is impossible or impractical. Especially with the new hybrid strobes like our own Geekoto’s a system like the Platypod is something you cannot afford not to own 😀

Available now in our store

In the years I’ve been teaching there is one thing that I always love to do.
Review and test gear/software. Most of the times the products are ok, they do what they need to do and sometimes there is some “magic” where you keep finding new ways to use it. Where you start creating better images/videos because you are now free to mount your lights/cameras/mics wherever you want. etc.

For me from the first Platypod I got I had that feeling and through the years the line-up has grown considerably, so it’s no surprise we have added Platypod to our line up of product.
So let’s take a look at the system.

You can find the platypod system on our webshop (click here)


Platypod eXtremeThe system

The Platypod system is a compact, low-profile camera support solution designed for photographers and videographers who need stability without the bulk of traditional tripods. Here are some key advantages of using the Platypod system:

1. Portability and Compact Design

The Platypod system is a game-changer because of its size. It’s flat, lightweight, and can fit snugly in your camera bag, backpack, or even pocket. Perfect for travel, hiking, or any time you don’t want to lug around a full-sized tripod.

2. Stability on Unusual Surfaces

The Platypod is a sturdy tripod with adjustable spike-feet that make it super stable on any surface. It can stand on rocks, uneven ground, tabletops, or even be attached to poles and trees with included straps. It’s the perfect tripod for when tripods struggle to stay balanced or find a good foothold.


3. No Tripod Restrictions

Many places, like museums, historic sites, and cities, don’t let you use regular tripods. But the Platypod is different. It’s small and doesn’t draw attention, so you can take long-exposure or low-light photos without anyone noticing or more importantly, breaking the rules.

4. Versatility

Platypod is a versatile tripod head that can handle heavy camera gear. It’s compatible with ball heads, magic arms, and other mounting accessories, making it perfect for macro photography, video work, vlogging, and even mounting lights and microphones.

5. Cost-Effective

Compared to fancy travel tripods, the Platypod system is super affordable. It’s like having a stable shooting platform without breaking the bank or getting all tangled up.


The Platypod system is a fantastic tool for photographers who want a stable camera setup without the hassle of a bulky tripod. Whether you’re capturing stunning landscapes, cozy interiors, mesmerizing time-lapses, or epic videos, it’s your reliable companion when a full tripod isn’t an option.

Platypod Handle Platypod Mag Platypod Traveler Platypod Tab Platypod Delta Platypod eXtreme Platypod MagGrip