In the past few days you have seen some images from the workshop “on location in Emmeloord” with our model Claudia where we look for interesting locations around our own studio.
Today the final part.
One of the things I absolutely love to do on location (or in the studio) is add a touch of color.
Always remember that color evokes emotion.
Think about watching a movie without any tinting or music, you will probably pretty quickly leave the cinema disappointed, unless of course the story is strong enough. But in most cases the reason we love certain scenes/movies is because of the tinting/music used.
So today let’s take a look at some images where I added color on location.
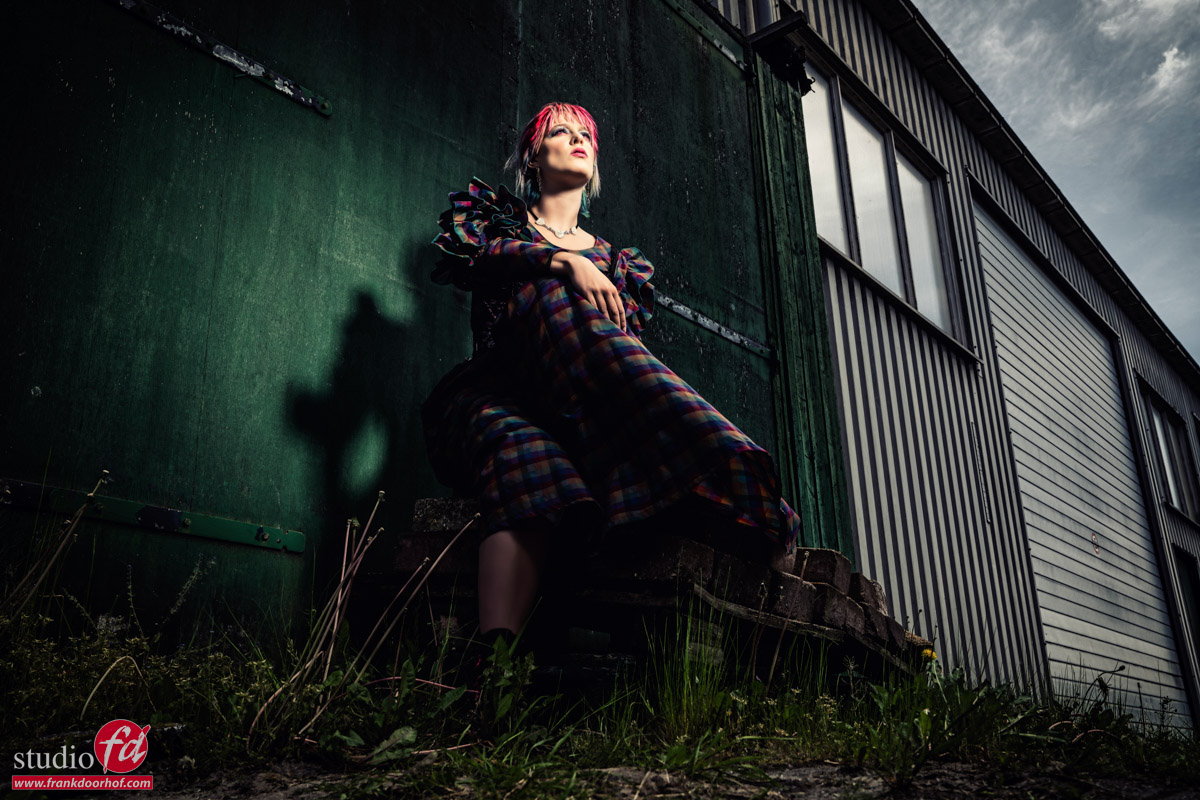
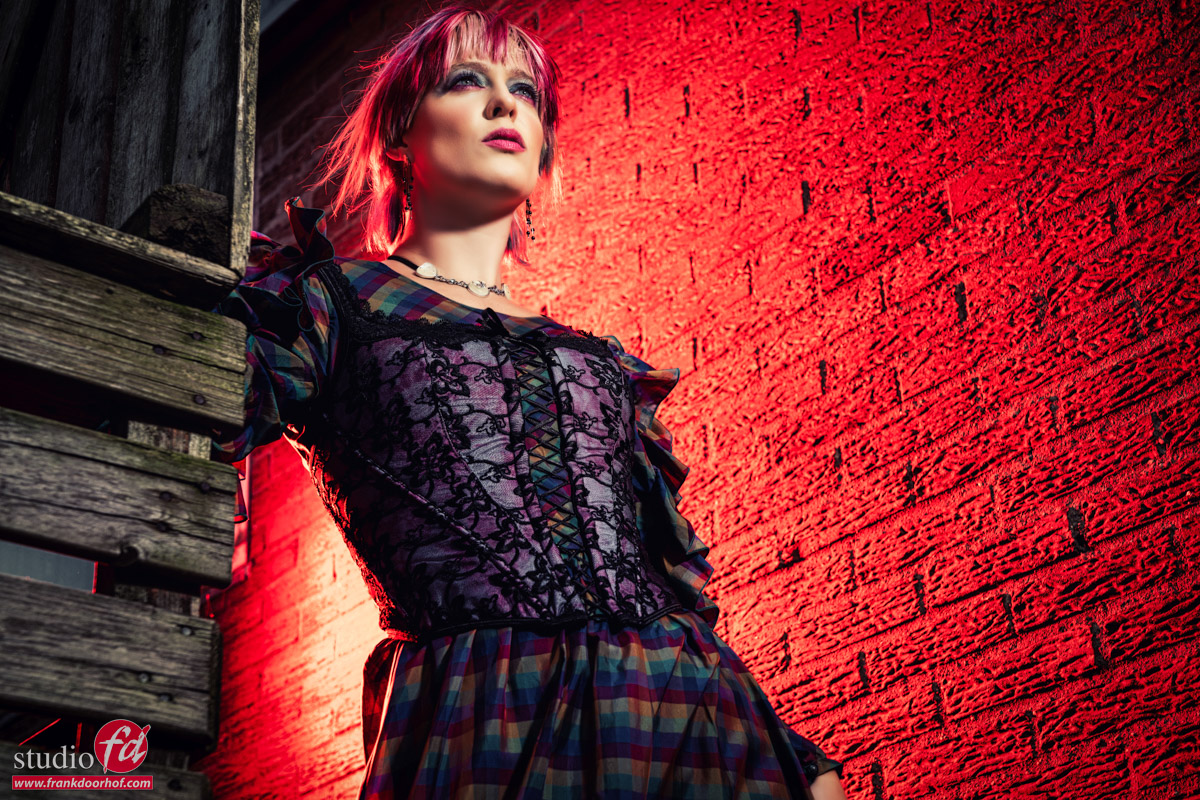
This image is without any added color.
I’m using a Hensel Porty here with the 14″ reflector.
This reflector gives a lot more light than a standard reflector and makes it possible to shoot amazing images even in bright sunlight.
I’m using a variable ND filter to be able to shoot on a wider aperture. When using the Geekoto system I can chose for the HSS options where you can shoot on faster shutter speeds but with standard battery packs like the Hensel Porty you are stuck with the X-sync which is often between 1/125 and 1/200. In situations like this that means that you are almost always shooting at F16 or F22. By using a variable ND filter you can take away some/a lot of light and shoot wide open or on any aperture you like.
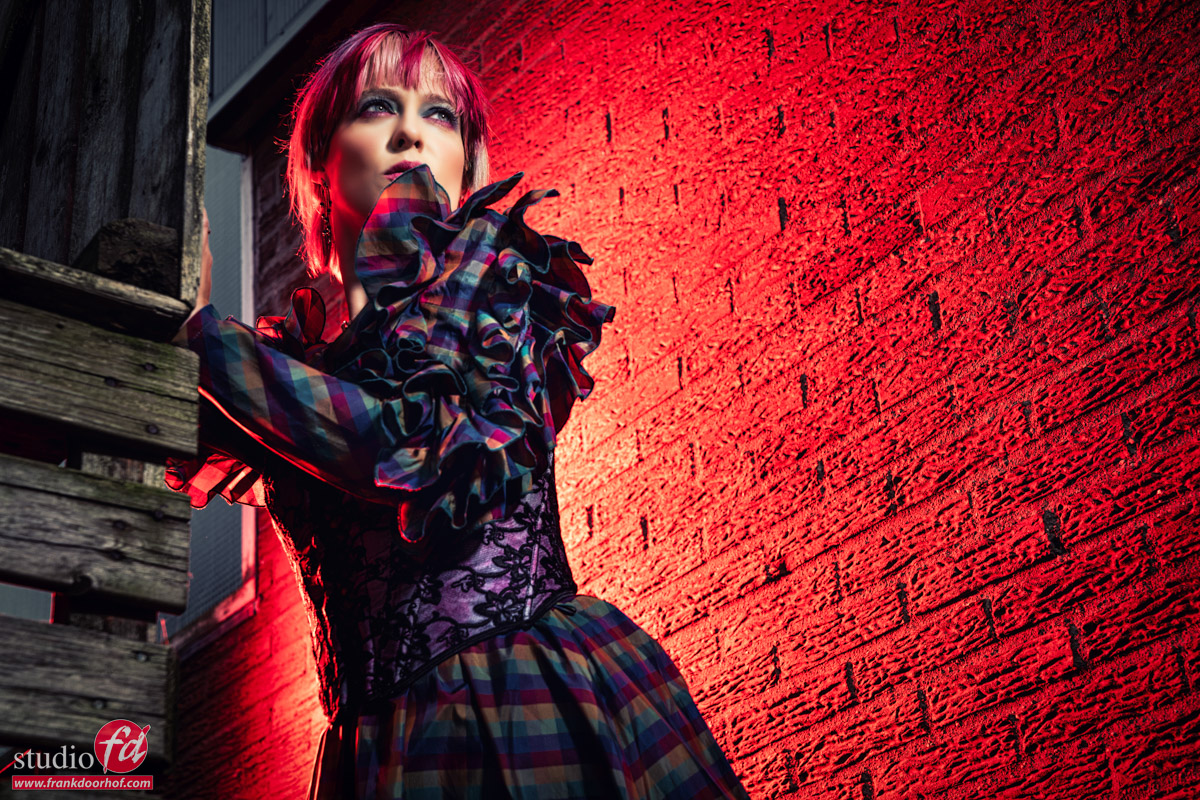
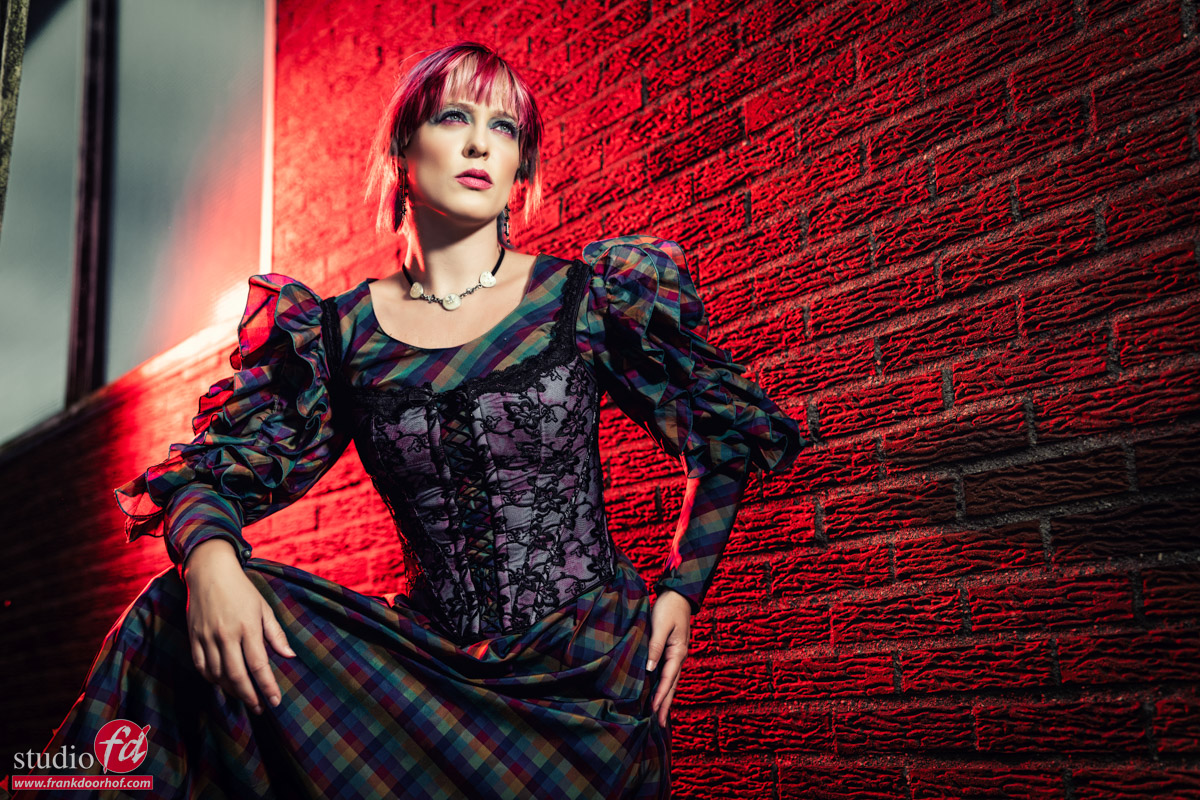
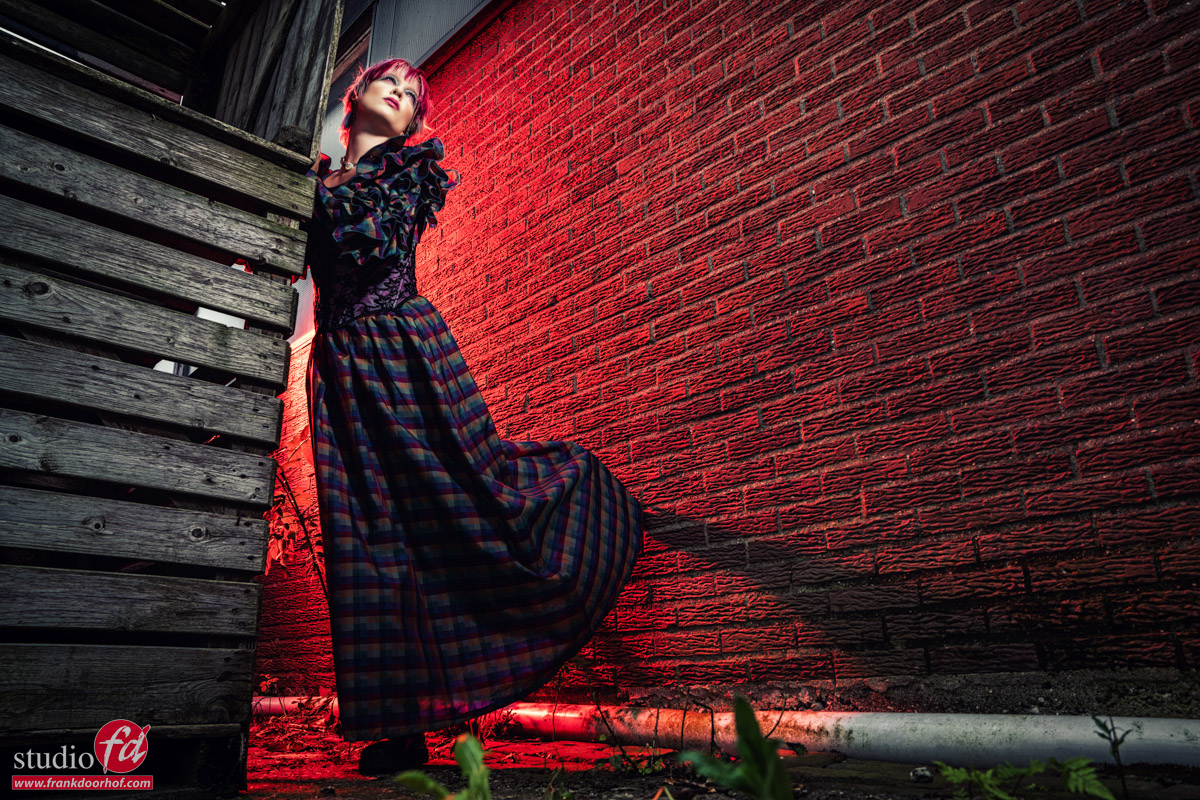
For the next shot I’m using a second Hensel Porty but this one is covered with a thick red gel.
I’m using the black diffusion filter here (from the same kit as the variable ND filter) to create a nice lens flare.
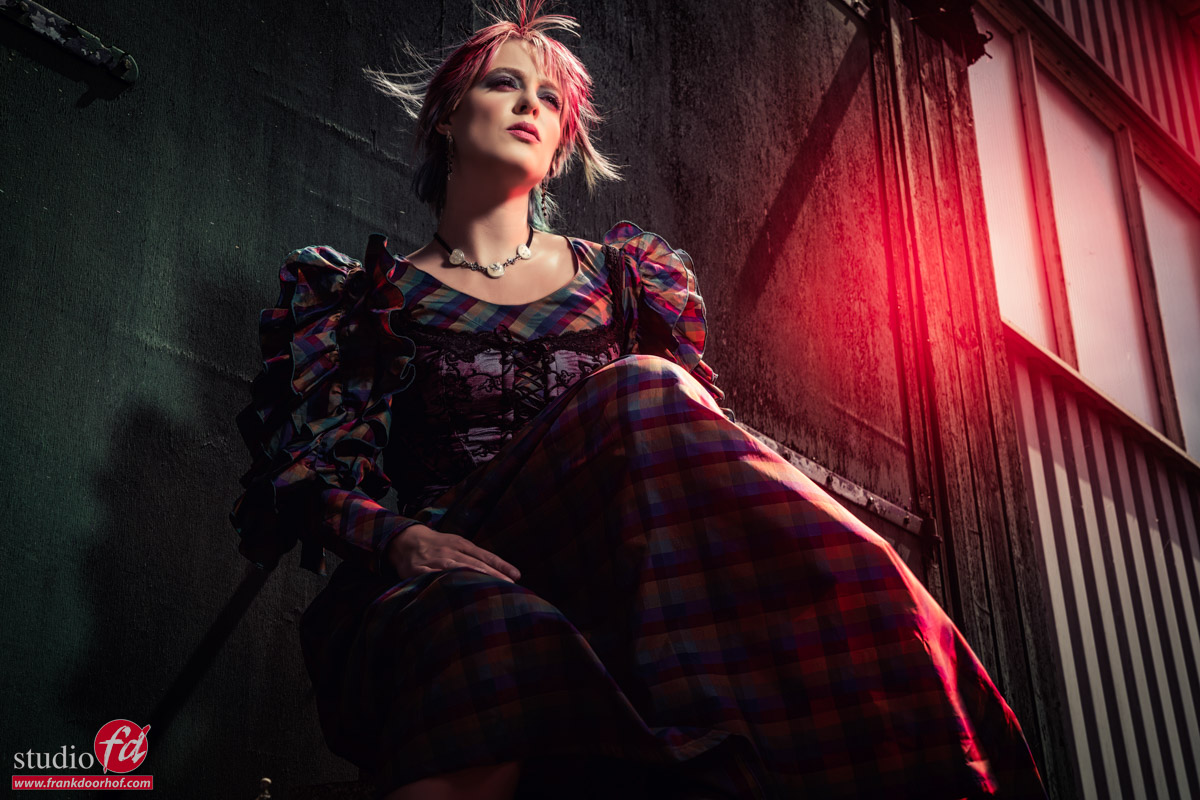
I love both shots, but the second one does give me a nice extra mood/feel.
You might say that you can add this in Photoshop in postprocessing, but I disagree, you can mostly easily see when it’s done in real life or added in post processing.
Now you might remember the blogpost where I showed you the Geekoto system for the first time with the red gels.
Let’s to refresh your memory show some of those images.
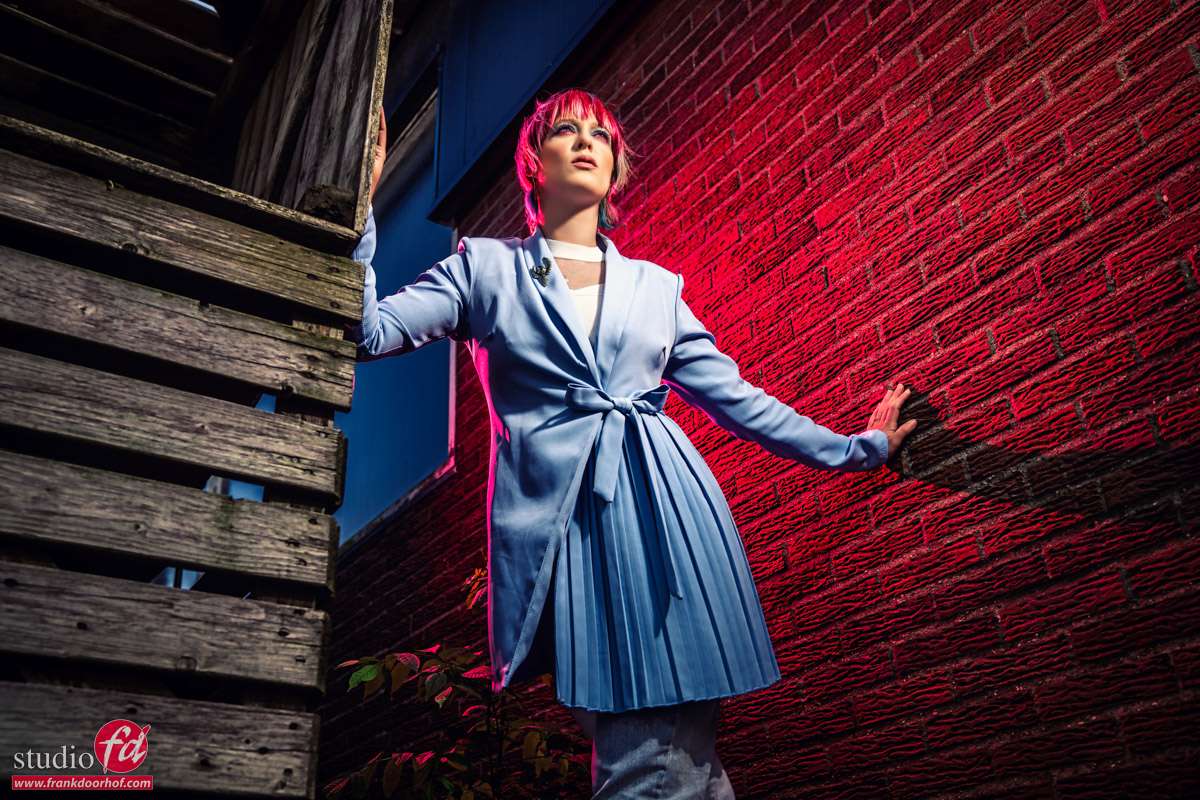
These were shot with the Geekoto GT200 and GT250.
Small strobes that can shoot on HSS. As you can see I’m creating a nice Day2Night look here and the red really jumps off ow youthe background.
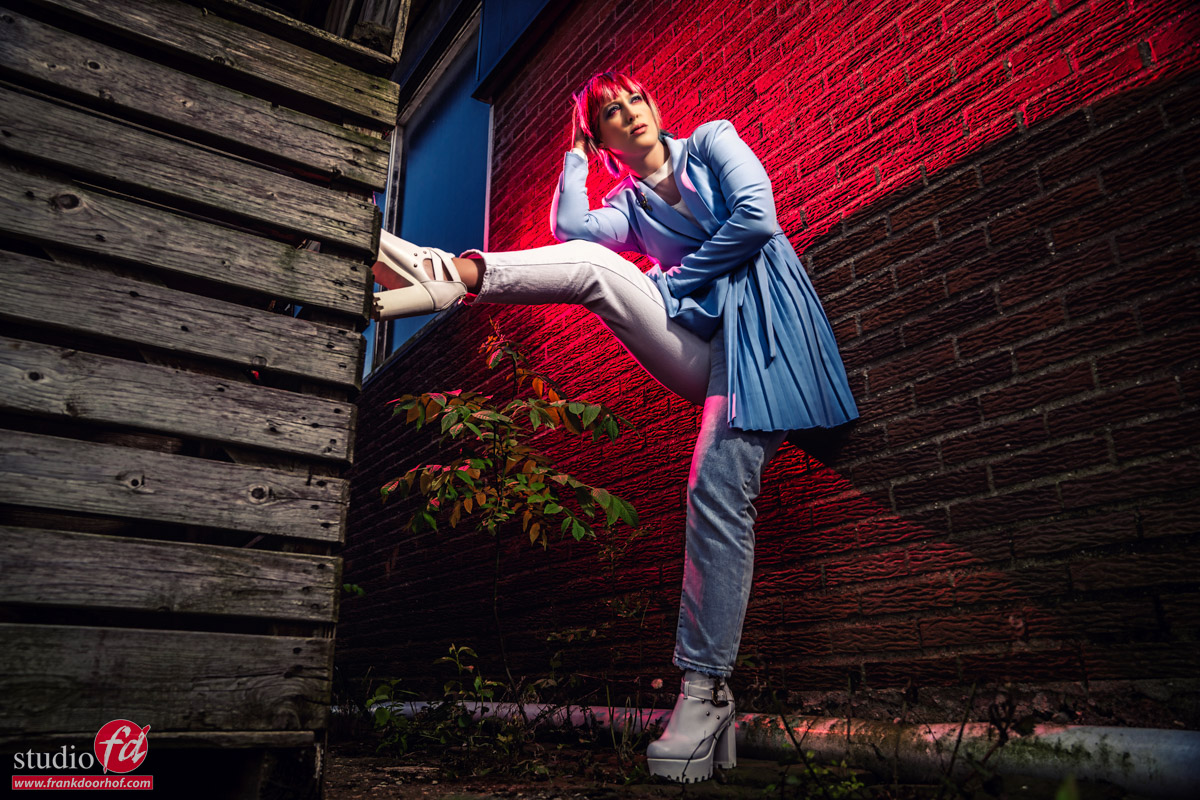
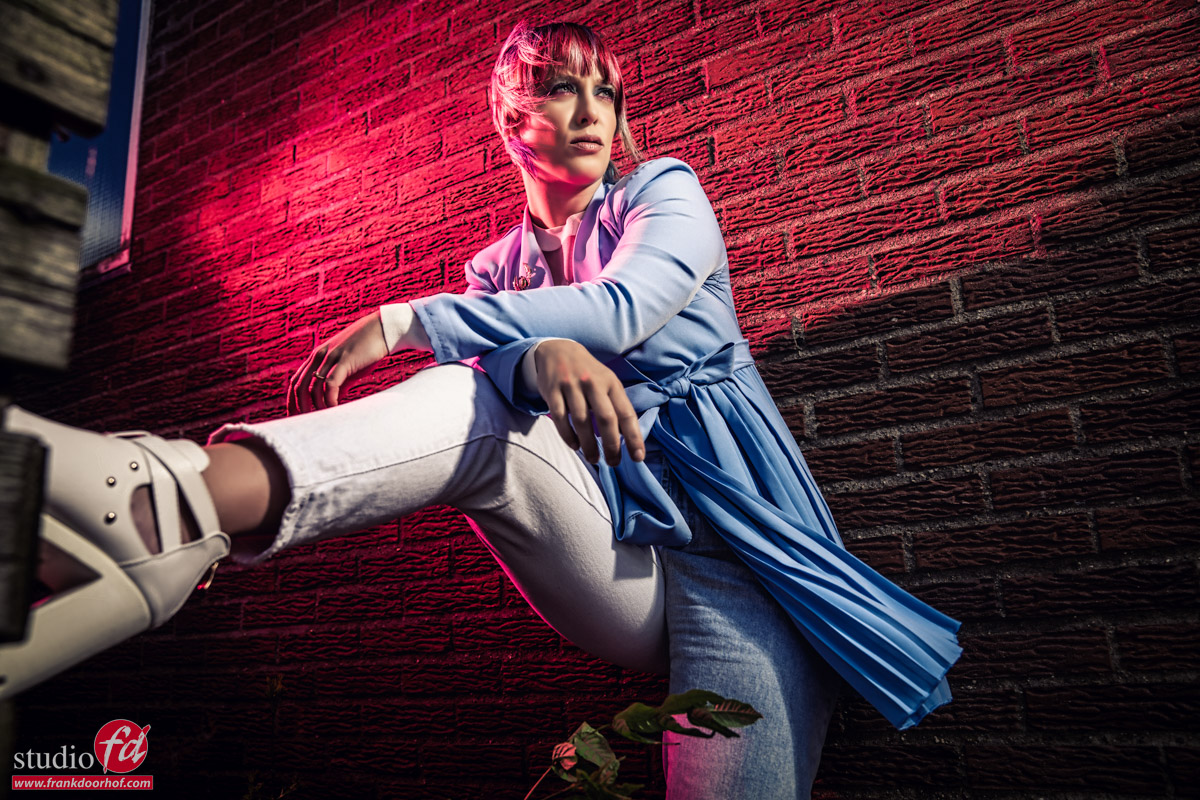
Now for the next images I’m using the exact same setup in the same location but here I switched the Geekoto for the 1200W Hensel porty system.

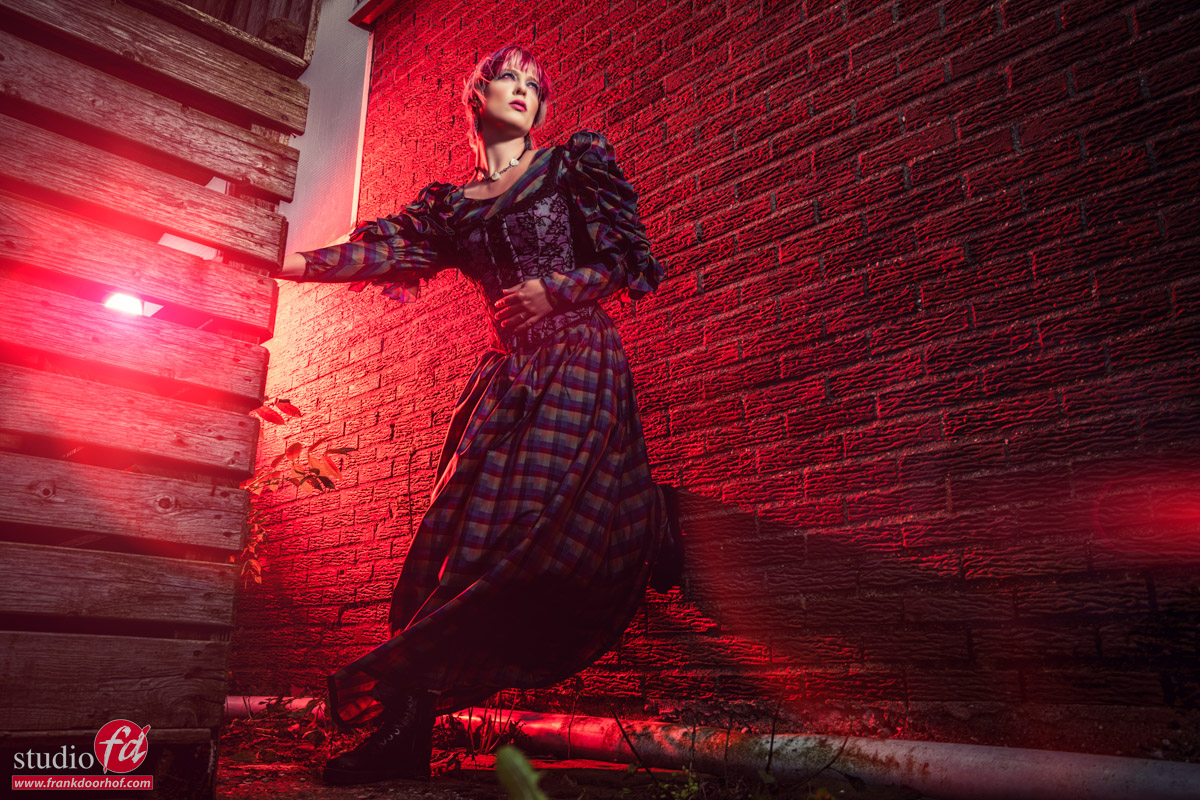
The Hensel system does have a lot more power but doesn’t support HSS and as you can see they give you results that are incredibly close to each other.
I think this is one of the most interesting parts of the smaller flash systems like the Geekoto they don’t like like much compared to a system like the Porty but due to the use of HSS they do pack an incredible punch.
Of course they can’t compete with the Hensel on durability, recycling speed, flash duration and raw power. But if you don’t need that raw power I think you can do awesome things with the smaller systems, something that wasn’t possible in the past when we still were depending on speedlights only.
