One of the things that I really love to do is test new gear….
Often it does mean that I have to keep my mouth shut for a long time (sometimes short) but being able to work with gear in beta is very exciting, especially when you can still have input.
One of the companies I’ve worked with in the past is Mamiya/Leaf now part of Phase One, I always loved their backs and when they released their brand new XF camera system I was immediately in love, for the first time in a long time there is a REAL upgrade to the DF(+) system and the cool thing…. you can even switch to waist level finder mode on the camera, for people not knowing what this means… it means you look down on the camera and can have contact with your model much easier, wait let me show you….. here you see the camera with the normal viewfinder and with the waist level finder. This is really an incredible cool feature, especially because you now also have auto focus of course and that’s very handy. It’s not the first time there was a waist level finder camera with AF but the XF is one of the most complete systems I ever tested.
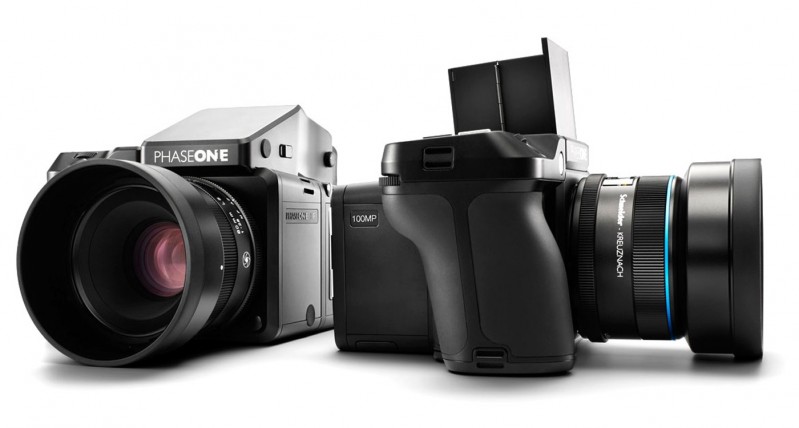
But with a camera there should also be a back right?
Well that’s how Medium Format works, you have the camera, lens and a digital/analogue back (in this case digital only).
Now Medium format was always known for the high dynamic range and high megapixel count, but in all honesty with the new Sony sensors Medium format was playing catch up, it was still better if you stayed under ISO200-400 but in all honesty above that…. well give me SLT or DLSR.
A few years ago Leaf/Phase One introduced the first Sony Sensor in a Medium Format camera and I was able to test the 50MP sensor on the road during a road trip through Denmark, it was the first time I didn’t touch my SLT camera at all, in fact I didn’t even took it out of the case, the 50MP sensor did an amazing job in both low light as in day light, the only “problem” it was a crop sensor, and in all honesty I also love to shoot with the back on a Mamiya RZ67ProII and having a full frame sensor on that camera is already a pretty tight crop, so I gave it back with the comment…please make a full frame sensor 😀
It took a while but now it’s on the market, and what a nice back…..
100MP (actually 101MP) and a TREMENDOUS dynamic range and great high-iso performance. Of course I wanted to test this camera and back. This is how the idea started to teach a one day workshop in New York with the new camera in cooperation with Phase One. And I can be very short about the experience….. this is an AMAZING camera (and back).
Now most of the attention will mostly go to the camera, this is where you really see the difference with the “old” system, the XF is MUCH faster with it’s auto focus and also much more accurate, where the DF+ is already very good but sometimes slow, the XF feels very snappy and is spot on. Also the speed in which the 100MP files are dumped over the USB connection is nothing less than stunning. The camera has a lot of new features including an automatic Electronic first curtain which makes the camera more “stable” (less vibrations) and with 100MPs to shoot with that’s not a bad thing.
The first thing a lot of people ask…. “What about dynamic range”
well this is always hard to say, because although the older backs were much less “dynamic” according to DxO labs than my Canon for example I had to disagree because my Aptus series really blew my Canon away with dynamic range, but agreed there was a bit more noise in the shadows. Now with the new backs Phase One claims a 15 stops dynamic range, I don’t know if that’s true or not, but what I do know is that it’s one of the most dynamic cameras was that I ever tested, I could get detail back in areas where I would (even with my Sony A7RII) would have said “ok this is ridiculous, it’s gone”.
The second thing is…. “What about compression and bits”
Now this one actually got me into some sort of a dilemma a while ago with my A7RII, a lot of people complained online that Sony was “butchering” their files and didn’t get the maximum quality out of the sensor, Sony responded with a (first on the market I think) totally uncompressed data output, resulting in HUGE (double the size) image files, the critiques were silent, and I still shoot “compressed” for the simple reason I can’t see a difference in 99% of my work and if I see the difference it’s not worth that I shoot the other 99% of the images in that setting taking up a load of my drive space. So that being said, the Phase One stores in different formats, which gives you the option to choose, but the best option is a real 16bits storage in their IIQ format which is handled marvelous by Capture One (the software I use for most of my RAW developing for fashion work).
But most of all people ask…. “Do you really need 100MP”
Well it depends.
For some applications 100MP is not even enough, think about people making replicas of art pieces for example, but also for the “normal” user 100MP is not as “weird” as it might sound. One thing a lot of people don’t take into account is the resolution of modern day monitors. When we edited our 16MP files most monitors topped out at 1920×1080 which at that time was HUGE, you never needed more, but most monitors also topped out at 24″. Now a days most monitors are in the 24-27-32″ range and to be honest I think most people will be on 27″ within a few years. Now size also means higher resolutions, most aRGB monitors are 2560×1440 which is a lot more pixels which in essence means that if you zoom in on your picture the “zoom effect” will be less. This means in real life that if you do a retouch on for example a pattern you have to zoom in to 200-400% to make sure you don’t mess up and have the accuracy you need. If your camera has a higher resolution zooming to 100% is often enough (although I also love to work in 200-400% with tricky parts).
Now if you travel and shoot and work on a nice new MacBook retina you might not realize that your images are actually “scaled” on a 2880×1800 display, which is even worse because it’s “only” a 15″ screen, meaning zooming in becomes very difficult. And it doesn’t stop there, new monitors with higher resolutions are coming REALLY fast, 4K (4096×2304) and even 5K (5120×2880) resolutions are hitting the market as we speak.
Editing a 16MP file on a 5K monitor is “madness”, the resolution of the file is 4608 x 3456 which would actually mean that if you zoom in to 1:1 there would hardly any difference….. well that’s not a nice way of course to edit.
To make a long story short, for print you still have more than enough resolution from a 16MP camera, but resolutions of projectors, TVs, monitors jump forward at an almost alarming speed the last few years and this means that having a 100MP camera at once isn’t that “weird” anymore especially if you do retouching (or just love to zoom in a landscape or street scene (something I LOVE to do). In fact when I zoom in on my iPhone shots on my MacBook retina there is hardly any zoom effect, and when I zoom in on my old files actually really nothing happens.
In this blogpost you can see some of the finished results from the New York workshop.
My overall opinion on the new camera is STUNNING, it’s very fast and accurate and I love to work with it, the waist level finder is great and the way the camera handles is what you expect from a camera in this price range (because it’s not cheap). The back itself is simply put breath taking, for me personally it will be a while before I will be shooting with a 100MP back myself (I also have to earn my money and can spend it only once) but if you are in the market for a camera/back combination like this… I don’t think you will find anything better… IT ROCKS… the files literally sang in Capture One and Photoshop, I could push the shadows and pull the highlights as far as I wanted and the sharpness was absolutely breath taking, but most of all I REALLY loved the skin tones, this is something that I always miss in certain cameras, even with the use of a color checker the skin tones often are just…. well…. a bit off, but the XF100 nailed it, and even although I tint all my images, it’s incredibly important to have a file to start with that is as clean and perfect as possible.
If you have the chance make sure to test the system yourself.
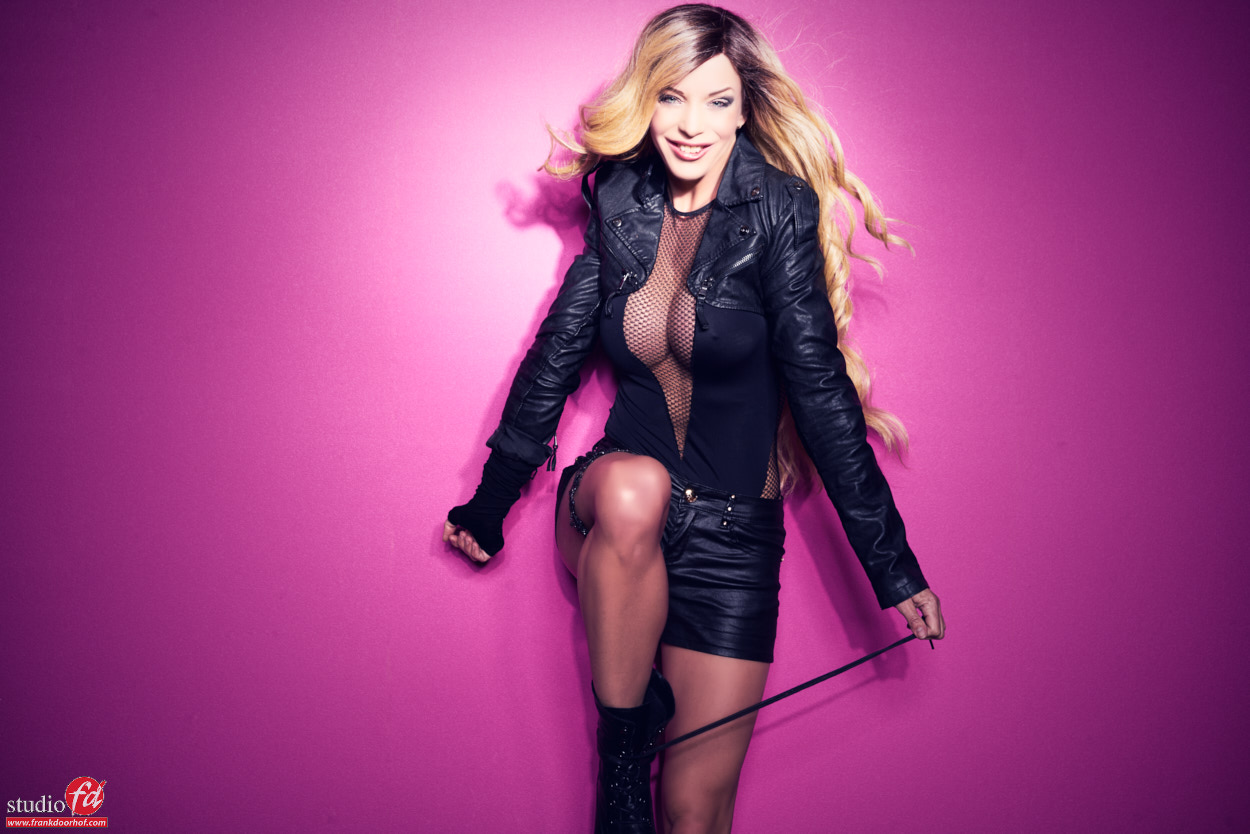
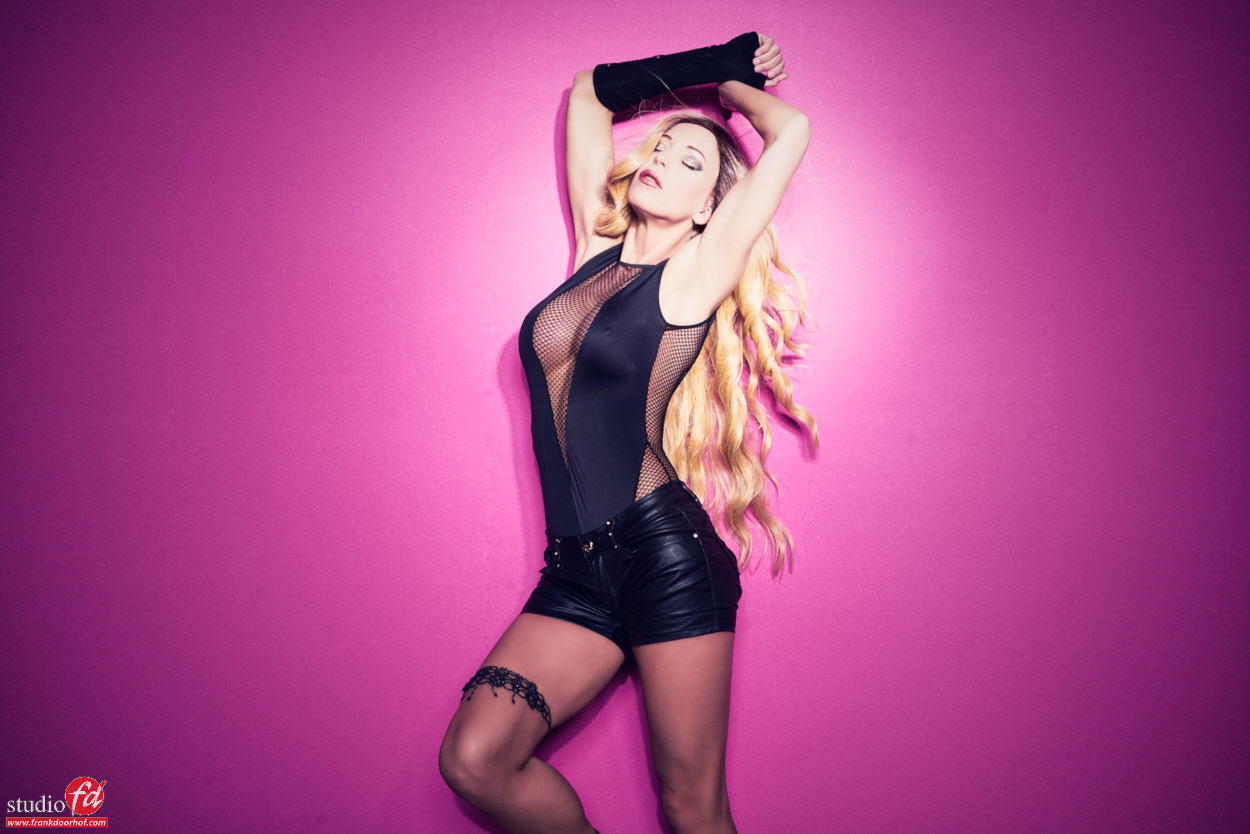
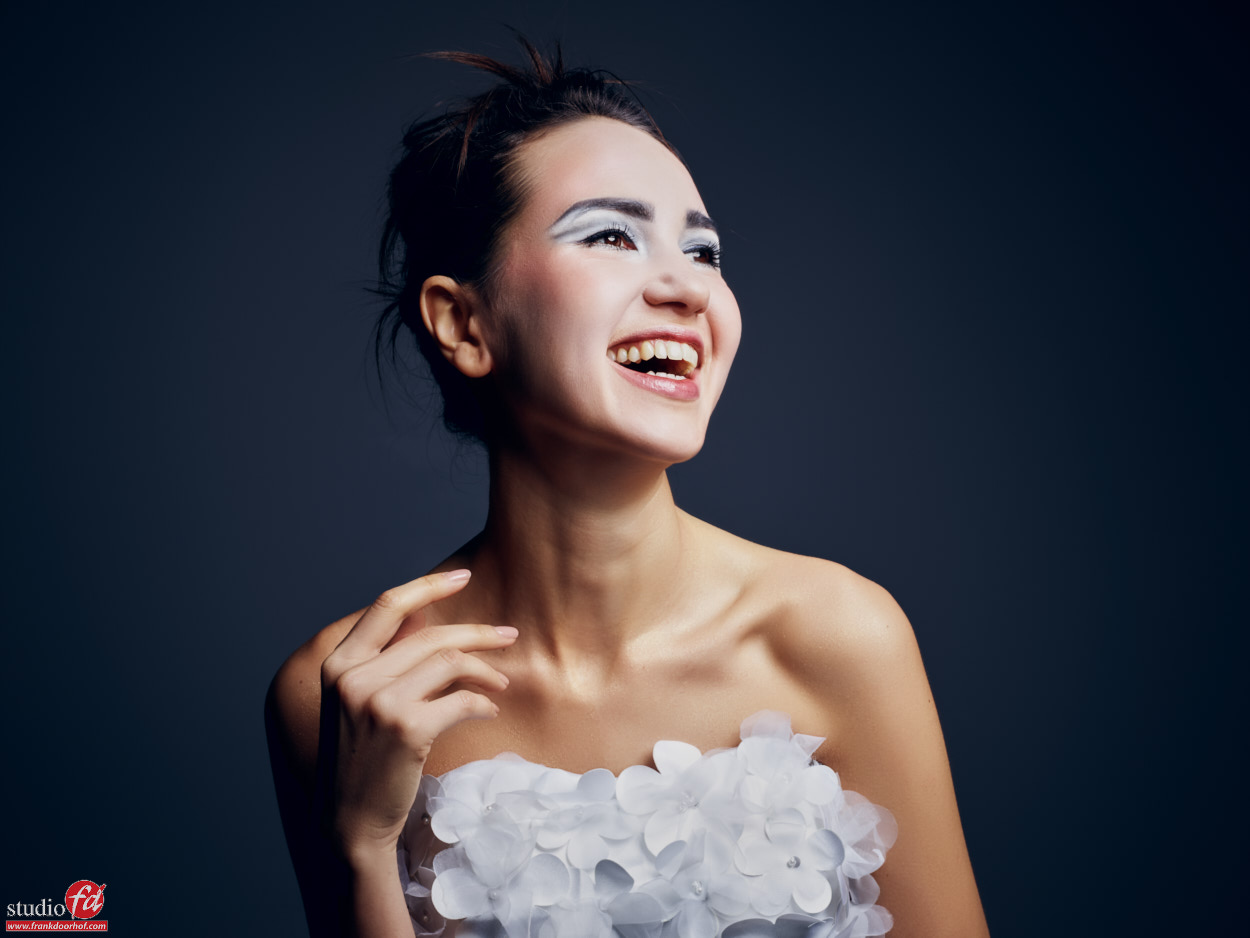
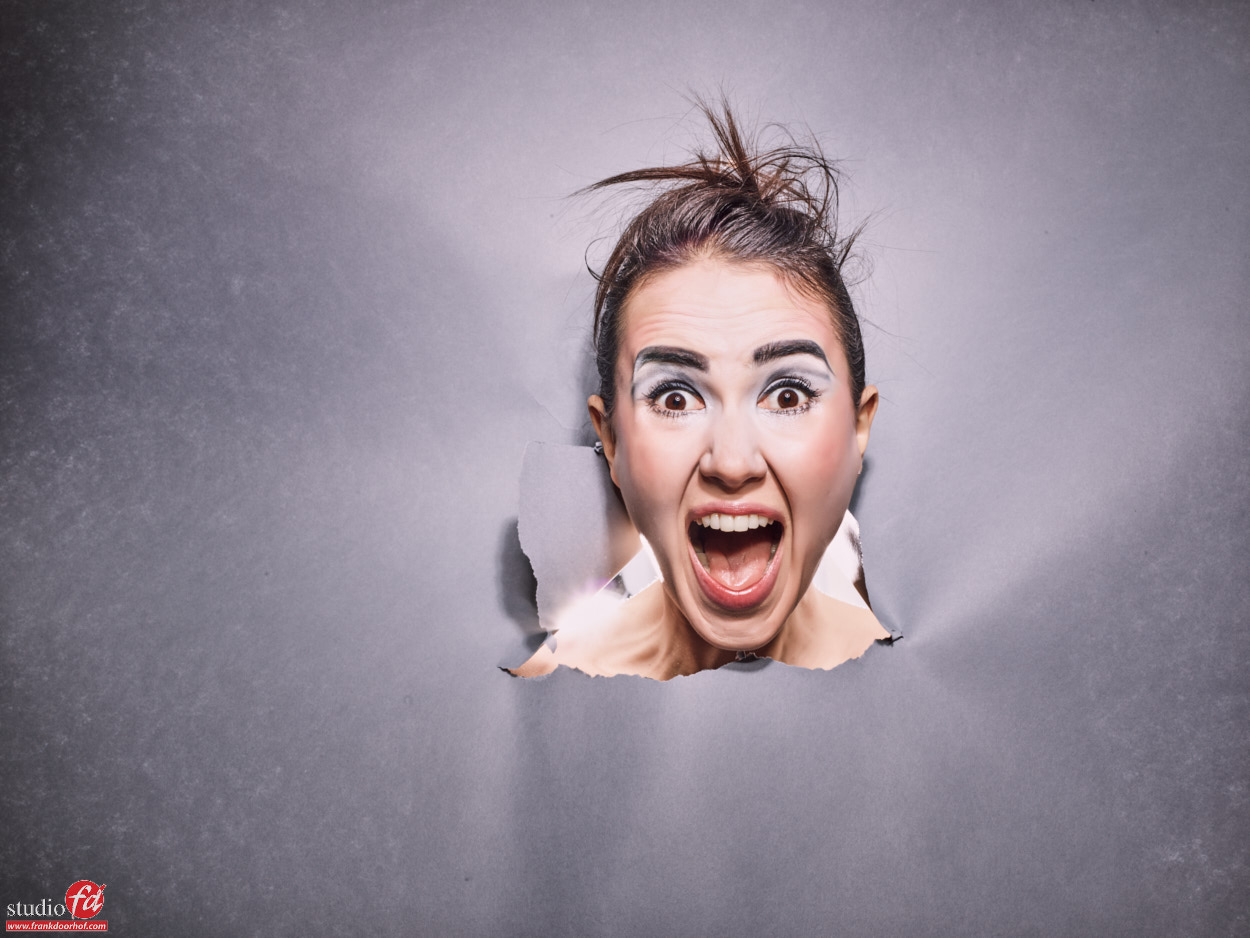
We started the workshop relaxed with some expression and portraits.
And playing with some contrast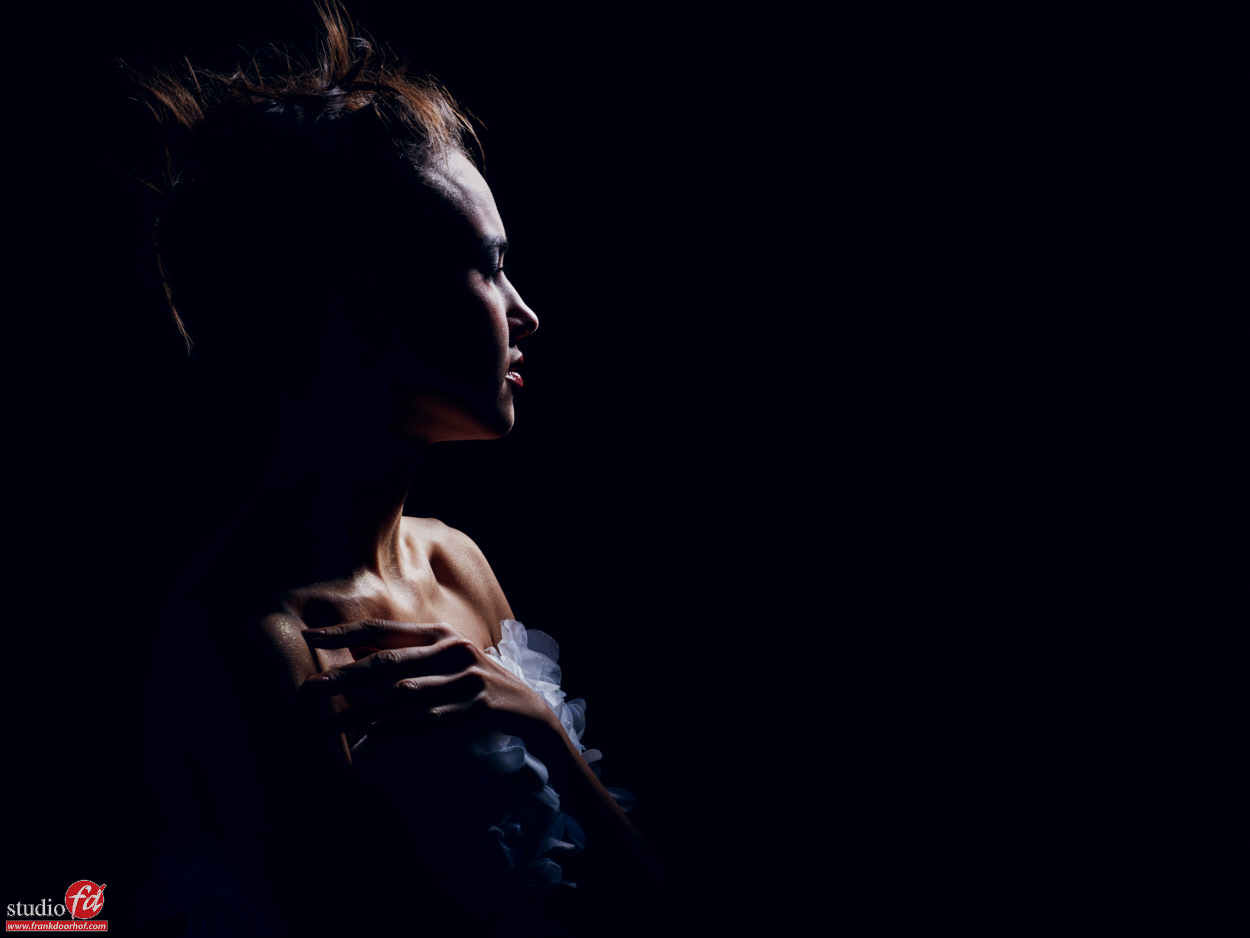
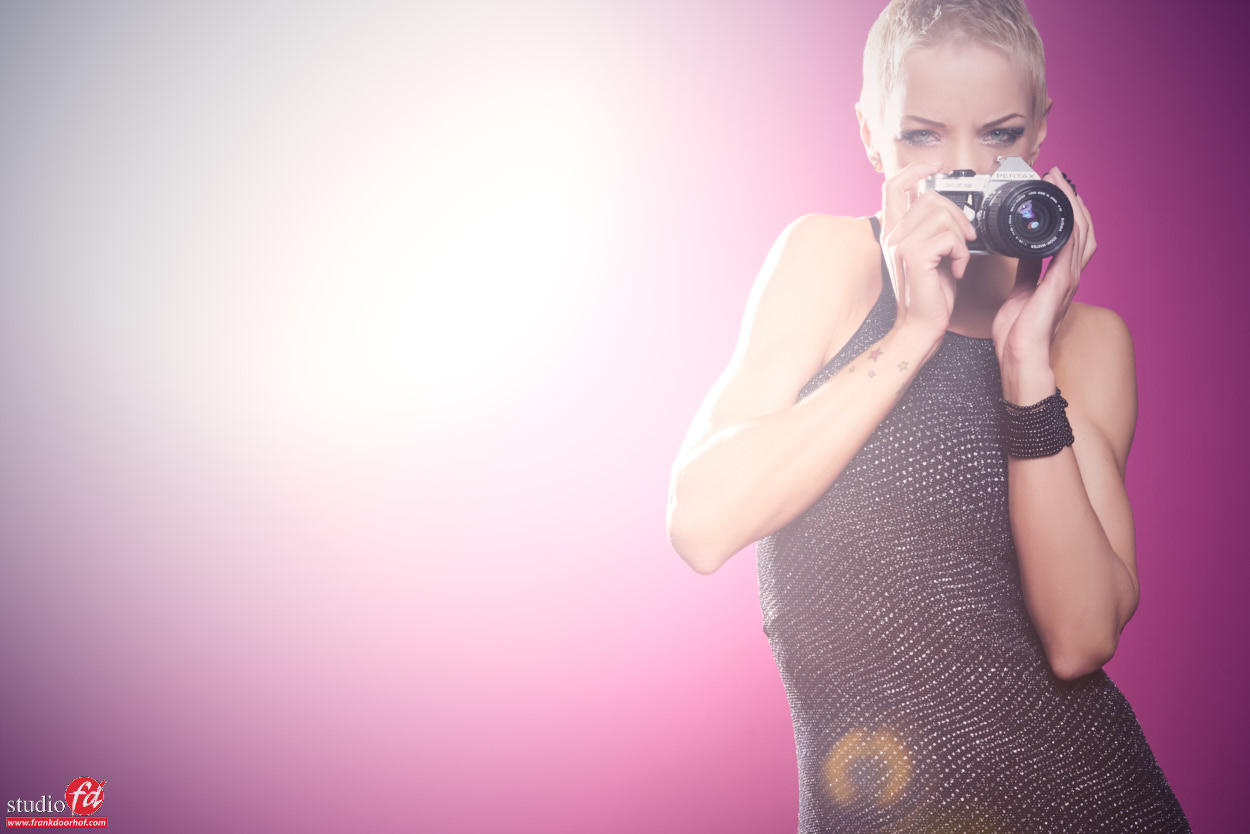
Creativity within a photoshoot is always important so why not use the background in a different way, and throw in a prop (in this case, why not try to make some images for Phase One) 😀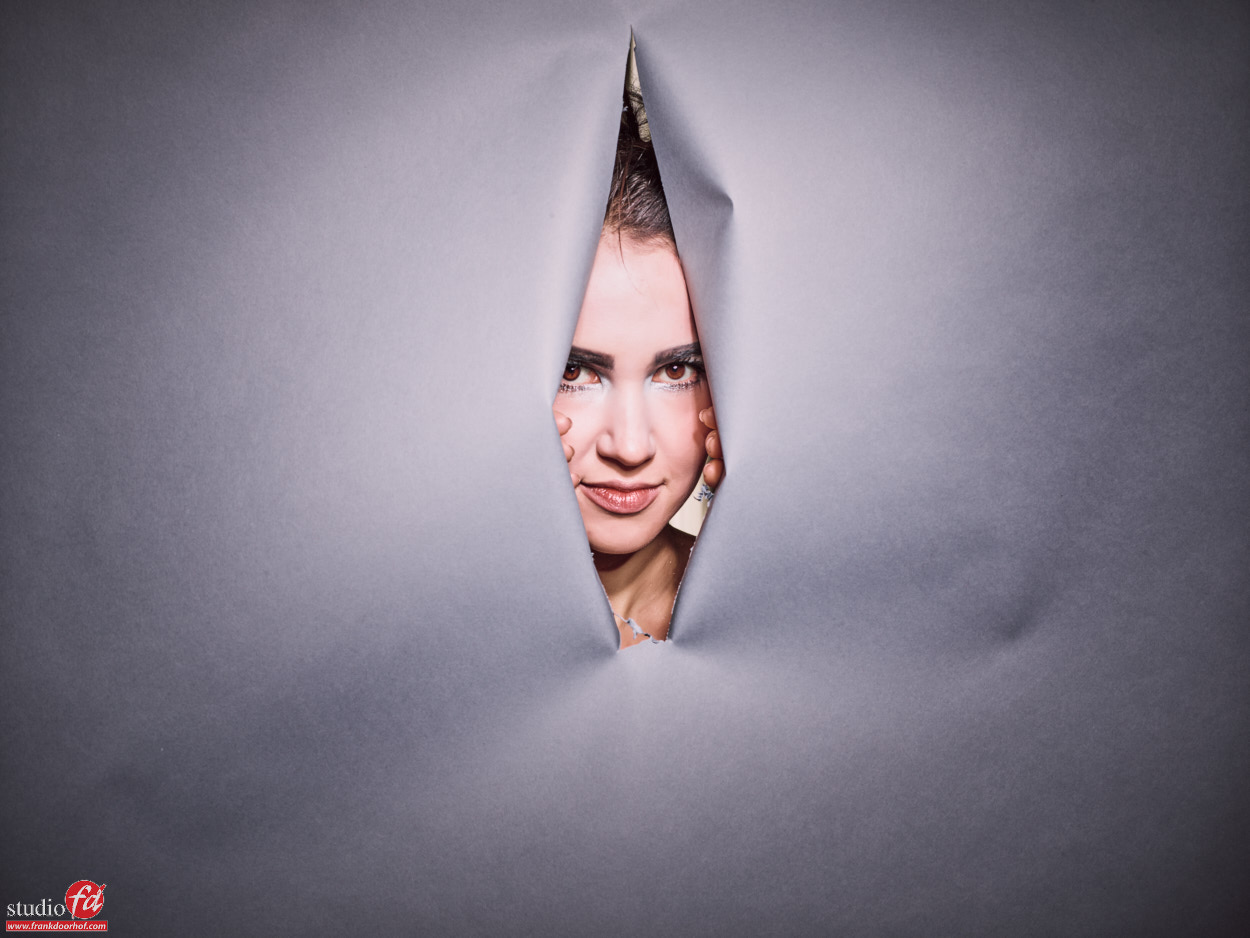
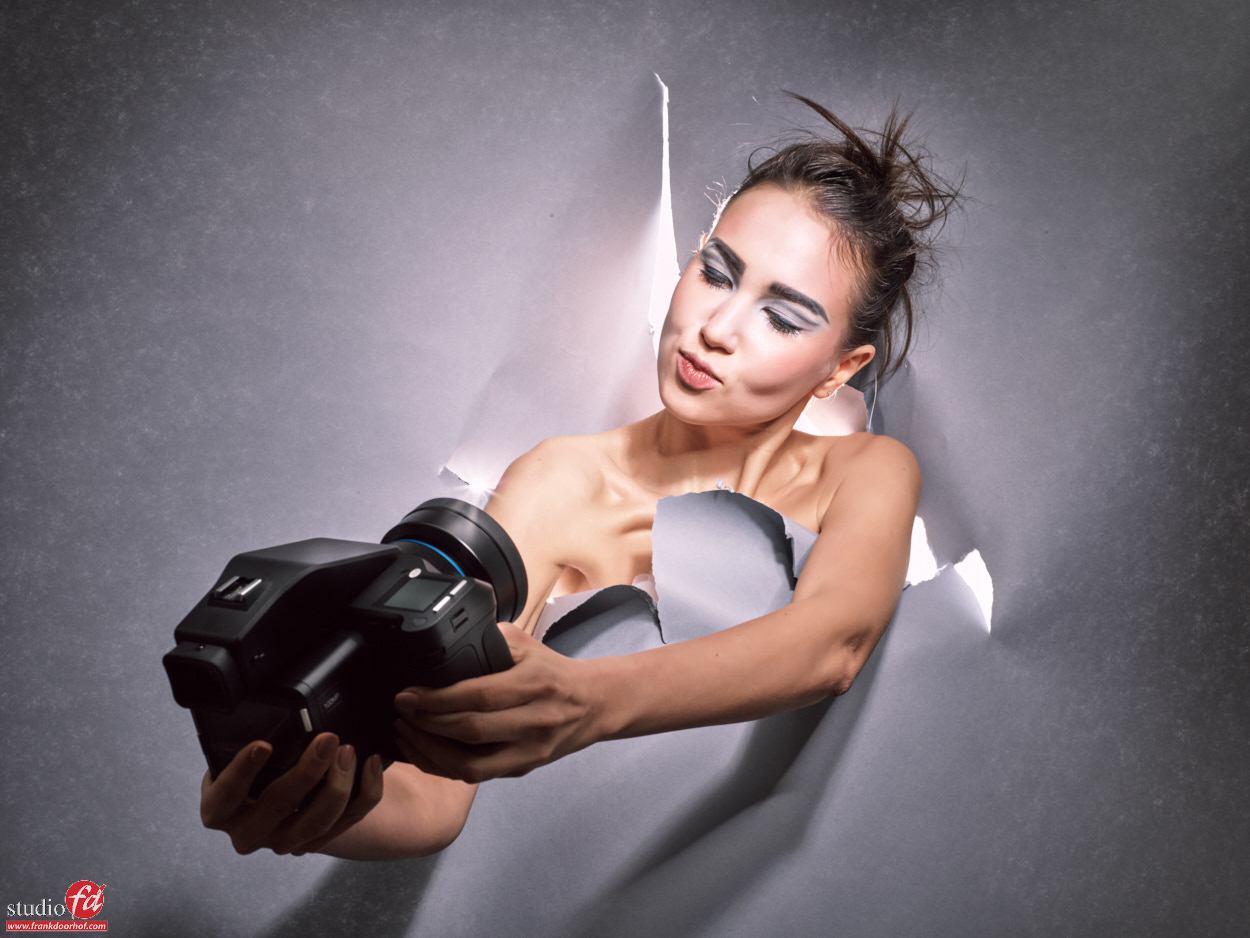
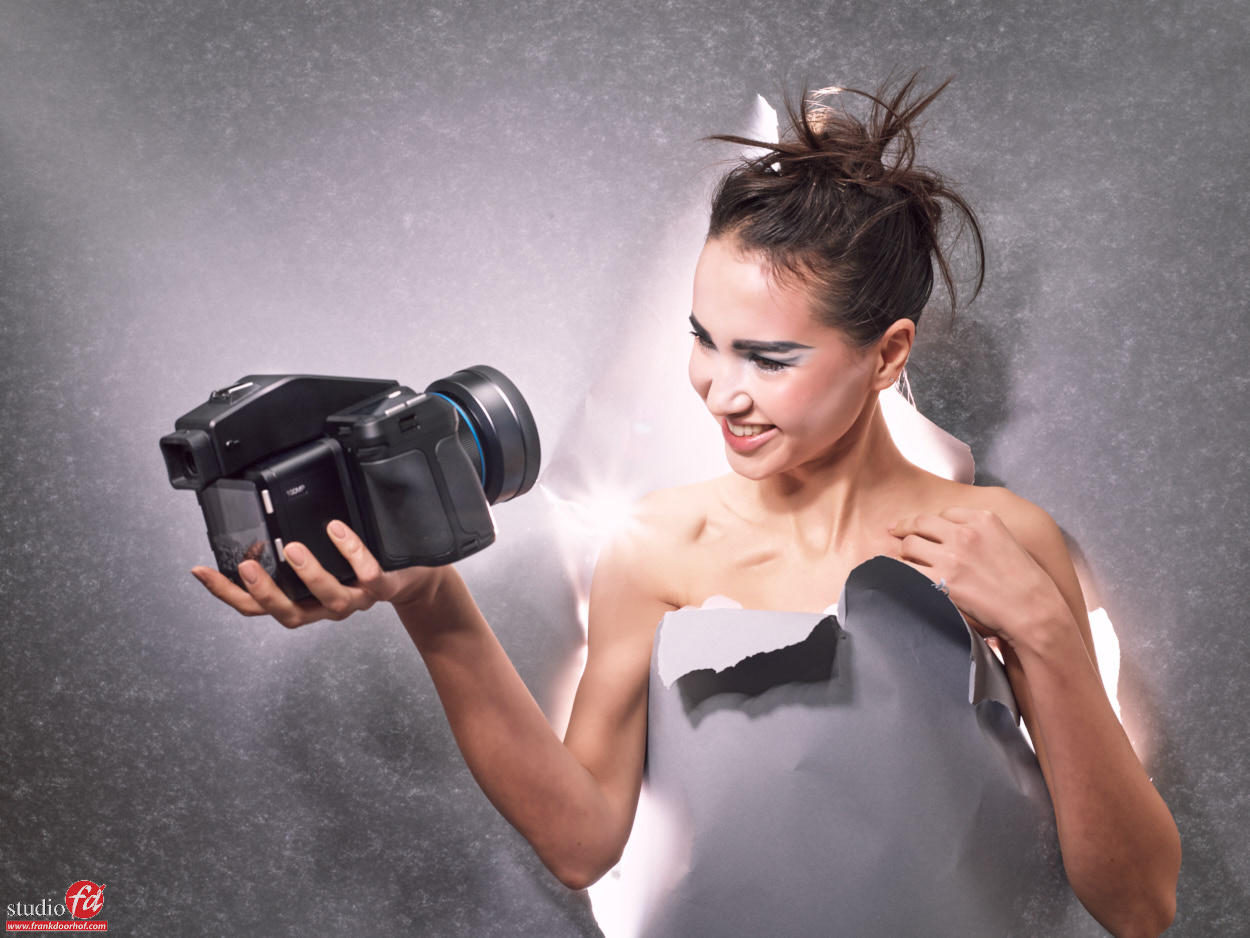
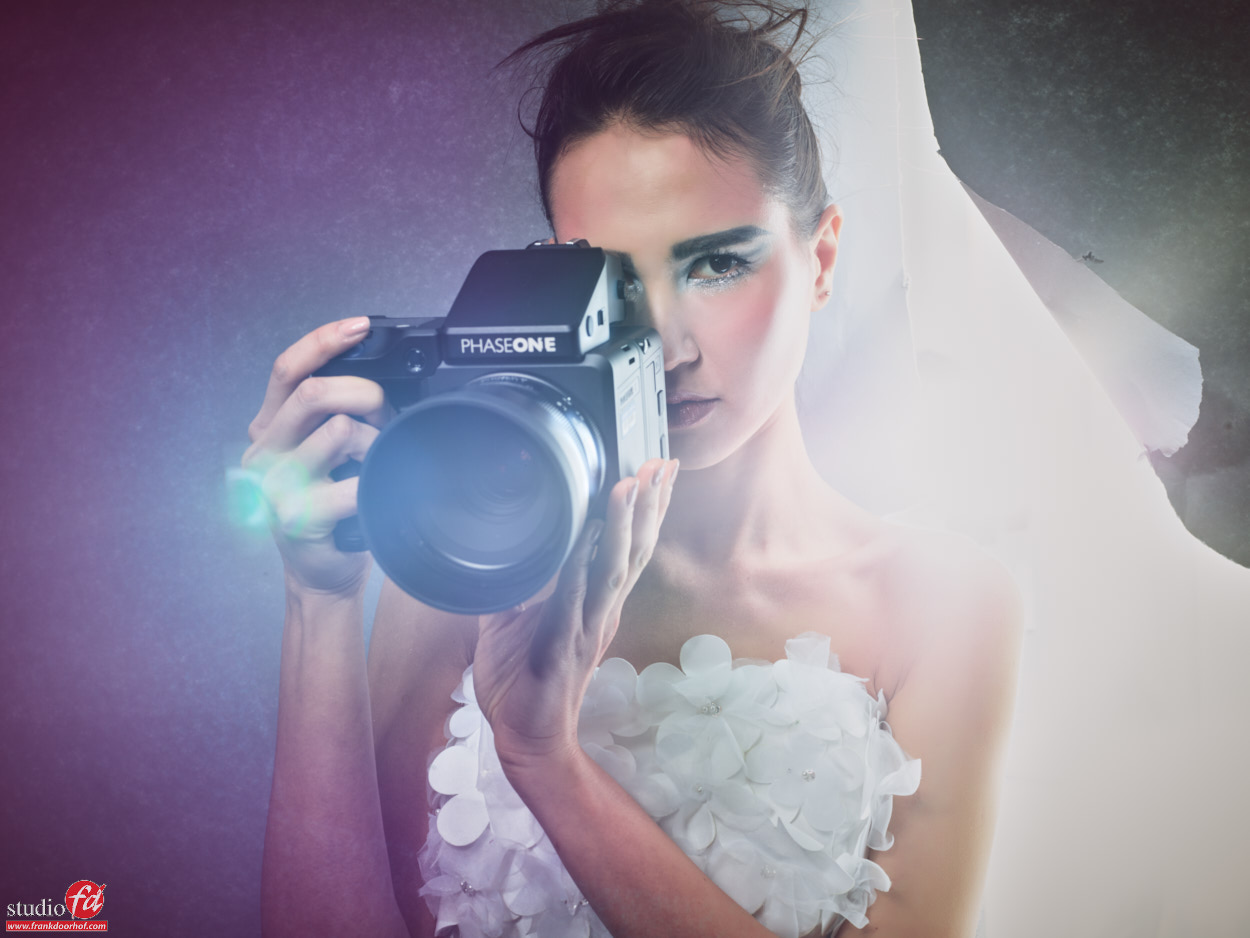
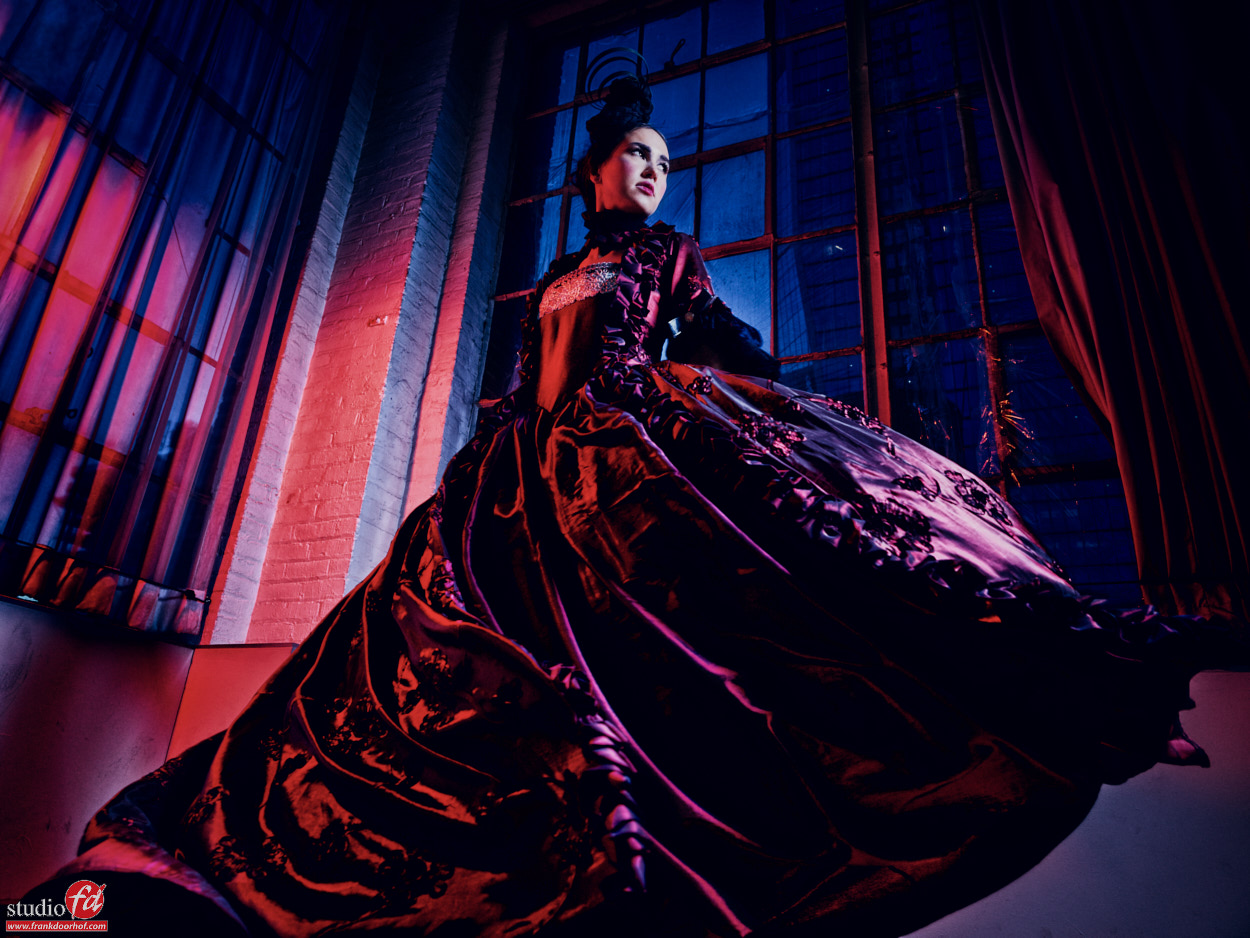
As you can already see in the backlit images, the dynamic range is awesome, you can still see details in the models arms and the white areas aren’t blow out where I didn’t want to blow out. Pretty cool.
So we thought let’s up the ante a little bit. The next shot was done without any strobes, just using the windows and kicking up the dynamic range in Capture One, pretty impressive. Shadow detail and no blow out areas. Don’t try this with an old camera.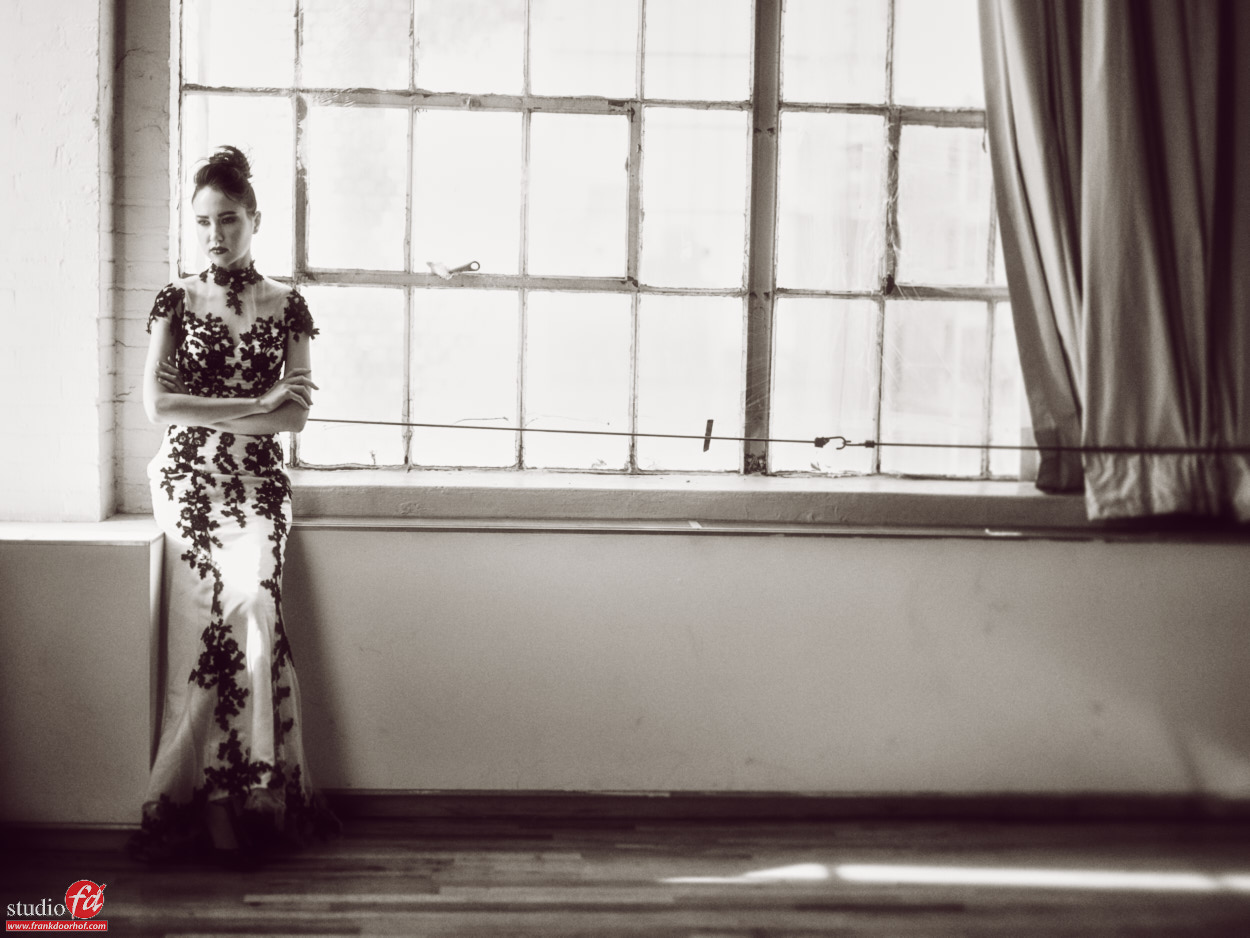
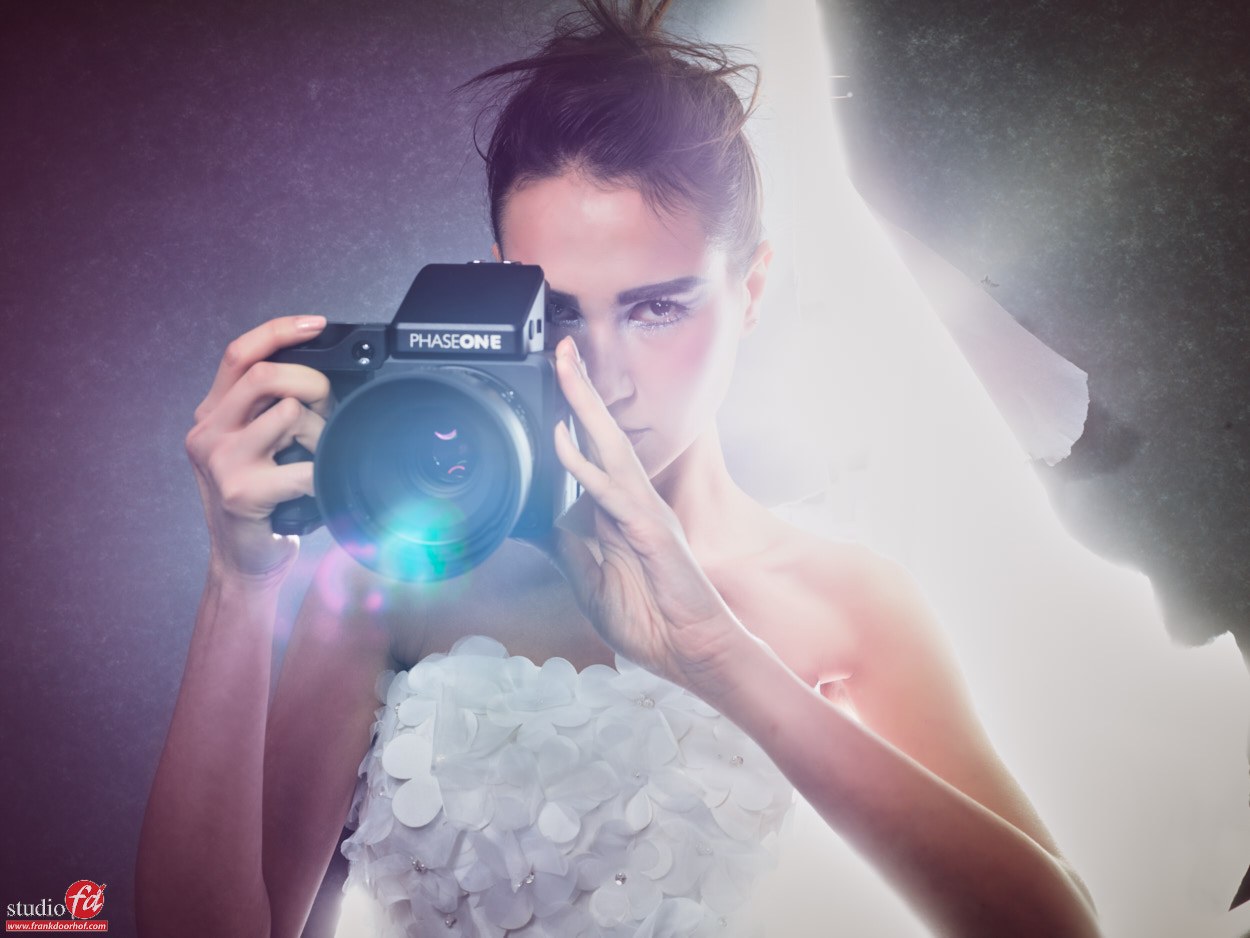
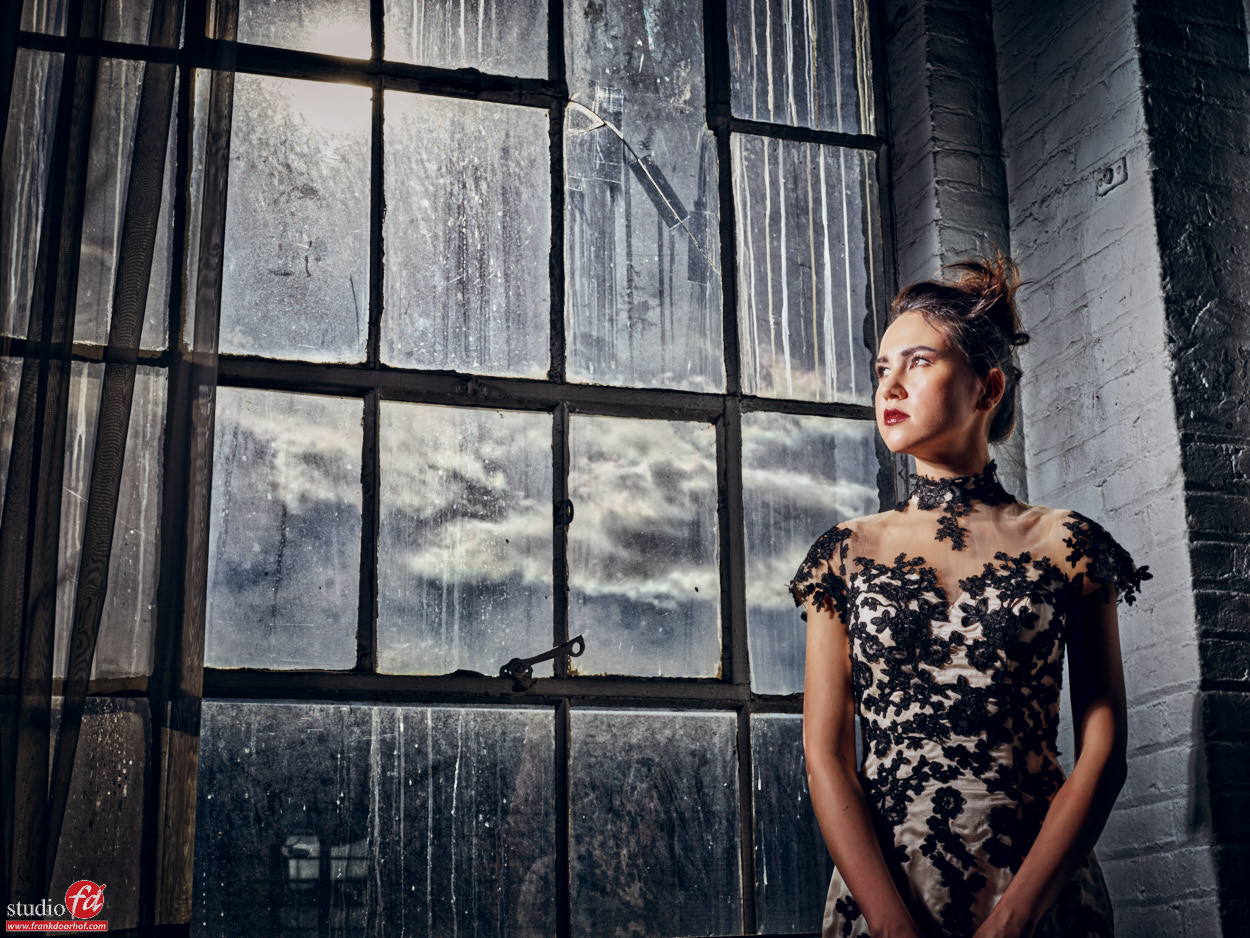
Here you can see that I included the bright sun in the frame and by using the leaf shutter lenses you are able to cut the ambient light, with shutter speeds up to 1/1600 you have a great range to work with to let in more or less ambient light.
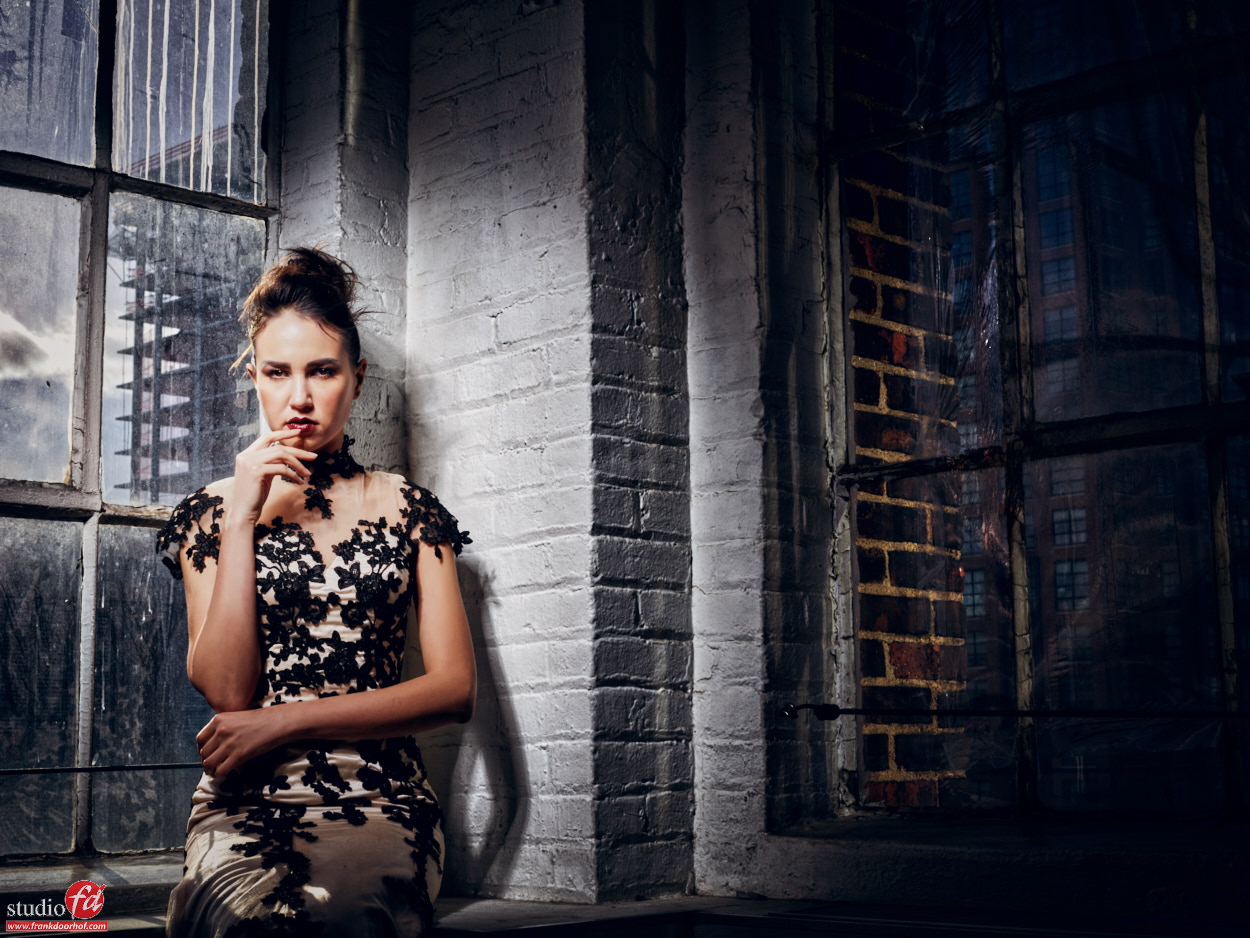
The final shot we used both window and cut the ambient light with a combination of strobes and shutter speed.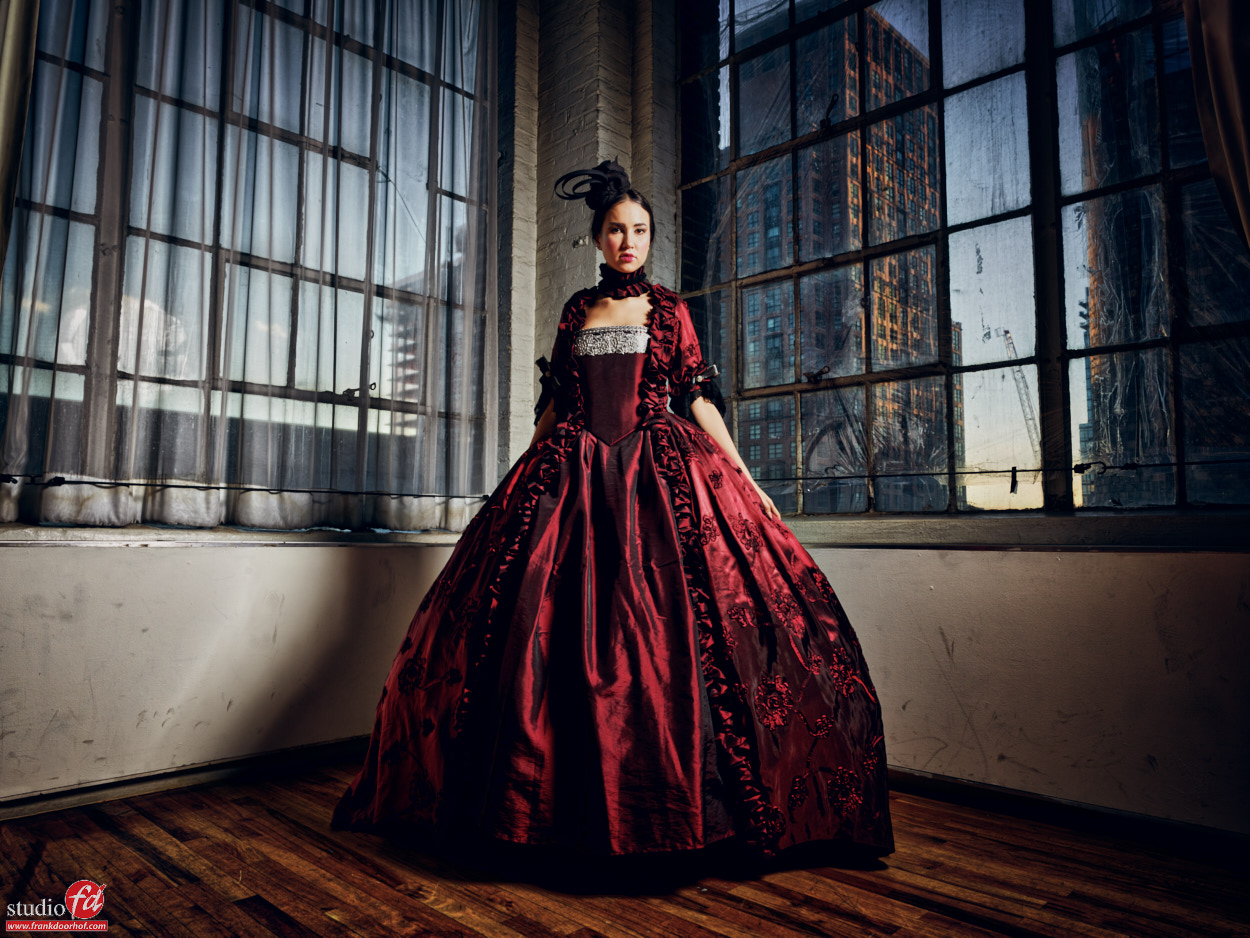
And finally adding some color with gels for an extra effect.