About technique and more.

Tip : Working with a small flash and backlighting

Last week you already got a tip on backlighting.
Today 2 images I shot from Poeka during a recent small flash workshop using this same technique with speed lights.

These are shot with bare strobes hitting the model from the back, no further strobes or reflectors were used.
And as you can see, don’t be afraid for some expressive lens flare 😀

Poeka May 28  2016 0042

Support us on Patreon

NEWS : Learning with Frank Doorhof on Patreon.

We know you guys love the videos we release and our activity on social media. Now we love to give you everything for free (except of course our full length instructional videos) but producing everything is a lot of work and we see that we are producing more and more and in all honesty we want to do even more. But at the moment we are at a point where we have 2 people almost 100% dedicated to social media and video. And somehow we have to make that work to continue our free material and grow in the direction where we want to go, and trust me it’s going to be interesting and fun, but most of all educational.

This is why we had to look for a great way for you guys to support us, we got some great suggestions but they were all pretty limited or cumbersome, and in all honestly just placing a paypal button on the website…. not really our thing.

So we launched our own Patreon page on https://www.patreon.com/frankdoorhof now Patreon is awesome and very easy to use for you guys.

You can still watch all our content for free of course, we won’t put anything behind the “decoder” (as we say in the Netherlands) however by “pledging” for a certain amount per month (starting at $5.00) you can now support us in the work we do. We didn’t choose for the pledge per video option because we release a lot of material and we wanted to make it as easy as possible.

The $5.00 pledge is the most basic, there are more options however and because we believe in giving back all other options have certain benefits for you guys, like a 1:1 Skype call with me once a month, portfolio reviews, discounts etc. So in essence you are supporting us but also yourself with cool little goodies and gems.

At the moment we are creating a fully new videoblog and if we hit a certain goal each month we can start recording it, with the name “behind the closed doors” you probably already have an idea what its about :D, so head on over to https://www.patreon.com/frankdoorhof and support our work and make sure we can create even more for you guys.

And don’t worry, if you don’t…. we still love you and you can still see everything 😀

Tip : where should the model look

A question I get a lot is “Where should the model look?”
Well in all honesty I don’t really think about it, I often let the model look the way that fits the image. Take for example these shots of Poeka I took during the recent small flash workshop, she is not looking into the camera, but straight into the light. I love the way the light plays on her face in combination with the shadow on her cheekbone.

Now is there a right or wrong?
Well I don’t know, I know what I like, or what my model likes.
In most cases I will however follow a few simple rules or guide lines.

  1. Catchlights
    If possible I always want the catchlights in the models eyes
  2. Center the eyes
    Make sure the eyes are centered, unless of course you want to go for that “walking dead” look with loads of eye white
  3. Make the story
    Often I will try to tell a story with my photography (even with “simple” portraits”) when a model looks straight into the camera this of course tells a story, but when he/she looks away this can often bring just a bit more of tension in a shot.

As you can see I do follow some rules, but in essence I can throw them all overboard when I think something else fits the story better, so if you are still following all the rules…. try to just “relax” and go for that special look, the look that feels awesome and when it breaks some rules… well… maybe it was time for it 😀

Poeka May 28  2016 0627

Poeka May 28  2016 0032

Tip : Strong backlighting

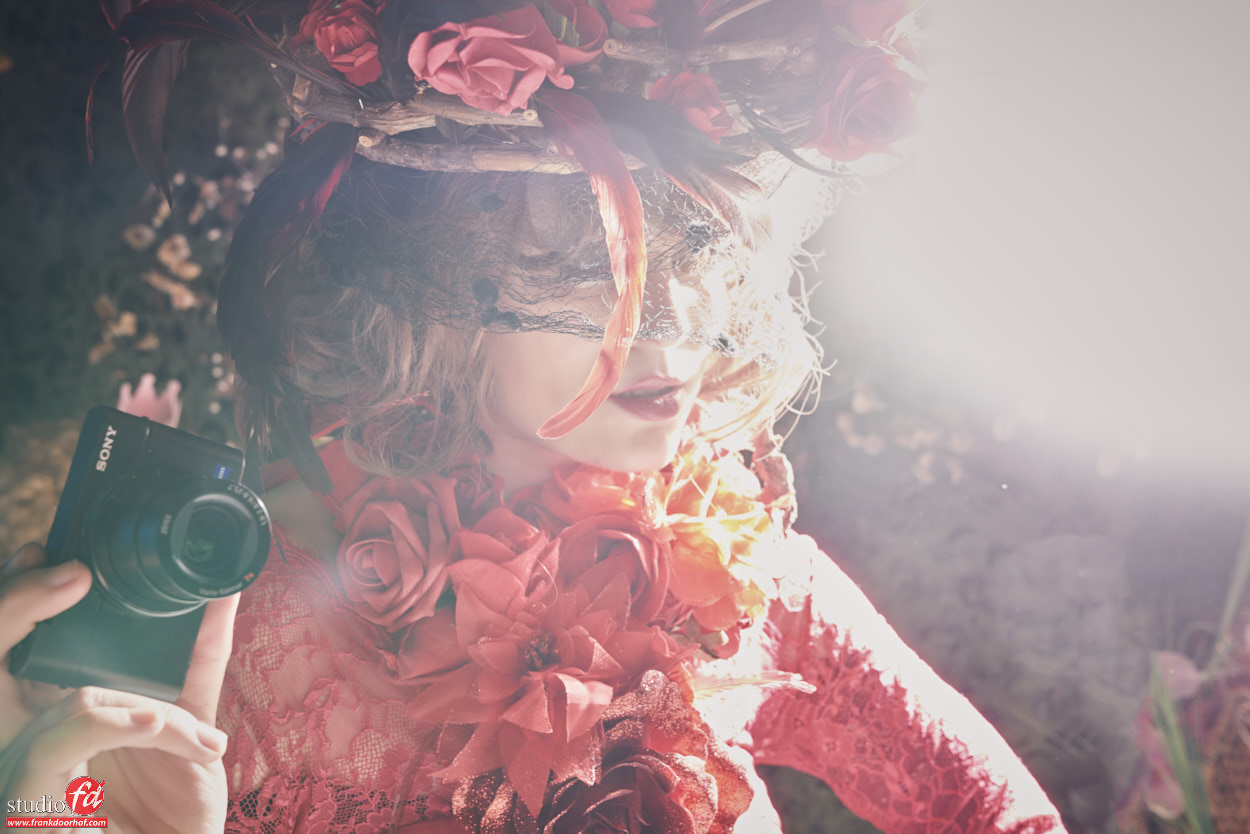
In the 70’s they knew….
Using strong backlighting can be cool, it creates cool lens flares and it really spices up a shot, I won’t say that after the 70’s the photography went south and flat but in all honesty I sometimes am stunned by the questions I get during workshops about lens flare and backlighting, so I thought it would be cool to write a small blogpost about them.

Whenever I post an image with a strong backlight people ask me for the filter I used?
Now don’t get me wrong I do use filters… I love DxO filmpack and Alien Skin Exposure for tinting my images and I use a LOT of MacPhun intensify to spice up the pop of my images, but the lens flares are in 99% of the cases 100% real.

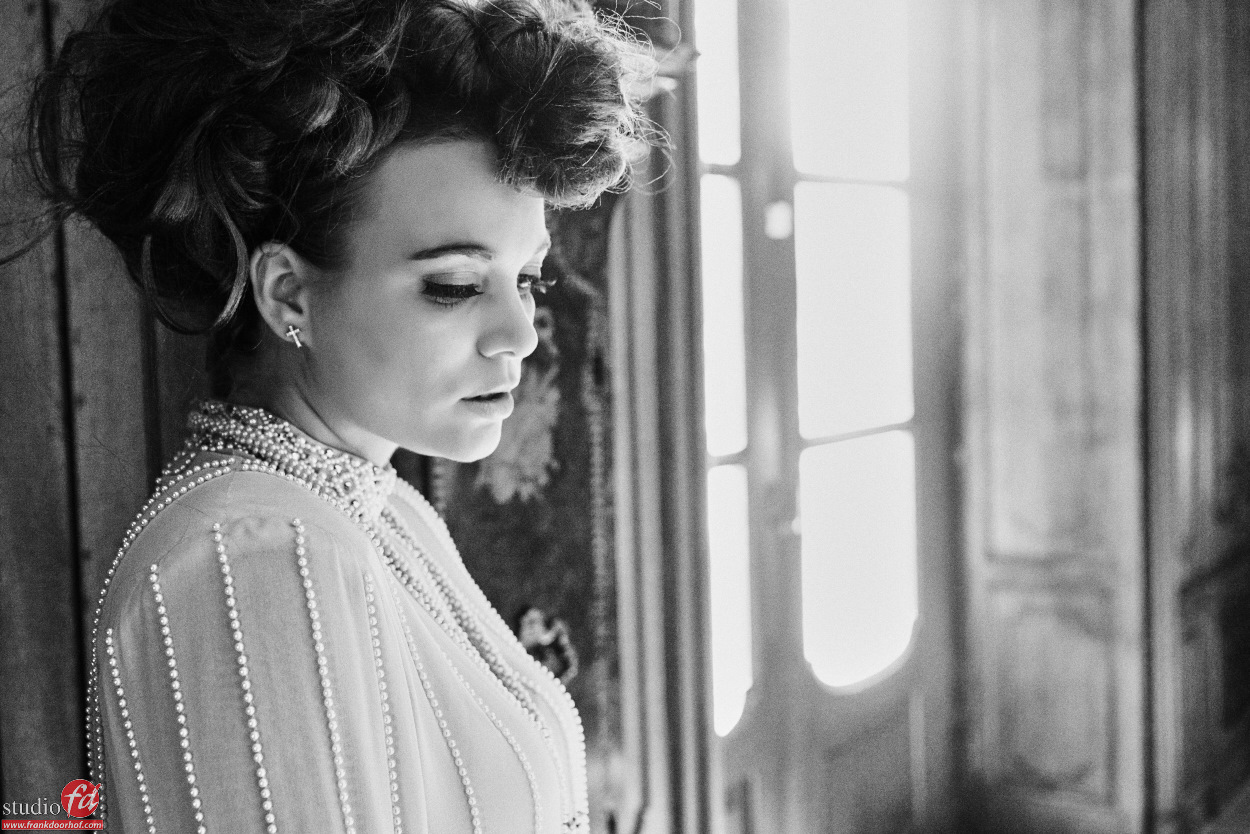
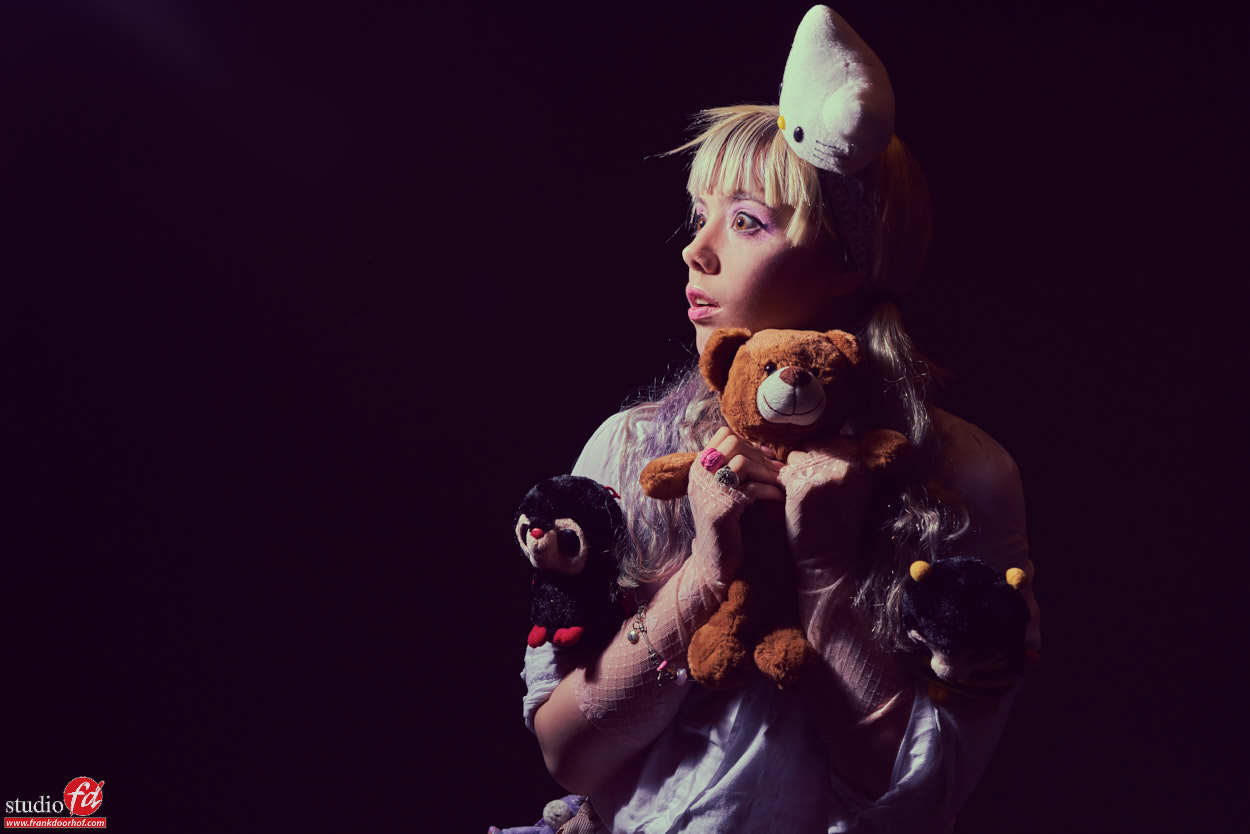
The shot on top we shot during last weeks workshop with iris and is just a strobe right behind our model without any modifier.
If you meter in front of the model (in this case pointing towards the camera) the exposure on her face will be correct, in fact it’s the scatter light from the studio lighting her face. This is also the cool thing about using an incident light meter (A sekonic in my case), if you hold it in front of the area you want correctly exposed you will get a proper exposure. Now it’s up to you to determine the look you want. In this case I only used one light so it COULD be that the backlight is way too strong, you can than do a few things. You can feather the light (turn it away from the model), or move it to the side of the model so not all light is hitting her (when using a reflector), or (when using a bare strobe) move it further back, or use a reflector in the front, all these techniques will do one thing, lower the contrast between the backlighting and front light.

In essence it looks like a very easy setup, but if you just throw in your lighting you will probably fail, or need a lot of Ps work, so make sure to meter correctly.
If you want to learn techniques about metering, check out our video on the light meter via Video downloads

When you want to do these kind of shots make sure to practice a lot with a mannequin or doll before doing it live with a model.

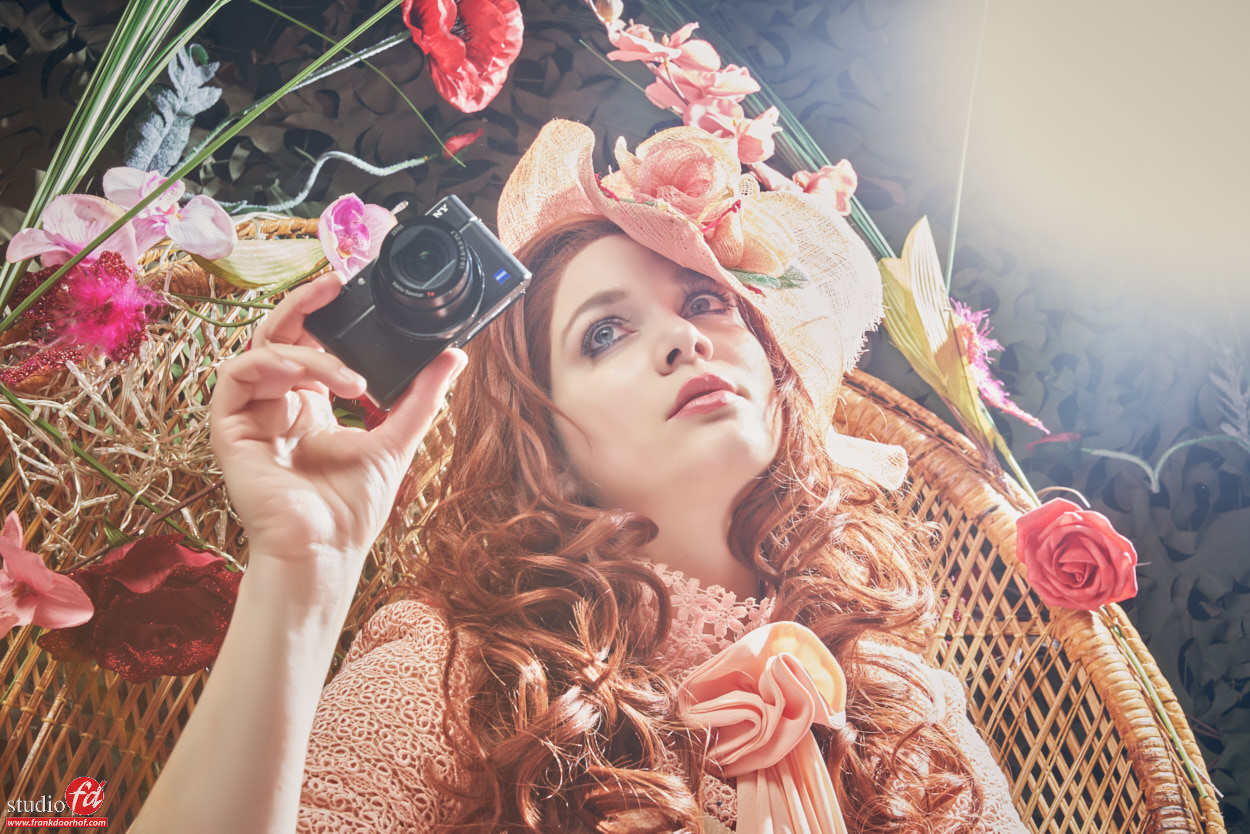
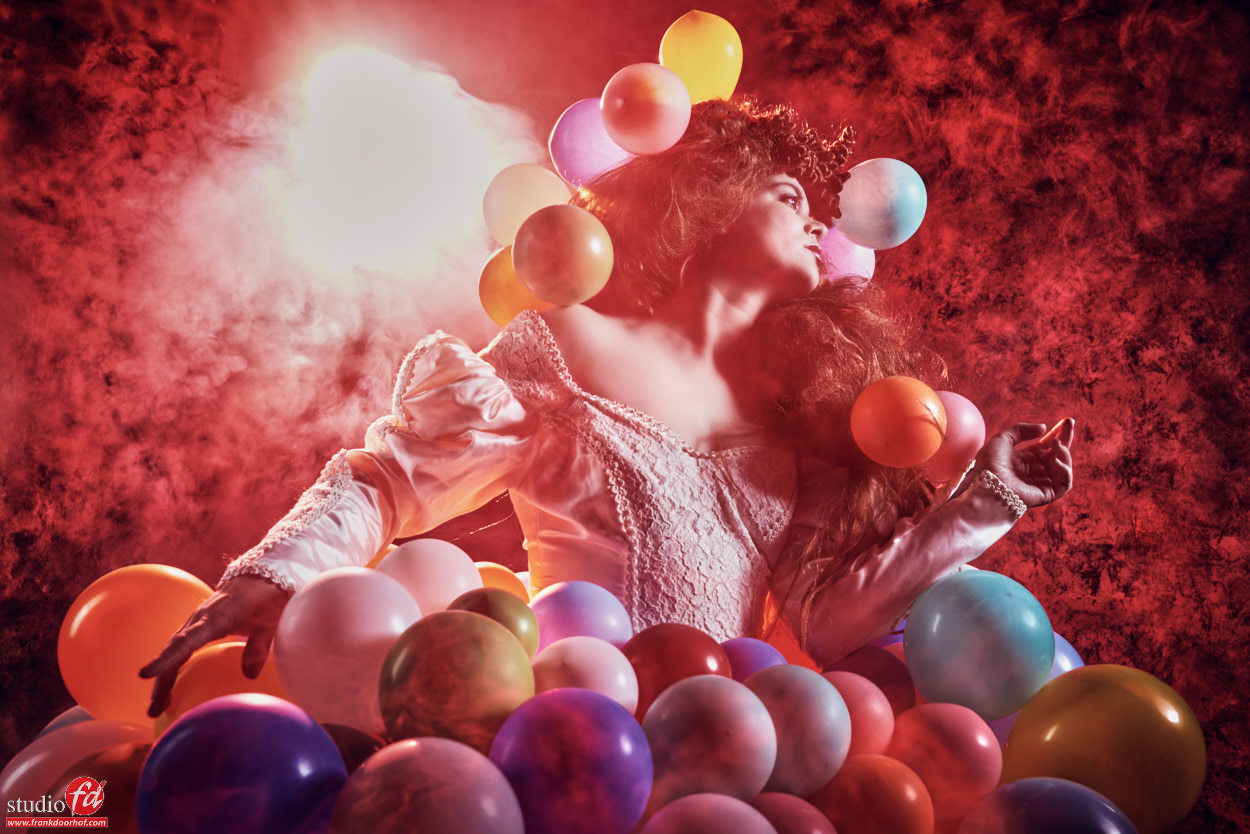
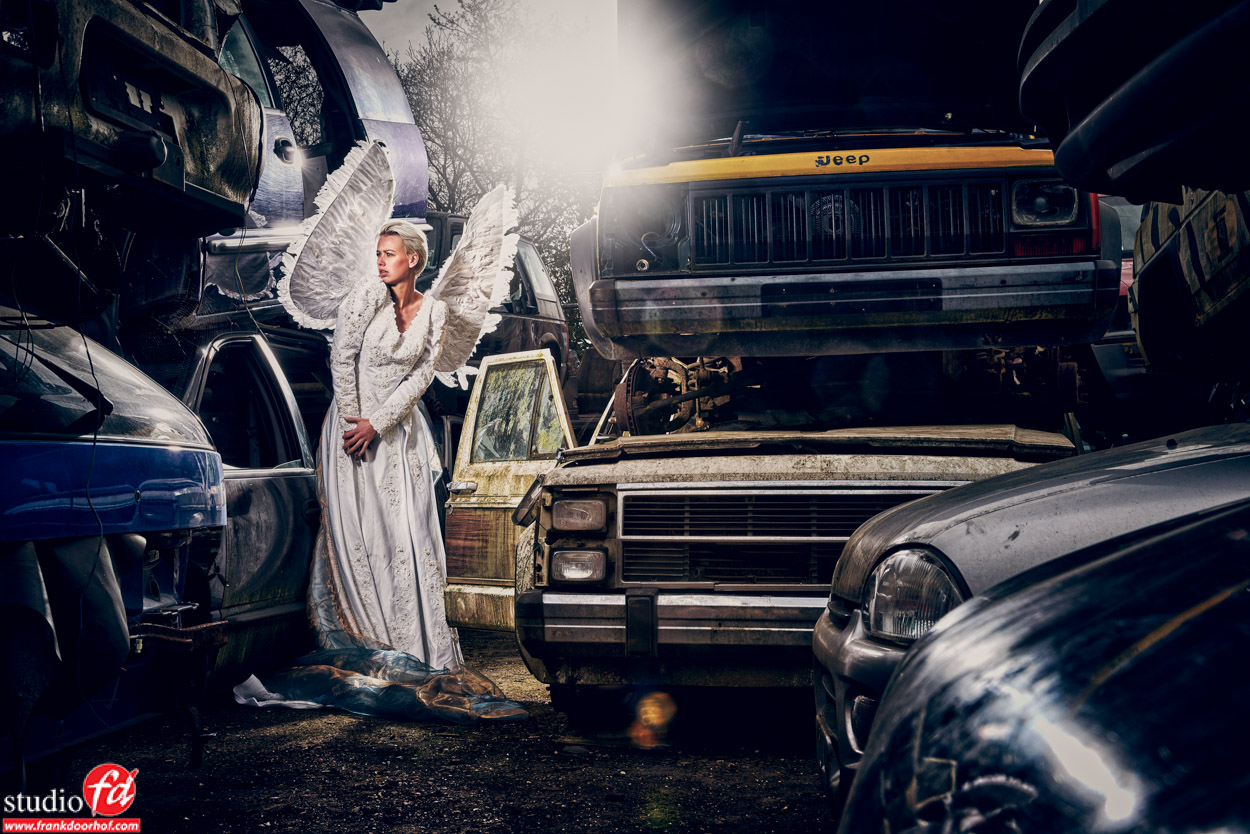
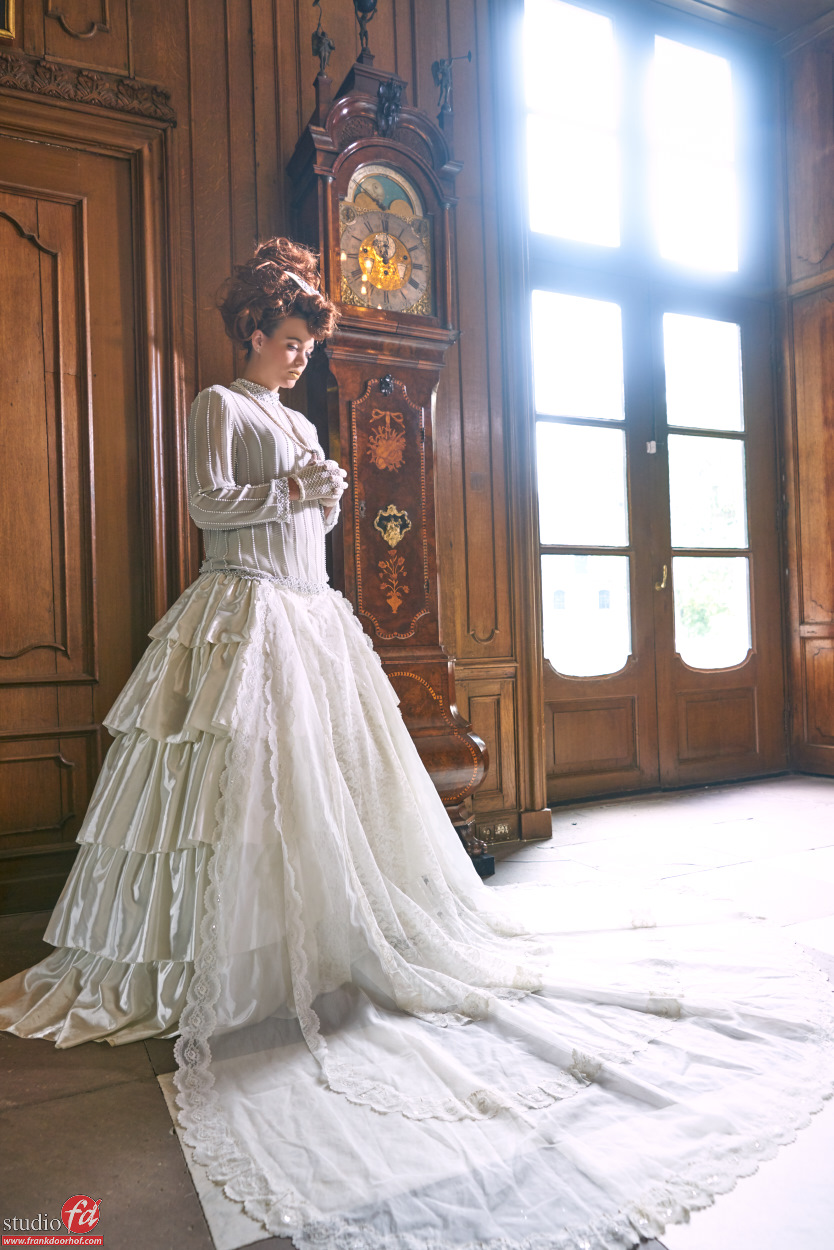
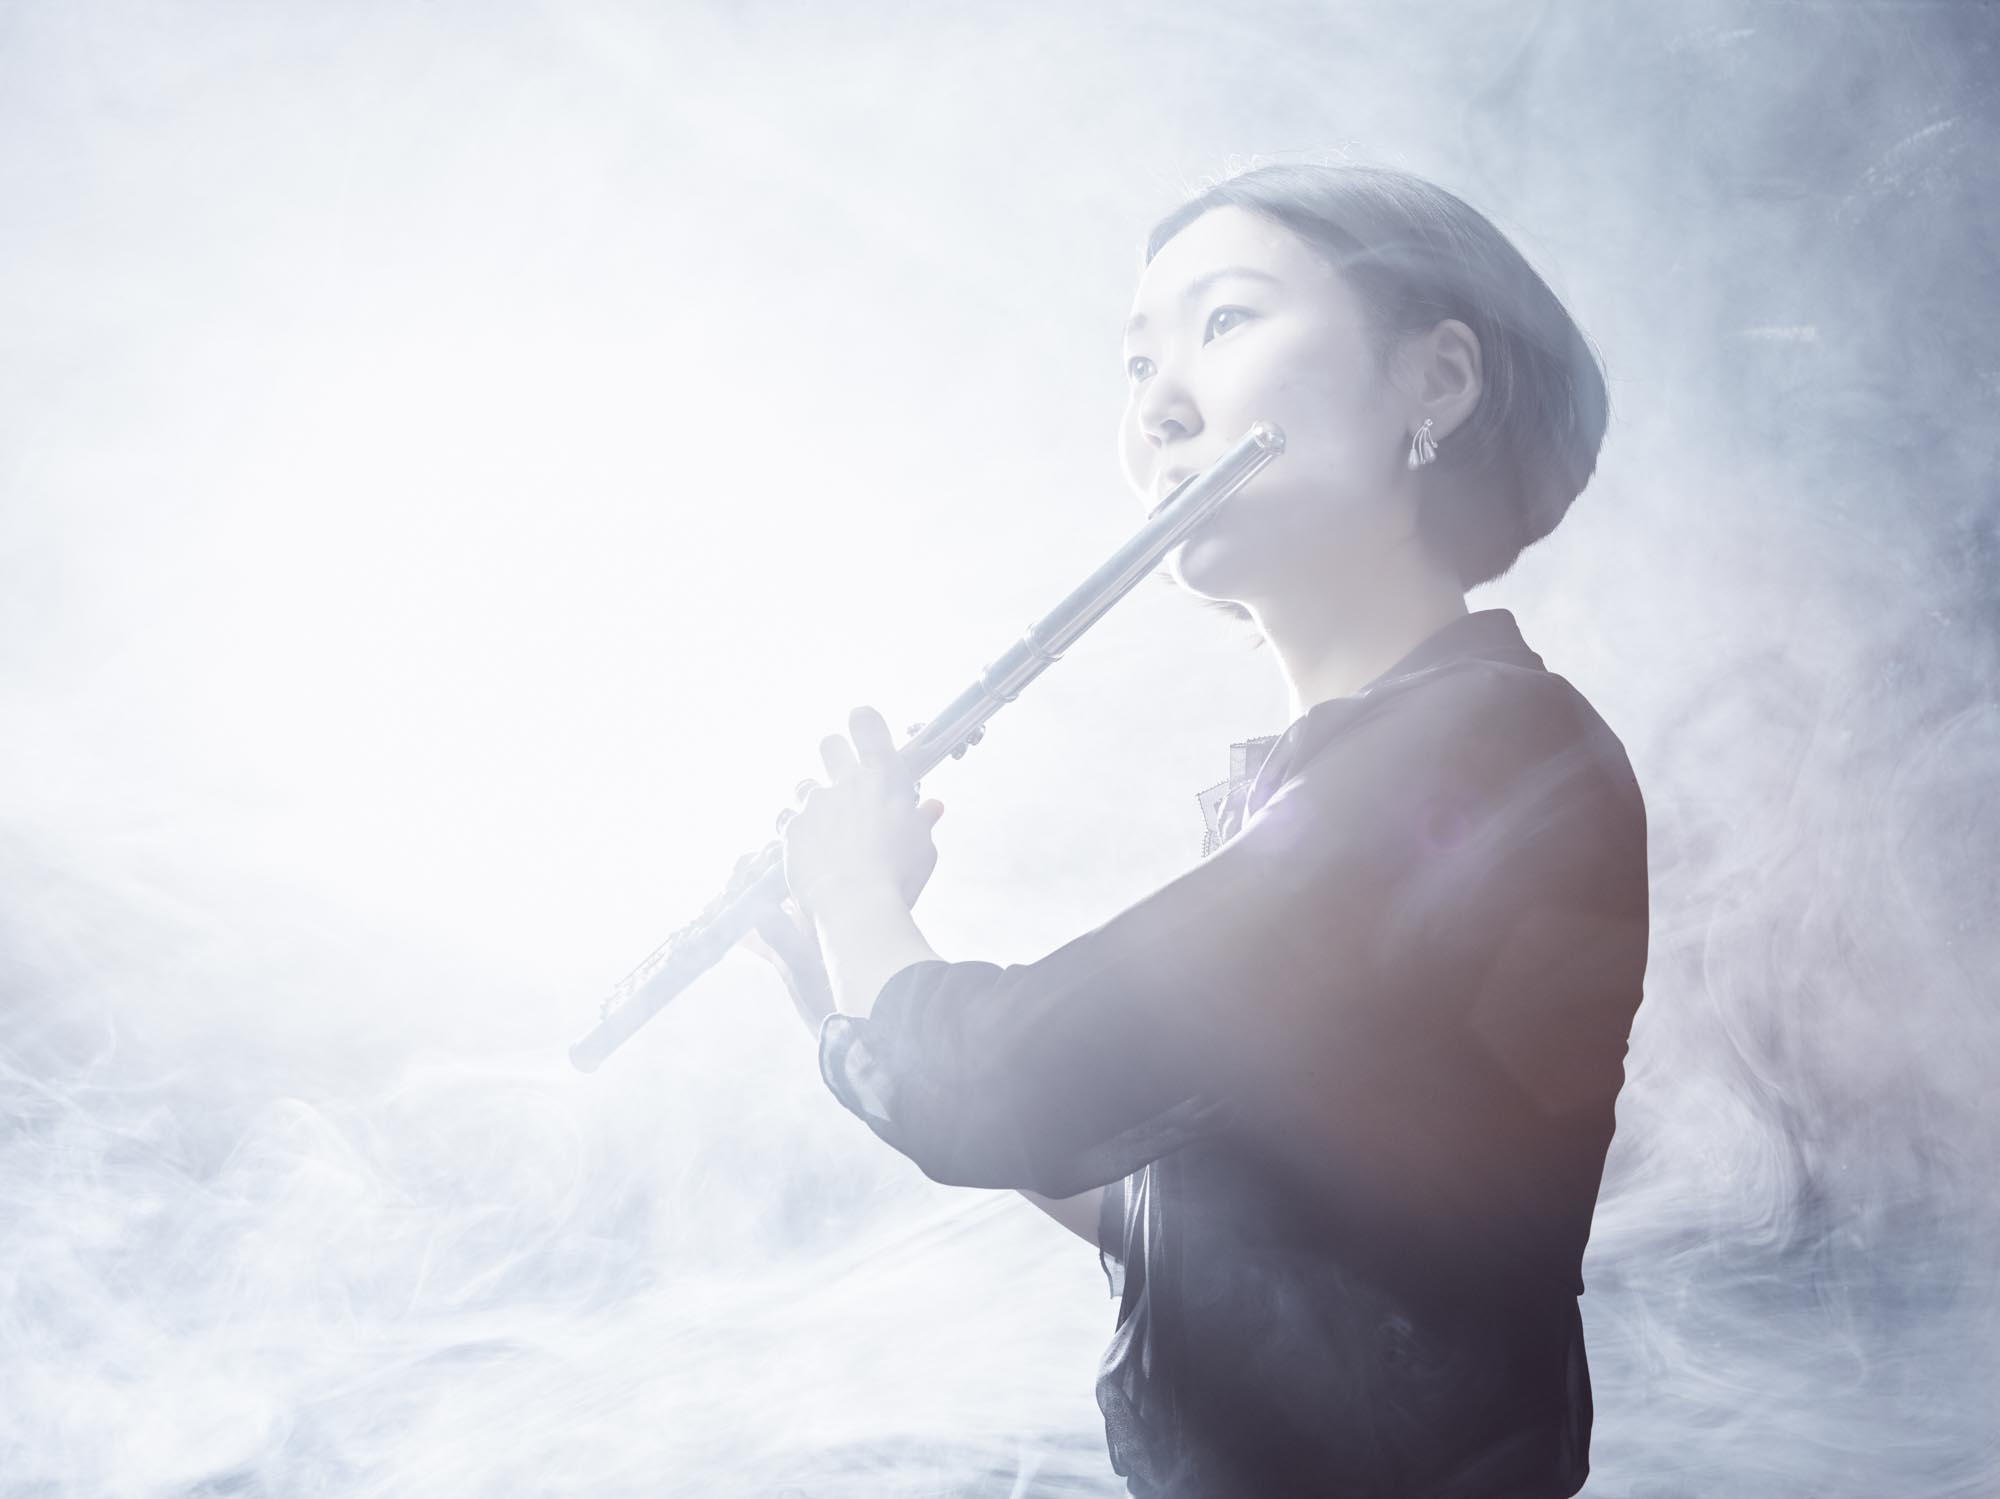
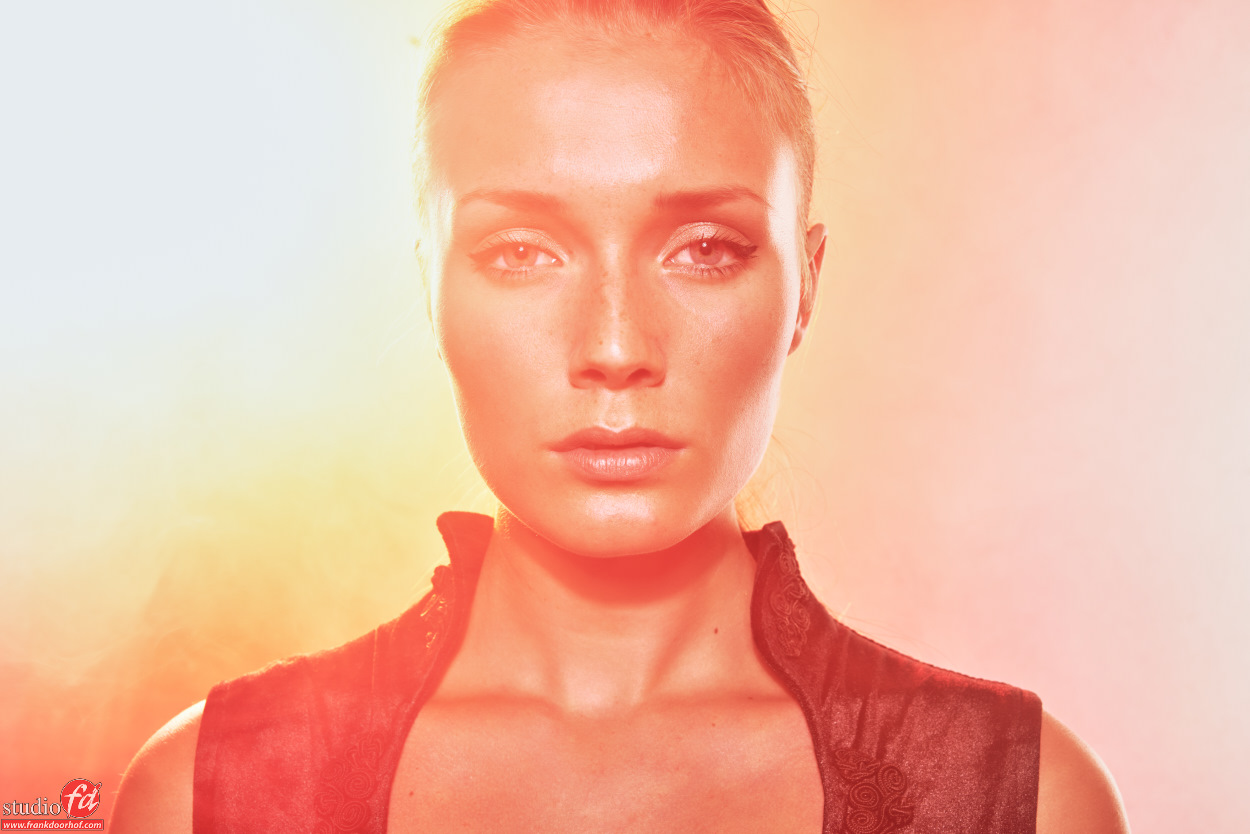
Some more samples where I used strong(er) backlighting from the sun and strobes.


Want more in-depth tips and techniques?
Check out my book “Mastering the model shoot” or get one of my instructional videos via Direct video downloads

Nadine Maart 2016 Imaging days Brussel Sony RETOUCH 0015

Nadine Maart 2016 Imaging days Brussel Sony RETOUCH 0002

Nadine Professional Imaging - 64 March 14, 2016


Nadine Januari 2 2016 0817

KelbyOne Day 3 Setup 2 82 - April 29 2015

Nadine Cannenburch 43 - September 06, 2015

Nadine Cannenburch 11 - September 06, 2015

Carre February 11 2015 27975 1

Rosa Augustus 26 DC 0038

Nadine Juli 9 2015 0065