My blog, although I don’t see myself as a blogger but as a Photographer I will try to blog some interesting material during the weeks.
Expect at least 2 updates a week.

Everything can be a light source Part III

Today part III in the series about alternative light.
In the previous posts we looked at the light from smartphones and the amazing Lume Cubes, and today we are mixing two light sources.


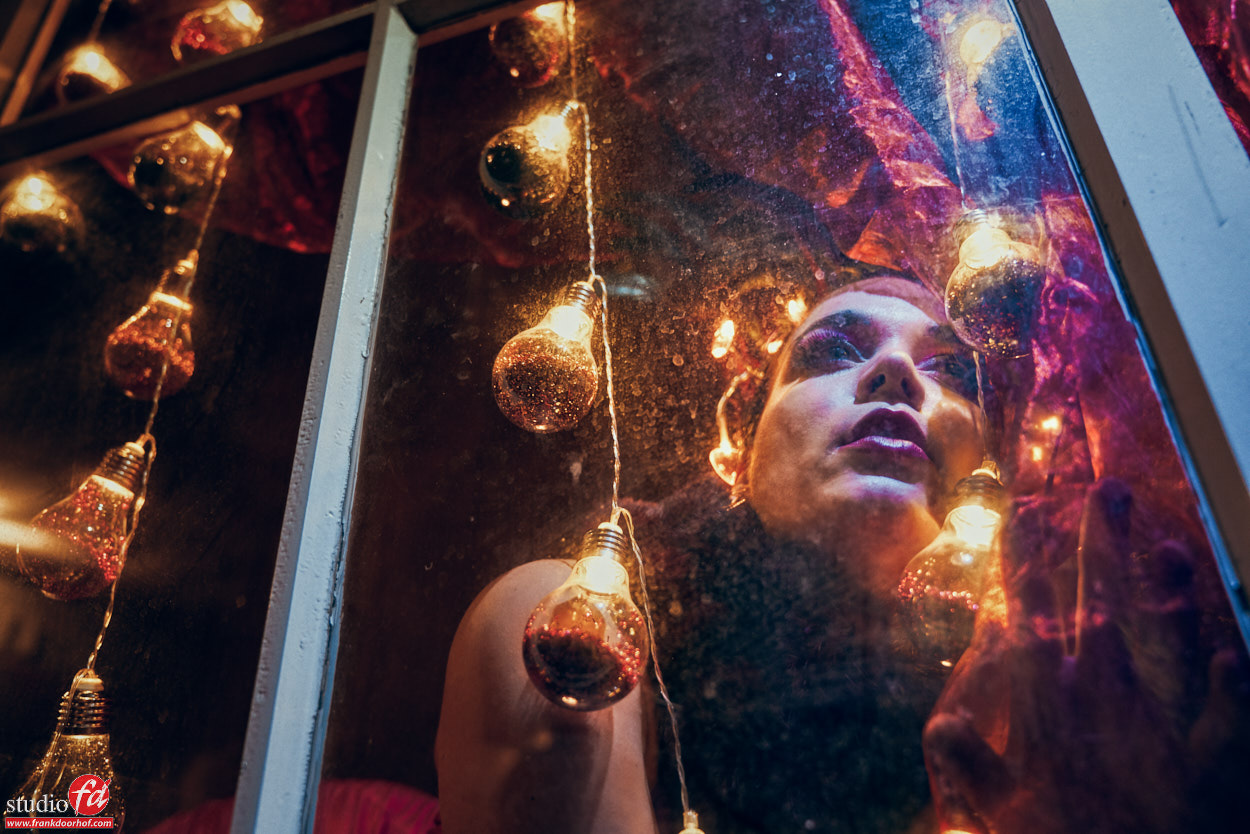
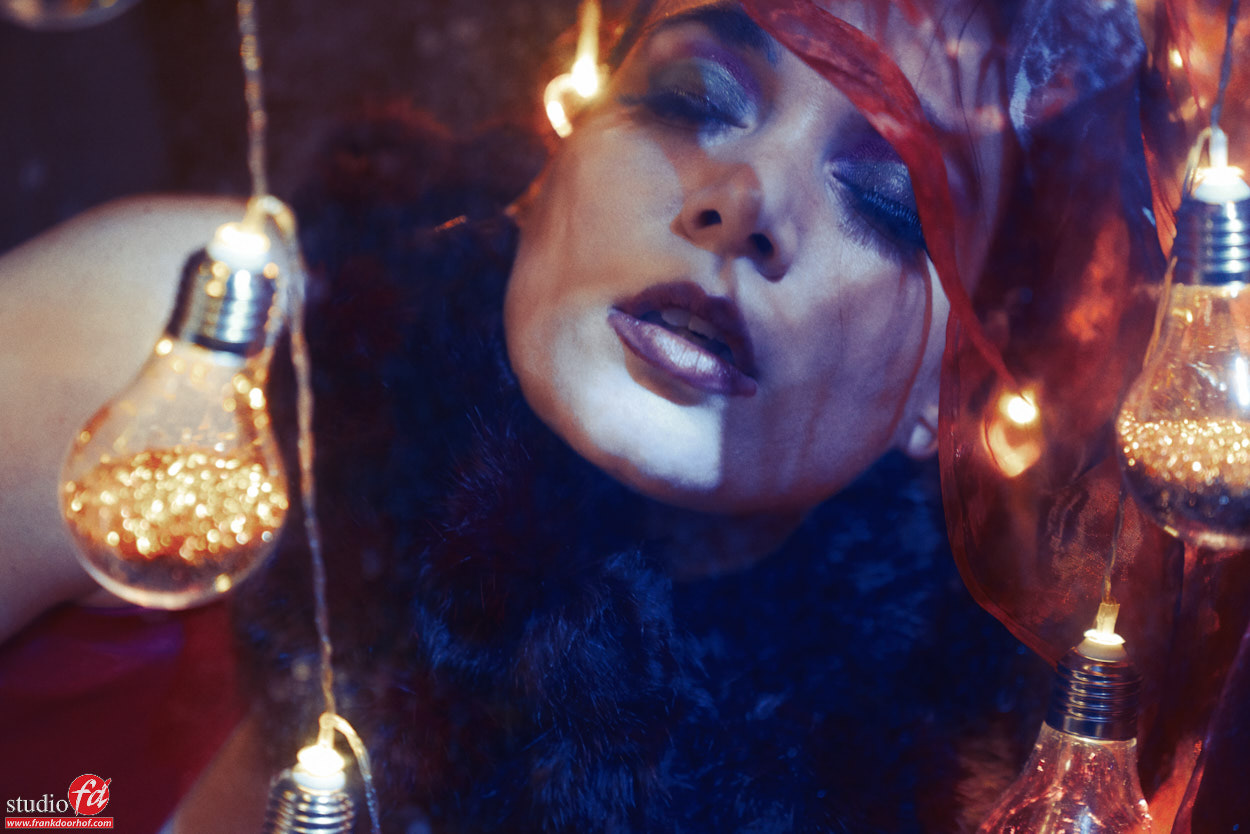
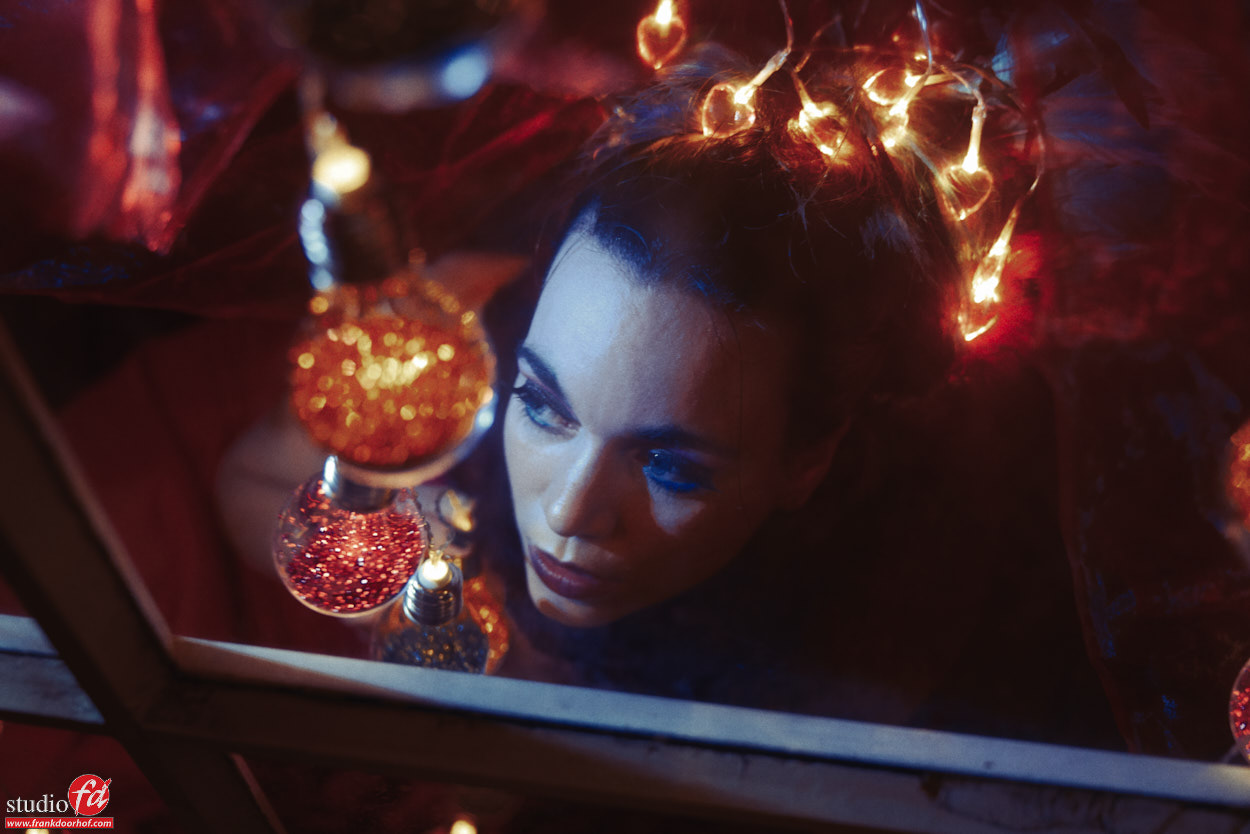
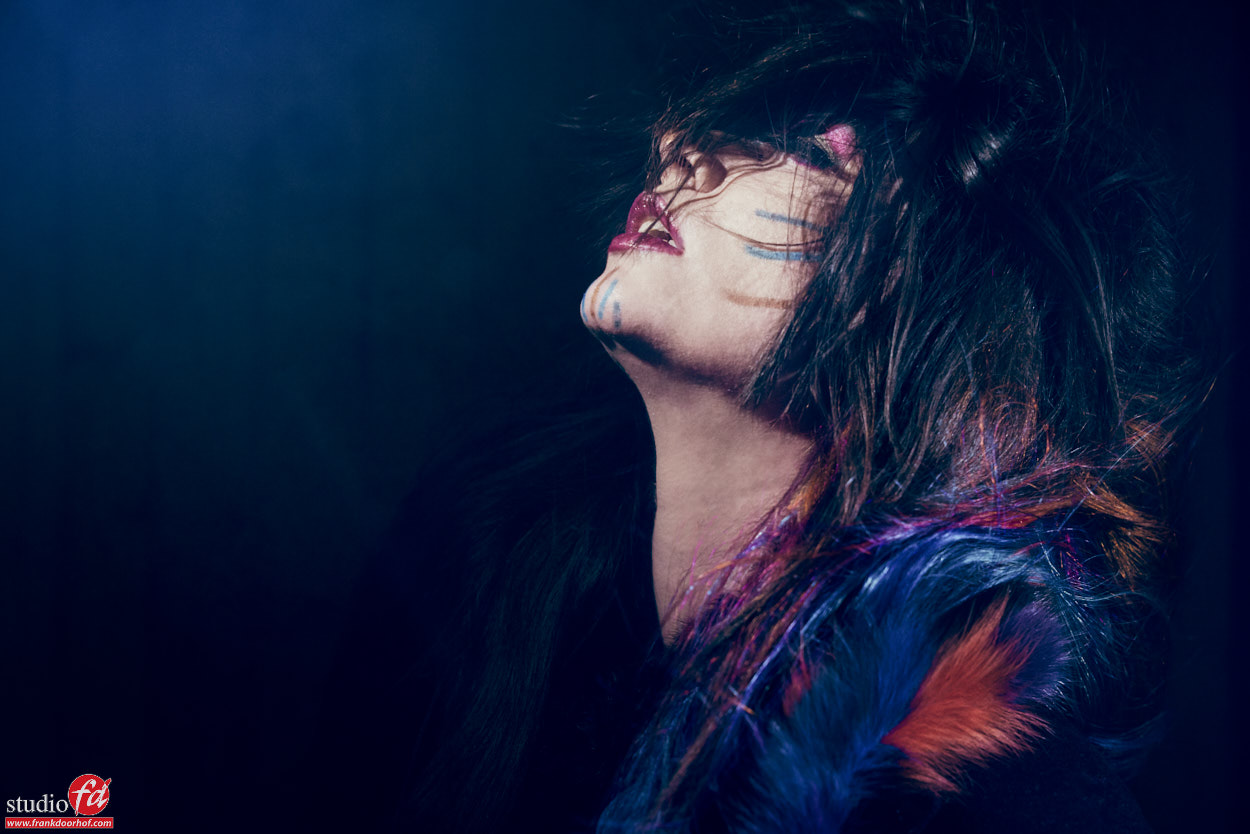
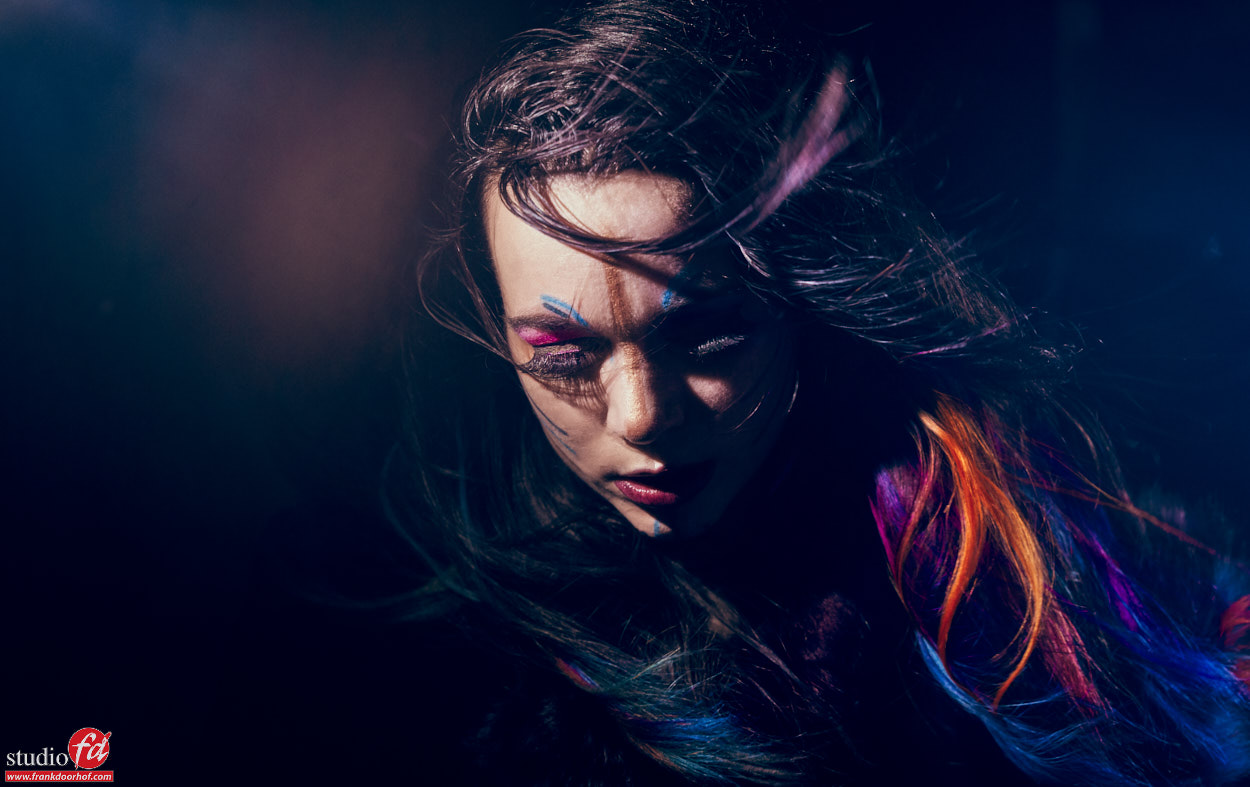
In the shots I share today we build a small set on the stage in our studio using an old window frame and some material Nadine brought with her (she always carries some materials with her :D), we also used some cool tungsten lightbulbs to light up the scene. Very quickly it was clear that the light from the bulbs and the Christmas lighting in her dress were not enough. So we needed to add a little bit of light to her face, and this is where we used the Lume Cube on the selfie stick, just out of the frame but just enough light to give her face that extra attention, and because you can control the output of the Lume Cube it’s a real easy to operate and incorporate light source.


Now one extra problem is surfacing in this setup.
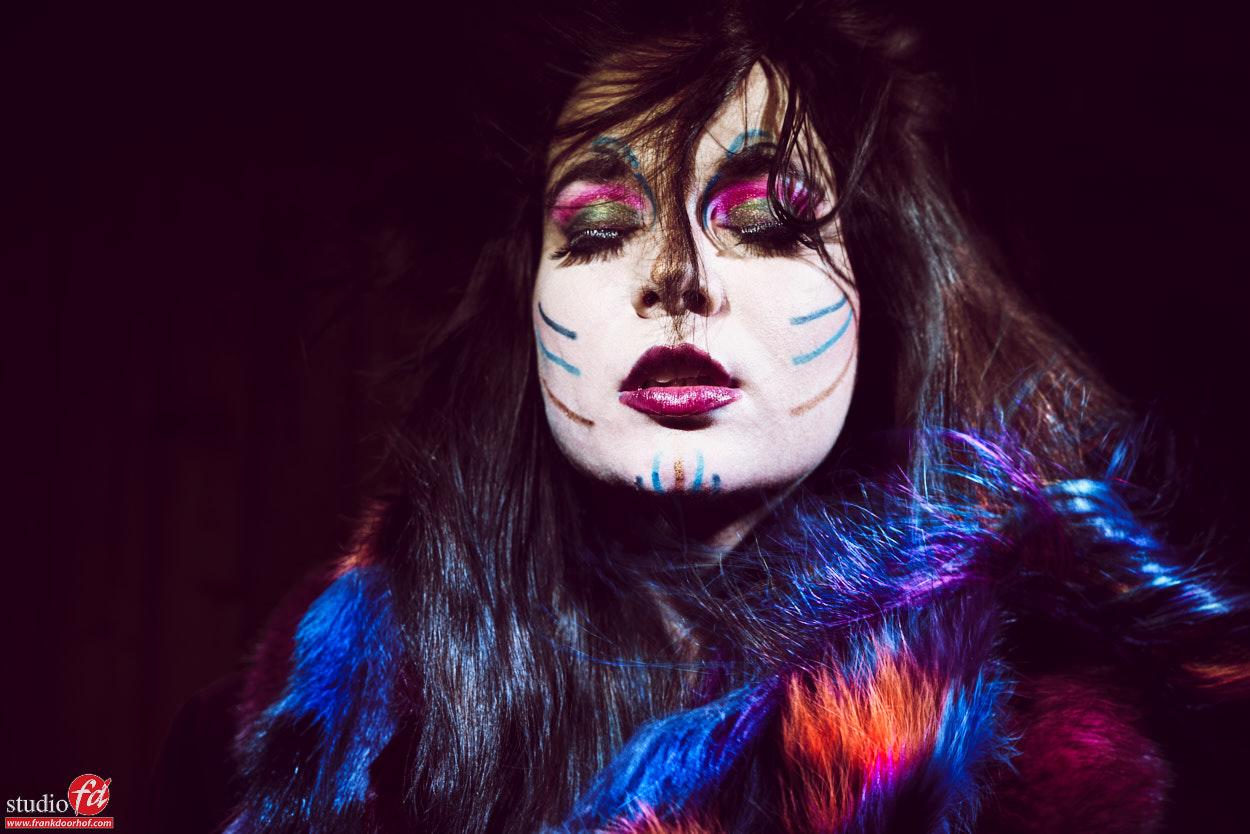
The light from the Lume Cube is rather blue, where the tungsten lighting and the Christmas lights are pretty warm, you can of course gel the Lume Cube, but I personally loved this contrast in lighting, by giving Nadine a more cooler color she jumped out even more. So don’t be afraid when mixing light sources, and IF you don’t like that extra color, just use small CTO gels. (Color Correction Gels).

nadine-november-5-r-2016-0017

nadine-november-5-r-2016-0018

nadine-november-5-r-2016-0019


Live Shoot for Wacom & Sony at CameraNU

How can the wacom tablets/Cintiqs help you in your photography workflow? Frank explains the advantages of retouching on a tablet after a live shoot with model Nadine Stephan. Of course shooting tethered with Sony. Enjoy

Everything can be a light source Part II

In the second part of this series we look at the Lume Cubes.
A while ago I was send one Lume Cube to test and in all honesty I didn’t really think much of it when they asked me, as soon as the cube came in my first experience was also one of “yeah nice but…..” however as you can read in the previous blogpost I strongly believe that everything can be a great light source as long as you use it for what you need it for or what it can do….


And in that last part lies the power of the Lume Cube.
Of course you can use them as your main light source like I do in these shots, but I often use them actually in situations where I’m not able to bring strobes and just want some quick light somewhere, or where strobes simply don’t fit (small spaces). I actually put my Lume Cubes on selfie sticks so I can move them around the model, or let a VAL use them for me (Voice Activated Lightstand) by using the selfie stick you don’t see the assistants in the frame and you’re more flexible with the positioning of the light.
Ofcourse the Lume cubes are also great for video light and you can combine them with strobes (optical slave), but this is not a review, this is part II of the “everything can be a light source” blog post, so let’s look at the images we shot with two Lume Cubes. And as you can see by moving them around the model you can create a lot of contrast, but also some cool light flare effects.

nadine-november-5-r-2016-0004

nadine-november-5-r-2016-0005

nadine-november-5-r-2016-0013

nadine-november-5-r-2016-0014


Behind the closed DOORs November 16 2016

In todays episode you get a real jampacked experience 😀

We take you behind the scenes during 2 test photoshoots with new models for our workshops, where you get to see the results and a small interview with the models.

In between we also shot a session for one of our ex interns for her website/facebook.

And if that is not enough… we also did our Fashion Talent 2.0 event where we show the photoshoots, and give a few cool tips for starting models.

Make sure to subscribe to our channel and share our videos, it really helps and we immensely appreciate it.