Outside fashion shoot for sunglasses with extreme styling and flash Part I
Outside Fashion Shoot for Sunglasses
Transform something ordinary to awesome!
One of the more challenging workshops is without a doubt “on location in Emmeloord”
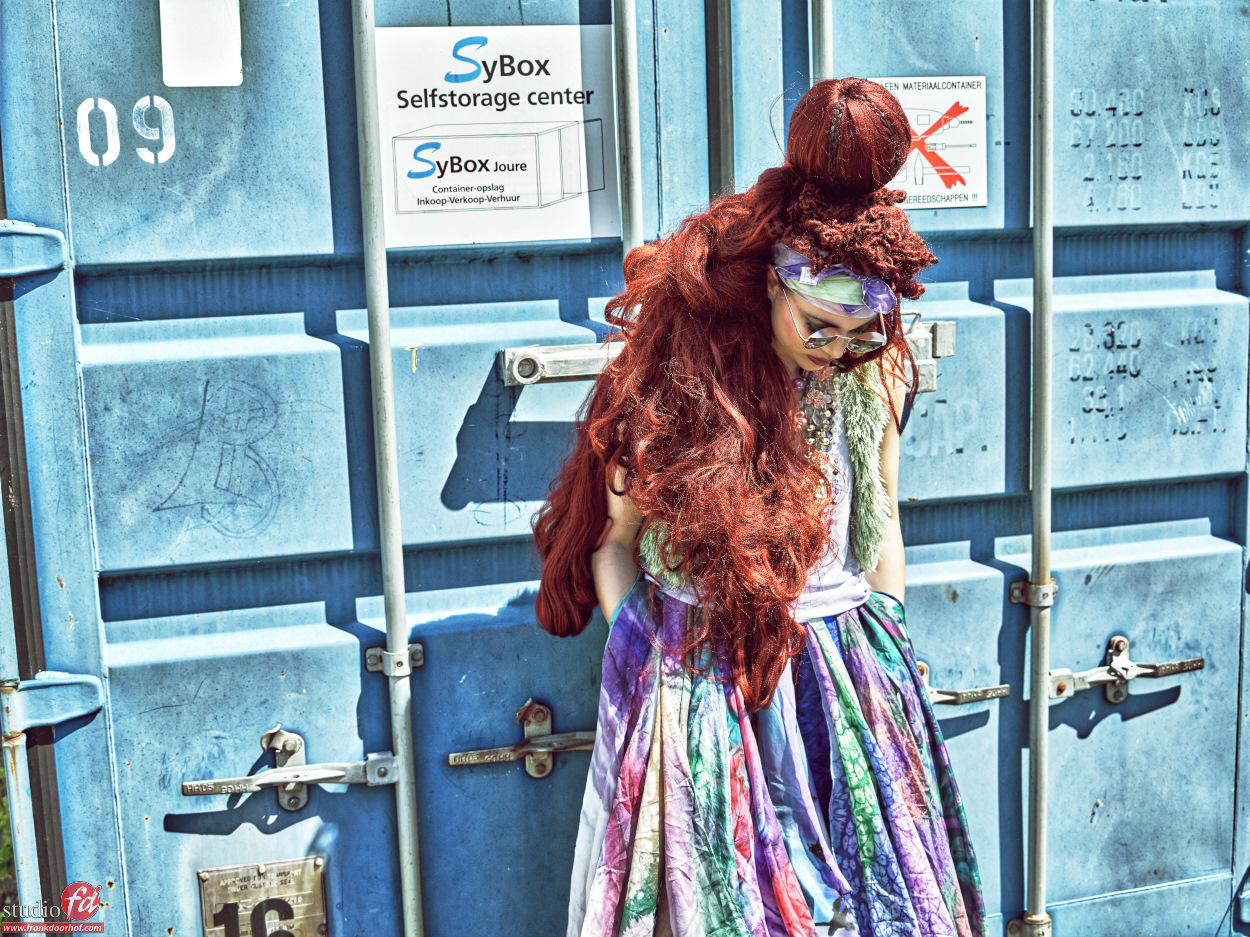
During this workshop, I take the attendees with me to locations that at first sight might look incredibly boring. However by using the styling of the model and of course the choice of lighting and shooting angle it becomes clear pretty quickly that even locations that are not that interesting can transform into a great location for shoots. Read more about this outside fashion shoot for sunglasses with extreme styling, part 1.
The reason this workshop is very important is because during most workshops you are shooting in already great locations or nice studio setups.
The thing is, that in reality it hardly ever happens you shoot a client or wedding/event in a castle/urbex/etc location. And also the light is not always perfect. Most of the time we are shooting in office buildings, outside in a forest/dune/city environment, etc. They are not really super inspiring locations.
And that’s the whole deal
In this workshop, I show how easy it is to create interesting photos in not-so-interesting locations. Or let me rephrase those locations that look uninteresting at first sight.
During the workshop I also try to keep the gear as minimalistic as possible, I’m using one of our Geekoto GT200s and a large reflector plus the Rogue Flashbender (Frank Doorhof edition). In the past, we had to carry around rather large battery packs and “large” heads. And I had to shoot on 1/125 because HSS was not supported. Now we are using so-called hybrid strobes which are the perfect marriage between a studio strobe and a speedlight. This combination means I can shoot ETTL and HSS on location (or manual of course) with a nice shallow depth of field if I want it. Or a deeper depth of field if that fits the photo, and shoot a full day with just one battery. Thanks to the large reflector we had still 10% left in the battery after the whole workshop (5 locations 4 shooters).
By lowering the ambient light you can really make your model pop out, now lower your shooting angle and you can already get much more interesting shots.
In the next blog post, I’ll explain a bit more about the large reflector.
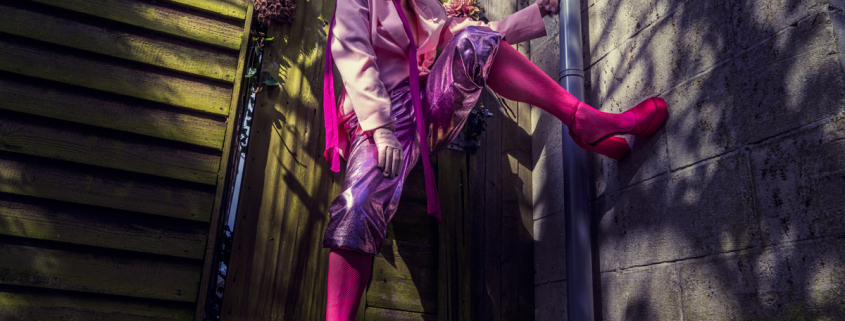
For today let’s take a look at the first setup we did with Nadine. This is just a treeline next to our studio functioning as a border between our studio and the neighbours.
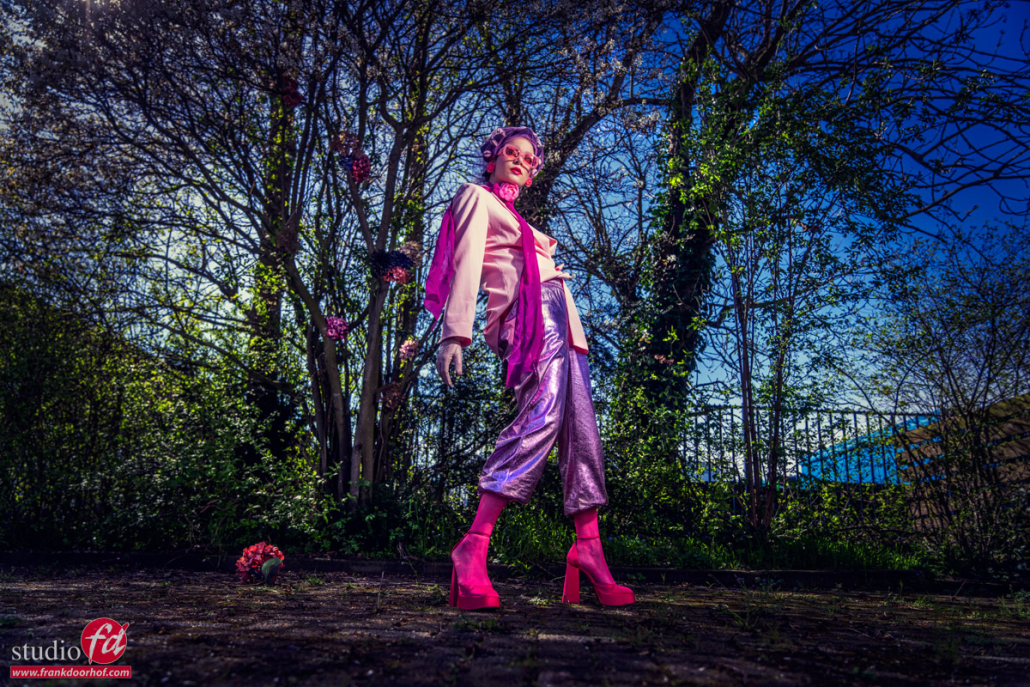
Nadine brought some fake flowers and put them in the trees
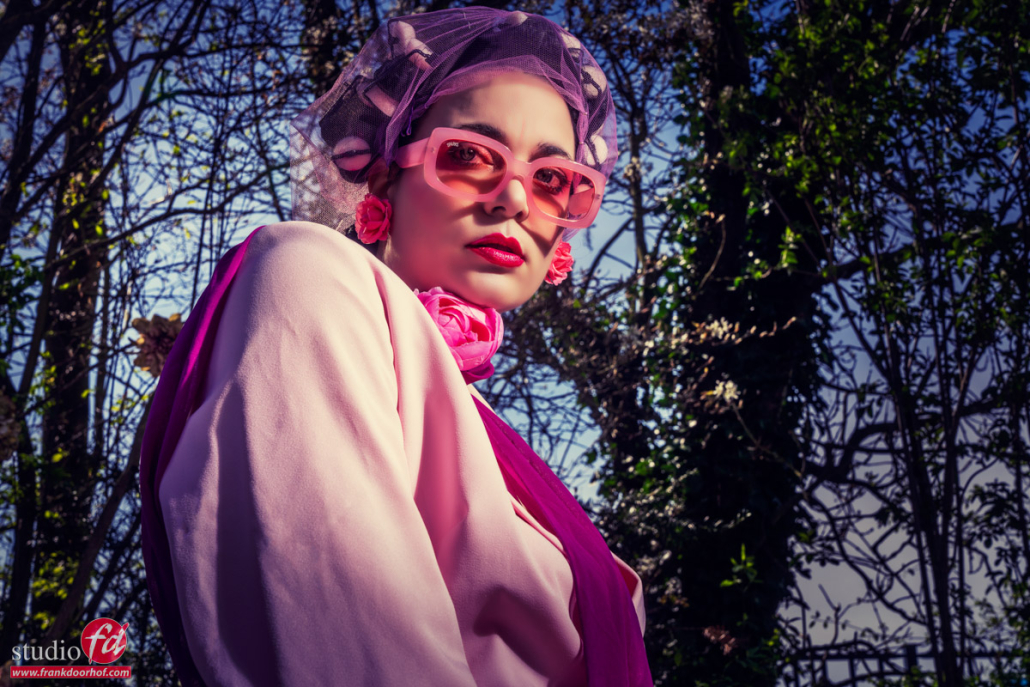

In this setup, we also used the Rogue FlashBender XL Pro for a different look.
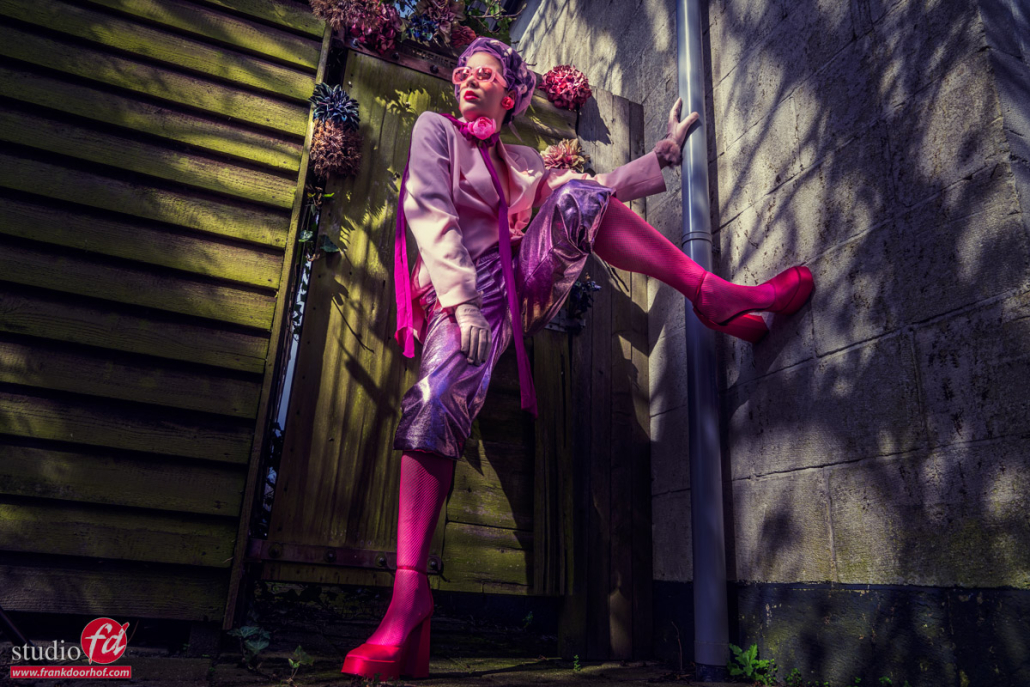
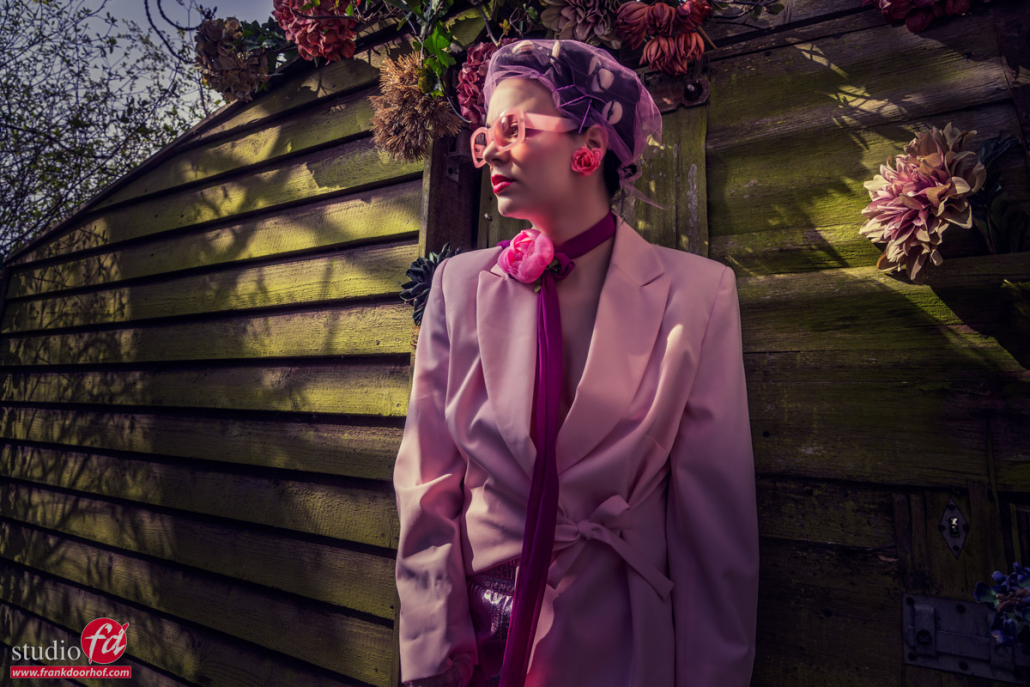
And the setup with the FlashBender.
In the next blog post I’ll show you the large reflector and explain why it’s awesome for location work.
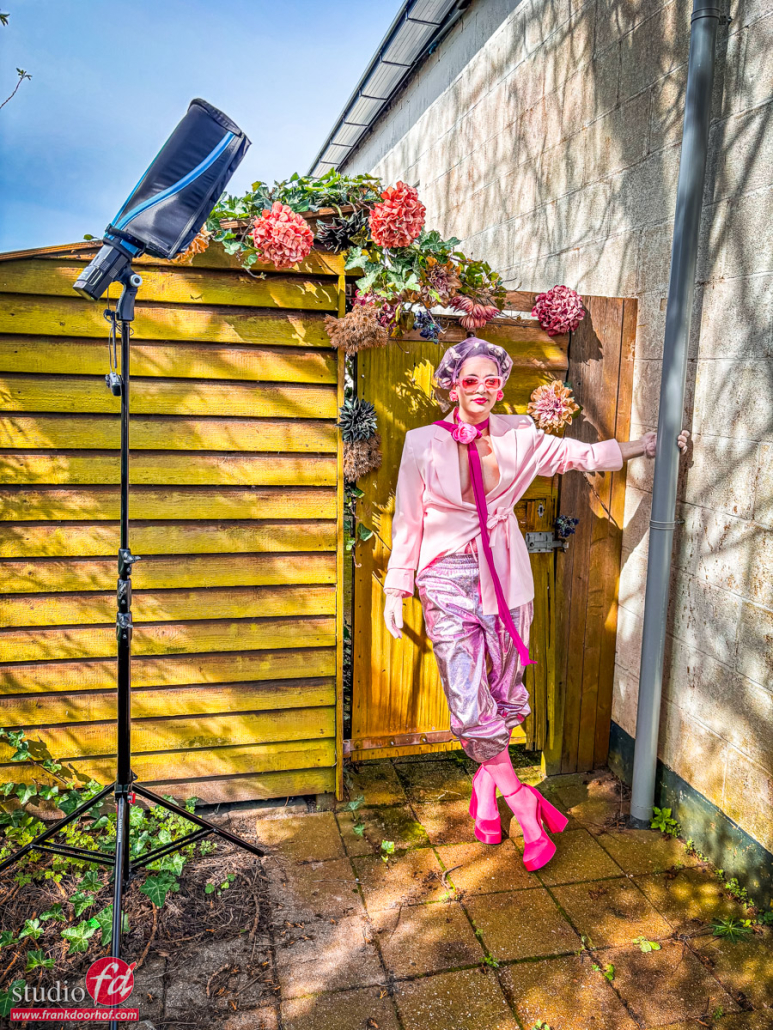
Model/Styling: Nadine
Sunglasses: Sparks
www.fotografie-workshops.nl for the Dutch workshops
www.frankdoorhof.com/shop for my gear

