Frank Doorhof
  • Blog (articles)
  • Rent our studio space
  • MAIN SHOP
    • MAIN SHOP
      • Orders
      • Account details
      • Downloads
      • Addresses
      • Lost password
      • Cart
      • Checkout
      • Terms webshop
      • Return policy
      • Privacy Policy
      • Privacy Statement in3. Dutch customers only. When you want to pay in 3 parts
  • IQwire Tether Cables
  • Rogue Modifiers
  • Geekoto Flash and Modifiers
  • Platypod
  • Click Backdrops
  • PORTFOLIO
  • Learning with Frank
    • Dutch workshop agenda
    • Workshops
    • A Year With Frank
    • Online 1:1 workshops
    • 1:1 workshops in English
    • Portfolio review by Frank Doorhof
    • Patreon
  • Support our work
  • Merchandise
  • Digital Classroom LIVE
  • Our YouTube channel
  • Biography Frank Doorhof
  • Services
  • Discounts etc
  • I need help
  • Menu Menu
  • Shopping Cart Shopping Cart
    0Shopping Cart
  • Link to Facebook
  • Link to X
  • Link to Youtube
  • Link to WhatsApp

The BIG white one

23-02-2014/4 Comments/in blog, Light meter, Visions and technique/by Frank Doorhof

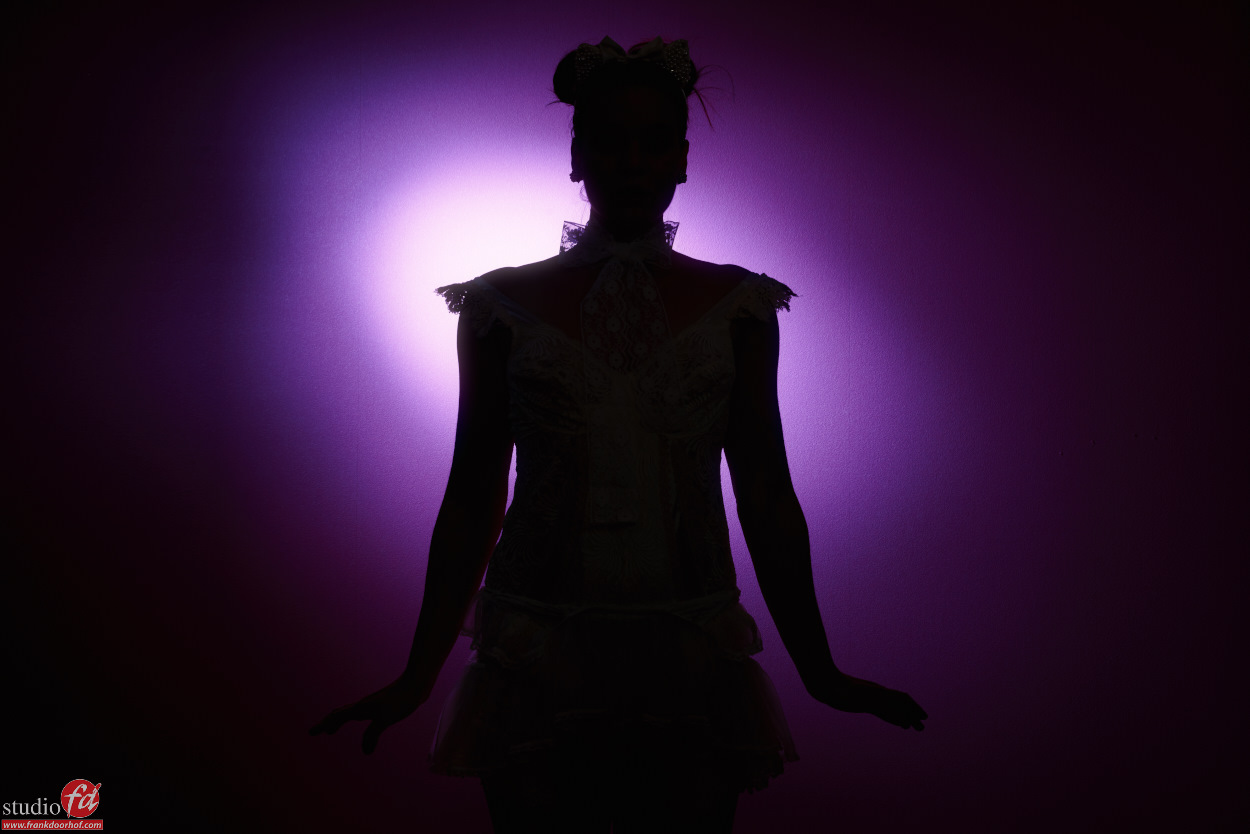
I’ve talked about this technique before on the blog, but today a few more images shot with this technique (just because it’s a cool technique).


How to set it up?
The setup is really simple and everyone can do it at home or in their studio.
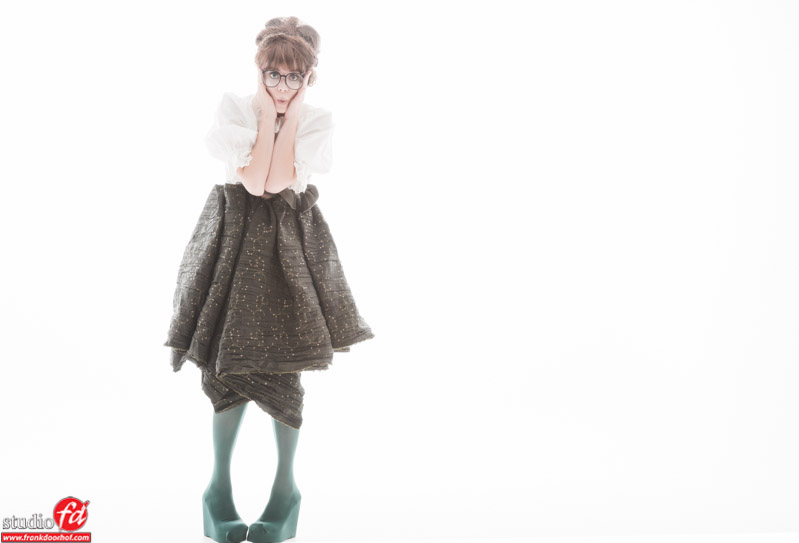
Find a large white wall (and if you want to shoot full body you also need a white floor, for example white seamless), add two (or one) strobe aimed towards the background and make sure the model is not hit by the light from these strobes.


Start on full power and meter towards the front of the model, in this case probably towards the camera.
The value you see on your light meter is the value you put into your camera and the base is there, the image you will get will often be nice but if you add maybe between 1-2 stops extra (open up the aperture) you are into the creative zone 😀


The next images are shot with 1 stop extra (metering for example F8 and shooting on F5.6).
BTW there are a lot of questions about “where to aim the light meter”, normally you will hear me tell you to meter towards the light source, and don’t worry that’s still true of course. However you have to realize the way the meter works. It will actually meter the light hitting the subject on the area you want correct. In this case that’s the front of the model, so we point the meter forward. In most setups in the studio you will place your light in such a position that it hits the part of the model you want to be rendered correctly so you point towards the light source. So don’t worry, I’m not telling you to meter towards the camera all of a sudden 😀
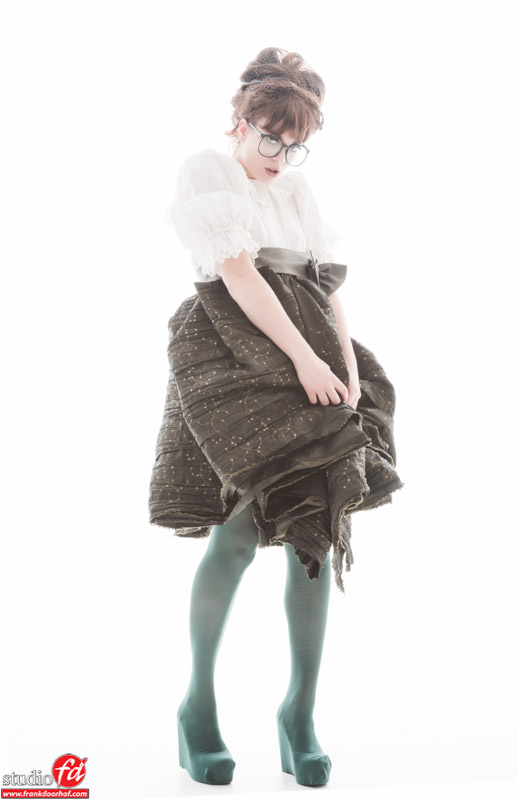
 

Nadine Februari 14 Eersel (72 of 99)-Edit

Nadine Februari 14 Eersel (78 of 99)-Edit

Tags: blow out, light meter, lighting, tip, white background, wow
Share this entry
  • Share on Facebook
  • Share on X
  • Share on WhatsApp
  • Share on Pinterest
  • Share on LinkedIn
  • Share on Tumblr
  • Share on Vk
  • Share on Reddit
  • Share by Mail
https://frankdoorhof.com/web/wp-content/uploads/2015/03/studioFD_Logo-1FV.png 0 0 Frank Doorhof https://frankdoorhof.com/web/wp-content/uploads/2015/03/studioFD_Logo-1FV.png Frank Doorhof2014-02-23 05:00:022014-02-19 15:59:08The BIG white one
You might also like
When something goes wrong
Our brand new fiberglass umbrellas
VIDEO : creative light usage
Lighting tricks that work…..using the light behind your model, yes it works like a charm but it’s special
Blowing out
From old to new but in the end it’s all about YOU
4 replies
  1. ricoSacto
    ricoSacto says:
    23-02-2014 at 19:16

    why can’t we be friends? LOL

    • Frank Doorhof
      Frank Doorhof says:
      24-02-2014 at 08:43

      😀

  2. Klaas
    Klaas says:
    24-02-2014 at 00:59

    Interesting concept. I work exactly it the other way around, setting up the main-light and metering it without the background lit. I meter from the model position towards the light. Then I switch off my main-light and dial in the back-light for 1 to 1.5 stops more than the main I hold the meter on the background and meter towards the camera. The end result should be the same as you have but I always have an f-stop in mind for my main depending on the shoot. This way I still overexpose the background and check that with the blinking background on my LCD screen. The only argument of overexposing the background with 2 stops is the danger of getting a milky shot.

    • Frank Doorhof
      Frank Doorhof says:
      24-02-2014 at 08:43

      Hi,
      Normally I will place 2 strobes on the background and put those 2.5-3 stops over the main light, do realize that the background needs to be metered reflective.
      If you don’t have a meter that can do reflective just meter incident and place the strobes 0.5 stops higher than the main light, (only works on a pure white background with incident, works on any background with reflective).

      In this case I really go for a special effect.

Comments are closed.

Newsletters

Subscribe to our newsletter for updates, discounts, and much more

English news letter
Dutch news letter

Interesting links

Here are some interesting links for you! Enjoy your stay :)

Snel naar

  • Blog
  • Learning with Frank
  • News etc
  • Reviews
  • Shop products & books
  • Contact

Contact

Studio Frank Doorhof:
Constructieweg 8
8305 AA Emmeloord

The Netherlands
+31-6-14522327

Or Email : info@frankdoorhof.com


© Copyright 2000 - - Frank Doorhof
  • Link to Facebook
  • Link to X
  • Link to Youtube
  • Link to WhatsApp
Link to: One simple light Link to: One simple light One simple light Link to: Something exciting coming today….. Link to: Something exciting coming today….. Something exciting coming today…..
Scroll to top Scroll to top Scroll to top