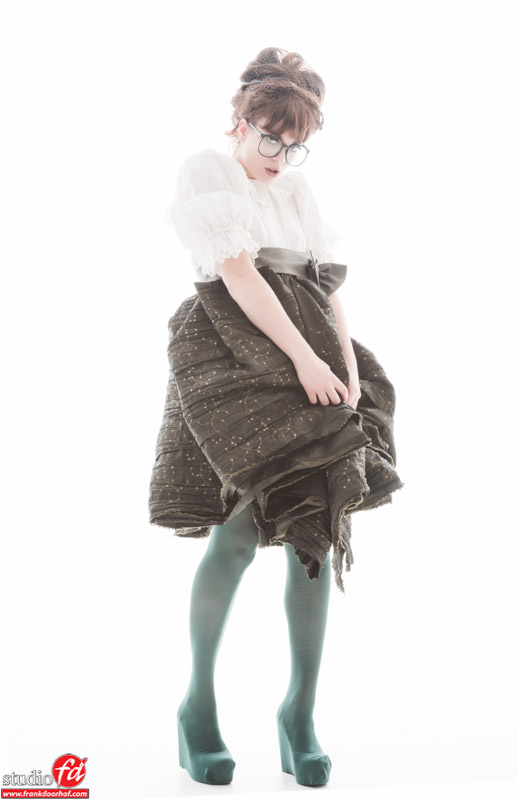
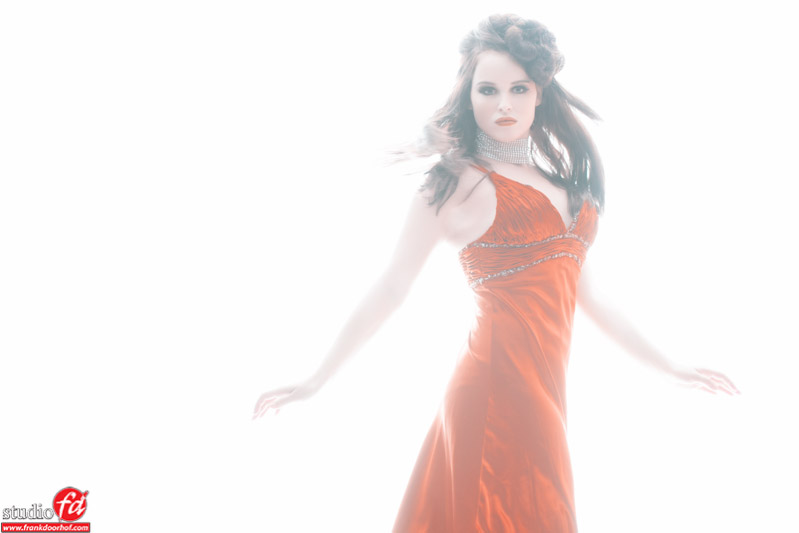
The BIG white one
I’ve talked about this technique before on the blog, but today a few more images shot with this technique (just because it’s a cool technique).
How to set it up?
The setup is really simple and everyone can do it at home or in their studio.
Find a large white wall (and if you want to shoot full body you also need a white floor, for example white seamless), add two (or one) strobe aimed towards the background and make sure the model is not hit by the light from these strobes.
Start on full power and meter towards the front of the model, in this case probably towards the camera.
The value you see on your light meter is the value you put into your camera and the base is there, the image you will get will often be nice but if you add maybe between 1-2 stops extra (open up the aperture) you are into the creative zone 😀
The next images are shot with 1 stop extra (metering for example F8 and shooting on F5.6).
BTW there are a lot of questions about “where to aim the light meter”, normally you will hear me tell you to meter towards the light source, and don’t worry that’s still true of course. However you have to realize the way the meter works. It will actually meter the light hitting the subject on the area you want correct. In this case that’s the front of the model, so we point the meter forward. In most setups in the studio you will place your light in such a position that it hits the part of the model you want to be rendered correctly so you point towards the light source. So don’t worry, I’m not telling you to meter towards the camera all of a sudden 😀


You must be logged in to post a comment.